How to Replace Silicone Band on Apple Watch Apparel: DIY Guide
Duration: 45 minutes
Steps: 7 Steps
Follow this guide for a quick, easy, and seamless repair for your Apple watch’s silicone band. This repair method is compatible with all apple watch models featuring a silicone band and involves carefully cleaning, applying a special glue, to bond the torn silicone, adding a smooth finish. Work in a well lit area for the best visibility, wear gloves to avoid getting sticky fingers and be careful when handling the uv curable glue. Follow each step to create a strong lasting bond and get back to rocking that Apple Watch.
Step 1


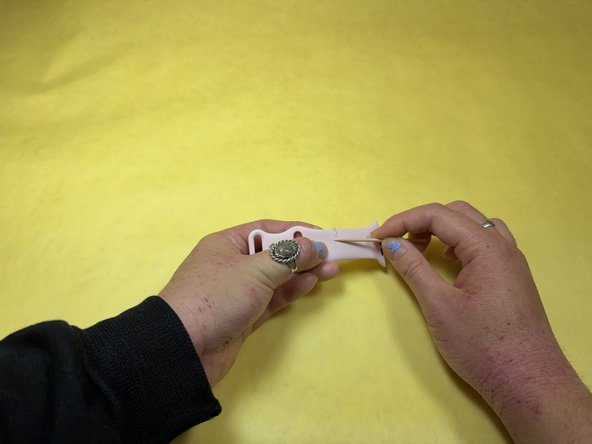
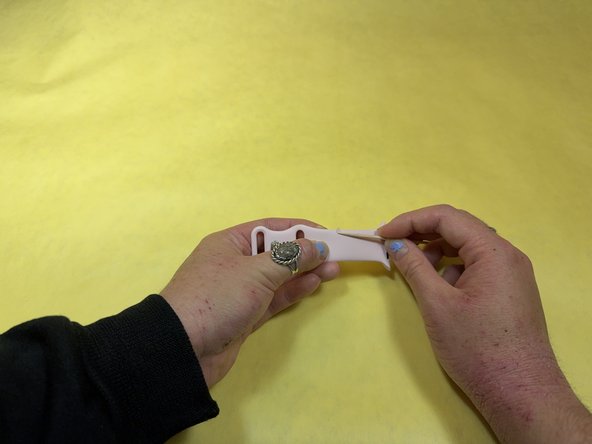
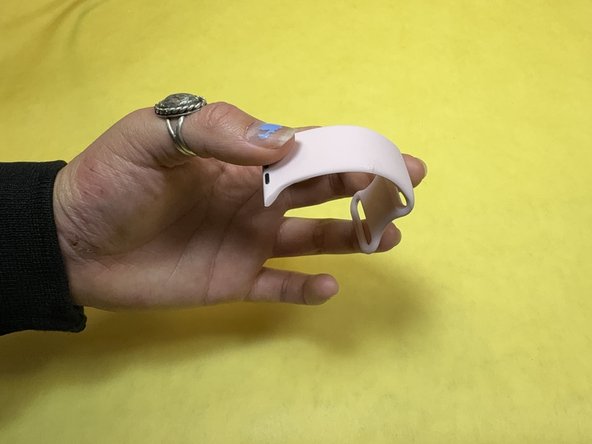
– Carefully flex the silicone watch band to assess the size and seriousness of the tear.
Step 2

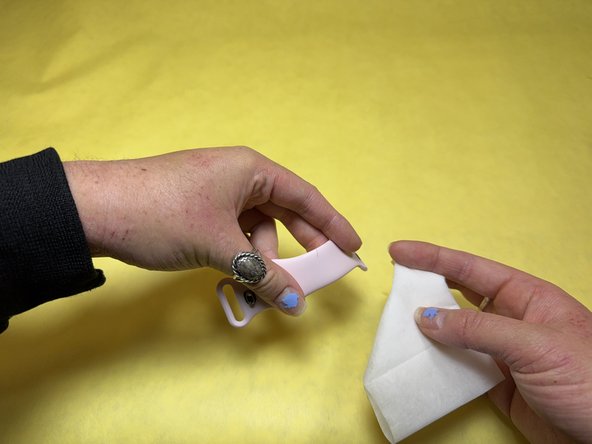
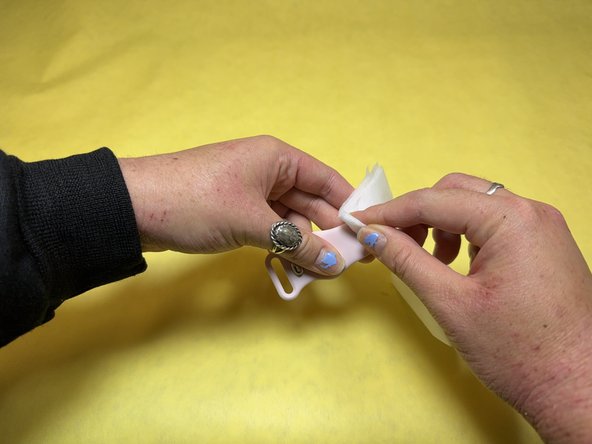
– Carefully flex the watch strap to reveal the inner part of the tear. Grab an alcohol wipe and give the area around and inside the tear a thorough clean-up.
– Let the silicone band air dry until it’s completely dry—no visible moisture left.
Step 3

– Apply a tiny dollop of UV curable glue onto a clean wooden toothpick.
Tools Used
Step 4

– Flex the watch band to reveal the inside of the tear.
– Dab a dot of glue on the inner part of the tear.
– Let the band go so it settles back into its natural position.
– Using a fresh toothpick, clean away any extra glue that might have oozed out of the tear on both sides of the band.
– Smooth the toothpick over the glue from the inside of the tear to the edge of the watch band to create a thin, even layer of glue on the outer surface of the tear.
Step 5

– Zap that glue with a UV light for a solid 30-45 seconds.
Step 6

If the bond isn’t quite there yet, no worries! Just go ahead and do steps 4-5 again to give it another go and test it out once more.
– Give the watch band a gentle, but firm, little bend! We’re just making sure the bond is super strong and ready to rock.
Step 7

– Your Apple Watch band is now fixed! Let the glue set completely before using it again, and try to keep it away from too much water.
– Cancel: I did not finish this guide.
–
Tools Used
Success!