How to Replace Sony Xperia Z2 Battery – DIY Guide
Duration: 15 min.
Steps: 5 Steps
In this guide, we’ll walk you through the process of swapping out your Xperia Z2’s faulty battery. If your Sony Xperia Z2 is crashing during those intense gaming sessions, refusing to charge, or just not turning on, this repair is just what you need! Let’s get that battery life back on track and keep your device running smoothly. If you need help, you can always schedule a repair.
Step 1
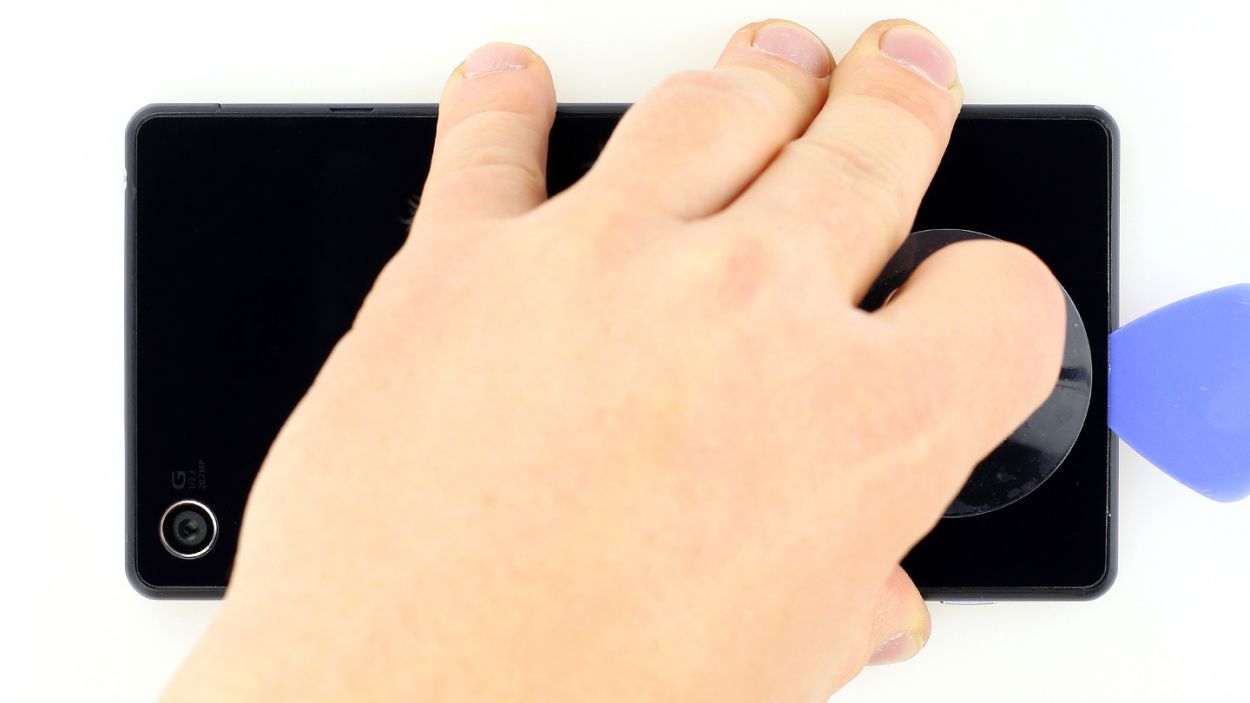
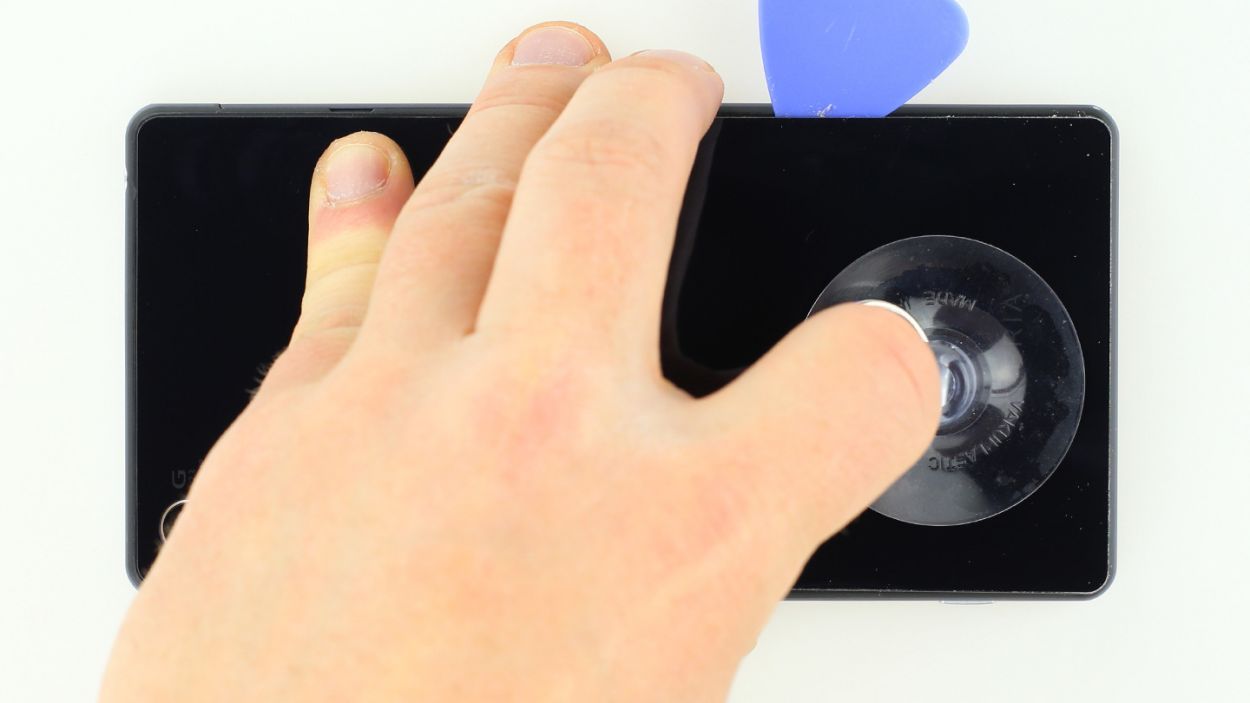
– The back of your Sony Xperia Z2 is stuck on there like a stubborn friend at a party. To get it off, you’ll want to warm things up with a heat gun to soften that glue. Once it’s feeling a bit more relaxed, slide a plastic pick into the tiny gap between the frame and the glass to break the adhesive’s hold.
– Now, that gap between the aluminum frame and the glass is tighter than a pair of skinny jeans. Grab a flat, sturdy tool to help you slip in there.
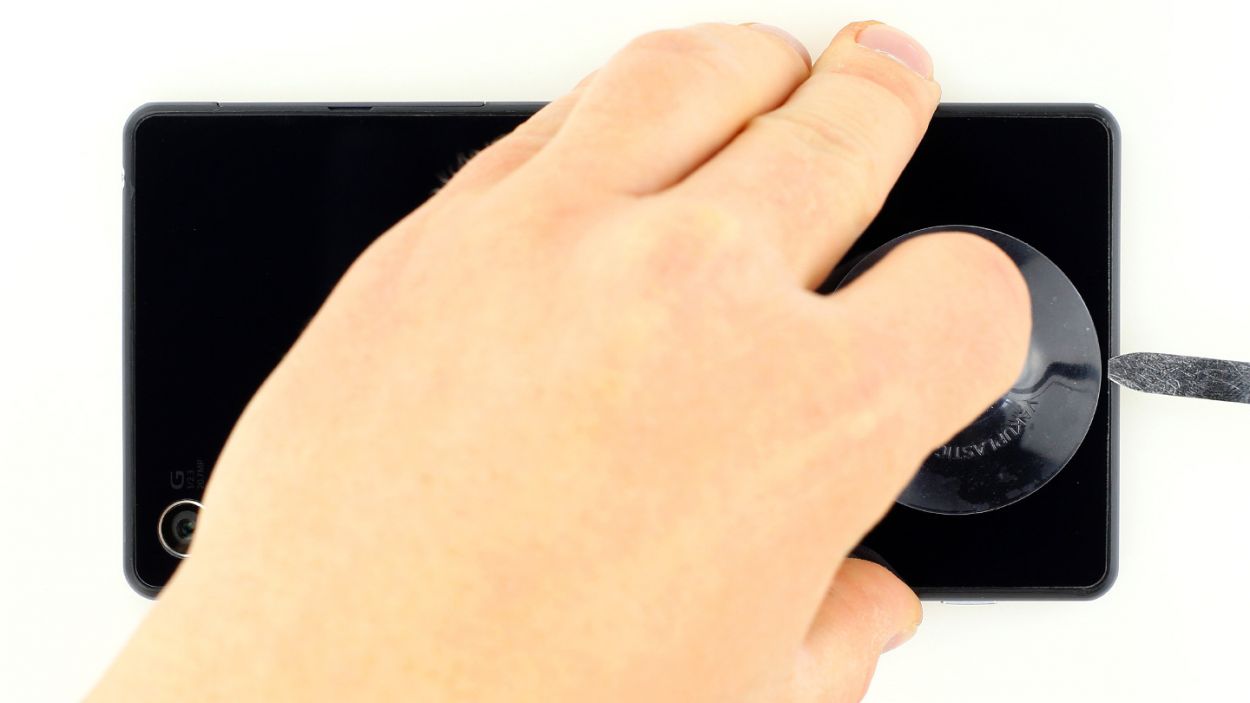
– With a suction cup in hand, gently lift the back cover. Think of it as giving your phone a little hug!
– As soon as you create a small opening, use the plastic pick to keep the aluminum safe and sound from any accidental damage.
Step 2
The inside of the back cover has a slick paint job! Make sure to gently clean off any sticky residue to keep it looking sharp and avoid any pesky scratches or cracks.
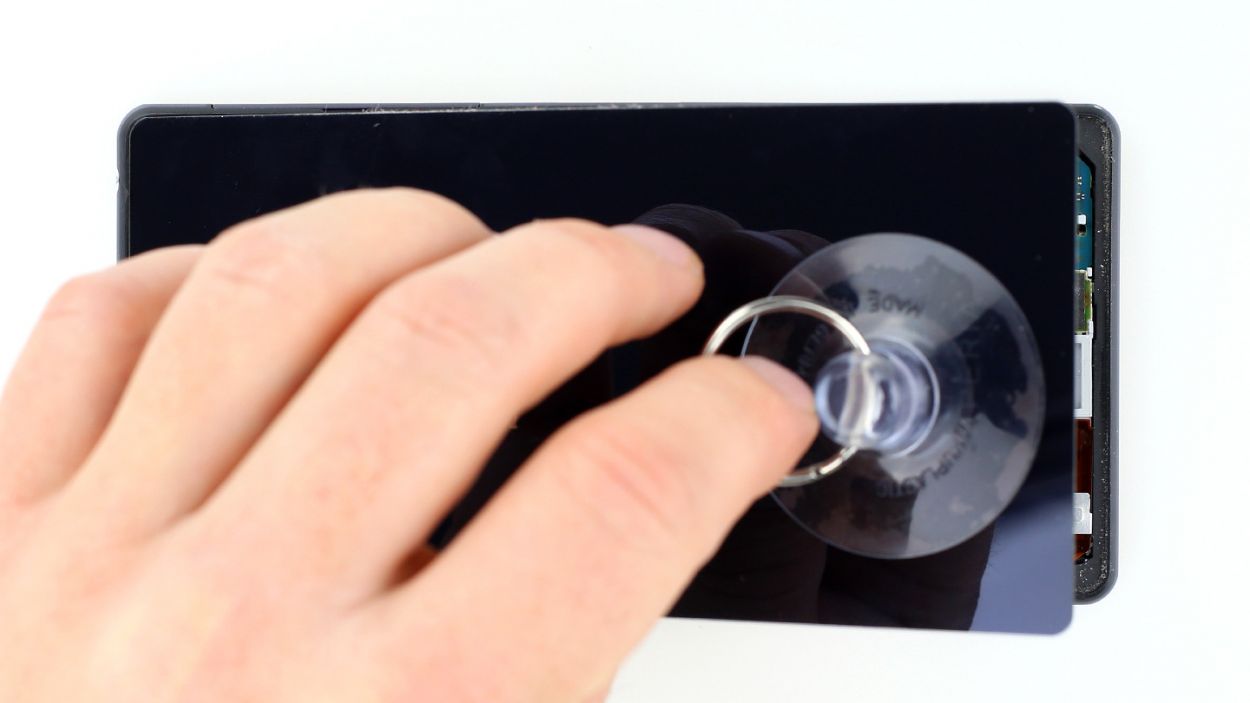
– Gently slide the pick just a few millimeters between the back cover and the frame—this will keep everything cozy inside and prevent any accidental damage. Just a heads up, the inside of the back cover is painted, so be careful when you’re removing any sticky residue to keep it looking sharp and scratch-free!
– The back cover is snugly glued all along the outer edge of your Sony Xperia Z2. Take your pick and glide it around the phone like you’re giving it a little spa treatment.
– Once you’ve worked your magic and loosened all that glue, you can carefully lift the back cover away. Easy peasy!
Step 3
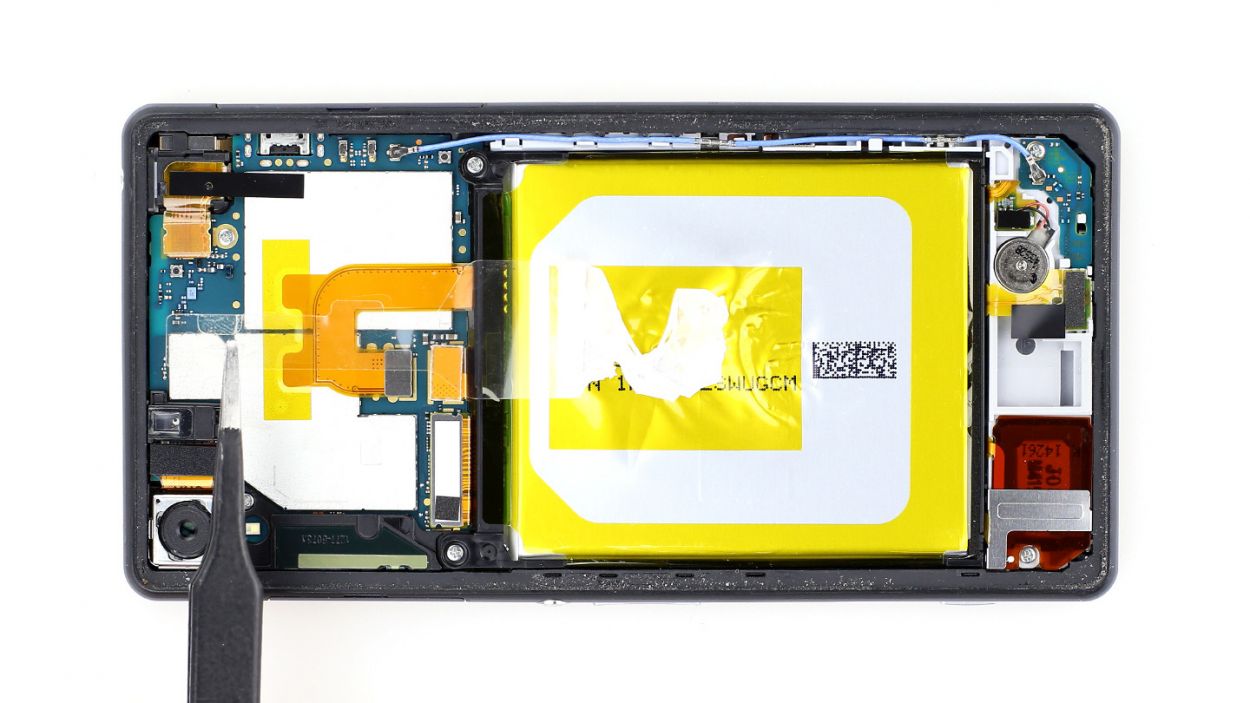


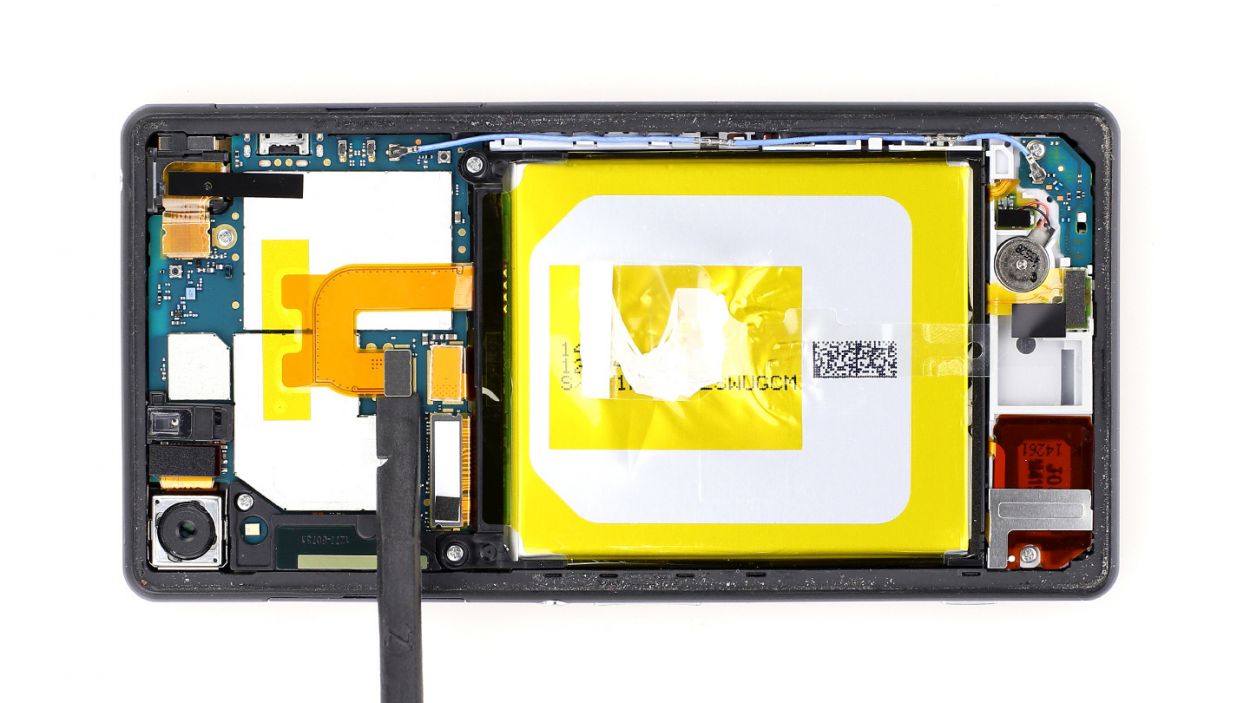
– First up, let’s peel off that clear plastic strip covering the battery connection cable. Easy peasy!
– Next, take the flat end of your spudger and gently slide it just below the contact. Give it a little lift, but be careful not to break those tiny resistors soldered onto the logic board. We want them to stay put!
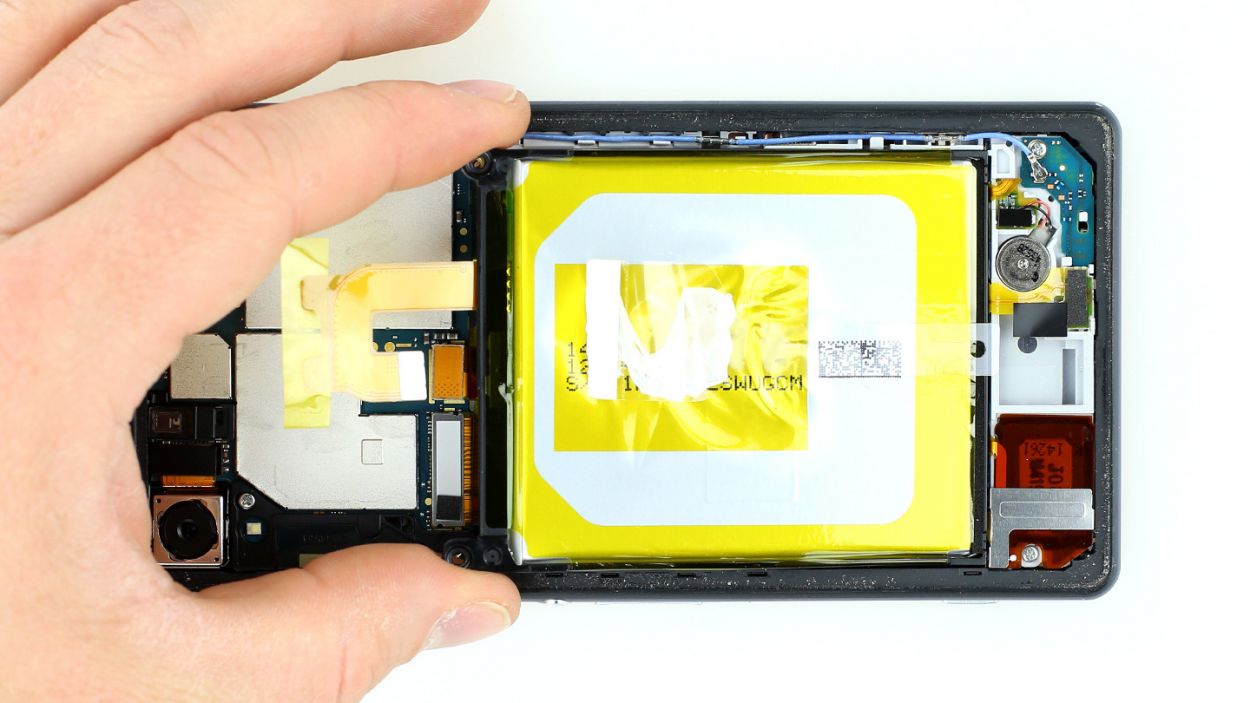
– Now, it’s time to detach the cable set from the silver plate. It’s just a little bit glued, so a gentle tug should do the trick.
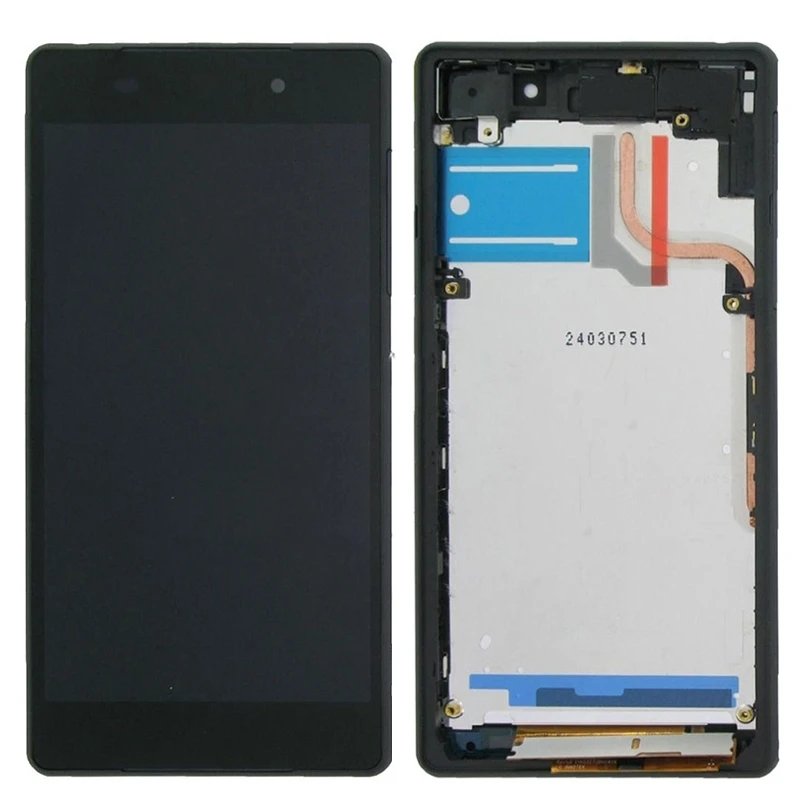
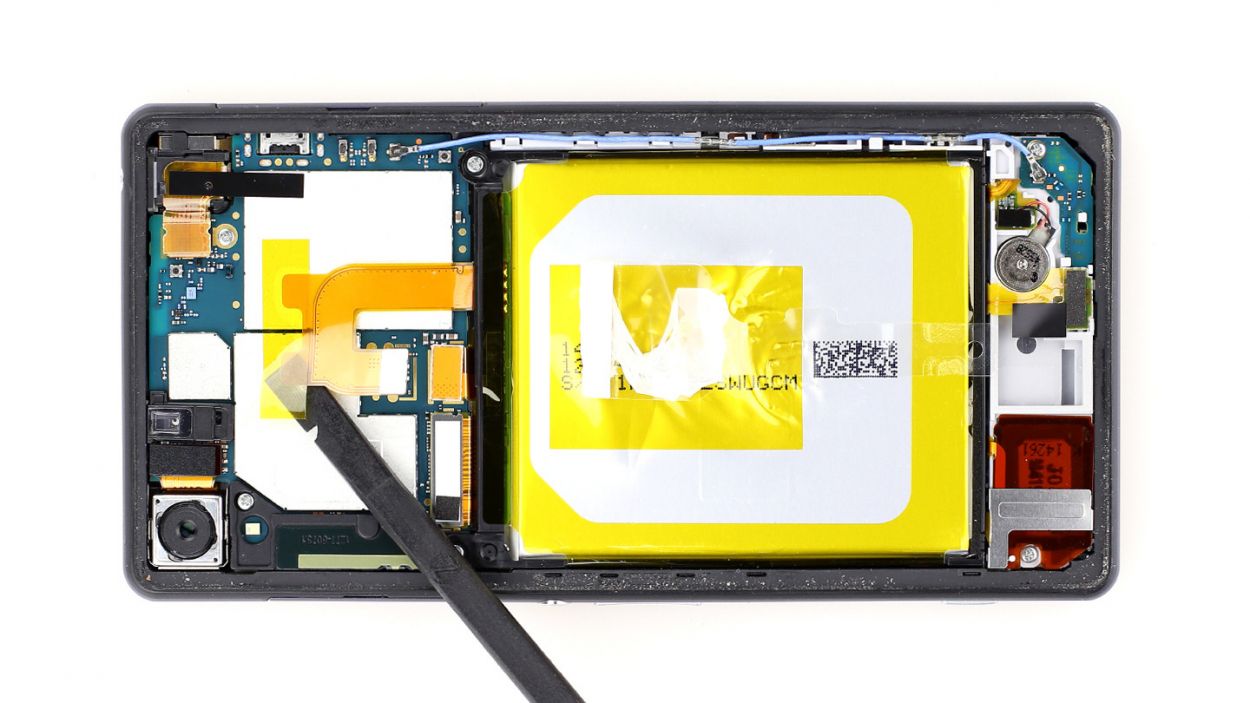
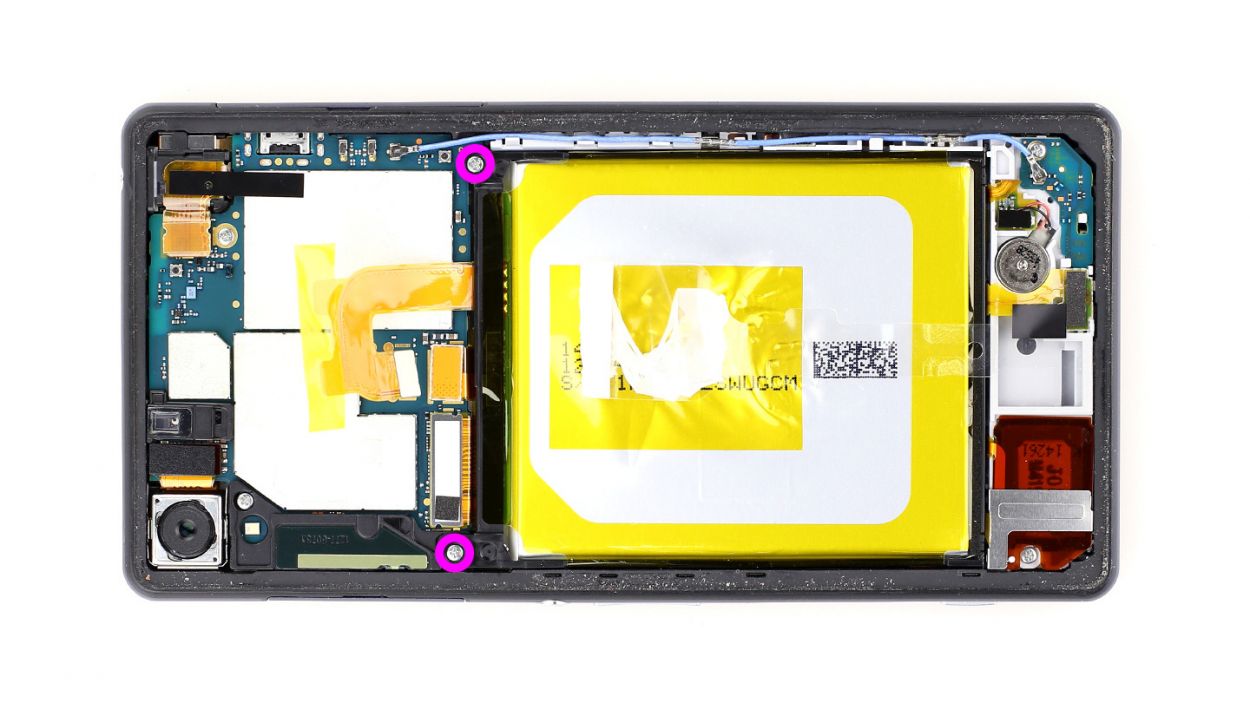
– Grab your trusty Phillips screwdriver and remove those two screws. We’re talking about 2 x 3.3 mm Phillips screws here.
– Finally, go ahead and remove the battery. You’re doing great!


Step 5
– Alright, it’s time for the grand finale—let’s get that back cover back in place!
– The old glue typically still has some stickiness left, so you’ve got this!
– Carefully pop the back cover on, give it a gentle heat hug, and then apply a bit of pressure for a moment to secure it onto your smartphone. You’re almost done!