
How to Replace Sony Xperia Z3 Back Cover – Step-by-Step Guide
Duration: 15 min.
Steps: 3 Steps
In this guide, we’ll walk you through the process of replacing the back cover of your Sony Xperia Z3 that’s seen better days. Whether it’s cracked or just looking a bit worse for wear, we’ve got you covered with clear steps to make your phone look brand new again. If you need help, you can always schedule a repair.
Step 1
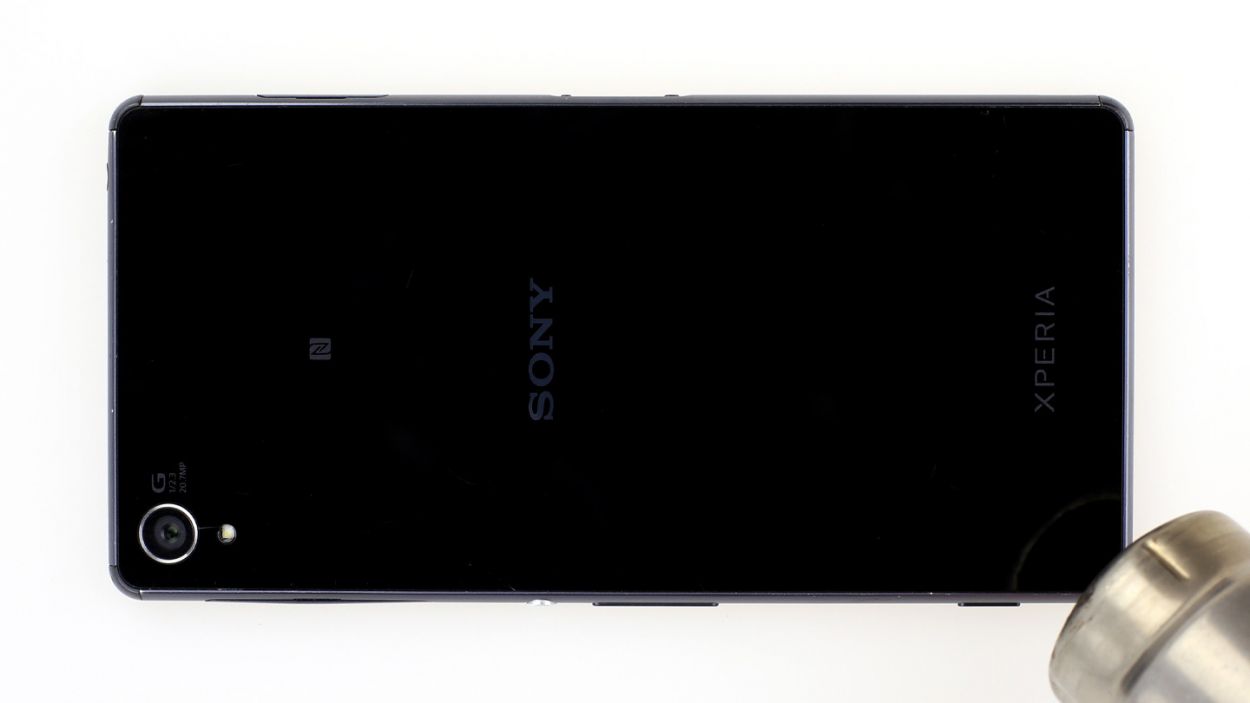
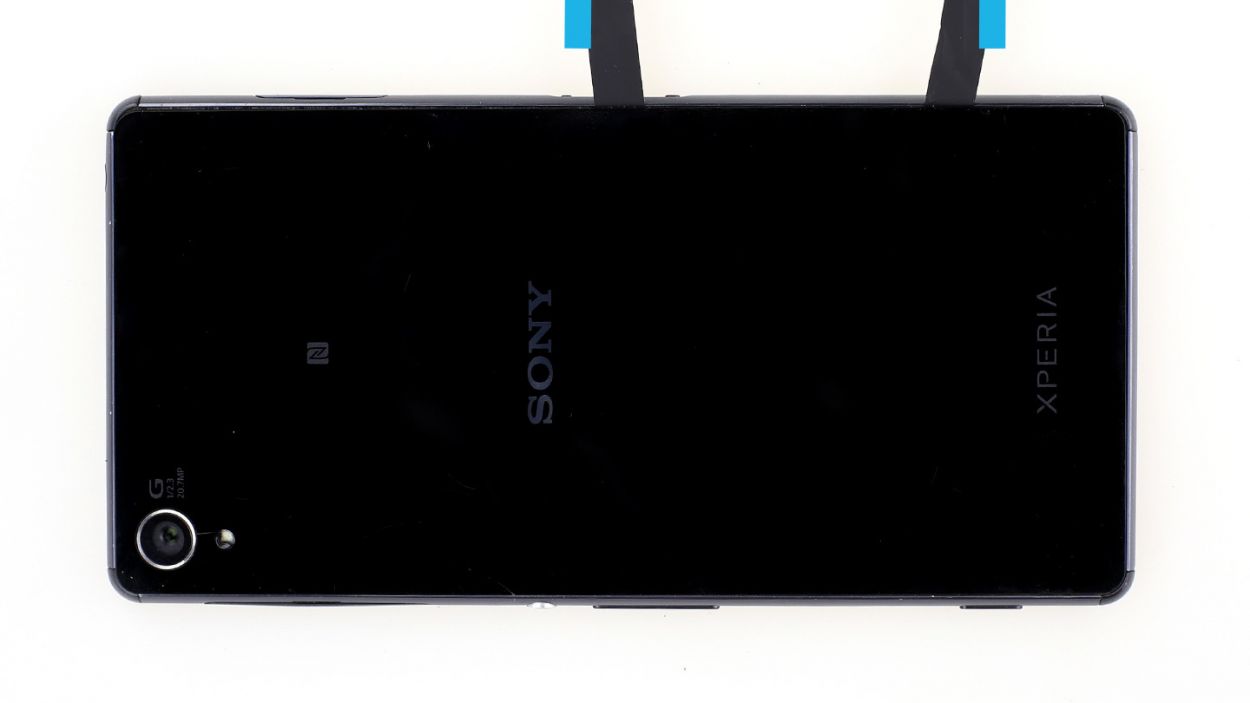
– Alright, let’s tackle that stubborn back cover of the Sony Xperia Z3! It’s glued down tight, so we’ll need to warm it up with a heat gun to get that adhesive nice and soft. Once it’s feeling cozy, grab a plastic pick and gently slide it into the tiny gap between the frame and the glass to break that bond.
– Speaking of tiny gaps, the space between the aluminum frame and the glass is pretty snug. A flat, sturdy tool will be your best friend here, so make sure you have one handy to ease it open.
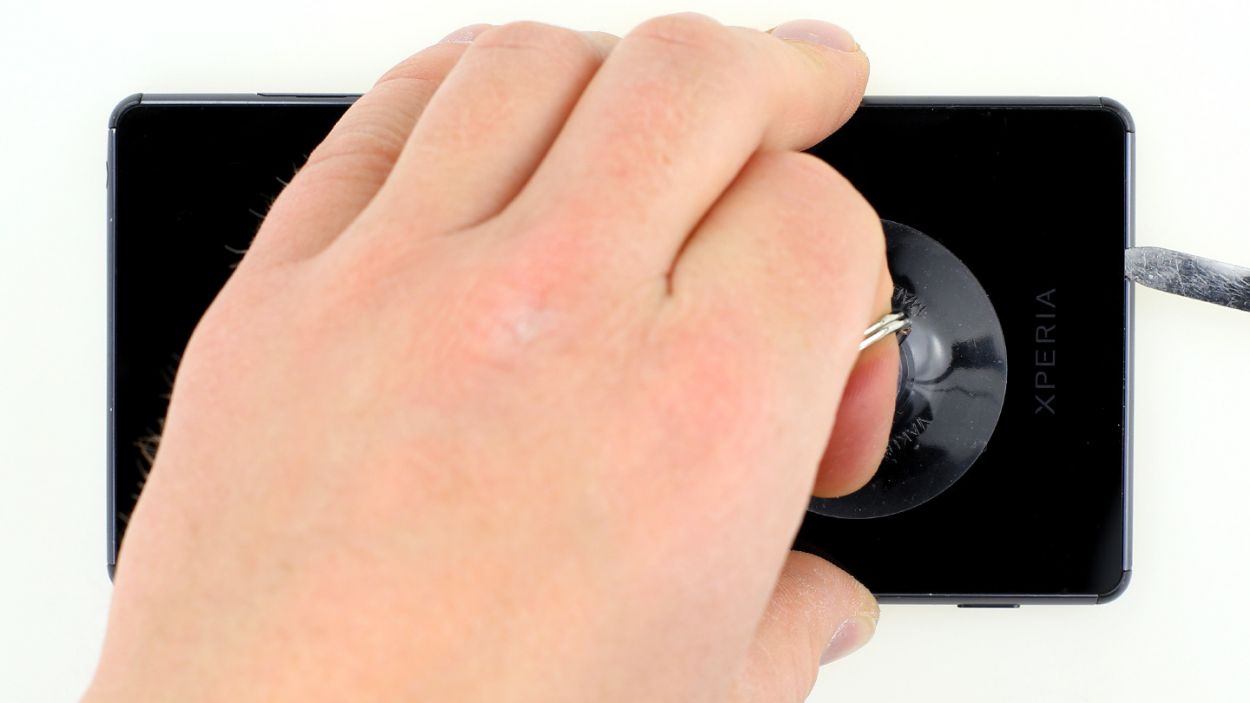
– Now, let’s lift that back cover! A suction cup will help you out here—just be gentle and steady.
– As soon as you see a little opening, use that plastic pick to keep the aluminum safe from any accidental damage. You’ve got this!
Step 2
The back cover has a little paint job on the inside. Gently remove any sticky bits left behind, and be careful not to scratch or crack anything while you’re at it!
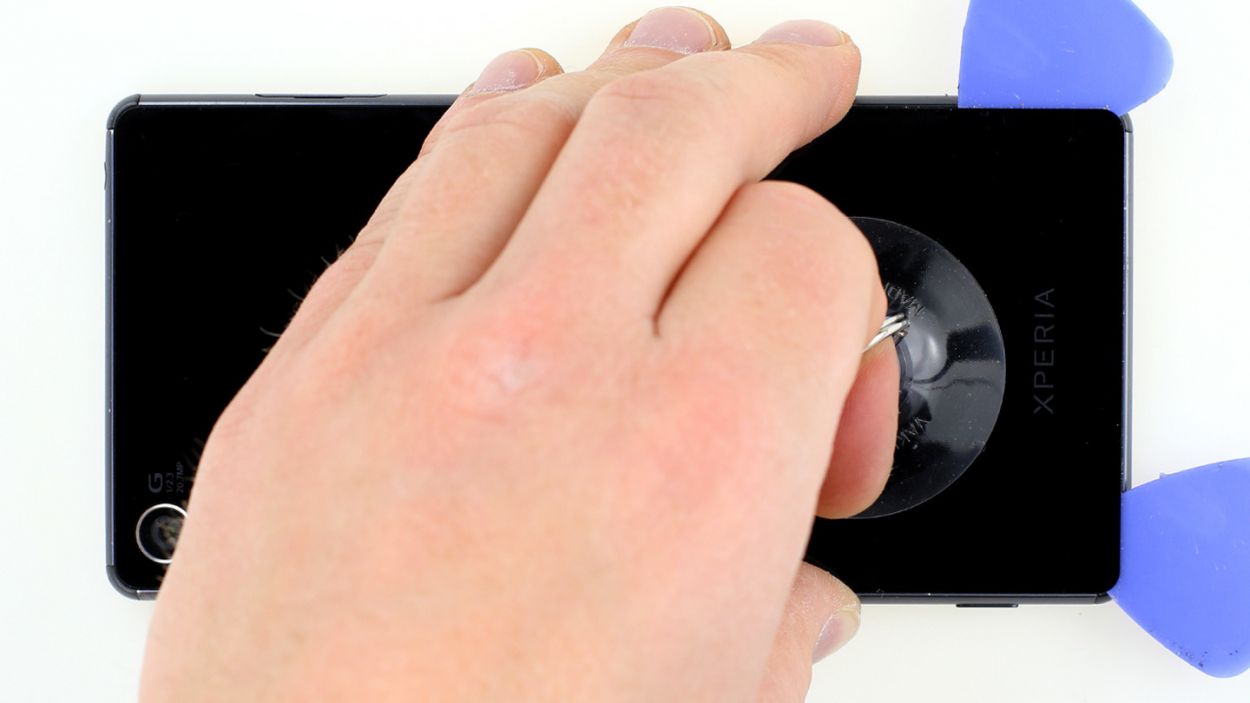
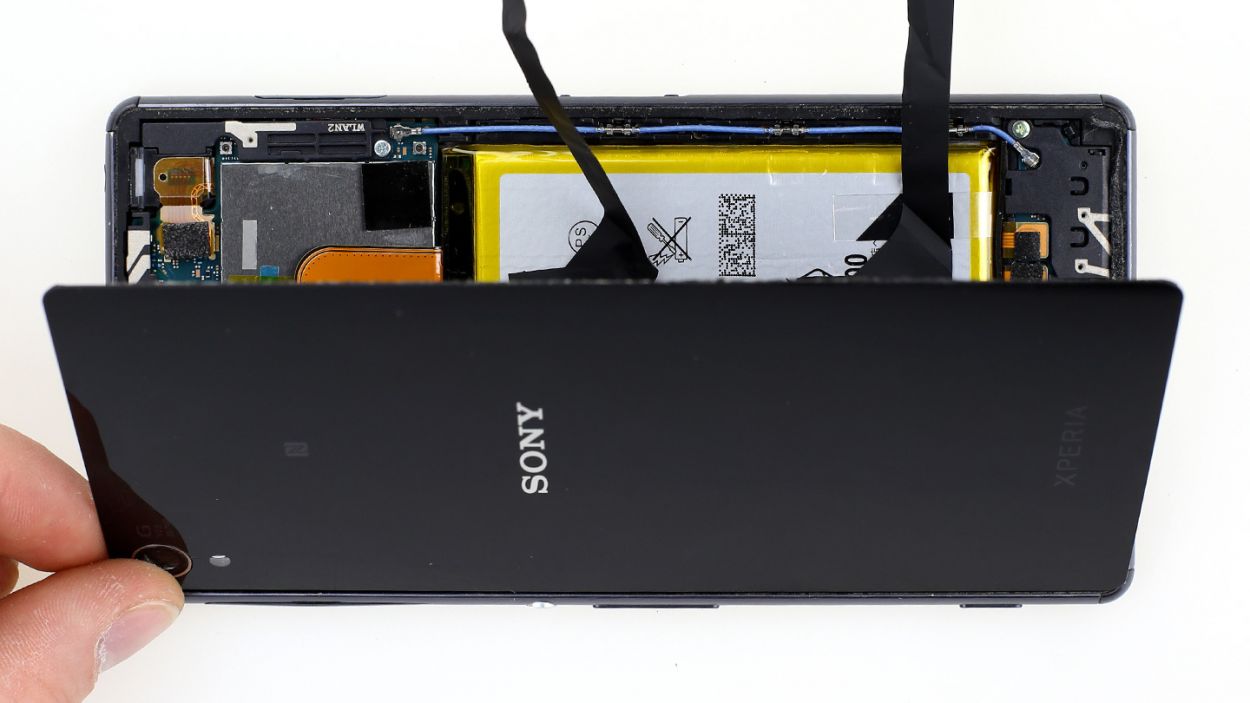
– Gently slide the pick in just a few millimeters between the back cover and the frame—this is to keep the inner workings safe and sound. Remember, the back cover has a lovely paint job on the inside, so be sure to remove any sticky residue with care to avoid any unwanted scratches or cracks.
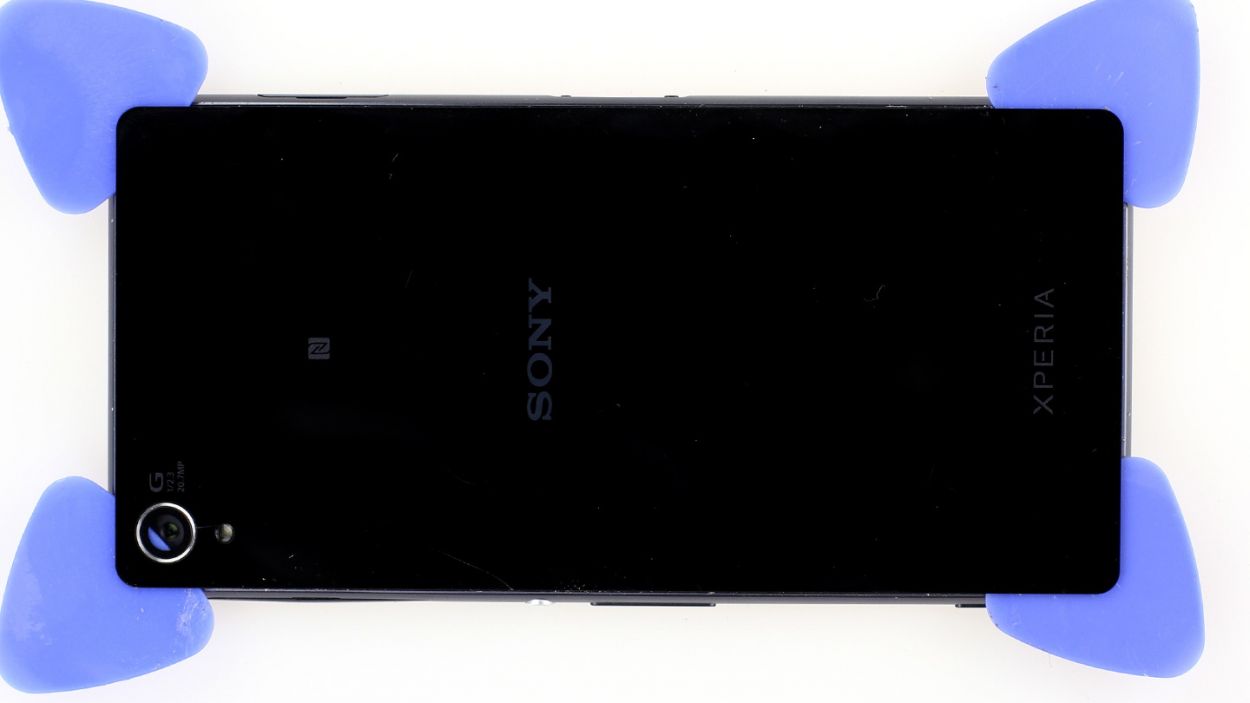
– The back cover is snugly glued around the whole outer edge of the Sony Xperia Z3. Take your pick and make a round trip all the way around the phone. Oh, and don’t forget about those two sneaky adhesive+strips+Xperia+Z3&crid=1TJIMMAJSUJUZ&sprefix=repair+tools%2Caps%2C165&linkCode=ll2&tag=salvationrepa-20&linkId=c486487cf454ce8edd6f5beefab4110f&language=en_US&ref_=as_li_ss_tl’>adhesive strips attached to the battery—they won’t budge until you lift the top first!
– Once you’ve successfully defeated all the glue, you can carefully lift off the back cover. You’re doing great!
Step 3
– Last step, time to reunite your phone with its back cover!
– That old glue? Still sticky and ready to rock!
– Pop the cover back on, give it a little heat hug, and press it firmly onto your phone for a bit. You got this!
