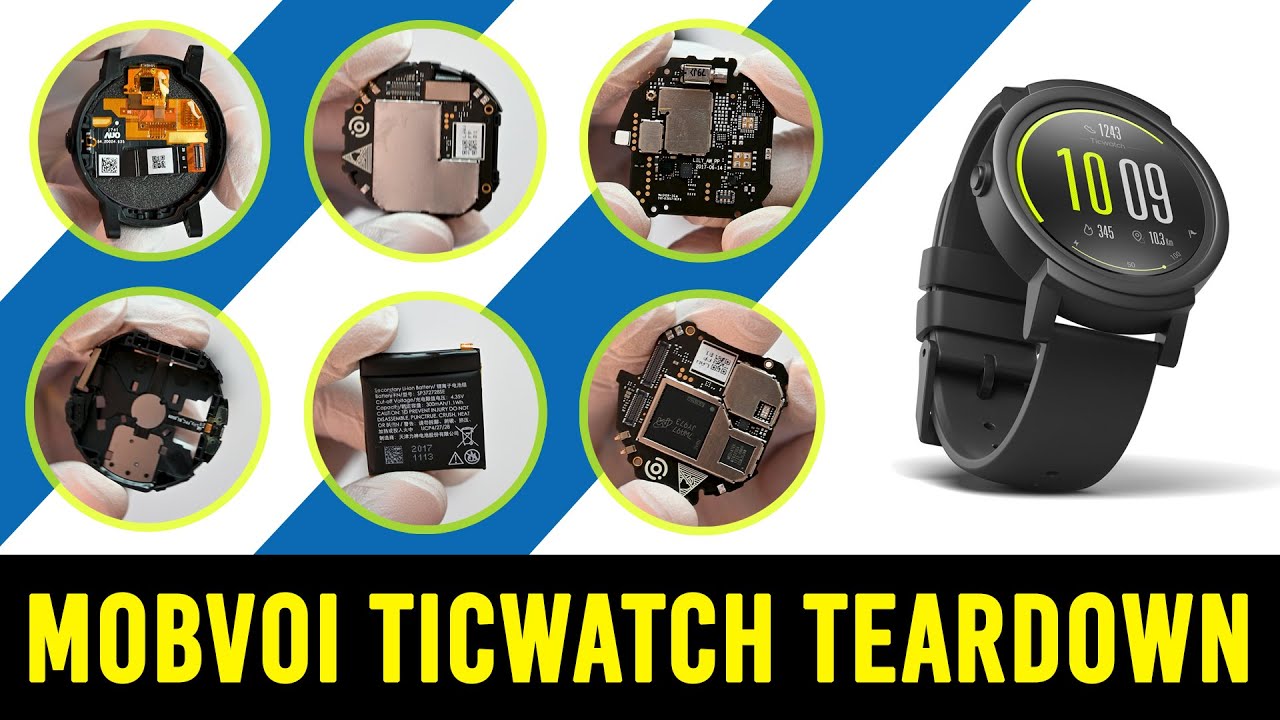
How to Replace the Motherboard in Your TicWatch E3 – DIY Guide
Duration: 45 minutes
Steps: 15 Steps
Ready to swap out the motherboard in your TicWatch E3? Follow this guide for a smooth process. Remember, you’ll need replacement adhesive for reassembly. Your device will work just fine, but it will lose its IP (Ingress Protection) rating.
Step 1


– Alright buddy, step one: If your watch is still charging, give it a break and unplug it. Then, show it some love by powering it down.
– Next, let’s take off the watch band. It’s easier than it sounds—just a quick disconnect, and you’re ready to roll!
Step 2

Time to bring the heat! You can use a hair dryer, heat gun, or even a hot plate to warm things up. Think of it like giving your device a gentle warm hug. Easy does it though, don’t go overboard with the heat!
– Warm up your trusty iOpener and give the back of the watch a cozy 5-minute hug to help loosen that stubborn adhesive hiding underneath.


Step 3


– Let’s get started! Insert an opening pick into the gap between the watch frame and the top edge of the back cover. This is where the magic begins!
– Now, gently push the opening pick to create a gap between the back cover and the watch frame. You’re making great progress!
Step 4


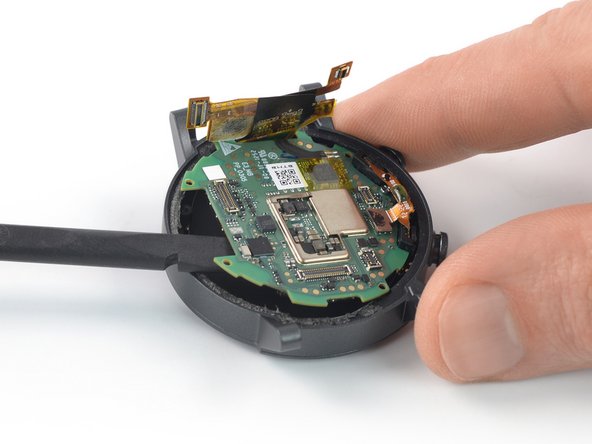
Hold up, don’t yank off that back cover just yet—it’s still tethered to the motherboard!
– Gently twist the opening pick to create a gap between the back cover assembly and the watch frame. Take your time—this part doesn’t need to be rushed.
– Once the gap is wide enough, carefully pry upwards to detach the back cover assembly from the frame. Patience is key, so go slow and steady!
Step 5


Take it easy on those sensor and battery cables—no tugging or tearing allowed!
– Gently lift the bottom edge of the back cover assembly to ensure it’s no longer stuck to the watch frame. You’ve got this!
Step 6


– Time to get started! Carefully take the back cover assembly and stand it up next to the watch housing – it’s go time!
Step 7


When snapping press connectors back into place, line it up carefully and press down on one side until you hear that satisfying click, then do the same on the other side. Avoid pressing in the middle—misaligned connectors can bend pins, and nobody wants that kind of trouble!
– Grab your trusty spudger and gently pop the battery cable connector straight up out of its socket. Easy does it—you’re doing great!
Tools Used


Step 9


– First, carefully take off the back cover assembly – it’s time to get inside and start fixing!


Step 12


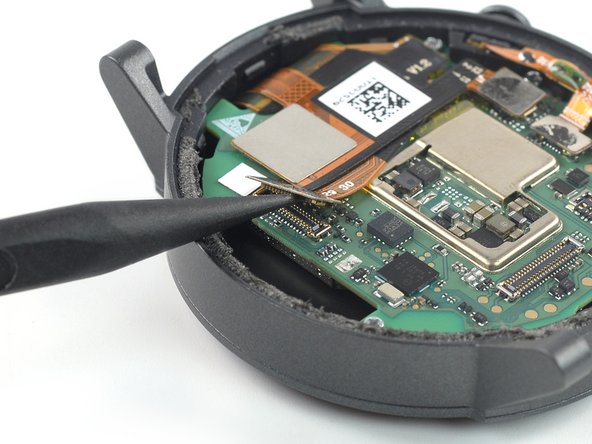
– Gently slip an opening pick under the display cable to nudge it away from the motherboard.
– Use that same trusty opening pick to prop the display cable up into a vertical position like a champ.
Step 13

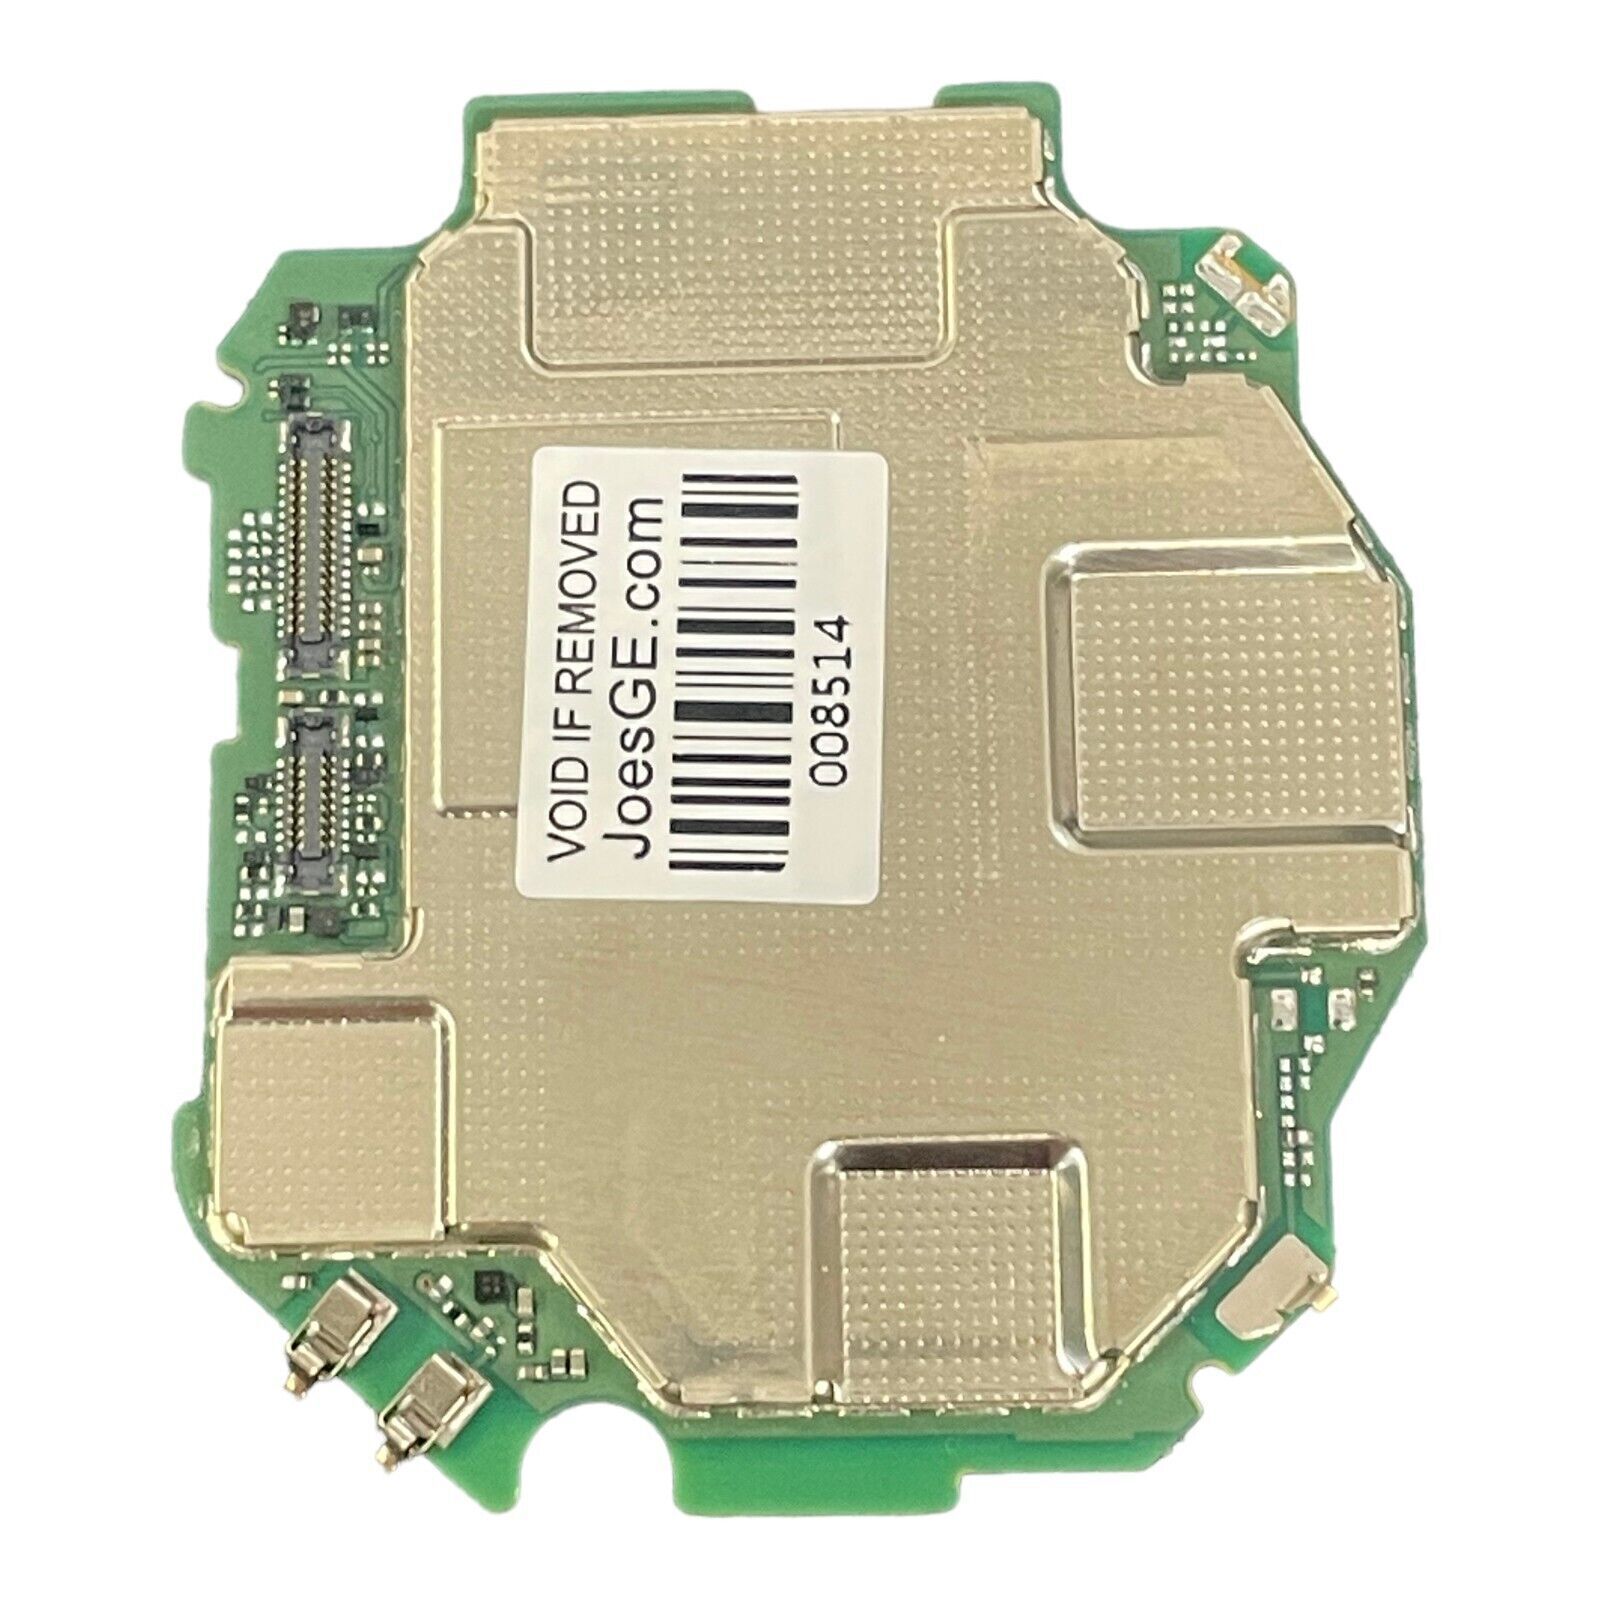
– Let’s get started! Remove the four 4.1 mm-long screws that hold the motherboard in place using a Phillips screwdriver. Easy peasy!
Step 14

– Slide a spudger under the edge of the motherboard on the side opposite the watch buttons.
– Gently nudge it upward to loosen the motherboard. Take it slow and steady!
Tools Used
Step 15


– Before you dive into installing your shiny new replacement part, give it a good once-over against the original—don’t forget to swap over any buttons or peel off those pesky adhesive backings if needed!
– When it’s time to put everything back together, just follow these steps in reverse like a pro.
– Remember to add some fresh adhesive where it’s needed after you’ve cleaned the areas with isopropyl alcohol (>90%)—a clean surface is key!
– Got some old tech laying around? Be a hero and take your e-waste to an R2 or e-Stewards certified recycler.
– If things didn’t go quite as you planned, don’t sweat it! Check out some quick troubleshooting tips, or feel free to reach out to our TicWatch E3 answers community for a helping hand.
– If you changed your mind, no worries—just hit cancel.
– You’ve got this!
Success!