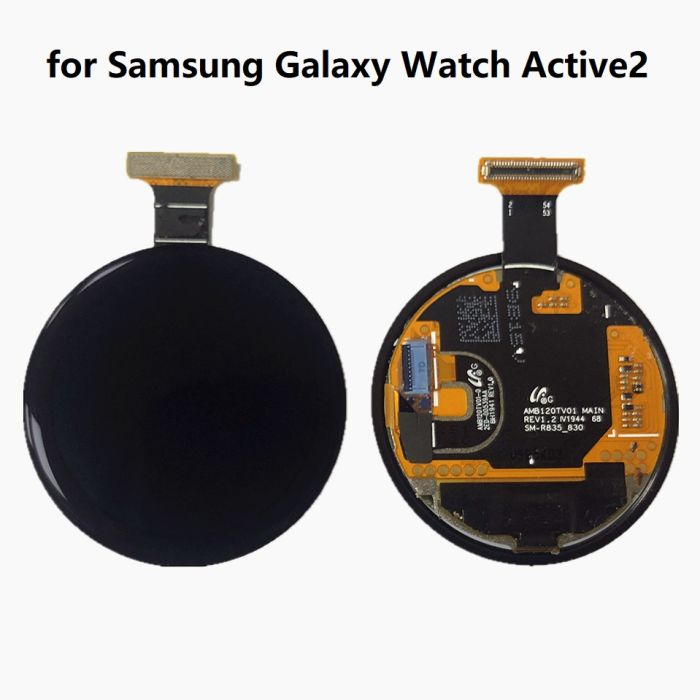
How to Replace the Samsung Galaxy Watch Active Screen: DIY Guide
Duration: 45 minutes
Steps: 15 Steps
Get ready to tackle that cracked or broken screen on your Samsung Galaxy Watch Active! Just a heads up: some replacement screens come with a shiny new frame already attached, and that’s a whole different ball game than what we’re covering here. If you’re swapping out both the screen and the frame, be sure to check out the other guide. And don’t forget, you’ll need some replacement adhesive to put everything back together nicely. Let’s get started!
Step 1


– To power down your Galaxy Watch Active, press and hold the bottom button for about 3 seconds. You’ll feel a little buzz—like a friendly nudge!
– When the “Power off” icon pops up, just tap the center of the screen to give it the final send-off. A longer vibration will confirm it’s officially off.
Step 2

– Grab your trusty Tri-point Y00 screwdriver and get ready to tackle those four 4 mm-long screws on the back of your watch. You’ve got this!
Tools Used

Step 3


Hold on there, friend! Don’t go ripping off that back cover just yet. A cable’s still tethering it to the motherboard. If you need help, you can always schedule a repair
– Grab your trusty opening tool and wedge it between the plastic back cover and the metal frame near the buttons. You’re about to make some magic happen!
– Gently push the tip of the tool into the gap and start separating that back cover from the housing. Take your time and let the cover pop free like a pro!
Step 4


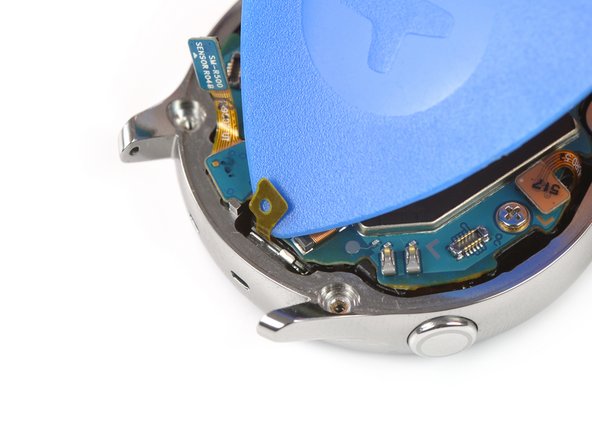
– Gently pop off the back cover and lift it about 2 cm to unveil the sensor array connector near those two handy buttons.
– Grab a spudger and carefully detach the sensor array from the motherboard. Nice and easy does it!
Tools Used


Step 7

– Time to get started! Use an opening pick to carefully pry back the thin tape that’s holding the microphone array in place.
– When it’s time to put everything back together, make sure to securely attach this tape to the motherboard by gently pressing it down with the flat end of a spudger.
Tools Used
Step 8


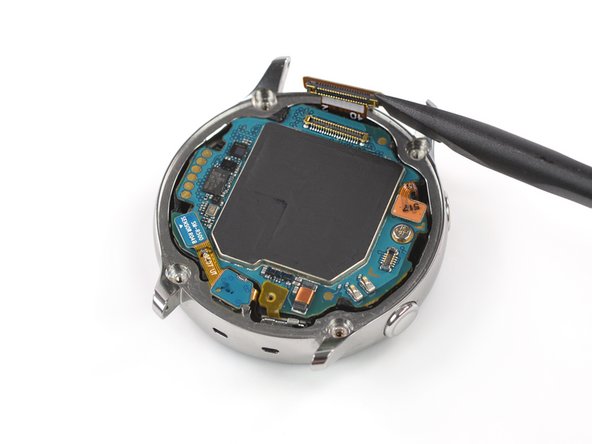
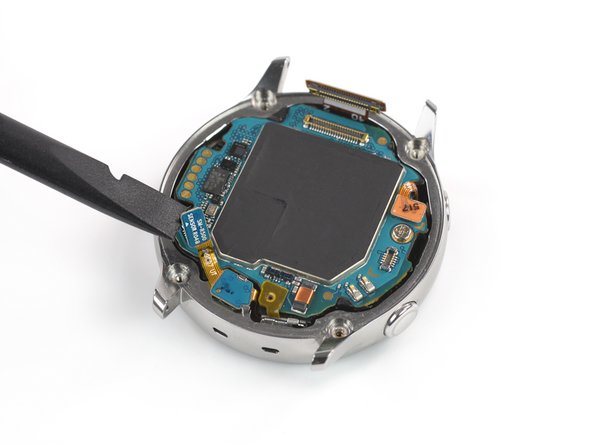
– Slide an opening pick into the bottom right corner between the motherboard and the frame to gently lift the core assembly up.
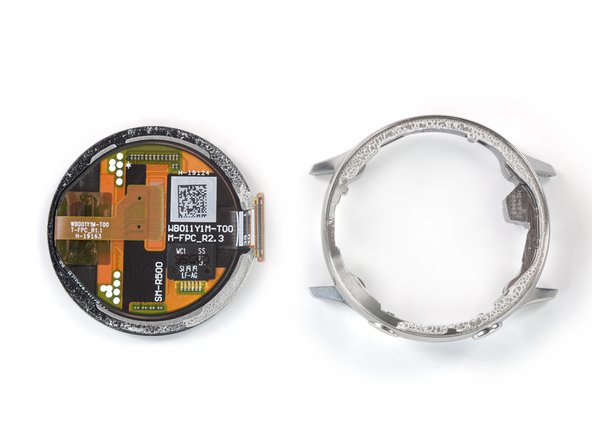
Step 9


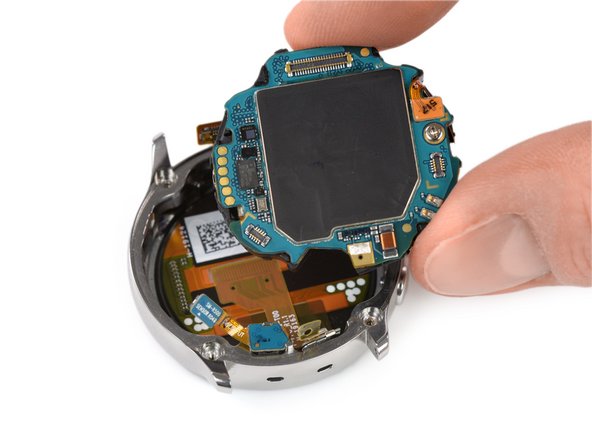
– Gently lift up and slide out the core assembly. Easy does it!


Step 12

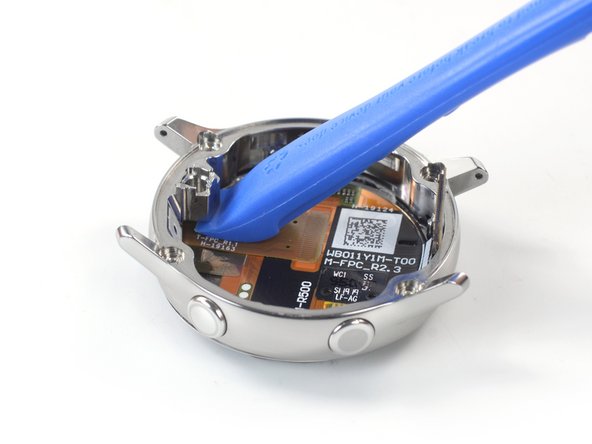
– Gently lift out the microphone and barometric sensor array from the frame, taking care to keep everything safe and sound.


Step 14

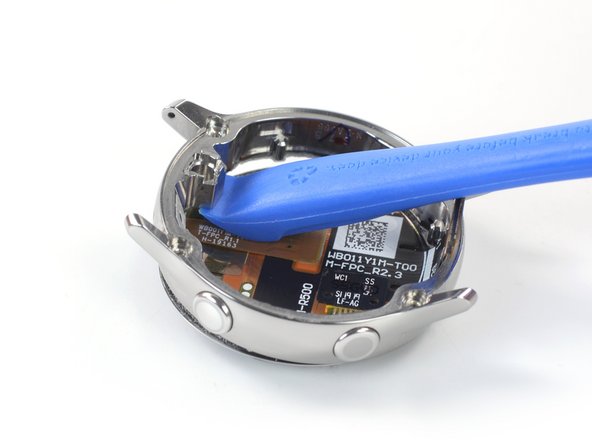
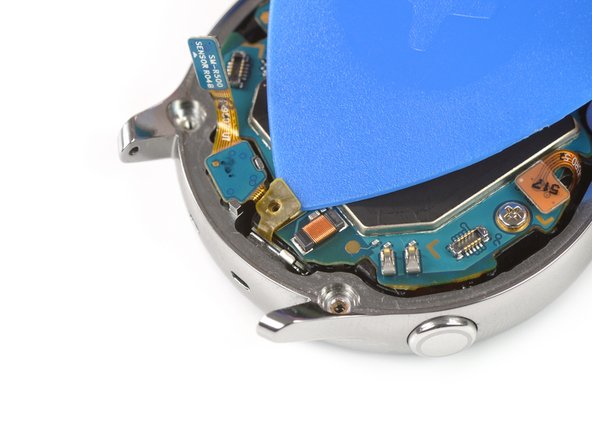
– Slide your opening tool under the frame right where the sensor array used to chill.
– Gently lift it up to pop the screen off the frame. You’ve got this!
Step 15


– Take a moment to compare your new part with the old one. Make sure you’ve transferred over any leftover bits or peeled off adhesive backing before popping it in place.
– Putting your device back together? Just follow the steps in reverse, and you’re on your way to success!
– Don’t forget to recycle your old parts responsibly—drop them off at an R2 or e-Stewards certified recycler.
– Did things not go as planned? No worries! Try a little troubleshooting, or reach out to our Answers community for advice.
– Not feeling it? That’s okay—just mark the guide as not completed if you’re stepping away.
– If things still feel off, remember you can always schedule a repair and let us help you out!
Success!