How to Replace the Touchscreen on Acer Iconia Tab A3 – DIY Guide
Duration: 45 minutes
Steps: 29 Steps
Finding a digitizer is a breeze! You can snag one for around 60 bucks or 50 euros on eBay or from other electronic part sellers. No tricky connectors to deal with here! Just a heads up, the process might take about 2 hours since removing that stubborn glued touchscreen can be a bit of a task. But don’t worry, you’ve got this! And if you ever feel stuck, you can always schedule a repair.
Step 1
– Pop off the back cover by sliding a plastic opening tool near the microSD connector—easy does it!
– Keep going around the edges, working counter-clockwise to gently unclip the back cover. You’re doing great!
Step 2
– Keep spinning around.
– And voila, you’re all set!!
Step 3
– Peel off the yellow tape.
– Unhook both wifi antenna connectors (the green and black wires).
Step 6
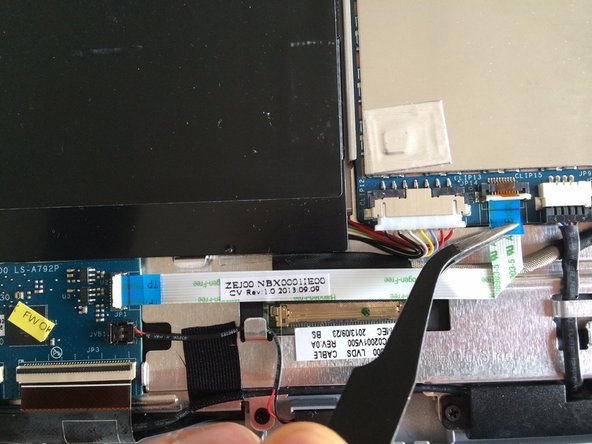
For the A3-A11 (3G) model, the cellular board is snugly positioned just above the flex cable, firmly attached to the metal plate. (Take a peek and you’ll spot the empty connector space waiting on the logic board!)
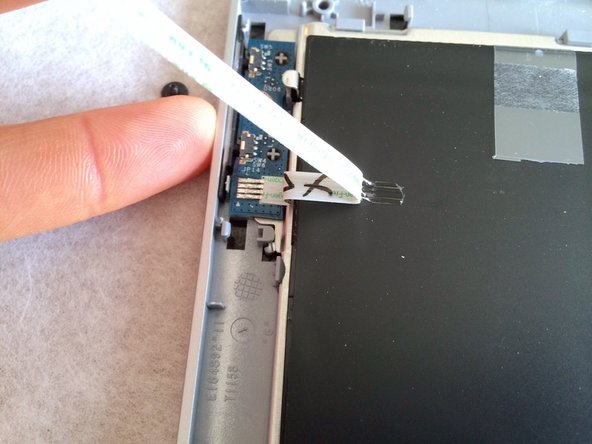
– Carefully lift the flex cable to free it from the metal plate and the battery pack.
– Next, take out the volume buttons circuit board.
Step 9
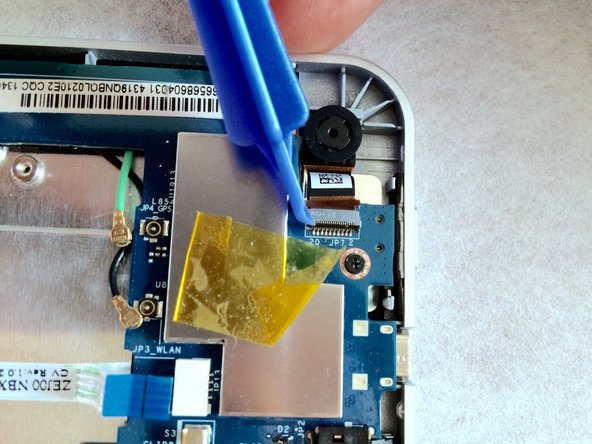
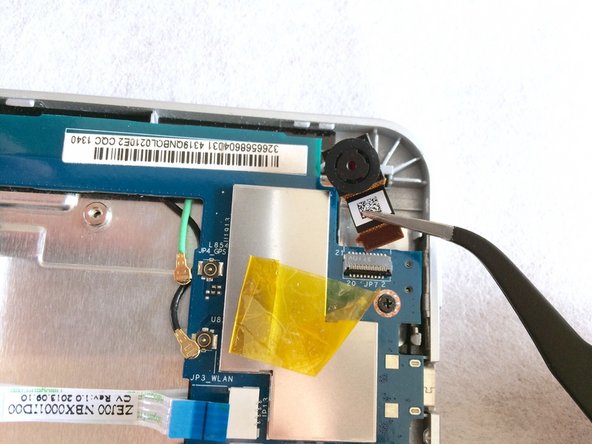
Gently disconnect the camera from its connector by pulling it away with care.
– Lift up the black bar to pop open the camera connector—it’s like a tiny door to your phone’s inner world!
Step 11
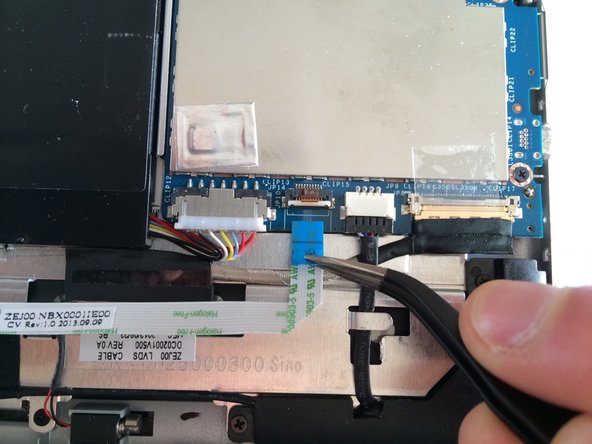
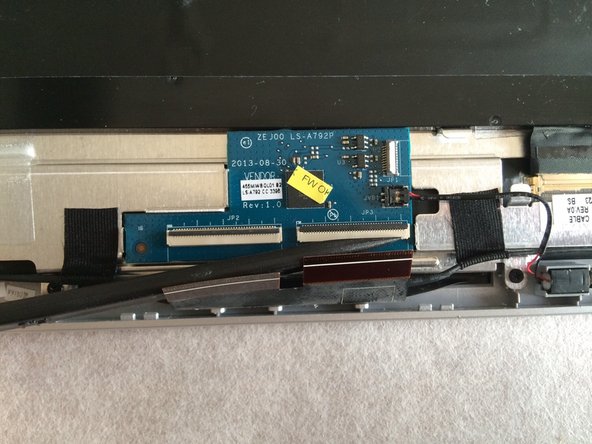
– Let’s get started by unlocking both touchscreen connectors – simply pull up on the grey bars to release them.
– Next, gently pull out the two flex cables to move forward with the repair.
Step 12
– Gently peel away the crystal tape from each side of the connector. You’ve got this!
Tools Used
Step 13
Watch your step!
Let’s get started:
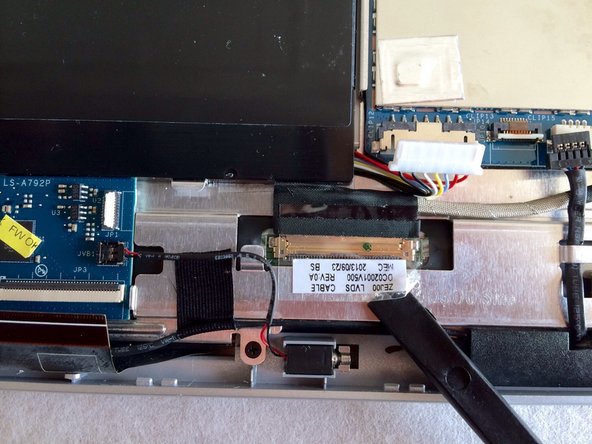
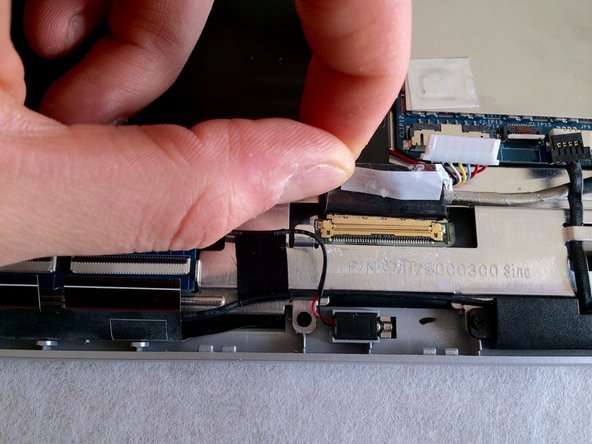
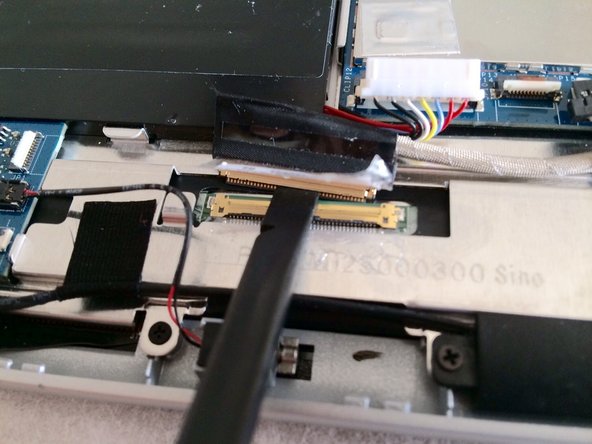
– Start by gently disconnecting the display cable.
– Carefully pull out the cable connector by gripping the black taped section.
– Use a spudger to push the cable connector at both ends or employ a larger flat tool on the gold part.
– Try both methods at once for a smooth extraction!
Tools Used
Step 14
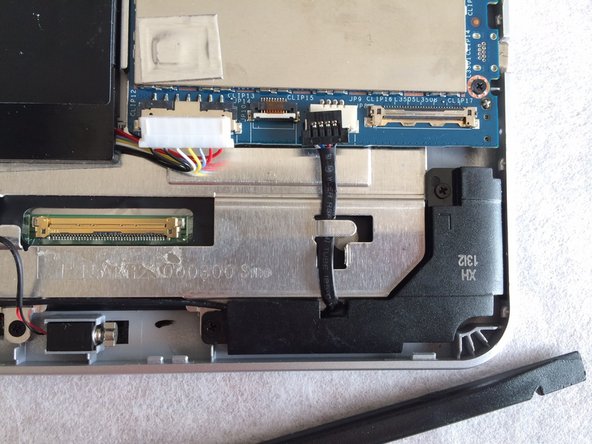
– Gently pop out the vibrator—it’s ready to break free!
Step 15
– Take out the four Phillips screws holding the two speakers in place. It’s like unscrewing the door to a whole new audio adventure!
Step 16
– Gently peel off those two sticky tape pieces holding the speaker cable—like you’re unwrapping a gift!
– Carefully lift out the speakers and the cable. Nice and easy!
Step 18
Easy does it! If things aren’t clicking, you might just need to adjust your angle a bit.
It should come apart without a hitch!
– Use a spudger to carefully disconnect the front-facing camera.
– Gently slide a flat spudger between the motherboard and the camera flex cable.
– Now, give that spudger a little twist—rotate it 90° to separate the connection.
Tools Used
Step 19
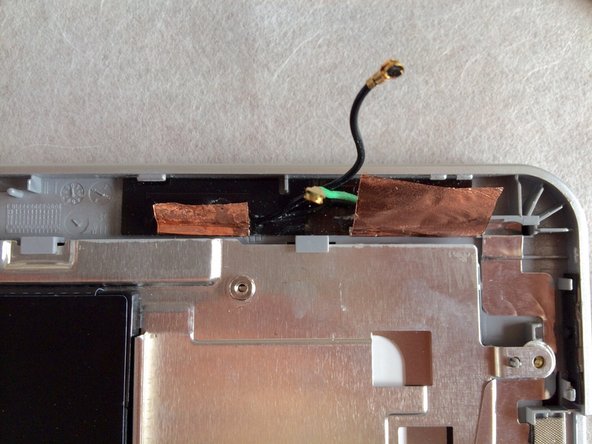
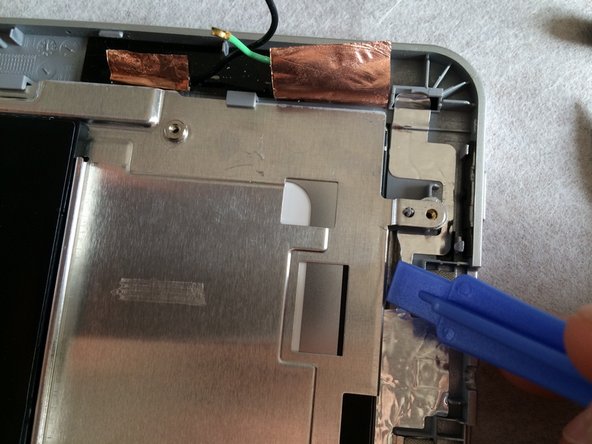
Be gentle when peeling copper tapes off the metal plate. Too much force might rip the copper.
– Gently remove the copper tape from the metal plate, like peeling a sticker off a prize!
Step 20
Take it easy while peeling off the aluminum tape from the metal plate. Using too much force might tear the tape. Stay cool!
– Carefully peel off the aluminum tape that’s making contact with the ground.
Step 21
– Remove the last two Phillips screws that are holding the metal plate in place, you’re getting closer to fixing your device!
Step 22
The underside of the board is smooth as butter—no components sticking out here!
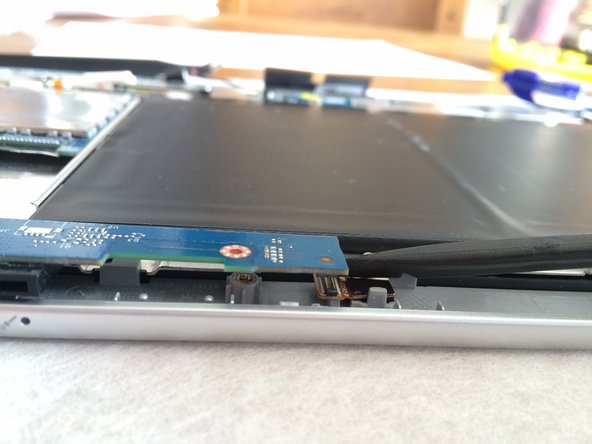
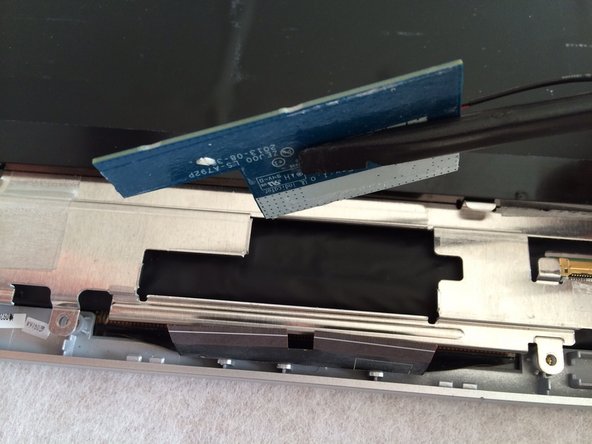
– Gently detach the touchscreen circuit board from the adhesive holding it to the display below—it’s like peeling a sticker, but cooler.
– Slide in a trusty spudger and unstick the back of the circuit with care. You’ve got this!
Tools Used
Step 23
3 steps to pop off the metal plate and access the battery pack:
– Yellow arrows: Two tiny clips are the last things holding the metal plate in place (all the screws should’ve been taken out already).
– Blue arrows: Gently lift the metal plate until the pins pop free (look for those blue circles).
– Orange arrows: Pull the metal plate towards you to disengage it from the top cleats.
Step 25
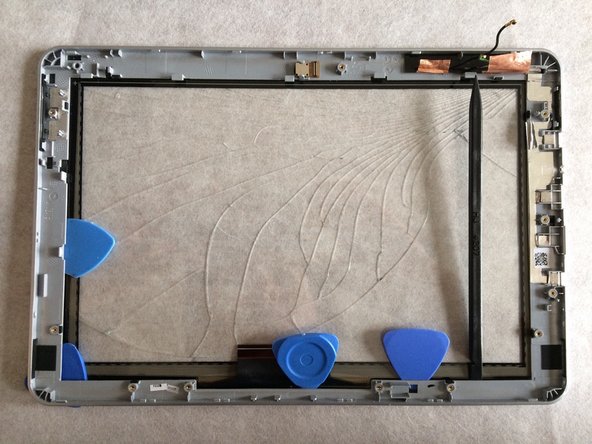
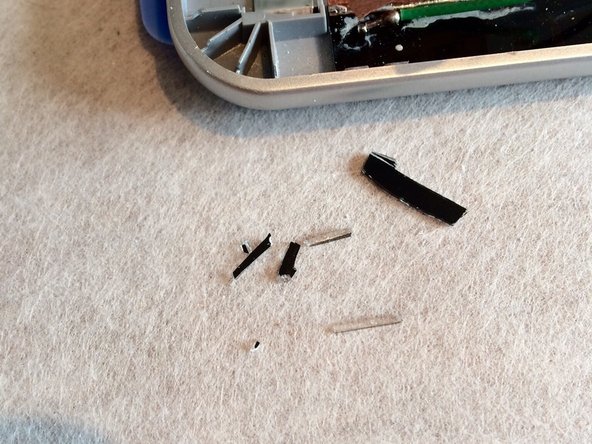
Be extra careful here – the touchscreen can shatter into tiny pieces when prying it up.
The touchscreen is firmly secured to the frame with some serious foamed double-sided tape action.
– Alright, let’s dive into the fun part!
– Warm up the taped area with a hairdryer to make it less sticky.
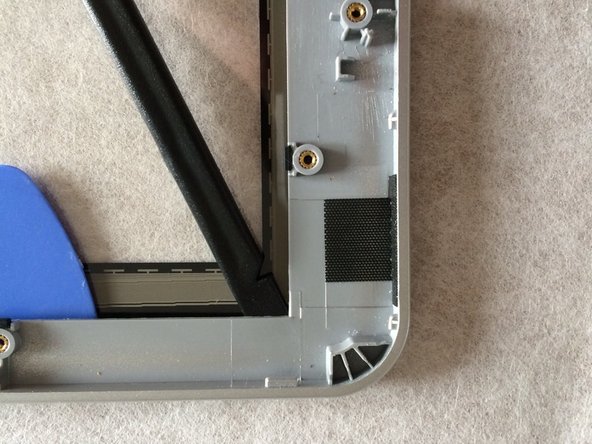
– Once softened, use plastic opening tools to carefully separate the frame and touchscreen.
Step 26
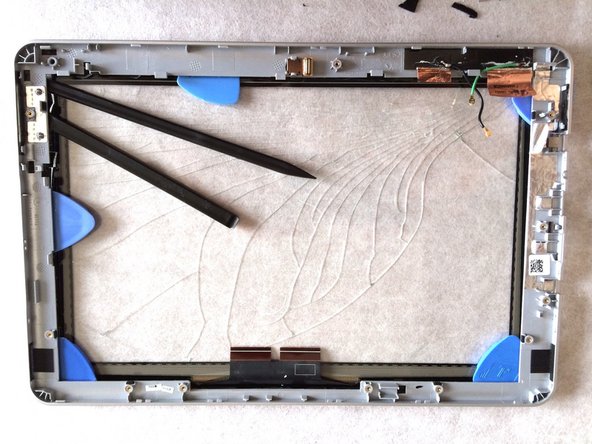
Handle with care! The touchscreen can shatter into tiny pieces if you’re not gentle.
– Gently slide in those trusty plastic opening tools and give them a little twist to help separate the frame from the touchscreen. You’ve got this!
Step 27
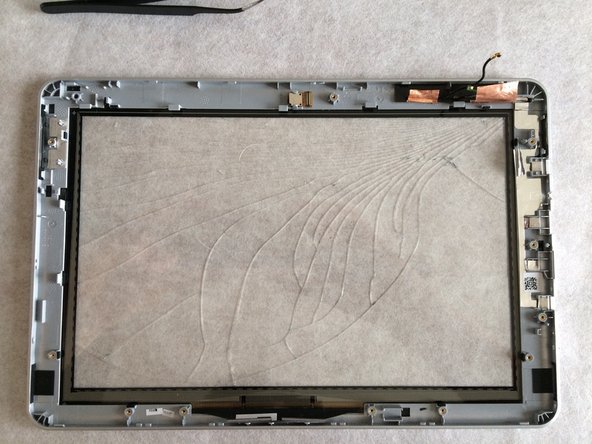
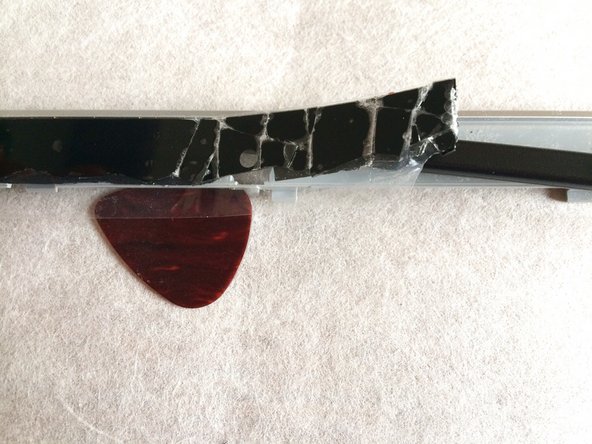
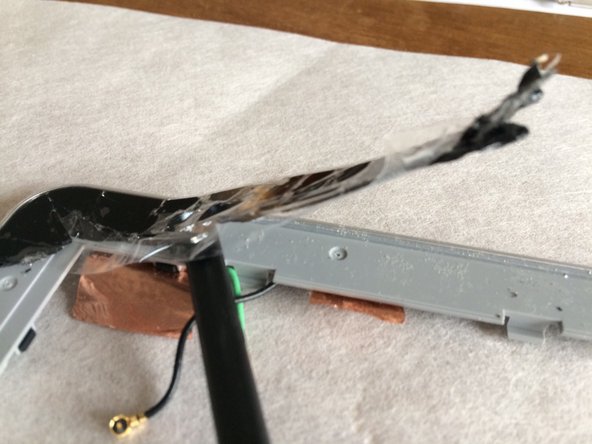
Since your touchscreen is likely shattered into a bunch of little pieces, grab some crystal tape and stick it on the remaining fragments. Let’s keep things together while we work on this!
– This will help avoid breaking into a bunch of tiny pieces. Plus, it’s a win for your eyes!
Tools Used
Step 28
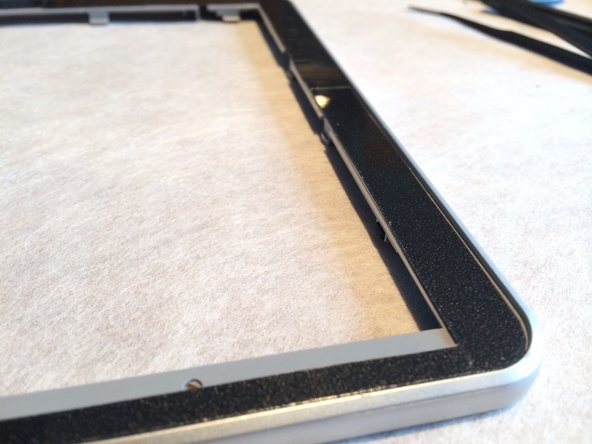
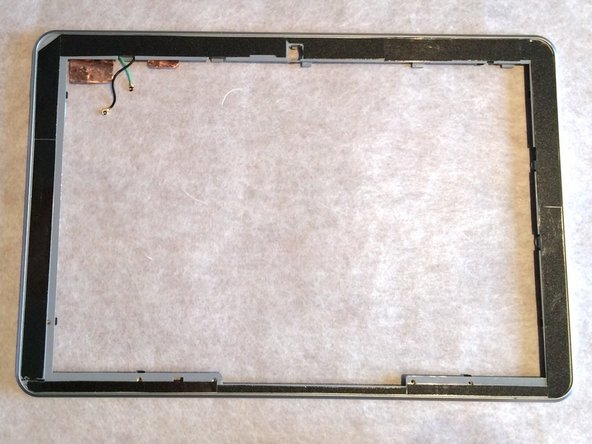
Trim it down to the perfect size so there’s no pesky leftover space for dirt to sneak in!
– Get rid of any leftover tape marks before slapping on the new tape. Trust me, it’ll stick way better!
– I went with standard foamed double-sided tape—it works like a charm!
Success!


