How to Replace TicWatch E3 Battery: Step-by-Step Guide
Duration: 45 minutes
Steps: 13 Steps
Before you start taking things apart, make sure your watch’s battery is below 25% to avoid any unexpected sparks or shocks. Safety first, right?
Ready to swap out your TicWatch E3 battery? First things first, for safety, discharge the battery below 25% before getting started. This lowers the fire risk if the battery gets damaged during the repair. If the battery is swollen, be cautious. You’ll need replacement adhesive for reassembly. Your watch will work just fine after, but it will lose its IP (Ingress Protection) rating. If you need help, you can always schedule a repair.
Step 1


– First things first, let’s give your watch a little break! Take it off the charger and power it down so it’s ready for some TLC.
– Next up, it’s time to say goodbye to the watch band. Remove it with care!
Step 2

You can also use a hair dryer, heat gun, or hot plate, but be careful not to turn your device into a crispy critter!
– Grab your trusty heated iOpener and apply it to the rear side of the watch for about 5 minutes. This will help soften the adhesive underneath, making it easier to work with.


Step 3


– Slip an opening pick into the little groove between the watch’s frame and the top edge of the back cover.
– Gently nudge the pick to pop open a small gap between the back cover and the watch frame.
Step 4


Hold your horses! Don’t go yanking off that back cover just yet—it’s still hanging out with the motherboard.
– Give that opening pick a little twist to create some space between the back cover assembly and the watch frame. You’ve got this!
– Now, gently pry upward to help loosen that back cover assembly. Keep it steady!
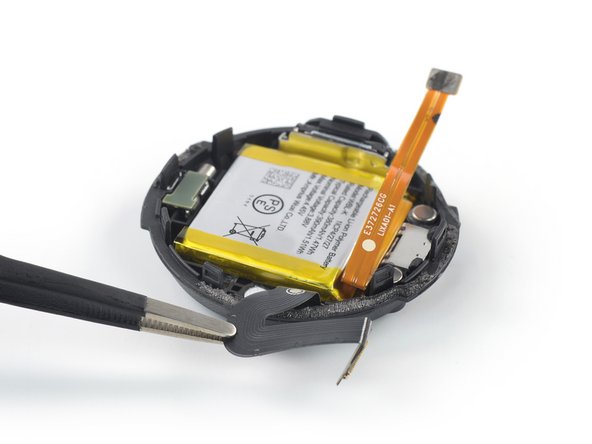
Step 5


Be gentle with those sensor and battery cables! No yanking or pulling – treat them with care to avoid any damage.
– Gently lift the bottom edge of the back cover assembly to ensure it’s no longer stuck to the watch frame. You’ve got this!
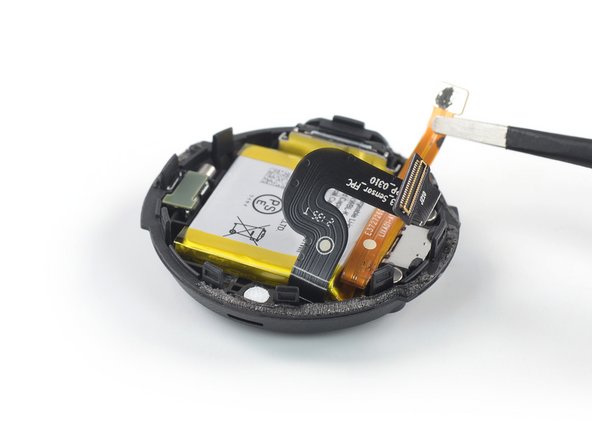
Step 6


– Time to get started! Carefully pick up the back cover assembly and gently stand it up next to the watch housing, making sure everything is lined up and ready to go.
Step 7


To reconnect those connectors like a pro, start by carefully lining them up. Press down on one side until you hear that satisfying click, then do the same on the other side. Remember, no pressing in the middle! If things get a bit off-kilter, those little pins can bend, and we definitely don’t want that. Stay cool and take your time!
– Grab your spudger and gently pop the battery cable connector straight up from its socket. Just like that, nice and easy!
Tools Used


Step 10

You can use a hair dryer, heat gun, or hot plate to warm things up, but remember to keep it cool and don’t overheat your device. It’s all about that perfect balance!
– Warm up your trusty iOpener and give the back cover a cozy 2-minute hug to help loosen that stubborn adhesive holding the battery in place.
Step 11

Handle the cables gently and avoid any sharp bends to keep them in top shape!
– Gently guide the battery and sensor assembly cables into their new homes by folding the battery cable to the left and the sensor cable to the right side of the back cover assembly. You’ve got this!


Step 13

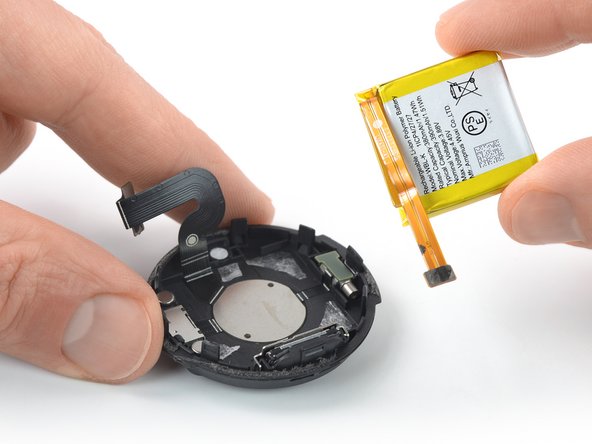
Hey, heads-up: putting back a bent or wonky battery is a no-go—it’s a safety risk waiting to happen!
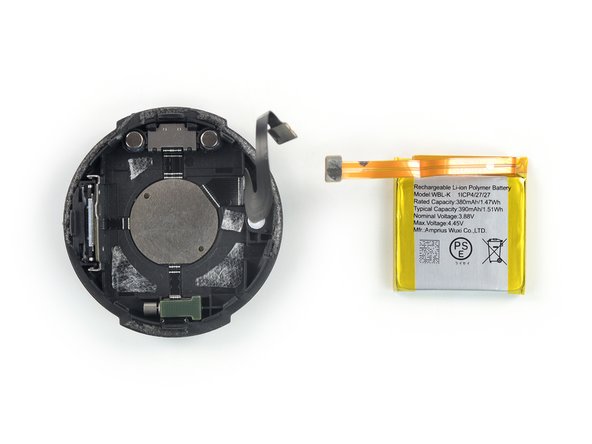
– Pop that battery out—it’s time for a change!
– Stick the new battery in place using some pre-cut adhesive or double-sided tape. To get it just right, lay the new adhesive inside the device where the old adhesive used to be—don’t stick it directly on the battery. Once lined up, give the new battery a firm press to settle it in.
Success!