How to Replace Xbox 360 Optical Drive Belt: DIY Guide
Duration: 45 minutes
Steps: 12 Steps
Get ready to breathe new life into your trusty Xbox 360! Over time, the disc tray can stop working properly, leaving you unable to play your favorite games. This step-by-step guide will walk you through the process of carefully disassembling your Xbox 360 and replacing the drive belt inside the optical drive. Remember to handle your tools with care to avoid scratching or damaging your console. Before you start, make sure to fully disconnect your Xbox 360. For some extra tips on using your screwdriver, check out our Screwdriver Best Practices. If you’re not feeling confident, don’t worry – we’ve got you covered. Just take your time and follow along. And if you need help, you can always schedule a repair.
Step 1


– Alright, let’s get that hard drive out! Gently remove it, and we’ll be on our way to a fresh start.


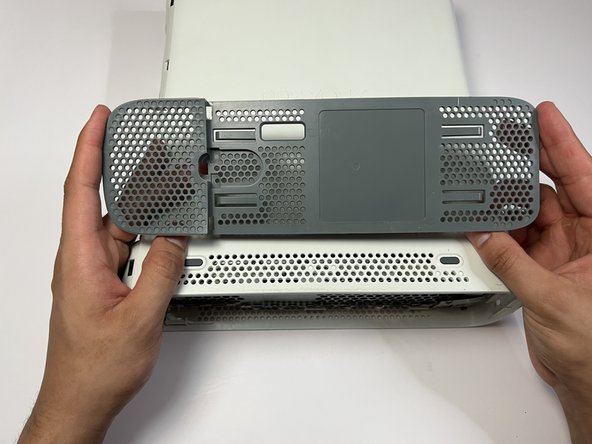
Step 3
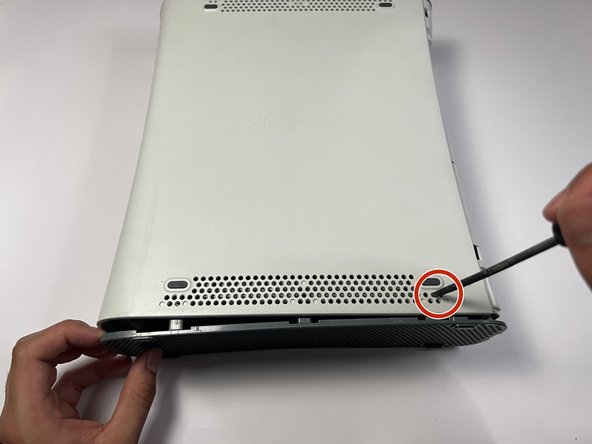
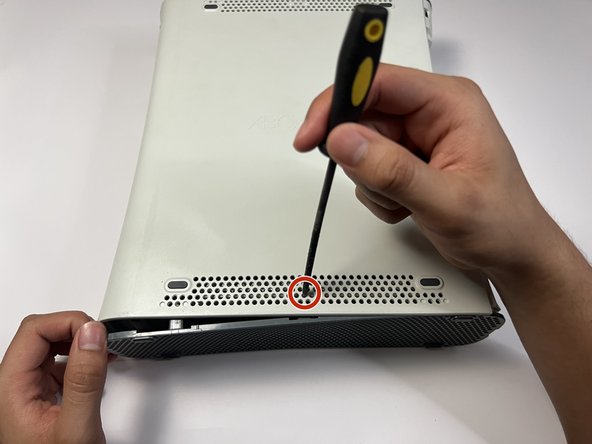

– Give those three holes a gentle press to pop the clips holding the base plate in place.
– Carefully lift off the base plate.
– Now, let’s do the same on the other side!
Step 4

– Now it’s time to get that top plate off the Xbox – just like you did before, repeat the step to remove it.
Step 5


Those plastic clips can be a little delicate, so handle them with love! 💖
– Carefully pop off all four clips at the front of the Xbox. You’ve got this!
Step 6


– Take your flathead screwdriver and give those indents a gentle nudge.
– Pop off the Xbox top casing like a pro.
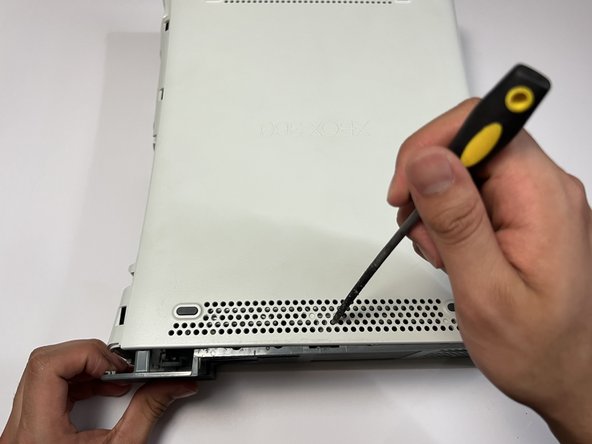
Step 7
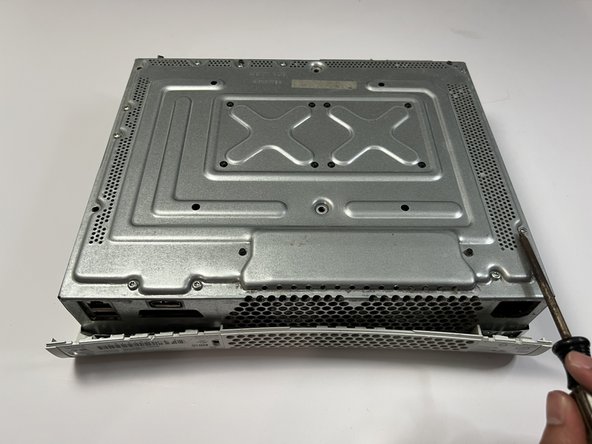

– Alright, grab that trusty T3 Torx screwdriver and give those six screws a little spin-off party. Time to get this thing open!
Tools Used

Step 8
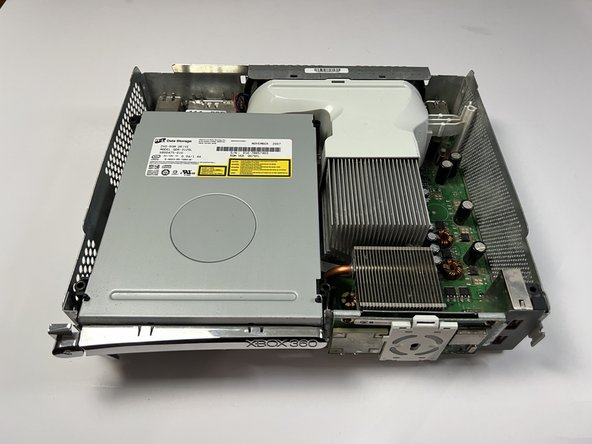


– Alright, let’s turn the Xbox over to its other side — gentle now!
– Next up, go ahead and lift that casing off the Xbox like you’re unveiling a shiny new toy.
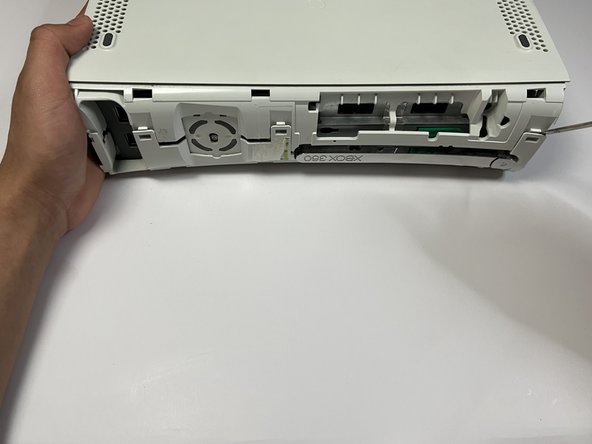
Step 9
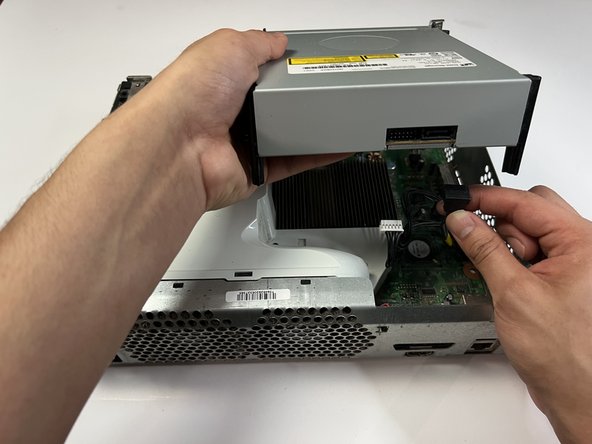

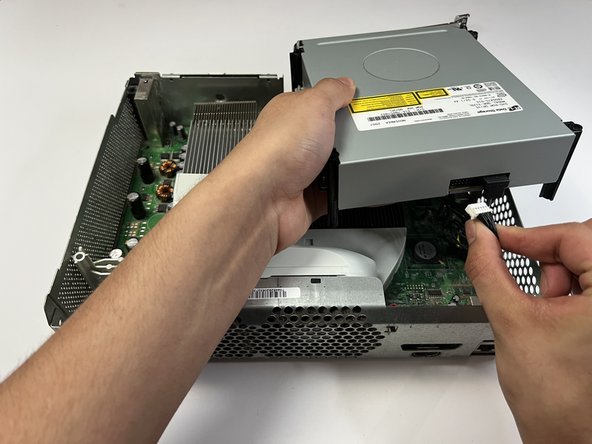
– Let’s get started by disconnecting the two cables at the back of the disk drive.
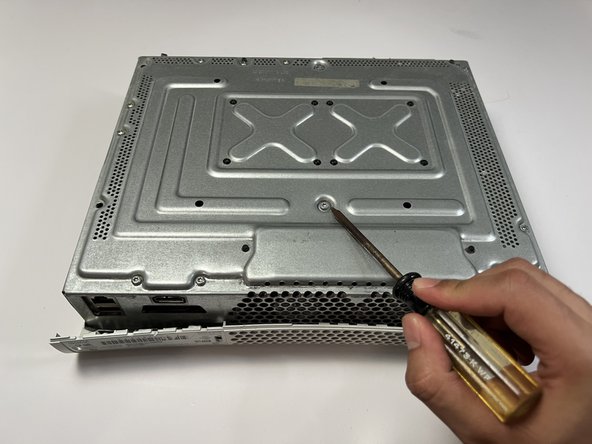
Step 10


– Grab a flat screwdriver and carefully remove the four screws hiding underneath the disc drive – you got this!
– Now, flip that DVD disc drive over and gently take off the casing. Easy does it!
Step 11
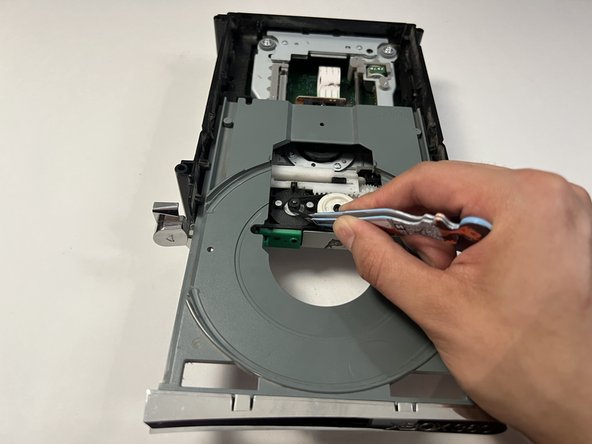

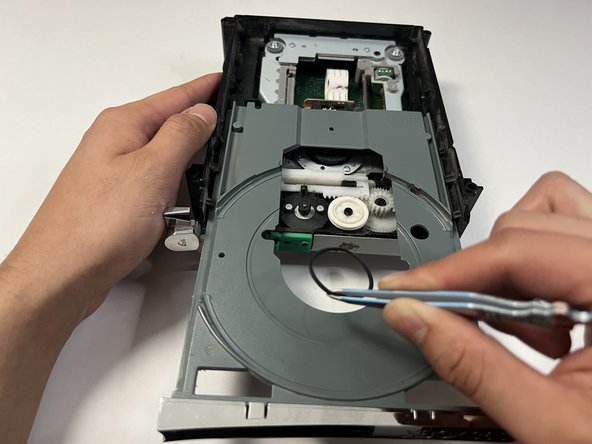
– Give that area a little spin with your trusty flathead screwdriver to reveal the disc drive. Easy peasy!
– Time for your tweezers to shine! Use them to carefully remove the belt drive.
Tools Used

Step 12
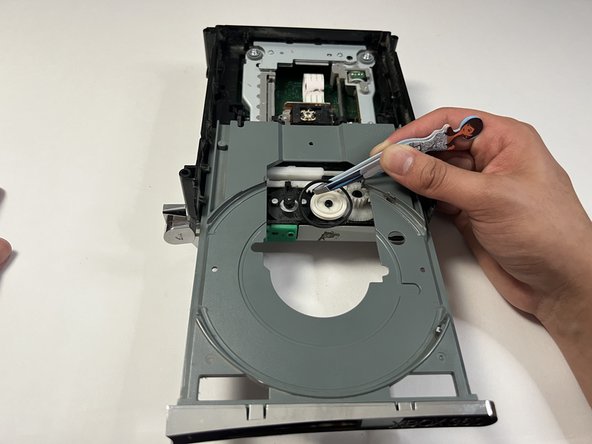


– Swap out the old drive belt for a shiny new one!
Success!