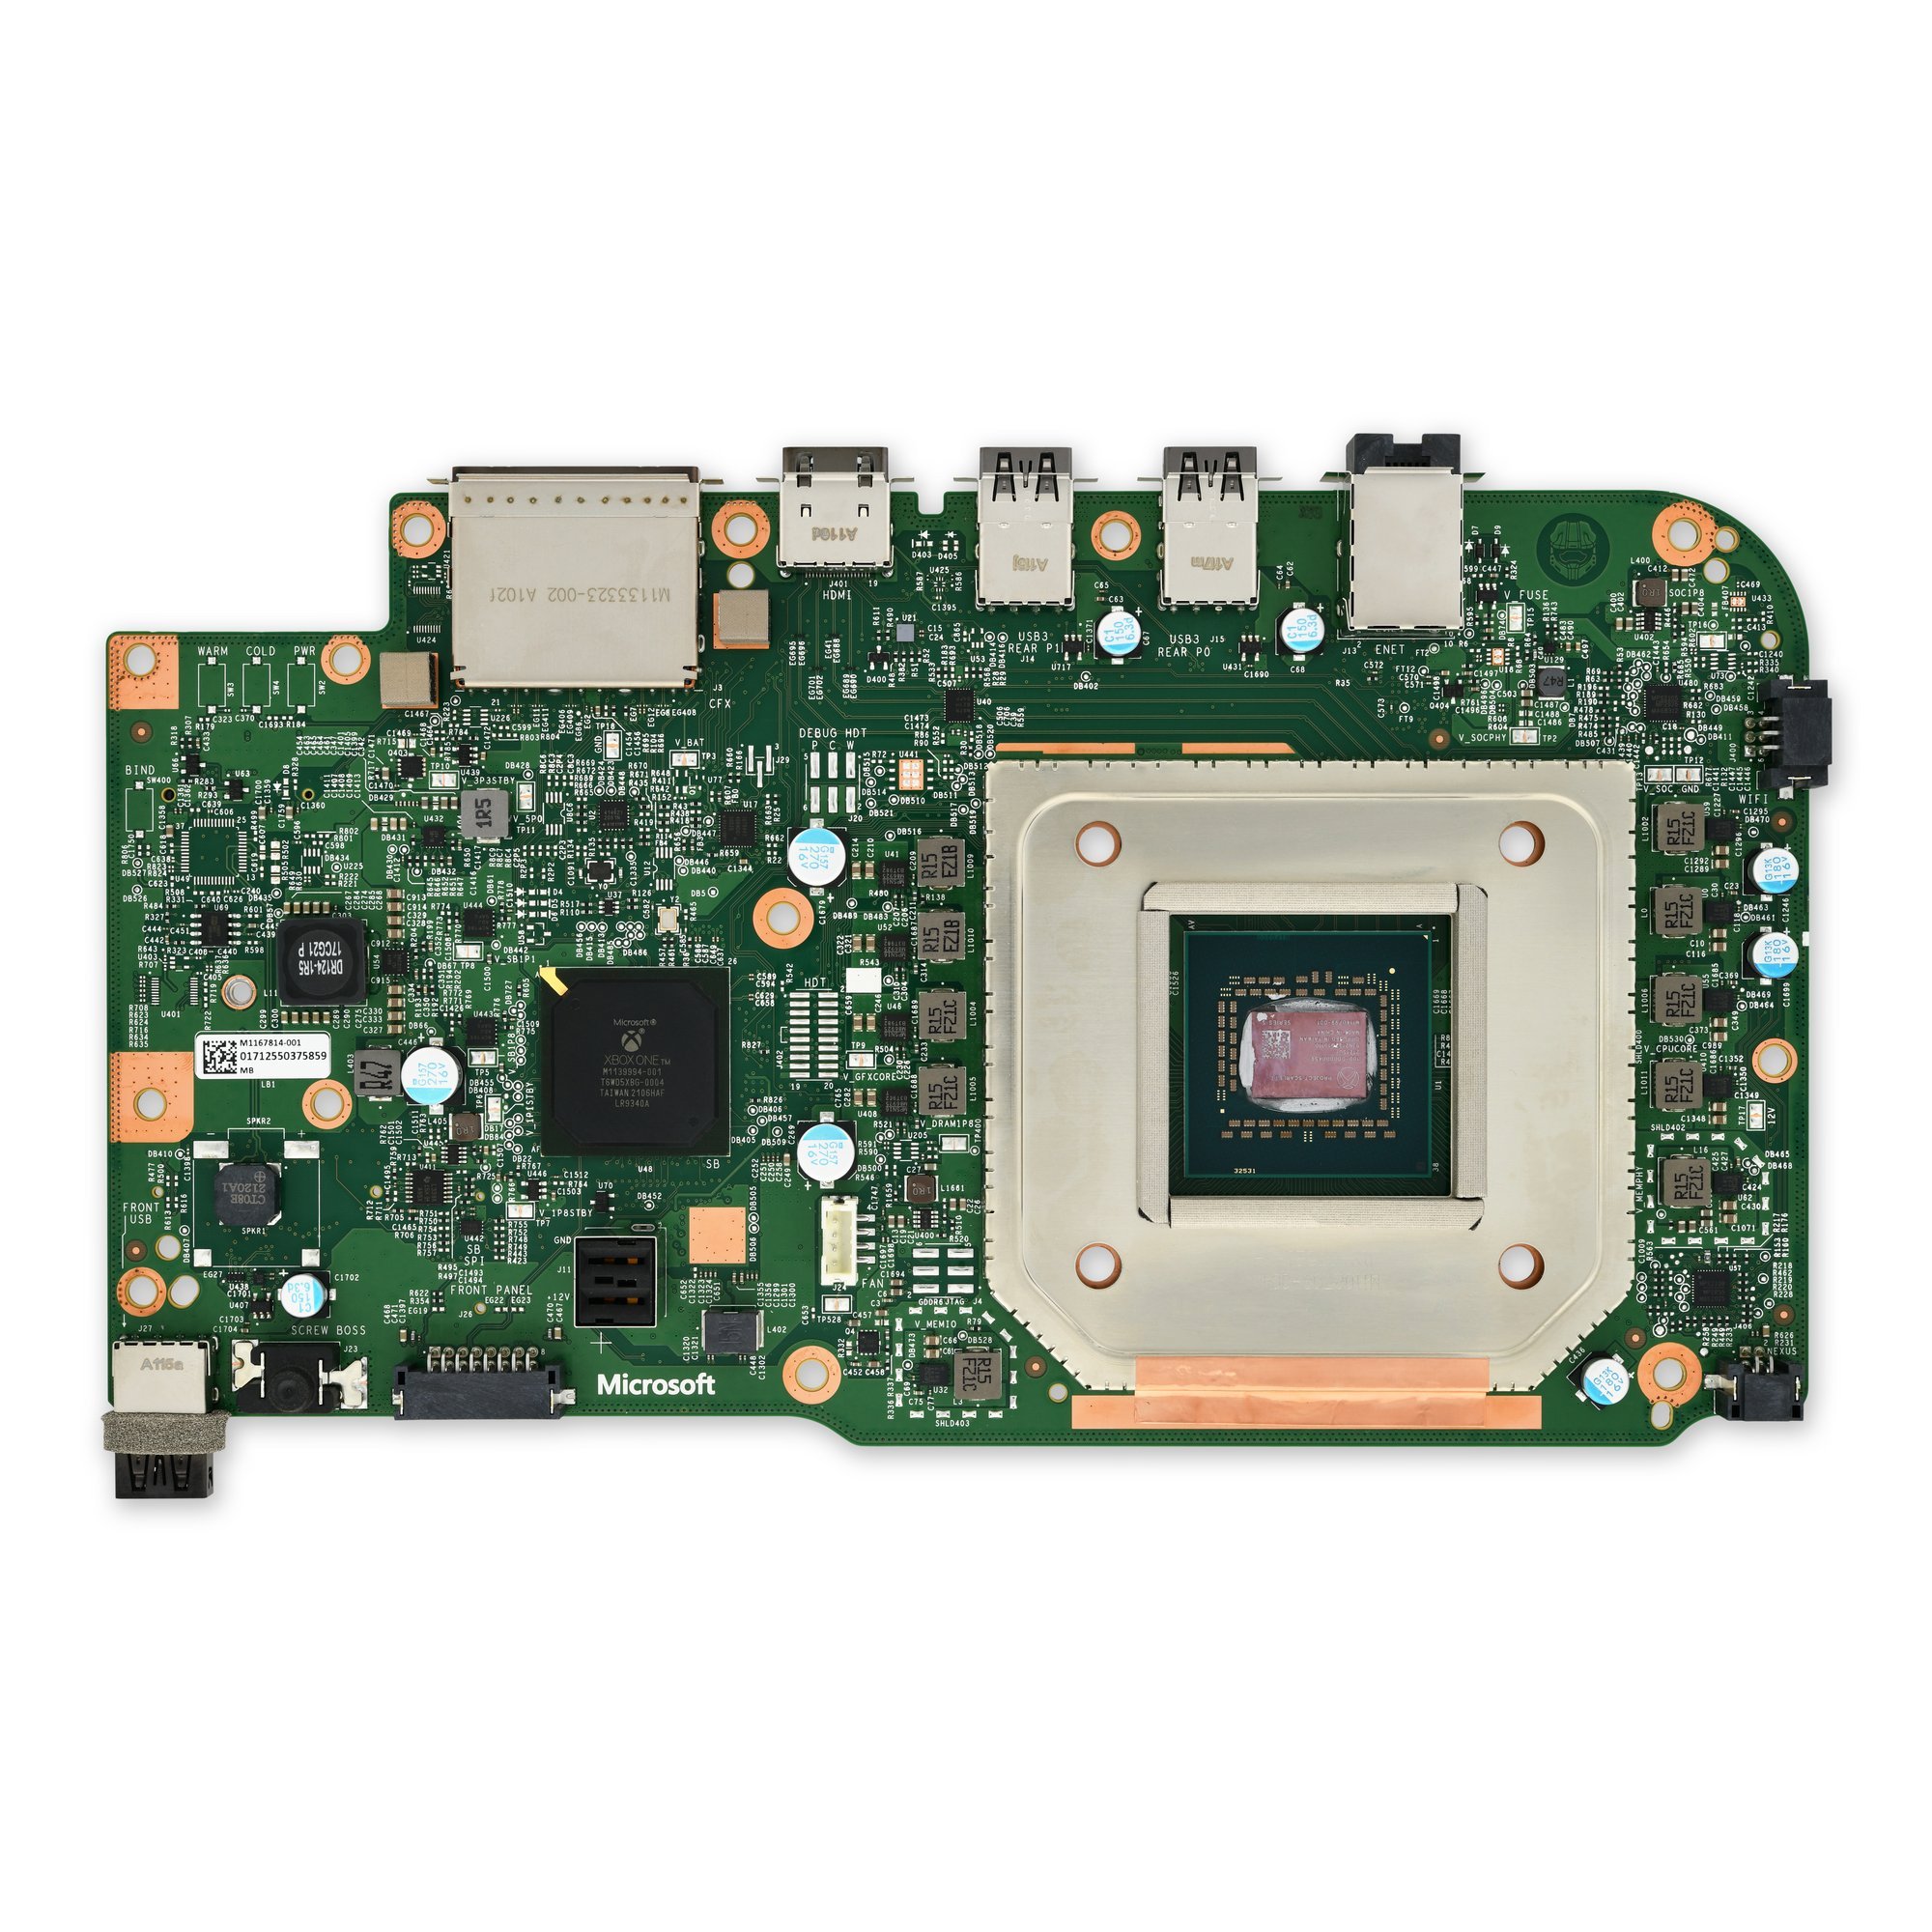
How to Replace Xbox Series S Motherboard: DIY Guide
Duration: 45 minutes
Steps: 21 Steps
Get ready to dive into the exciting world of Xbox Series S repairs! This guide will walk you through the process of carefully removing the motherboard assembly. Keep in mind, this is just a part of a larger operation, so make sure you have the main mission in mind! Also, don’t be alarmed by the funky photo quirks with the Bluetooth, Wifi, and power boards – they’re just style choices and won’t trip up your repair journey. Happy fixing!


Step 2

Don’t lose your cool! Keep track of each screw and make sure it goes back where it came from. You got this!
– Grab your trusty T8 Torx driver and let’s get those two 10 mm-long screws out of the way that are holding the back panel to the bottom panel. You got this!
Step 3


Now, just gently slide those clips out of their little homes on the plastic case. You got this!
– Slide the bottom panel horizontally toward the back of the console until it comes to a stop. It’s like sliding a puzzle piece into place, just a little more stylish.
– Lift straight up and remove the bottom panel from the plastic case. You’re doing great! We’re almost there.
Step 4

– Grab your trusty T10 Torx driver and get ready! It’s time to unscrew those seven 51 mm-long screws that are holding the chassis snugly to the plastic case. You’ve got this!
Step 5


Hey there! Just a friendly reminder: it’s best not to go all the way and remove the chassis from the plastic case using this method. It could lead to breaking that case, and we definitely don’t want that!
You’re doing great! Gently press the back panel down. It should click into place.
That’s it, your back panel is now secure! You’ve done it!
– Alright, let’s get this party started! Turn your Xbox so the bottom is facing you. Now, gently pull the two bottom-rear corners of the plastic case apart, like you’re giving it a little hug.
– As you’re pulling those corners, slide the back panel towards the bottom of the Xbox. It’s like you’re giving the panel a little slide down the slide! Once it’s at the bottom, it’ll pop right off!
Step 6


Hey there! Just a heads up: you might need to gently lift the chassis to get it free from those sneaky clips hiding at the bottom-front of the plastic case. You’ve got this!
– Gently pull the bottom-left corner away from the chassis while gracefully swinging the chassis away from the plastic case.
– Carefully detach the plastic case from the chassis.
Step 7

– Grab your trusty T8 Torx driver and have at it! Go ahead and unscrew that 9.5 mm-long screw holding the power button board to the chassis. You’ve got this!
Step 8


Avoid prying at the bottom of the power button board; it’s a tricky spot and could bend that connector!
– Grab your spudger – it’s time to gently pry and loosen that power button board!
– Pull the power button board straight out, like you’re giving it a little high-five. It’ll disconnect from the chassis and you’ll be ready for the next step.
Tools Used

Step 9

– Let’s get that Wi-Fi board loose! Use a T8 Torx driver to remove the three 9.5 mm-long screws that are holding it in place on the short edge of the chassis.
Step 10


Be careful not to pry from the bottom or sides of the Wi-Fi board, or you might end up bending the connector – and that’s not what we’re going for here!
– Grab your trusty spudger and gently coax the Wi-Fi board out of its cozy spot.
– Once it’s feeling a bit loose, give the Wi-Fi board a firm pull to disconnect it from the chassis. You’re doing great!
Tools Used
Step 11

– Grab your trusty T8 Torx driver and let’s get to work! First off, gently remove those three 9.5 mm-long screws that are holding the Bluetooth board snugly against the long edge of the chassis. You’re doing great!
Step 12


Be careful not to pry from the bottom or sides of the Bluetooth board, or you might end up bending the connector – and that’s not what we’re going for!
– Grab your spudger, it’s time to get this Bluetooth board moving! Gently pry and loosen it from its cozy spot.
– Now, pull that Bluetooth board straight out – it’s like saying ‘see ya later’ to your old friend. Just make sure it’s disconnected from the chassis before you go.
Tools Used
Step 13

– Grab your trusty T10 Torx driver and get ready to tackle this! There are seven screws, each 11.3 mm long, holding the power supply snugly to the chassis. Unscrew them, and you’ll be on your way to a successful repair!
Step 14


– Time to flip this device over and get started!
– Now, carefully lift the upper chassis straight up – it’s like removing the top of a box, and it should come off easily.
Step 15


– Gently lift the power supply straight up to detach it from the motherboard. Easy peasy!
– Now, go ahead and take out the power supply. You’ve got this!
Step 16

– Alright, time to get those screws out! Grab your trusty T10 Torx driver and loosen up those two 11.3 mm-long screws holding the fan to the chassis. You got this!
Step 17


Watch your step when flipping the chassis over; that fan’s feeling a bit loose and might want to take a tumble!
Be gentle when disconnecting the fan—those wires are sensitive little things, and yanking on them could break the connector. Treat them like the delicate friends they are!
Removing this connector might feel like a bit of a challenge! A nifty trick is to gently shimmy it up and out of its socket using a spudger. You’ve got this!
If you’re feeling adventurous, you might just be able to pop this connector out without disconnecting the power supply, using a trusty pair of needle-nose pliers. Just take your time and be careful!
– Give your device a little flip, it’s time to turn it upside down!
– Gently use your fingers to tug on that fan connector and unplug it from the motherboard socket. You’ve got this!
Tools Used


Step 19

– Grab your trusty T8 Torx driver and let’s get to work! Carefully take out the four screws, each measuring 9.4 mm, that are holding the motherboard snugly in place against the chassis. You’ve got this!
Step 20


Now you’ll be able to easily remove the clip – it’s about to get a whole lot simpler!
– Turn your device over with a little flair!
– Gently slide a spudger into the locking clip nestled in the front-left corner of the chassis.
– Now, lift straight up to release that clip like a pro!
Tools Used
Step 21


– Now, put your device back together. It’s like building a LEGO masterpiece, but with more techy bits.
– If you didn’t make it through this guide, don’t sweat it. We’re here to help. You can always schedule a repair.
–
Success!