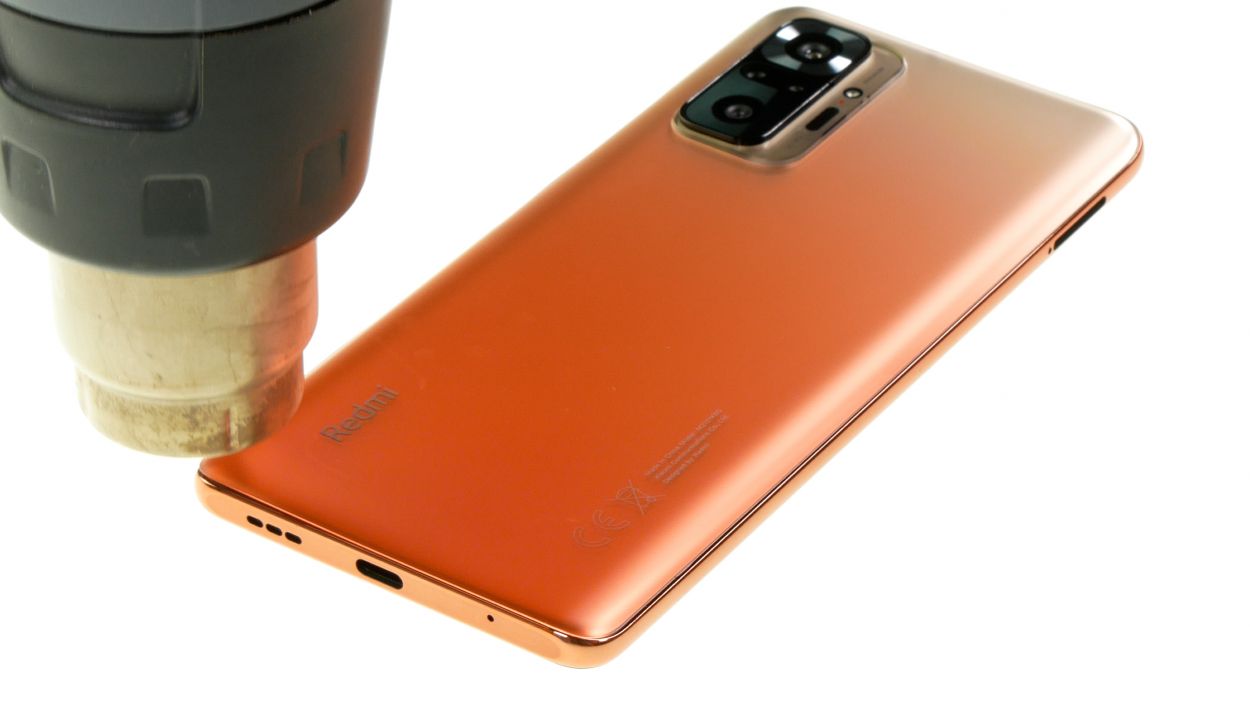
How To Replace Xiaomi Poco X3 NFC Battery Guide
Duration: 45 min.
Steps: 21 Steps
Heads up! Once you pop open your device, that nifty IP certification (your shield against dust and water) will take a little vacation. So, keep that in mind while you work your magic!
In this fun and informative photo guide, we’ll walk you through the simple steps to swap out your battery like a pro. Let’s get started!
Step 1

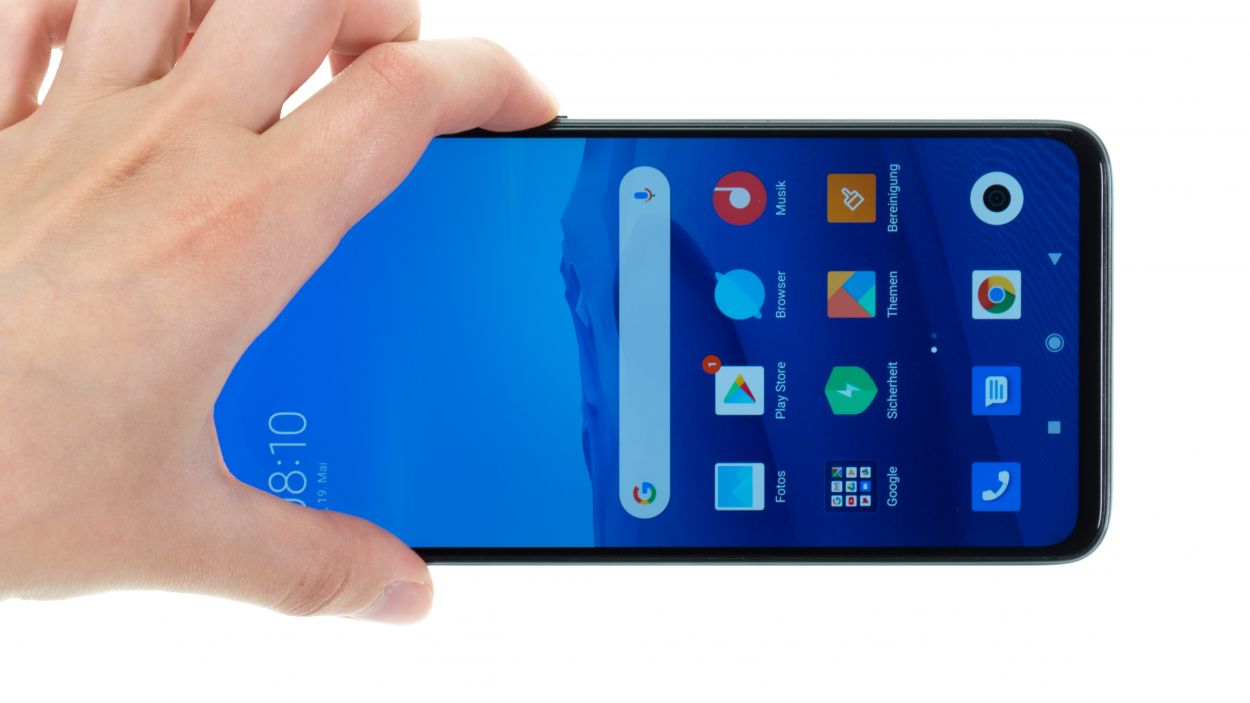
Before diving into the repair of your Xiaomi Poco X3 NFC, take a moment to run through our handy checklist to test the essential functions. This will help you see if your repair efforts hit the mark afterwards!
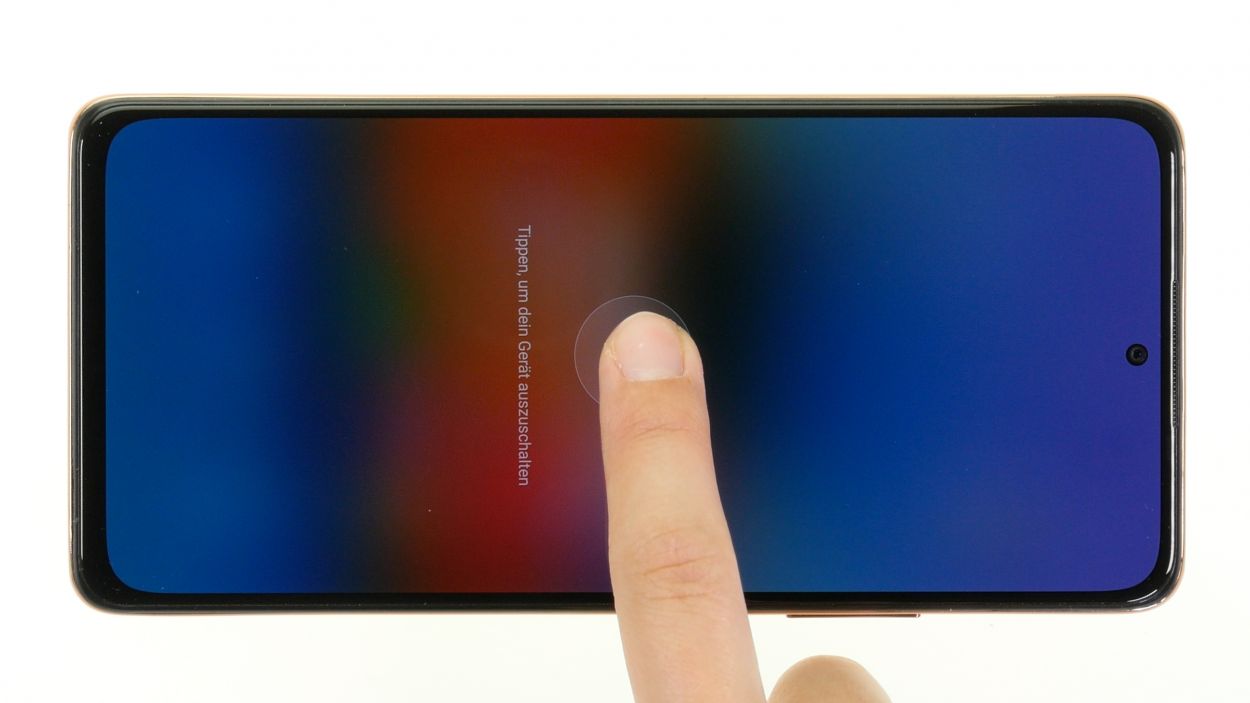
– Give that power button a good press and hold until the Power Off menu pops up on your screen.
– Now, just tap on Power off in the menu that appears. Your smartphone will gracefully shut down in just a few moments.
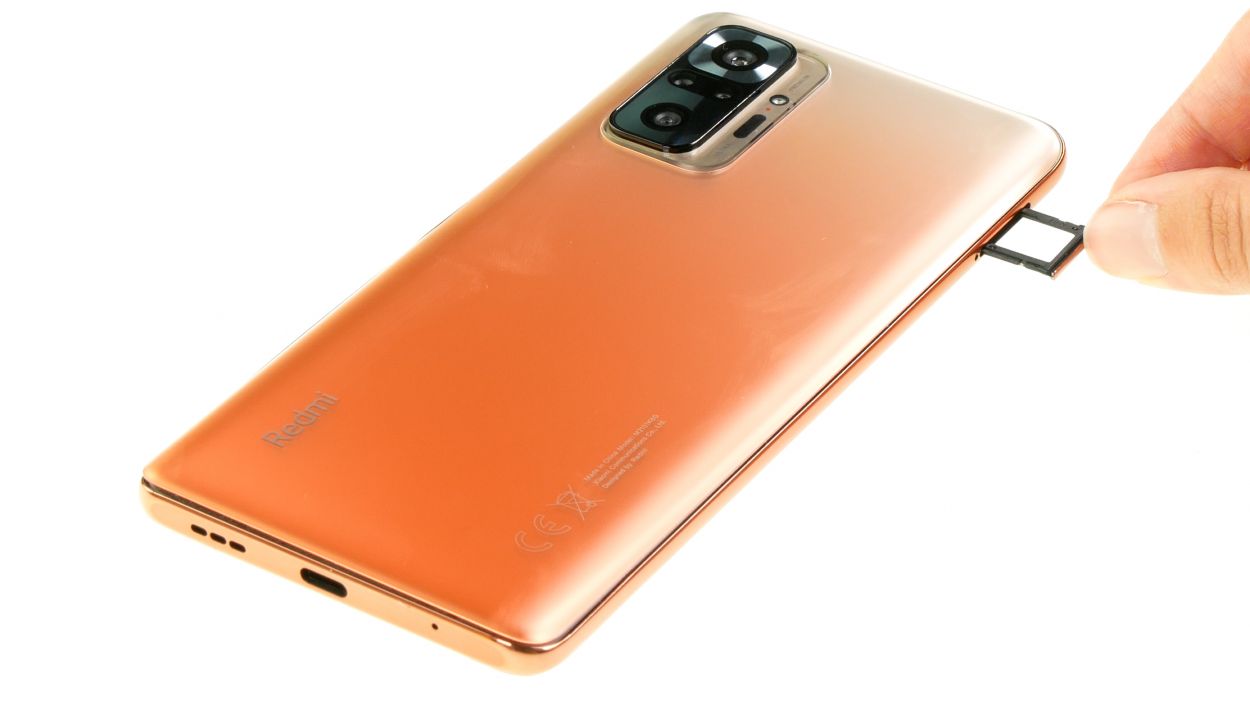
Step 2

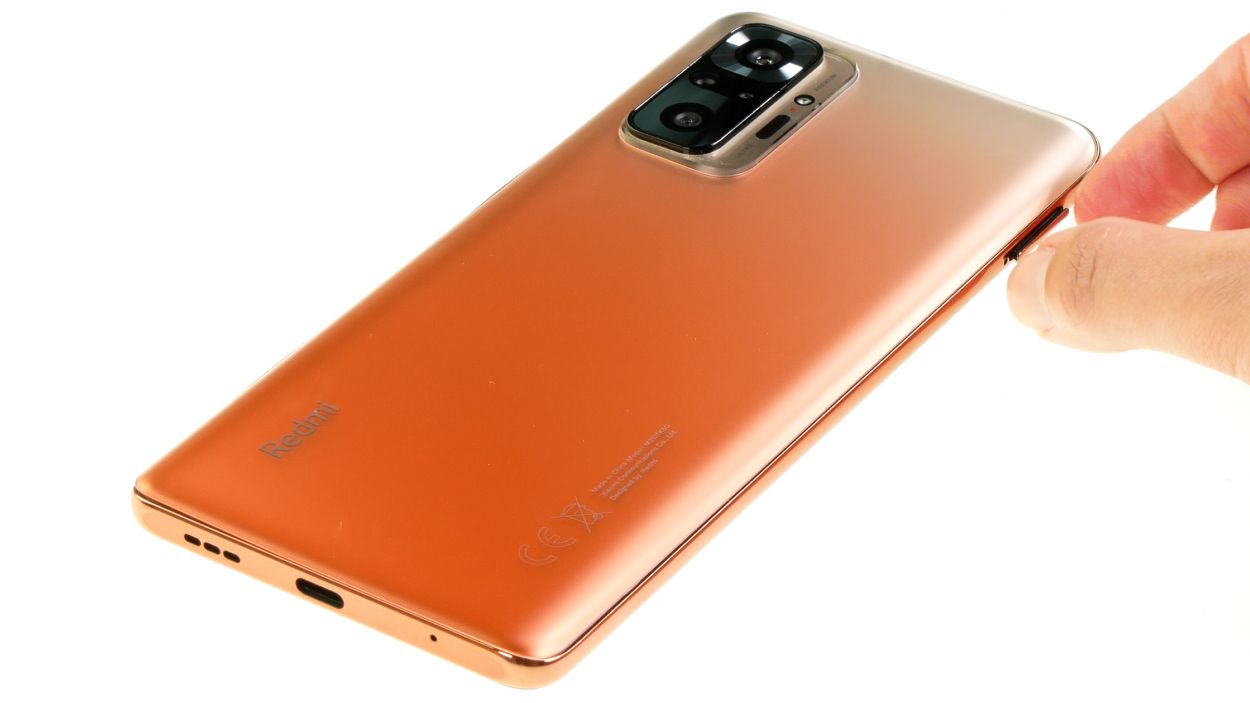
– Grab a slim, pointy object and gently poke it into the tiny round hole next to the SIM tray to nudge it out of the device. A SIM tool works wonders for this task!
– Once you’ve got it moving, just pull the tray all the way out of the frame.
Tools Used
- SIM card slot. This tool is designed especially for ejecting the SIM card from all iPhones and iPads, and fits perfectly into the appropriate opening.” rel=”noopener”>SIM Tool
Step 3
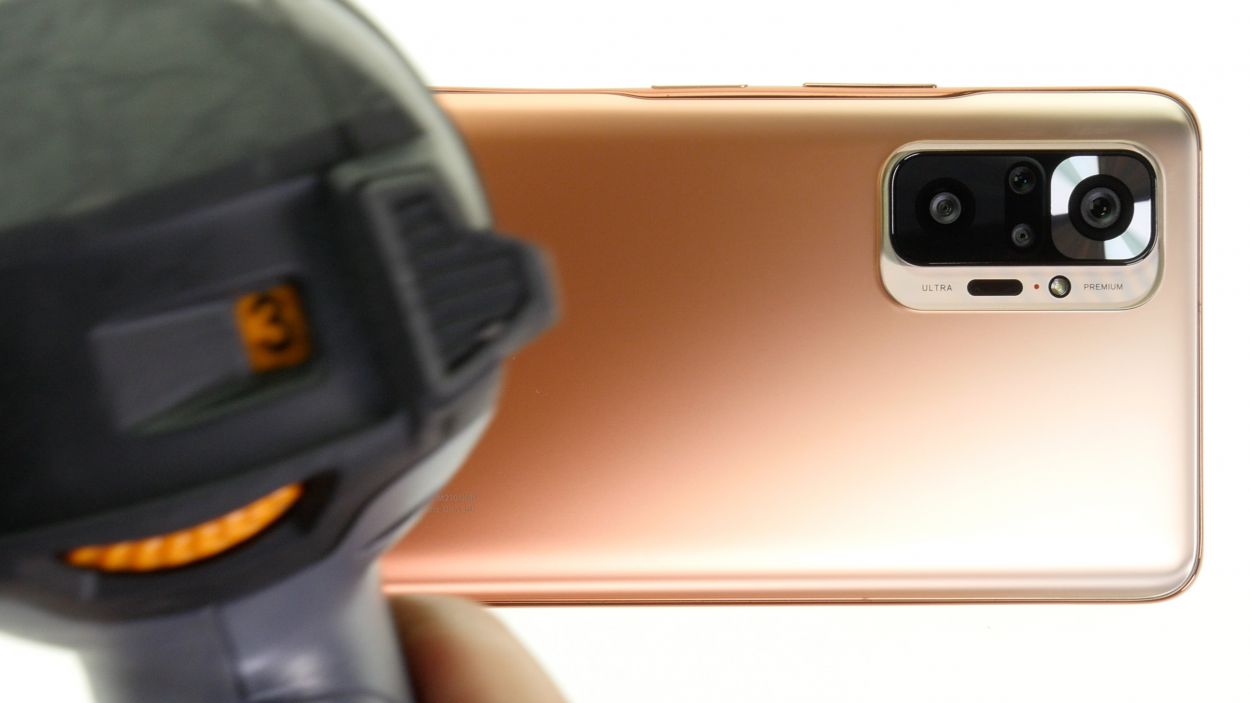
The back cover is glued down pretty well, so let’s give it a warm welcome! Start by heating it up thoroughly. A hot air device like a heat gun or even your trusty hair dryer will do the trick. Just remember, a little warmth goes a long way!
– Warm up the edges of the back cover by smoothly gliding the hot air tool along it.
Tools Used
- heat gun to heat parts that are glued on so they’re easier to remove.
In most cases, you can also use a hairdryer.” rel=”noopener”>Heat gun
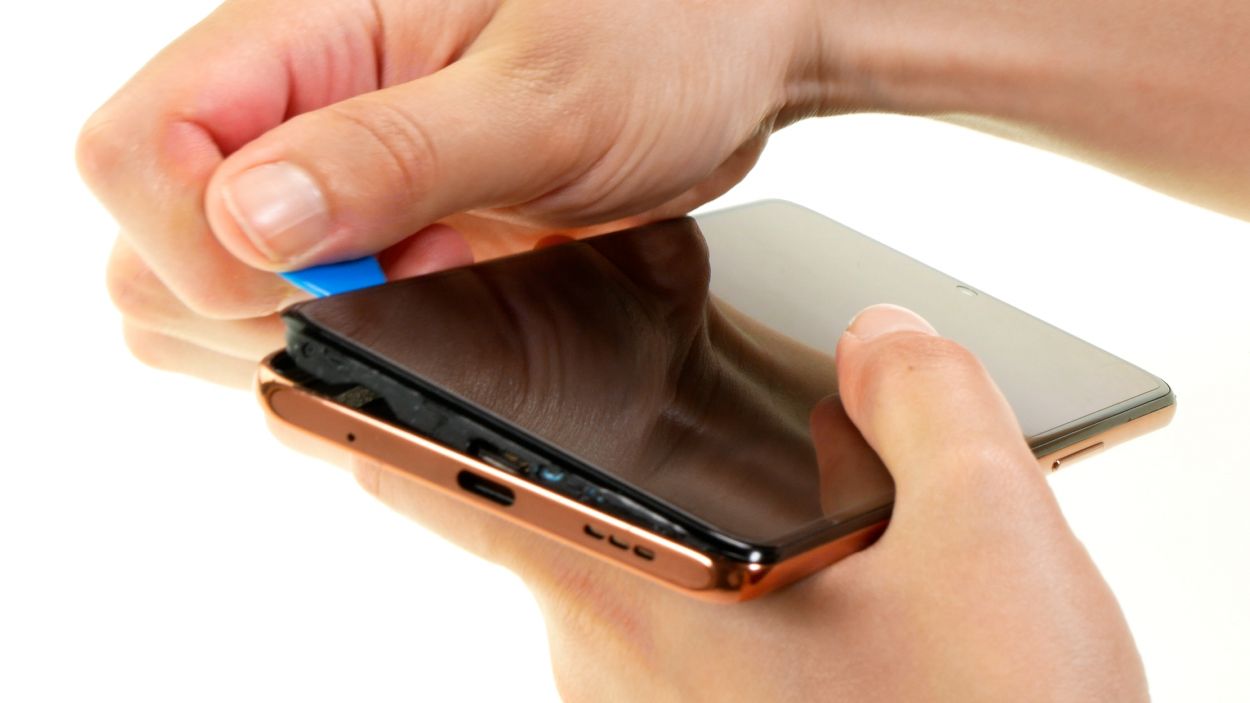
Step 4
To create a snug little opening between the back cover and the display unit, grab yourself a flat, stable tool. We suggest the iFlex for this task, as its sharp edges make it a breeze to slide in.
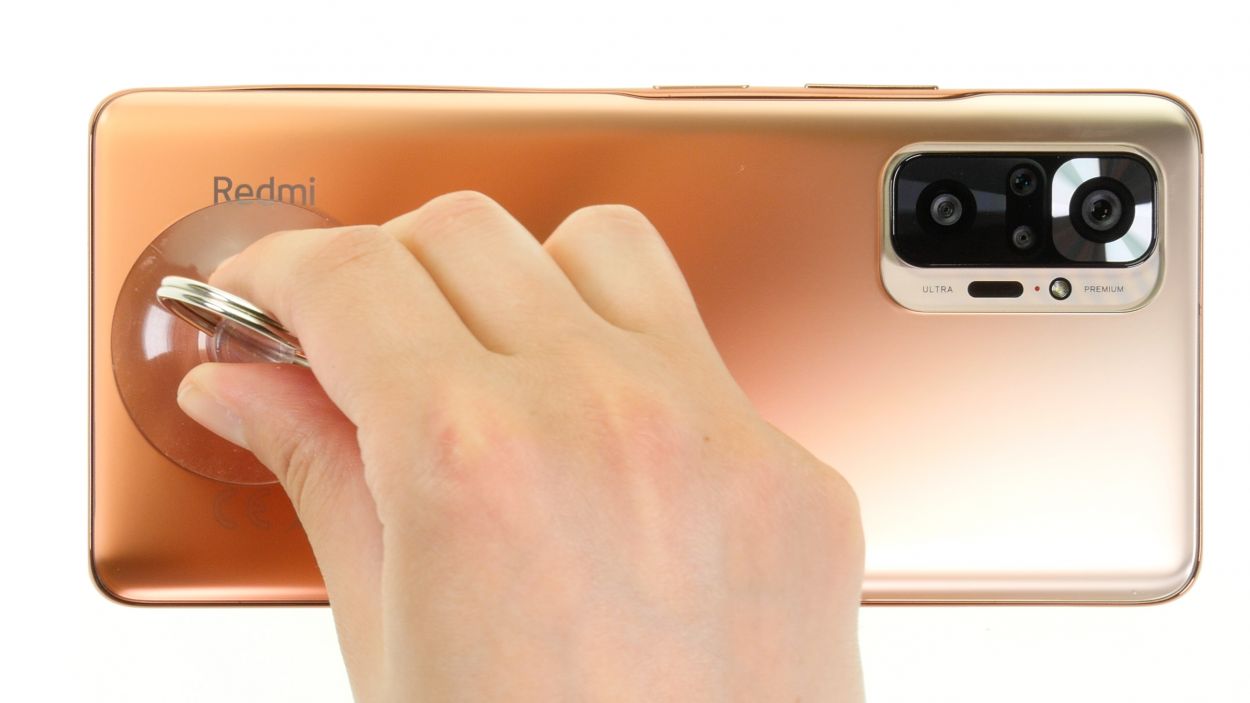
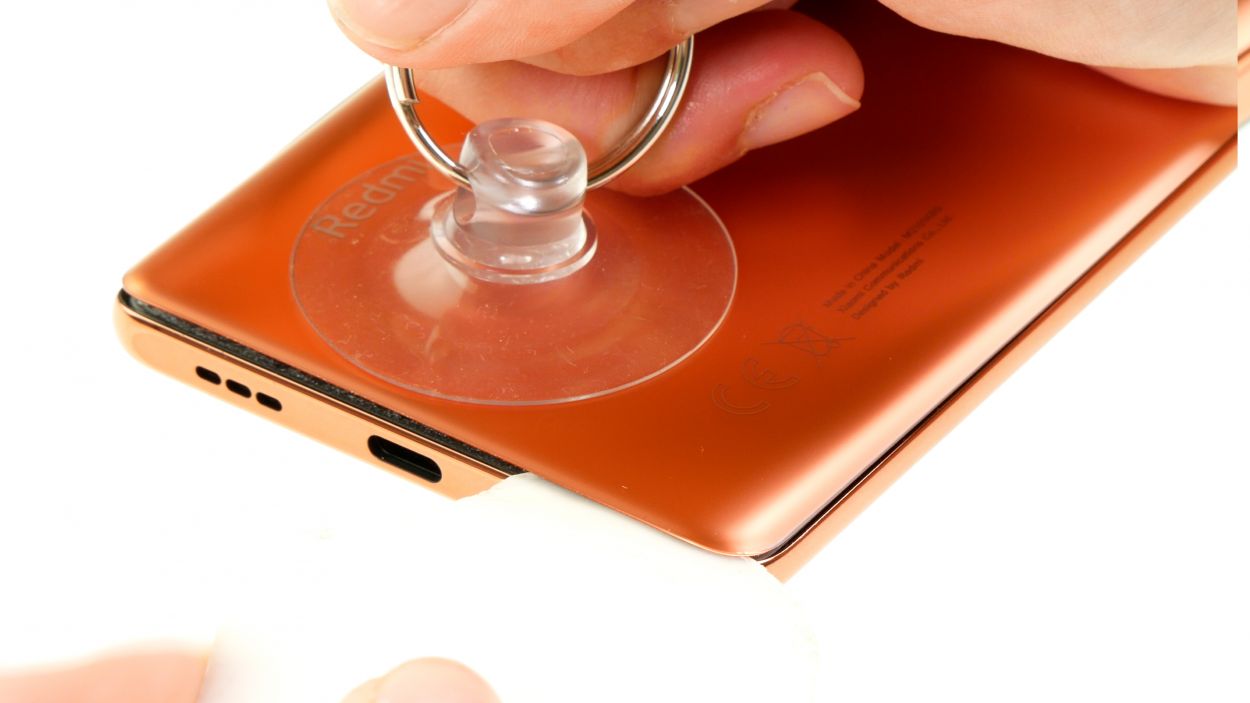
– Attach a suction cup to the lower edge of the back cover and pull it upwards. Insert the iFlex between the display unit and the back cover at the same time.
Tools Used
- screen and the frame. The practical iFlex is made of stainless steel and sits comfortably in the hand. This makes it the perfect assistant for every smartphone repair.” rel=”noopener”>iFlex Opening Tool
- VAKUPLASTIC Suction Cup
Step 5
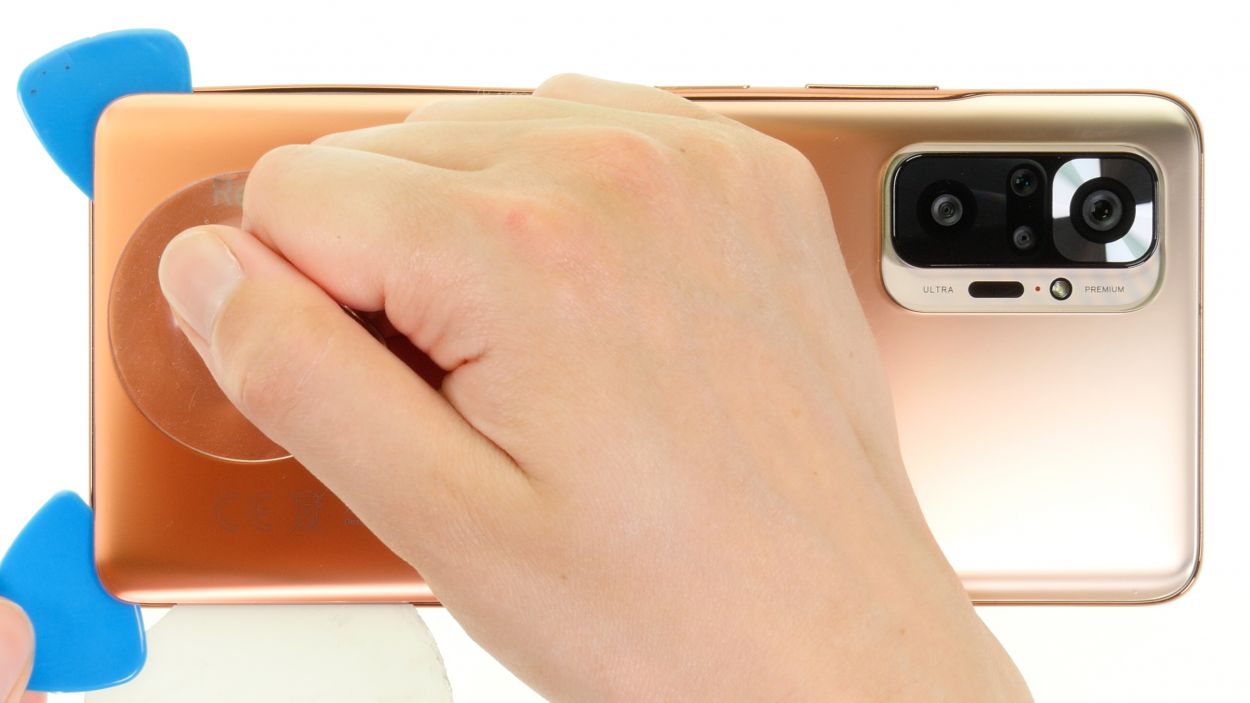

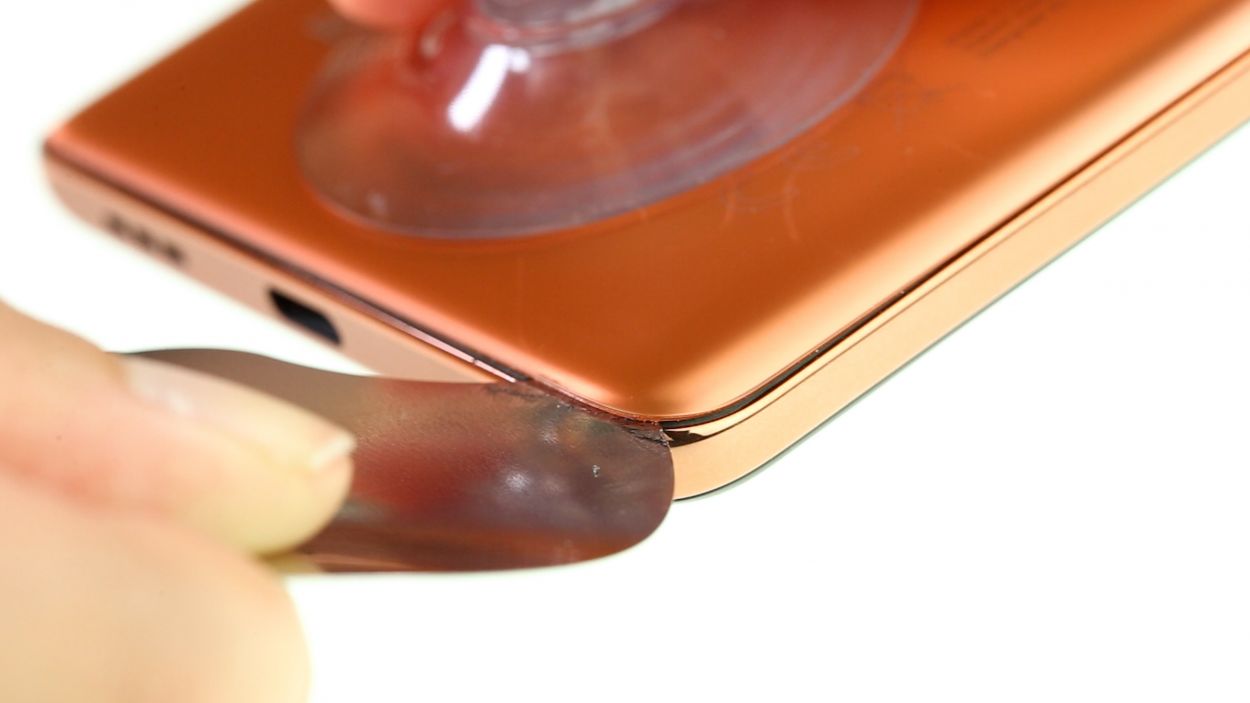
– Gently glide that tool all the way around the back cover’s edge, loosening it bit by bit like a pro.
– Slip those flat picks under the back cover at even intervals to keep that pesky glue from sticking again.
Take it easy when you’re loosening the screws near the camera module – we wouldn’t want your tool to accidentally give it a little bump!
To keep your device’s case looking sharp and avoid any nicks from the iFlex’s pointy edges, make the switch to a plastic buddy like the iPlastix as soon as you can. It’s a smooth move that your device will thank you for!
Tools Used
- heat gun to heat parts that are glued on so they’re easier to remove.
In most cases, you can also use a hairdryer.” rel=”noopener”>Heat gun - Flat Picks
- battery? Then the iPlastix with its large blade will help you. The practical assistant is made of flexible, especially sturdy plastic and lies comfortably in the hand. Thanks to its design, you can even get into smaller gaps, for example to lift the screen or to prevent it from sticking together again.” rel=”noopener”>iPlastix Opening Tool
Step 6
9 × 4.3 mm Phillips
8 × 3.3 mm Phillips
We suggest using a screw storage solution to keep all your little bits and pieces organized during the repair. That way, you won’t misplace anything along the way! A great option is our top-notch magnetic pad.
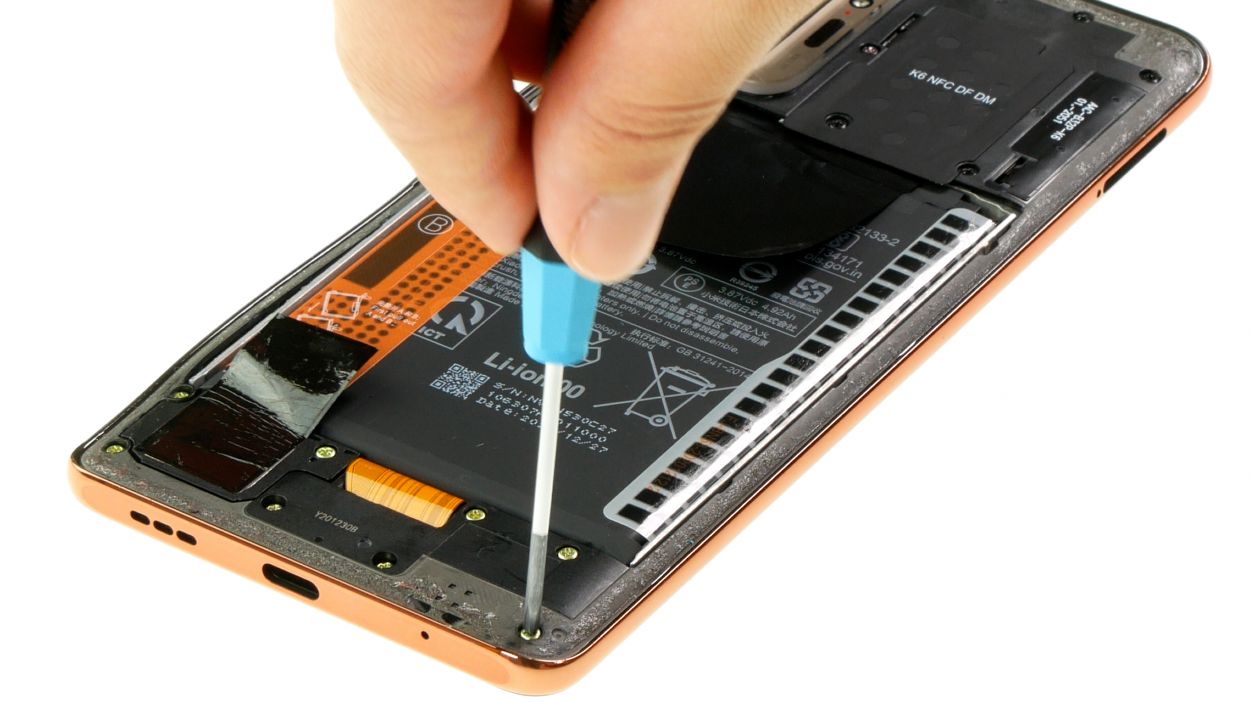
– Let’s get those 17 Phillips screws out of the middle frame! You’ve got this!
– Once you’ve done that, be sure to stash them safely on the magnetic pad. They’ll thank you later!
Step 7
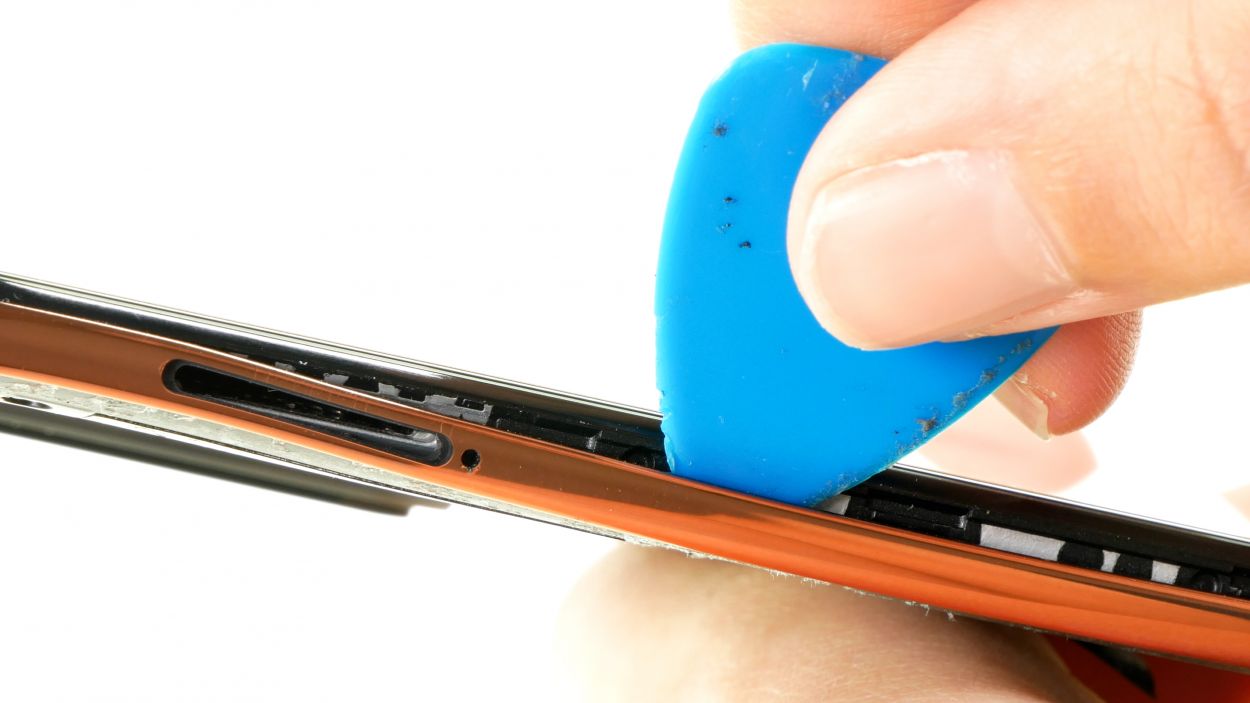
– Gently slide a flat plectrum between the screen unit and the middle frame, applying a little pressure. Starting on one of the longer sides of the frame works best!
– Run that pick all the way around the frame. You should hear a satisfying pop as it separates from the screen unit.
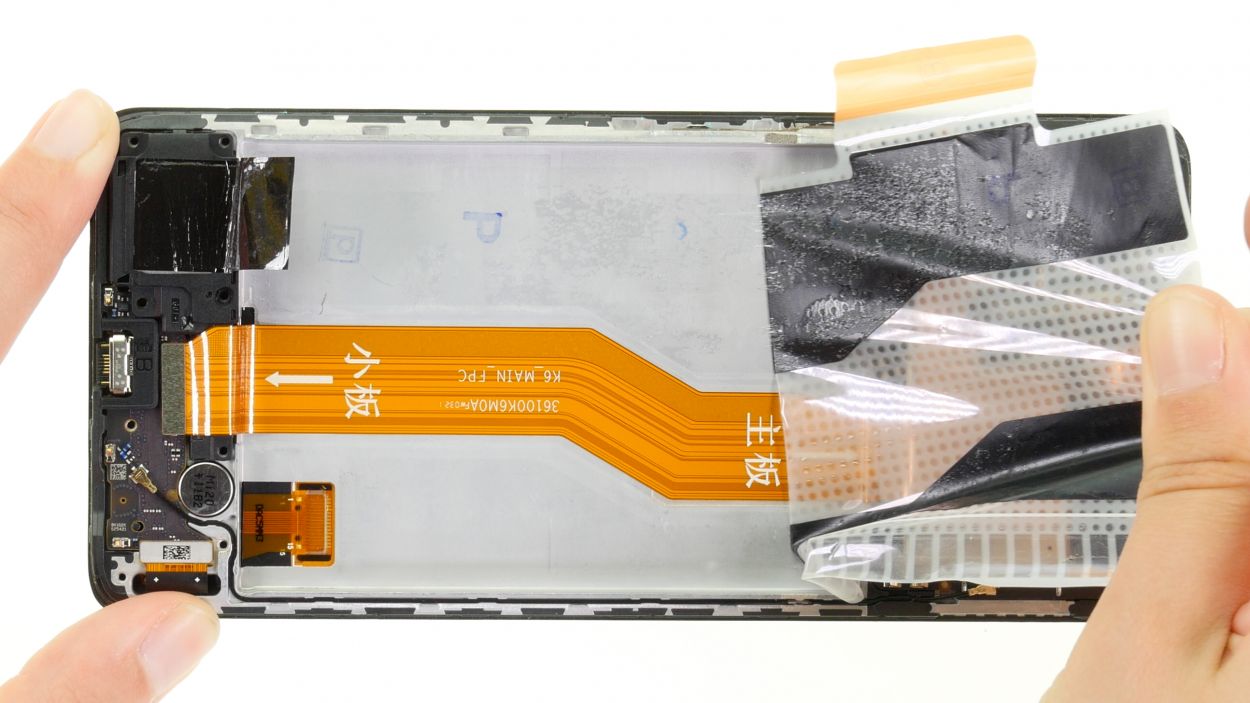
– Carefully unfold the now-loosened middle frame and reveal the magic inside!
Take it easy when you’re unfolding that middle frame! We want to keep that fingerprint sensor safe and sound, so handle it with care!
The middle frame is snugly attached to the screen unit, so you’ll need to gently unhook it. Take your time, and remember, if you need help, you can always schedule a repair.
Tools Used
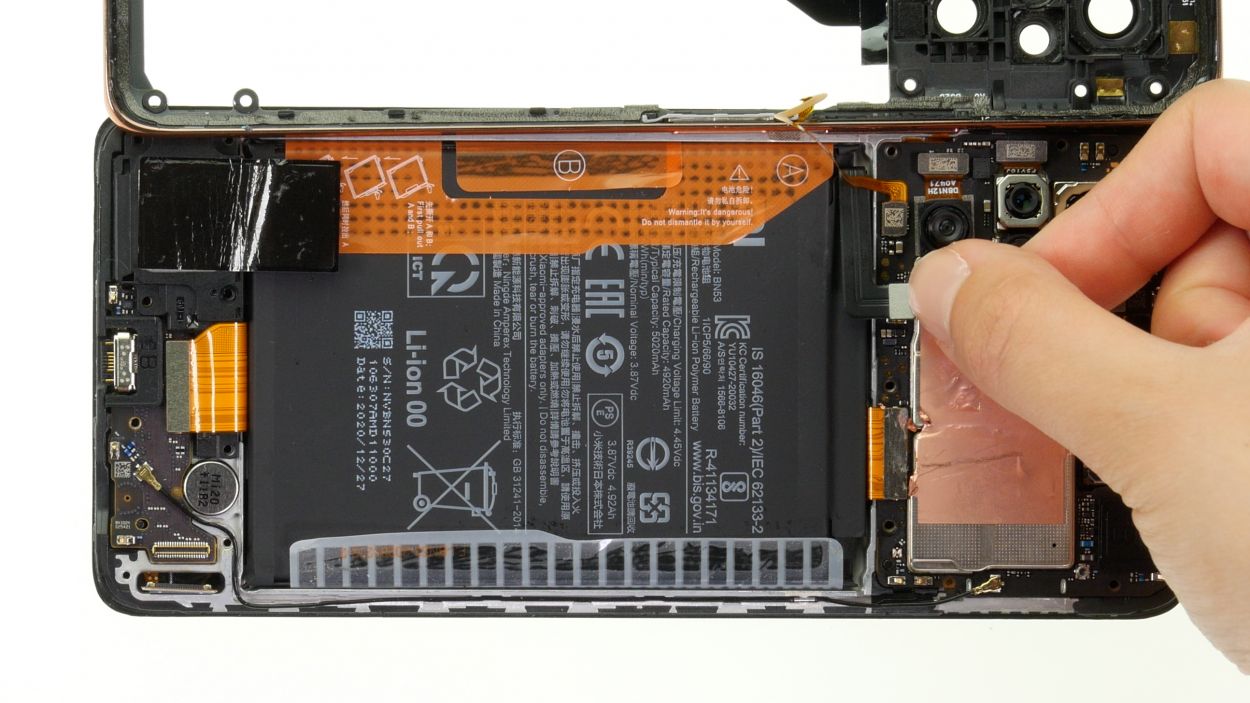
Step 8
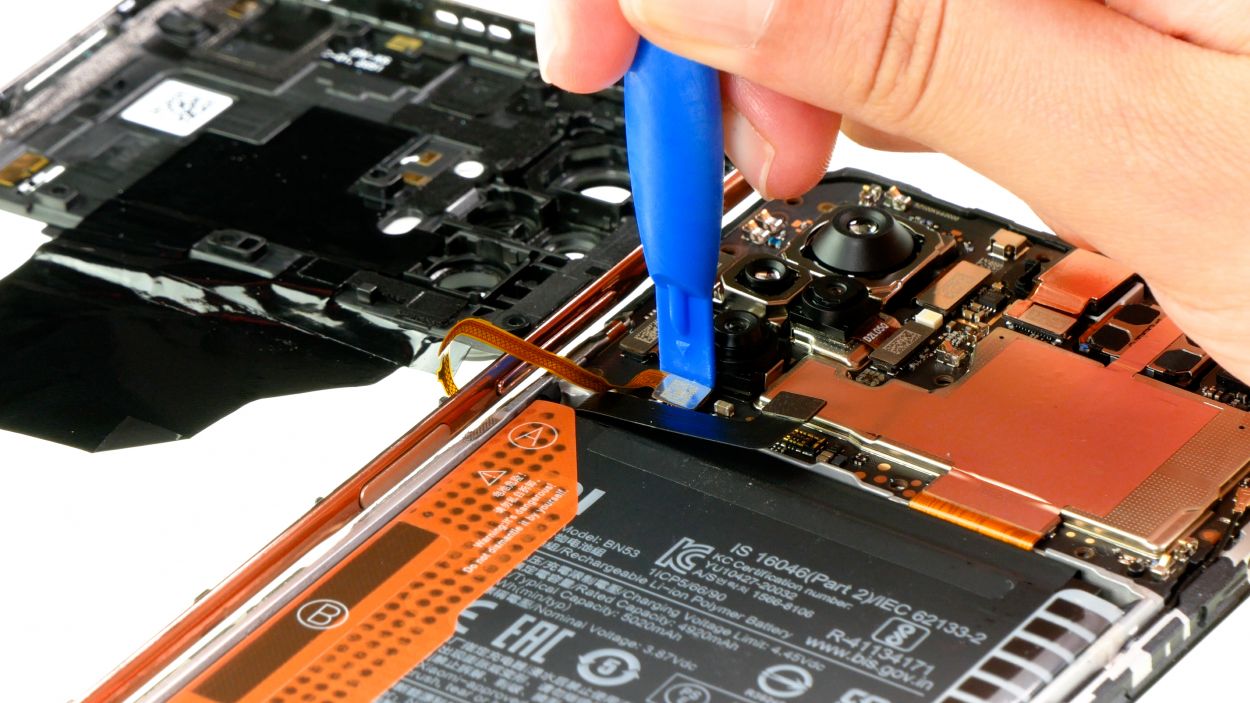
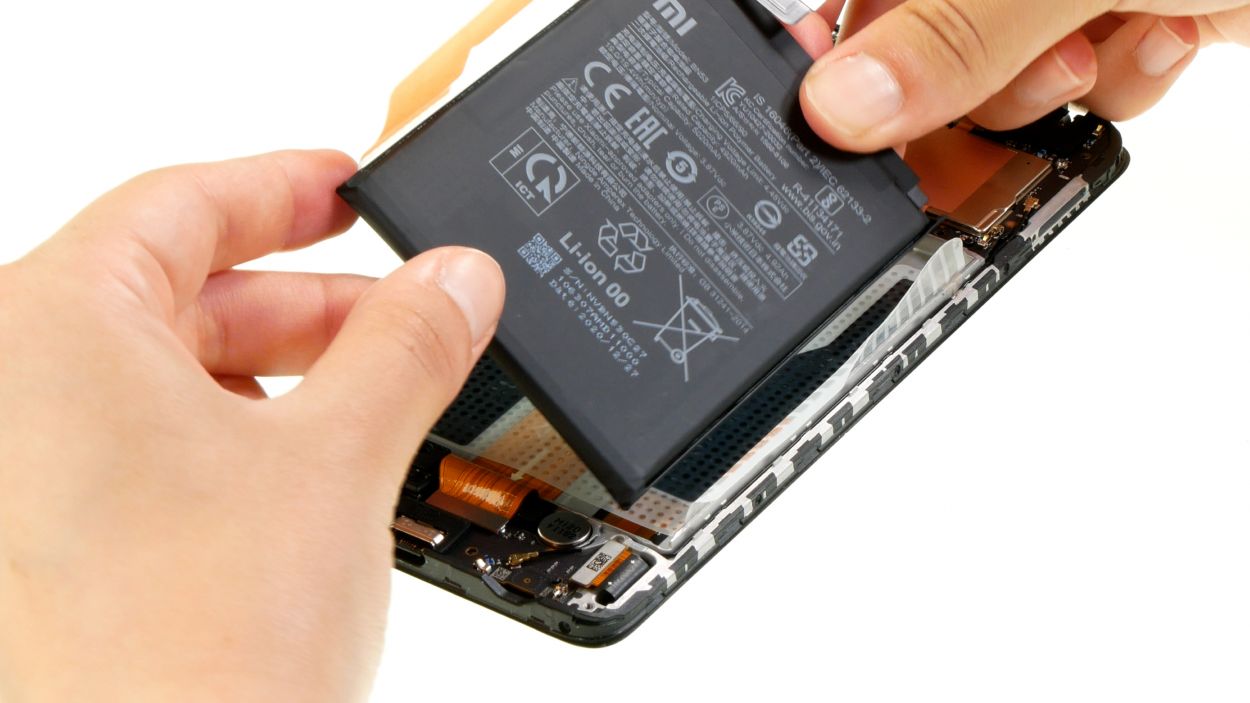
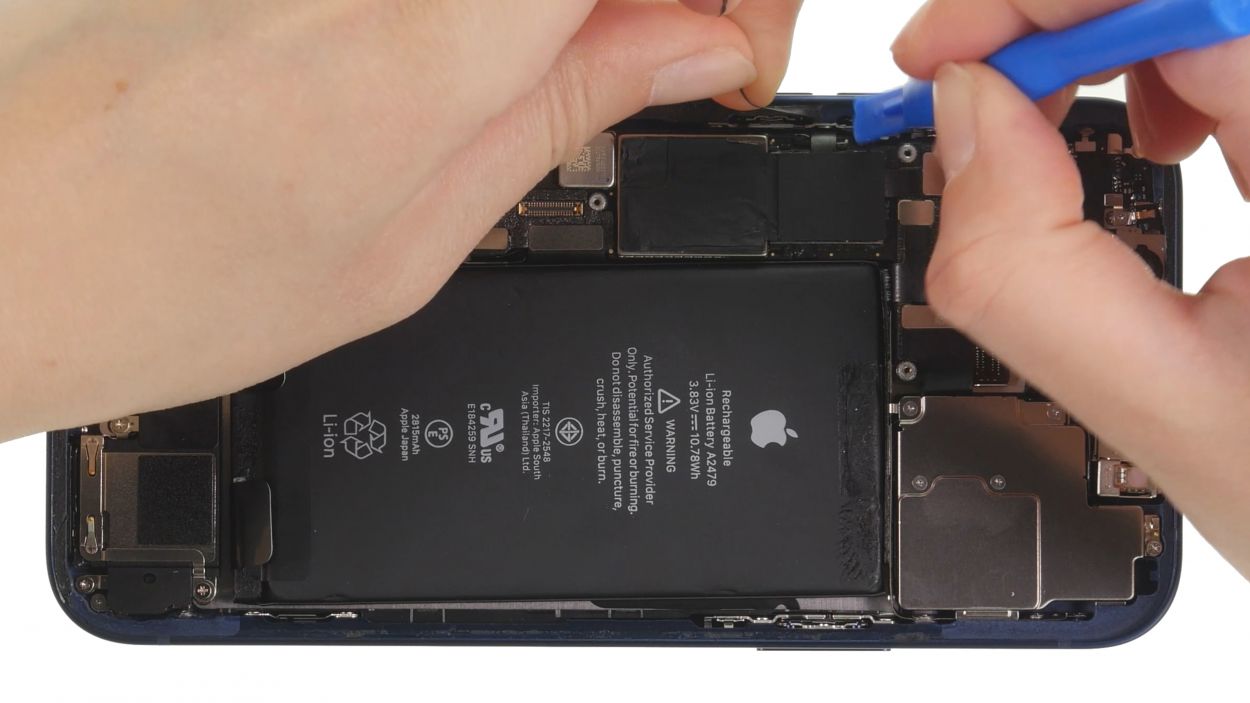
Be sure to unplug that battery connector ASAP! It’s like putting on your seatbelt before a joyride—safety first to dodge any potential short circuits!
– Gently wiggle the battery connector free from the motherboard using a plastic spudger. It’s like a tiny dance-off, and the battery connector is *so* ready to leave the party!
Tools Used
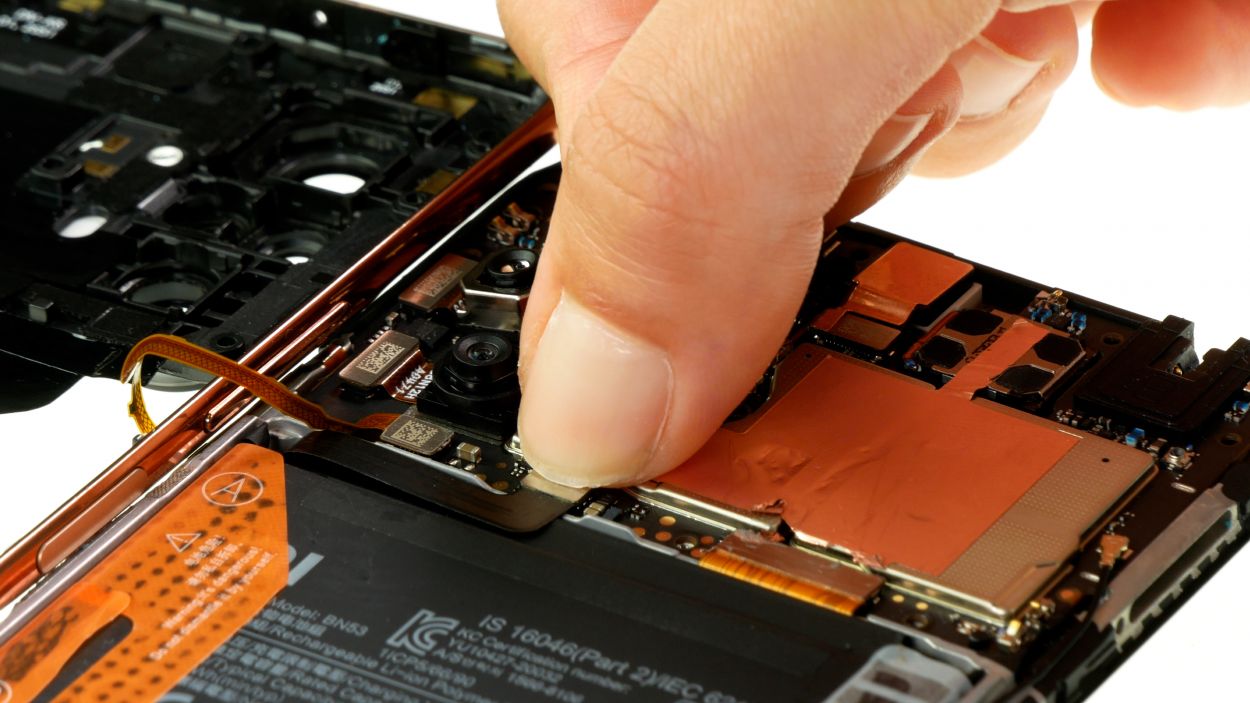
Step 9

– Gently unplug the fingerprint sensor connector just like you did with the battery connector. Easy peasy!
– Once that’s done, feel free to lift off the middle frame and set it aside. You’re making great progress!
Tools Used
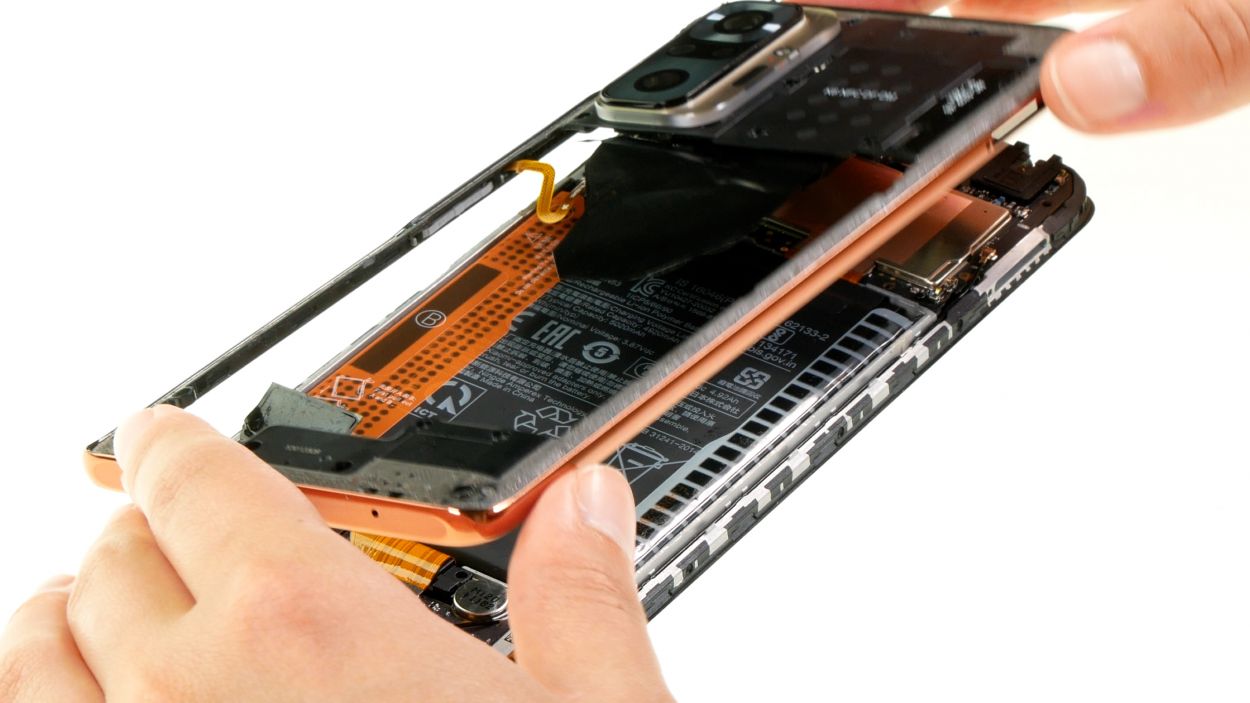
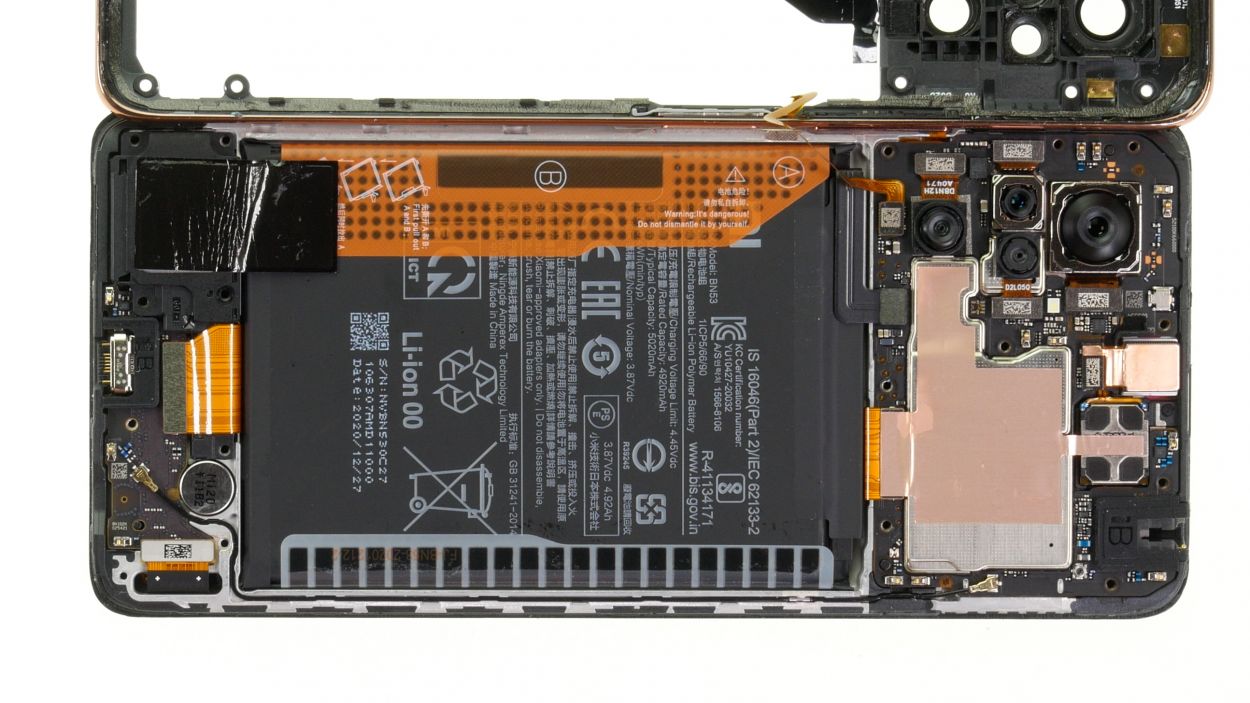
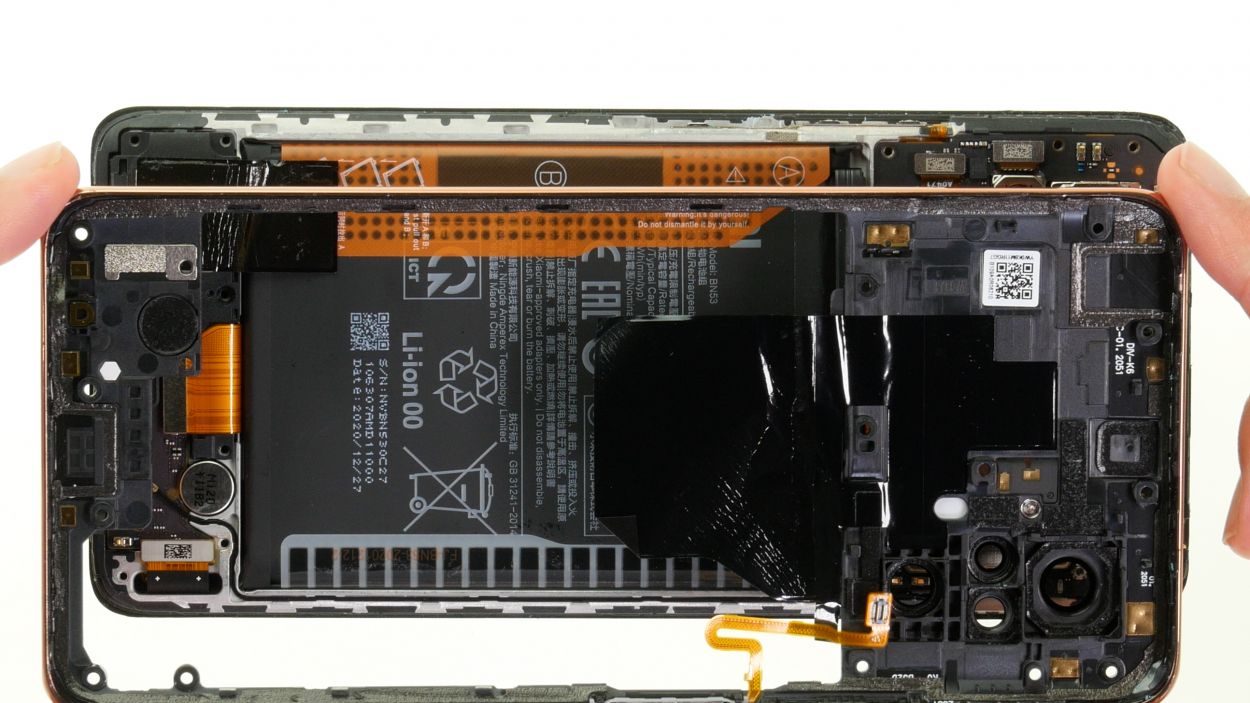
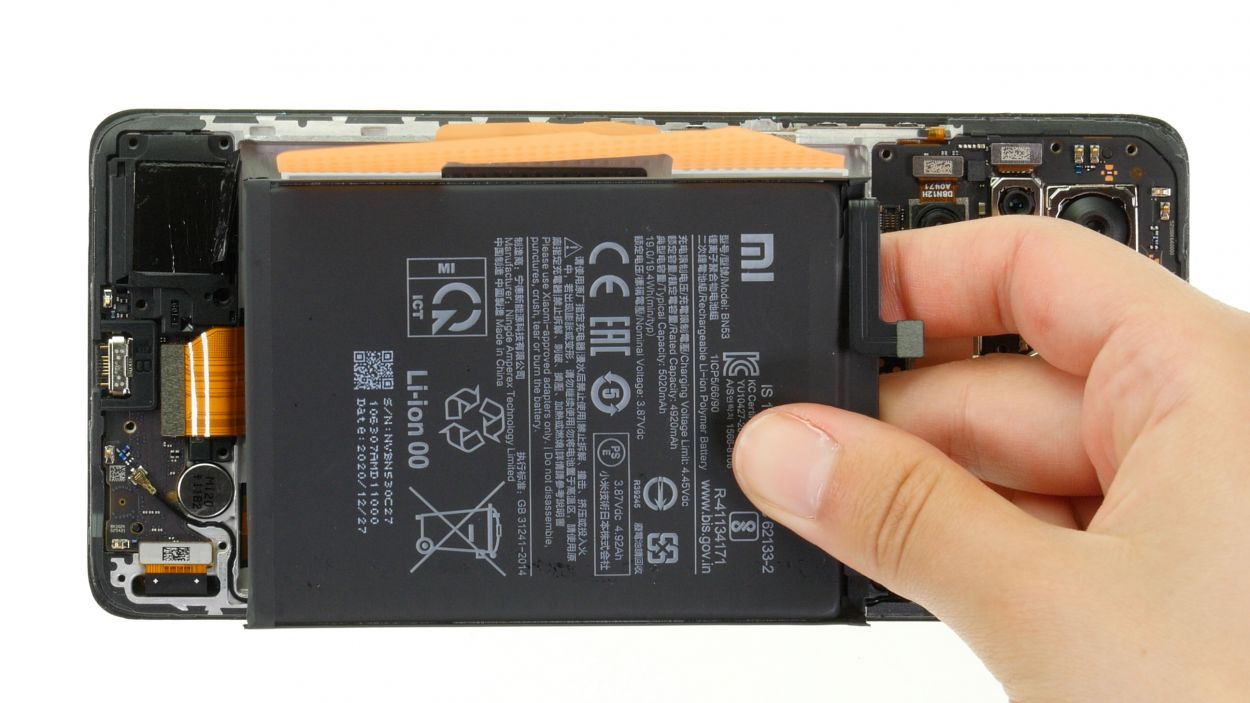
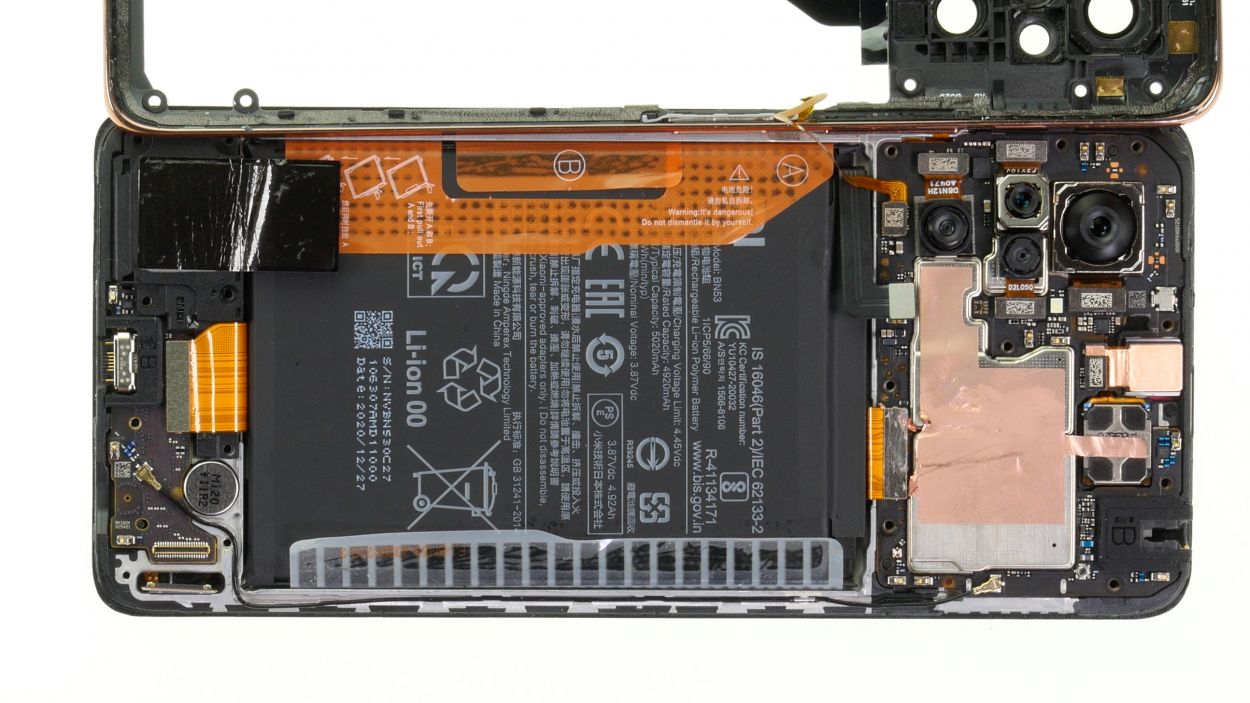
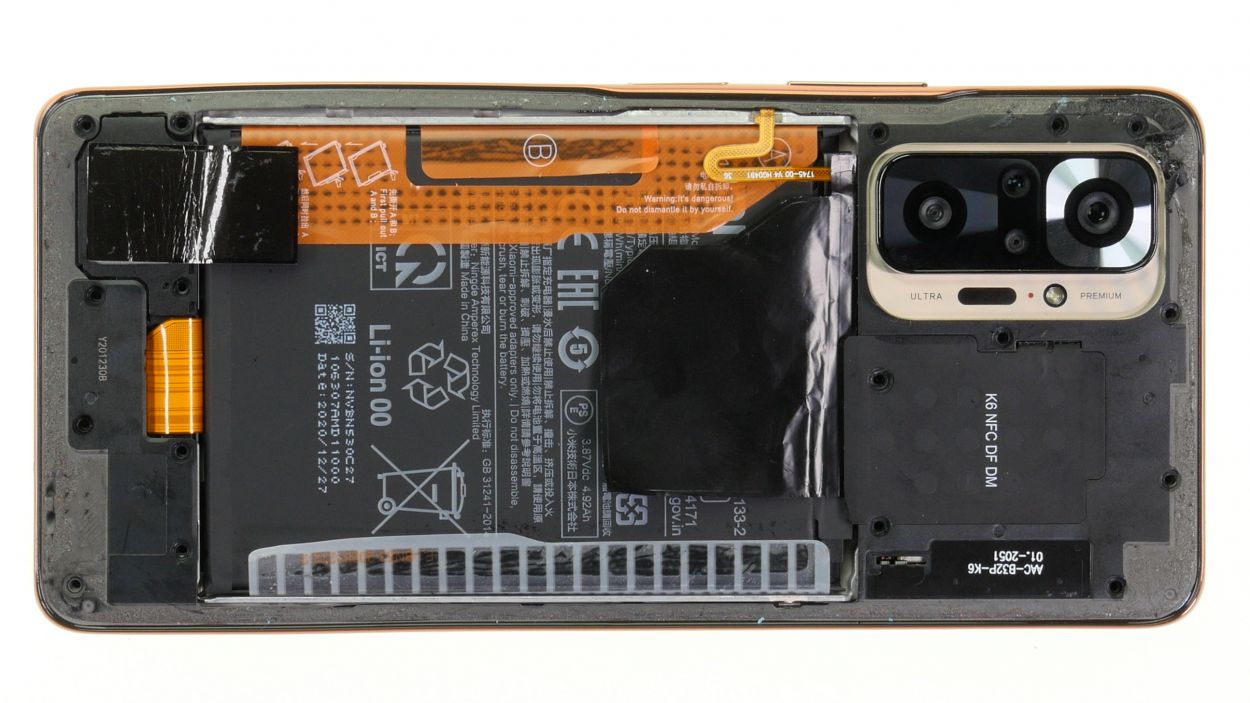
Step 10

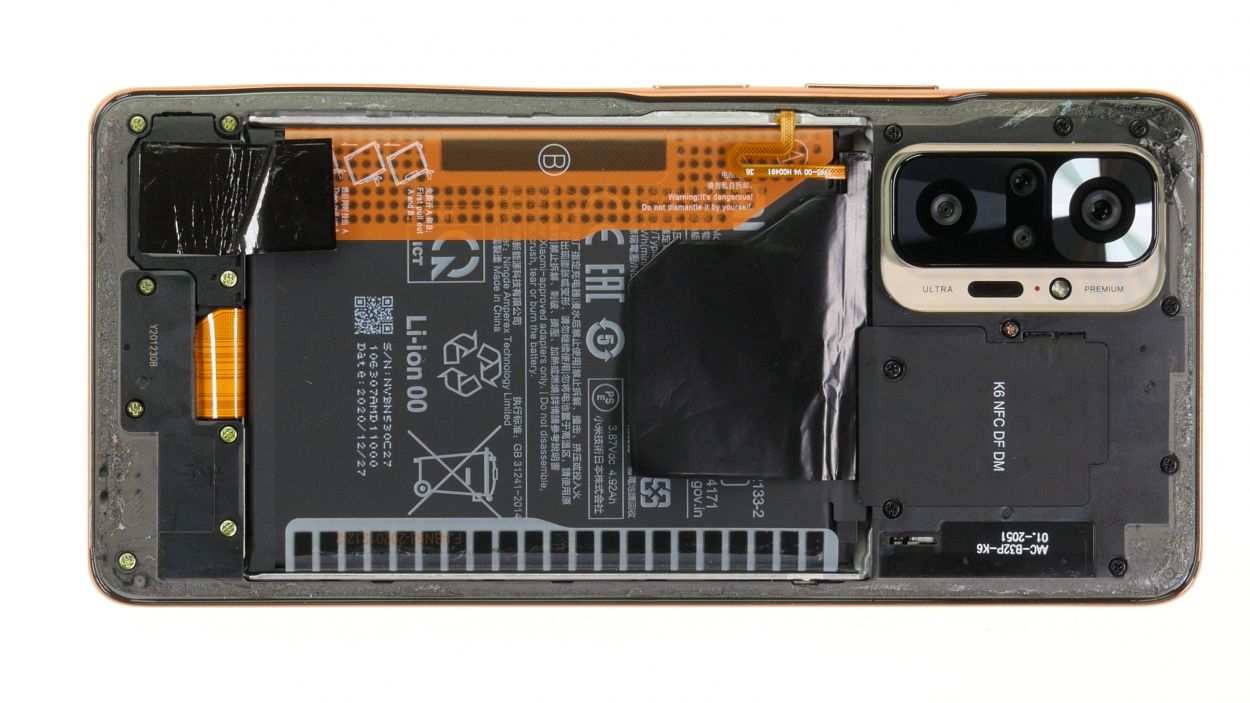
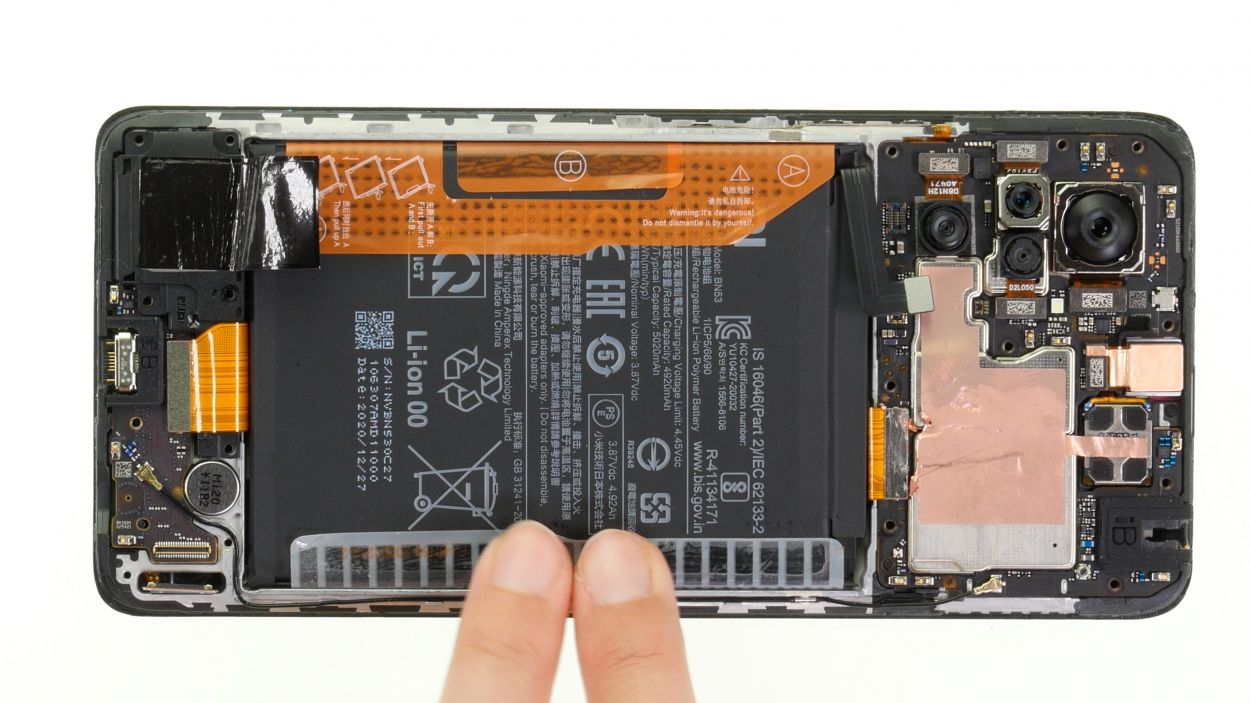
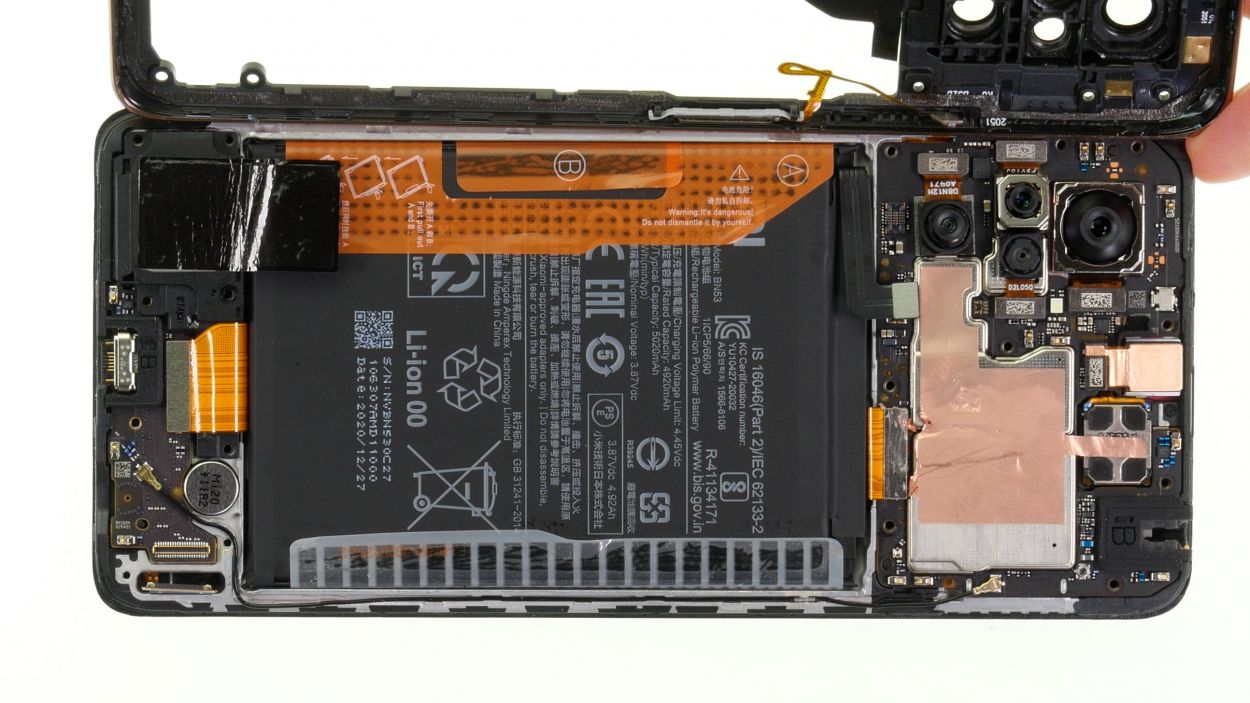
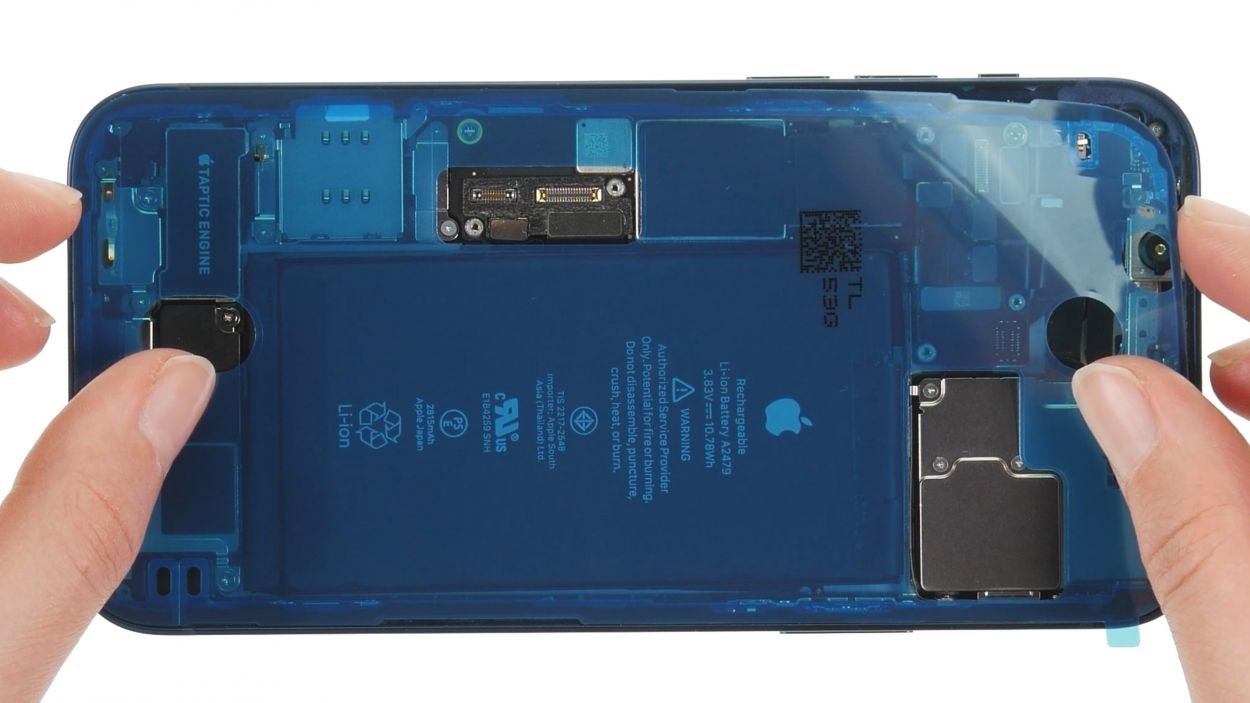
The battery is snugly secured within the screen unit by a sleek, continuous adhesive film. On the underside of this film, you’ll find the sticky surfaces doing their job. Meanwhile, the three tabs of this adhesive film hang out on the top side of the battery, just waiting for you to give them a little tug!
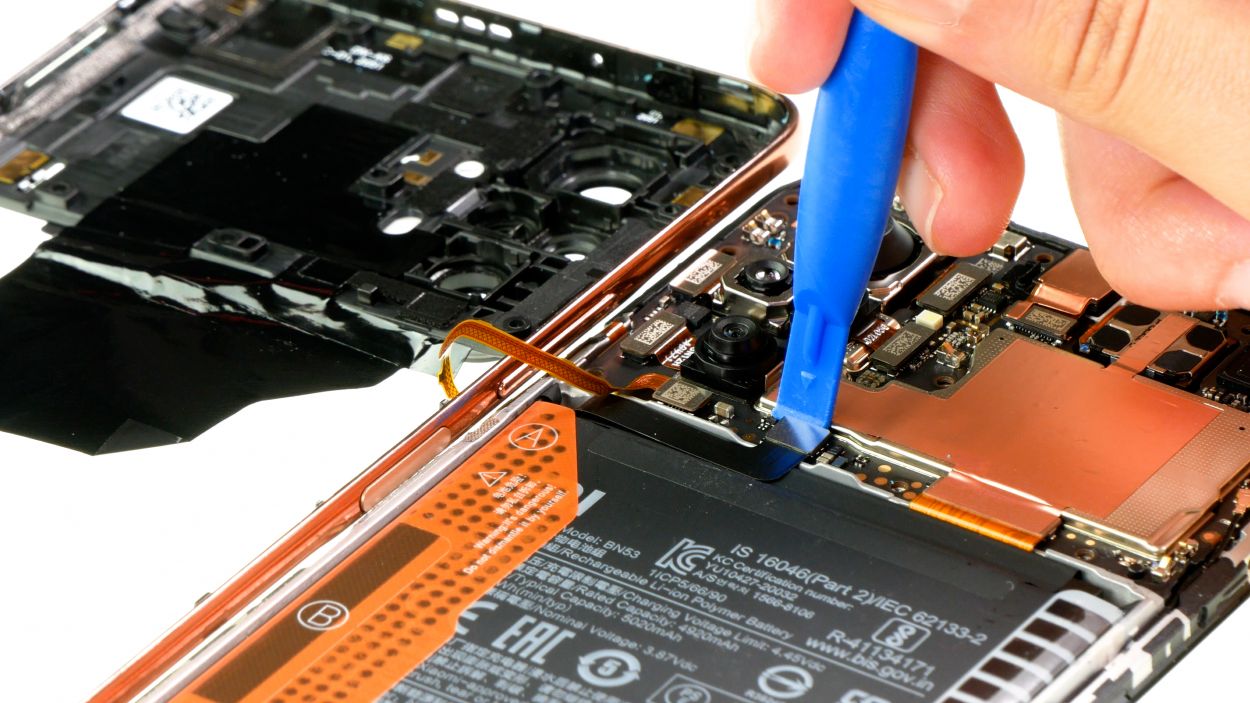
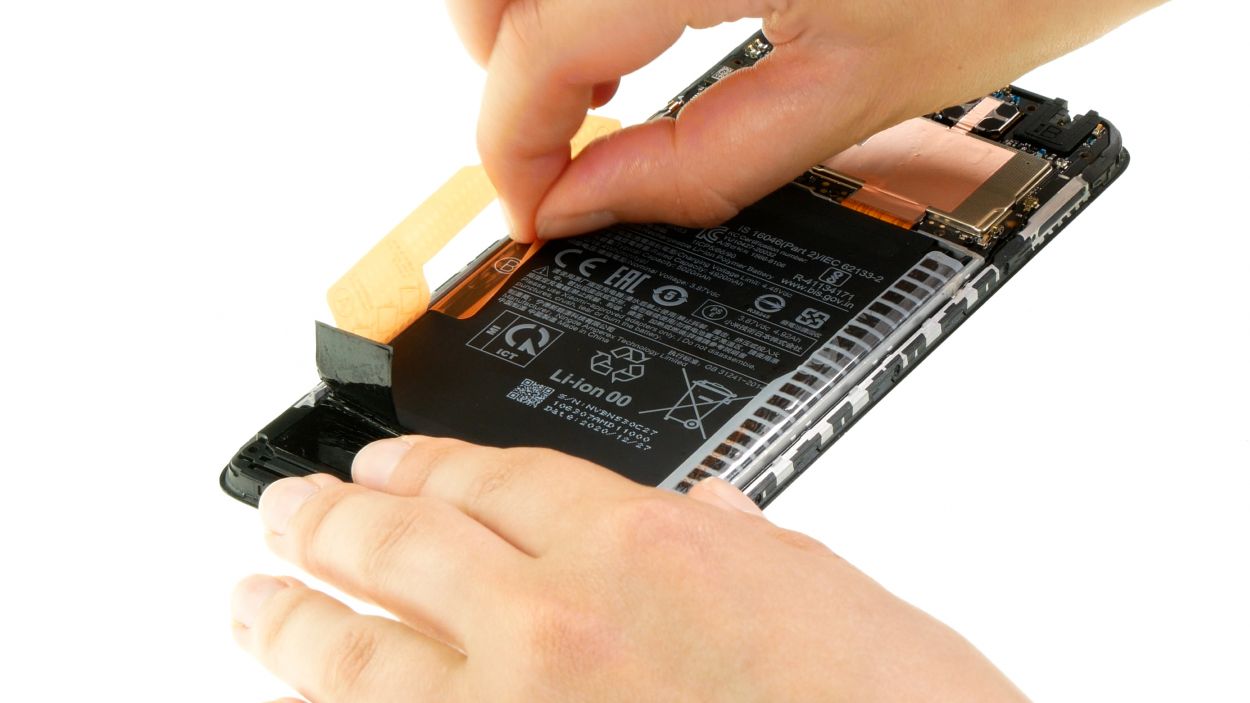
Step 12
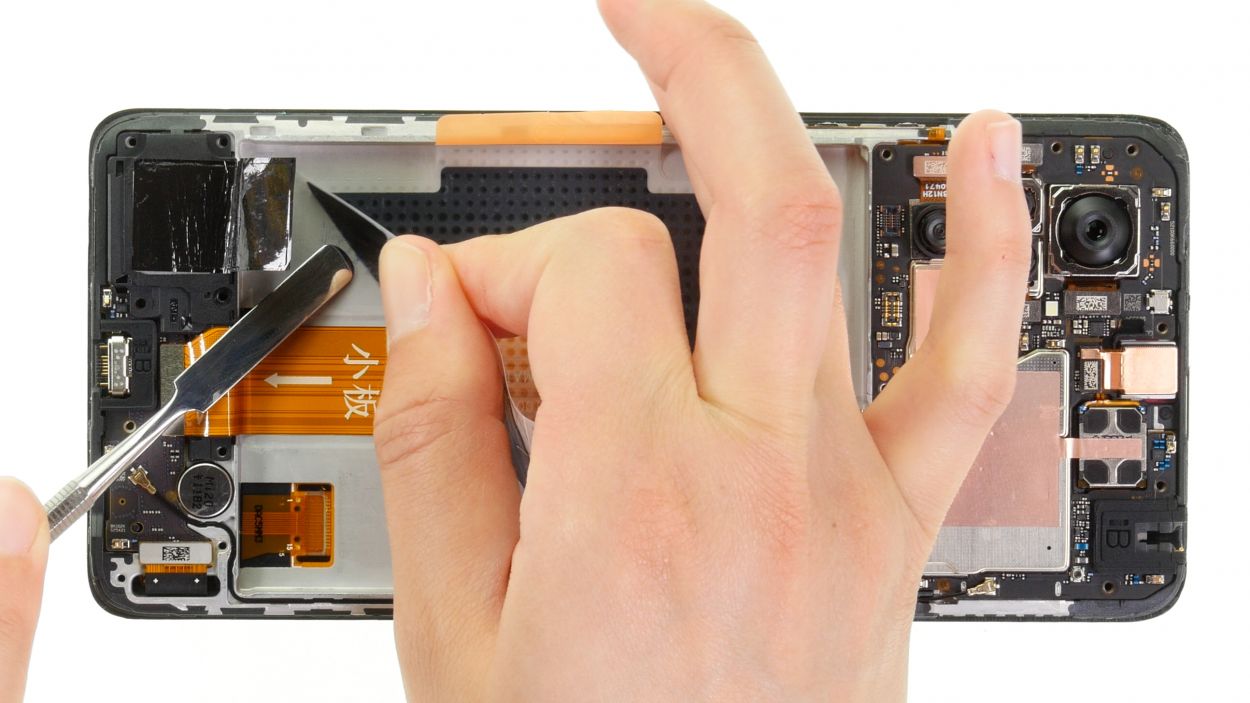
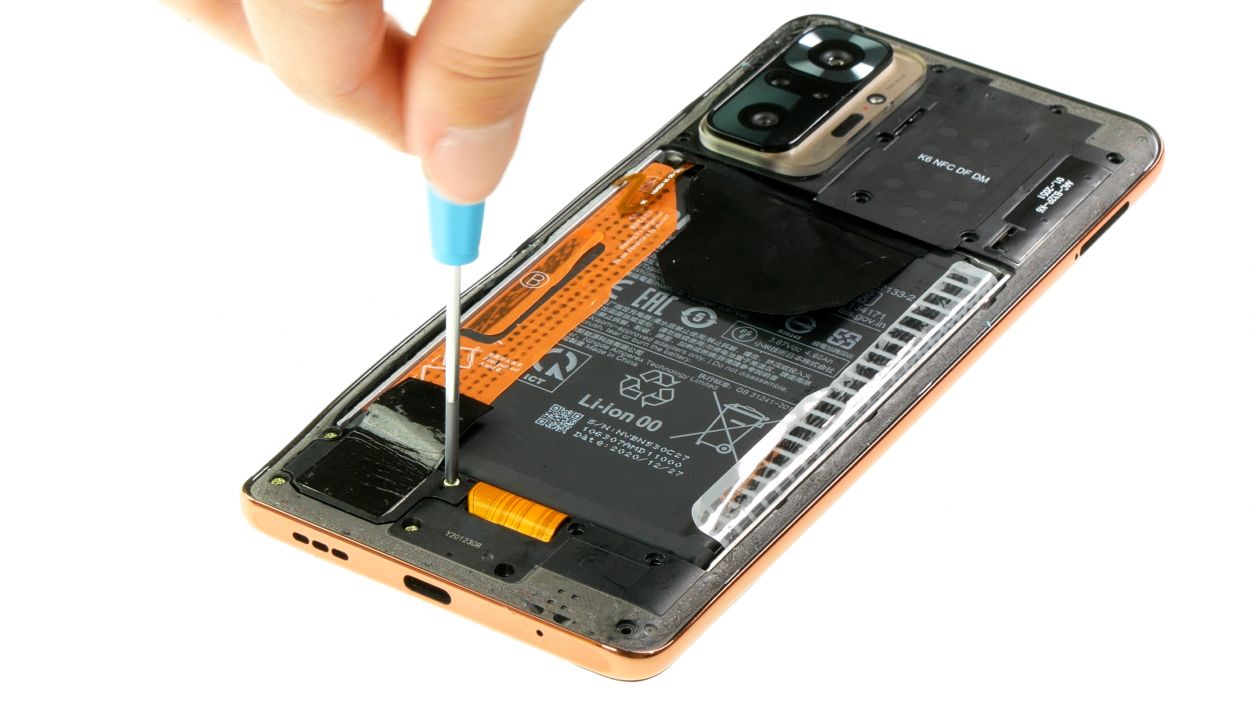
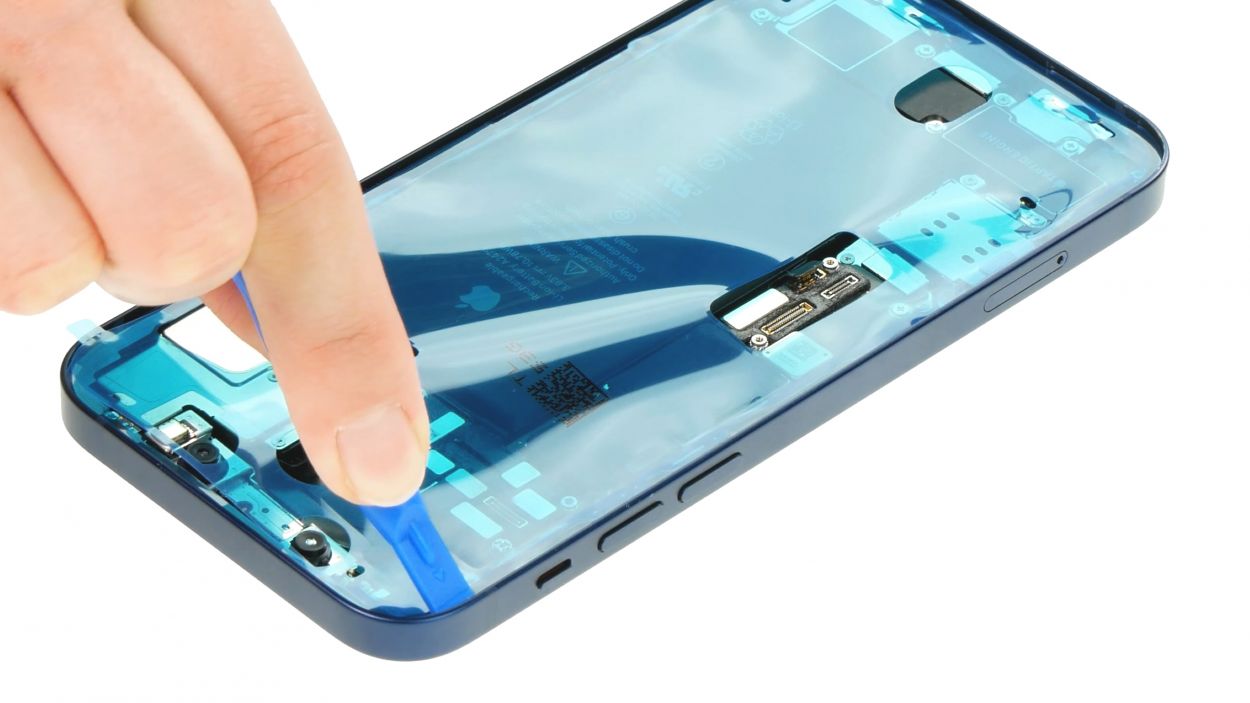
– Start by warming up that adhesive film! Just glide a hot air device over it evenly to get things nice and toasty.
– Next, grab a sturdy, flat tool like a steel spatula and gently slide it underneath the adhesive film. Take your time and peel it away piece by piece from the bottom of the screen unit.
Tools Used
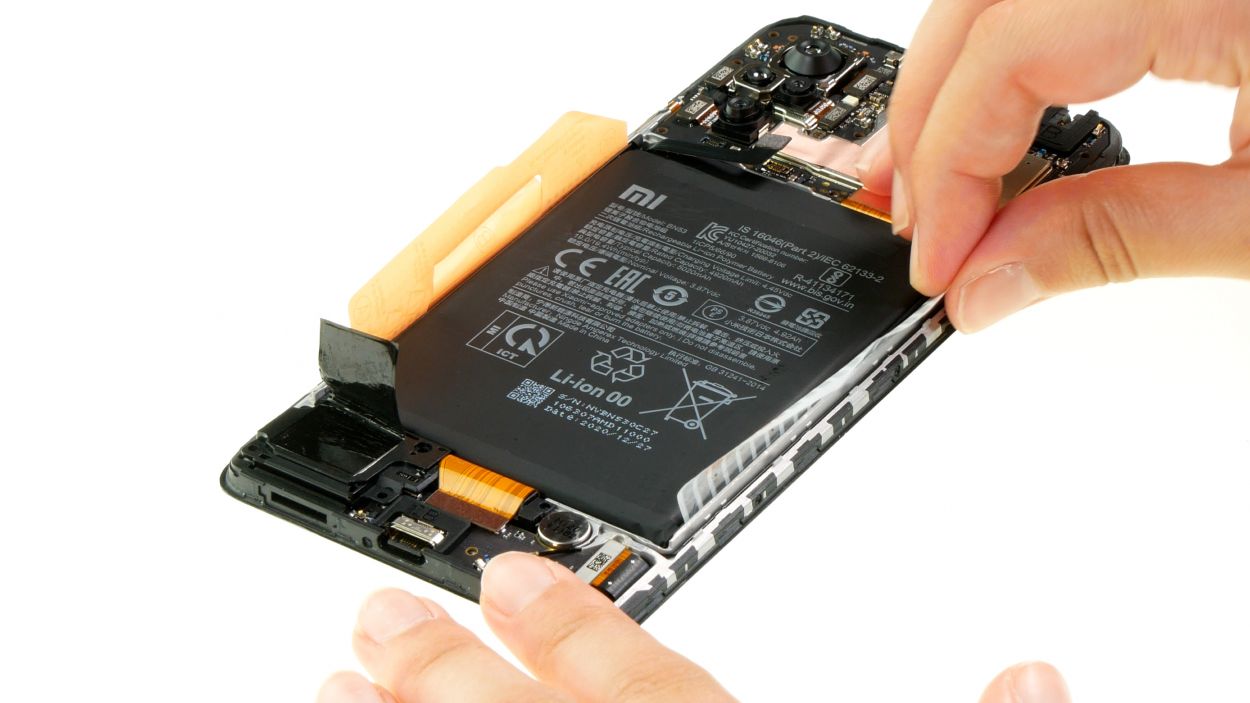
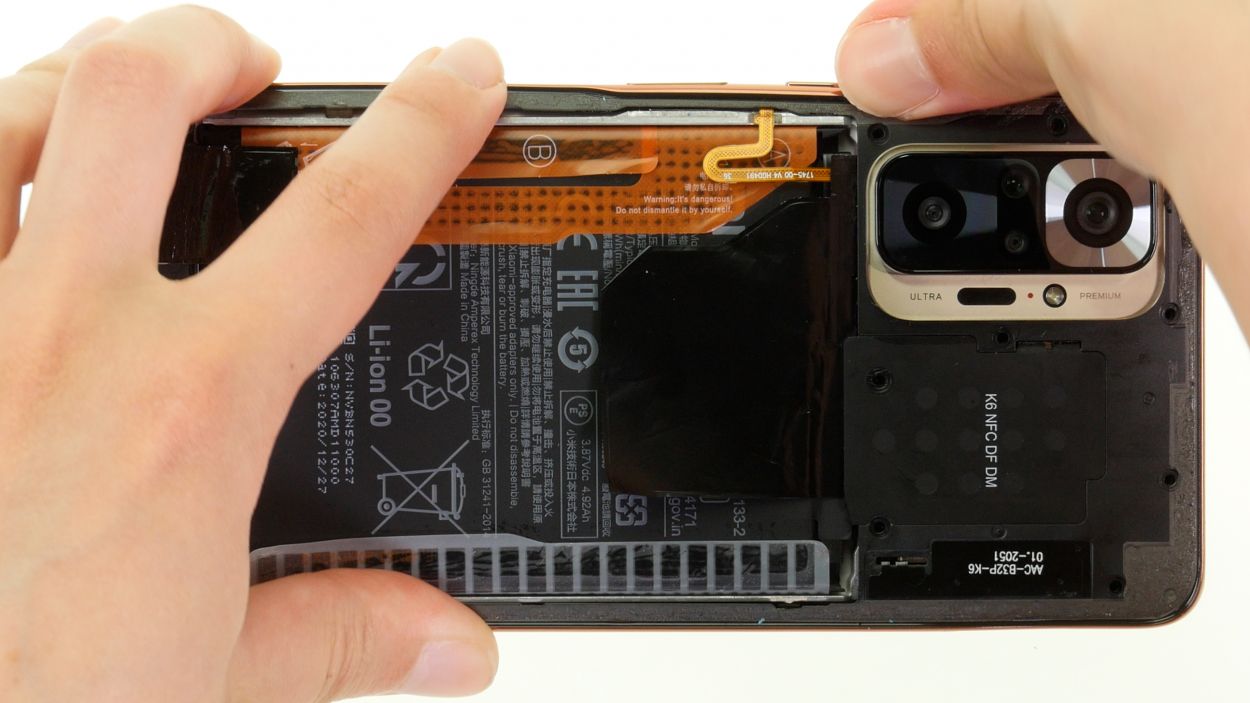
Step 13

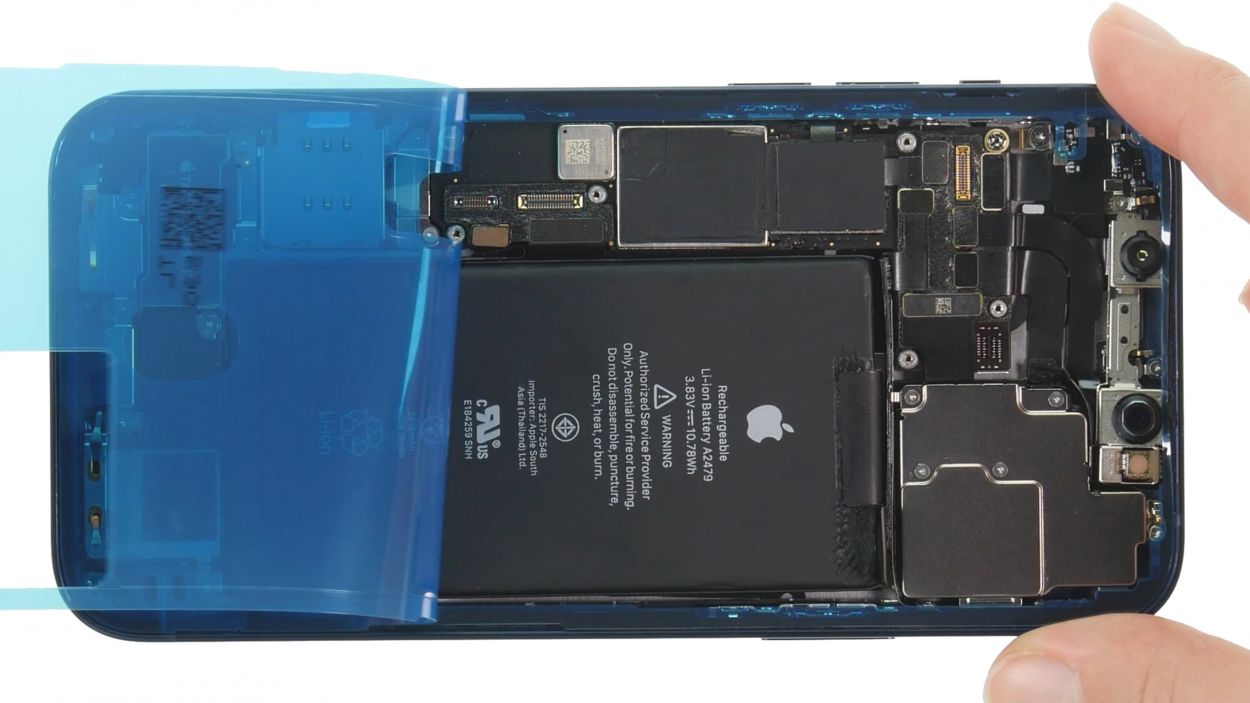
We’ve given a second life to the old battery in this photo guide. If you’re feeling adventurous and need a hand, you can always schedule a repair!
Step 14
Take it easy when connecting that fingerprint sensor! We want to keep that delicate flex cable happy and not overstretched. You’ve got this!
– Gently lean the middle frame against the screen unit, giving it a cozy spot to rest.
– Reconnect the fingerprint sensor by carefully pressing its connector onto the motherboard. Listen for that satisfying click—it’s like a little high-five for your device!
Step 15
– Gently press the battery connector back onto the motherboard to reconnect it. You’ve got this!
Step 16
Hey there! Make sure that the middle frame is sitting nice and even all around. If it’s sticking out in some spots, just loosen it up a bit and double-check that everything is in place and no pesky flex cables are getting pinched. You’re doing great!
– Now that you’ve connected the battery and fingerprint sensor connectors, it’s time to gently fold down that middle frame. You’ve got this!
– Give it a nice firm press all around the screen unit. Listen for that satisfying click as it locks into place. You’re doing great!
Step 17
9 × 4.3 mm Phillips
8 × 3.3 mm Phillips
– Time to get screwy! Fasten that middle frame with those 17 trusty Phillips screws. If you need help, you can always schedule a repair.
Tools Used
Step 18

Before you get your Xiaomi all glued up again, take a moment to check if it’s still functioning like a champ!
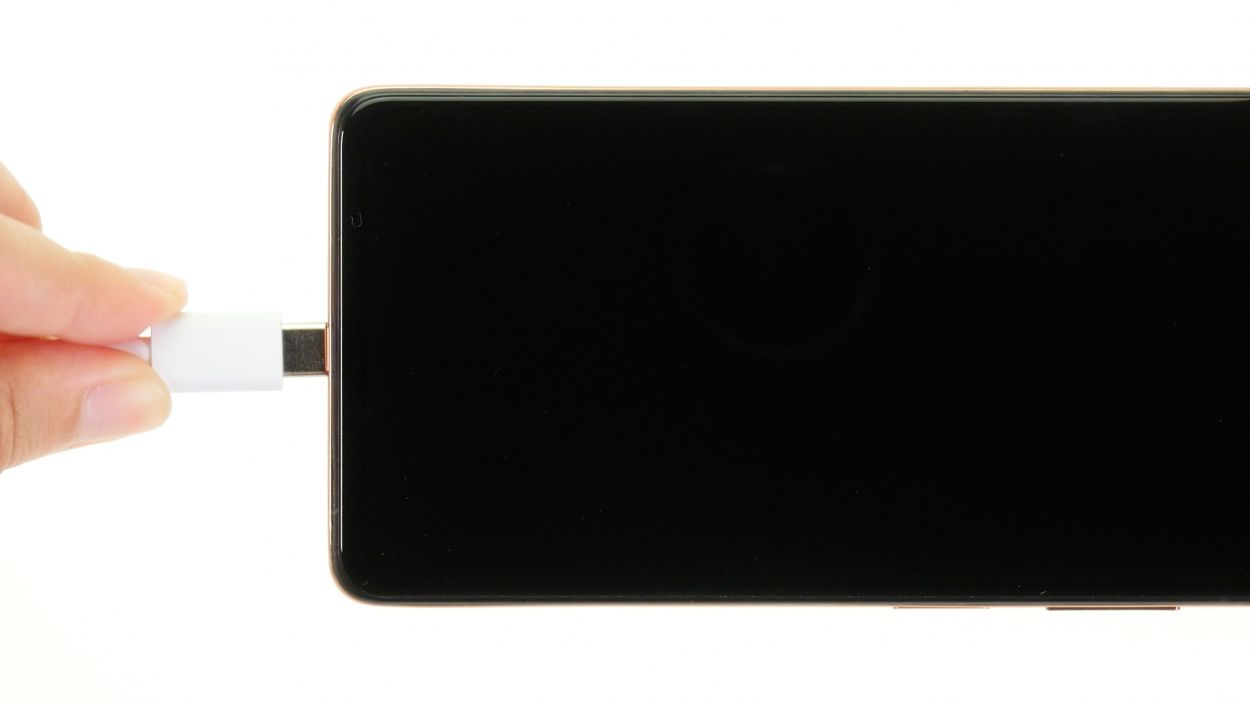
– Plug in your Redmi Note 10 pro and see if that new battery is doing its thing!
– If you’ve got a wireless charger handy, throw your phone on it and check that the NFC antenna is working its magic.
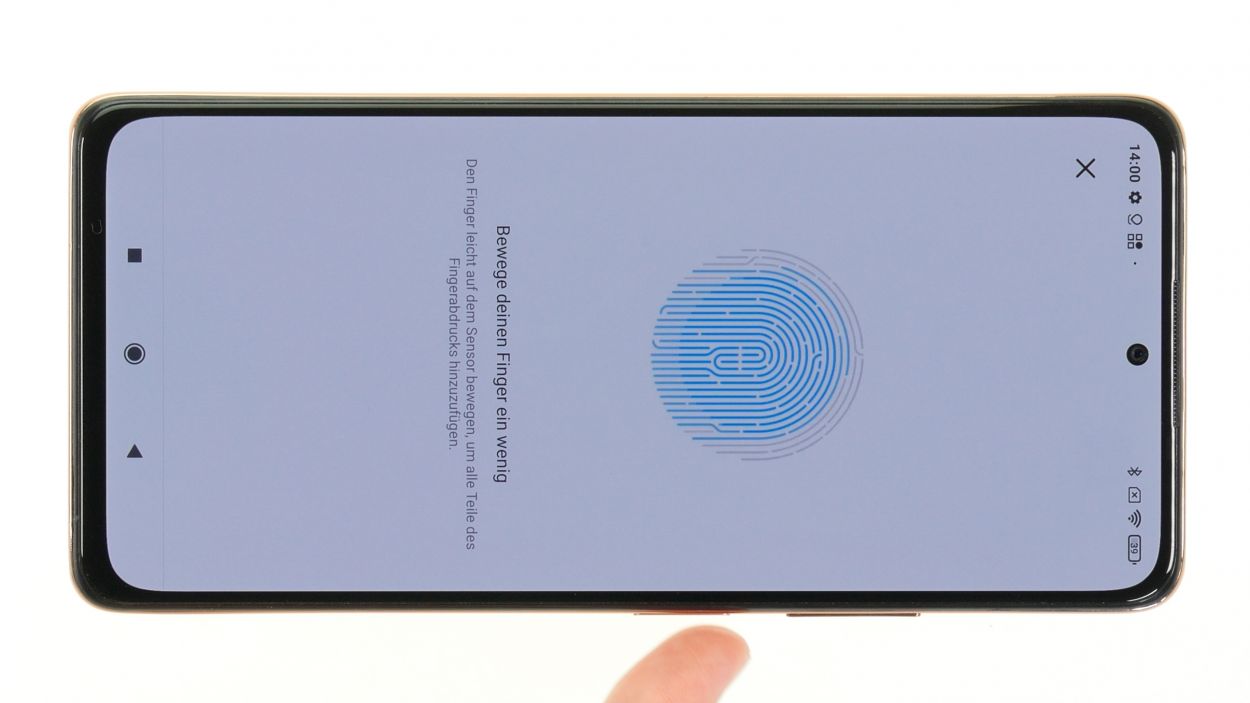
– Want to test out the other components? We’ve got a handy checklist to guide you through it.
Step 19
– Ready to get your iPhone 12 looking brand new again? We’ve got you covered! Check out our super helpful YouTube video that walks you through applying a new adhesive frame like a pro. If you need help, you can always schedule a repair.
If your adhesive frame is still holding strong and looking good, there’s no need to swap it out for a new one! But if it’s showing signs of wear and tear or just isn’t sticking like it used to, it’s time to treat your device to a fresh adhesive frame. Remember, if you need help, you can always schedule a repair.
Tools Used
Step 20

To ensure that the glue sticks like it means it, give the edge of the back cover another round with the hot air. And hey, if you want to give your device a little extra love, stack some books on it for a few minutes. It’s like a cozy blanket for your gadget!
– Wrap up your Xiaomi Redmi Note 10 Pro repair by gently pressing the back cover back onto the screen unit. You’ve got this!
Tools Used
- heat gun to heat parts that are glued on so they’re easier to remove.
In most cases, you can also use a hairdryer.” rel=”noopener”>Heat gun
Step 21

Just a friendly reminder to pop that SIM tray in the right way! It’s like a puzzle piece – it only fits one way. If you need help, you can always schedule a repair.
– Pop that SIM tray back in after making sure the back cover is snug and secure. You’ve got this!