How to Replace Xiaomi Redmi Note 8 Pro Back Cover Guide
Duration: 30 min.
Steps: 5 Steps
We’ll guide you through the fun process of changing the back cover of your Redmi Note 8 Pro, step by step, so it can sparkle like new! If you need help, you can always schedule a repair. Enjoy the journey of giving your device a fresh look!
Step 1
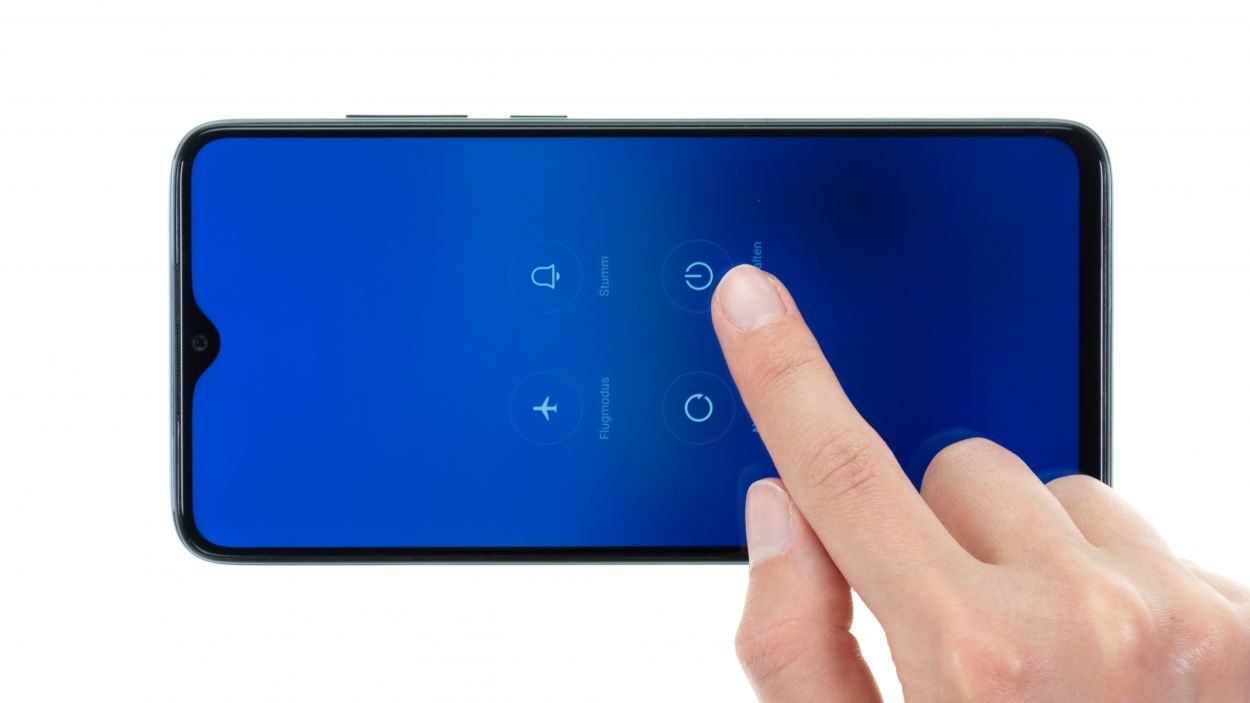
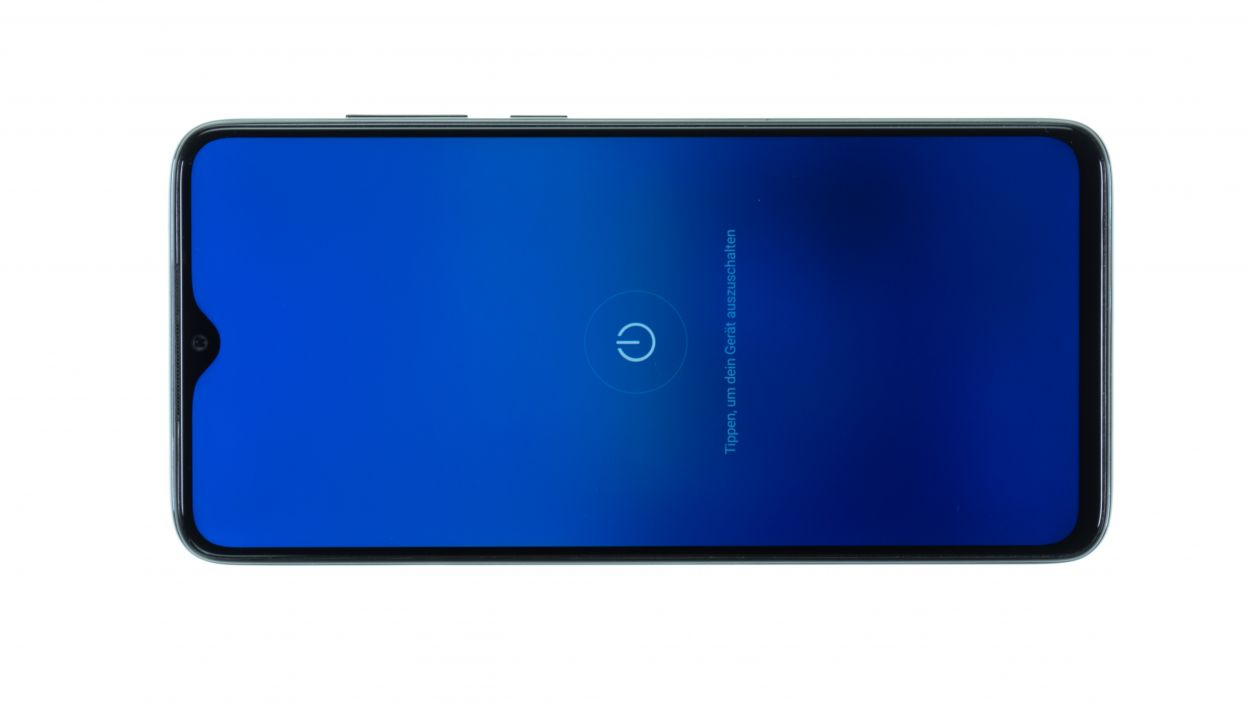
– Alright, let’s kick things off! First, give that power button a nice, firm press and hold it down for a few seconds.
– Next up, when the menu pops up, just tap on ‘Power Off’.
– And voilà! Your smartphone will gracefully power down in just a few seconds.
Step 2
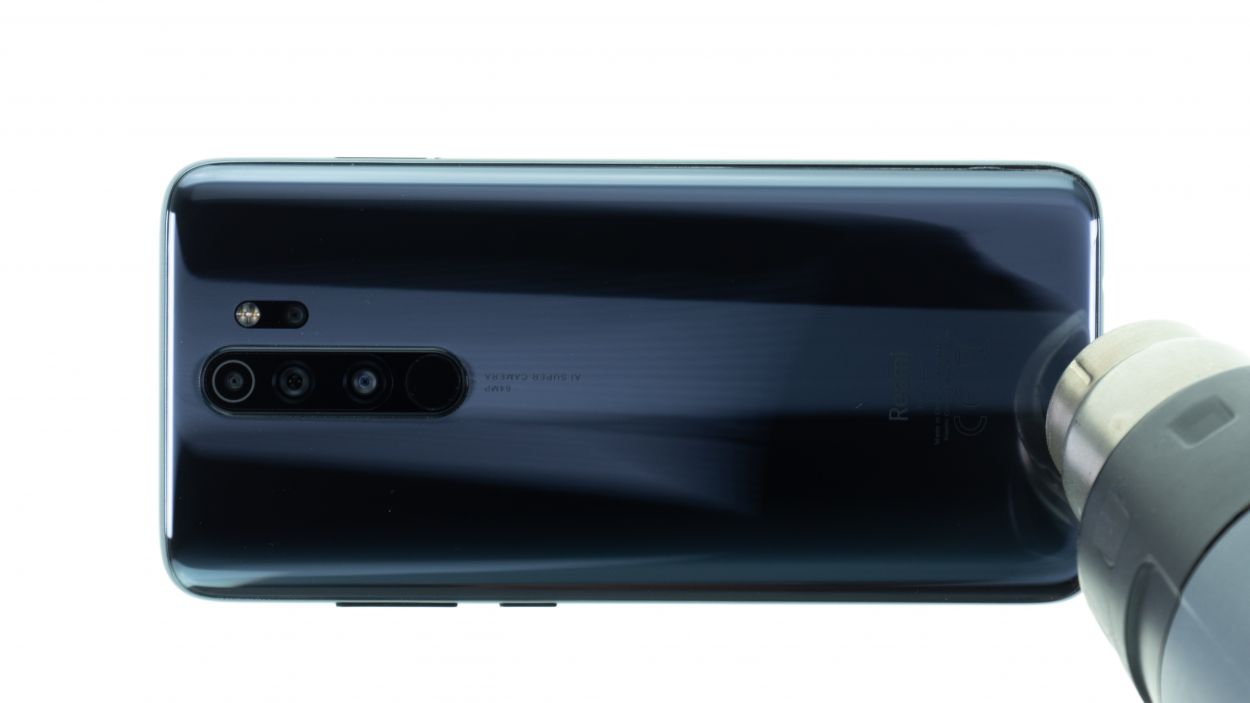
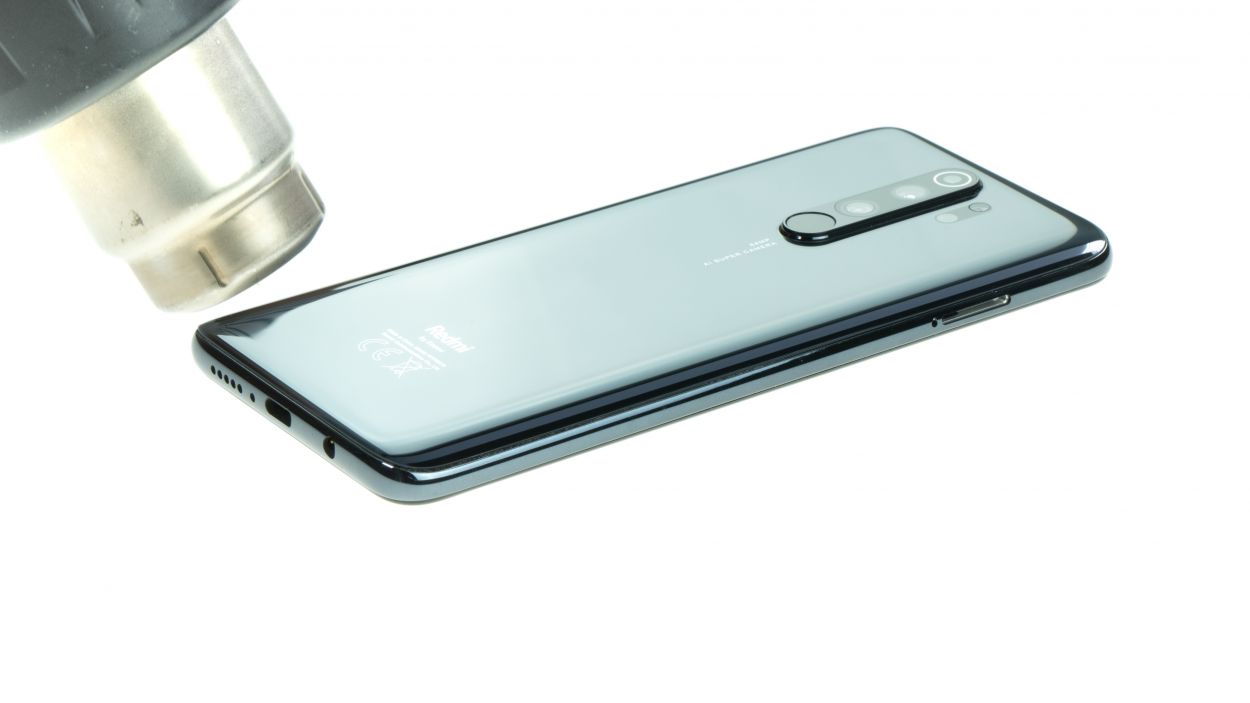
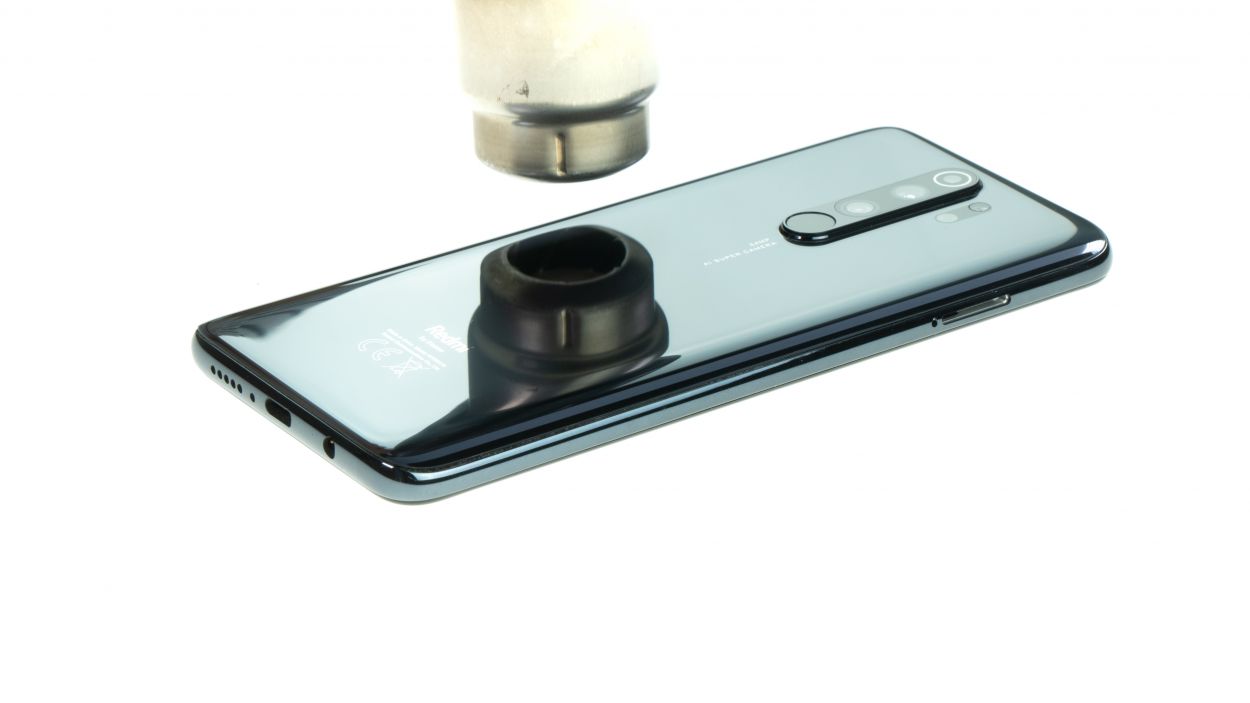
As a handy tip, warm up the edge of the back cover just enough so it feels cozy to the touch—no finger burns allowed!
– Gently flip your phone over so the screen is resting on a soft, clean surface—let’s keep it cozy!
– Now, glide that hot air tool smoothly along the edge of the back cover. It’s like giving your phone a warm hug!
Tools Used
- heat gun to heat parts that are glued on so they’re easier to remove.
In most cases, you can also use a hairdryer.” rel=”noopener”>Heat gun
Step 3
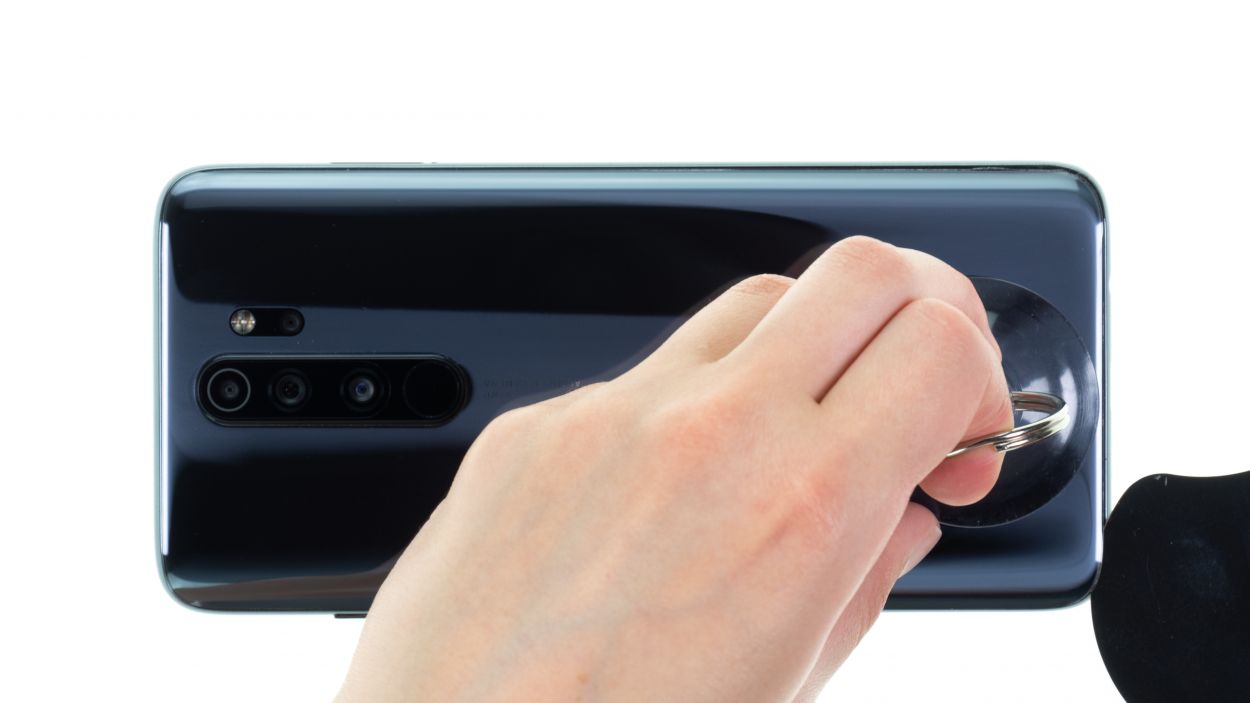
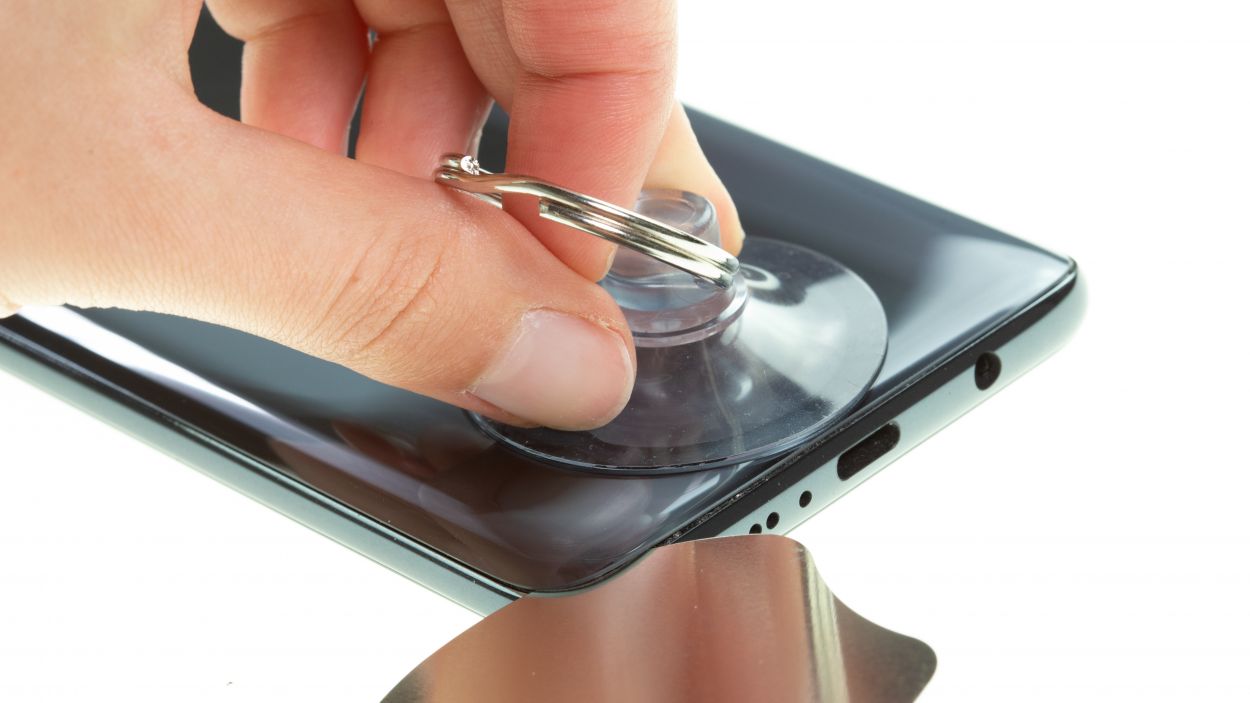
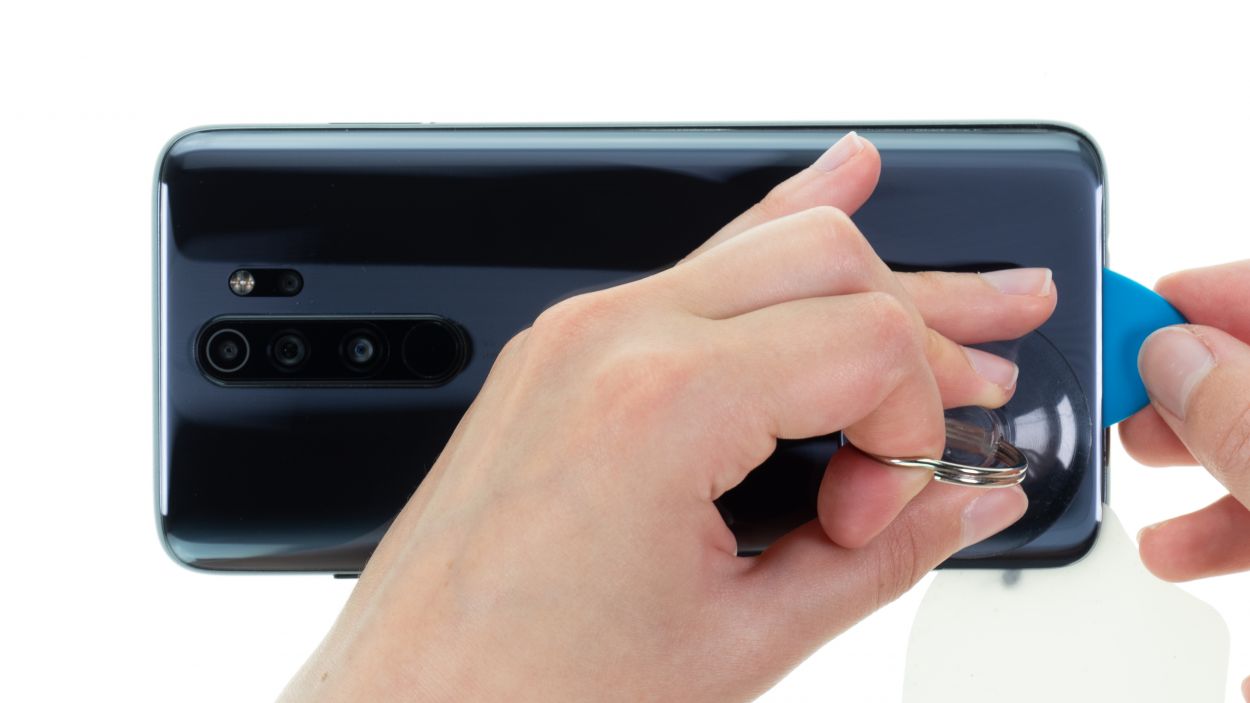
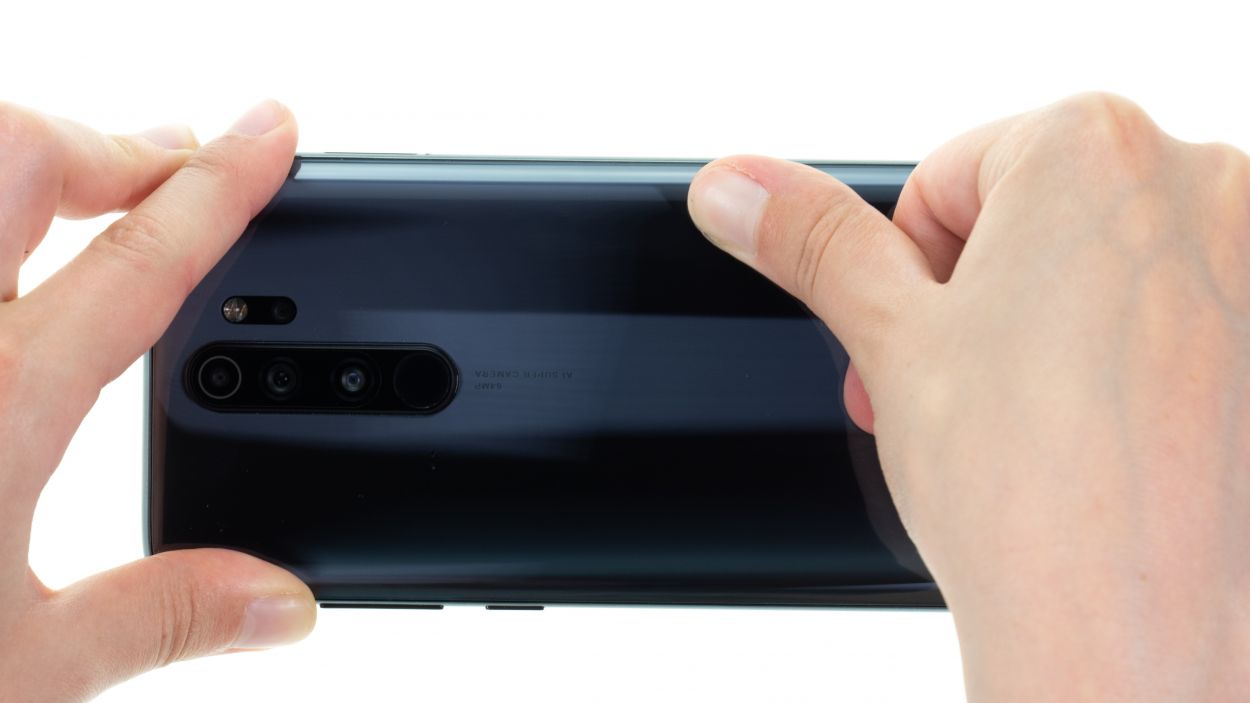
– First things first, grab a suction cup and stick it on the lower part of the back cover. Give it a gentle pull upwards to create a little gap between the back cover and the display frame. Easy peasy!
– Now, let’s widen that gap! Slide a flat, sturdy tool into the opening. We suggest using the iFlex and iPlastix for this task. If you need help, you can always schedule a repair!
Heads up! Opening up your Xiaomi Redmi Note 8 Pro will cancel your manufacturer’s warranty. So, think twice before diving in! If you need help, you can always schedule a repair.
The iFlex is crafted from super sleek, ultra-stable metal with some sharp edges that mean business. On the flip side, the iPlastix is all about that flexible plastic life with smooth, rounded edges. To keep your device’s frame looking sharp and scratch-free, we suggest kicking things off with the iFlex and then switching to the iPlastix as soon as you can. You’ve got this!
Tools Used
- screen and the frame. The practical iFlex is made of stainless steel and sits comfortably in the hand. This makes it the perfect assistant for every smartphone repair.” rel=”noopener”>iFlex Opening Tool
- battery? Then the iPlastix with its large blade will help you. The practical assistant is made of flexible, especially sturdy plastic and lies comfortably in the hand. Thanks to its design, you can even get into smaller gaps, for example to lift the screen or to prevent it from sticking together again.” rel=”noopener”>iPlastix Opening Tool
- VAKUPLASTIC Suction Cup
Step 4
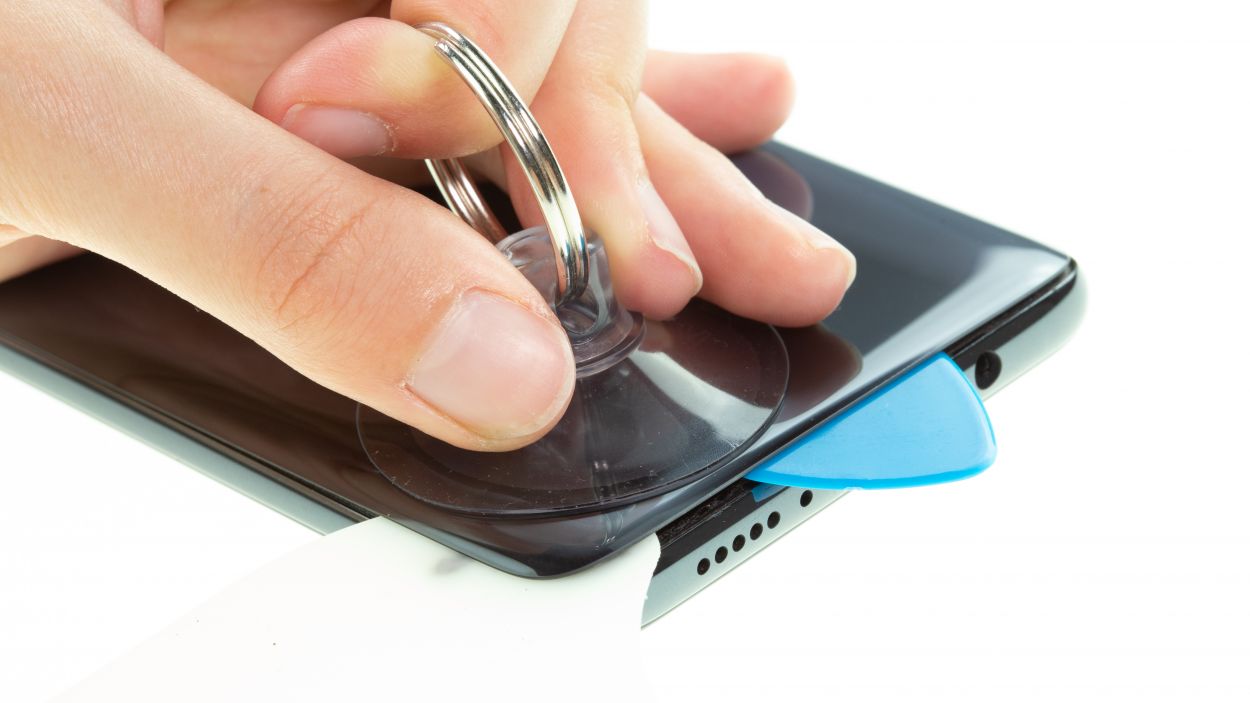


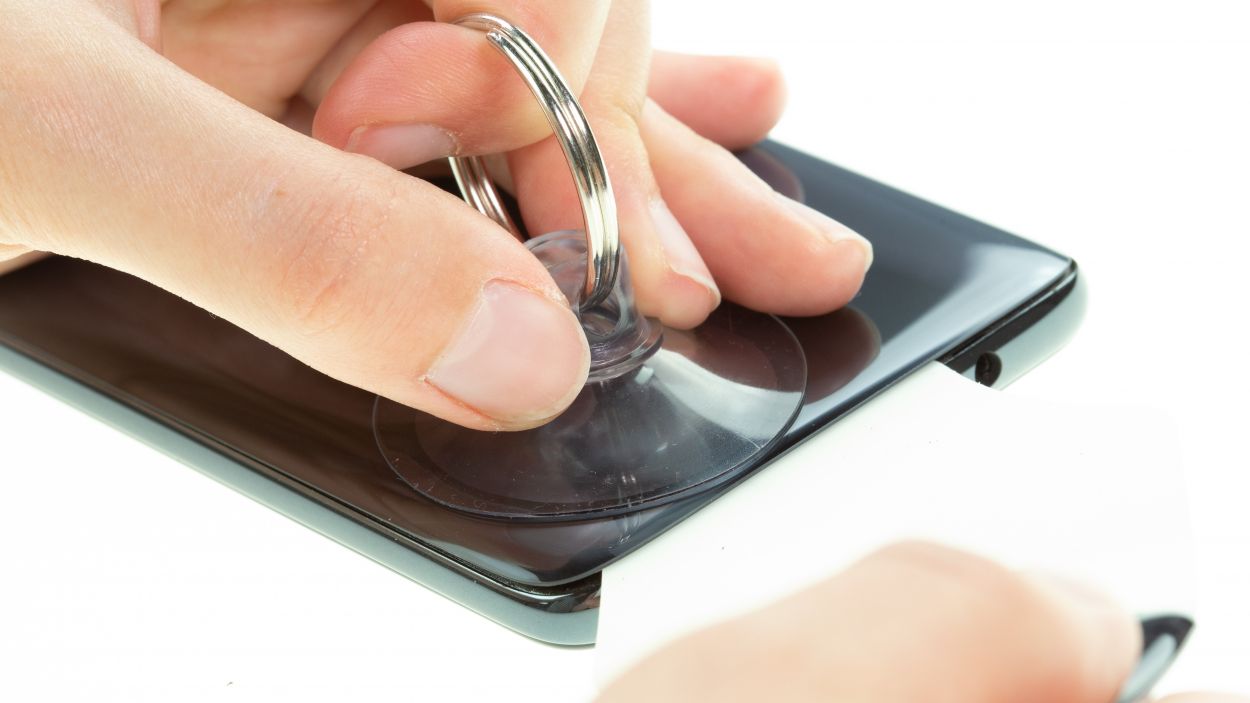
– Gently glide that tool along the edge of the back cover, like you’re giving it a little dance.
– While you’re at it, give the back cover a gentle push upwards to help it break free from the display. Teamwork makes the dream work!
Take it easy when you’re loosening that back cover! It’s made of glass and has a tendency to be fragile. Let’s keep it in one piece!
Slide those flat plastic picks into the gaps between the display and the back cover at regular intervals to keep that pesky adhesive from making a comeback. Make sure to insert the picks with the wide side facing inwards for best results!
Tools Used
- Flat Picks
- battery? Then the iPlastix with its large blade will help you. The practical assistant is made of flexible, especially sturdy plastic and lies comfortably in the hand. Thanks to its design, you can even get into smaller gaps, for example to lift the screen or to prevent it from sticking together again.” rel=”noopener”>iPlastix Opening Tool
- VAKUPLASTIC Suction Cup
Step 5
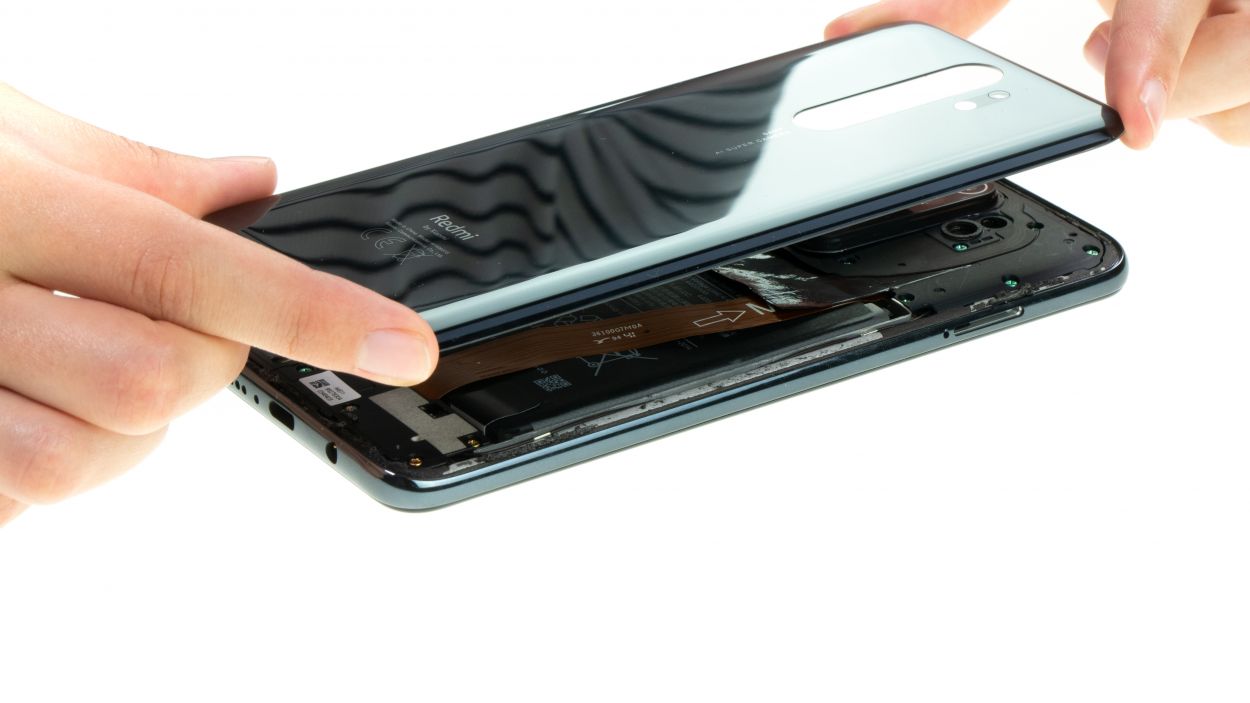
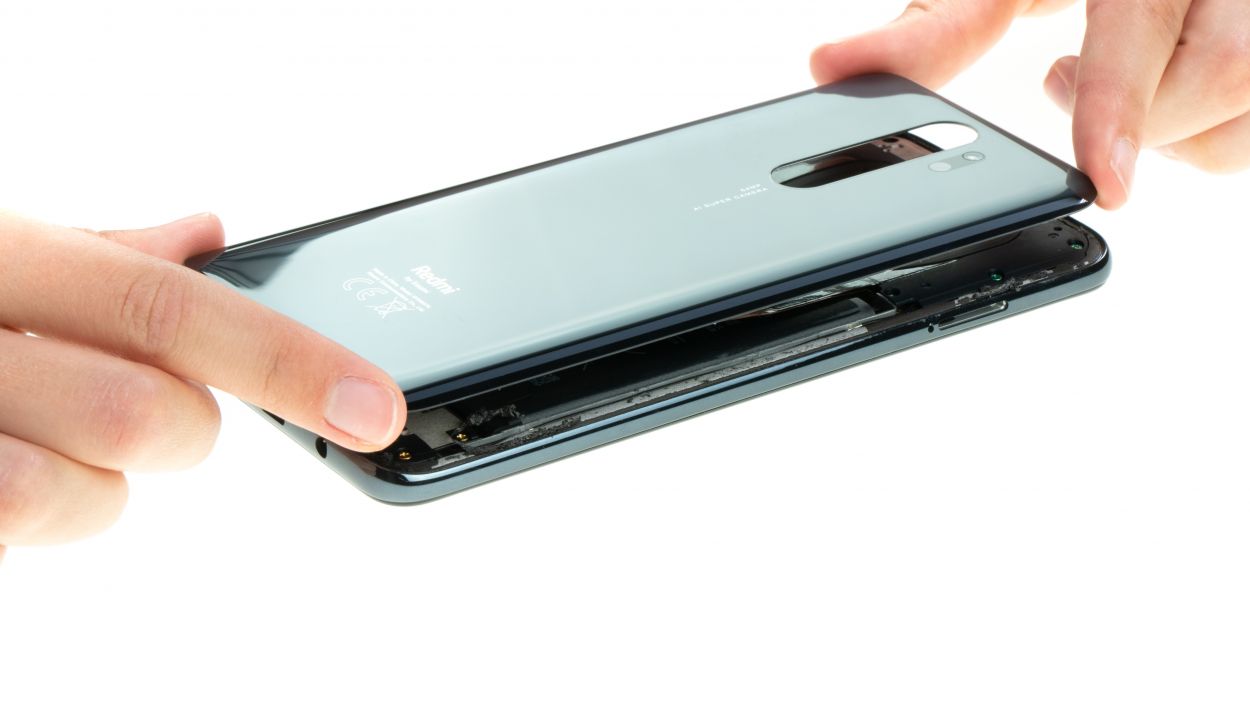
Since we’re not putting on a shiny new back cover for this guide, check out the old one in the photos below!
– Kick things off by peeling off that protective film from the adhesive frame on the inside of your shiny new back cover.
– Next, line up the back cover with the display unit and give it a good press to make sure it sticks.
– Finally, warm up the edge of the back cover with some hot air to get that adhesive frame nice and cozy.
