How to Replace Your iPhone 16 Pro Rear Glass Adhesive
Duration: 45 minutes
Steps: 23 Steps
Let’s get ready before diving in!
Get ready to put on some adhesive magic and seal that rear glass (or back panel) on your iPhone 16 Pro! Keeping that adhesive fresh is key to ensuring your iPhone stays water and dust resistant after you've done your repair or when the old seal decides it’s time to retire. Remember, the water resistance of your iPhone is directly linked to how well you apply that adhesive. Before diving into this guide, make sure your repair is wrapped up and your iPhone is all put back together, except for that rear glass. If you haven’t done that yet, go back to your repair guide and finish it up! The pictures in this guide feature the Max model iPhone, so there might be a few visual differences, but don’t worry, they won’t mess with the procedure!
Step 1


Be mindful of those delicate grounding clips while you're giving the frame a good clean! If one decides to get a bit rebellious and bend out of shape, don’t sweat it—just coax it back into place gently using your fingers or some tweezers.
- Grab those blunt nose tweezers or just use your fingers to gently peel away the big chunks of adhesive clinging to the frame edges.
- Next up, take a spudger and have some fun scraping off any leftover adhesive residue from the frame.
- If the adhesive is being a bit too clingy, warm things up a bit with a hair dryer or heat gun, and give it another shot!
Tools Used


Step 2


- If you're planning to reuse that back glass, grab a microfiber or lint-free cloth and give it a few drops of some strong isopropyl alcohol (over 90% works wonders!). Wipe around the edges to get that surface all set for the new adhesive. You're doing great!
Step 3

Take your time with this part. A spotless frame helps the new adhesive stick like a champ, giving you a solid, long-lasting hold.
- Grab a lint-free cloth or a coffee filter, and gently wrap it around the end of your spudger. Add a few drops of high-concentration isopropyl alcohol (over 90%)—we're talking the good stuff.
- Now, wipe along the edge of the frame in one smooth direction to clean up any leftover adhesive residue. Easy does it!
Tools Used
Step 4

Get a sneak peek at how the adhesive will fit in the frame by checking out the camera cutout and notches at the top and bottom edges. It's like giving your device a little makeover before you get started!
- Place the adhesive sheet on the frame to check its correct alignment.
Step 5


This adhesive is super sticky, so keep it safe until you're ready to stick it on the frame. It's best to keep it clear of anything else until the moment of action.
If your adhesive comes with multiple liners, gently peel off the one that reveals the sticky side meant for the frame.
- Find the tab in the corner of the adhesive sheet and gently peel back the liner, just enough to reveal about a third of the sticky surface.
Step 6


Once you’ve pressed that adhesive down, it’s stuck like glue—literally! If it’s not in the right spot, you’ll need to remove it and start fresh with new adhesive. No pressure, just take your time and get it right!
- Line up the sticky edge of the adhesive strip with the matching edge of your iPhone's frame—like two puzzle pieces meant to be together.
- Once things look lined up, give that strip a gentle tap onto the frame to lock it in place. Nice and easy!
Step 7


No spare adhesive strips? No worries! You can reassemble your iPhone and use it like usual. Just remember—water resistance is taking a little vacation until you swap in new adhesive.
Got the adhesive lined up? The edges should snap right into place, smooth as butter.
If things look a bit off, gently nudge the long edges into alignment with the frame. You got this.
Adhesive looking wrinkly or creased? Peel it off and try again with a fresh strip—third time’s the charm!
- Keep peeling off that adhesive backing and press the sticky side down as you go—nice and easy, like you're laying out a fresh roll of tape.
Step 8


Be careful with those delicate grounding clips! If one gets out of place, just gently nudge it back into position using your fingers or tweezers. Easy does it!
Be gentle with it—if you press too hard, you could end up stretching or bending the adhesive. Take your time, and you'll do great!
- Grab a spudger and gently work your way around the edges of your iPhone, pressing the adhesive down as you go. It's like giving your phone a little hug—just the right amount of pressure to keep things secure.
Tools Used
Step 9


Right now, you might still see those little liners hugging the edges, keeping the adhesive from getting too cozy with anything else while you work on putting your iPhone back together. Hold off on peeling those release liners just a bit longer!
- Grab a spudger or just your fingers and gently lift the pull tab stuck to the big front liner. Usually, you’ll find the pull tab hanging out in one of the liner’s corners.
- Once you've got a hold of the pull tab, use it to peel the large front liner right off the adhesive. Easy does it!
Tools Used
Step 10

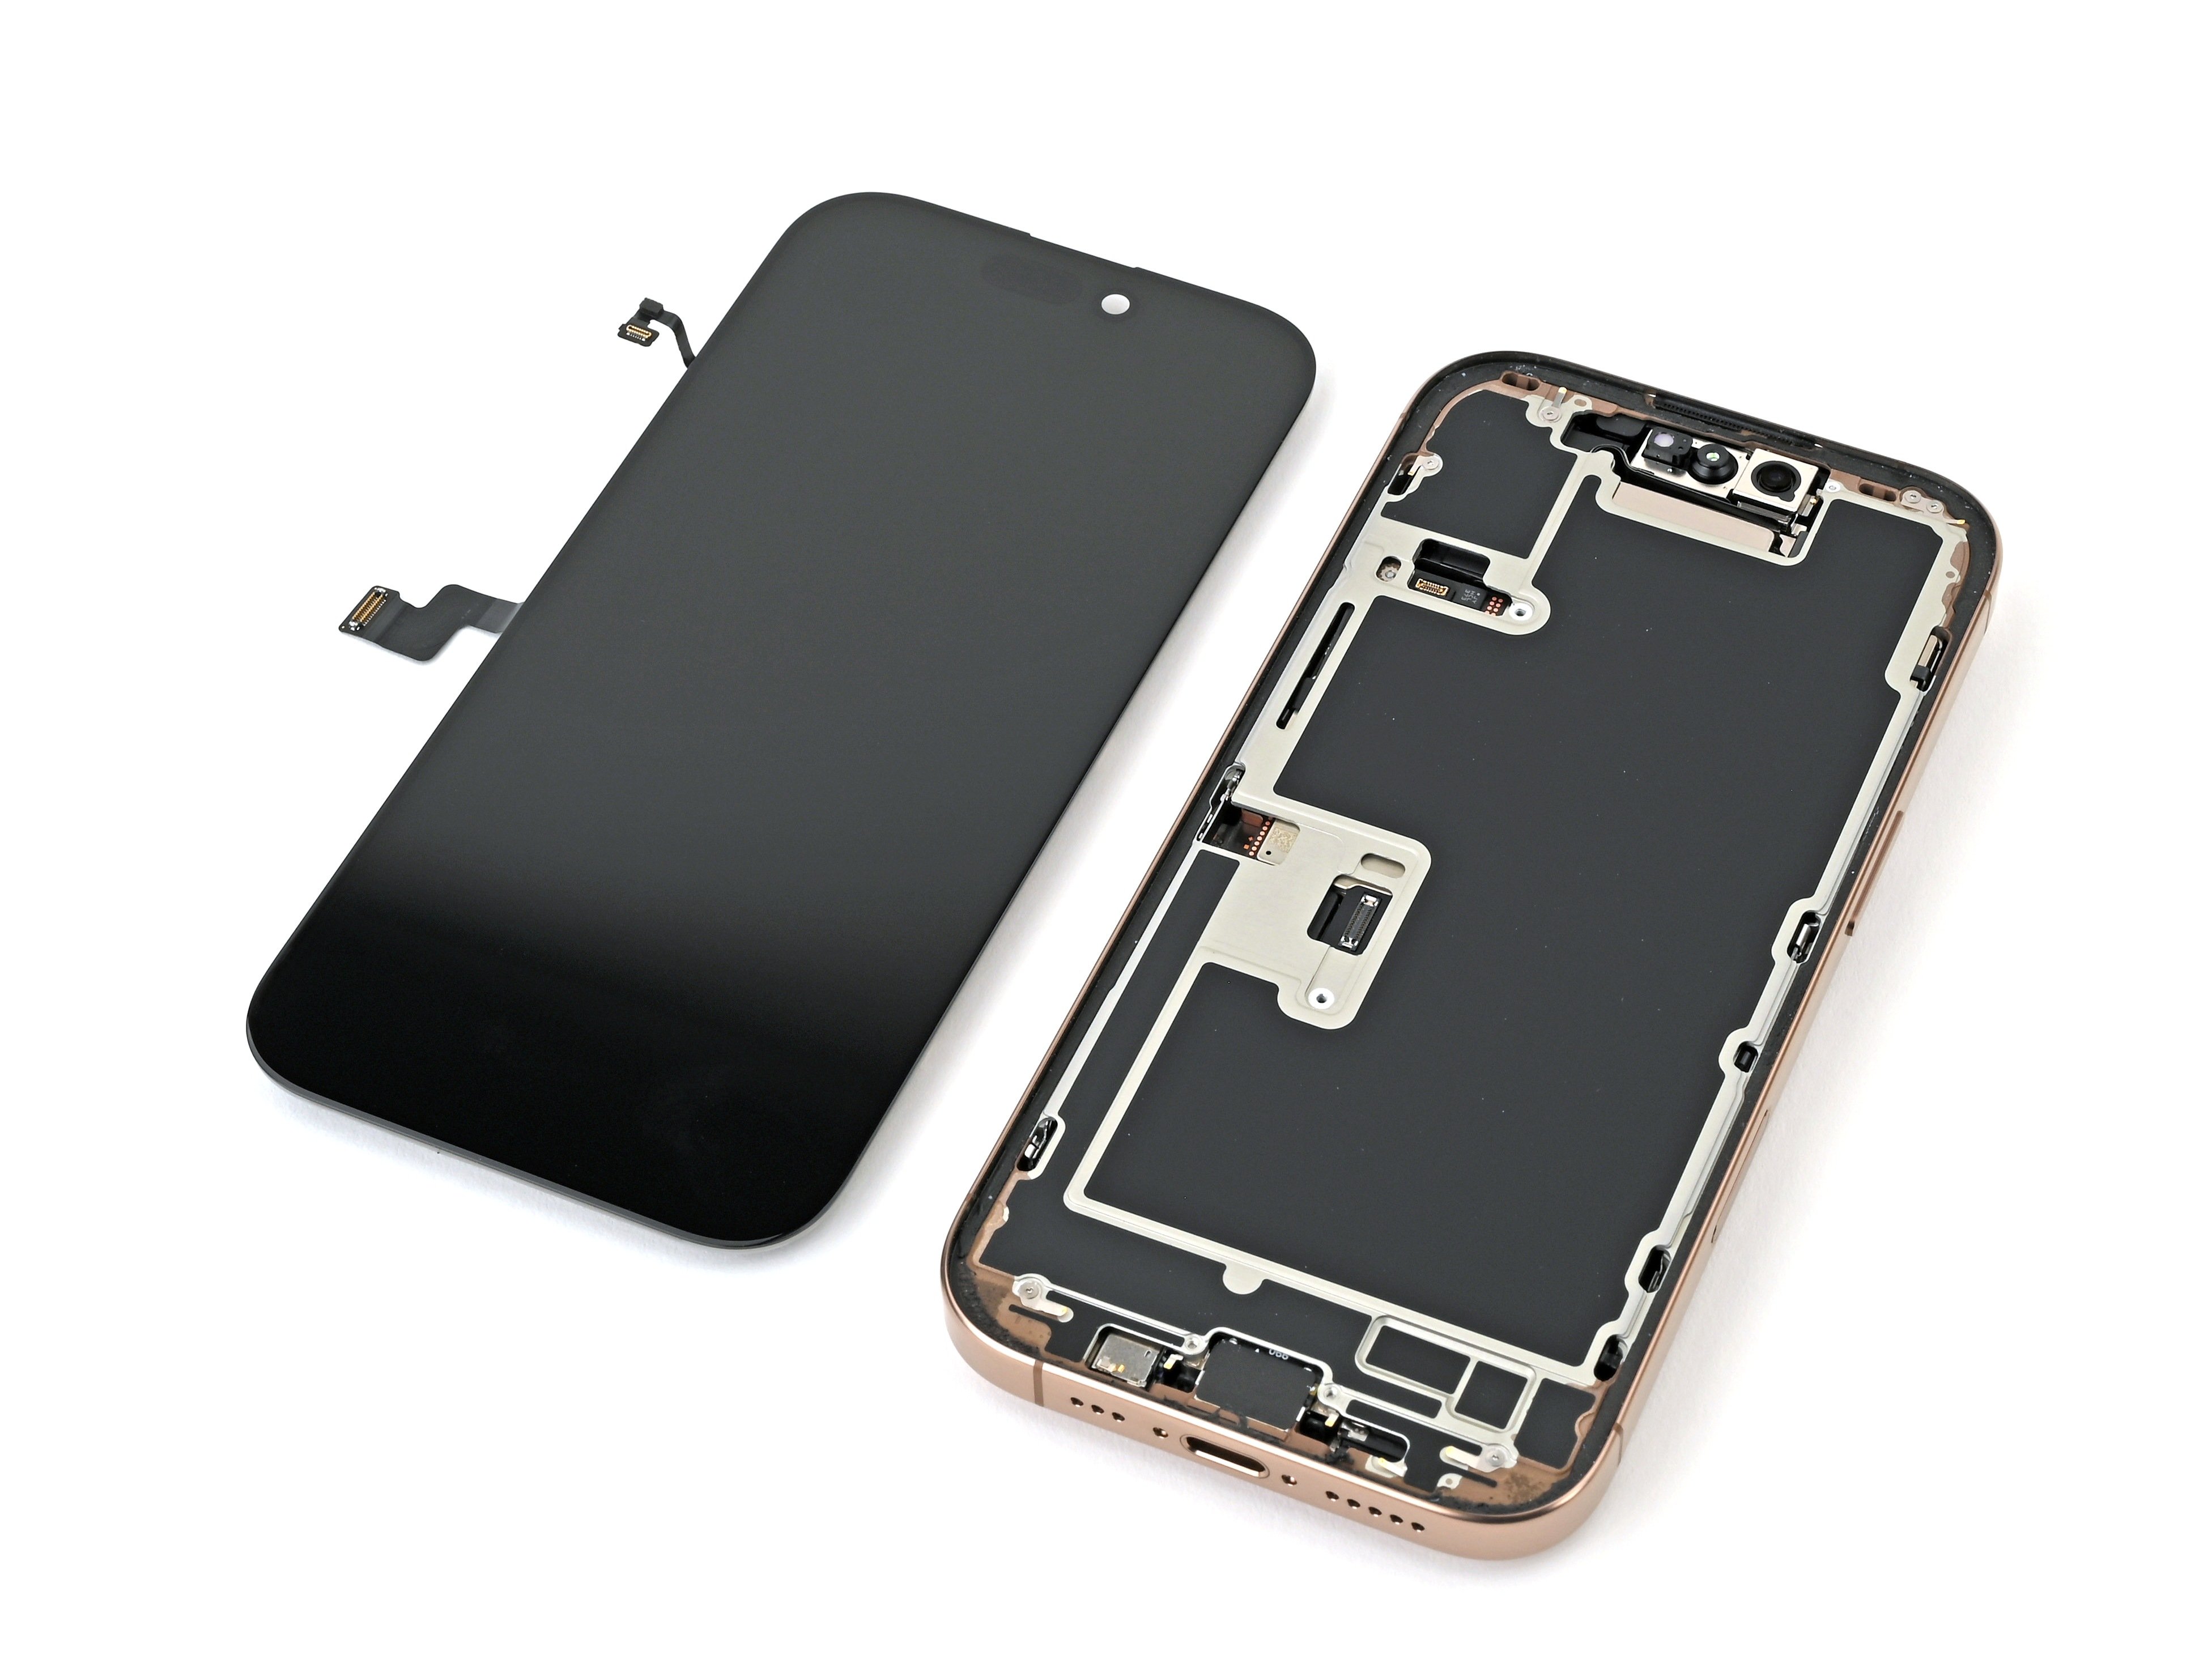
- Lift the back glass gently at the right edge of your iPhone, giving it a little nudge to help it along.
Step 11

- Gently use your finger or the flat end of a spudger to nudge and snap the back glass connector onto the logic board.
Tools Used
Step 12

Now's a great time to power up your iPhone and make sure everything’s working just right before sealing it back up. Once you’ve confirmed it’s good to go, power it down and keep putting it back together.
If your iPhone doesn’t turn on, plug it into a charger and give it another shot.
If you swapped out the logic board and the screen still won’t light up, you’ll want to check out the screen guide to manually reconnect the display cable.
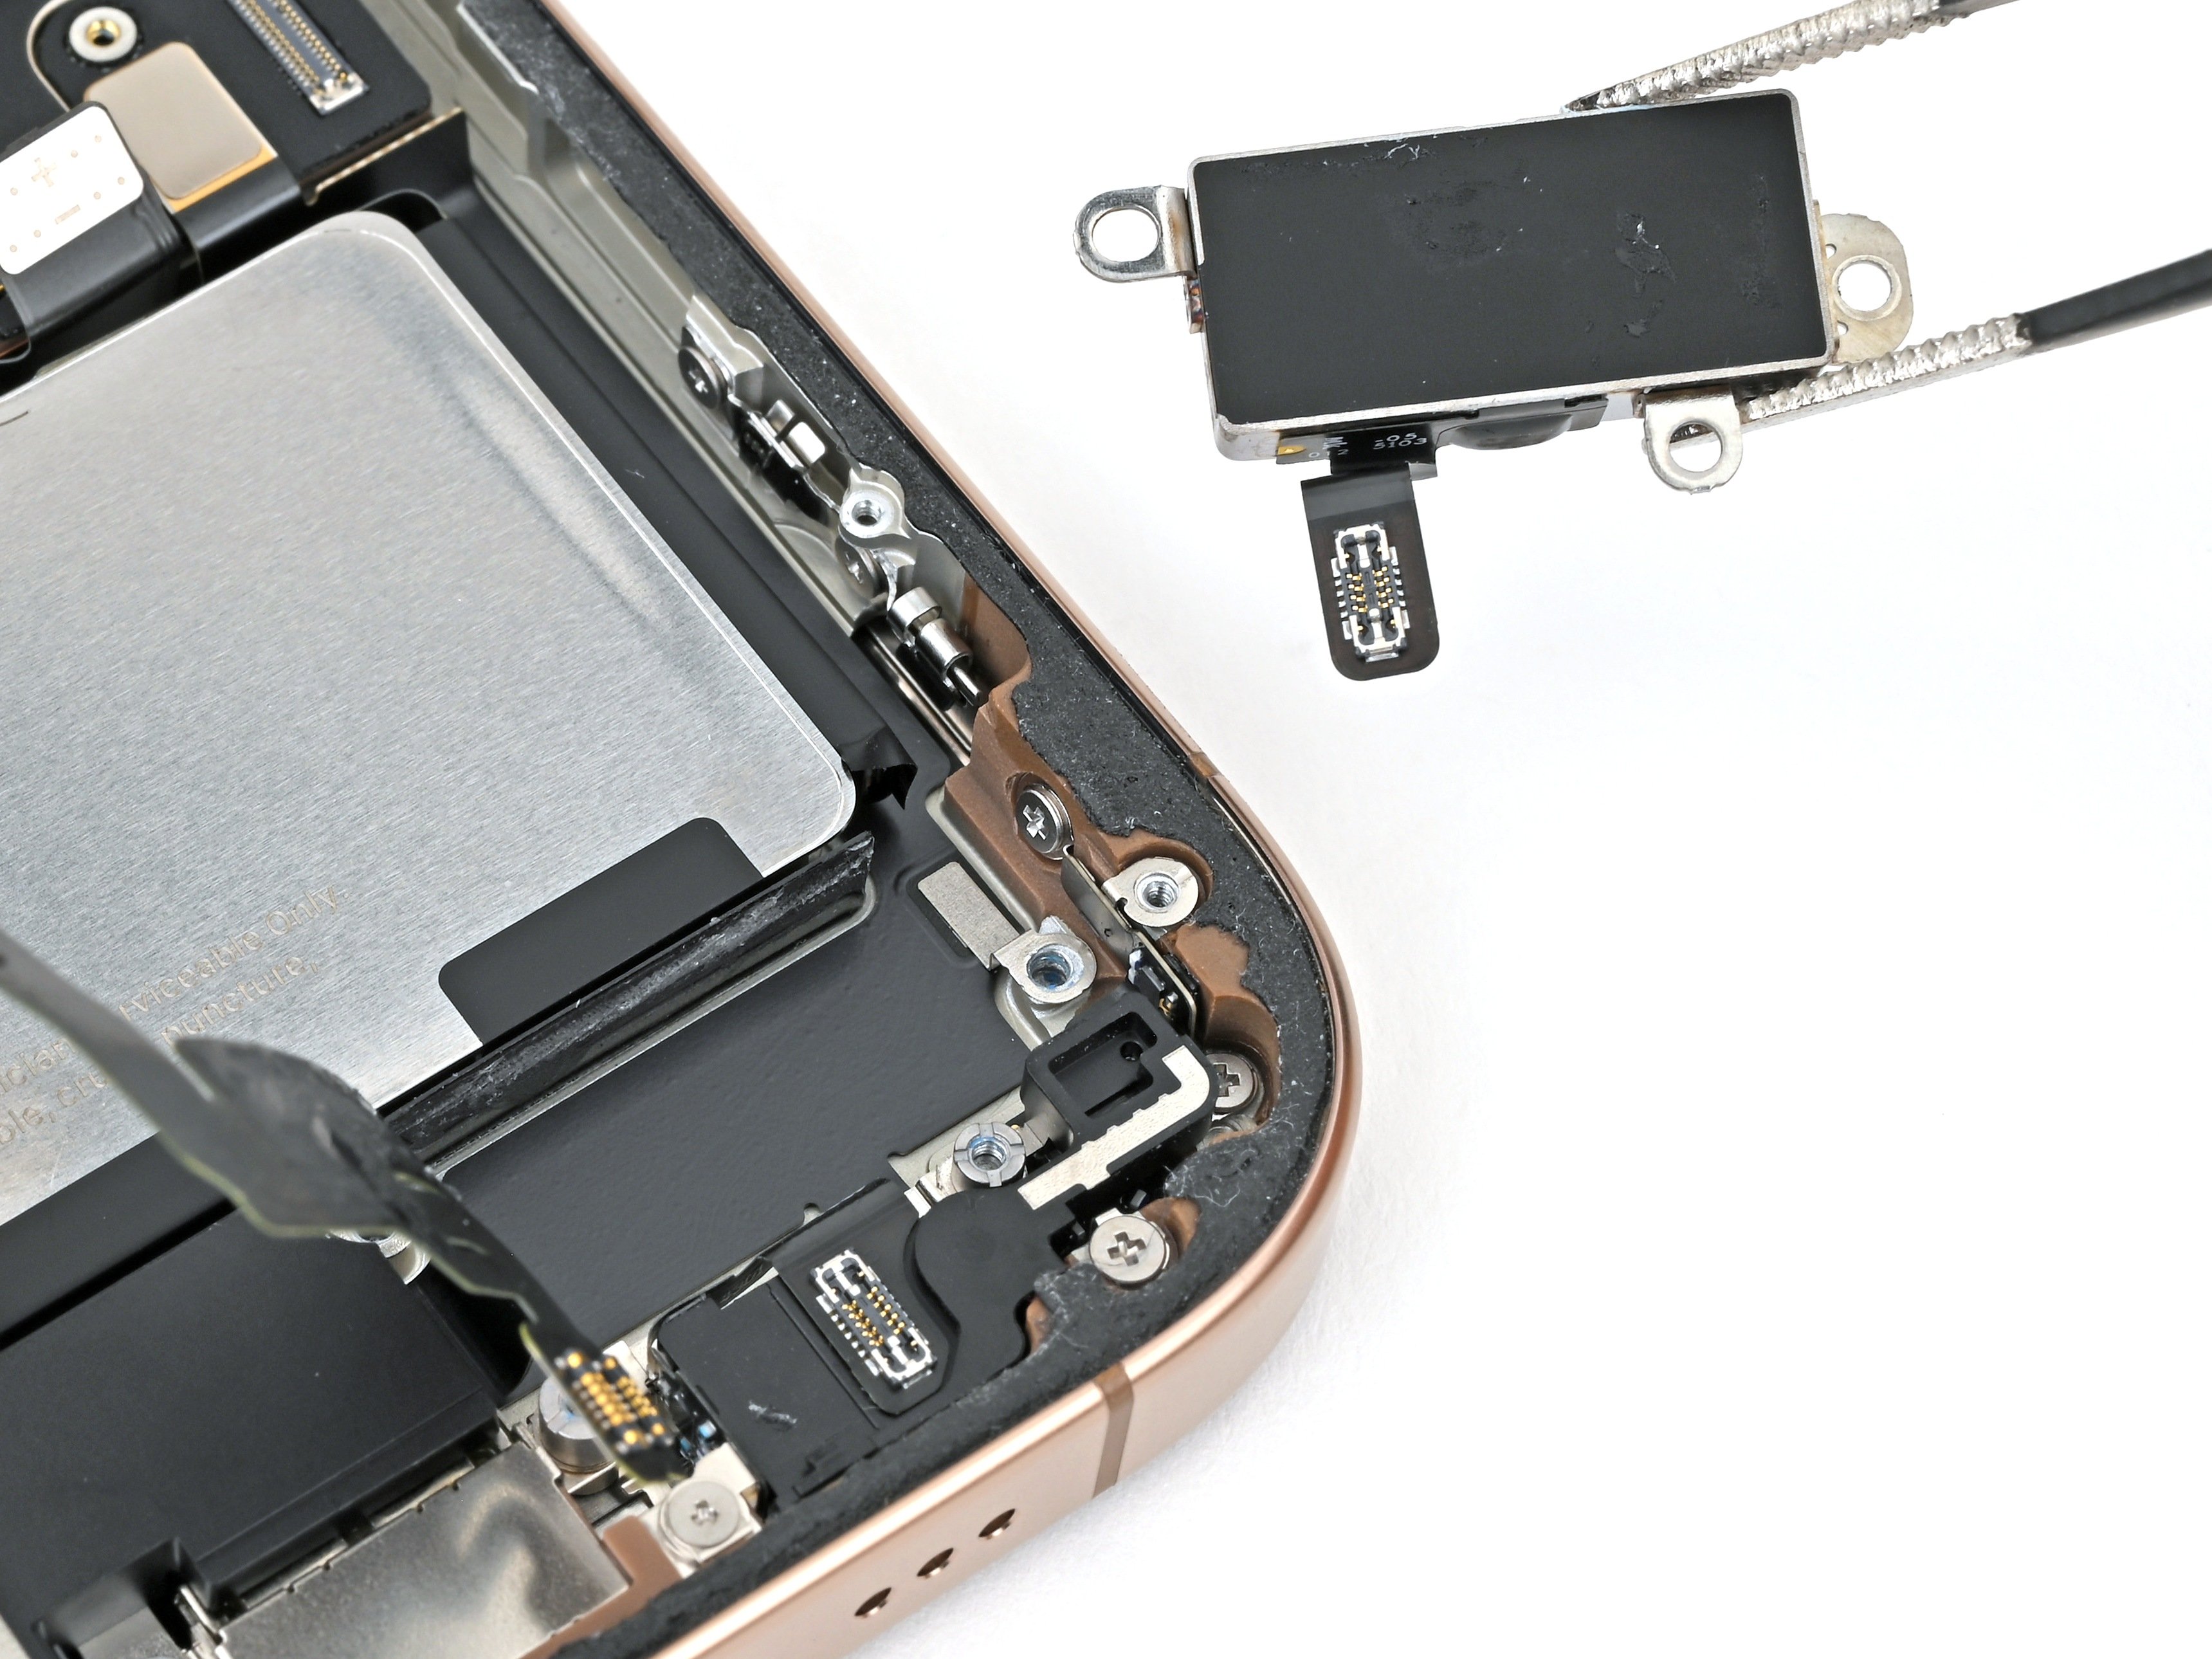
- Give that battery press connector a gentle nudge with your finger or a trusty spudger to snugly fit it onto the logic board. You're doing great, keep it up!
Tools Used
Step 13

- Carefully position the back glass connector cover so that the screw holes line up and gently set it in place.
Step 14

- Grab your trusty tri-point Y000 screwdriver and pop in the four screws to hold down the back glass connector cover.
- You’re looking for two screws that are 1.3 mm long.
- And don’t forget the other two—they’re 1.0 mm long.
Step 15

- Line up the battery connector cover with the screw holes and gently set it down like you're placing the final piece in a puzzle.
Step 16

- Grab your trusty tri-point Y000 driver and let's get those screws in place to secure the battery connector cover:
- Two screws that are 1.3 mm long – they're like the dynamic duo of screws!
- And don't forget the solo artist – one screw that's 1.0 mm long, ready to shine!
Step 17


Peel off those liners with care—keep curious fingers and stray tools away from the sticky adhesive!
- Grab your fingers or a trusty spudger and gently peel away those pesky perimeter liners. Let's uncover that sticky goodness beneath!
- Take a quick glance at the frame and back glass for any sneaky leftover liners. Make sure to remove them all—no liners should be left behind!
Tools Used
Step 18


If you hit a snag, it might be a clip around the edge that got a little bent and is now stuck under the frame. Check the spot where it’s tight and carefully nudge any bent clips back into place.
- Gently lower the back glass onto the frame, starting with the top edge.
- Press firmly around the edges of the iPhone until the back glass fits snugly and sits flush with the frame.
Step 19

A little heat works wonders, making the glue nice and gooey so everything sticks together just right.
- Grab a hair dryer, heat gun, or an iOpener and warm up that back glass perimeter until it feels a bit too hot for your fingertips. You've got this!
Tools Used

Step 20


- Use your fingers to give the iPhone's edges a good, firm squeeze. Make sure to grip the perimeter securely—you're just prepping it for the next step, nothing too wild!
Step 21


Alternatively, you can wrap some vise clamps around the edges of your device to help secure that new adhesive in place.
- Set your iPhone screen-down on a clean, flat surface that’s ready for some action.
- Wrap a strip of tape around the edge of the back glass to keep that finish safe and sound.
- Pile up some coins around the back glass edges until you’ve built a little wall as tall as the camera bumps.
Tools Used

Step 22


Those coins might leave a little mark on the bottom cover, so make sure you're not using anything precious here.
Applying some pressure here will get that adhesive working its magic.
- Stack 3-4 hefty books right on top of your iPhone—no need to be gentle, just make sure they're centered.
- Let your phone chill under the weight for about half an hour.
Tools Used

Step 23


- Nice work! Your new adhesive is all set and ready to roll!
-