How to Replace Your iPhone Rear Glass Adhesive Tutorial
Duration: 45 minutes
Steps: 23 Steps
Heads up!
Before you jump into this guide
Rock this guide to snugly fit new adhesive and reseal the rear glass (or the backstage pass as we like to call it) on your iPhone. Perfect for iPhone 14, 14 Plus, all the iPhone 15s, and every iPhone 16 under the sun! Slap on some fresh adhesive to keep your device in tip-top shape against water and dust after any repairs or when the old seal decides to retire. Remember, the water resistance magic of your iPhone heavily relies on your slick adhesive application skills. Heads up: If you’re jazzing up your iPhone 15 Pro or Pro Max with new back glass adhesive, the inside might look different from our snaps, but don’t sweat it—the steps are the same. Make sure you’ve wrapped up your repair and put your iPhone back together up to the rear glass before diving into this guide. If not, hop back to your repair guide and catch up!
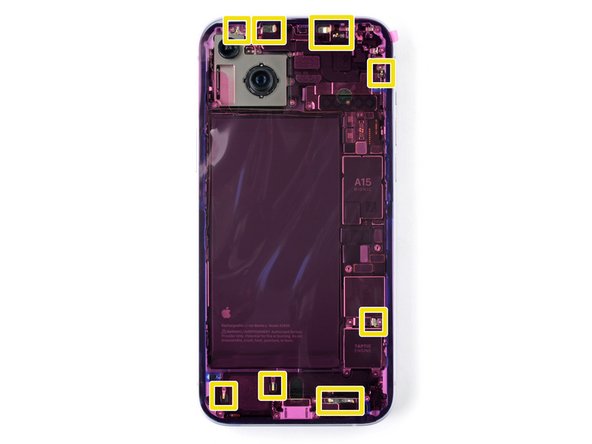
Step 1


The leftover adhesive on your frame can be a bit clingy and might leave some residue behind. If it’s putting up a fight, try giving it a gentle nudge with a little heat from a hair dryer or heat gun. Remember, if you need help, you can always schedule a repair!
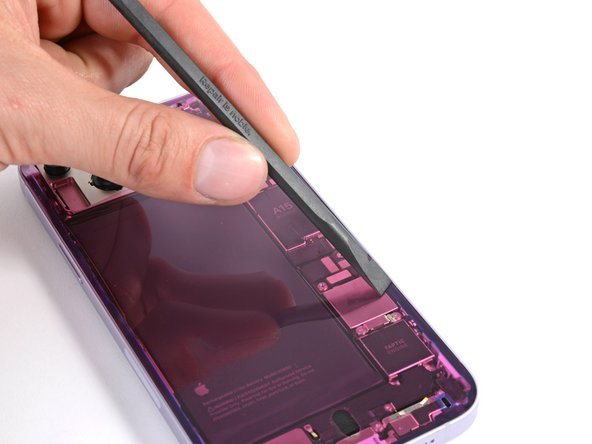
– Grab a spudger and give that sticky adhesive a good ol’ roll-off from the frame. Feel free to show it who’s boss!
– Got any stubborn adhesive leftovers? Pluck them away with some blunt nose tweezers or just get in there with your fingers.
Tools Used


Step 2


– If you’re planning to stick with your old back cover, jazz it up with a few drops of super-strong isopropyl alcohol (above 90%) on a microfiber or lint-free cloth. Give the edges a good wipe to make them sticky-ready for the new adhesive.


Step 10


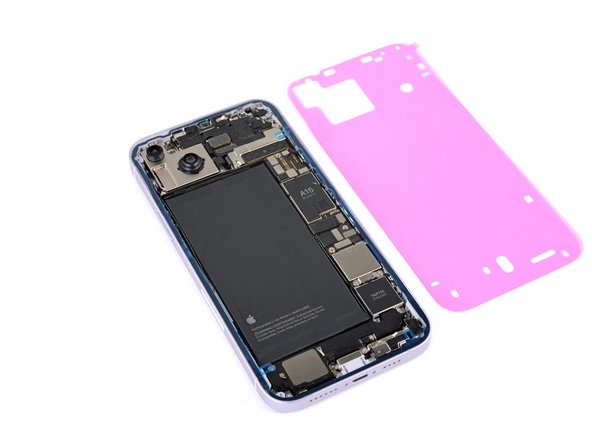
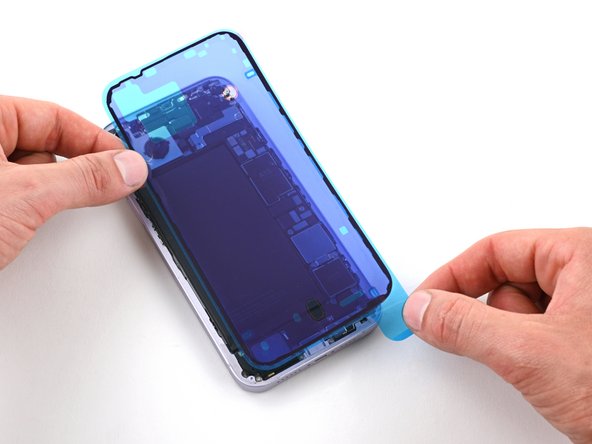
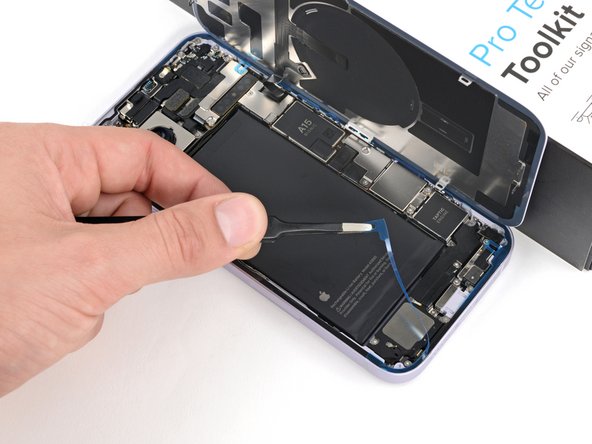
– Grab the tiny pull tab on the upper right to whisk away the pink adhesive liner like magic.
Step 11


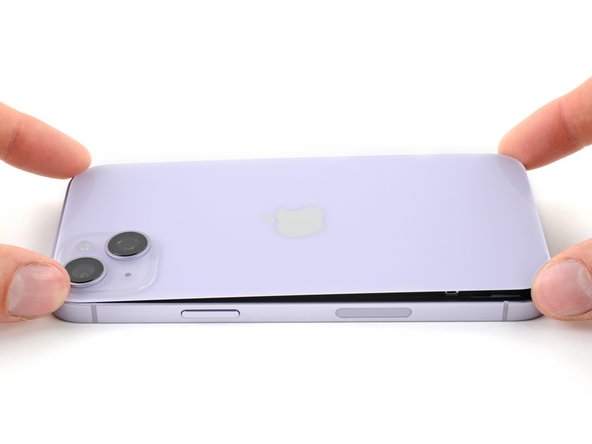
– Gently elevate the rear glass on the right side of your iPhone. Give it some lift and show it the sky!
Step 12

– Grab your spudger or just use your finger to pop the charging coil back into place. Easy peasy!
Tools Used
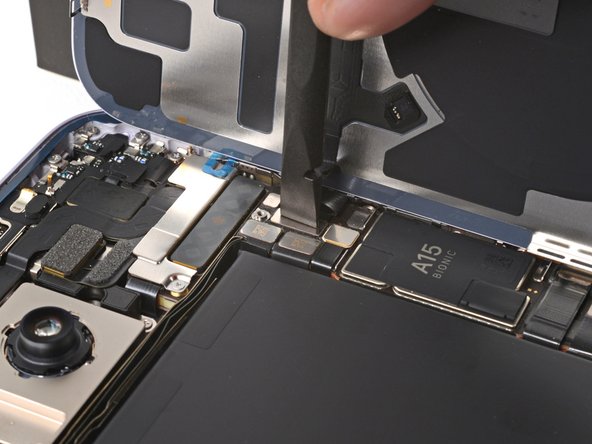
Step 13
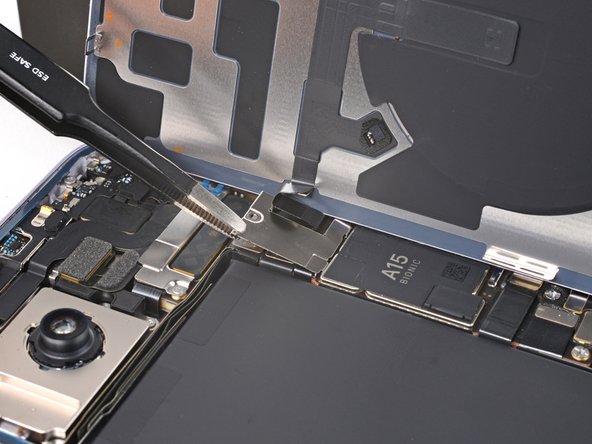
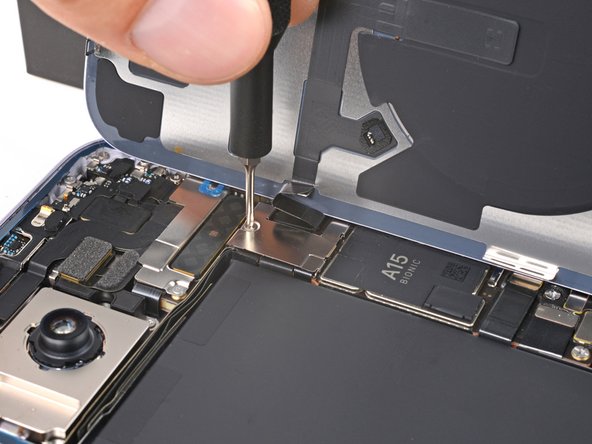

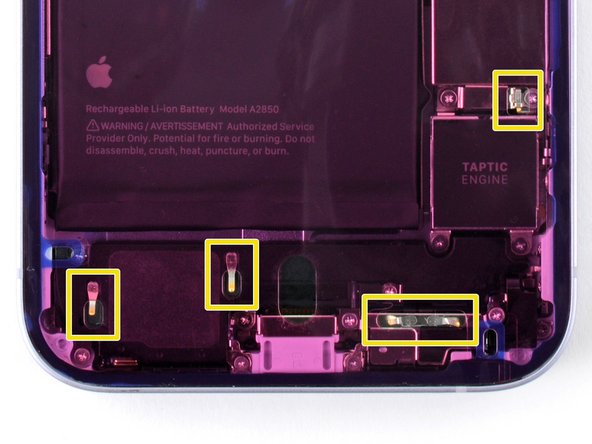
– Pop that charging coil connector cover back into place using the nifty slot or hook on the logic board.
– Grab your trusty tri-point Y000 driver and twist in the screw to anchor that cover securely.
Step 14
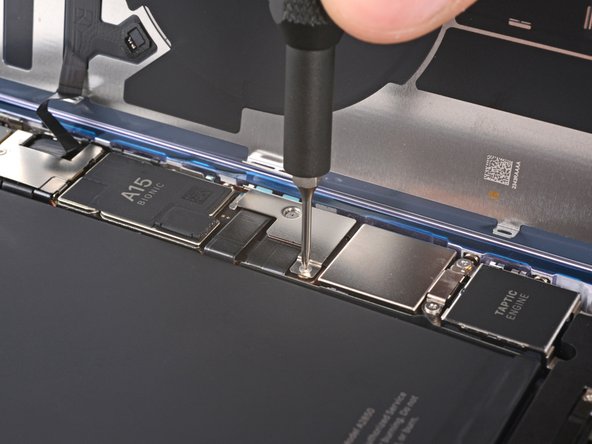
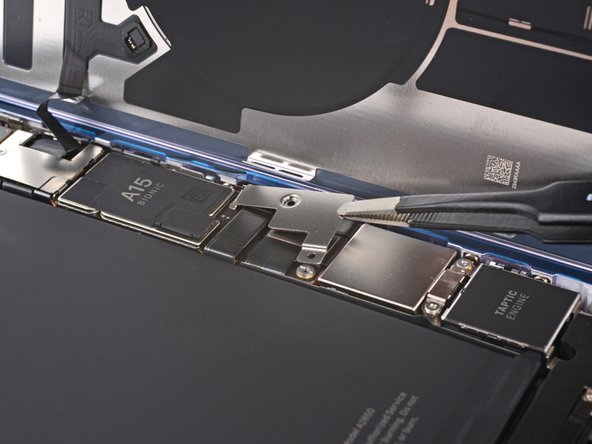

– Grab your spudger or just use your finger to plug the battery back in. Easy does it!
– Catch the battery connector cover’s slot on the logic board like you’re playing hooky.
– Twist those screws back in with your tri-point Y000 driver to lock that cover down.
– Fire up your iPhone to check that all systems are go! Then power it down once you’re sure it’s smooth sailing.
Tools Used
Step 15

– Peel off the liners from the top, left, and bottom borders of your iPhone. Chill with the right edge liner for now.
Step 16


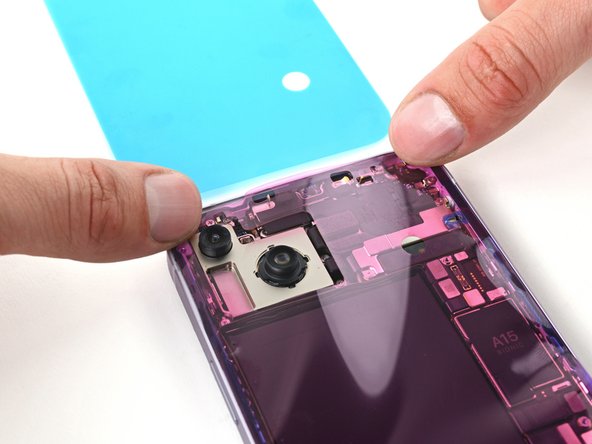
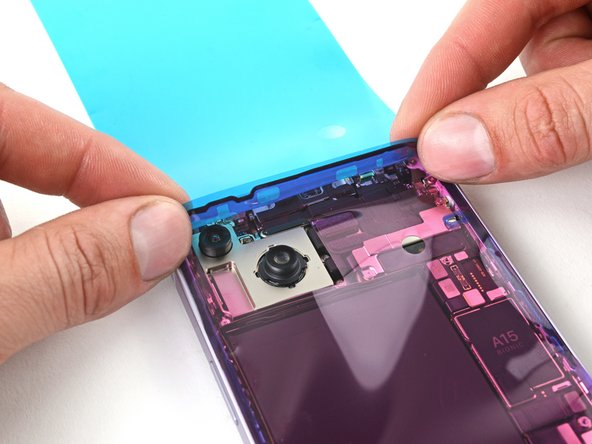
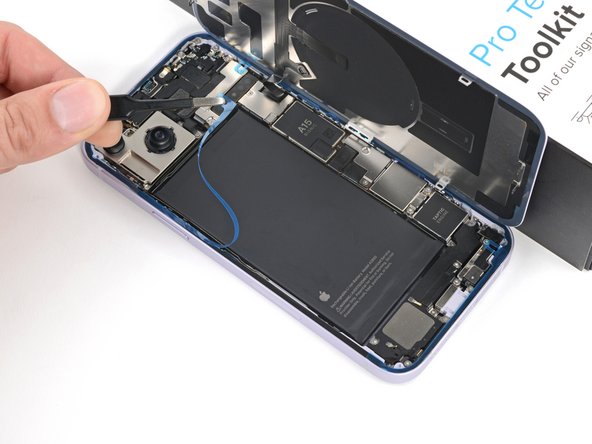
– Lift up the rear glass to peek at the last strip along the right edge of your iPhone.
– Carefully peel off and remove the strip, making sure it doesn’t snag on any cables or clips attached to the rear glass.
Step 17

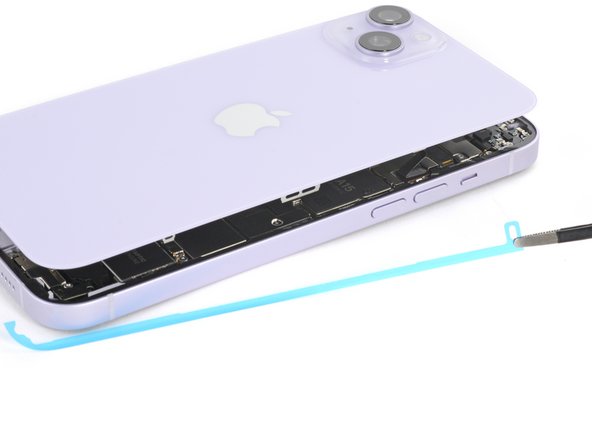
If you spot any bent clips on the rear glass, just give them a gentle persuasion back into shape with your fingers. You got this!
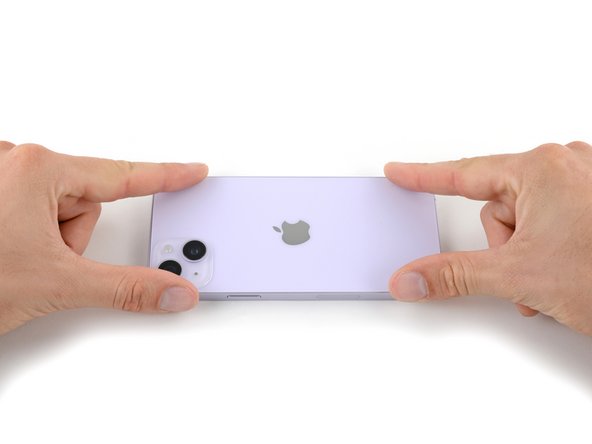
– Grab the rear glass and perfectly align it with the frame, like a puzzle piece finding its home.
– Gently place the top edge of the rear glass onto the frame, making sure the top clips click into place like a soft high-five.
– Give the perimeter of the rear glass a firm press to snap in the rest of the clips, sealing the deal like a pro.
Step 18

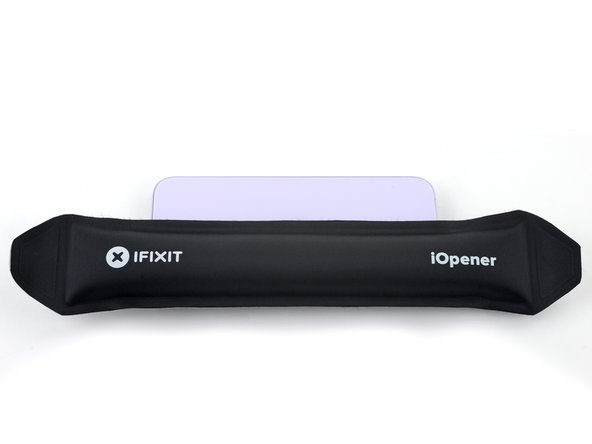
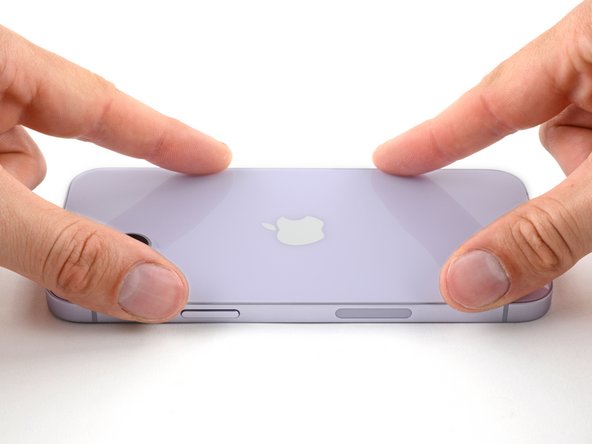
– To get that adhesive snug as a bug, warm up the edges of the rear glass with an iOpener, a blow dryer, or a heat gun until it feels like a sunny day at the beach.
– Give the rear glass a good firm hug all around its edges.
– Got screen vise clamps? Clamp them on to give your new adhesive a solid handshake. If not, stick around—there are more tricks coming up to keep that glass in place!
Tools Used

Step 19

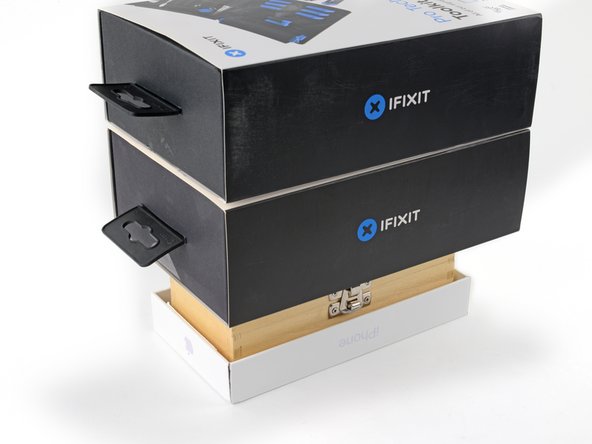
To ensure your iPhone’s rear glass sticks tight and stays put, remember to factor in that cheeky camera bump—it needs a little extra love to get everything sitting perfectly flush!
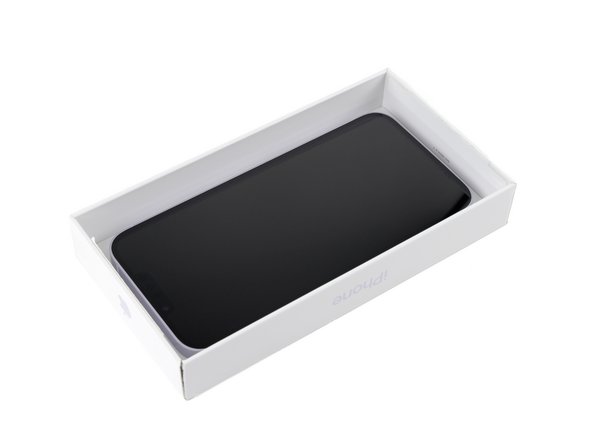
– Got the box your iPhone originally came in? Awesome! Snag the lid and pop it onto a flat surface.
– Now, lay your iPhone face-up inside the lid, letting the camera bump chill in its own little recess.
– Grab something roughly the size of your iPhone but a bit taller than the box’s edges. Stack it right on top of your iPhone, and then pile on a few hefty objects for good measure.
– Let everything hang out there for at least thirty minutes. If you’re only using lightweight items, you might want to let them sit longer—overnight is ideal!
Step 20
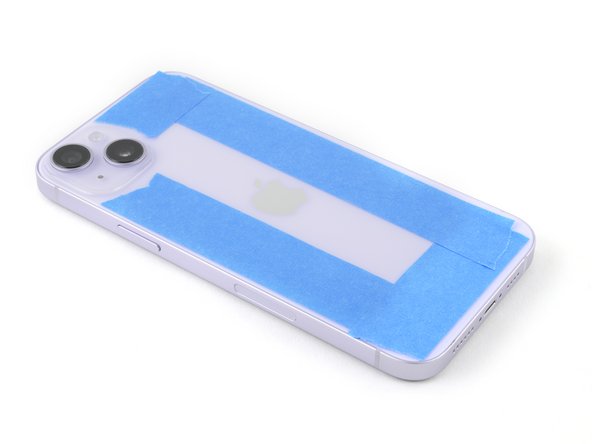

No original box for your iPhone? No worries! Just follow the next three steps for a different way to gently compress that rear glass evenly.
– Wrap some tape around the edges of your rear glass to keep it looking sharp and protected!
Step 21


– Stack up two layers of coins or objects of similar thickness along the edges of the rear glass. It’s like making a mini fort!
– Spread out those coins evenly. Make sure they’re as thick, or even thicker, than the camera bump. No wobbly coins allowed!
Step 22


– Pile up some books or other hefty items on top of your iPhone like you’re hiding your favorite snacks from sneaky hands.
– Let those books sit tight for at least thirty minutes. The lighter the books, the more patience you need—ideally, give them a full night’s slumber party.
Step 23

– Grab your P2 pentalobe driver and pop those two screws into the bottom edge of your iPhone like a boss.


