How to Upgrade Expandable Storage in PlayStation 5 Guide
Duration: 45 minutes
Steps: 15 Steps
Before diving into this guide, let’s double-check that your M.2 blade SSD plays nice with Sony’s specs.
Also, ensure your PlayStation is rocking the latest system software update.
And don’t forget to power down and unplug all cables before we get started!
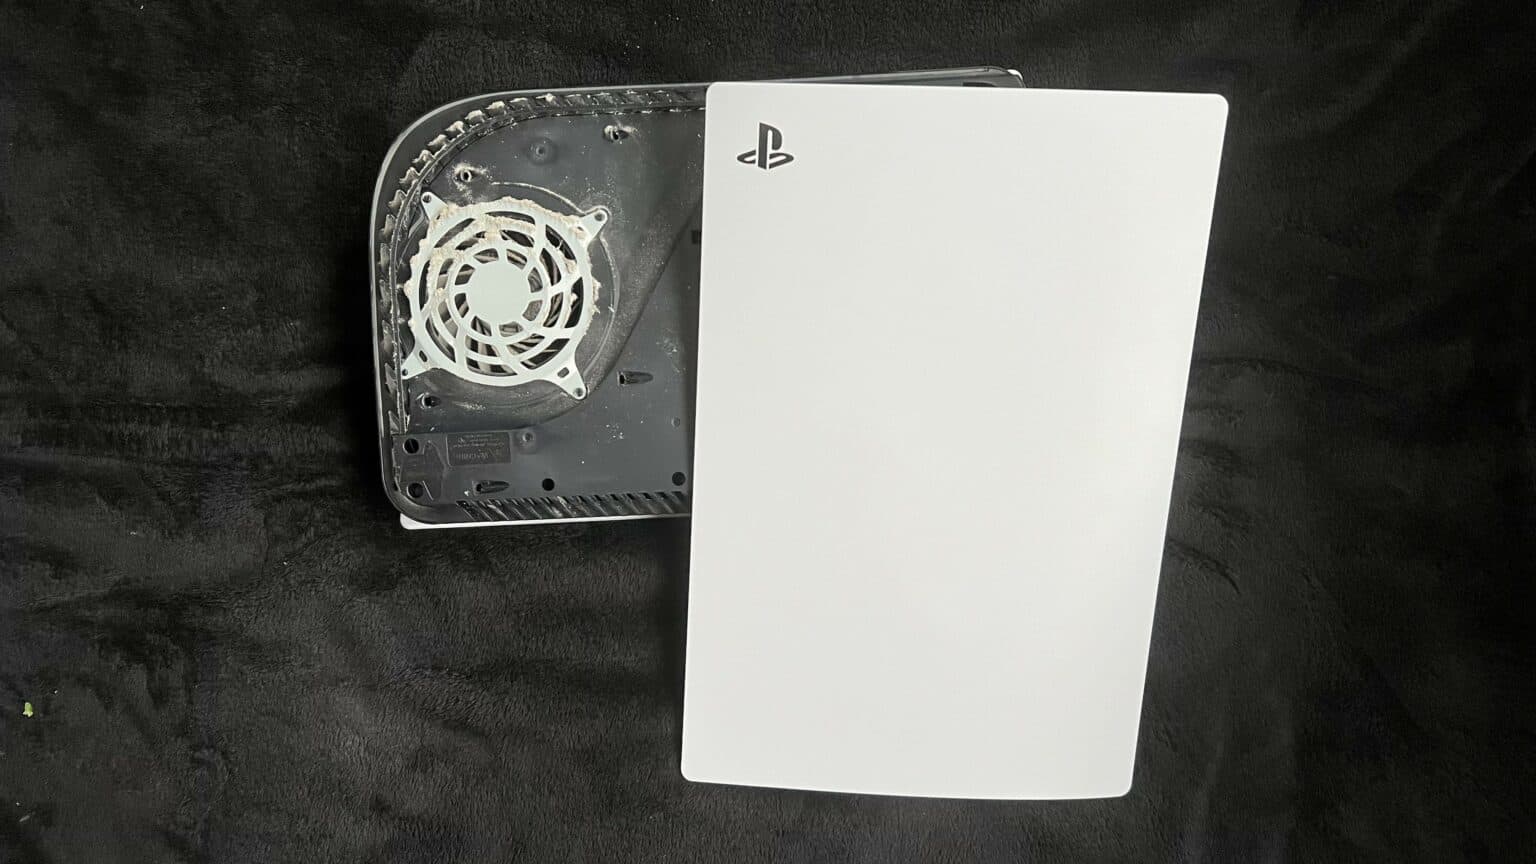
Ready to ramp up your PlayStation 5 with some sleek expandable SSD storage? Before we dive in, double-check that your M.2 blade SSD vibes with Sony’s specs. Heads-up: the SSD blade in our pics doesn’t quite fit the expandable storage slot in the PS5. Also, make sure your PS5 is running the latest system software. First things first, completely power down your console and unplug all its cables. And don’t forget, stay safe with general electrostatic discharge (ESD) procedures while you’re at it. Need help? You can always schedule a repair!
Step 1

Make sure to give your PlayStation a stable place to hang out by working on a nice, flat surface. It’ll thank you later!
If your PlayStation 5 is lying flat like a cozy cat, just skip on over to Step 6!
– If you’ve got your PlayStation 5 standing tall, give it a little flip so the stand is facing the sky.
– Grab a coin or a trusty flathead screwdriver to unscrew the 26.5 mm-long stand screw.
Step 2


– Give that stand a little lift straight up, and voilà, it’s free!
Step 3


– Pop that screw right into the cozy little cubby located at the bottom of the stand.


Step 5


– Give that stand a little twist, counterclockwise please, to tuck away the cubby snug as a bug.
Step 6


– If you’re rocking your PlayStation 5 horizontally, just flip it over so the charging port is facing up and resting on its face like a champ.
– Now, give that stand a gentle lift straight up to pop it off. Easy peasy!
Step 7


– Get that device flipped over, making sure the USB and ethernet ports are hanging out on the left side. Cool, right?
– Time to give that faceplate some air! Lift up the corner gently to unclip it from the case. You got this!
Step 8


– As you gently lift that corner, give the faceplate a little slide downwards towards the bottom of your device.
– Now, go ahead and detach the right faceplate with a smooth motion.
Step 9

– Grab your trusty Phillips screwdriver and take out that 17 mm-long SSD cover screw. If you need help, you can always schedule a repair.
Step 10


– Gently glide your finger along the SSD cover and push it towards the top of the device to release it from the case. Easy peasy!
– Now, go ahead and lift off the SSD cover with a flourish!
Step 11

– Grab your Phillips screwdriver and unscrew that 11 mm-long SSD screw. If you need help, you can always schedule a repair.
Step 12


Make sure to place the spacer in the right spot before diving into the SSD installation. It’s a small step for a big win!
– Grab those tweezers and gently shift the spacer to the right slot for your M.2 SSD. If you need help, you can always schedule a repair.
Tools Used
Step 13


Both the SSD and M.2 socket have a clever little design that only allows the SSD to fit in one specific way. No guessing games here!
It’s totally normal for the SSD to sit a bit at an angle after you’ve slid it into the M.2 socket. Just part of the charm!
– If your SSD is ready for a little extra love, check out this guide to install a heat sink and keep it cool.
– Gently slide your SSD into the M.2 socket at a slight angle. You’ve got this!
Step 14


– Gently press the SSD down until it rests snugly on the spacer.
– Once the SSD is seated, slip the SSD screw through the spacer and tighten it up, making sure the SSD is secure.
Step 15

Hey, don’t get too carried away tightening this screw! Overdoing it might mess up the SSD. If you need help, you can always schedule a repair
– Grab your trusty Phillips screwdriver and give that 11 mm-long screw a snug twist to secure the SSD in place. You’ve got this!