How to Use Digital Calipers: Step-by-Step Guide
Duration: 45 minutes
Steps: 9 Steps
Dive into this guide and discover how to wield digital calipers like a pro! Measuring screws and parts is essential for keeping your electronic repairs organized, making sure every screw finds its rightful home during reassembly—because who wants to deal with extra parts, right? Calipers are your best friends for measuring lengths, thicknesses, and diameters, thanks to their nifty two sets of jaws. The small inside jaws are perfect for snagging internal diameters, while the larger outside jaws tackle external diameters, lengths, and widths with ease. And don’t forget the handy probe on the other end for depth measurements! Digital calipers let you zero in on your measurements and often come with multiple unit options. Battery dead? No worries, just follow this guide!
Step 1


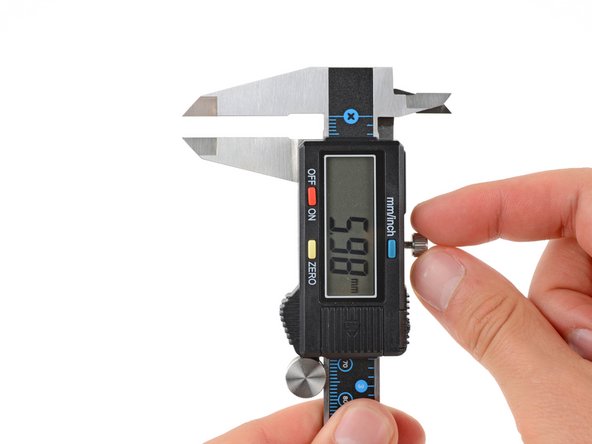
Most digital calipers share a similar set of parts, controls, and buttons: it’s like they all went to the same design school!
For a deeper dive into the various components of digital calipers, click here.
Tools Used

Step 2


– Before diving into your caliper adventures, give the inside of the jaws a good wipe with a clean cloth or rag. This little step ensures there’s no pesky dirt or grime hanging around that could mess with your measurements.
Step 3


Be gentle with that push! Overdoing it might just throw your measurements off or mess up the zeroing. We want everything to be spot on, so take it easy!
Just a gentle touch is all you need for the thumb screw when you’re opening or closing the jaws. No need to muscle it; keep it chill!
– To open or close the jaws, simply press down on the thumb screw and gently roll it in the direction you’d like the jaw to move. You’ve got this!
Step 4


Calibrating to zero is like giving your tools a pep talk before the real action starts! It makes sure that all the measurements you take are spot on.
– Carefully bring the jaws together.
– Hit that zero button to reset the current measurement to a clean slate.
Step 5
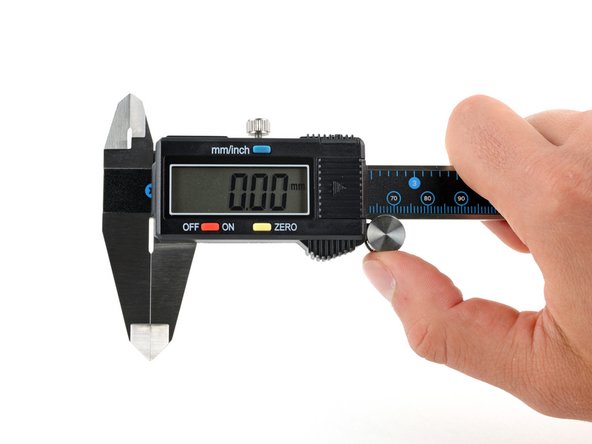

– Give those jaws a little love by opening and closing them, ensuring that the calipers hit zero every time they snug up completely. If you find that the reading isn’t spot on at 0.00, just repeat that last step until it is!
Step 6


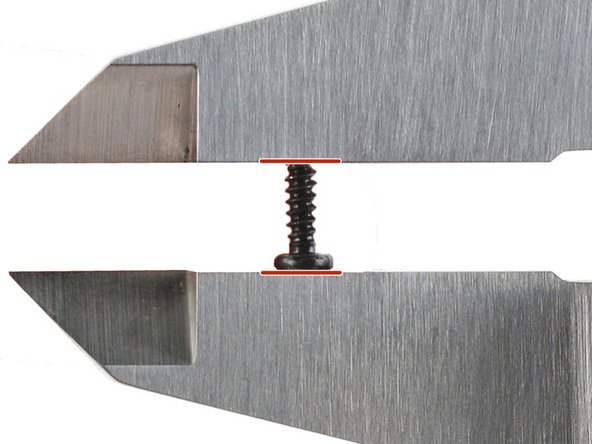
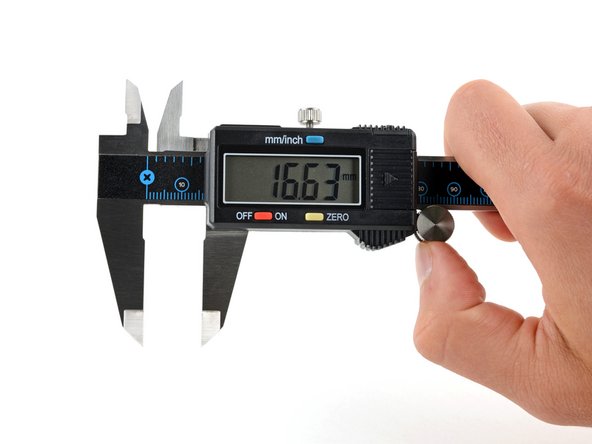
Grab those larger external jaws to snag some crucial measurements, like the lengths of screws or the diameters of screw heads. You’ve got this!
– Widen those jaws just enough so the object you’re measuring can slide in comfortably.
– Slowly bring the jaws together until they gently touch the object. Remember, it’s all about that sweet spot—not too hard, but enough to ensure both sides are snug against it.
– Check out the measurement.
– Take a couple of readings to make sure you’re getting the same result—or pretty close—each time. If things are looking a bit wobbly, reset the calipers and give it another go.
– Reset the calipers before diving into your next measurement.
Step 7


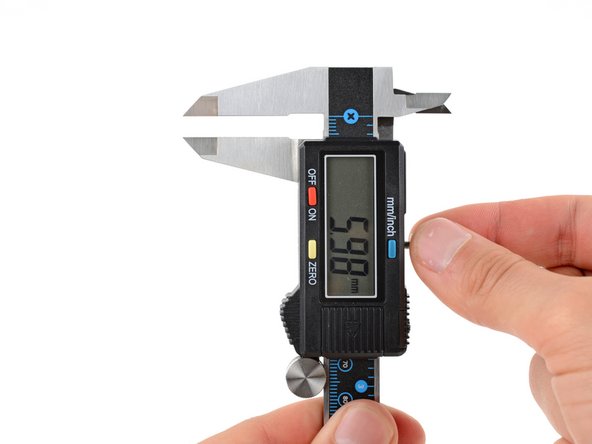
Grab those nifty smaller internal jaws to snag precise internal measurements, like the inside diameters or those sneaky gaps between parts. You’ve got this!
– Gently close the jaws until they snugly fit inside the object. We’re just getting started!
– Slowly open those jaws until they make contact with both sides of the object. Remember, don’t go overboard—just enough pressure to ensure they sit flat against the inner edges.
– Now, take a look at the measurement you’ve got.
– For accuracy, measure a couple of times and make sure your readings are consistent or super close. If things seem off, reset those calipers and give it another go.
– Before taking another measurement, be sure to zero out the calipers. We want to keep things precise!
Step 8

The locking screw is your trusty sidekick for keeping those jaws steady after you’ve taken a measurement. It’s super handy when you want to maintain your reading or ensure consistent measurements across similar parts. No surprises here, just reliable results!
– Carefully lift the object out of the jaws, making sure to keep everything steady and in place. No unexpected jaw gymnastics here!
– Give that locking screw a twist to the right to snug it up and secure those jaws. You’ve got this!
Step 9

– After you’re finished measuring with your digital calipers, give those jaws a little TLC with a cloth or rag, hit the on/off button to power down, and tuck it away in its original case where it’ll be safe and sound.
Tools Used