How to Use Suction Tape on iPhone 14 – DIY Guide
Duration: 45 minutes
Steps: 13 Steps
Heads up!
Get ready to rock those suction tape skills while you tackle the Anti-Clamp opening process! Suction tape is your trusty sidekick for two main reasons: it helps smooth out tricky surfaces and keeps one side of a two-panel device steady while you work your magic. If you don’t have the suction tape that comes with the Anti-Clamp, no worries! You can grab some smooth adhesive strips like packing tape instead. Those tough surfaces could be anything from shattered screens to slippery back covers—basically, anything that makes it hard for the Anti-Clamp to grab on tight. Most gadgets only open from one side (or ‘panel’), but some cool devices, like the iPhone 14, let you choose your opening side. Just a heads up: since the Anti-Clamp pulls on both sides at once, it might accidentally pop open the wrong side or even both! Remember, we’re using the iPhone 14 as our example here; your device might look a bit different in size, shape, or button layout, but don’t sweat it—the steps will still be the same. If you need help, you can always schedule a repair.
Step 1


Ready to lock down one side of your awesome two-panel device? Jump right to this step!
Need to tackle a tricky surface on your device? Just breeze on over to the next step!
Step 2


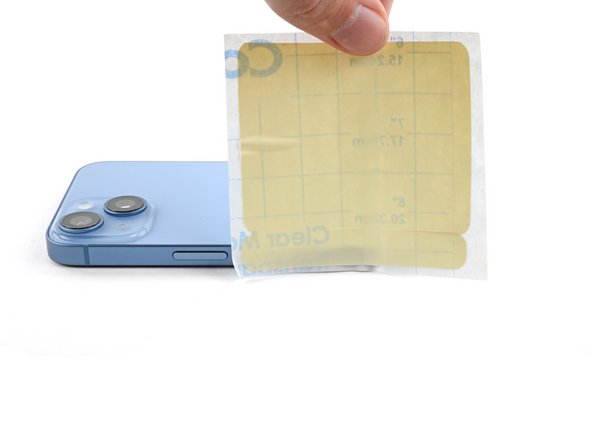
– Grab your tape and measure out the length you need, then mark it with a pen. Just a little reminder to keep these things in mind:
Step 3


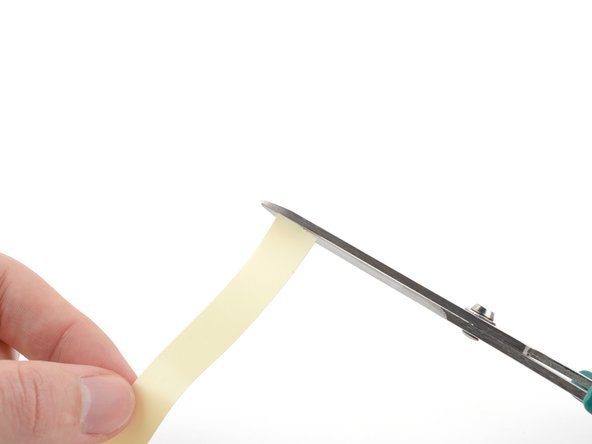
– Grab those scissors and snip the tape to the length you need—easy peasy!
– Now, just rinse and repeat this measuring and cutting dance for each piece of tape on your list.
Step 4


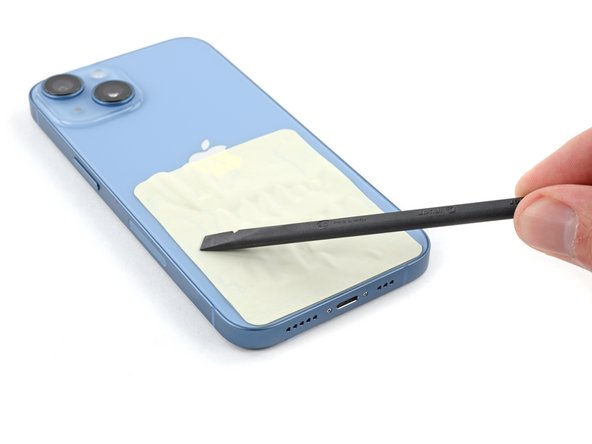
– Gently peel the tape away from its plastic backing.
Step 5


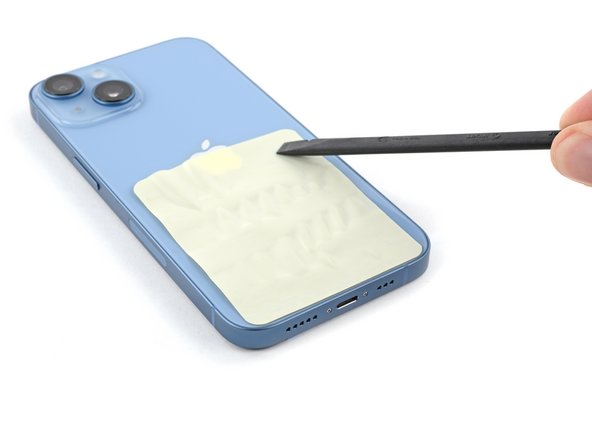
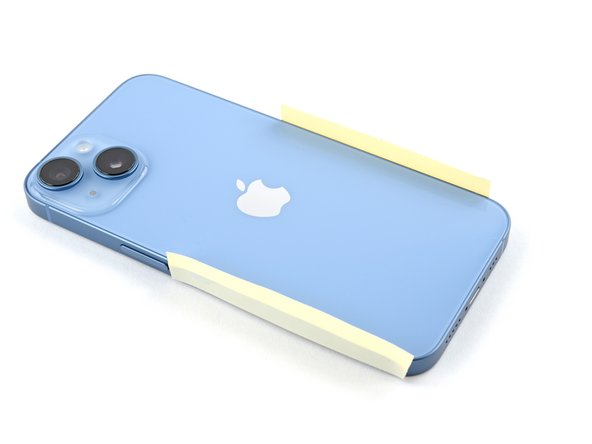
– Stick that tape right onto the panel of your device where you plan to attach the Anti-Clamp. You’ve got this!

Step 7


– Time to mirror your measuring, cutting, and sticking skills on the other side of your device!
– You’re all set to pop open your device!
– Check out this guide for some handy tips on using the Anti-Clamp.
Step 8


The next steps will guide you through securing one side of your dual-panel device. Let’s get to it!
– First things first, decide which panel of your device you’re going to keep sealed up tight. Once you’ve made that choice, we’ll walk you through the steps to secure it like a pro!
– Now grab some tape! Measure out the length you need and give it a little mark with a pen. Keep these tips in mind as you go!
Step 9


– Gently peel the tape away from its plastic backing.
Step 10

– Grab your trusty scissors and snip the tape to the length you need. Easy peasy!
– Just rinse and repeat that measuring and cutting dance for every piece of tape you need. You’ve got this!
Step 11

– Stick the tape around the edges of your device, right where you’ll be putting the Anti-Clamp. Let’s get that protection in place!
Step 12


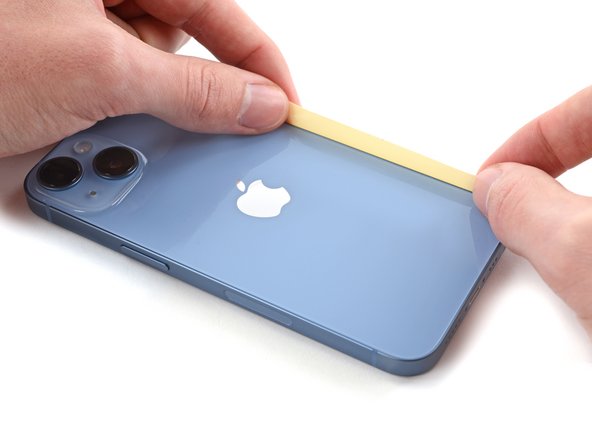
– Gently lay the tape across the panel you want to keep closed.
– Press down on the tape with your fingers to make sure it sticks well to your device.
Step 13


– Alright, it’s time to crack open your device and see what’s inside!
– Stick with us for some straightforward tips on how to work that Anti-Clamp like a pro.