How to Use the Skills Soldering Skills Splint: A DIY Guide
Duration: 45 minutes
Steps: 3 Steps
Hey there! Just a quick heads up before we dive in: make sure you’re working in a cozy spot with good lighting and a little bit of patience. Remember, if you get stuck or need a hand, you can always schedule a repair. Let’s get to it!
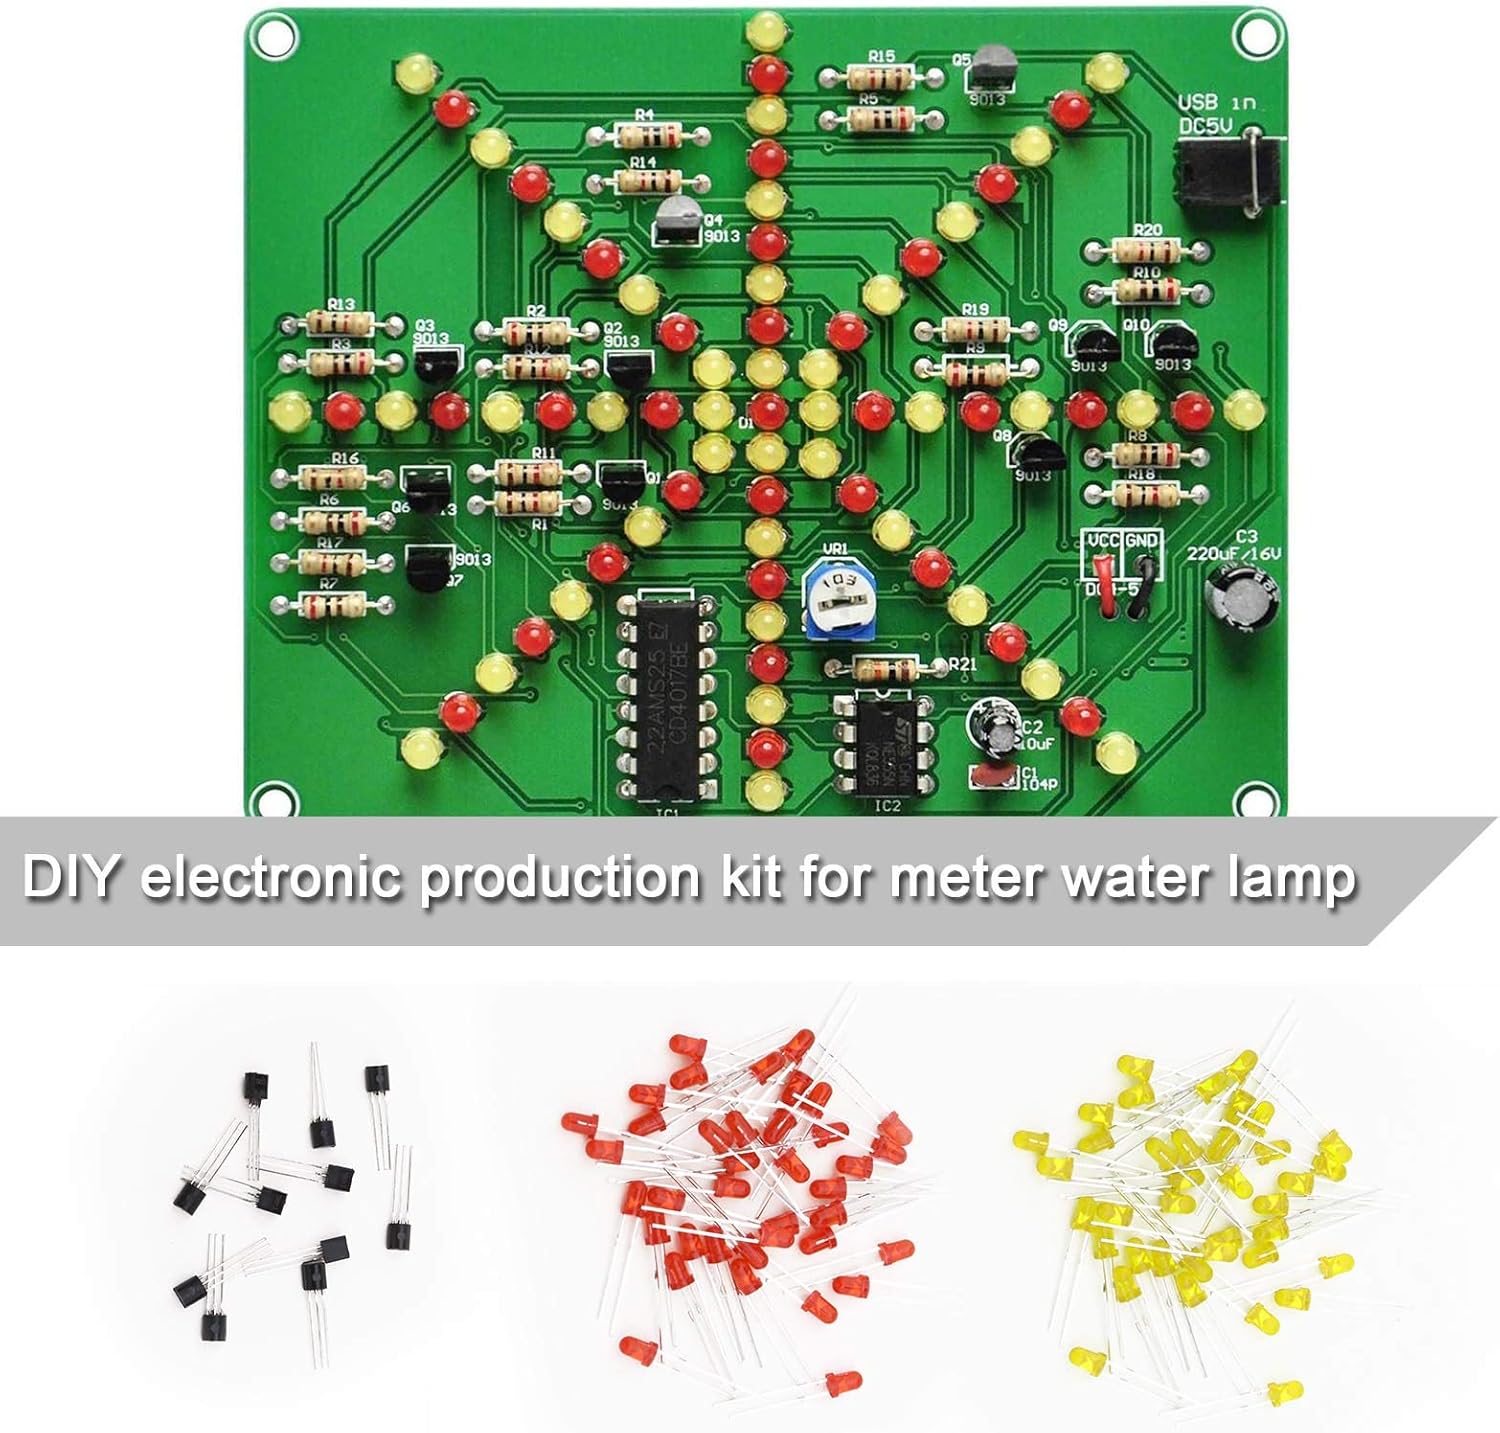
Get ready to tackle your soldering project with the iFixit Soldering Splint! This handy little tool is perfect for keeping two wires snug while you work your magic. The jaws can grip wires up to 4 mm in diameter, making it a versatile companion for your repairs. Plus, with two powerful neodymium magnets on the bottom, it sticks like a champ to any ferrous surface. And don’t worry about the heat – it’s made from heat-resistant silicone, so it can handle the heat while you make those connections. If you need help, you can always schedule a repair.
Step 1
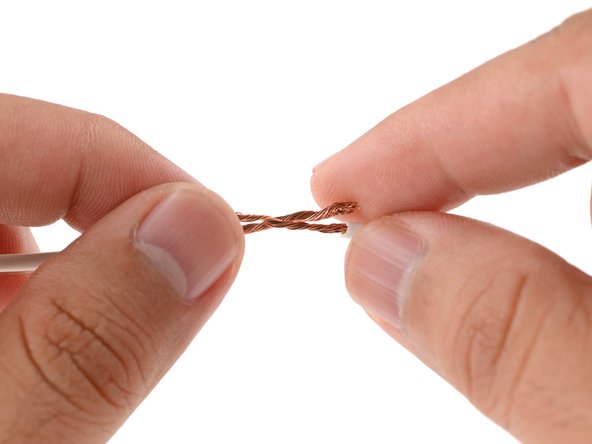

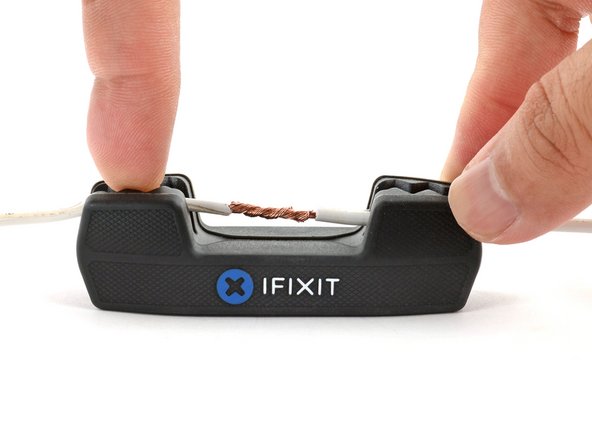
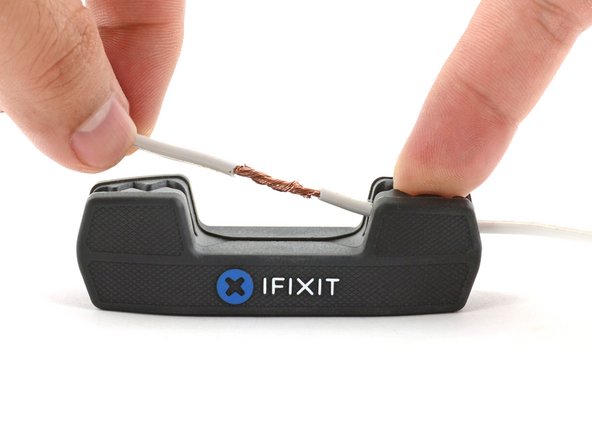
While the solder will definitely keep your wires connected, twisting them together first will give you more surface area for a stronger connection. It’s like giving your wires a little hug before they get to work!
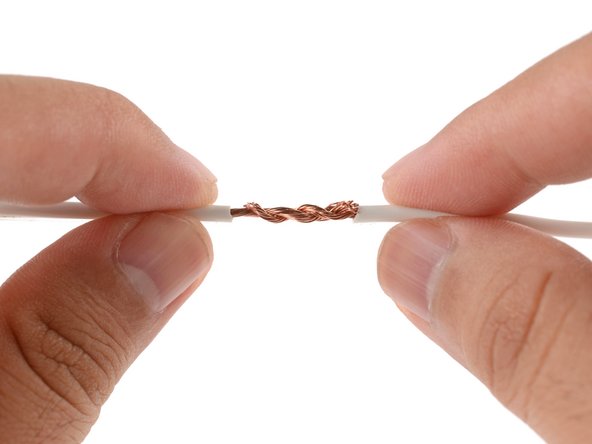
– Give those wires a good twist! If they’re going to be under a bit of tension, you might want to amp it up with a Western Union splice for extra strength.


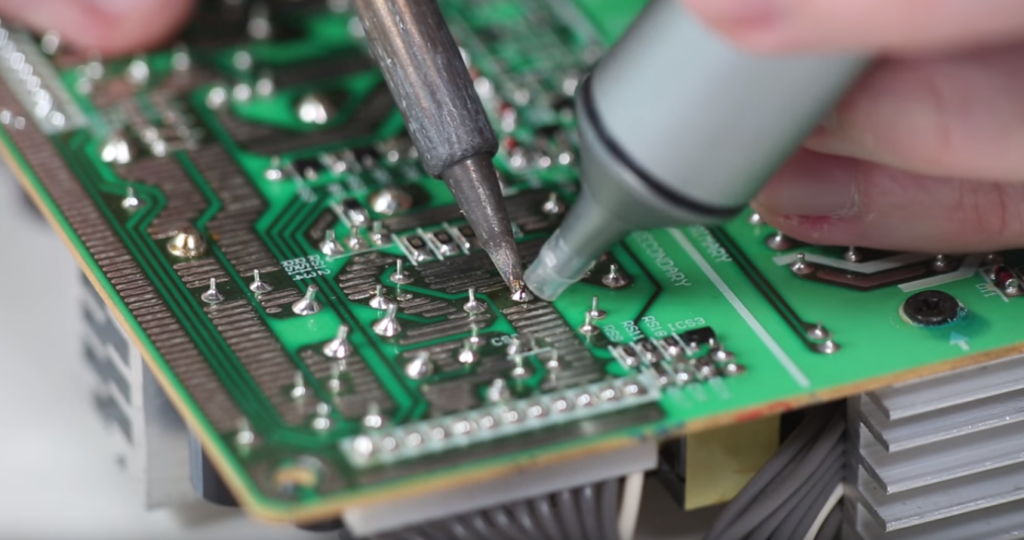
Step 3

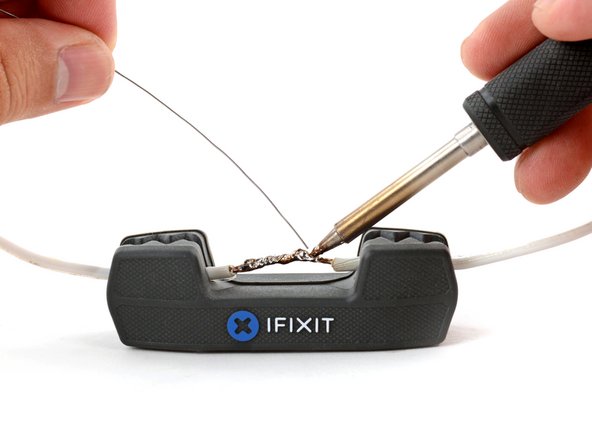
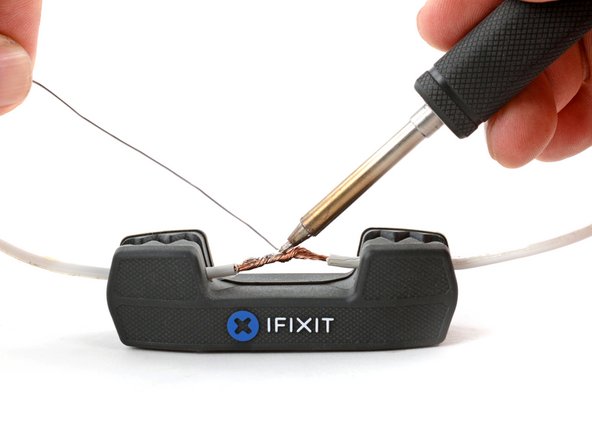
Ensure that the solder completely fills the splice. If the solder isn’t flowing smoothly into the splice, give it a little boost with some flux and try again. Still not working? You might want to crank up the temperature on that soldering iron a bit!
– Awesome! Your splice is all set. Now grab your favorite soldering tool and get to work on that splice!