HP Compaq 6710b Heat Sink Replacement
Duration: 45 minutes
Steps: 12 Steps
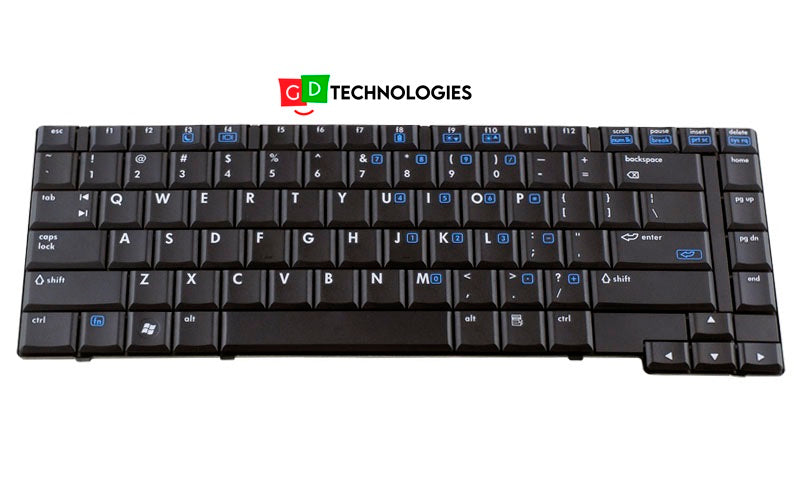
Before you get started replacing the heat sink, you’ll need to remove the keyboard. Be sure you’re familiar with the steps for Keyboard Replacement first—it’s an important step to make sure everything goes smoothly. If you need help, you can always schedule a repair.
Step 1
Shut down your computer! Removing the battery while it’s still powered on can lead to some shocking surprises!
– Turn your laptop over so the back is facing up.
– With both hands, gently press on the tabs while carefully removing the battery.
Step 2
Power down your computer before diving in—safety first, superstar!
The screws might stay snugly in their spots, but no worries—just make sure you’ve turned them as far as they’ll go.
– Let’s flip that laptop over to reveal its backside!
– Grab your trusty Phillips #1 screwdriver and unscrew that 5mm screw to lift off the cover you see.
– Now, with the same screwdriver in hand, it’s time to tackle those 8mm screws. Unscrew away!
Tools Used
Step 3
– Flip the laptop over so the top side is facing up, then open it up like you’re about to dive into something awesome.
– Using a blue plastic opening tool or even your fingernail, slide those locking tabs down. Easy-peasy!
Step 4
Be careful not to completely remove the keyboard, as it’s still connected to the computer with a ribbon cable. Let’s take it easy and avoid any damage!
– Gently coax the keyboard upwards with your trusty plastic prying tool, bringing it closer to you like an old friend reuniting after a long time apart.
Step 5
– Gently lift both sides of the black locking tab on the connector—it’s like giving it a tiny high-five.
– Ta-da! The keyboard should now be completely separated from the computer.
Step 6
– Gently slide a finger under each side of the plastic lock on the ribbon cable and lift it up.
Step 7
– Grab your trusty flathead screwdriver and slide it under each plastic hinge cover until they pop off like a cork from a bottle.
– Gently lift the right edge of the plastic strip that guards the power button and coax it upwards until the whole strip gracefully releases itself.
Step 8
– Get a grip on that RAM! Use two fingers to carefully open the prongs that are holding it in place
– Now it’s time to set that RAM free! Gently slide it out of the socket
Step 9
– Grab your trusty Phillips #1 screwdriver and let’s get to work! Carefully unscrew the two 7mm screws located at the top and bottom of the fan. You’ve got this!
Tools Used
Step 10
– With a gentle pinch of your fingers, carefully disconnect the fan power connector.
– To remove the fan, tilt the bottom up and slide it out at a cool angle.
Step 11
The screws on the copper plate are designed to stay put, so don’t worry if they don’t come all the way out.
– Grab your trusty Phillips #1 screwdriver and gently remove the four screws securing that shiny copper plate. You’ve got this!
Tools Used
Step 12
Be gentle with the heat sink—it’s super easy to accidentally mess it up.
– Ready to put it all back together? Simply retrace these steps in reverse and you’ll be good to go!
– If things get tricky, no sweat—just schedule a repair and let us help!
Success!


