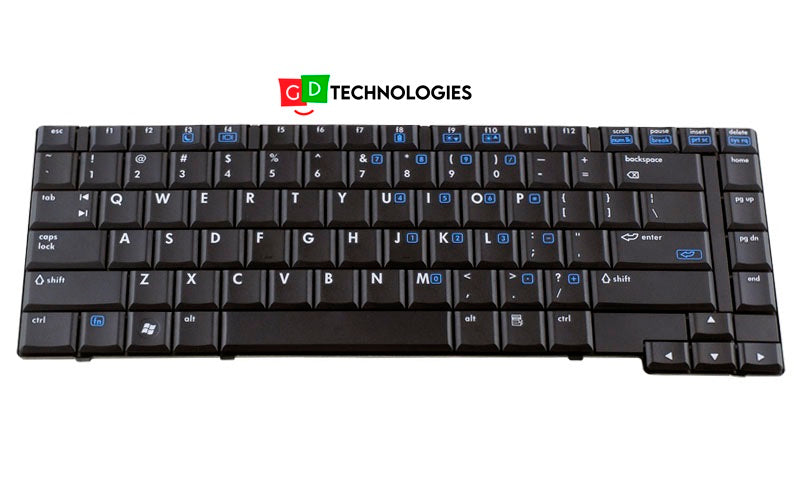
HP Compaq 6710b Keyboard Replacement
Duration: 45 minutes
Steps: 4 Steps
Popping out the keyboard is a must to swap the heat sink paste and upgrade your RAM. Let’s get those screws turning!
Step 1
Make sure to power down your device before diving in!
The screws might hang on for dear life and refuse to completely fall out—just make sure they’re unscrewed as much as they can be, and you’re good to go!
– Flip your laptop over to its backside. Ready to roll? Let’s do this!
– Grab a Phillips #1 screwdriver, unscrew the 5mm screw, and pop off that cover—easy peasy!
– Using the same trusty screwdriver, remove those 8mm screws. You’re doing great!
Tools Used
Step 2
– Let’s get your laptop flipped over to its top side and popped open like a fresh book!
– Now, take that trusty blue plastic opening tool or your fingernail and gently slide those locking tabs down. You’re doing great!
Step 3
Keep the keyboard in its place; it’s still connected to the computer by a ribbon cable, so no need to detach it just yet!
– Grab your trusty plastic prying tool and gently lift the keyboard towards you. Take it slow, no need to rush!
Step 4
– Time to get that keyboard out! Start by pulling up on both sides of the black locking tab on the connector – it’s like a little door, and you’re the keymaster!
– Whoa, you did it! The keyboard should now be free from the computer. You’re one step closer to getting your device back in action!
Success!


