HTC Flyer Headphone Jack Replacement
Duration: 45 minutes
Steps: 14 Steps
Step 1


It might take a little elbow grease, but it’ll glide right off like butter.
– Gently press along the bottom edge of the white panel where the camera hangs out and give it a little upward nudge.
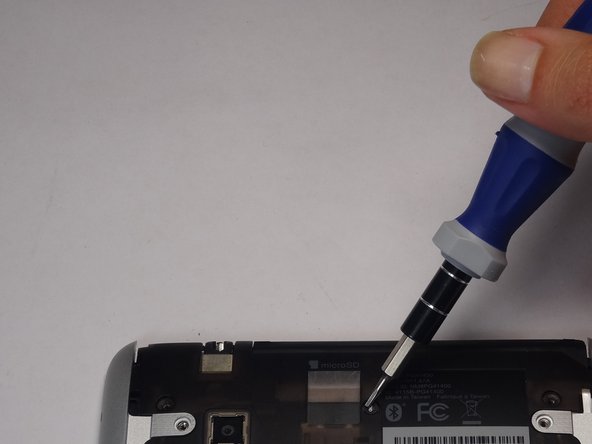
Step 2


Get cozy with your Torx T5 screwdriver—it’s going to help you tackle every screw in this device. Keep it close by, and let’s make this repair a breeze!
– Remove the four 3.5mm Torx T5 screws lining the edges of the exposed components. You’ve got this!
Step 3

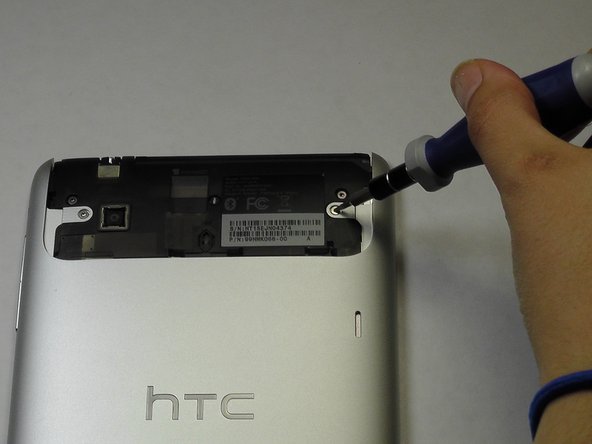
A ‘VOID’ sticker is hiding a center 3.5mm Torx screw. Don’t let it fool you!
– Slide that black protective piece of plastic up and away, like a ninja on a mission.
– Unscrew the two 3.5mm Torx #5 screws that are holding the protective plastic down, one on each side—easy peasy!
– For the next step, you can either peel off the sticker or give the screwdriver a little nudge into the screw to pop it out. You’ve got this!
– Now, gently slide the protective panel upwards and off. You’re almost there!
Step 4
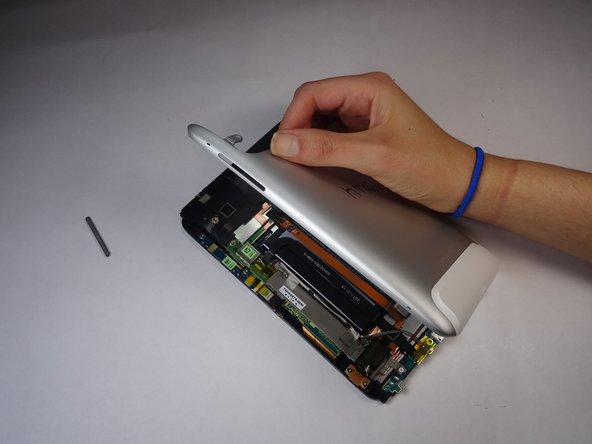

– First things first, grab some scotch tape and stick it over the volume buttons. This will keep them snug and secure while you work on removing the back cover!
– Next up, take your trusty plastic opening tool and gently pry up the top half of the cover. Just a little leverage goes a long way!
– Now, lift that back panel right off and set it aside. You’ve got this!
Step 5

Keep that tape hanging on just a bit so you can stick it back with ease later on!
– Carefully peel back the black tape along the top that’s covering the cable attachment points. Take your time, it’s like revealing a hidden treasure!
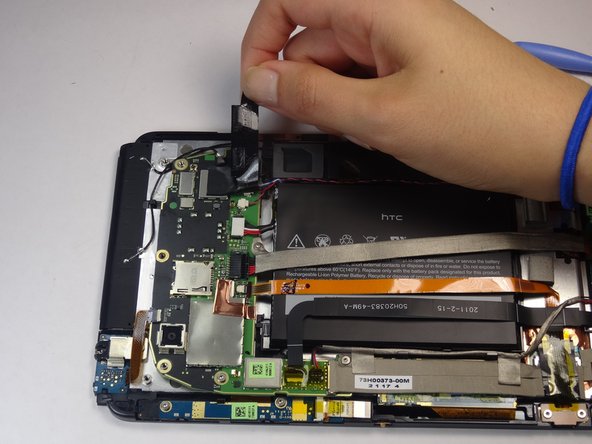
Step 6

– Grab your trusty spudger and use its tip as a lever to gracefully disconnect those four cable connectors.
– Once you’ve released the back piece, gently pull those cables out like you’re unveiling a surprise gift!
Step 7

– Let’s get started by removing the single 2.5mm Torx T5 screw that’s holding the battery in place along the top side. Grab your trusty screwdriver and get ready to set that battery free!
Step 8


If the adhesive is putting up a bit of a fight, no worries! Grab the flat end of a spudger and gently pry away any leftover adhesive. It should come off smoothly with a little patience.
– Gently slide the flat end of a spudger between the battery and the front panel assembly. You’ve got this!
– Carefully glide the flat end of the spudger along the top edge of the battery to break the adhesive seal that’s holding it to the front panel assembly. Keep it smooth!
Step 9

– Unscrew those four 2.5mm Torx #5 screws that are hanging out along the motherboard’s edge. You’ve got this!
Step 10

– Grab your trusty spudger and gently detach those two black ground wires chilling on the right side of the motherboard. Let’s set them free!
– Next up, it’s time to deal with the colorful speaker cables on the right. Just lift that little ‘lever’ on the opposite side of the cable socket, and effortlessly pull those cables out. You’re doing great!
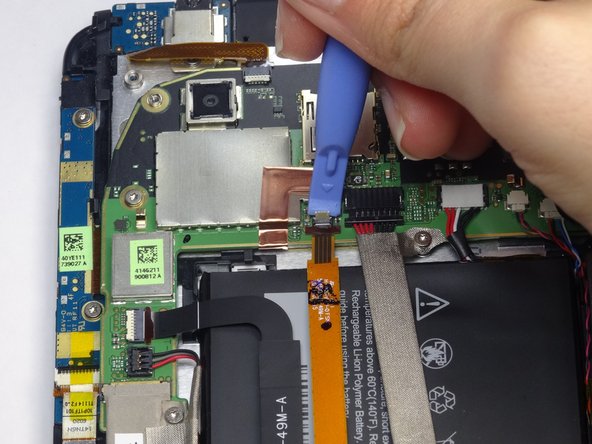
Step 11

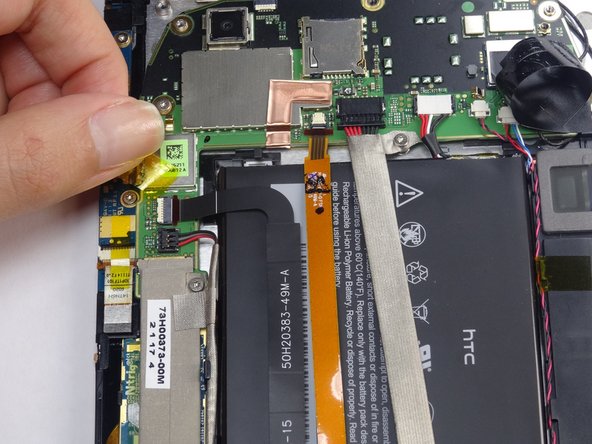
– Carefully lift the translucent yellow tape to expose the cable sockets. Easy does it!
– Now, use your trusty spudger to gently pry up the cable’s “lever”. You got this!
– Time to set those cables free! Gently pull them out, taking care not to damage them.
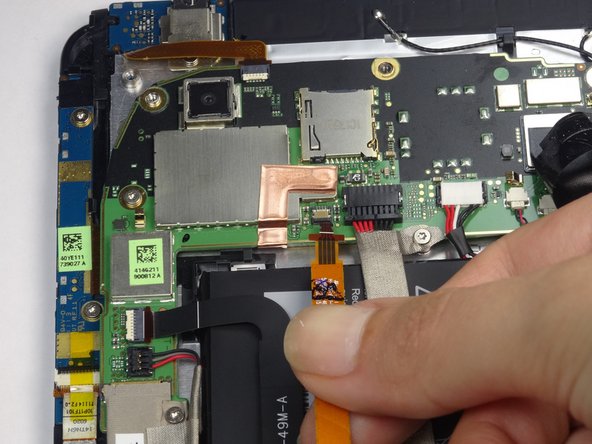
Step 12

– Carefully detach the cable near the headphone jack, just like you did with those lower cables. You’re doing great!
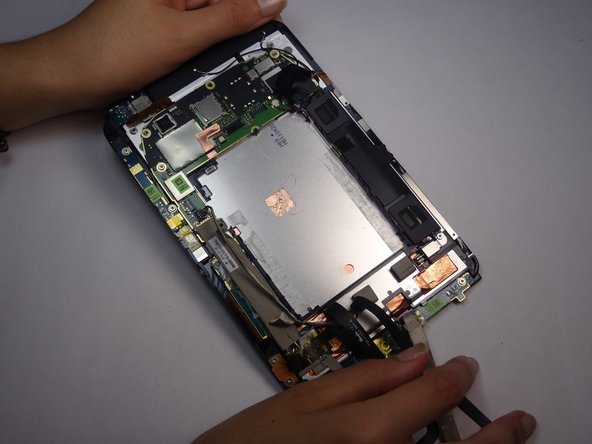
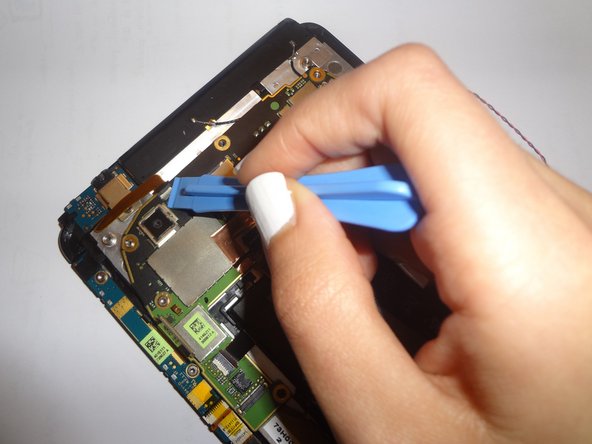
Step 13

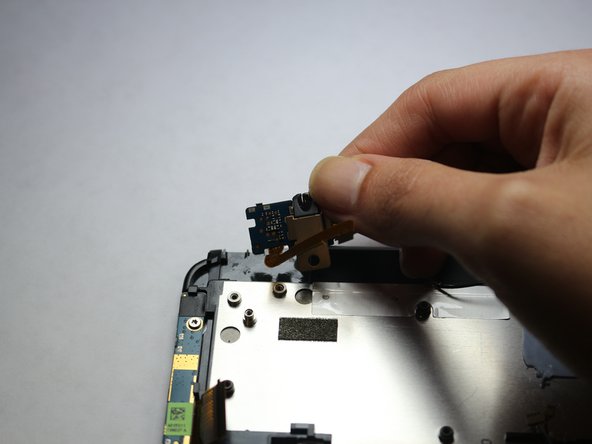
– Carefully grab the motherboard by its sides and gently pull it free. Take your time, no need to rush!
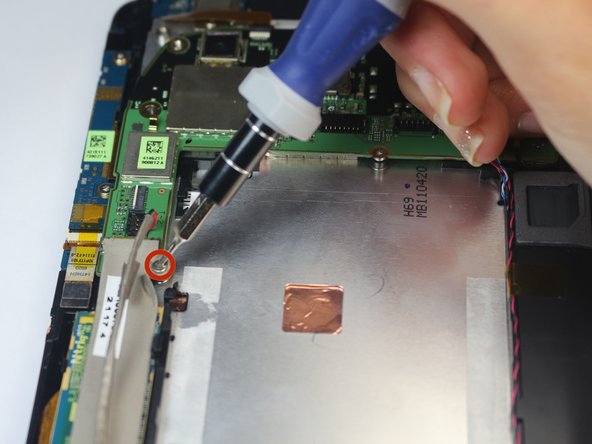
Step 14

– Let’s take out that lone 2.5mm Torx T5 screw. You’ve got this!
Success!