
HTC Trophy Headphone Jack Replacement
Duration: 45 minutes
Steps: 10 Steps
Ready to give your HTC Trophy some fresh beats? This guide walks you through swapping out the headphone jack—the spot where you plug in your headphones for private jams or connect to speakers. Since the jack is soldered right onto the motherboard, you’ll need to know your way around a soldering iron. Not sure about soldering or desoldering? Check out the How to Solder and Desolder Connections guide before you dive in. Thinking you might need a new jack? Watch for these signs: your headphones aren’t playing audio, or the port looks like it’s hiding some mystery gunk inside that’s blocking the connection.
Step 1


– Make sure to power down your device before you get started with any internal work.
– Gently insert the opening tool into the gap at the top of the back panel and carefully pry it off to remove the rear cover.
Tools Used

Step 2


Watch out — don’t poke or puncture the battery! Keep it safe and sound during your repair adventure.
– Gently insert the opening tool into the tiny gap between the battery and the plastic frame, then give it a little wiggle to loosen things up.
– Apply a gentle push downward on the phone and lift the battery out with a steady hand. If you need help, you can always schedule a repair.
Tools Used
Step 3

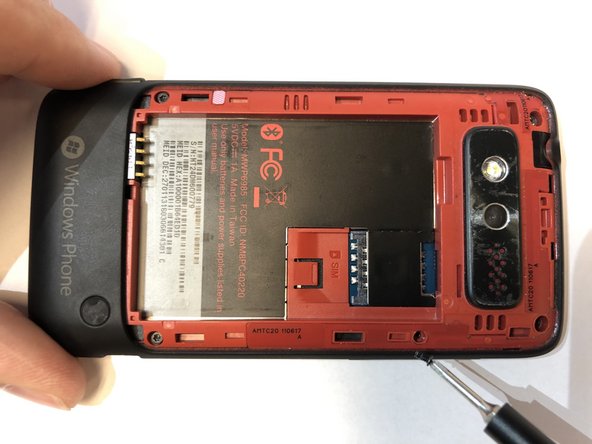
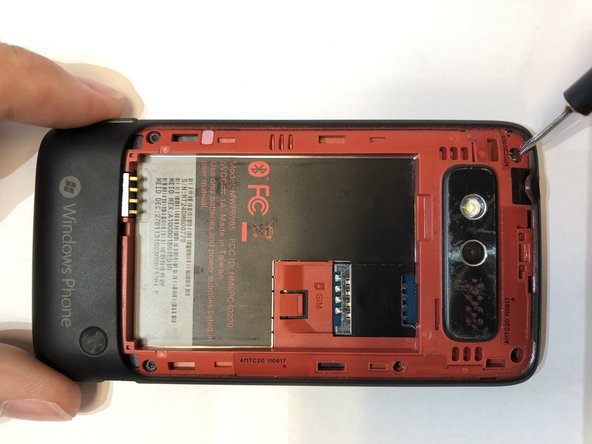
Take out your SIM card if it’s hanging out in there.
– Grab your screwdriver and remove the 5 screws keeping the phone’s two halves together.
– You’ll find three T5 Torx screws here, each 4mm long.
– Push your T5 Torx driver right into the void sticker and take out the 4mm T5 Torx screw hiding underneath.
– There’s also a single 4mm Phillips #000 screw to remove.
Tools Used

Step 4
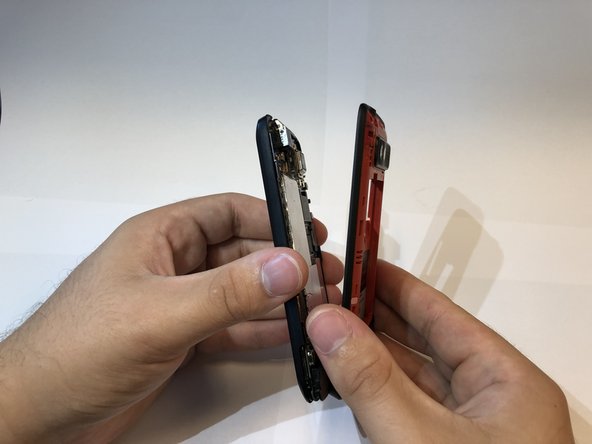
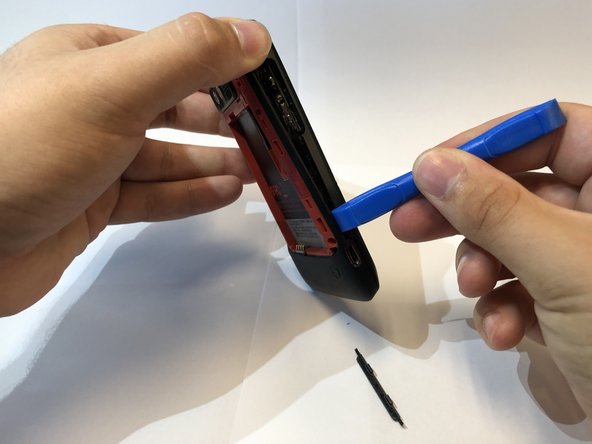

There are small plastic clips keeping your phone snugly together. Gently run the opening tool around the edges, and it’ll click apart—just take your time to avoid any mishaps.
When you open up the phone, the volume button may decide to make a quick exit. Don’t worry, just keep an eye on it!
The black sticker underneath the battery might tear as you separate the phone.
– Gently insert the opening tool into the seam of the plastic around the edge of the device and carefully pry the two halves apart. Take your time and work around the edges to avoid cracking the plastic. If you need help, you can always schedule a repair.
Tools Used
Step 5


– Start by unscrewing the three screws that hold the motherboard to the display assembly. They’re the key to freeing up the main component.
– You’ll find one tiny 2mm Phillips #000 screw doing its part in keeping things together.
– Then, locate the two 4mm T5 Torx screws nestled in the holes of the plastic frame and give them a gentle turn to loosen.
Step 6

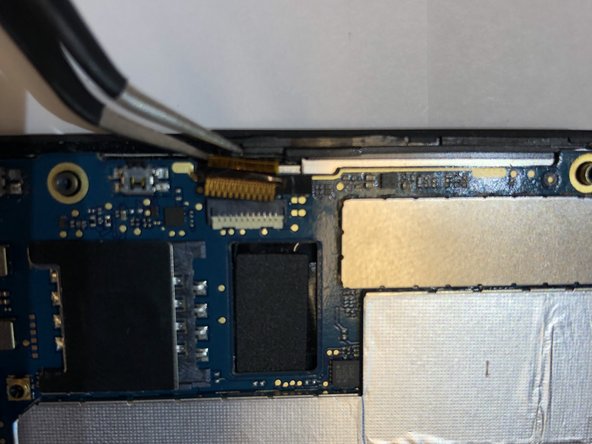
Handle ribbon cables with care—they’re super delicate and easily damaged. Take your time to avoid any tears or kinks, and if things get tricky, remember you can always schedule a repair for extra help.
– Peel back the black tape covering the ribbon cable connectors using tweezers. Then, gently disconnect the ribbon cables from their connectors. If you need help, you can always schedule a repair.
Tools Used

Step 7

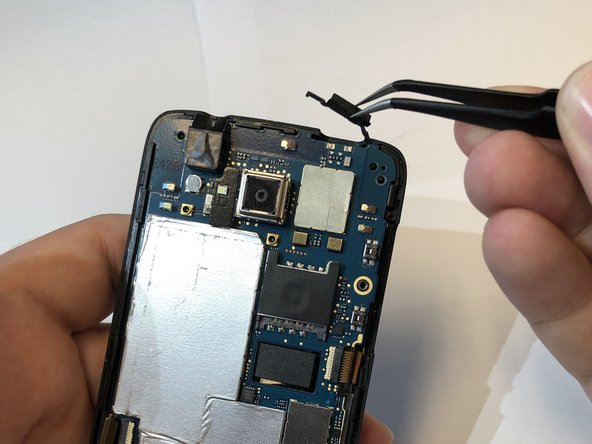
– Gently pluck out the power button from the top of your phone using a pair of tweezers. If you need help, you can always schedule a repair.
Tools Used
Step 8
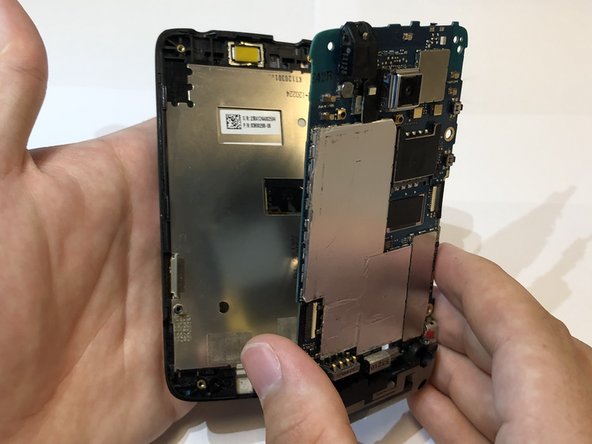
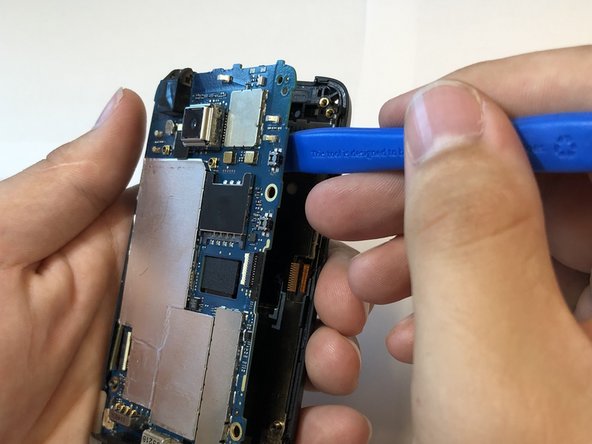

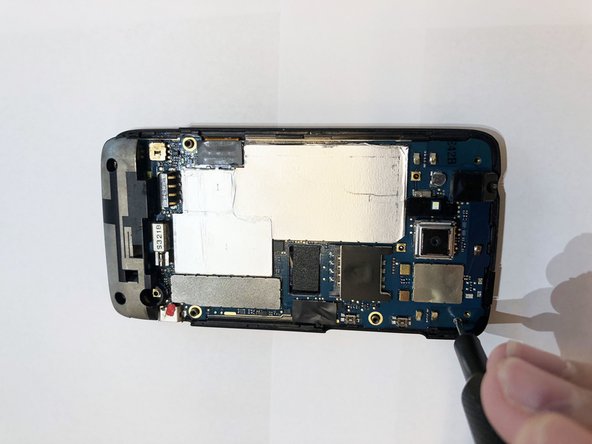
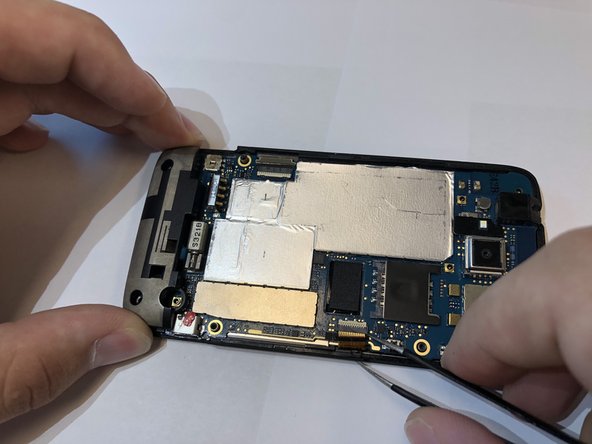
– Grab the opening tool and gently work it around the edges to separate the motherboard from the display assembly. Take your time—no need to rush, just give it a little wiggle and it’ll come apart smoothly.
Tools Used
Step 9

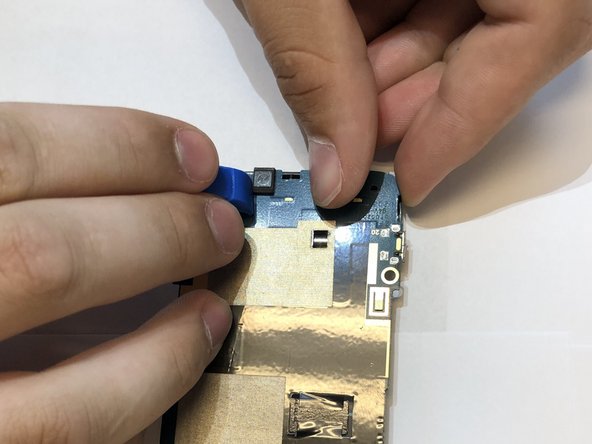
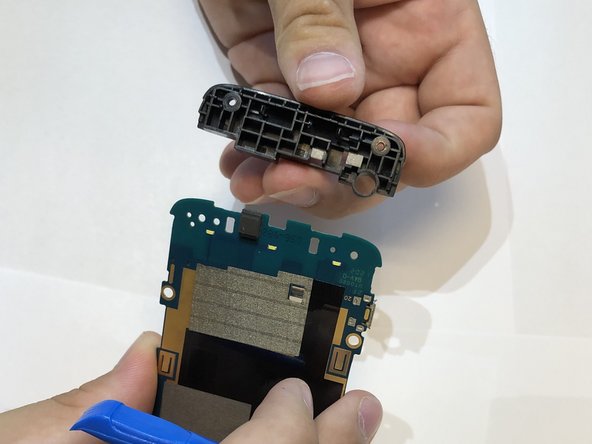
– Gently peel the plastic piece off the motherboard. It should come off easily, just give it a little wiggle!
– Apply a bit of outward pressure to release the clips. You can use your fingers and a trusty opening tool to help with this step.
Tools Used
Step 10
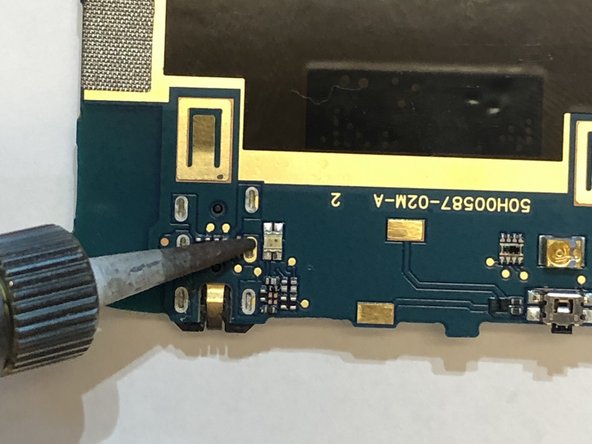

Keep it cool—avoid overheating any nearby parts on the motherboard while you work.
Looking to master soldering and desoldering like a pro? Check out the How to Solder and Desolder Connections guide for all the tips and tricks you’ll need. If you ever get stuck or want some hands-on help, remember you can always schedule a repair with Salvation Repair.
– Gently remove the headphone jack from the motherboard.
Success!