iDea USA CT702 Microphone Replacement
Duration: 45 minutes
Steps: 6 Steps
Get your soldering iron ready by plugging it in and turning it up to the max—trust us, you’ll need that heat for the next steps! This guide is perfect for those who are feeling adventurous and have a bit of soldering know-how. Let’s get to work!
Step 1

– Lay the tablet flat with the screen facing up and the ports pointing towards you.
Step 2


Take it easy and go at your own pace! Using too much muscle might just hurt your device.
– Gently use your fingernail or a handy plastic opening tool to coax the black panel around the portholes loose. You’ve got this!
Step 3
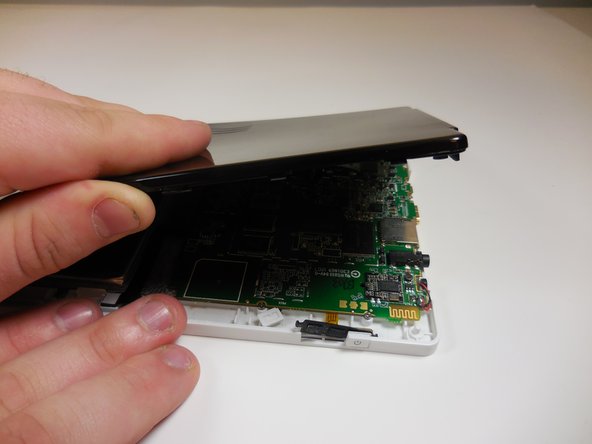

– Gently work your fingers around the edges of the back cover and apply a little pressure from each side. The clips will start to give way, so take your time and let them pop off one by one.
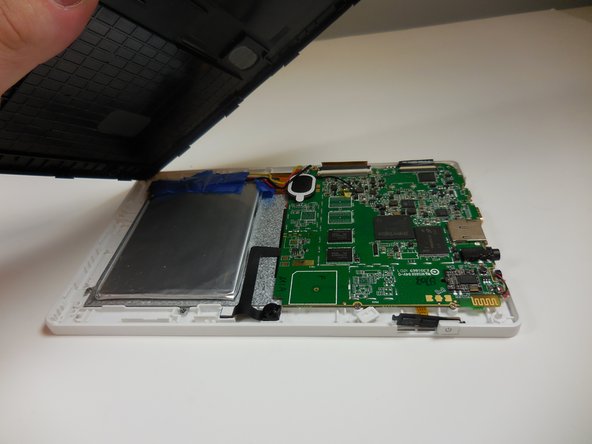
Step 4

– Now that you’ve removed the back, set your tablet down just like the picture shows. And don’t forget to heat up that soldering iron—it’s time to get to work!
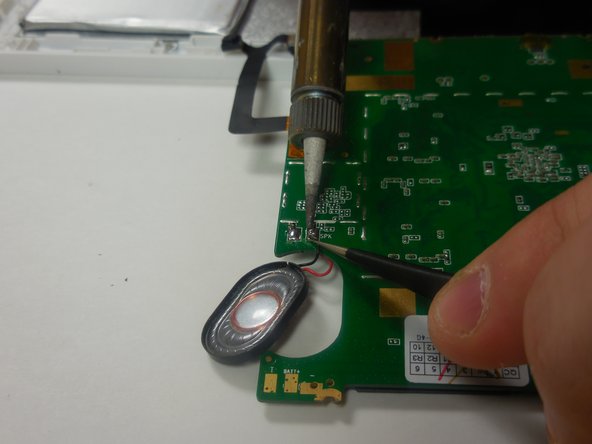
Step 5

Be sure to rock those safety gear vibes while soldering!
– Give that soldering iron a cozy hug with the tip on the end of the wire—time to break that connection!
Step 6

– Grab that shiny new microphone with your trusty tweezers and gently slide it into its cozy little spot.
– While you’ve got your tweezers keeping the speaker nice and steady, go ahead and solder those new connections like a pro.
Success!