iPad 2 CDMA Front Panel Adhesive Strips Replacement
Duration: 45 minutes
Steps: 14 Steps
Time to swap out the adhesive holding your iPad 2 CDMA's front panel to its rear case. First things first: make sure both surfaces are squeaky clean for the new tape to stick like a champ. Grab a spudger to gently scrape away any big chunks of old adhesive, then wipe down all the glue spots with a paper towel soaked in rubbing alcohol or Goof Off. As you go, peel up each adhesive strip as needed to keep things tidy and ready for the fresh stuff.
Step 1


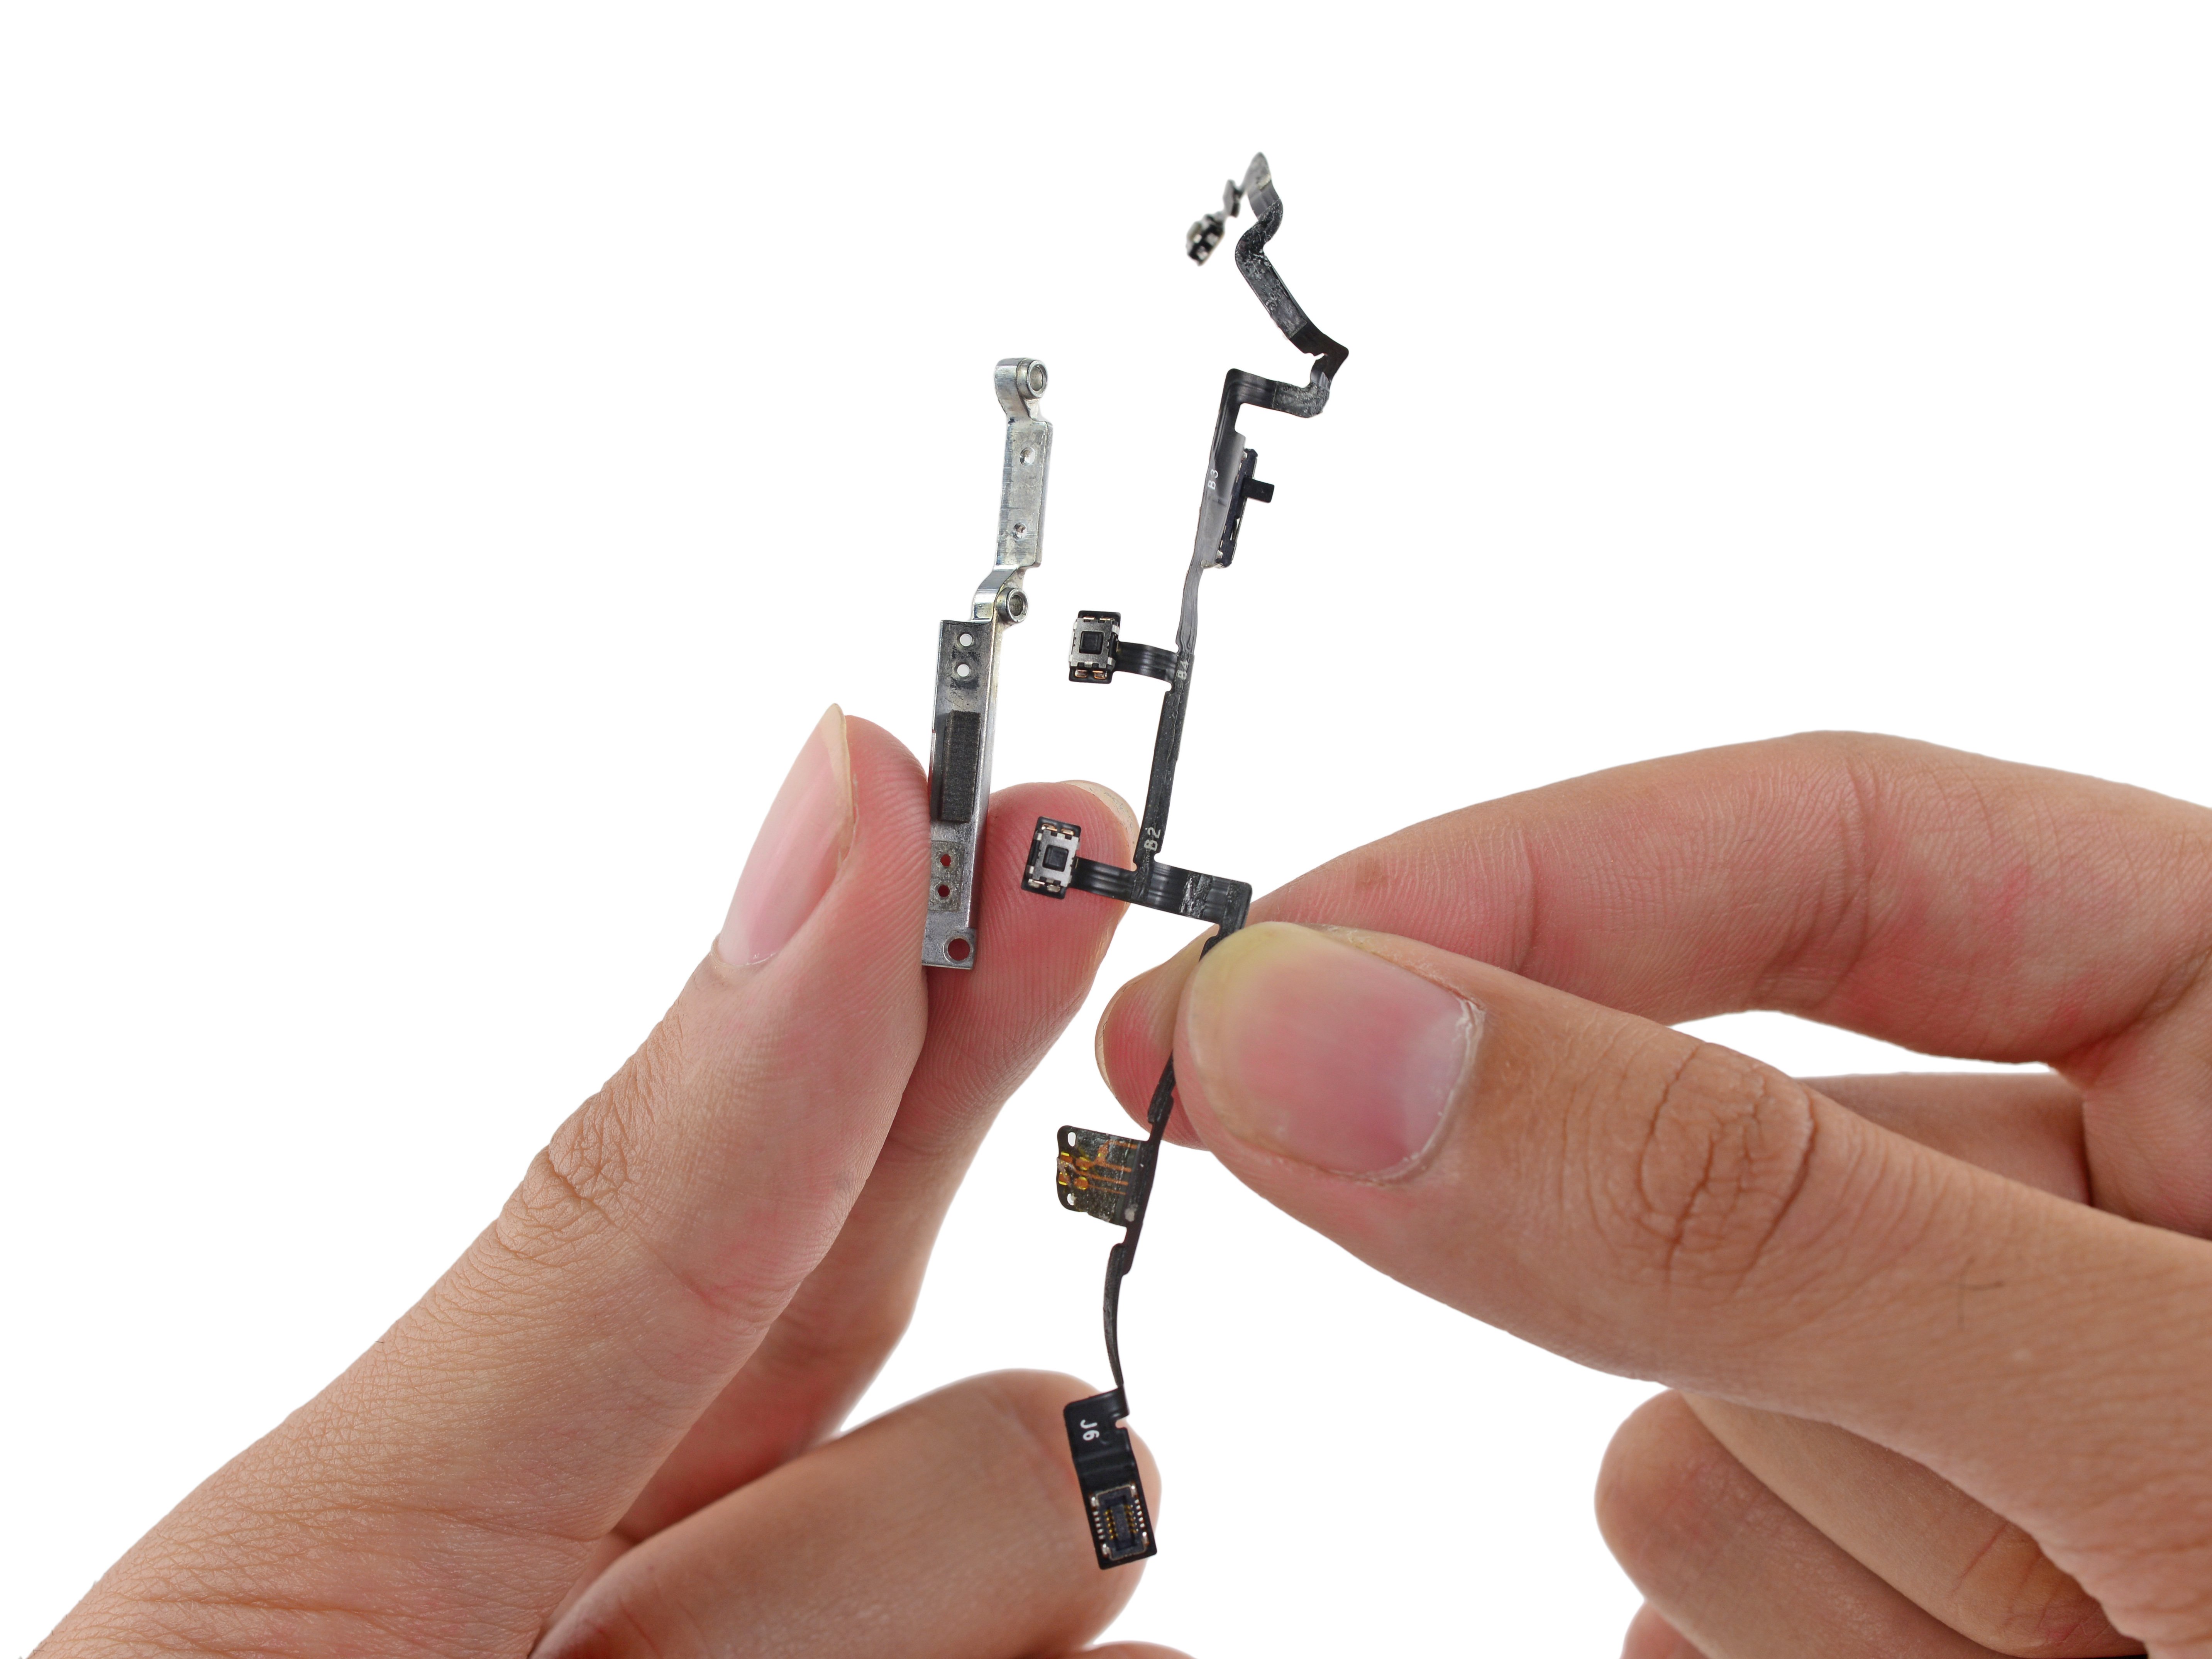
Check out the third picture for the home button's proper positioning! Just make sure the back side is facing up and that the flat side of the inner circle is aimed towards the top of your iPad. You're on the right track!
- Grab the home button with a trusty pair of tweezers—careful, but not too tight.
- Now, gently lower the home button into the round slot at the bottom of the front panel. It should fit in there like it was made for it!
Tools Used

Step 2


The two small notched trapezoidal strips are your trusty sidekicks for securing the home button bracket to the front panel. Let's get this party started!
- Gently peel off the first trapezoidal adhesive strip. Take your time with this one—patience is key!
Step 3


Align the profile of the strip with the edge of the mounting bracket, making sure they fit perfectly together. This step is key for a solid setup!
- Grab a trusty pair of tweezers and carefully position the first trapezoidal adhesive strip, making sure it's facing the right way, on the corresponding side of the home button mounting bracket.
- Now, let's do the same thing with the second trapezoidal adhesive strip. You got this!
Tools Used
Step 4

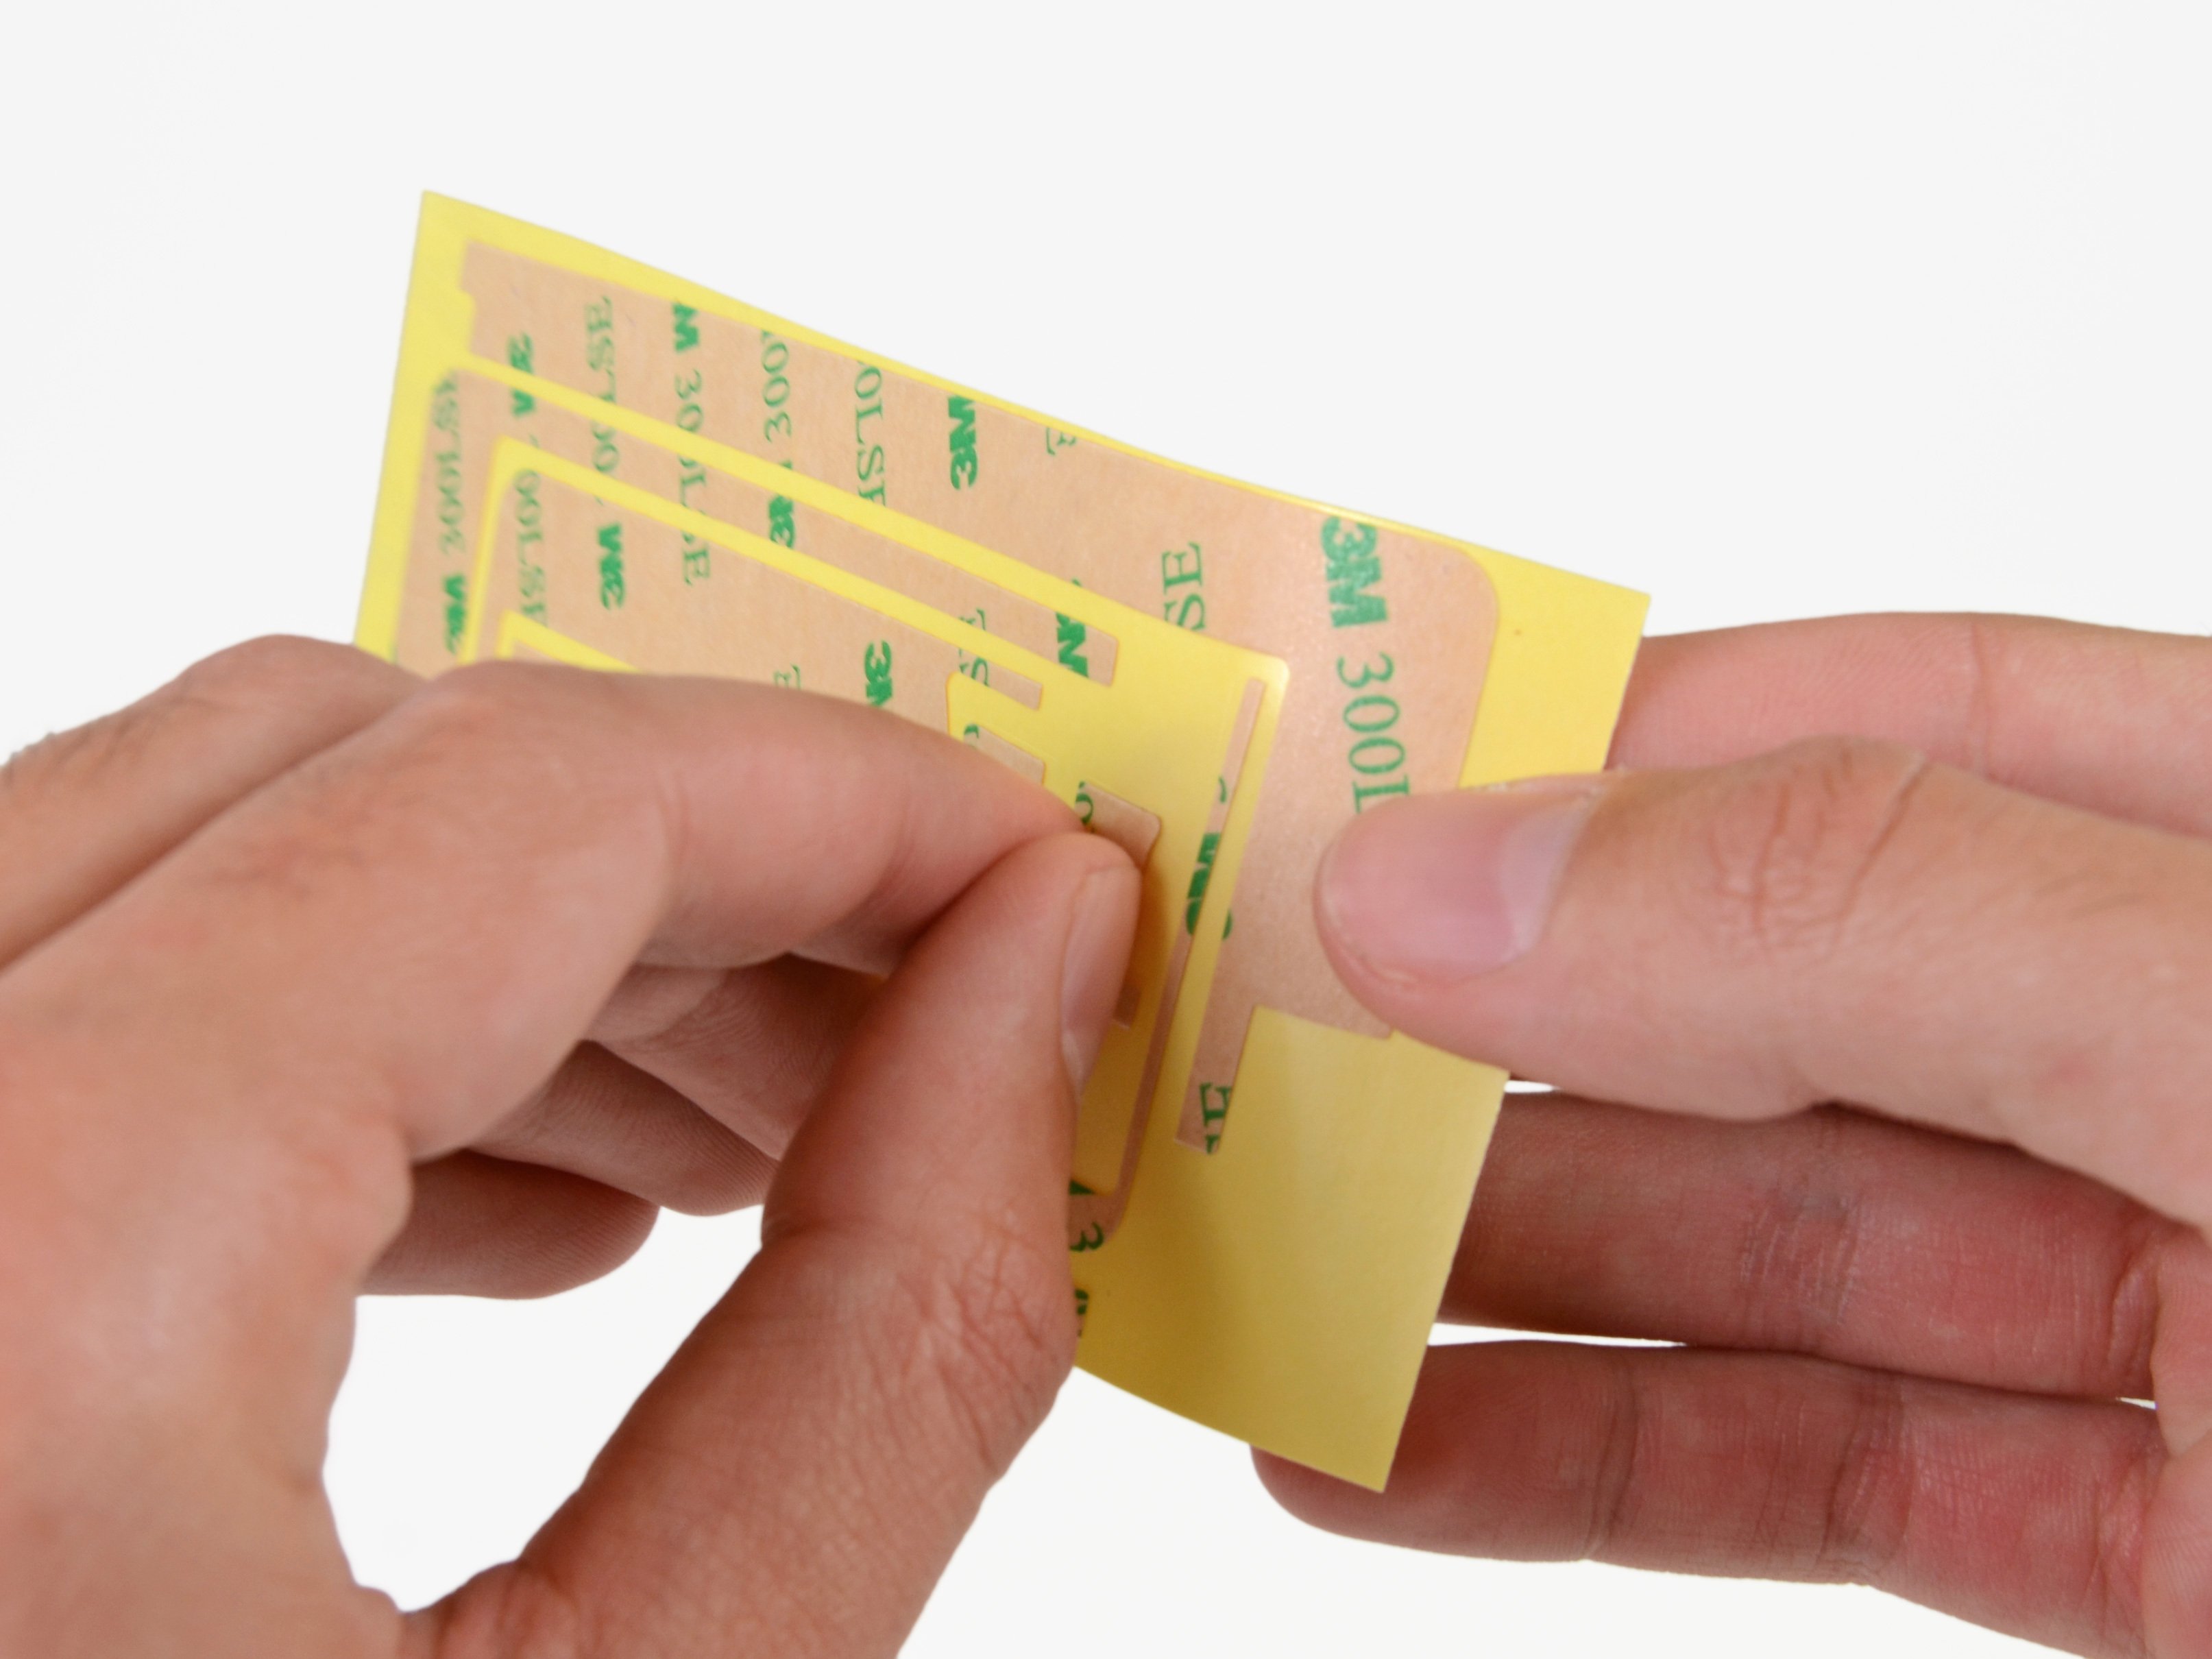
- Grab the corner of one of the adhesive strips on the mounting bracket using a pair of tweezers.
- Gently lift and peel back the brown backing to reveal the clear adhesive strip underneath.
- Repeat the process with the other adhesive strip.
Tools Used
Step 5


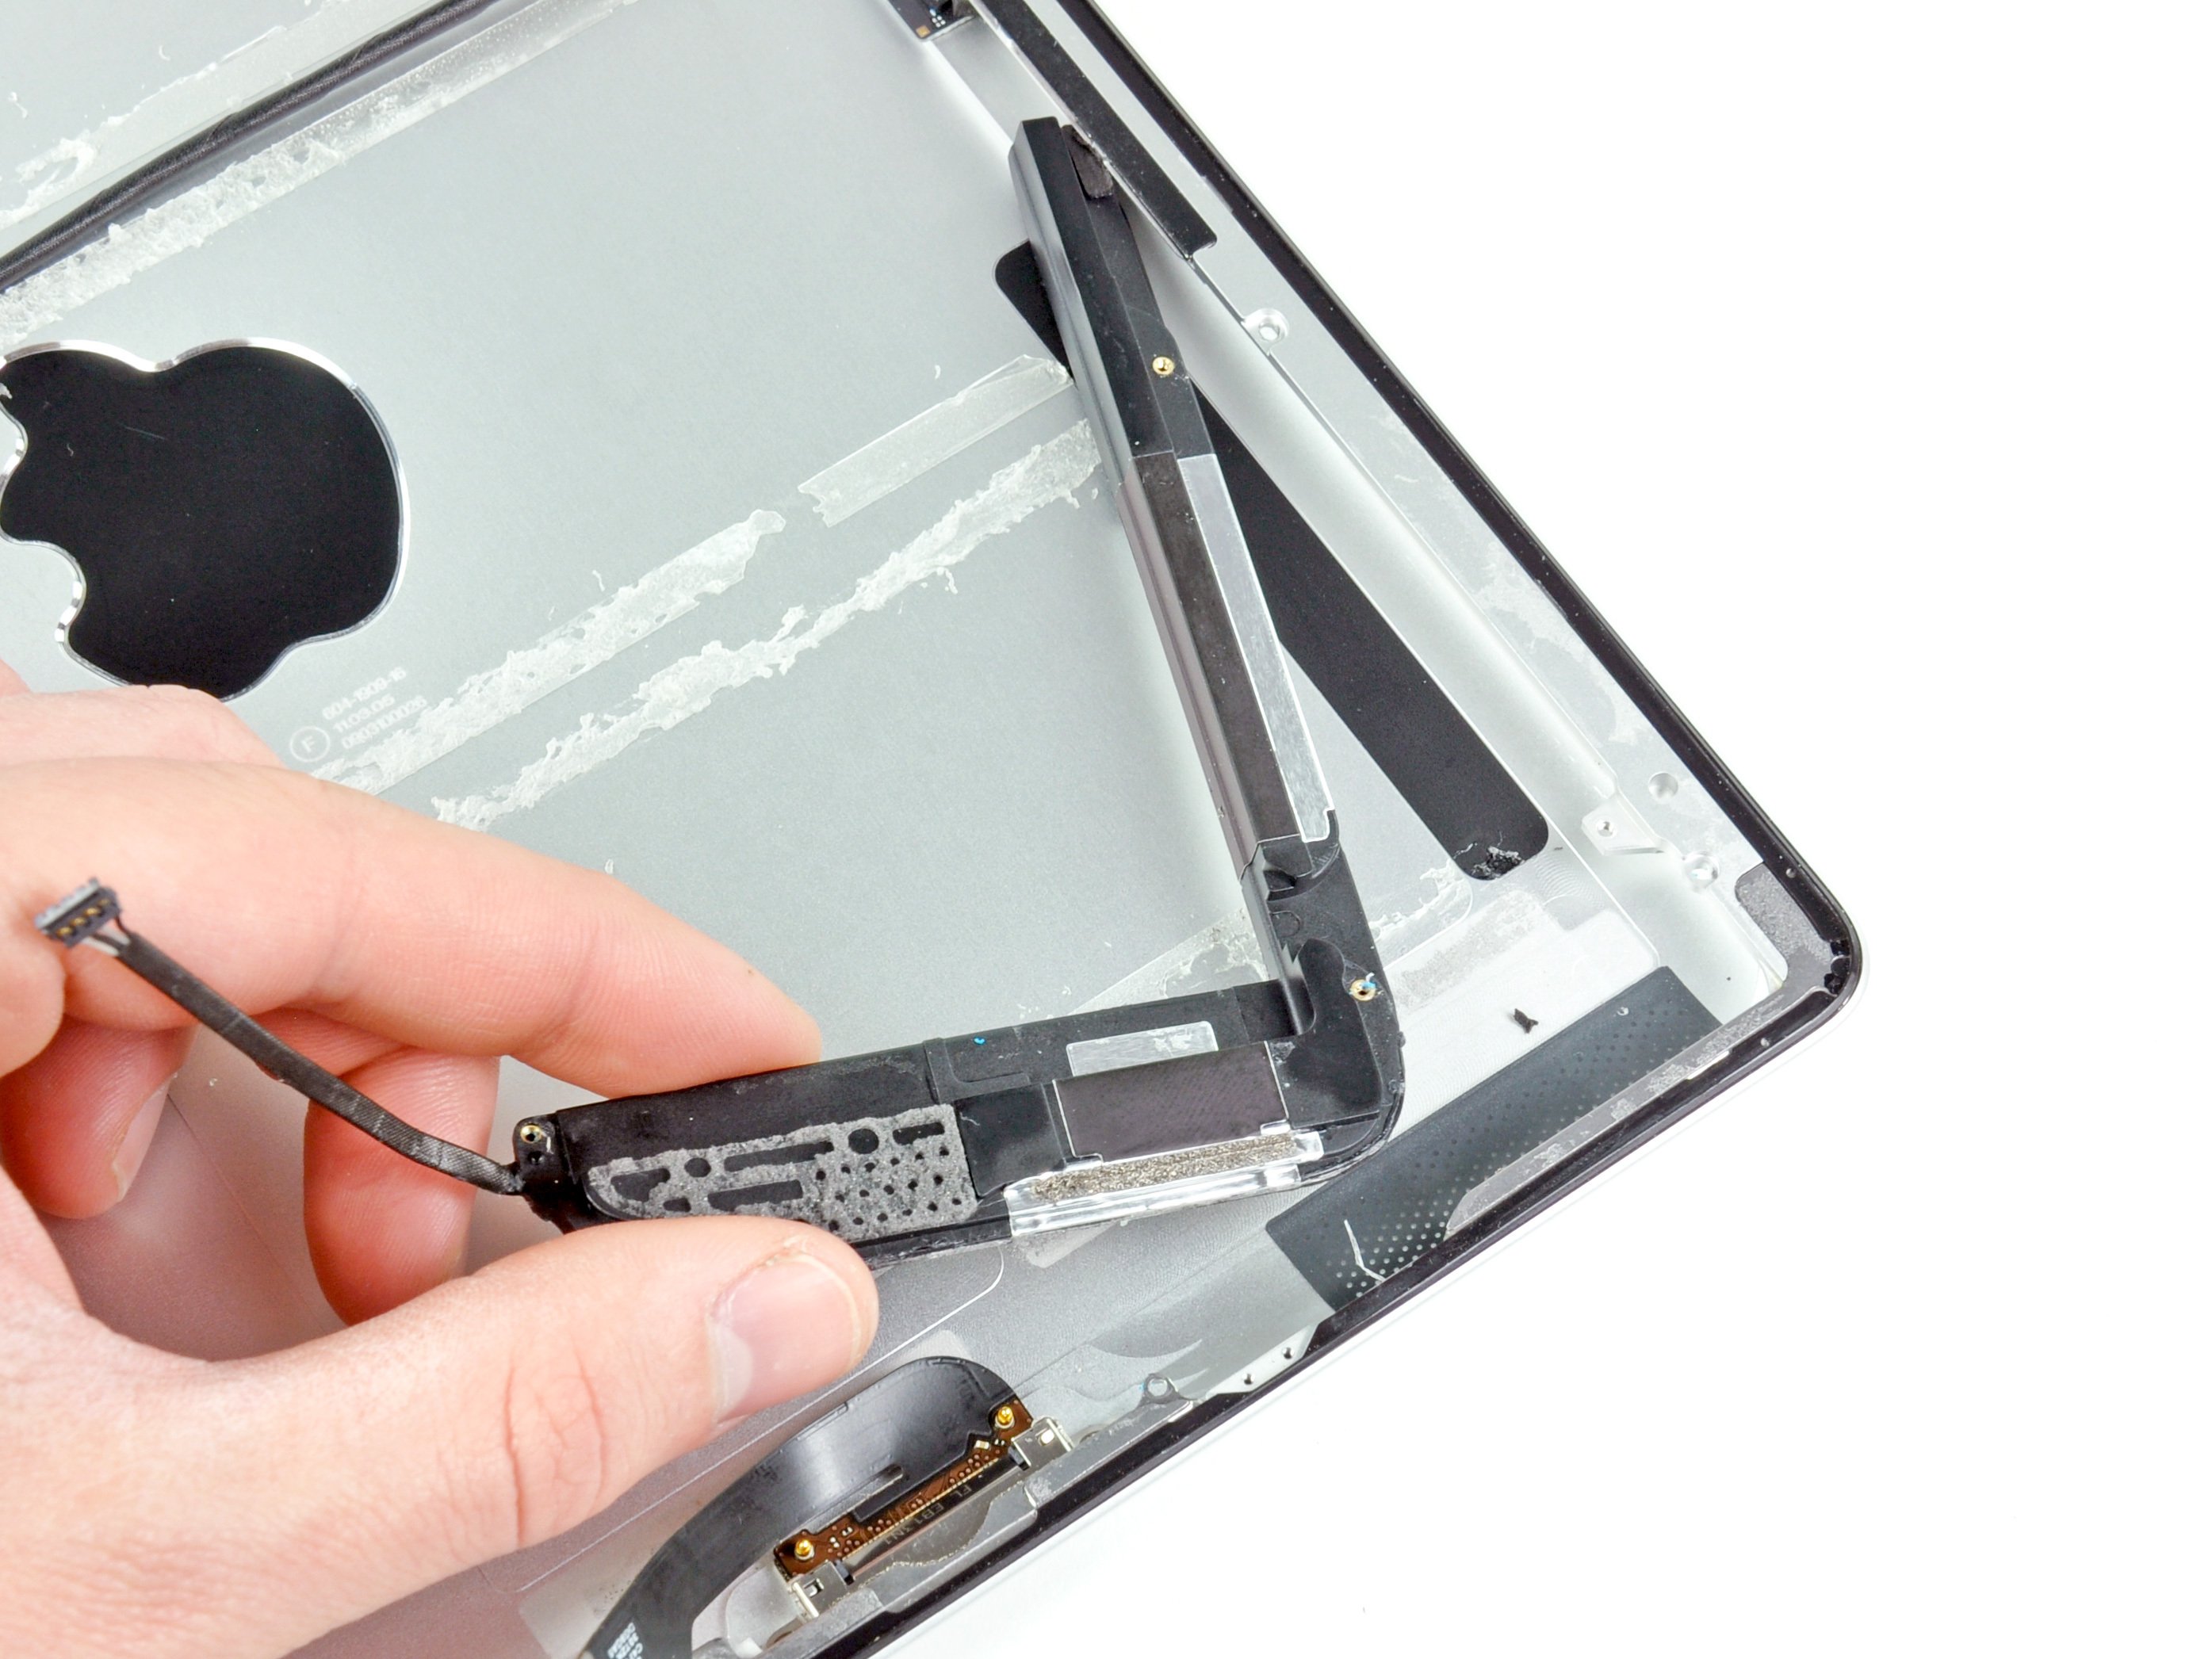
Align the home button mounting bracket with the bottom edge of the digitizer. It’s like finding the perfect fit – just make sure they line up nicely!
- Carefully set the home button mounting bracket right on top of the home button, making sure it fits snugly.
Step 6


Now it's time to add the finishing touches! Place the remaining adhesive pieces onto the front panel to get everything in place. It's a simple step, but it makes all the difference. If you're feeling unsure, no worries—just schedule a repair and we'll handle it for you!
- Hold off on peeling the brown backing off those strips for now.
- Take the biggest L-shaped adhesive strip and lay it down on the top left corner of the front panel.
- Press the strip down smoothly from the center outward, making sure no sneaky air bubbles get trapped underneath.
Step 7


- Stick the skinnier L-shaped adhesive strip onto the bottom left corner of the front panel—easy does it!
Step 8


- Carefully stick the last thin L-shaped adhesive strip onto the top right corner of the front panel, right next to the camera mounting bracket.
Step 9


- Stick that straight adhesive strip right on the right side of the front panel like it’s meant to be there! If you've already connected the digitizer cable, just get a little creative and work around it as you attach this strip. You've got this!
Step 10


- Stick that last L-shaped adhesive strip right on the bottom right corner of the front panel and let the magic happen!
Step 11


- Place the thin T-shaped adhesive strip between the bottom edge of the inner frame of the front panel and the camera mounting bracket. Make sure the longest edge aligns perfectly with the inner frame.
Step 12


- Stick that little hook-shaped adhesive strip just below the left side of the home button bracket. Easy peasy!
Step 13


- Place the small rectangular adhesive strip just to the left of the hook-shaped one, right next to the thin L-shaped strip. Make sure it lines up neatly with the bottom of the front panel, like a puzzle piece clicking into place.
Step 14


Before you peel off the backing, double check that each adhesive strip is lined up in the right spot and facing the correct way. It's like putting together a puzzle—get it right before you commit!
- Now it's time to put your device back together! Just retrace your steps and assemble everything in reverse. You've got this! If you hit any bumps along the way, remember that you can always schedule a repair for extra support.