iPad 2 GSM Display Data Cable Replacement
Duration: 45 minutes
Steps: 35 Steps
Get ready to tackle the task of swapping out that display data cable! Just a heads up, parts of this guide were filmed using a Wi-Fi model, so the insides might look a tad different from your cellular version. But don’t worry—the process is pretty much the same for both, with a few minor exceptions. Let’s dive in and make this repair happen!
Step 1
For carousel microwaves: double-check that the plate spins without a hitch. If your iOpener gets stuck, it might overheat and cause a burn — safety first!
It's a great idea to give your microwave a little TLC before diving in! A clean microwave means no pesky residue will cling to the iOpener, making your repair journey smoother.
- Pop that iOpener right in the middle of the microwave like a champ.
Tools Used
Step 2
Watch out for overheating your iOpener—it’s not a fan of getting too hot and might pop if you’re not careful. Keep it below 100˚C (212˚F) to stay safe.
If your iOpener looks puffed up or swollen, don’t touch it—time for a break!
If the middle part of the iOpener is still too toasty to handle, keep using it while it cools down a bit before heating it again. When heated right, it should stay warm for about 10 minutes.
Microwaves vary in power, so adjust the heating time accordingly. Your iOpener is ready to roll when it’s just hot enough to make you go "whoa, that’s warm!" without burning your fingers.
- Warm up the iOpener in the microwave for about thirty seconds.
- As you work, if the iOpener starts to cool off, just pop it back in the microwave for another thirty seconds to keep things toasty.
Tools Used
Step 3
The iOpener is going to be super toasty, so handle it with care! A trusty oven mitt might just be your best friend right now.
- Carefully take the iOpener out of the microwave, grabbing it by one of the flat ends to steer clear of the hot middle. Safety first, always!
Tools Used
Step 4
Watch out! The iOpener is going to be sizzling hot, so make sure to grab it by the end tabs only. Safety first, friend!
No microwave? No problem! Pop your iOpener in a pot of boiling water to get it warm and ready for action.
- Fill a pot or pan with enough water to completely cover your iOpener.
- Bring the water to a boil, then turn off the heat.
- Drop the iOpener into the hot water and let it soak for 2-3 minutes, making sure it's fully underwater.
- Carefully grab the warm iOpener out with tongs.
- Dry it off thoroughly with a towel.
- Your iOpener is now good to go! If it cools down and needs reheating, just repeat the boiling and soaking steps.
Tools Used
Step 5
Put on those safety glasses to shield your eyes and take care not to give the LCD screen a rough time.
This will help keep those pesky glass shards under control and ensure your display stays strong and steady while you pry and lift it.
- Got a cracked display? No worries! Grab some clear packing tape and lay it down over the screen to prevent any further breakage and keep things safe while you work.
- Start by overlapping strips of tape on the iPad’s display, covering the entire face. It might not look pretty, but it’ll do the job.
- Keep following the guide, and don’t stress if the glass cracks a bit more as you go. Once it’s broken, it might keep cracking, so be ready to use a metal prying tool to carefully scoop the glass out if needed.
Step 6
Heads up! Since broken glass might be part of the scene here, we recommend rocking a pair of safety glasses to keep those sneaky shards from crashing the party.
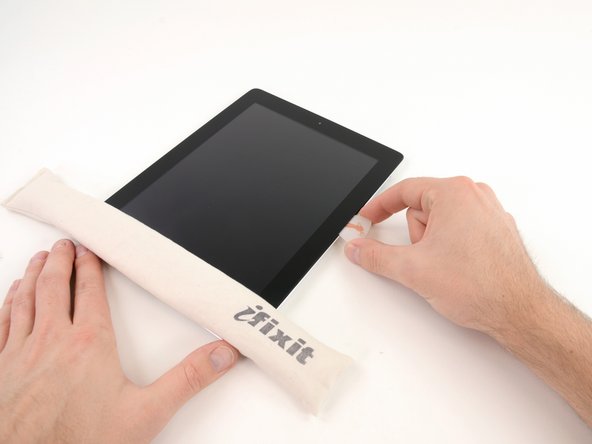
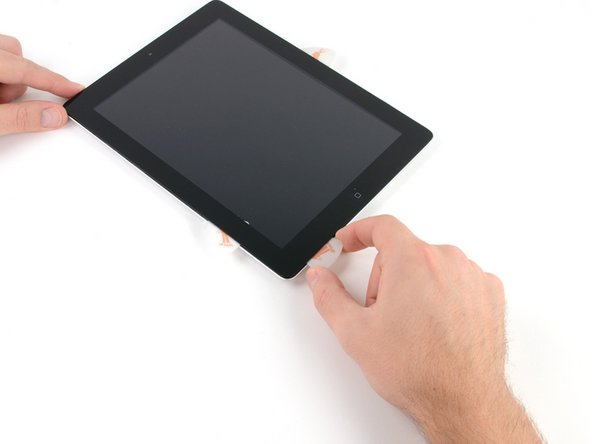
- Place the iOpener flat on the right edge of your iPad, making sure to smooth it out for a snug fit with the iPad's surface. We want them to be best buddies!
- Give the bag some quality time on the iPad for about 90 seconds before you dive into opening that front panel. Patience is key!
Tools Used
Step 7
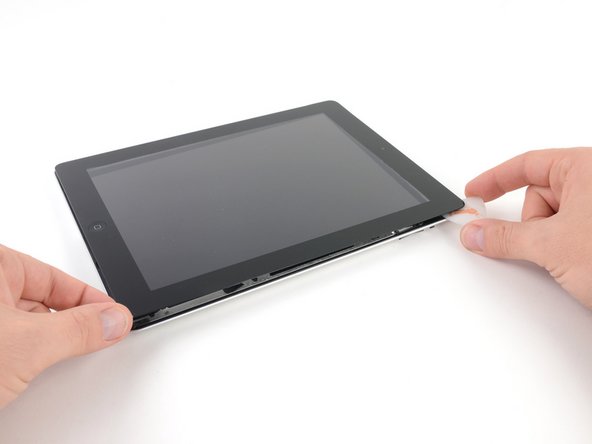
Getting the opening tool between the glass and plastic might take a little muscle, but don't worry—just be patient and take it slow. Gently wiggle the plastic tool back and forth as needed to ease it in. You'll get there!
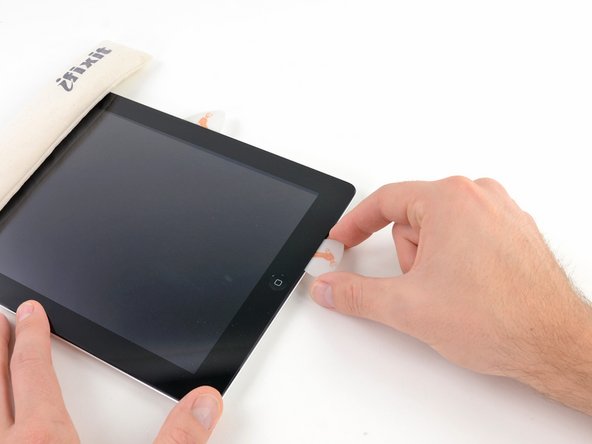
- Spot the tiny gap in the iPad’s adhesive ring up in the upper right corner, about 2.0 inches (~5 cm) down from the top edge. This little gap is your entry point.
- Line up your tool with the mute button. Gently slip the tip of a plastic opening tool into the narrow space between the front glass and the plastic bezel. Just a quick tip insertion—enough to nudge the crack open a bit.
Step 8
- Carefully wedge the tool right between the plastic display bezel and the front glass panel—getting it in the perfect spot makes all the difference!
Step 9
- Keep the tip of your plastic opening tool snug between the front glass and plastic bezel, then gently slide a plastic opening pick into the gap right beside it.
Step 10
- Take that trusty plastic opening tool out of the iPad's grasp, and gently slide the opening pick underneath the front glass, going about 0.5 inches deep. You've got this!
Step 11
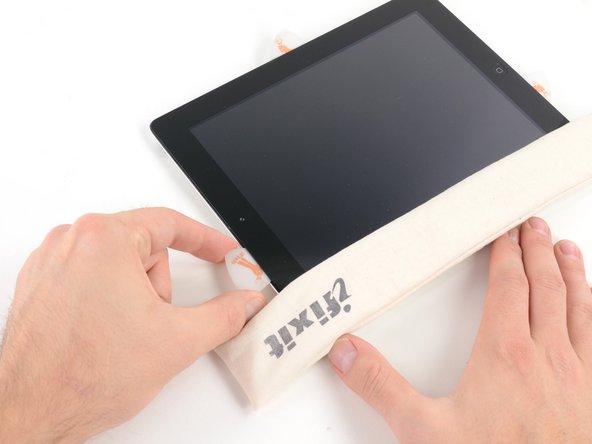
- While you're gently working on loosening the adhesive on the right side of your iPad, give your iOpener a quick reheat, then place it on the bottom edge of the iPad for a little extra help.
Tools Used
Step 12
This adhesive is seriously tough stuff—get ready to flex those muscles and take it slow and steady!
If you spot the tip of the opening pick peeking out from under the front glass, gently pull it back just a bit. Going this deep with the pick won’t cause damage, but it might leave some sticky adhesive smudges on the LCD.
- While the bottom edge gets some heat from the iOpener, start peeling the adhesive off the right edge of the iPad.
- Slide your opening pick down along the edge, gently freeing the adhesive as you go.
Tools Used
Step 13
If you're finding the adhesive a bit stubborn, you might want to reposition the heated iOpener back onto the right edge of the iPad. This really depends on how much time the iPad has had to cool down while you’ve been busy with other parts of the repair.
- If your opening pick finds itself in a sticky situation with the adhesive, just give it a little roll along the side of the iPad, and keep on working to free that adhesive like a pro!
Tools Used
Step 14
- Before you pull out the first opening pick from the bottom corner of the iPad, slide a second pick under the right edge of the front glass to stop the adhesive from sticking back together.
- Heat up the iOpener again, then move it to the top edge of the iPad to keep things nice and warm.
Tools Used
Step 15
The Wi-Fi antenna is secured to the bottom right edge of the iPad's rear case with screws and a cable. Since the antenna sits in a particular way, take your time and handle it gently—one wrong move and it might wave goodbye forever!
- Alright, time to channel your inner repair guru! The next steps are a bit tricky, so let’s tread lightly.
- You'll need to carefully peel away the adhesive holding the antenna to the front panel. Just be gentle; we don’t want to disturb the delicate bits that connect the antenna to the bottom of the iPad. Follow along closely, and we’ll get through this together!
Step 16
Hey there! Just a quick heads up: be careful not to slide that pick too far past the bottom right corner. You don't want to accidentally mess up the Wi-Fi antenna. Keep it safe and sound!
- Gently slide the opening pick around the bottom right corner of the iPad to loosen the adhesive hiding out there.
Step 17
Carefully slide the opening pick along the bottom right edge of the front panel. Watch out for the Wi-Fi antenna near the corner—it’s super close and can get cut if the adhesive comes loose the wrong way.
Don't pull the pick all the way out from under the front glass. Just give it a little tug so about 1/8" (3 mm) of the tip is still snugly tucked under. You got this!
- Gently glide the opening pick along the bottom edge of your iPad, letting it work its magic to free up the adhesive around the Wi-Fi antenna.
Step 18
- After you’ve passed the Wi-Fi antenna (about 3" (75 mm) from the right edge, right next to the home button), slide that opening pick all the way back in.
- Gently slide the pick to the right to free up the adhesive holding the Wi-Fi antenna to the front glass—smooth moves only!
- The antenna is screwed and connected by a cable at the bottom of the iPad. This step carefully disconnects it from the front panel so you can lift the panel without causing any antenna drama.
Step 19
Keep the iOpener's heat game strong, but don't overdo it! Heat it for just a minute at a time, and give it a cool-off period of at least two minutes before you heat it up again. Your gadget will thank you!
If the adhesive has cooled down too much along the bottom edge, give that iOpener a little reheat to warm up the sticky stuff where you're working. You're almost there!
- Keep sliding that adhesive release tool along the bottom edge of your iPad. When you reach the home button, carefully pull the pick out enough to go around it, then slide it back in about half an inch (10 mm) to keep things moving smoothly.
Tools Used
Step 20
Hey there! When working on those iPad 4 models, make sure to slide that pick in just about half an inch (10 mm) deep in this area. We want to keep that home button ribbon cable safe and sound!
- Keep sliding that adhesive remover all along the bottom edge of the iPad like a pro.
- Leave the opening pick tucked under the front glass close to the home button to keep things steady.
Step 21
- Pop the iOpener back in the microwave to heat it up, then place it on the left edge of the iPad to gently warm up that sticky adhesive area.
Tools Used
Step 22
If the adhesive has gotten too chilly, pop the iOpener back along the top edge and keep at it. And if the iOpener itself feels cold, just give it a quick heat-up and you're good to go.
- Gently slide the opening pick along the top edge of your iPad, giving it a little pull to navigate around that pesky front-facing camera bracket.
- This adhesive is no joke—it's super thick, so you might need to put in a bit of elbow grease. Just take your time, and watch your fingers so you don't slip and cause any harm to yourself or your iPad.
- If you find the opening pick getting stuck in that sticky adhesive, try 'rolling' the pick as we showed you in step 9.
Tools Used
Step 23
If the adhesive is feeling warm enough, go ahead and take that iOpener off the iPad to make things easier. But if the adhesive is still sticking like it's in a committed relationship, just give the iOpener a little more heat and place it back on the left edge while you keep working your magic.
- Keep peeling away the sticky stuff along the top edge of your iPad, and gently slide the opening pick around the top left corner. You've got this!
Tools Used
Step 24
Heads up! The digitizer cable hangs out about 2" (50 mm) from the bottom of the iPad. When sliding your pick, pause once you hit around 2.25" (60 mm) from the bottom to keep things safe and sound.
- Gently slide that opening pick along the left edge of the iPad, letting it do its thing and releasing the adhesive as you go along. The adhesive is pretty slim here since the digitizer runs along the entire left side. Just be careful not to go too deep (keep it to a max of 1/2 inch or 10 mm) to avoid any mishaps with the digitizer. You've got this!
Step 25
Heads up! The bottom of the digitizer cable hangs out just about an inch (25 mm) from the iPad’s bottom edge. Take it slow and steady to avoid cutting this little guy.
- Slide the opening pick that’s tucked under the bottom edge of the iPad to gently loosen the adhesive at the bottom left corner.
Step 26
Sometimes, the adhesive around the edges of your iPad likes to play hard to get and sticks back down. If you find yourself in this sticky situation, grab a pick and gently slide it under the edge where the front glass is still holding on tight. Give that adhesive a little nudge and 'cut' it free!
- Grab one of those trusty opening picks and gently lift up the bottom right corner of your iPad, then hold it securely with your fingers.
Step 27
Watch out for any stubborn adhesive that might still be hanging on! Grab your trusty opening pick and give it a gentle nudge to slice through any sticky stuff keeping that front panel in place. You've got this!
- Grab the iPad by the top and bottom right corners and gently flip the front glass away from the device.
- When putting it back together, give the LCD a little love by wiping it with a microfiber cloth and blowing away any dust with compressed air before snapping the glass back on.
Step 28
- Unscrew the four 2.0 mm Phillips screws holding the LCD firmly to the rear case. Keep them safe!
Step 29
- Gently lift the LCD from the long edge nearest the volume buttons and swing it out from the rear case like a pro.
- Now, lay the LCD down on the front panel, just like you see in the second picture. You're doing great!
Step 30
- Gently pry up the metal clip holding the display data cable in place on the logic board using the edge of a plastic opening tool.
Step 31
Heads up! When unplugging the display data cable connector, avoid pulling it straight up to keep things safe and sound.
- Gently wiggle and pull the display data cable out of its cozy little socket on the logic board. You've got this!
Step 32
- Carefully lift the LCD assembly off the iPad 2 to get things moving.
Step 33
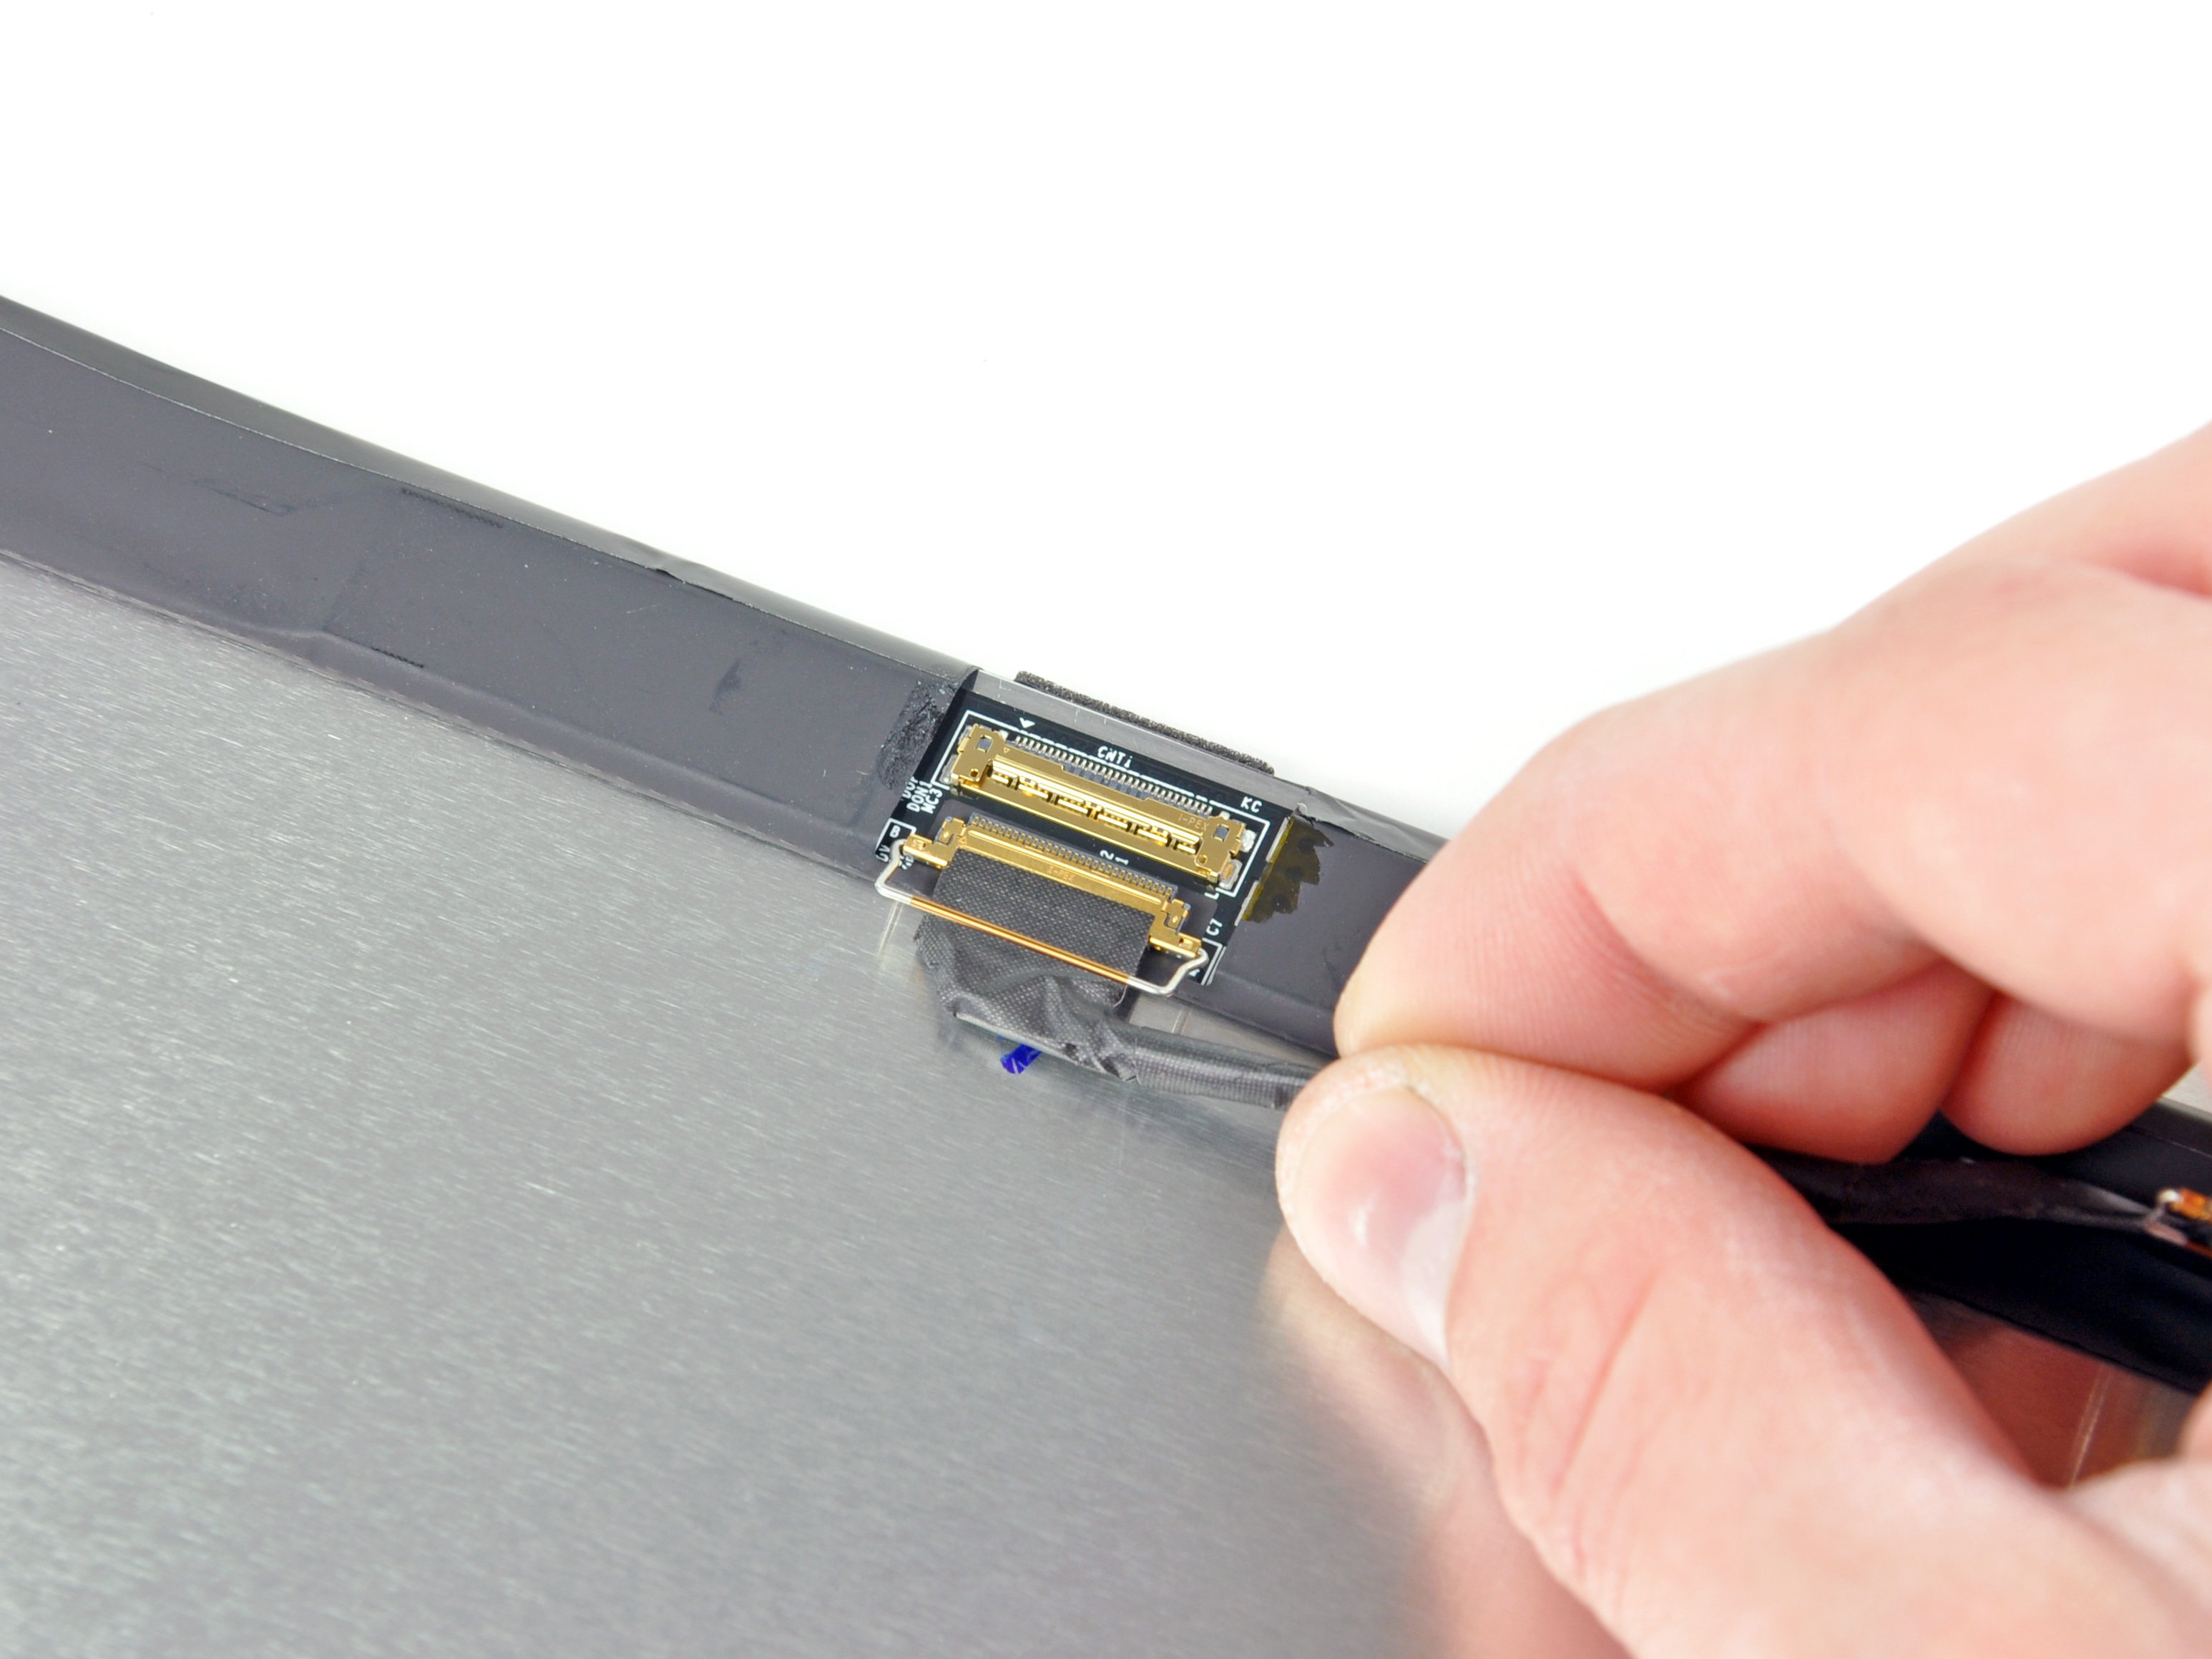
- Peel back that tiny black tape hiding the display data cable connector on the LCD—careful, it’s sneaky but important!
Step 34
- Gently slide the edge of a plastic opening tool under the metal clip holding the display data cable connector and flip it up to unlock.
Step 35
When disconnecting the display data cable, avoid yanking it straight up to keep things safe and sound.
- Gently wiggle the display data cable out of its cozy socket and say goodbye to the LCD.
