iPad 2 Wi-Fi EMC 2415 Teardown
Duration: 45 minutes
Steps: 23 Steps
Dive into MJ's video breakdown of all the neat discoveries inside the iPad 2!
We got our hands on the latest and greatest tablet from Apple, the iPad 2, on March 11, 2011. Stay up to date with all the cool updates by following us on Twitter. Check out MJ's video breakdown of the awesome features we discovered in the iPad 2!
Step 1


- At last! The iPad has made its grand return, and this time it’s got a little 2 tacked on the end—meet the iPad 2!
- After much anticipation, the iPad 2 is here to cover all the bases the original model left open.
- Tech Specs:
- 1 GHz Apple A5 dual-core processor
- 512 MB of LPDDR2 RAM
- 16/32/64 GB internal storage options
- 9.7" LED-backlit glossy Multi-Touch display with IPS tech (1024 x 768)
- HD (720p) Rear camera plus VGA Front camera
Step 2

Rocking the same solid 10-hour battery life as the original iPad, but now in a device that's slimmer, lighter, and zippier—pretty neat upgrade, right?
- Take a look at the thickness comparison – the iPad 2’s tapered edge really stands out when you place it next to the old version.
- We think the front panel is no longer held in place by clips – it’s likely glued in, just like the 4th Gen iPod Touch.
- Apple summed up the changes in 6 easy phrases: 'Thinner. Lighter. Faster. FaceTime. Smart Covers. 10-hour battery.' Pretty snappy, right?
- With the new tapered-edge design, expect some good-natured jokes about the iPad looking like a big iPod Touch.
Step 3

- Behold, the iPad 2 has a new model number: A1395! Thanks, Apple! That's a refreshing change from the endless parade of MacBook Pros with the model A1286.
- Located on the bottom-left side of the back of your iPad 2 is the lone speaker grate. Mono sound may not be the life of the party, but stereo will have to wait until the iPad 3 arrives.
- Looks like the iPad 2 isn't quite as legendary as its predecessor, the original iPad.
Step 4


- Alright, let's get started with taking apart this iPad 2!
- Unlike the original iPad, this one calls for a trusty heat gun to soften up the front panel adhesive.
- Once the glue is nice and warm, grab a plastic opening tool and carefully pry up the front panel.
Tools Used

Step 5

- And just like that, it's open. No clips, just a lot of glue holding things together.
- While we never enjoyed the battle with clips in the original iPad, dealing with this much adhesive is a whole new level of challenge. Proceed with caution—you might crack your front panel if you're not careful! We'll be diving into the best ways to tackle this in the coming weeks.
Step 6

- Just a few screws here and there are keeping the LCD screen in place. No worries, your trusty 54-piece bit driver kit has got this covered.
Step 7


- Lift off the LCD, and voilà, the iPad 2’s battery is right there – it’s a 3.8V, 25Wh powerhouse. That’s just a little more juice than the original iPad’s 24.8Wh, so any extra battery life you notice is likely thanks to the magic of software tweaks and other hardware upgrades.
- On the battery, you’ll see a 6930 mAh capacity. Now, that might seem a bit off compared to the earlier 25Wh at 3.8V (because math says 25Wh/3.8V = 6579 mAh), but don’t stress. The 3.8V listed is the nominal voltage, not the average voltage. When fully charged and discharged, the battery runs closer to 3.6V, which brings the more accurate 6944 mAh figure into play (because 25Wh/3.6V = 6944 mAh).
- Once you’ve disconnected its cable, the display will be free to come off the iPad 2, giving you the next step in your repair journey.
Step 8


- Carefully unplug the touchscreen ribbon cable from its connector on the logic board.
- Apple devices shine thanks to Multi-Touch—no surprises there!
- Gently disconnect the camera and volume control daughterboard connector from the logic board.
Step 9

- First up, let's gently unhook that dock connector ribbon cable from the logic board. It's like giving your device a little hug!
- Once that's done, we can move on to disconnecting the speaker connector. Just a little more love, and we'll be on our way!
Step 10


- With a little finesse, the logic board will slide right out once you’ve unscrewed those Phillips screws holding it to the case.
Step 11


This is the same setup as the original iPad—nothing new here, just the usual! You're cruising through this repair like a pro.
- Once you pop off a few EMI shields, you get a clear view of the ICs on the logic board. Check out these guys:
- Fun fact: the Wi-Fi board is tucked under one of those EMI shields on the logic board. It’s pretty easy to pry off its socket when you’re ready.
- Broadcom BCM5973KFBGH Microcontroller handling the touchscreen action
- Broadcom BCM5974 CKFBGH capacitive touchscreen controller doing its thing
Step 12

- The Wi-Fi board is powered by another Broadcom chip, the BCM43291HKUBC. Broadcom really nailed it with this Wi-Fi/Bluetooth/FM tuner combo chip, making it a go-to choice for smartphones with plenty of design wins under its belt.
- Fun fact: This exact chip was used by Apple in the very first iPad and the iPhone 4.
Step 13

- Check out these standout chips chilling on the logic board (click here for mega size):
- Apple's sleek 1GHz A5 dual-core Processor strutting its stuff with a 200MHz bus and a cool 512 MB of Samsung-made RAM.
- Toshiba TH58NVG7D2FLA89 16GB NAND Flash, ready to store all your favorite memories.
- Apple 343S0542 - just like last year's iPad, this looks like the Dialog Semi power management chip, surrounded by a crew of inductors and capacitors giving us all the clues.
- Texas Instruments CD3240B0 11AZ4JT G1 touchscreen line driver, teaming up with the Broadcom BCM5973 and BCM5974 chips to make your touchscreen dreams come true.
- S6T2MLC N33C50V Power Management IC, keeping everything powered up.
- The A5 processor has manufacturing dates from late January to mid-February 2011. It seems like production was in full swing right up until the last second. This A5 processor is the APL0498, stepping in for the A4/APL0398 seen in the iPad 1 and iPhones.
- Apple-branded 338S0940 A0BZ1101 SGP. This appears to be the Cirrus audio codec Chipworks discovered in the Verizon iPhone, but they'll need to take it off the board for a closer look.
Step 14

- Here’s the back of the logic board.
- Alright, nothing exciting here—just keep moving!
Step 15


- Gently lift the 3.8V 25 Watt-hour Li-Ion Polymer battery away from the back case. Easy-peasy, right?
- The iPad 2 packs a punch with three big Li-Ion cells, ensuring you enjoy a solid 10 hours of battery bliss!
Step 16

- Unscrew the little guy that's holding the volume control board in place. You've got this!
Step 17


- The rear-facing camera is popping out of its cozy little spot!
Step 18


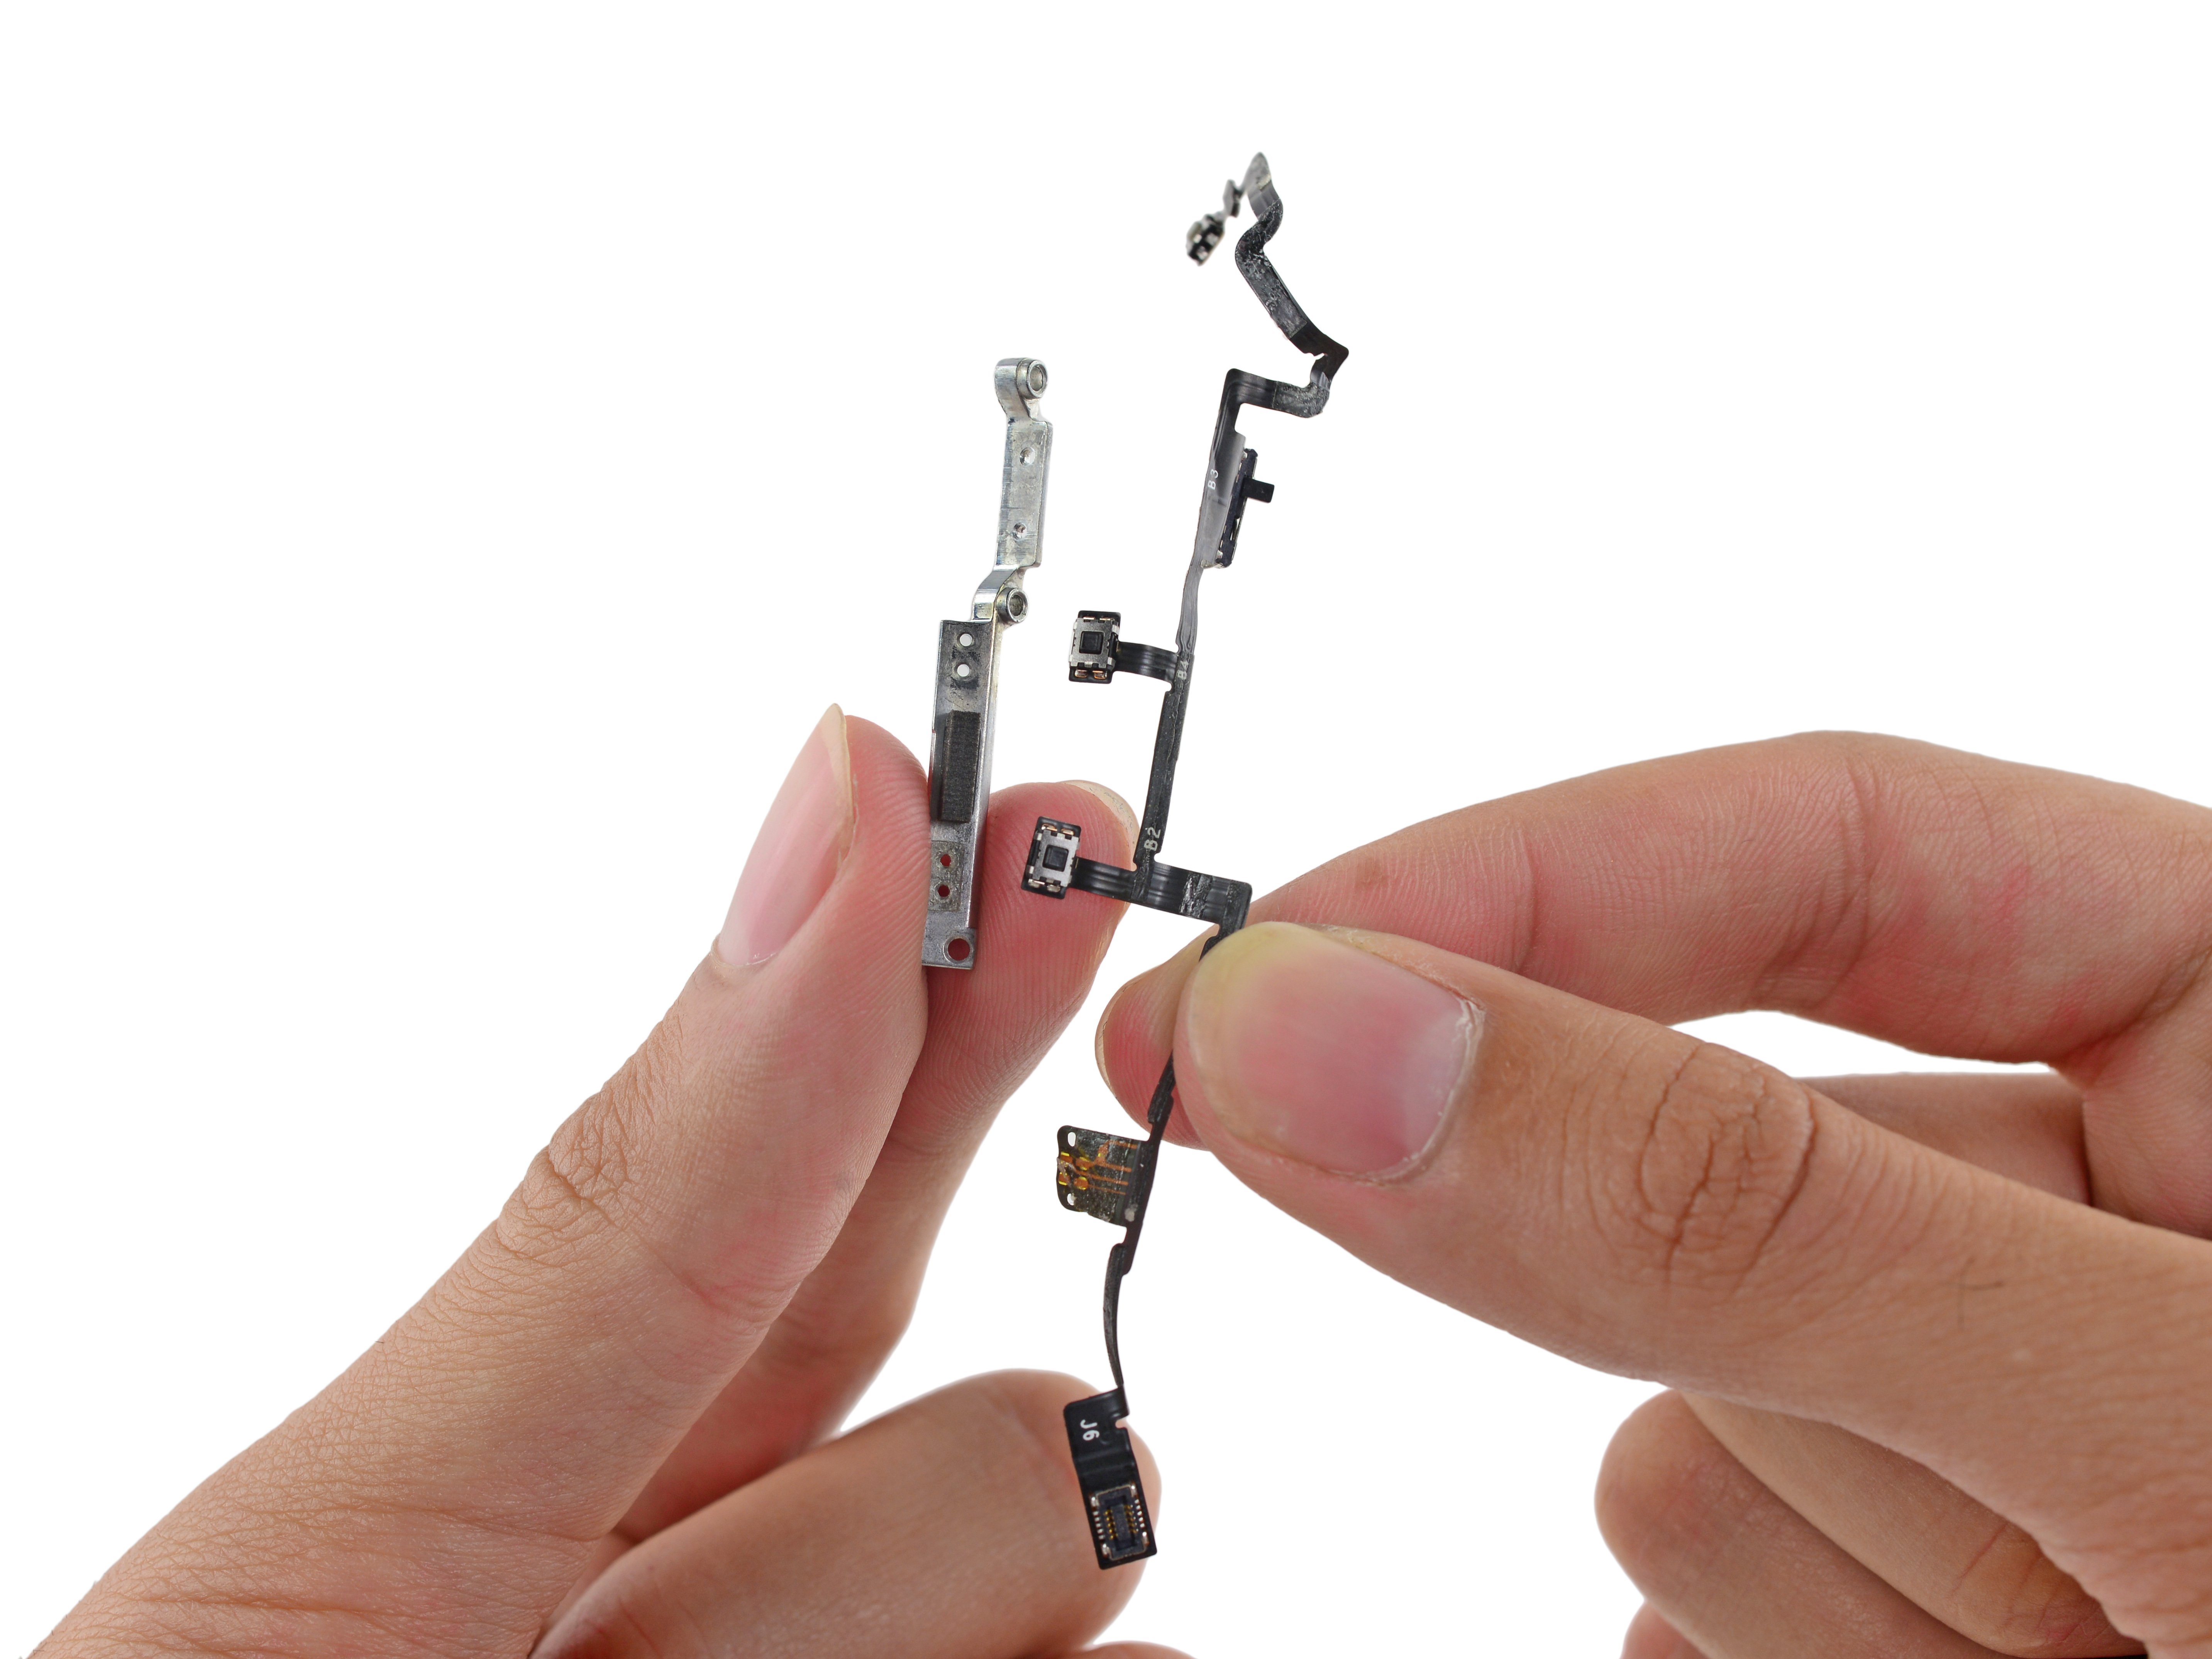
- Let's kick things off by carefully lifting out the board that houses the volume control and the silent/screen rotation lock button. It's like uncovering a hidden treasure!
- As we peek at this little board, we'll spot the AGD8 2103 gyroscope showing off next to its buddy, the LIS331DLH accelerometer, both brought to you by the clever folks at STMicroelectronics.
Step 19


- Loosen the screw holding the front-facing camera assembly in place and gently peel back a bit more adhesive—then, voilà, the assembly comes right out!
Step 20


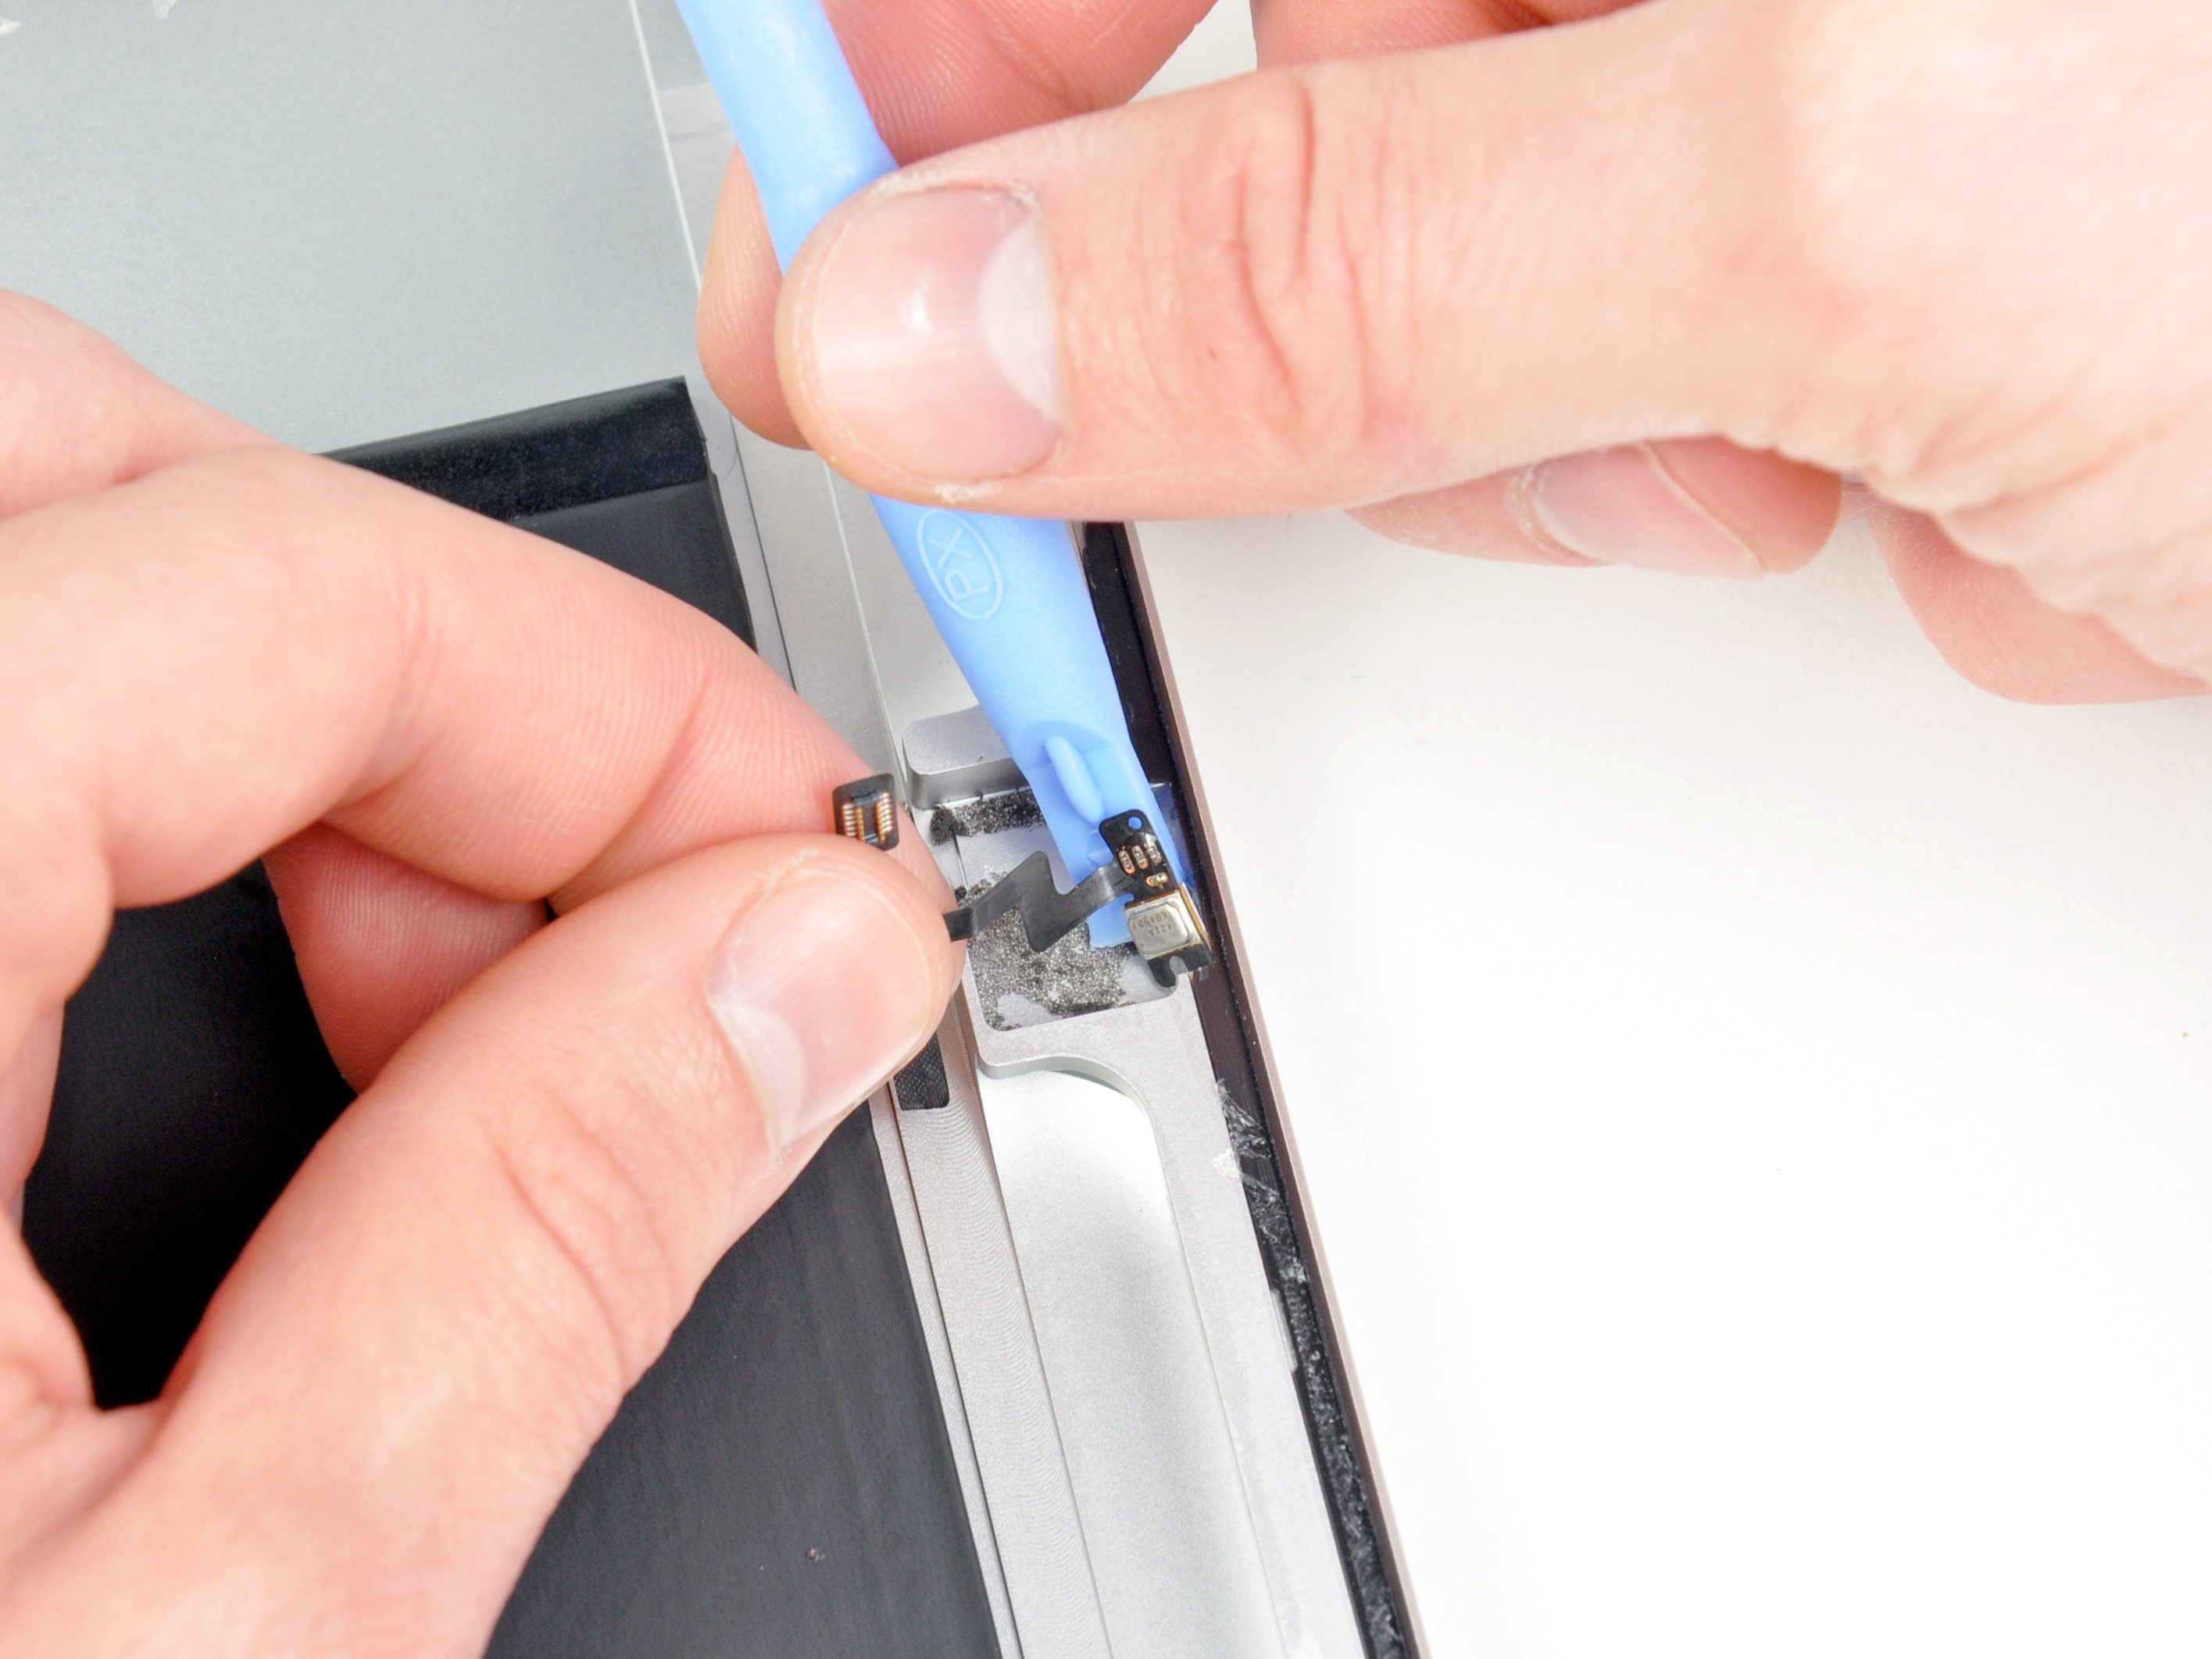
- The front-facing camera assembly packs in the camera, headphone jack, and microphone all in one spot.
- Front-facing camera.
- Microphone.
Step 21

- Take out the two screws holding the dock connector in place on the case. You got this!
Step 22


- Once you’ve taken out a few screws, the speaker assembly is ready to pop right out of the case.
- These little speakers are tiny—almost like someone just tossed them in as an afterthought!
Step 23


- iPad 2 Repairability Score: 2 out of 10 (10 is the easiest to repair), so buckle up!
- Once the front panel is off, removing the LCD is a breeze!
- Standard Phillips screws are your friends here—no funky Pentalobular or Tri-Wing screws in sight.
- Heads up! The front panel is glued to the device, so there's a risk of cracking the glass during removal.
- The LCD is held on with foam sticky tape, which could lead to shattering if you're not careful during disassembly.
- The battery is super secure in the rear case, and you'll need to take out the logic board to free it.
- Just a tip: You won't be able to access the front panel's connector until the LCD is removed.
- Fun fact: We originally thought the iPad 2 deserved a 4 out of 10, but while crafting our repair manual, we discovered it’s actually trickier than we first thought.