iPad 2 Wi-Fi EMC 2560 Front Panel Adhesive Strips Replacement
Duration: 45 minutes
Steps: 14 Steps
Ready to give your iPad a fresh seal? This guide walks you through swapping out the adhesive to keep everything snug and secure. Before you start peeling and sticking, make sure both the front panel and rear case surfaces are squeaky clean. Grab a spudger to gently scrape away any chunky leftover adhesive, then wipe down all the bonding areas with a paper towel dampened with rubbing alcohol or Goof Off. Pro tip: peel each adhesive strip only when you’re about to use it instead of laying them all out at once.
Step 1


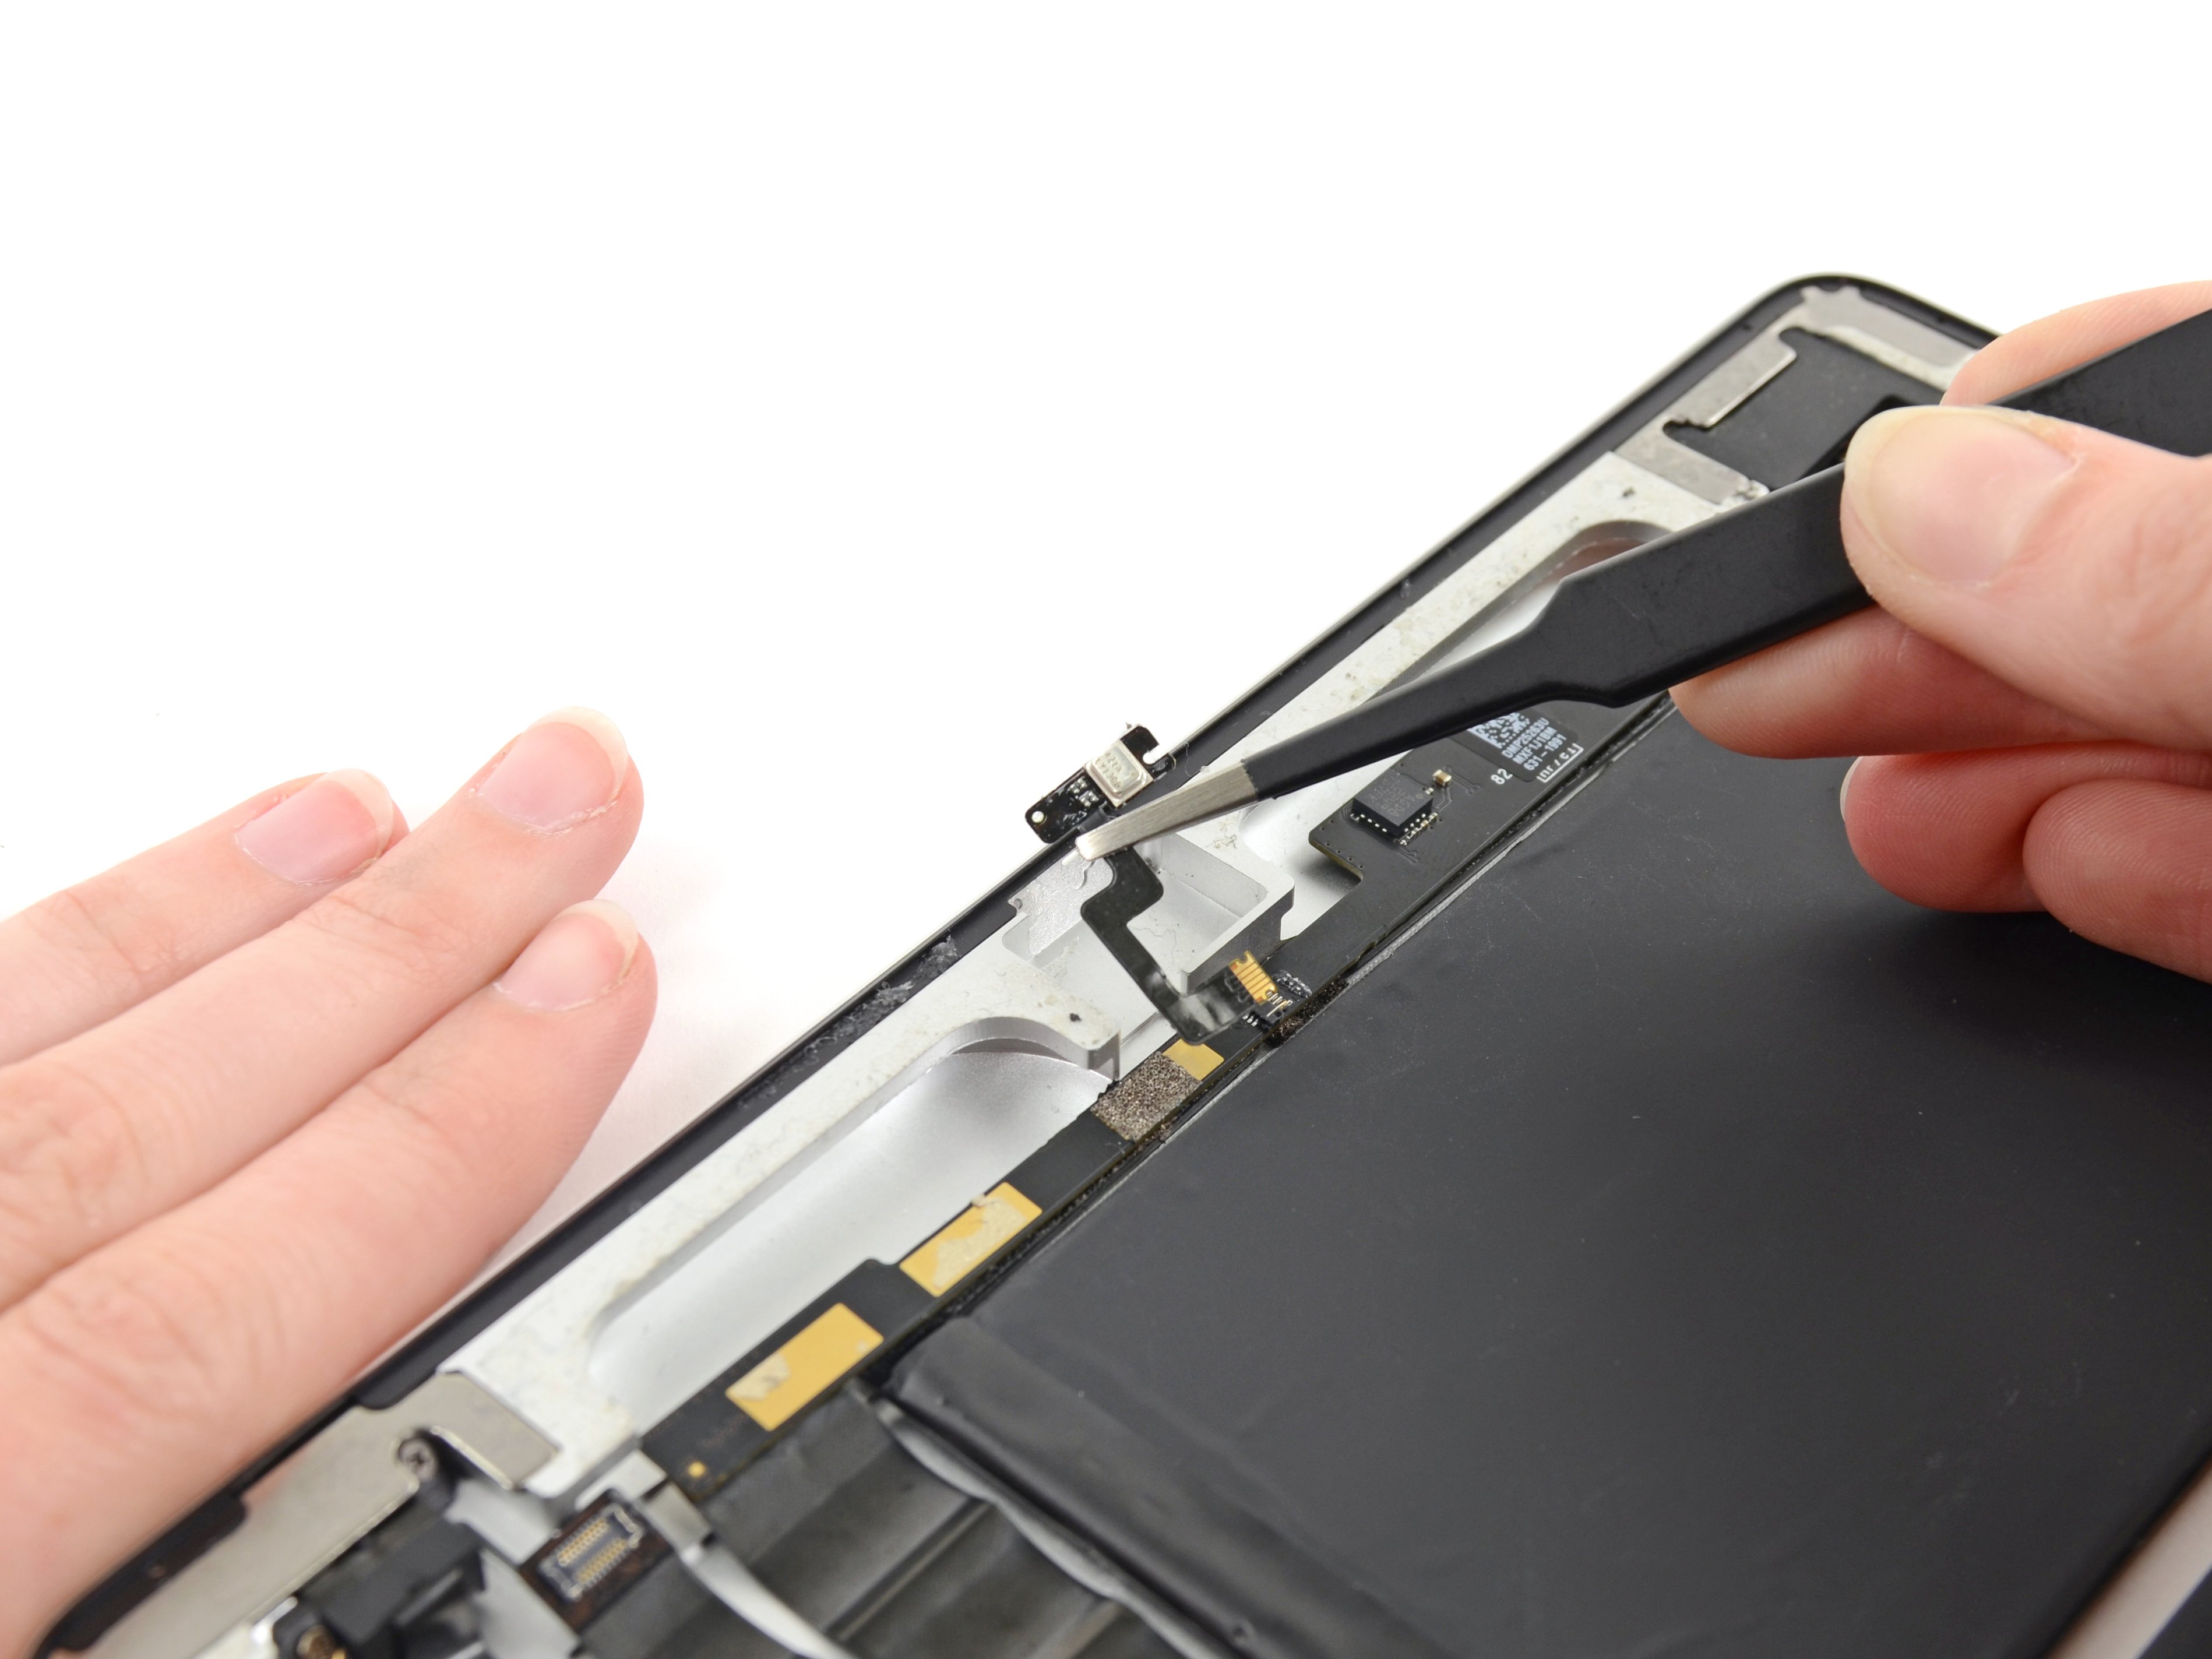
Check out the third picture to see how the home button should be positioned. Make sure the back side of the home button is facing up, and the flat part of the inner circle is pointing toward the top of your iPad.
- Grab the home button gently with a pair of tweezers—no need to squeeze too hard, just enough to hold it steady.
- Now, carefully lower the home button and guide it into the round spot at the bottom of the front panel. It should slide right in with ease!
Tools Used

Step 2


The two petite, notched trapezoidal strips are your secret weapons for securing the home button bracket to the front panel. You've got this!
- Gently peel away that first trapezoidal adhesive strip – take it slow and steady, no rush!
Step 3


Get that strip lined up just right with the edge of the mounting bracket, and you're on your way to success!
- Grab your trusty tweezers, and carefully place the first trapezoidal adhesive strip onto the matching side of the home button mounting bracket. Make sure it’s aligned just right!
- Now, do the same for the second trapezoidal adhesive strip. Precision is key, so take your time and make sure everything lines up perfectly.
Tools Used
Step 4

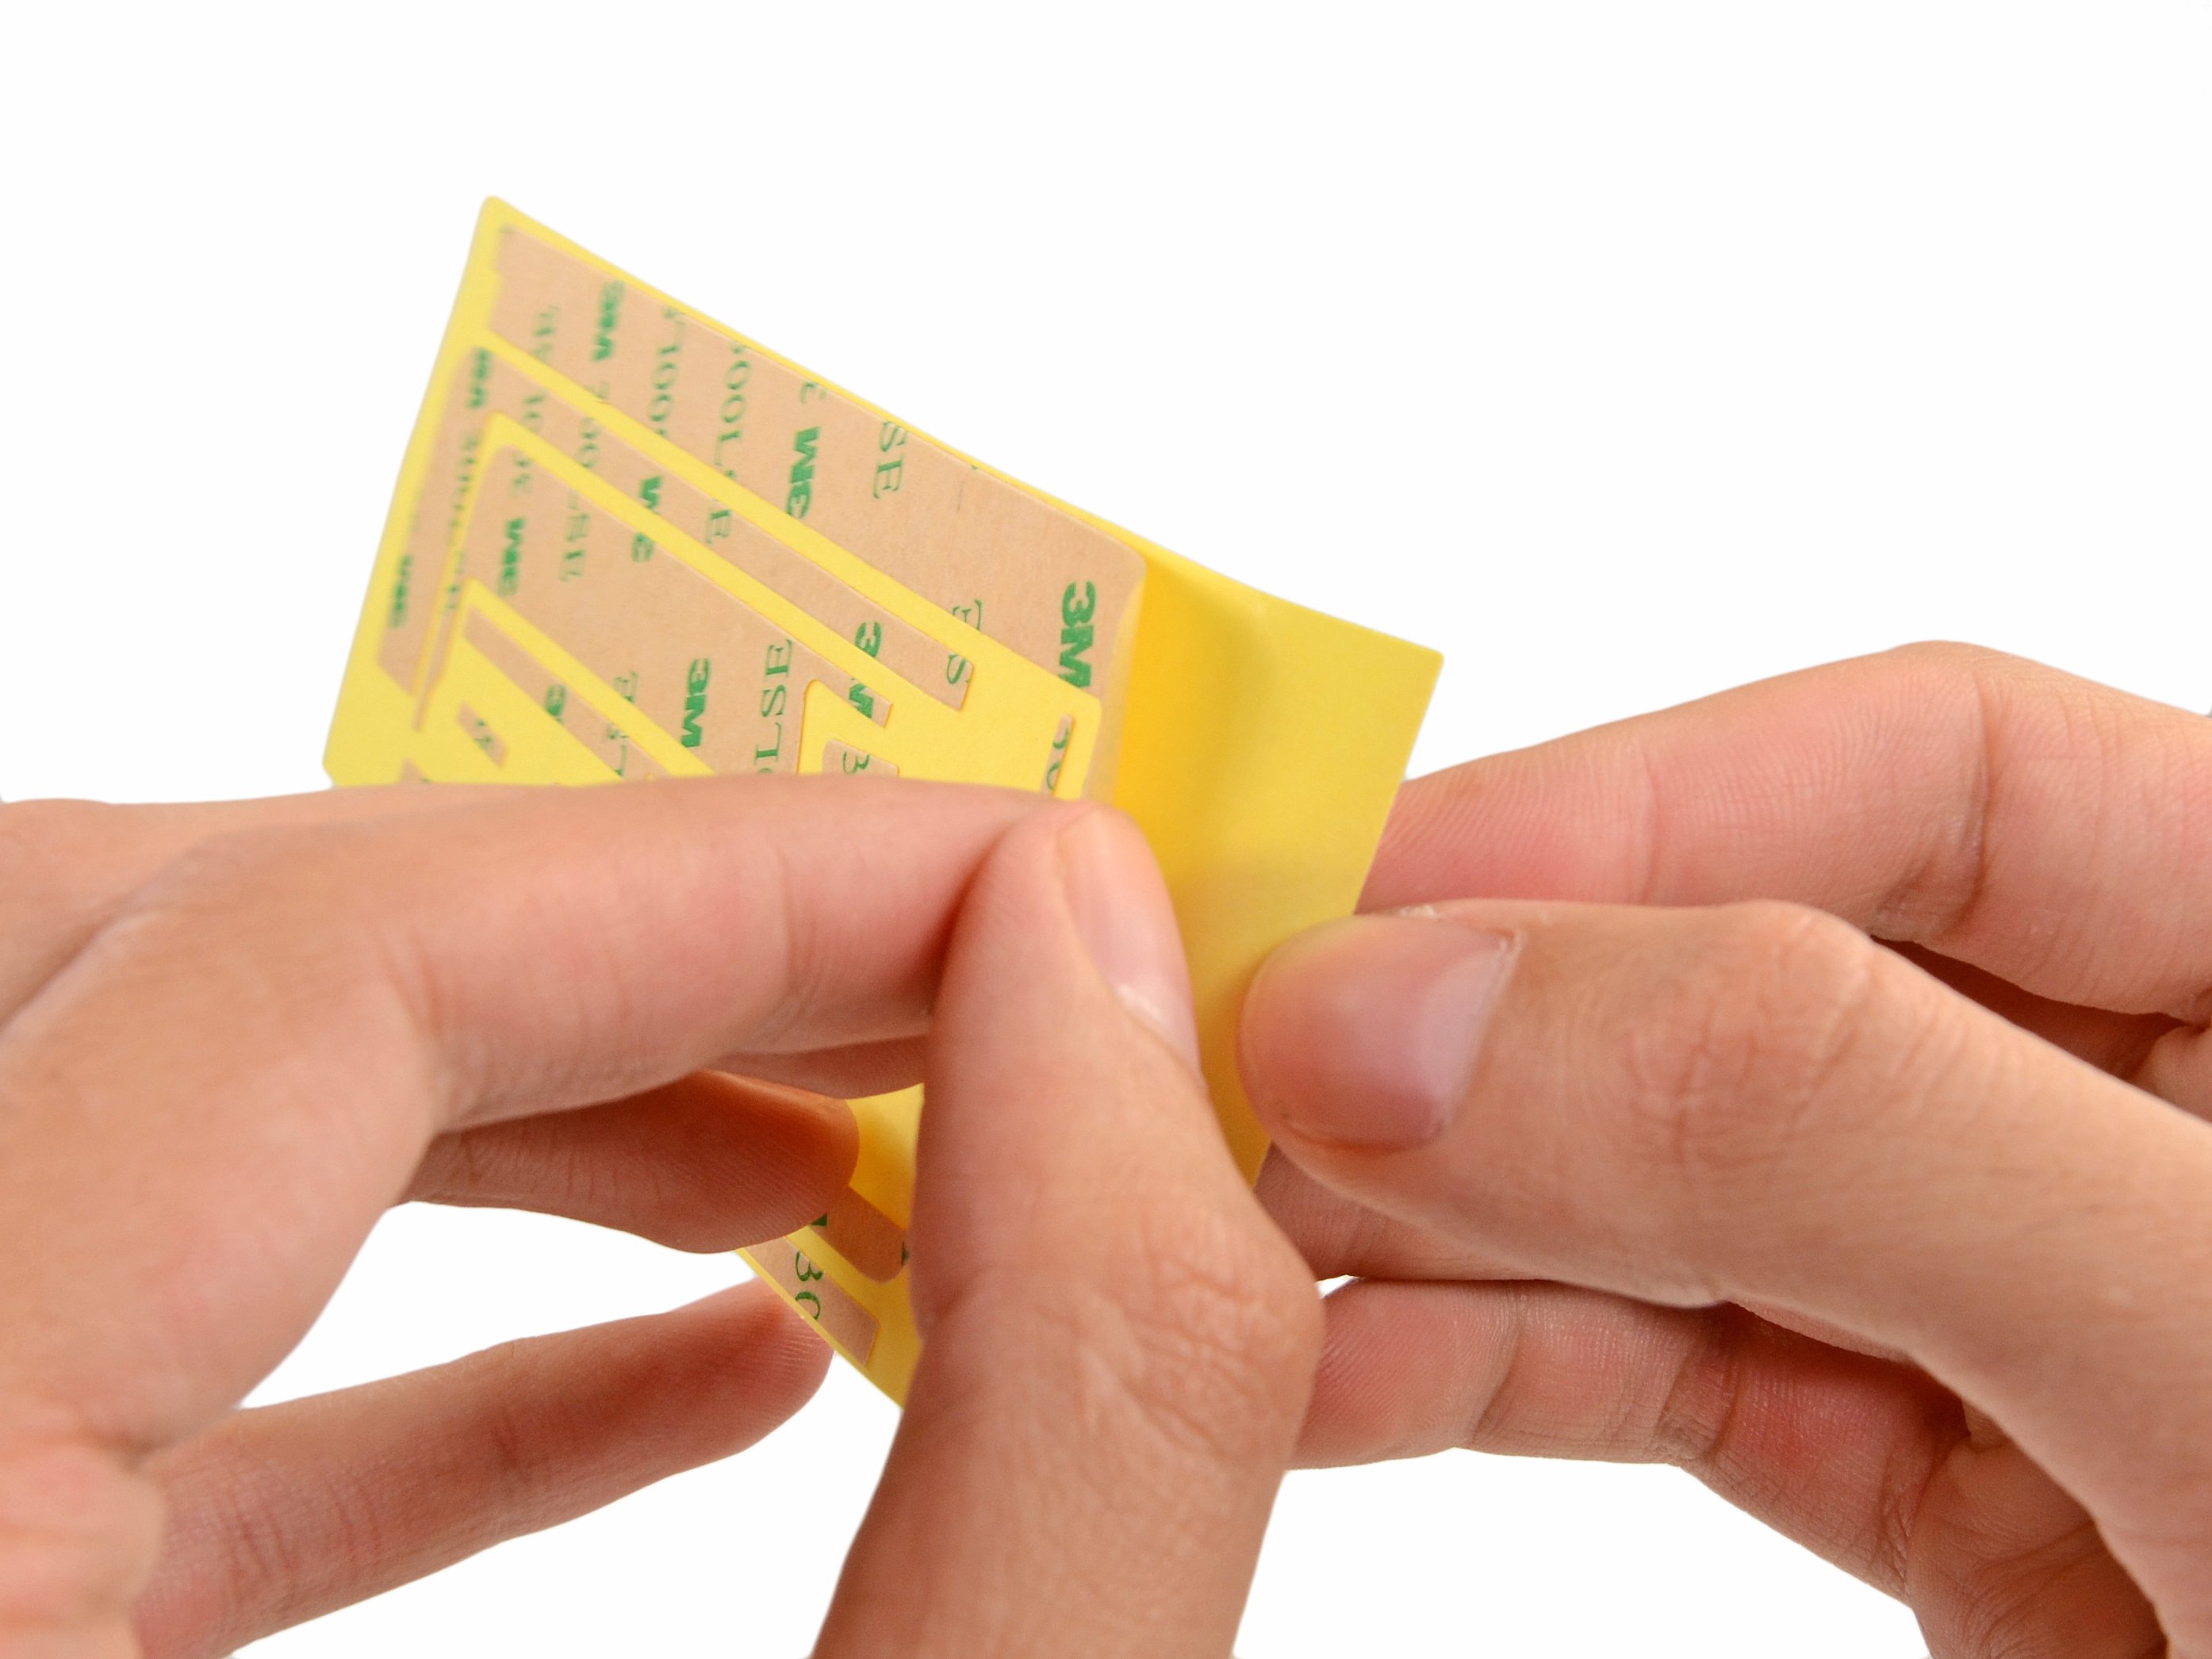
- Grab a pair of tweezers and carefully pinch the corner of one of the adhesive strips stuck on the mounting bracket.
- Gently lift and peel back the brown backing from the adhesive strip to show the clear sticky part underneath.
- Do the same thing with the second adhesive strip.
Tools Used
Step 5


Ensure that the home button mounting bracket is perfectly aligned with the bottom of the digitizer. It's like finding the right groove—get it snug and ready to rock!
- Carefully position the home button mounting bracket over the home button. Make sure it’s snug, but don’t force it. A little patience goes a long way here.
Step 6


Next up, it’s time to stick down the rest of the adhesive on the front panel—let’s get everything nicely secured!
- Hold off on peeling the brown backing off the strips for now.
- Take the biggest L-shaped adhesive strip and place it carefully on the top left corner of the front panel.
- Press the strip down smoothly from the center outwards, making sure no sneaky air bubbles get trapped underneath.
Step 7


- Stick the thinnest L-shaped adhesive strip snugly onto the bottom left corner of the front panel to keep everything held tight and tidy.
Step 8


- Stick the remaining thin L-shaped adhesive strip on the top right corner of the front panel, right by the camera mounting bracket. It's a small but mighty step, so take your time and make sure it's in place!
Step 9


- Stick that straight adhesive strip along the right edge of the front panel.
- If the digitizer cable is already in place, carefully maneuver around or beneath it to secure this strip.
Step 10


- Stick that final L-shaped adhesive strip right on the bottom right corner of the front panel. You've got this!
Step 11


- Place the thin T-shaped adhesive strip carefully between the bottom edge of the inner frame of the front panel and the camera mounting bracket, making sure the longest edge lines up perfectly with the inner frame.
Step 12


- Carefully tuck the tiny hook-shaped adhesive strip right under the left side of the home button mounting bracket.
Step 13


- Place that little rectangular adhesive strip to the left of the hook-shaped one, right next to the thin L-shaped strip, and make sure it's lined up perfectly with the bottom of the front panel.
Step 14


Double-check that each adhesive strip is lined up perfectly and facing the right way before peeling off the backing — no surprises, just smooth sticking!
- Gently peel the brown backing off each adhesive strip. It's like unwrapping a present, but with a bit more finesse!
- Some of these adhesive strips are on the petite side, so take your time and show them a little love as you peel back the backing.