iPad 3 Wi-Fi Adhesive Strips Replacement
Duration: 45 minutes
Steps: 14 Steps
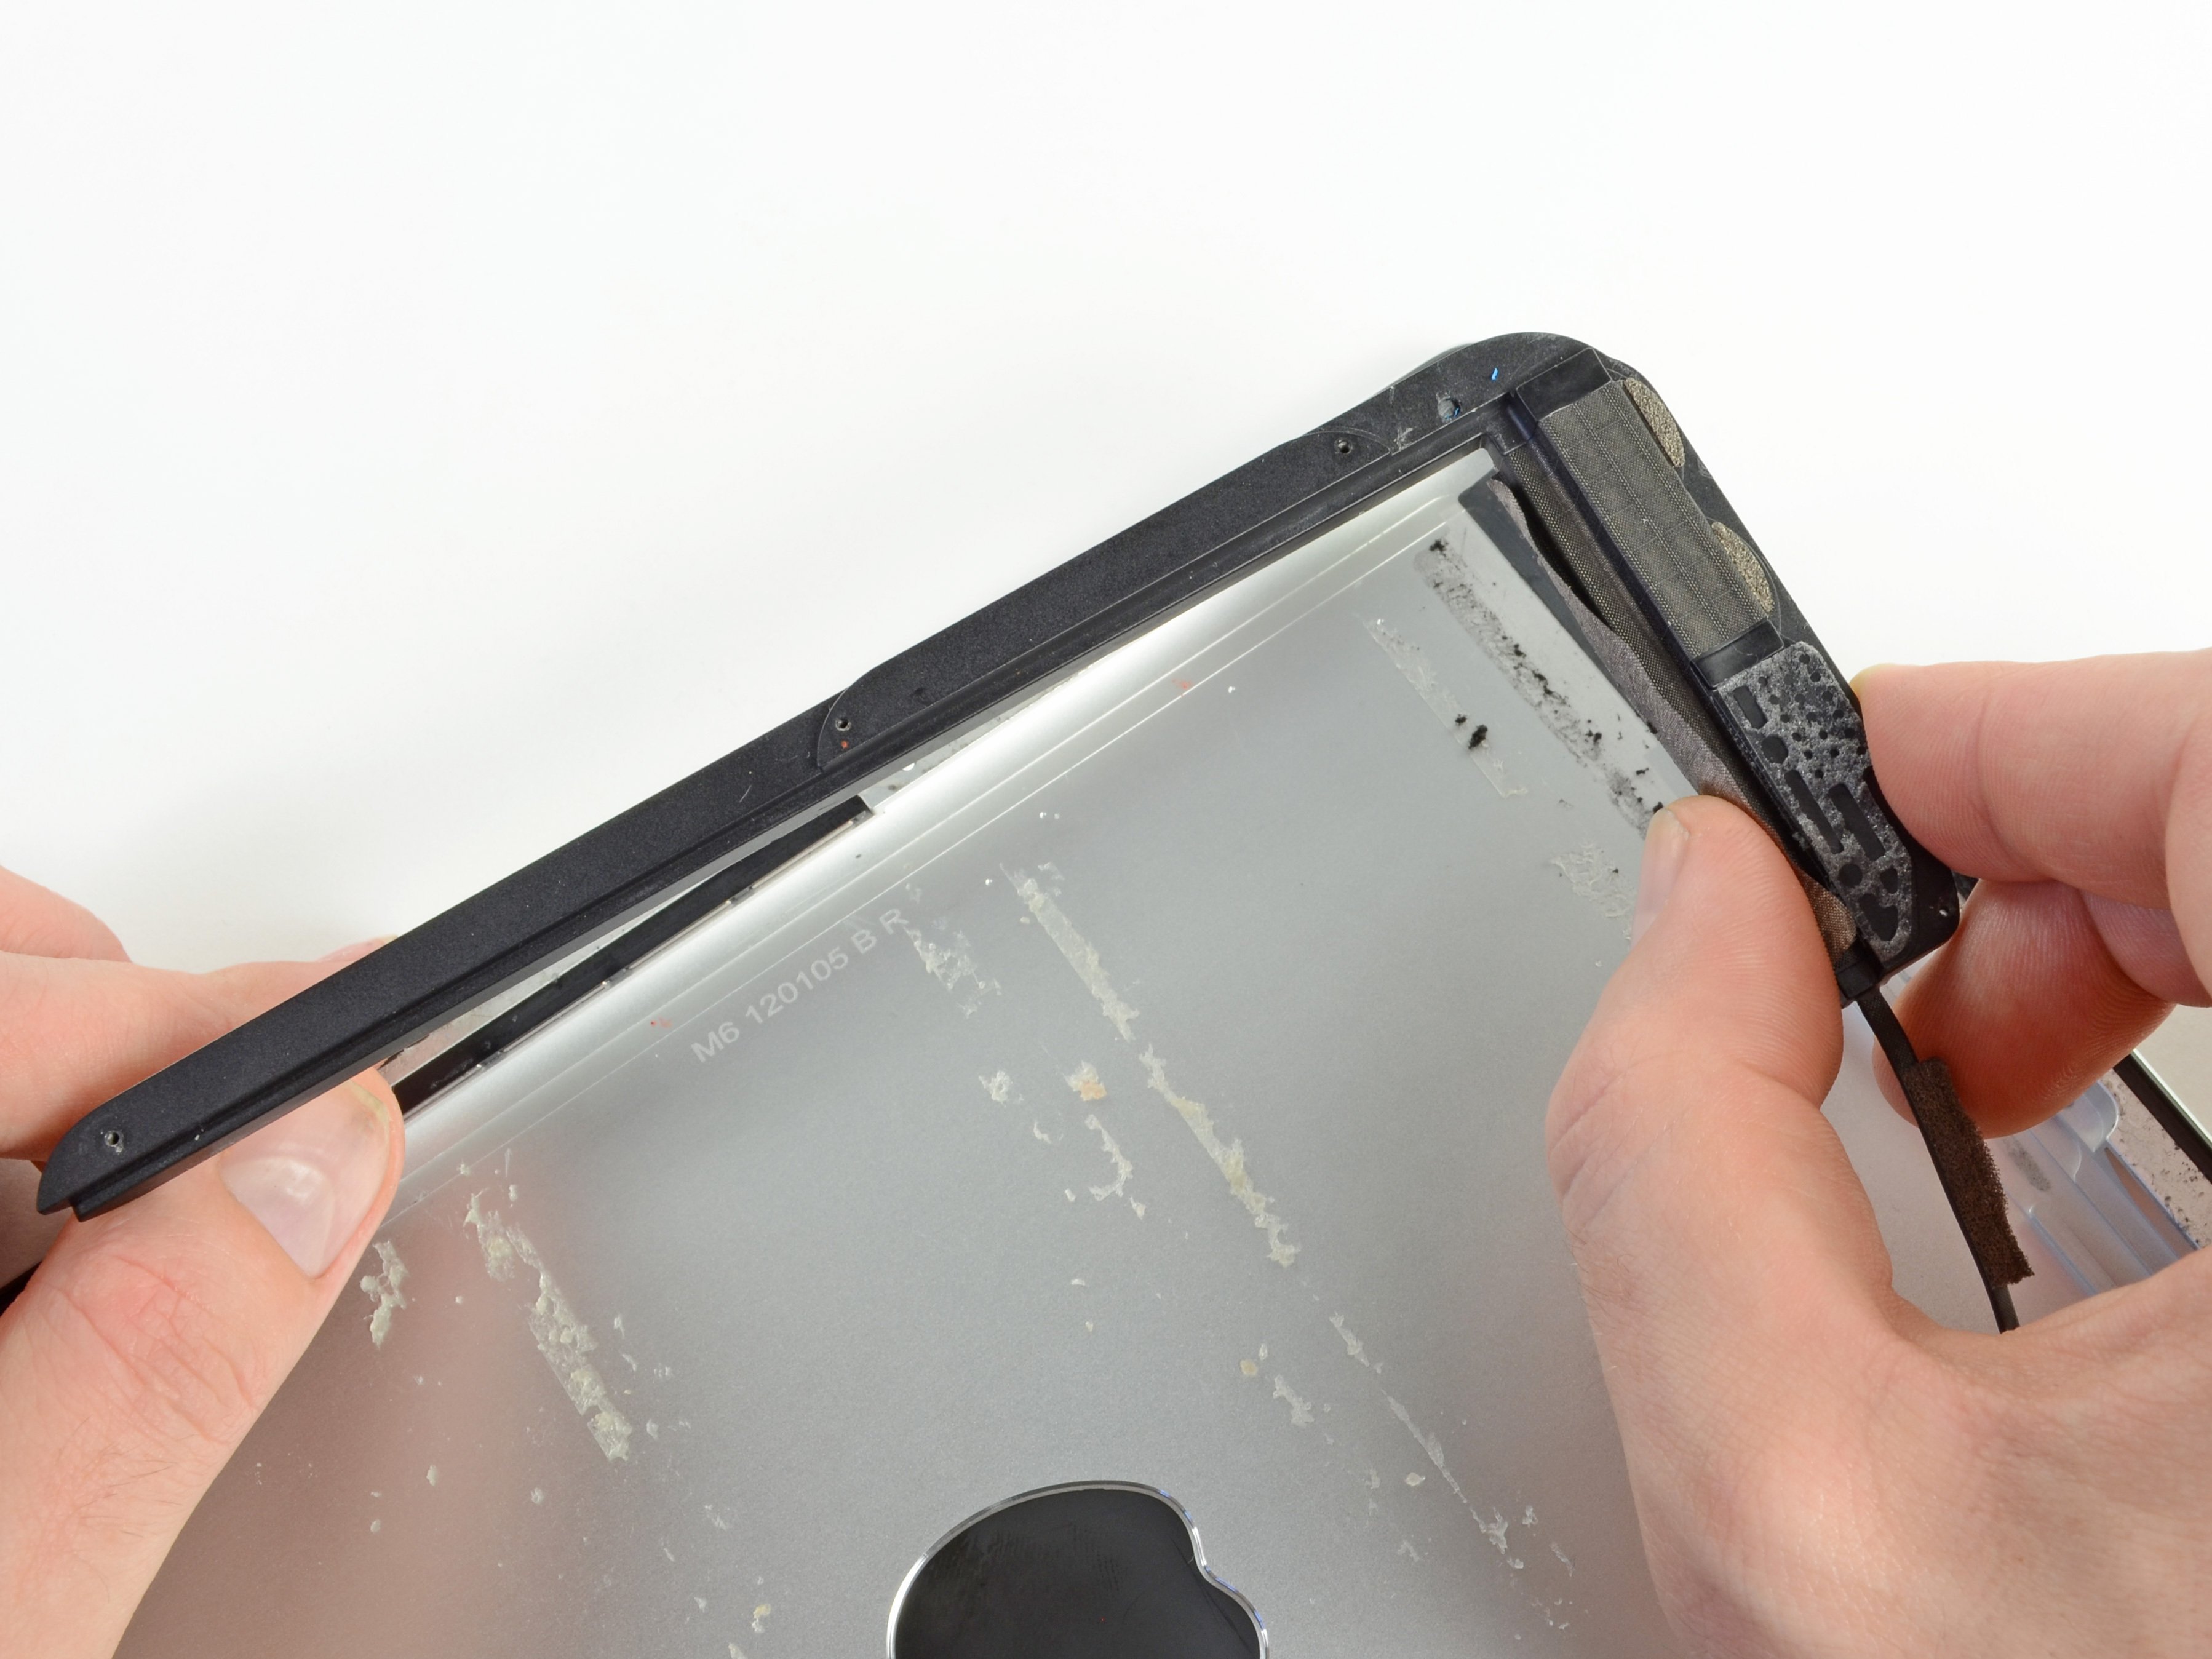
Get ready to give your iPad 3 Wi-Fi a fresh adhesive makeover! Before diving into the sticky business, it's crucial to prep those surfaces on both the front panel and the rear case. Grab a spudger and gently scrape away any stubborn bits of old adhesive, then wipe down all the gluing areas with a paper towel and some rubbing alcohol or Goof Off. For the best results, peel each adhesive strip as you go, instead of laying them all out at once. Happy repairing!
Step 1


Check out the third picture for the right way to position that home button! Just remember, the back of the home button should be facing up, and the flat part of the inner circle needs to be pointing towards the top of your iPad. You've got this!
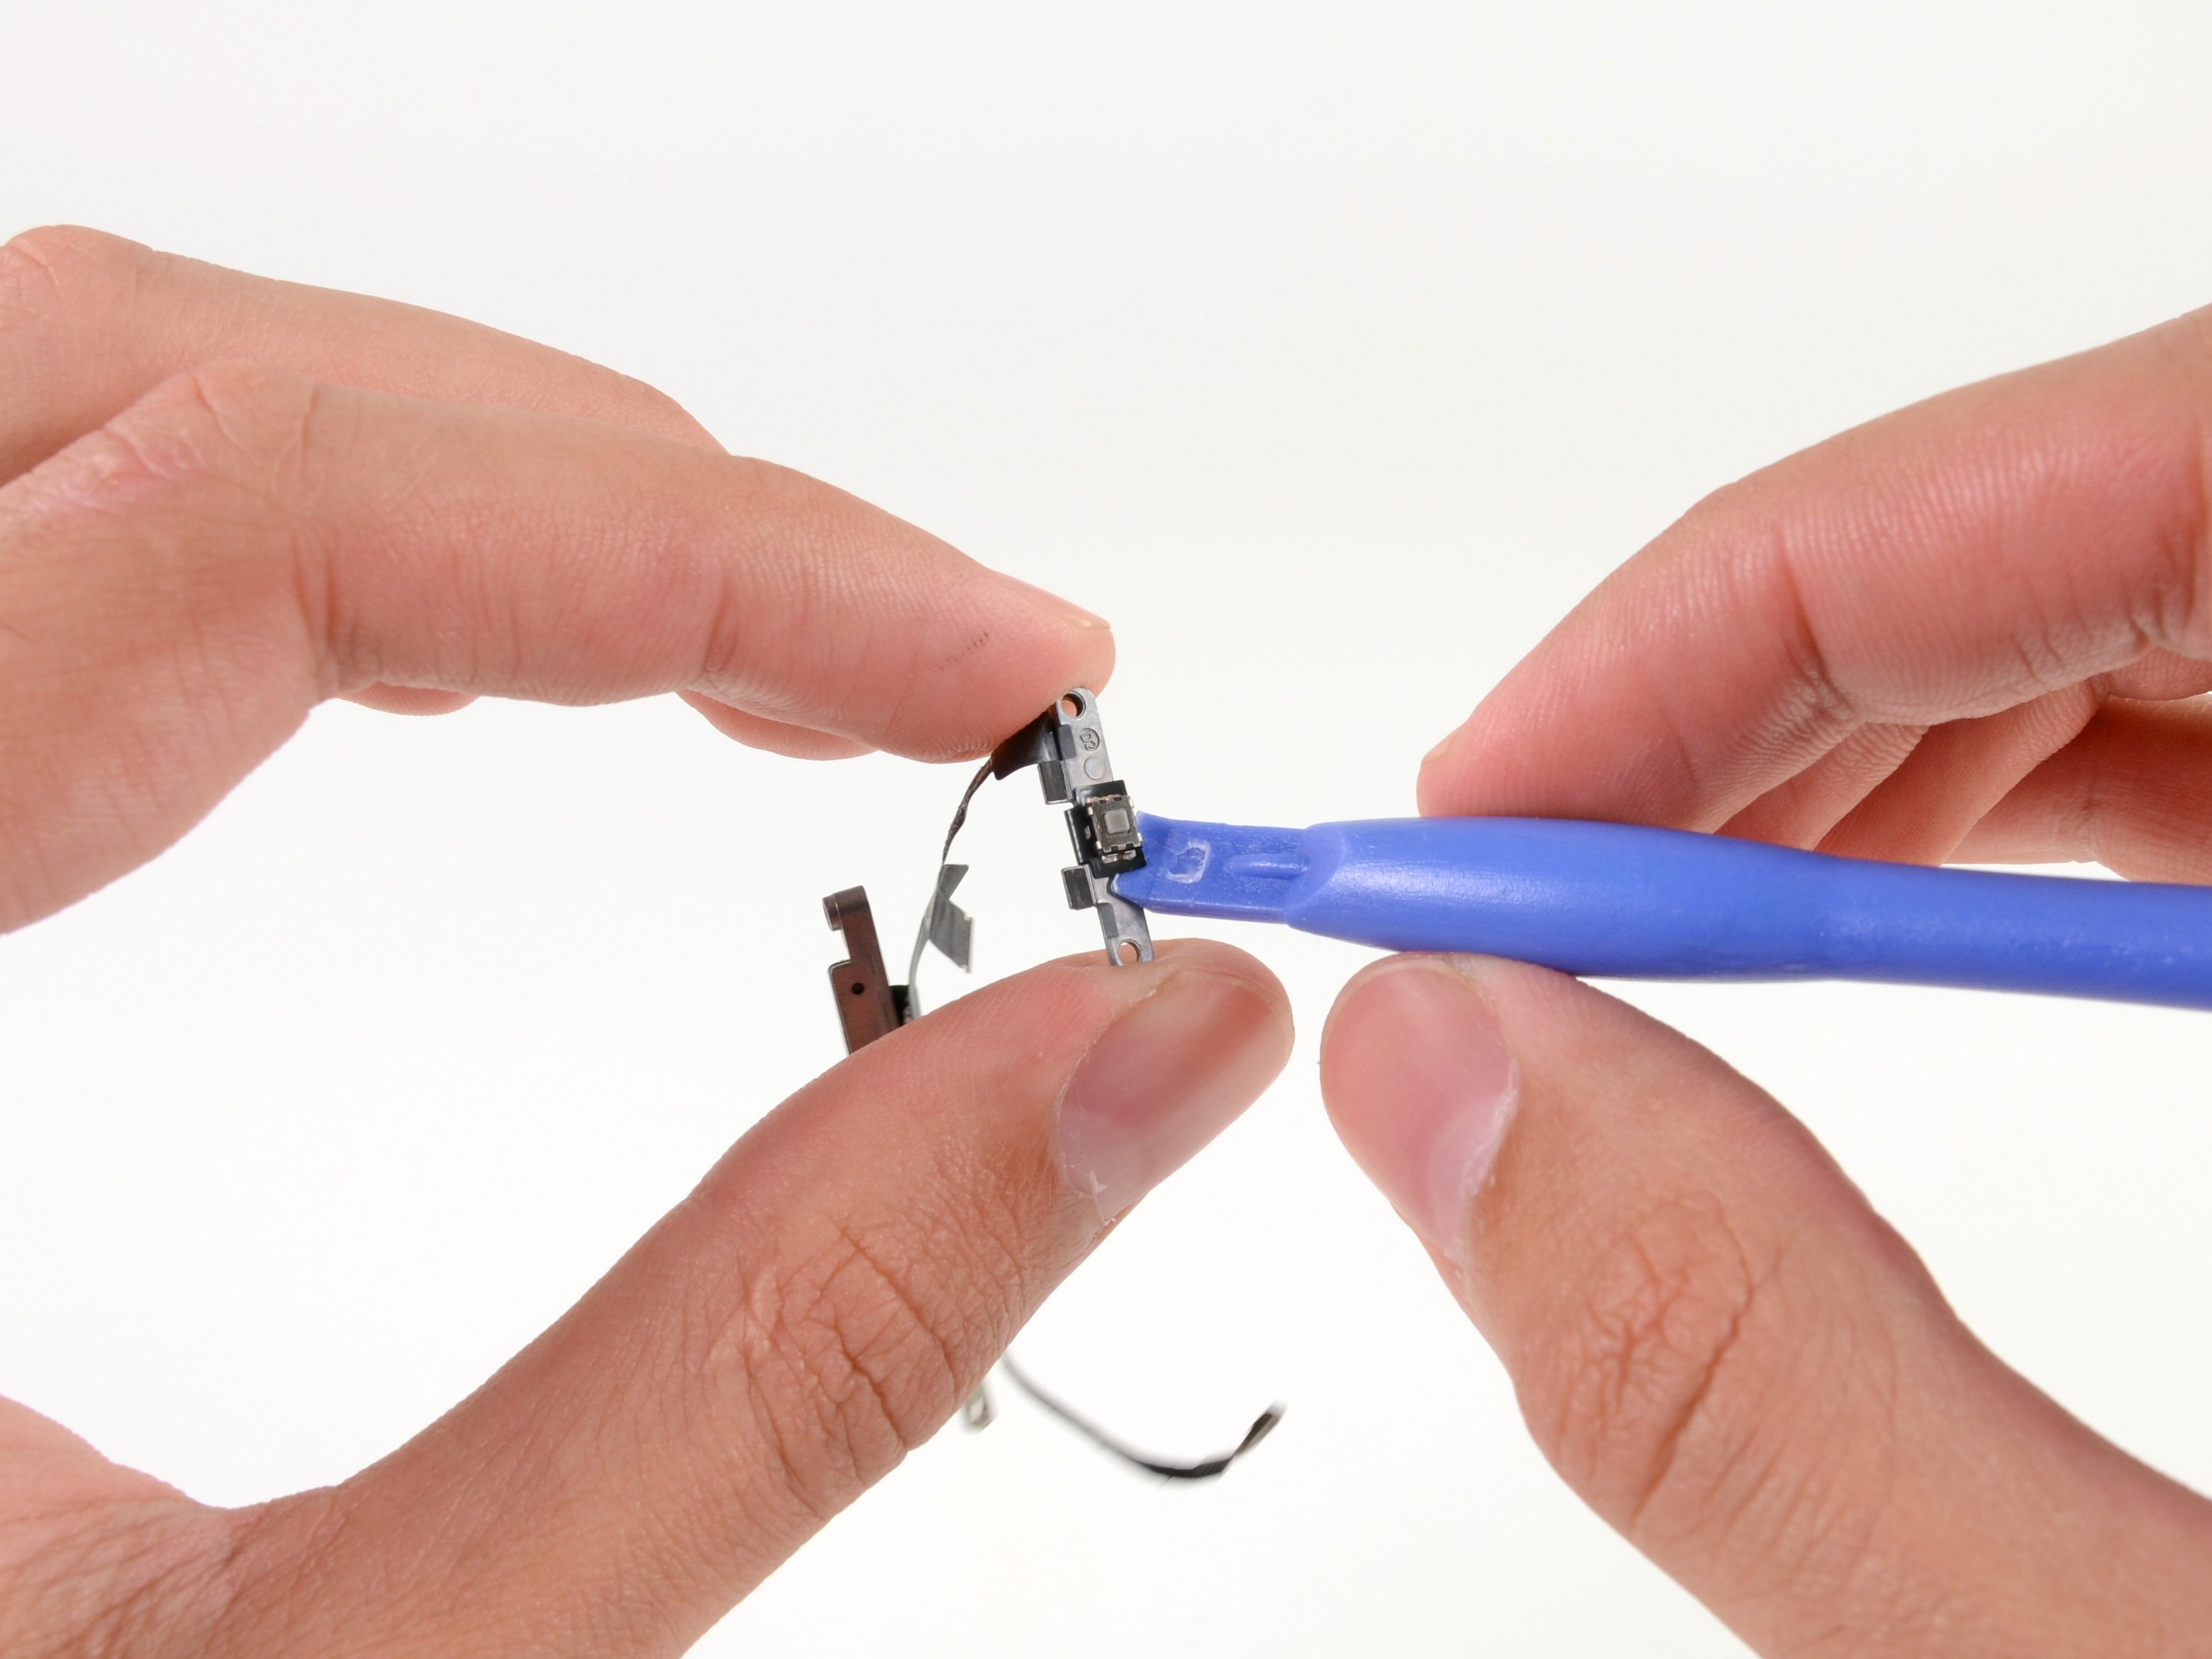
- Grab the home button carefully with a pair of tweezers.
- Slowly and smoothly set the home button into the circular slot at the bottom of the front panel.
Tools Used

Step 2


The two little trapezoidal strips with notches are here to help you lock the home button bracket into place on the front panel. Simple, right?
- Gently peel away that first trapezoidal adhesive strip like you’re unveiling a surprise gift!
Step 3


Be sure to align the strip's profile with the edge of the mounting bracket like a boss!
- Grab a pair of tweezers and carefully position the first trapezoidal adhesive strip onto the matching side of the home button mounting bracket, making sure it’s oriented just right.
- Now, repeat the same for the second trapezoidal adhesive strip. Easy, right?
Tools Used
Step 4

- Grab the corner of one of the adhesive strips on the mounting bracket with your tweezers, and give it a gentle tug.
- Carefully peel the brown backing off, revealing the sticky goodness of the clear adhesive underneath.
- Now, repeat the same steps for the second adhesive strip, keeping it smooth and steady.
Tools Used
Step 5


Line up the home button bracket neatly with the bottom edge of the digitizer—think of it as giving your device a little high-five for proper alignment!
- Carefully set the home button mounting bracket right on top of the home button, making sure it's in the right spot.
Step 6


Now it's time to stick the remaining adhesive pieces onto the front panel. Easy, right? Just place them carefully and move on to the next step. You've got this!
- Hold off on peeling the brown backing off those strips for now!
- Grab the biggest L-shaped adhesive strip and place it snugly in the top left corner of the front panel.
- Gently smooth the strip down from the center outward, making sure not to trap any pesky air bubbles between the strip and the front panel.
Step 7


- Grab the thinnest L-shaped adhesive strip and gently stick it to the bottom left corner of the front panel. It’s a tiny move with a big impact!
Step 8


- Carefully stick the last thin L-shaped adhesive strip at the top right corner of the front panel, right next to the camera bracket. You're almost there!
Step 9


- Stick the straight adhesive strip along the right edge of the front panel like a pro.
- If the digitizer cable is already in place, no worries! Just carefully work around or under it to get that strip attached.
Step 10


- Stick the final L-shaped adhesive strip on the bottom right corner of the front panel, like it’s a cozy spot just waiting to be sealed!
Step 11


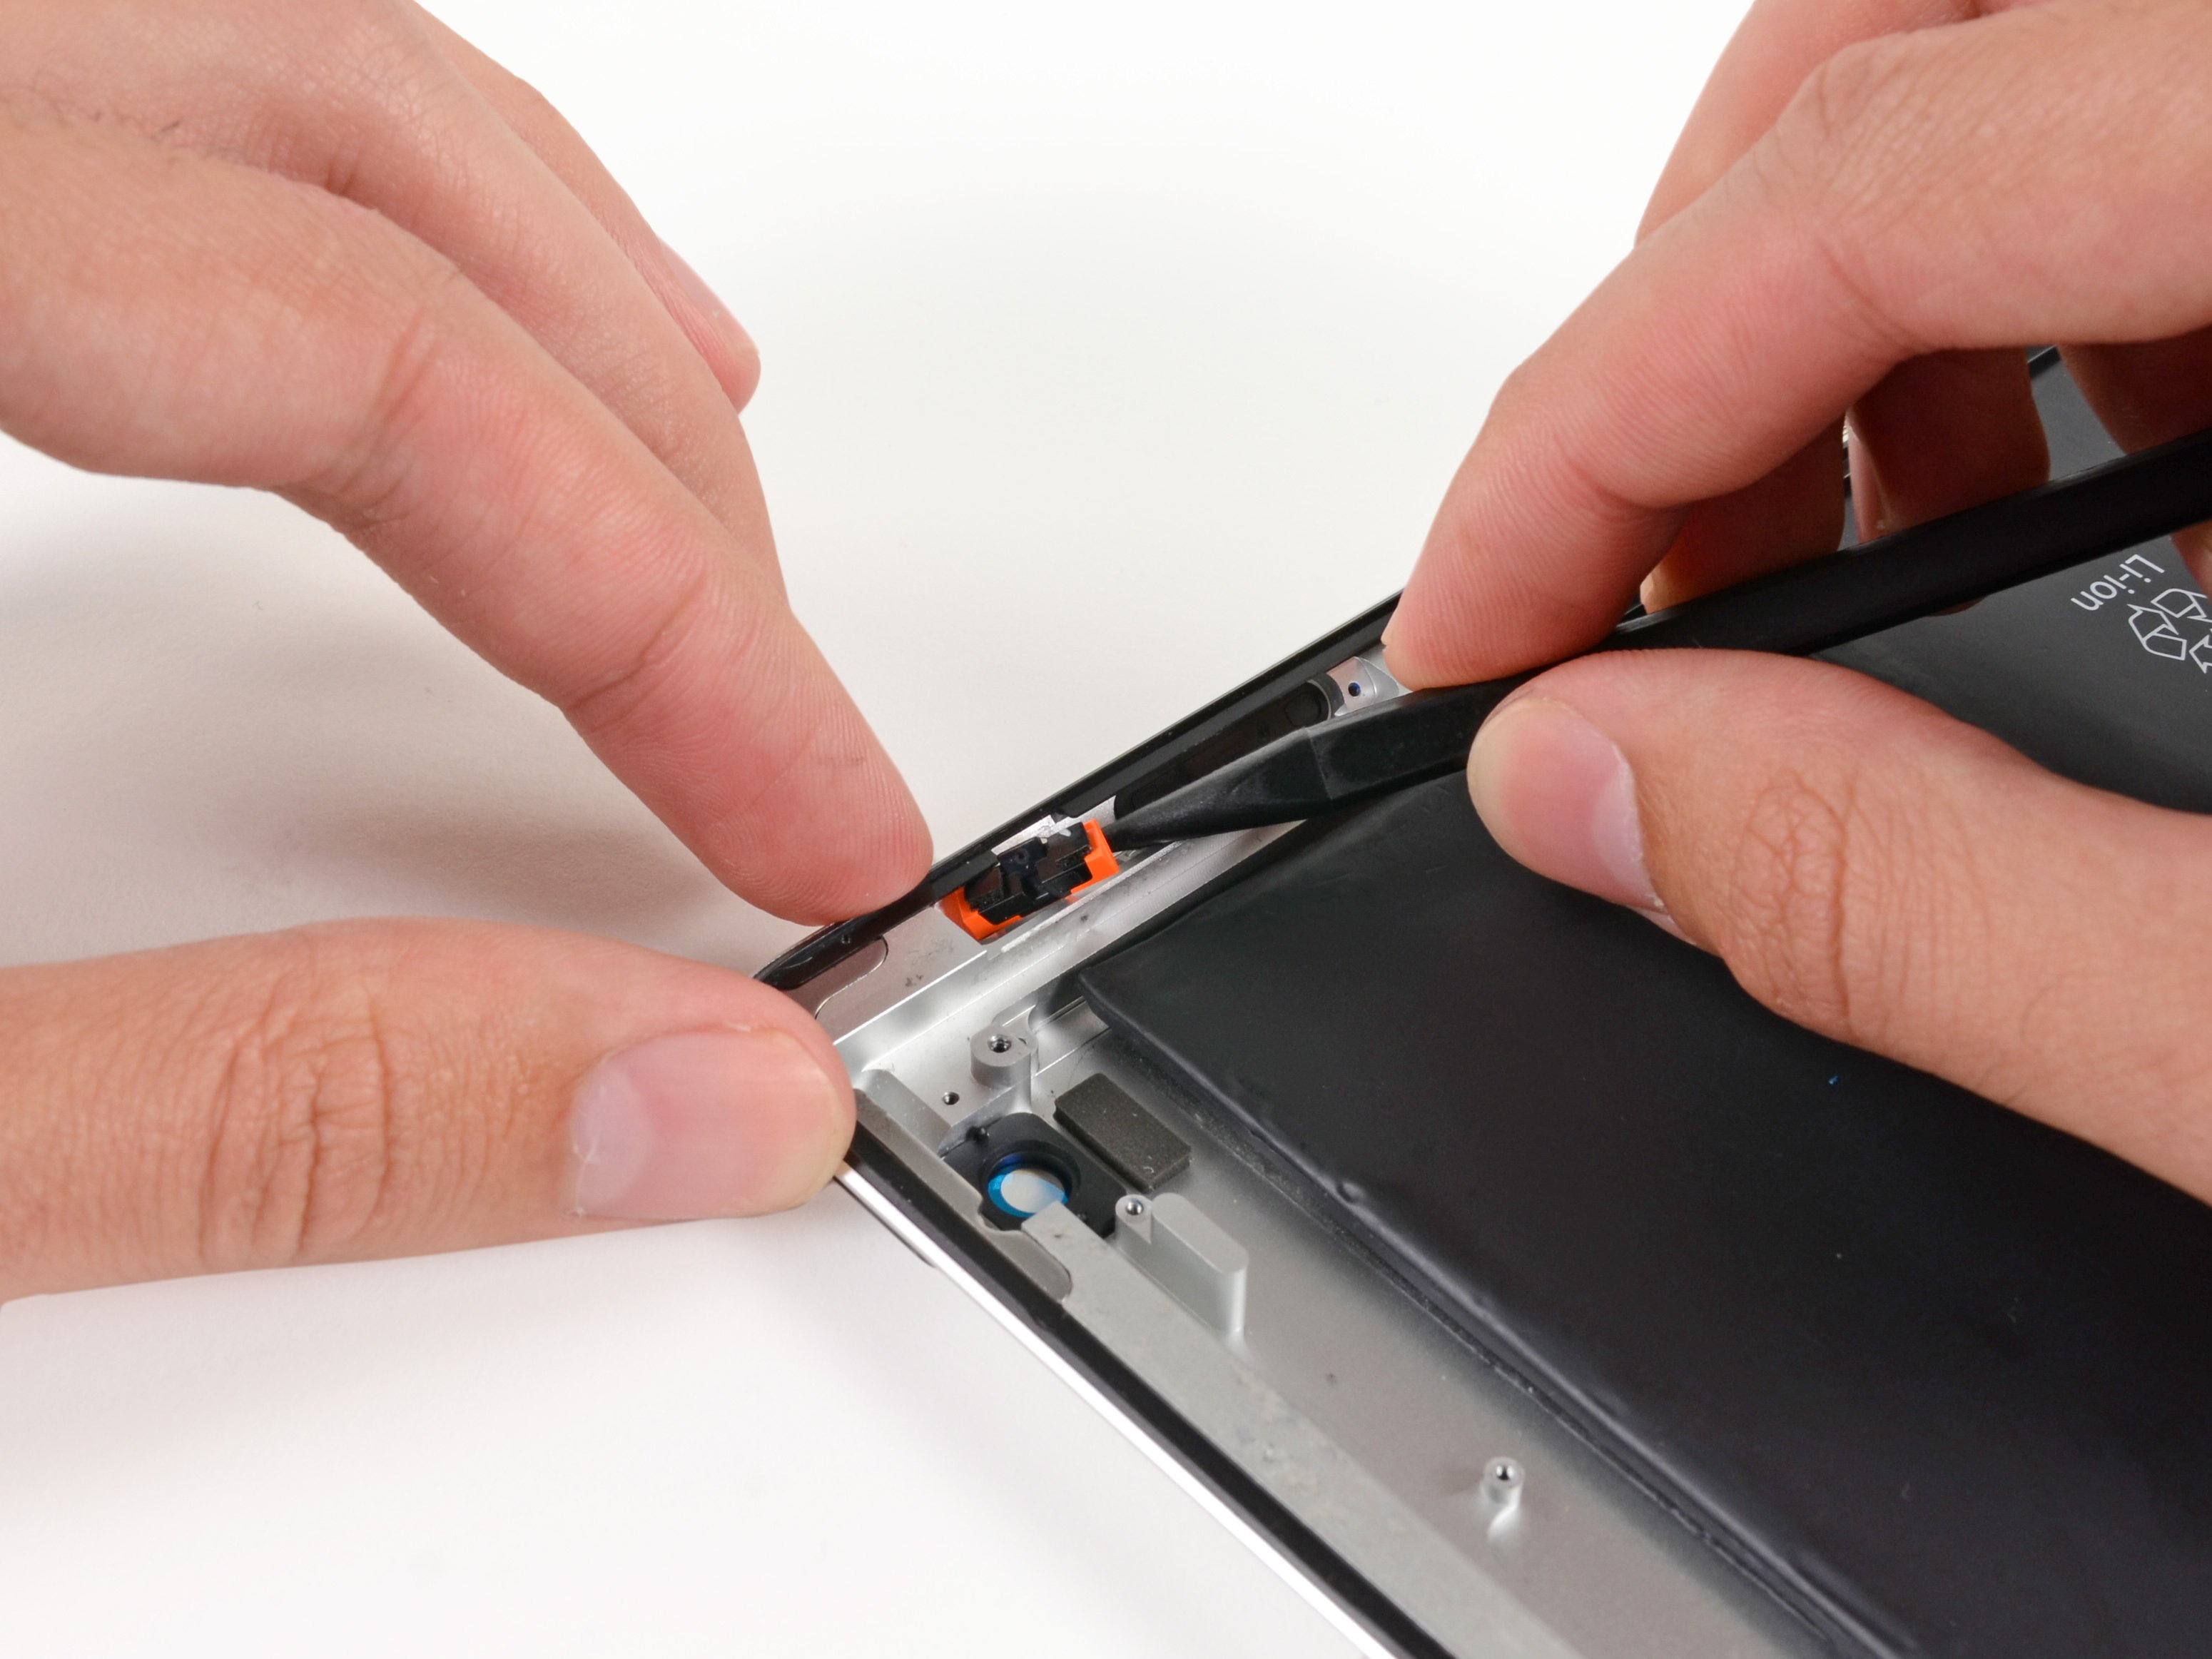
- Place the slender T-shaped adhesive strip snugly between the bottom edge of the inner frame of the front panel and the camera mounting bracket. Make sure the longest edge lines up perfectly with the inner frame.
Step 12


- Carefully tuck the tiny hook-shaped adhesive strip just below the left side of the home button mounting bracket.
Step 13


- Place the last small rectangular adhesive strip just to the left of the hook-shaped strip, right next to the thin L-shaped one, making sure it lines up perfectly with the bottom edge of the front panel.
Step 14


Double-check that each adhesive strip is lined up just right and facing the right direction before peeling off the backing. It’ll save you a headache later!
- Now, just reverse those steps and put your device back together like a pro! If you hit any bumps along the way, don’t hesitate to schedule a repair. You've got this!