iPad 3G Teardown
Duration: 45 minutes
Steps: 17 Steps
While the world eagerly waits to see the iPad in action, we’ve got our hands on the brand new iPad 3G. Stay ahead of the curve and keep up with the latest in tech. Need a hand with the repair? No worries, you can always schedule a repair.
Step 1


- Guess what? The iPad 3G has finally landed at Salvation Repair! Get ready to dive into the inner workings of this awesome device.
- This is the Wi-Fi + 3G model, and we had a little preview of its guts a month back by exploring the FCC's database.
- You'll spot the 3G iPad easily—it has a stylish black plastic RF window that sets it apart from the Wi-Fi-only version.
- This nifty device supports UMTS/HSDPA on 850, 1900, and 2100 MHz, plus GSM/EDGE on 850, 900, 1800, and 1900 MHz.
- In a surprising twist from Apple, the iPad comes unlocked, so you’re not stuck with just one carrier.
- However, in the US, AT&T is the sole carrier that offers 3G on the frequencies compatible with the iPad. T-Mobile might work too, but it’ll be on the slower EDGE network.
Step 2

- Turns out, the iPad's model number is A1337, just as the FCC filing hinted. That's some slick leetspeak, right?
- Alright, let’s jump in and check out what makes this device tick—no need to hang around.
- We’ll stack up the guts of this production unit against the preproduction FCC photos we showed off last month. Let’s see what’s changed!
Step 3

Heads up! Since 3G connectivity is onboard, there’s an extra antenna cable to unplug before you can separate the two halves. Easy does it!
- With some gentle prying using a metal spudger, you can lift the display assembly away from the rear case—just take it slow, and you'll have it off in no time!
Tools Used


Step 4

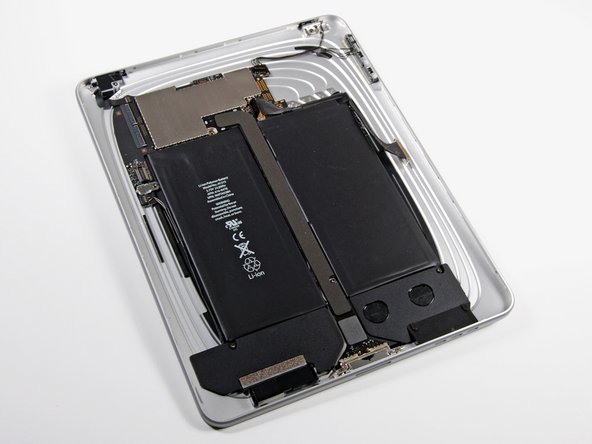
- Here’s a peek inside: the iPad 3G is hanging out on the left, while the Wi-Fi model chills on the right.
- Spot the differences! The 3G version rocks an extra chip, a SIM card board, and a snazzy plastic antenna cover up top.
- The 3G iPad has a bit more going on under the hood compared to its Wi-Fi-only sibling, but there’s still plenty of room to breathe in there.
Step 5
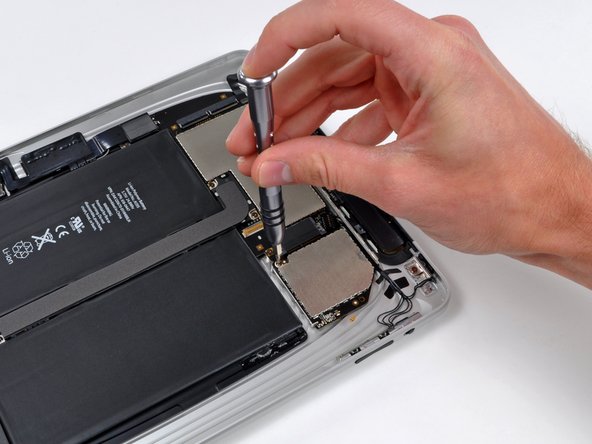

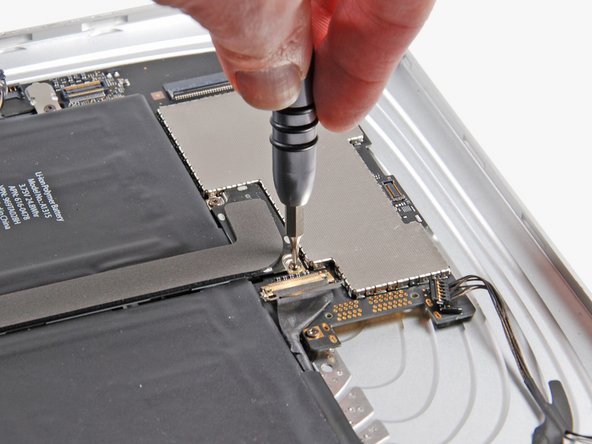
- Gently pop up the antenna from the communications board using a plastic opening tool—there are two antennas hanging out here, so make sure you’re grabbing the right one!
- The communications board is held down with T4 Torx screws—time to show those screws who's boss.
- Once you’ve evicted those screws, the communications board will smoothly slide out of its home on the logic board. The connection looks a lot like a Mini PCI Express card, so just wiggle it free and you’re good to go!
Step 6
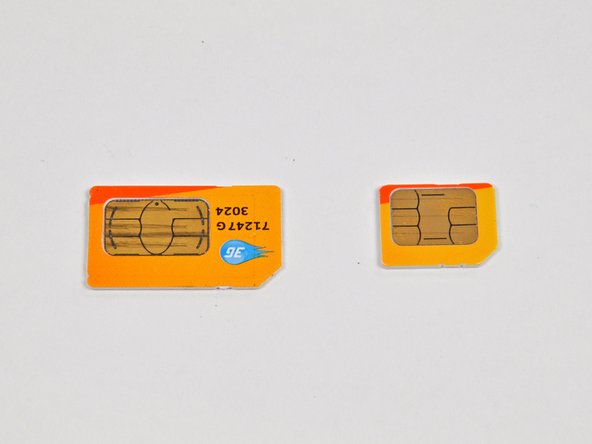

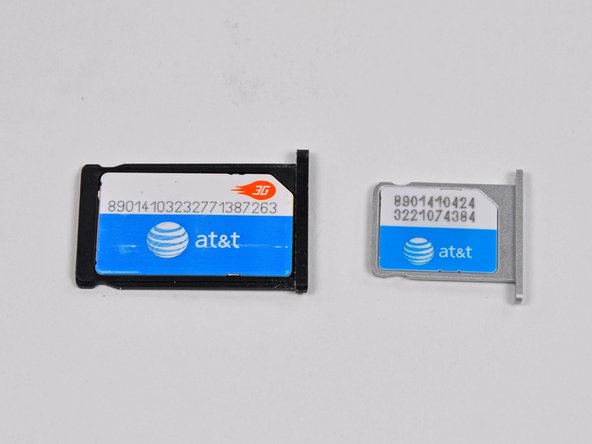
- Pop out that tiny micro-SIM card! These little guys are seriously small.
- The iPad’s SIM card is just 12mm x 15mm, which is almost half the size of the SIM from an iPhone 3GS. Mini but mighty!
- Got a full-size SIM? If you’re feeling crafty, you can trim it down to a micro-SIM—the contacts line up perfectly.
Step 7

- Heads up, 3G iPad users! There's a nifty antenna hanging out on the back of your display assembly. That shiny copper foil you see in the photo actually connects right to the silver metal frame of the LCD. Apple’s pulled a smart move here—using that same metal for both strength and sending signals. Double duty, double cool.
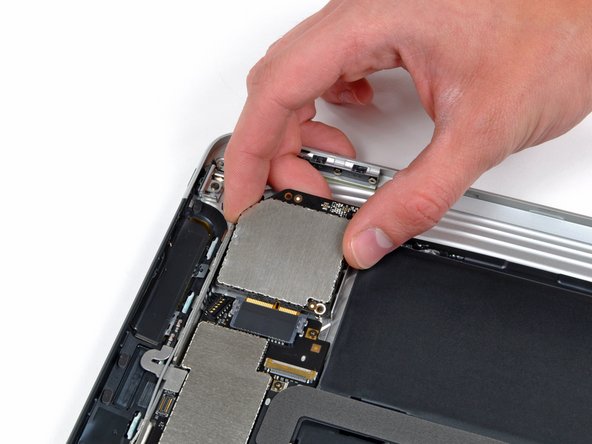
Step 8

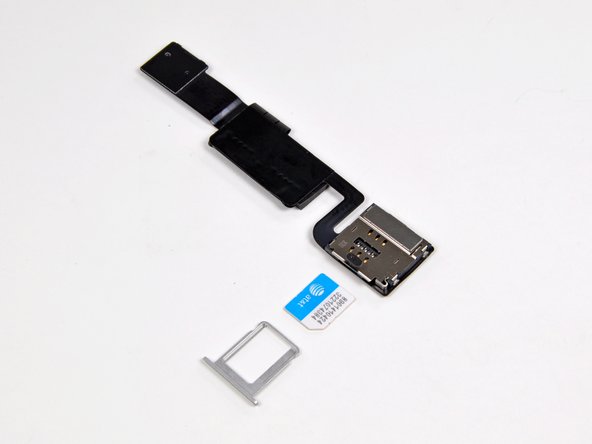
- Grab your trusty spudger and use the flat end to gently pry open the SIM card slot from the rear case. It's like a little surprise waiting for you!
- Looks like Apple was feeling pretty generous with space! The board here is mainly just connecting the SIM card to the logic board. Simple as that!
Tools Used
Step 9

- Check out the logic boards: iPad 3G is rocking on the left, while iPad Wi-Fi is chilling on the right.
- Fun fact: The top half of the Wi-Fi version's rear case is basically a spacious dance floor—tons of room to groove!
Step 10

- Gently use the tip of your spudger to unplug the GPS antenna's ZIF cable connector.
- Carefully pry the GPS antenna assembly off the plastic antenna cover using the flat end of your spudger.
Tools Used
Step 11
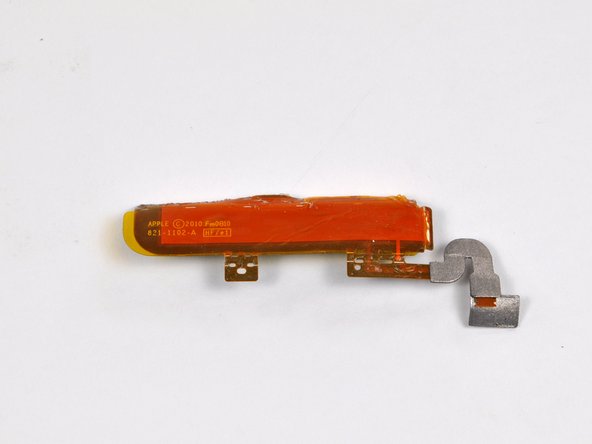

- Here’s a look at both sides of the GPS antenna assembly.
Step 12
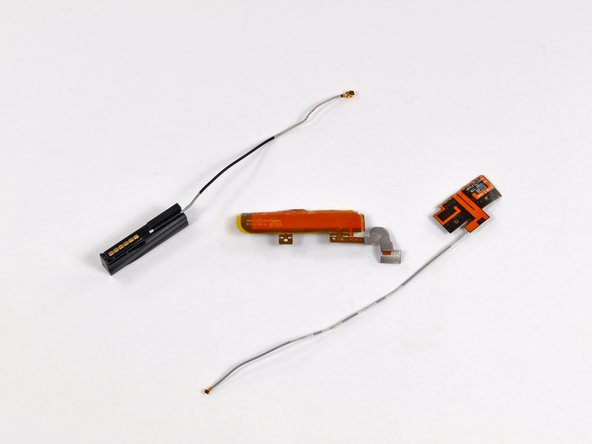

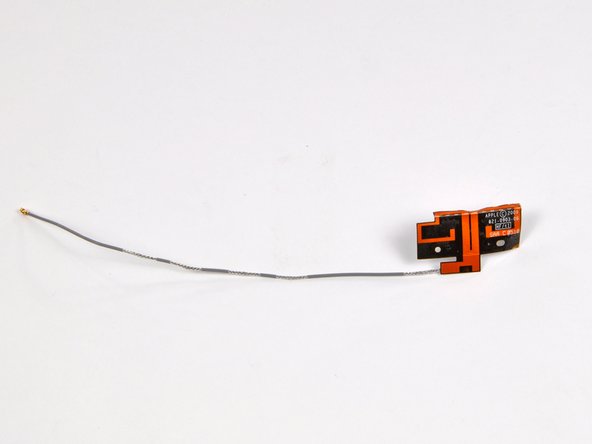
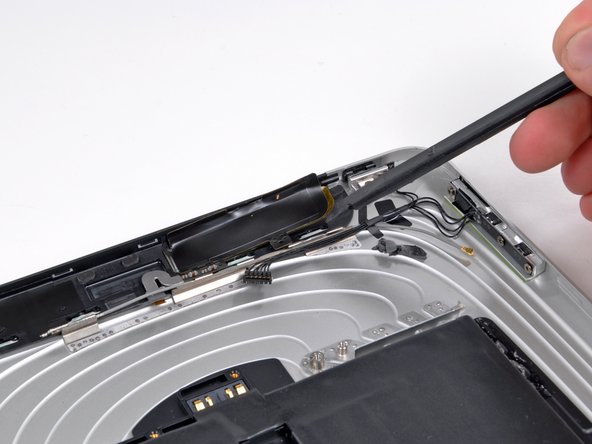
- Gently lift the cellular antenna right out of its cozy little home.
- Look at that! The cellular antenna is still hanging out with us.
- From left to right, we have the Wi-Fi/Bluetooth, GPS, and 3G antennas, all lined up and ready for action.
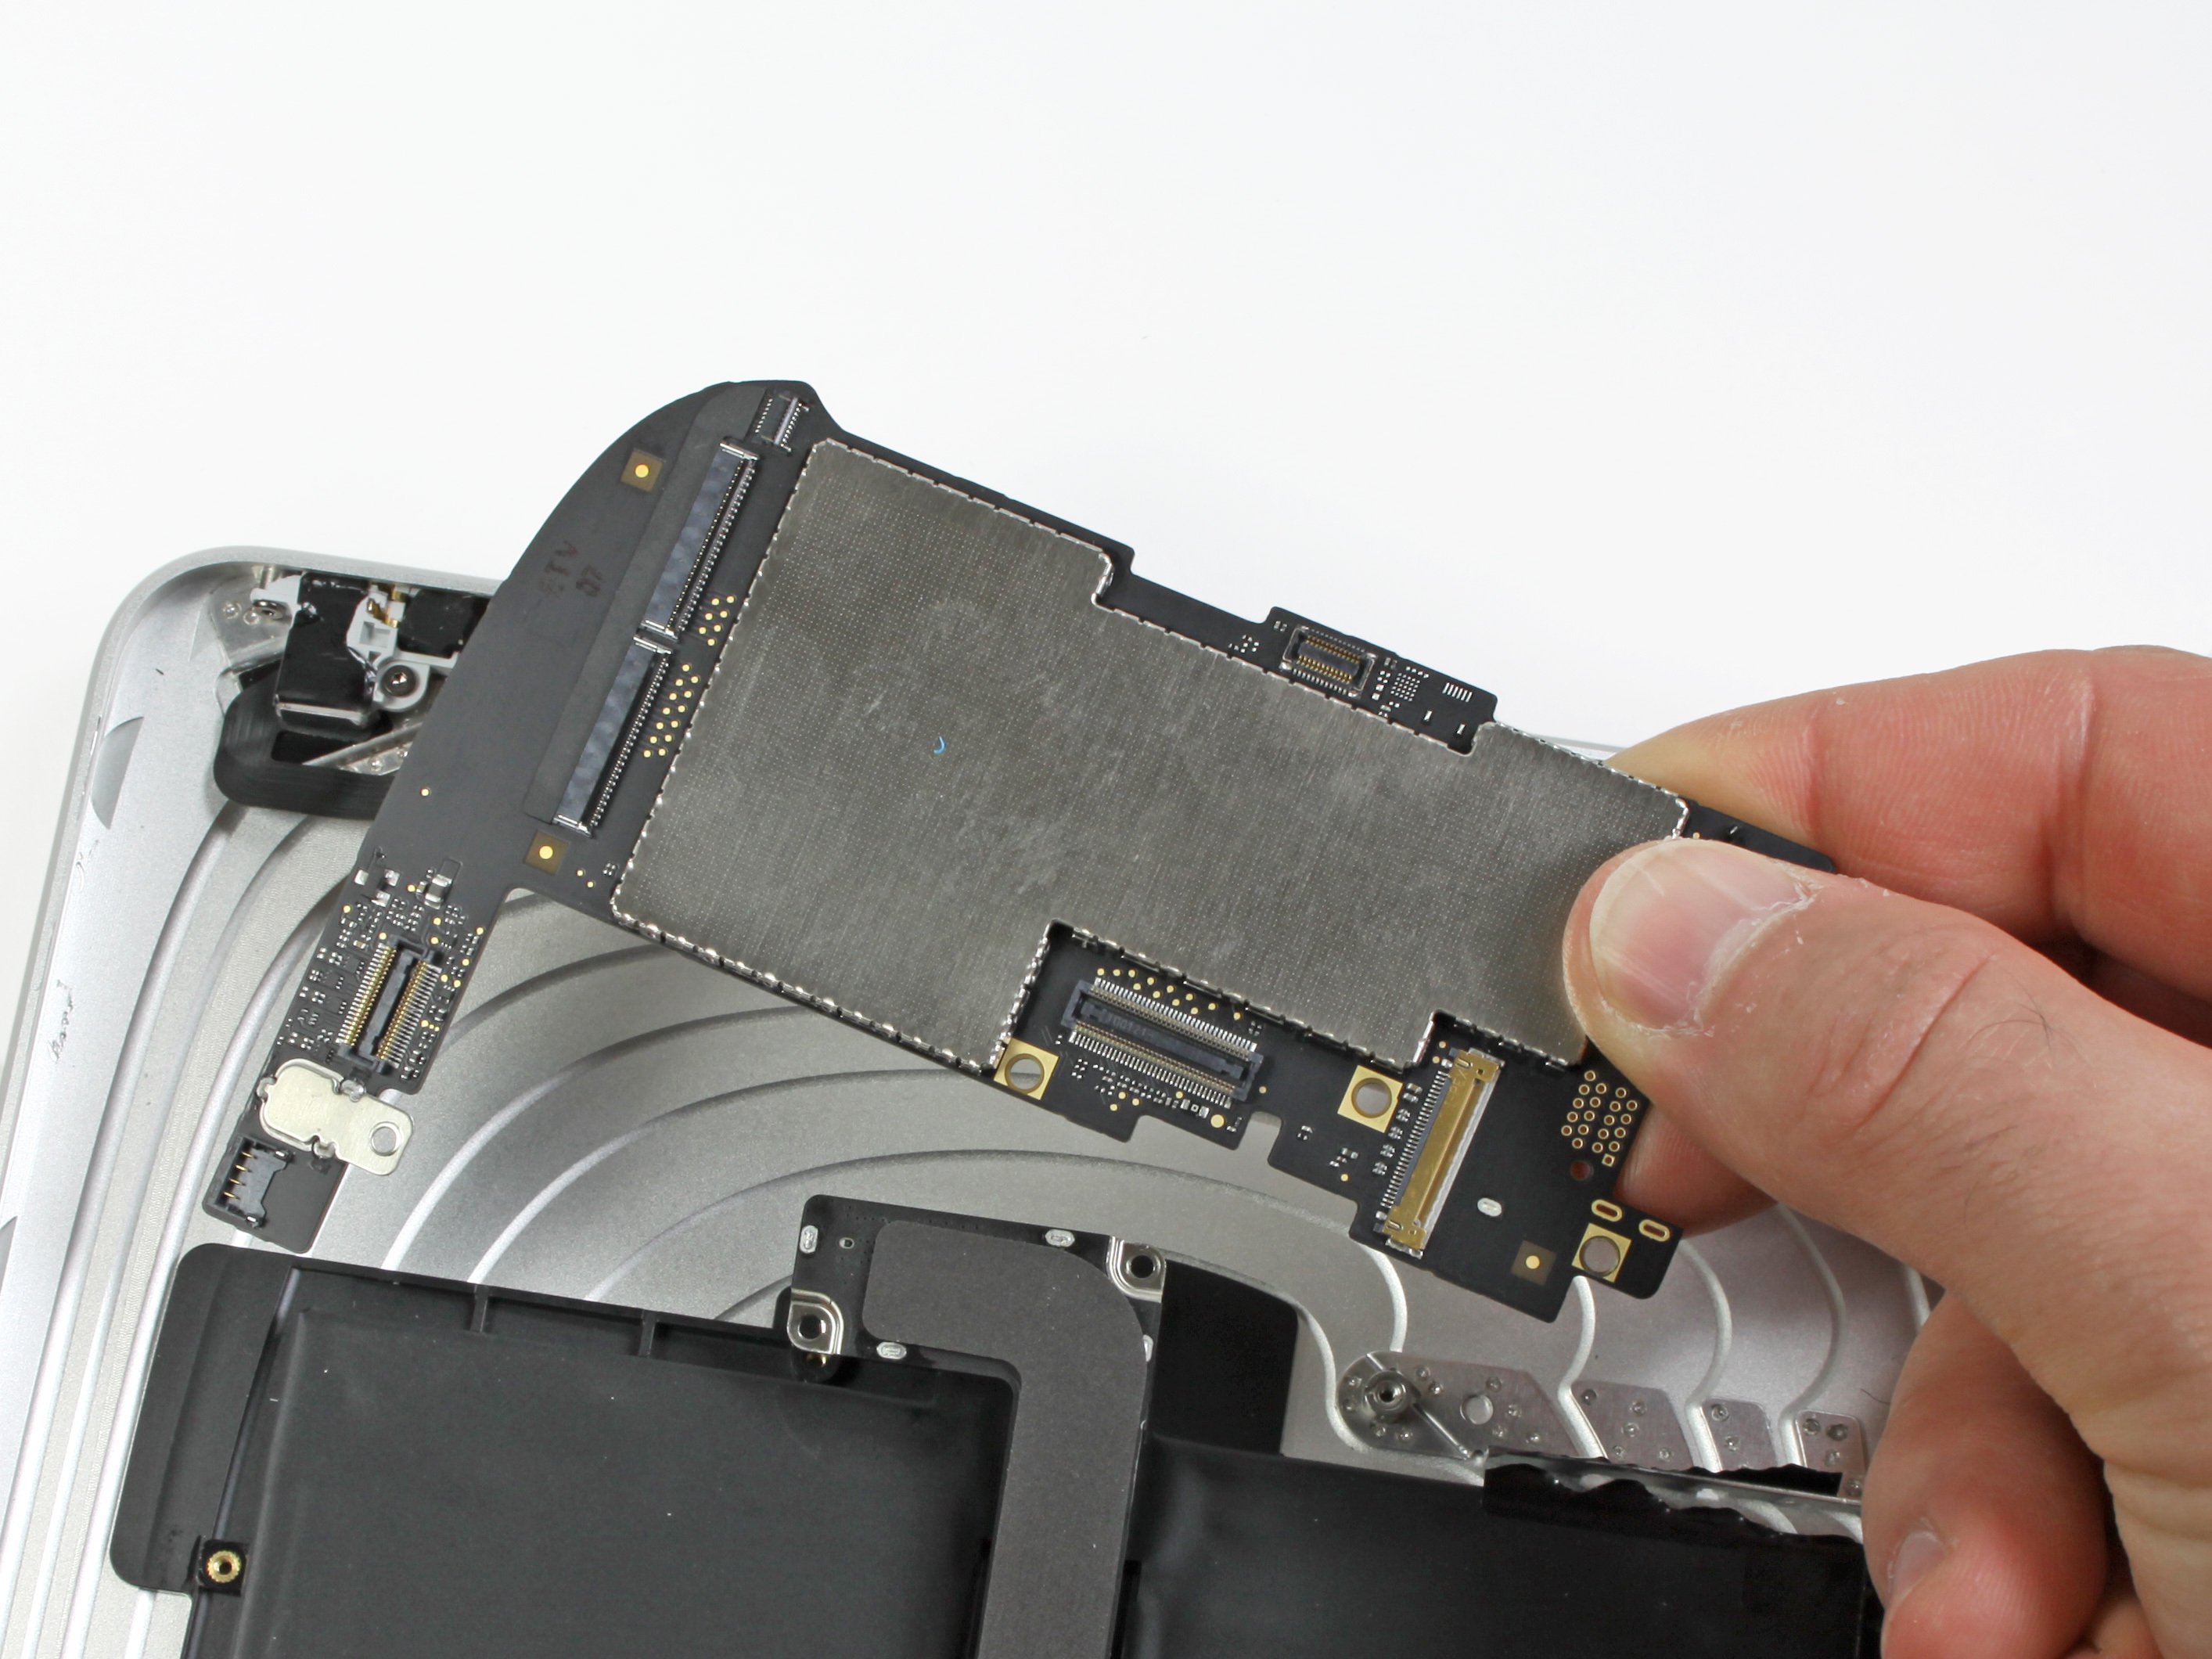
Step 13

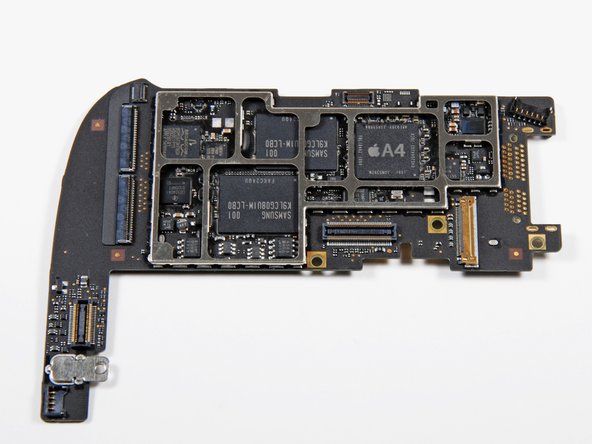
- Here’s the 3G board featuring the A4 processor.
- This shot showcases the main board from the Wi-Fi iPad.
- What’s different between them?
- The most noticeable difference is the new connector on the right side of the board, which is meant for the communications board.
- A bit more subtle, but still important, is the small IC located above the A4 chip, right next to the connector. This might be a signal processor, though we can’t be 100% sure—it’s marked as T3J 927 632567.
Step 14
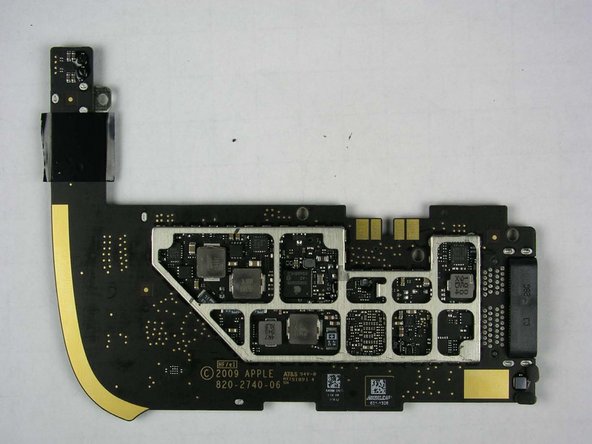

- Check out the bottom of the main board—pretty chill spot. Honestly, it looks just like the Wi-Fi board, nothing wild going on here.
Step 15

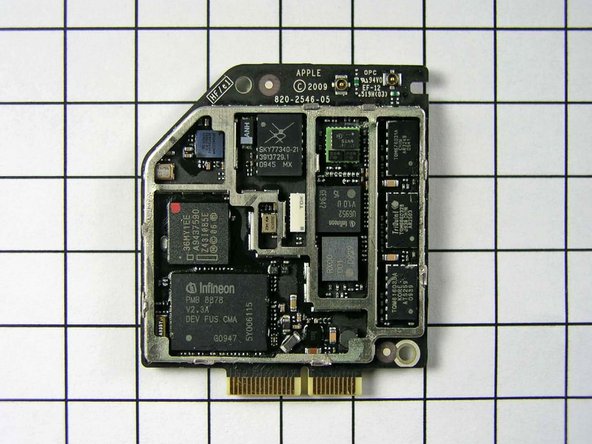
- Apple decided to solder the EMI shield right onto the communications board, which makes showing off the chips a bit trickier. But hey, we love a challenge! We got out our tools and carefully unsoldered the board—just for you—to reveal the hidden treasures inside:
- Infineon 337S3754 PMB 8878 X-Gold baseband IC 5Y06115. The pre-production version sported the Infineon logo, but now Apple has white-labeled this chip to keep things mysterious. Fun fact: This is the same baseband processor found in the iPhone 3GS.
- Skyworks SKY77340 Power Amplifier Module makes an appearance.
- There are three Triquint power amplifier/filter chips tucked in here.
- Infineon U6952 is next up on our teardown tour.
- Numonyx 36MY1EE joins the lineup.
- Lined up on the right side, you'll find three more TriQuint power amplifiers: TQM616035A, TQM666032B, and TQM676031A—the same trio Apple used in the iPhone 3G two years ago.
- Last but not least, Broadcom A-GPS BCM47501UBG F01003 P11 949871 SN rounds out the bunch.
Step 16
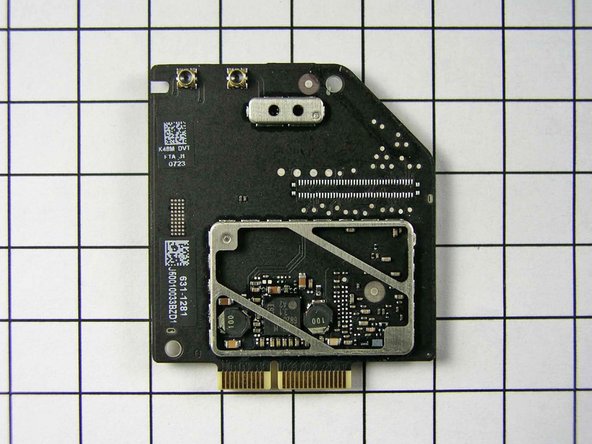

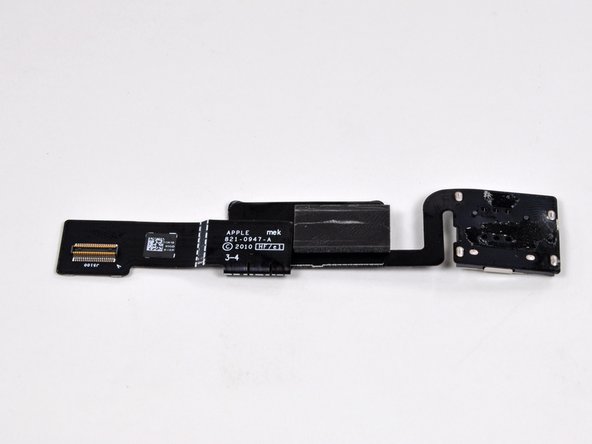
- Here’s a peek at the underside of the communications board.
- The second photo shows an earlier, pre-release FCC version. Ours has a few more part number markings, but otherwise, it’s pretty much its twin.
- Fun fact: The Broadcom A-GPS chip lives right here on the communications board. This is why the Wi-Fi-only iPad skips out on GPS—no chip, no signal!
Step 17

- And that's a wrap for the iPad 3G teardown adventure!
- Want to see even more iPad shenanigans? Check out the iPad Wi-Fi Teardown for bonus geek points.