iPad 4 GSM Adhesive Strips Replacement (Existing Panel)
Duration: 45 minutes
Steps: 15 Steps
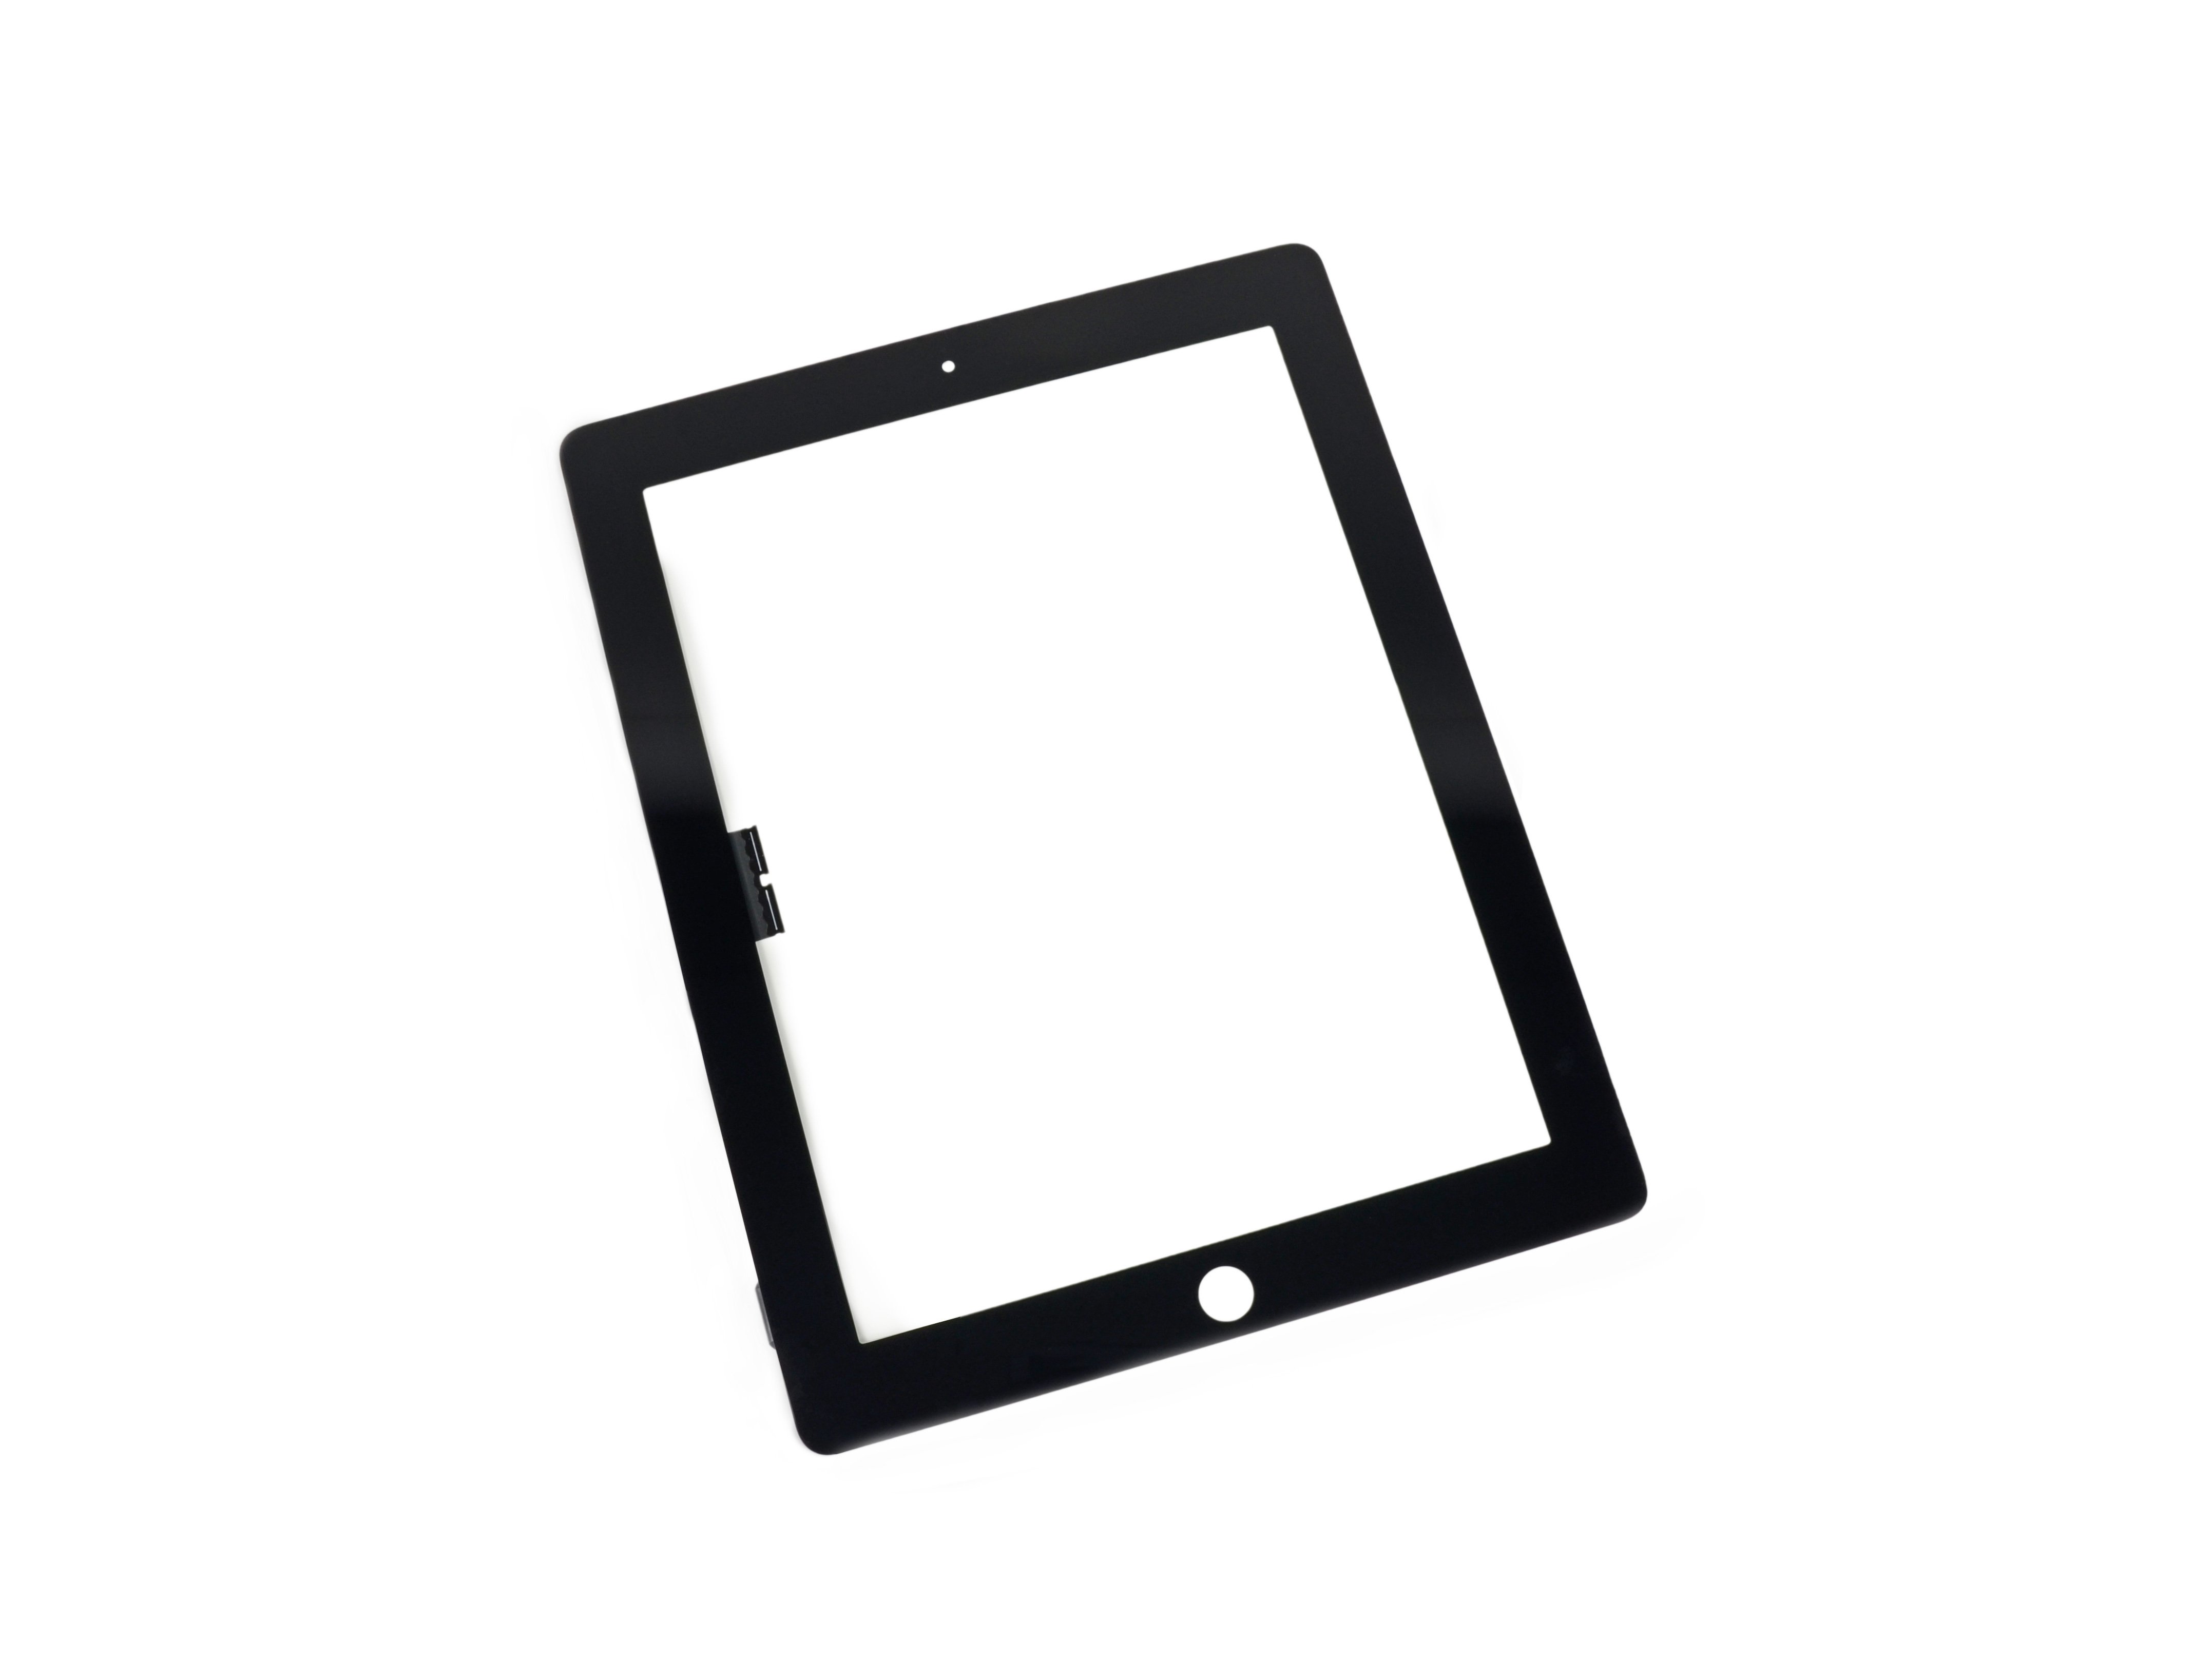
This is meant for use with the front panel assemblies you already have in place. Don't go mixing and matching parts—stick with what’s compatible to keep things running smoothly!
Follow this guide to swap out adhesive strips and reseal your iPad 4 after a repair. This is meant for use only with front panel assemblies you already have.
Step 1

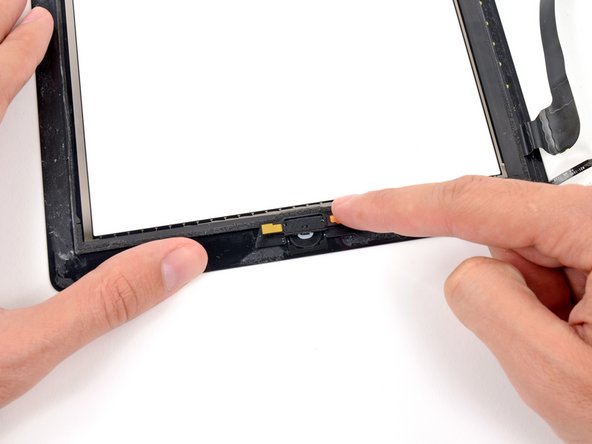
- Unscrew the two 2.1 mm Phillips #00 screws holding the home button control board to its mounting bracket. Keep these little guys safe!
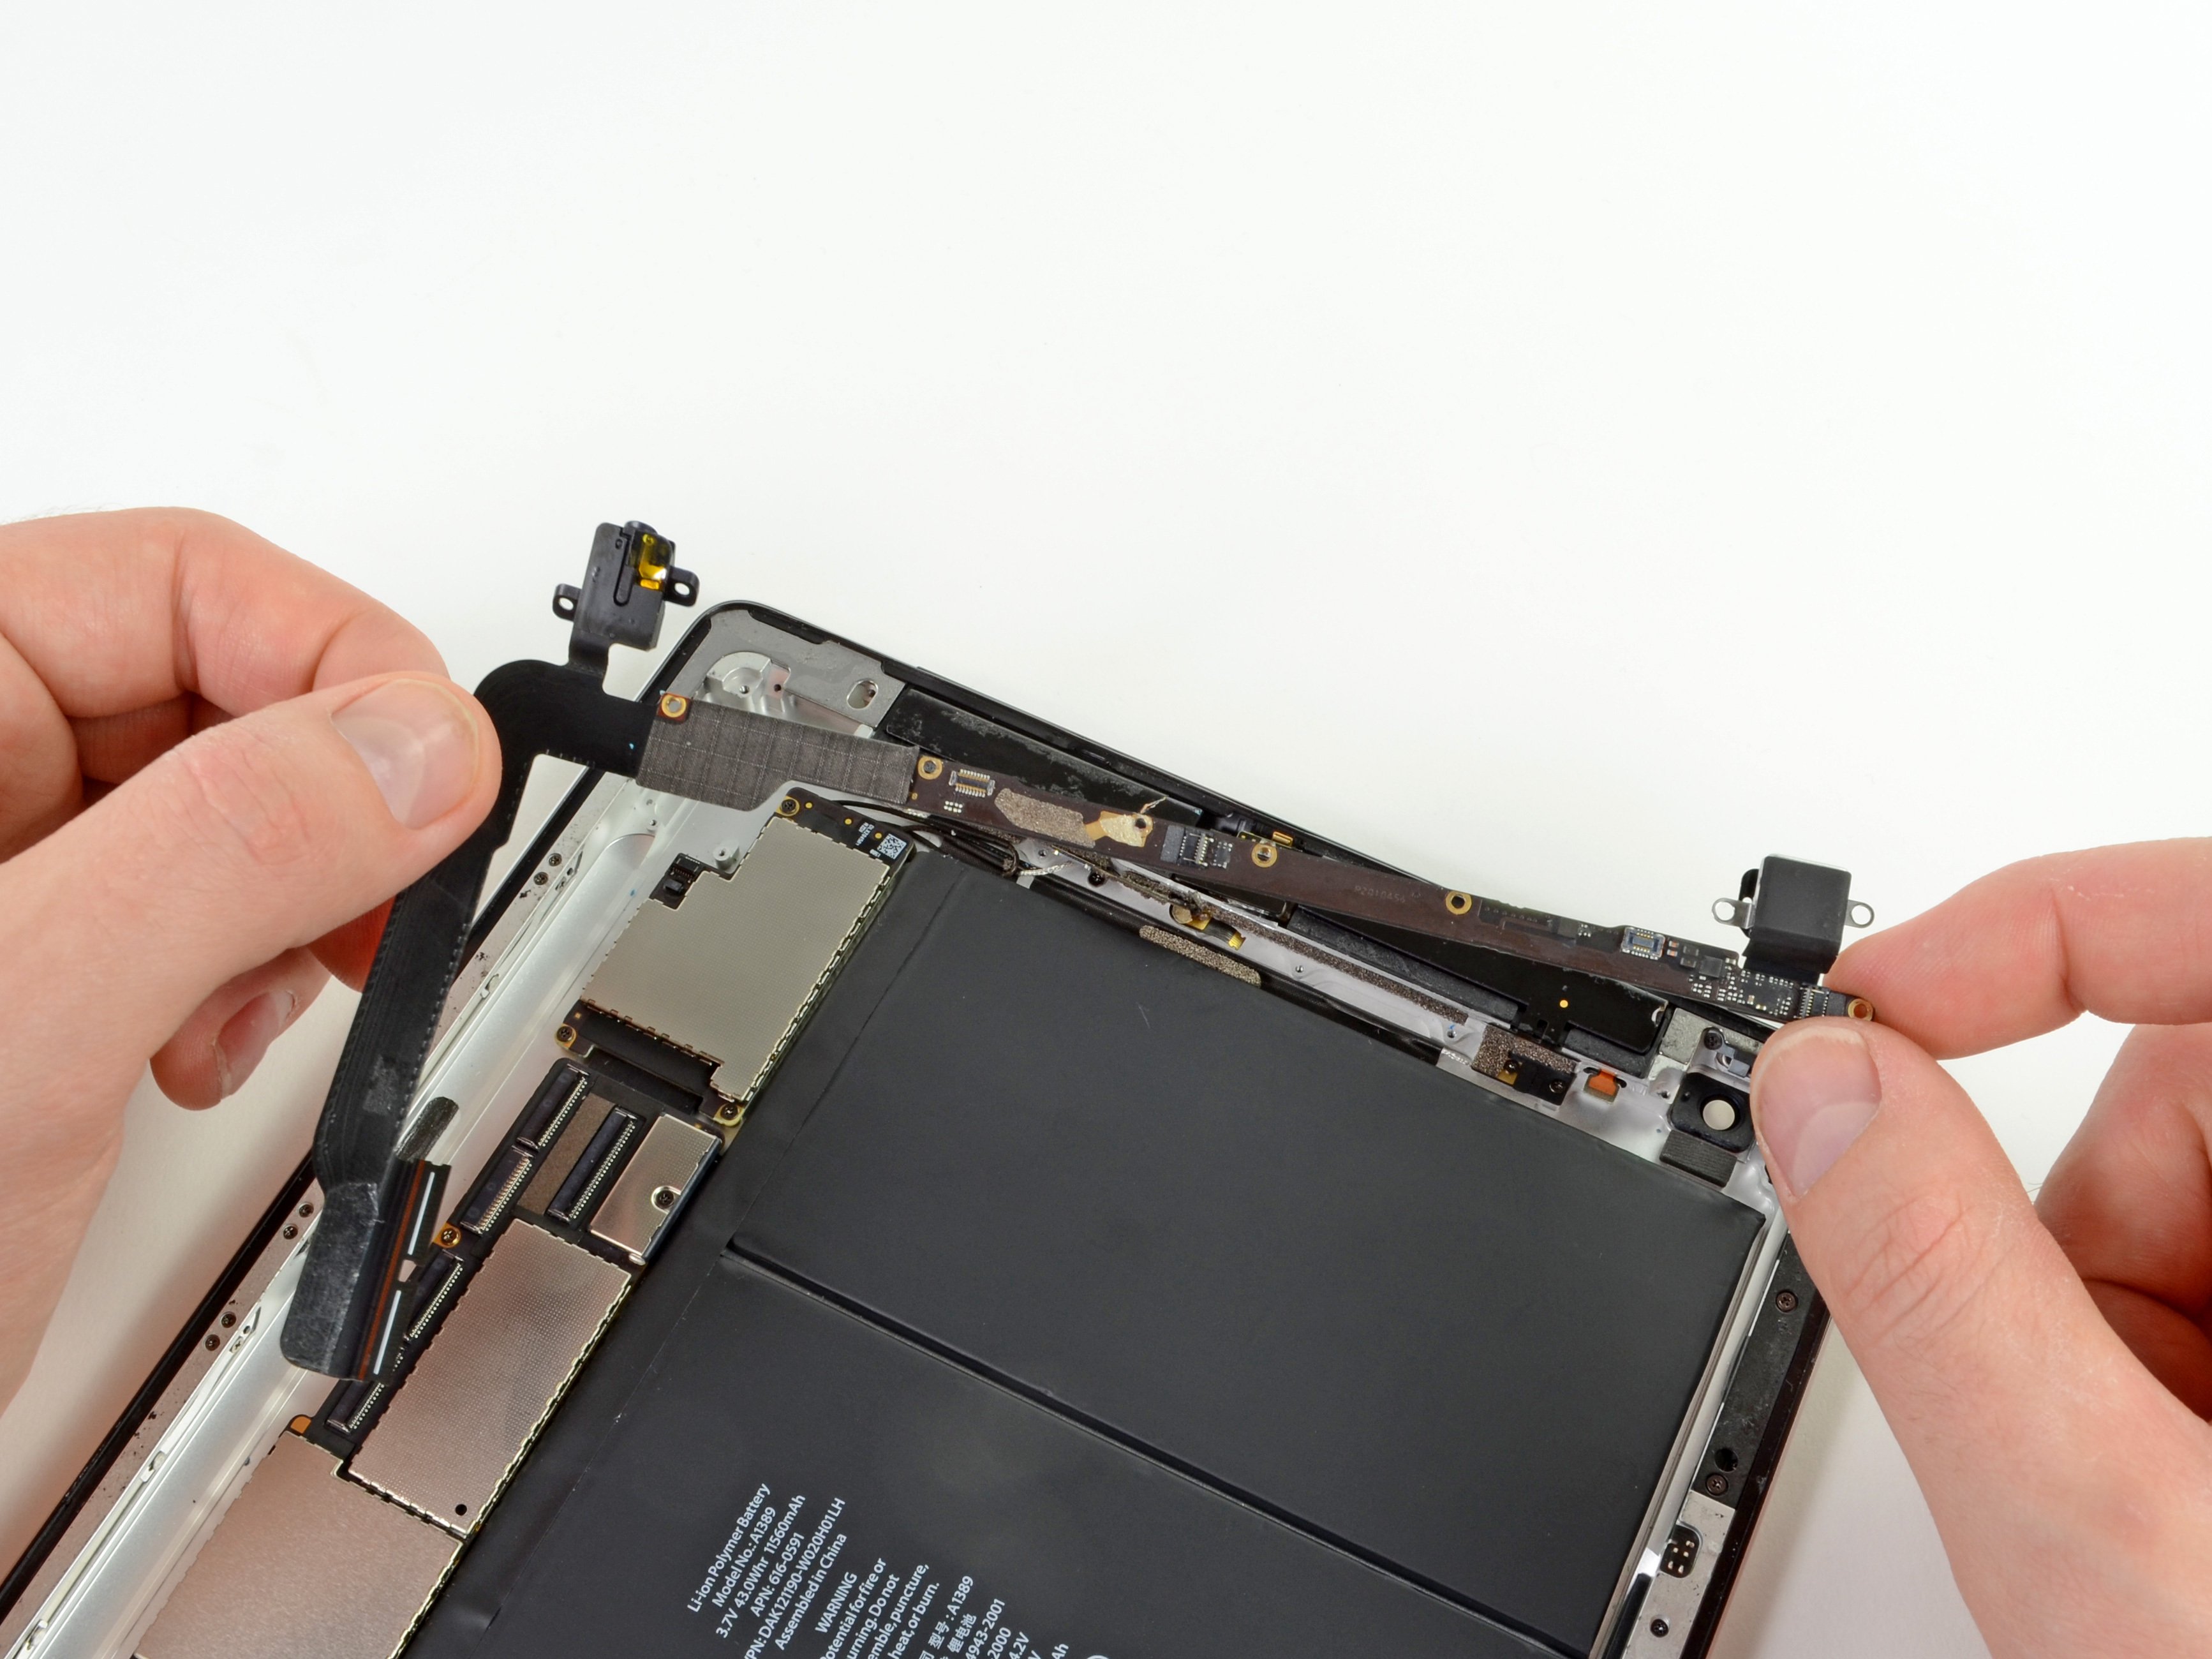
Step 2


- Slide the flat edge of a plastic opening tool gently between the right side of the home button control board and the home button mounting bracket.
- Press the plastic opening tool down carefully to loosen the adhesive holding the home button control board to the mounting bracket.
- Do the same on the left side to free up the adhesive under the home button control board.
Step 3

- Carefully lift the home button control board away from its mounting bracket—like gently peeling a sticker, but with way more tech magic.
Step 4


If needed, carefully use a pair of tweezers to peel away the old adhesive. Take your time, no rush!


Step 5

Double-check that the home button control board is perfectly aligned with the bottom edge of the home button mounting bracket before moving on.
- Carefully set the home button control board onto the home button bracket, making sure it sits nicely and aligns just right.
Step 6

- Grab those two 2.1 mm Phillips #00 screws and screw them back into the home button control board to snugly secure it against the mounting bracket. Almost there!
Step 7


- Now it's time to get those adhesive pieces on the front panel. You've got this!
- Hold off on peeling the backing off those strips for now. Patience, it's key.
- Next, take the bridge-shaped adhesive strip and place it carefully between the top edge of the inner frame of the front panel and the camera mounting bracket.
- Smooth the strip down from the center out. Make sure no pesky air bubbles sneak in between the strip and the panel. Take your time and make it neat!
Step 8


- Stick the C-shaped adhesive strip onto the right side of the front panel, making sure it lines up just right.
Step 9


When placing the next adhesive strip, gently lift the home button ribbon cable out of the way to keep things neat and tidy.
- Place the adhesive strip, about medium length, on the bottom right side of the front panel, just under the home button ribbon cable. It should fit just right, like the perfect puzzle piece!
Step 10


- Stick that tabbed rectangular adhesive strip neatly on the bottom right side of the front panel.
Step 11


- Stick the long L-shaped adhesive strip snugly onto the bottom left corner of the front panel—precision is key!
Step 12


- Grab that short rectangular adhesive strip and stick it on the top left corner of the front panel. Nice and easy!
Step 13


- Take that last little L-shaped adhesive strip and place it on the top left corner of the front panel. Just a quick, easy stick to finish off this part!
Step 14


Hold off on peeling that clear backing just yet. Let’s take it step by step!
- Grab a pair of tweezers and gently lift off the clear backing from the adhesive strip underneath the home button ribbon cable.
- Now, carefully place the home button ribbon cable onto the adhesive strip. Smooth it out from the center outward, making sure there are no pesky air bubbles trapped between the strip and the front panel.
Tools Used
Step 15

Gently close the front panel onto the iPad, making sure it sits nicely inside the plastic bezel. Try to avoid any dirt or fingerprints sneaking in between the glass and LCD.
To help everything seal up tight, flip the iPad face down onto something soft like a padded envelope or cloth. Then stack a couple of books on top to keep the screen snug. Let it chill like this for a few hours before powering it up.
- To put your device back together, just go through these steps backward. Easy peasy!