iPad 4 GSM Adhesive Strips Replacement Guide
Duration: 45 minutes
Steps: 15 Steps
This is exclusively for those already rocking existing front panel assemblies.
Get ready to give your iPad 4 a fresh start! This guide will help you swap out those adhesive strips and re-seal your device after a repair. Just a heads up—this is meant for existing front panel assemblies only. If you need help, you can always schedule a repair.
Step 1

– Grab your trusty Phillips #00 screwdriver and get ready to tackle this! First up, gently remove the two 2.1 mm Phillips screws that are holding the home button control board snugly to the home button mounting bracket. You’ve got this!
Step 2


– Slide the flat edge of a plastic opening tool between the right side of the home button control board and the home button mounting bracket. Get in there gently!
– Press down on the plastic opening tool to nudge the adhesive loose that’s holding the home button control board to the mounting bracket. You’re doing great!
– Do the same for the left side of the home button control board to free up that adhesive too. Almost there!


Step 5

Ensure the home button control board is perfectly aligned with the bottom of the home button mounting bracket. You’ve got this!
– Carefully set the home button control board right on top of the home button mounting bracket, like placing a crown on a head. Just make sure it’s snug and ready to go!
Step 6

– Pop those two 2.1 mm Phillips #00 screws back into the home button control board to snug it up against the home button mounting bracket! You’ve got this!
Step 7


– Alright, let’s get those last bits of adhesive on the front panel, shall we?
– Hold off on peeling that clear backing off the strips for now.
– Position the bridge-shaped adhesive strip right between the top edge of the inner frame of the front panel and the camera mounting bracket.
– Gently smooth the strip down from the center outwards, being careful not to trap any sneaky air bubbles between the strip and the front panel.
Step 8


– Stick the long, C-shaped adhesive strip right along the right edge of the front panel. You’ve got this!
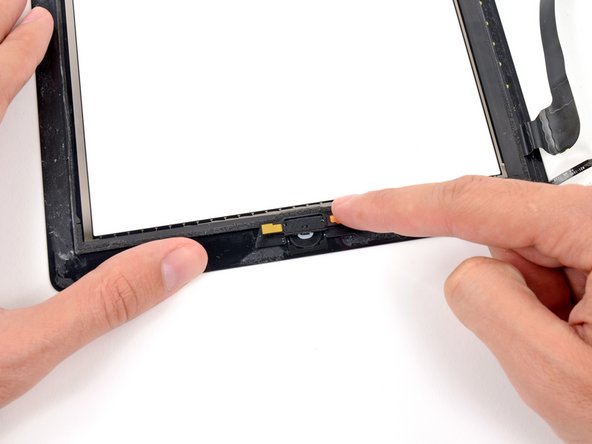
Step 9


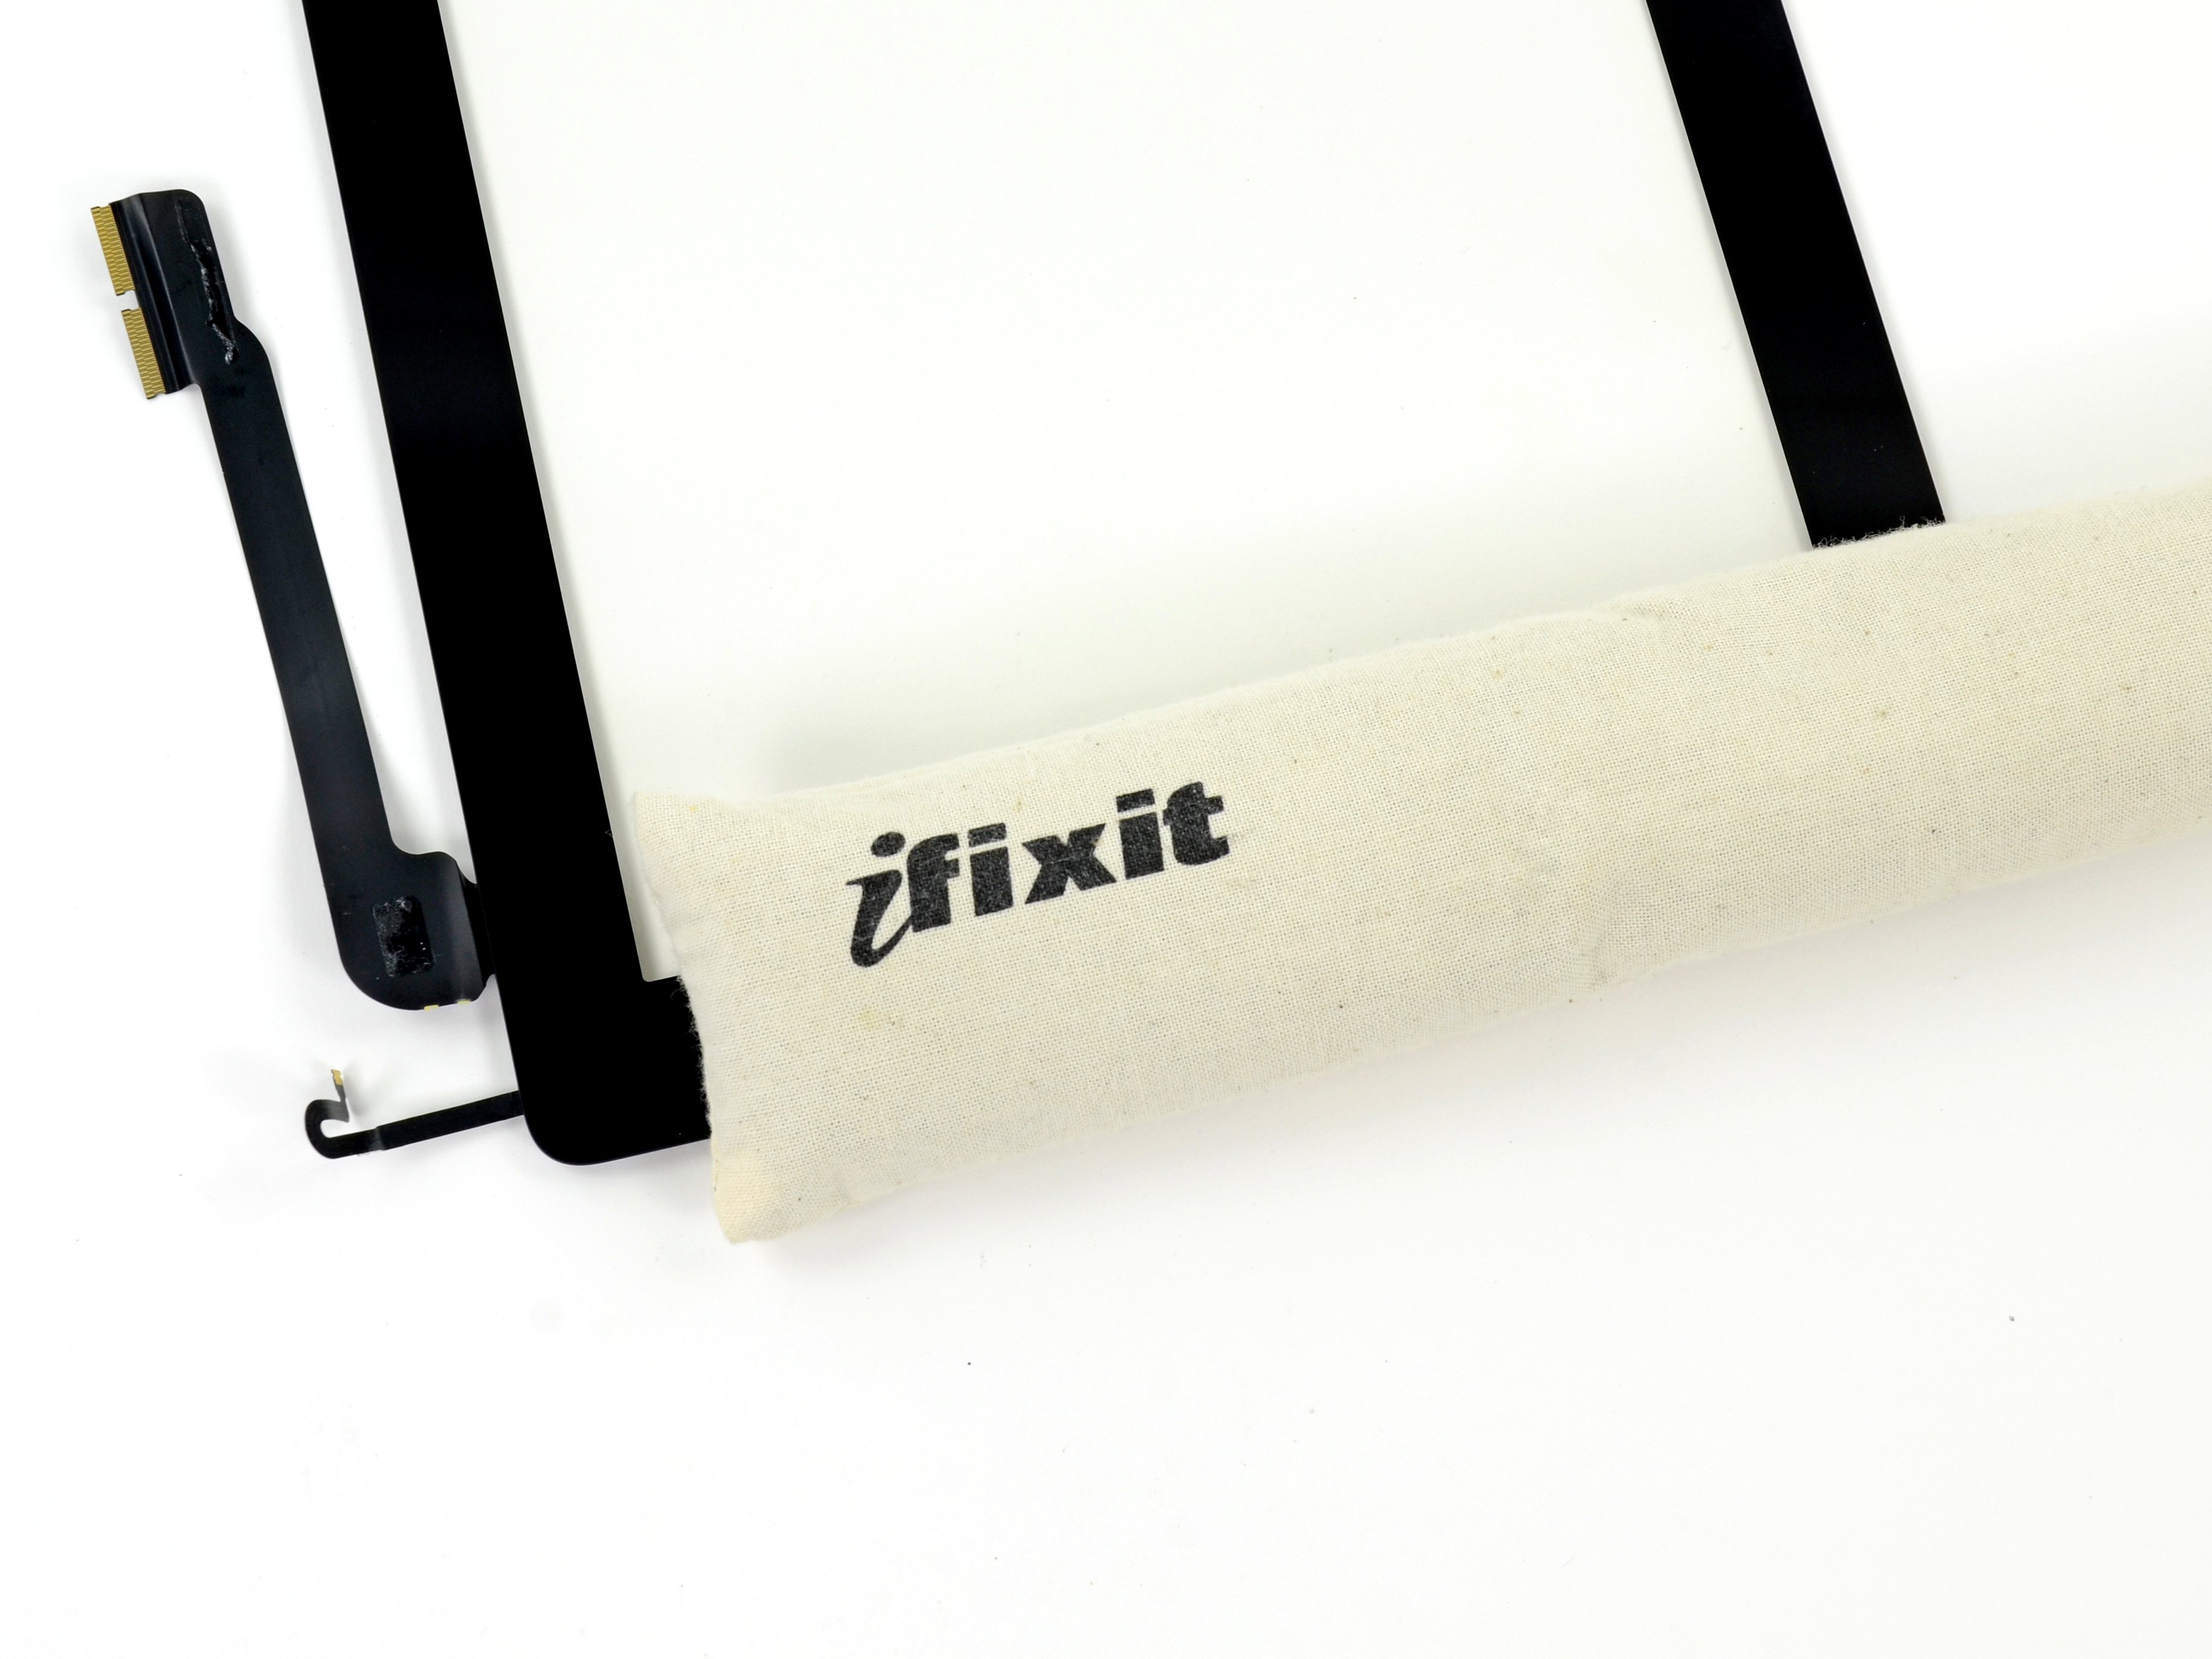
It’s a good idea to gently move the home button ribbon cable out of the way while you add the next adhesive strip. Keep it cozy and tidy!
– Carefully stick the straight, medium-length adhesive strip on the bottom right corner of the front panel, right under the home button ribbon cable. You’ve got this!
Step 10


– Stick that tabbed rectangular adhesive strip right on the bottom right corner of the front panel! You’ve got this!
Step 11


– Stick that long L-shaped adhesive strip right on the bottom left corner of the front panel and get ready to make some magic happen!
Step 12


– Stick that short, rectangular adhesive strip right on the top left corner of the front panel. You’ve got this!
Step 13


– Pop that last, short L-shaped adhesive strip right on the top left corner of the front panel! You’re almost there!
Step 14


Hold off on peeling the clear backing off those strips for now!
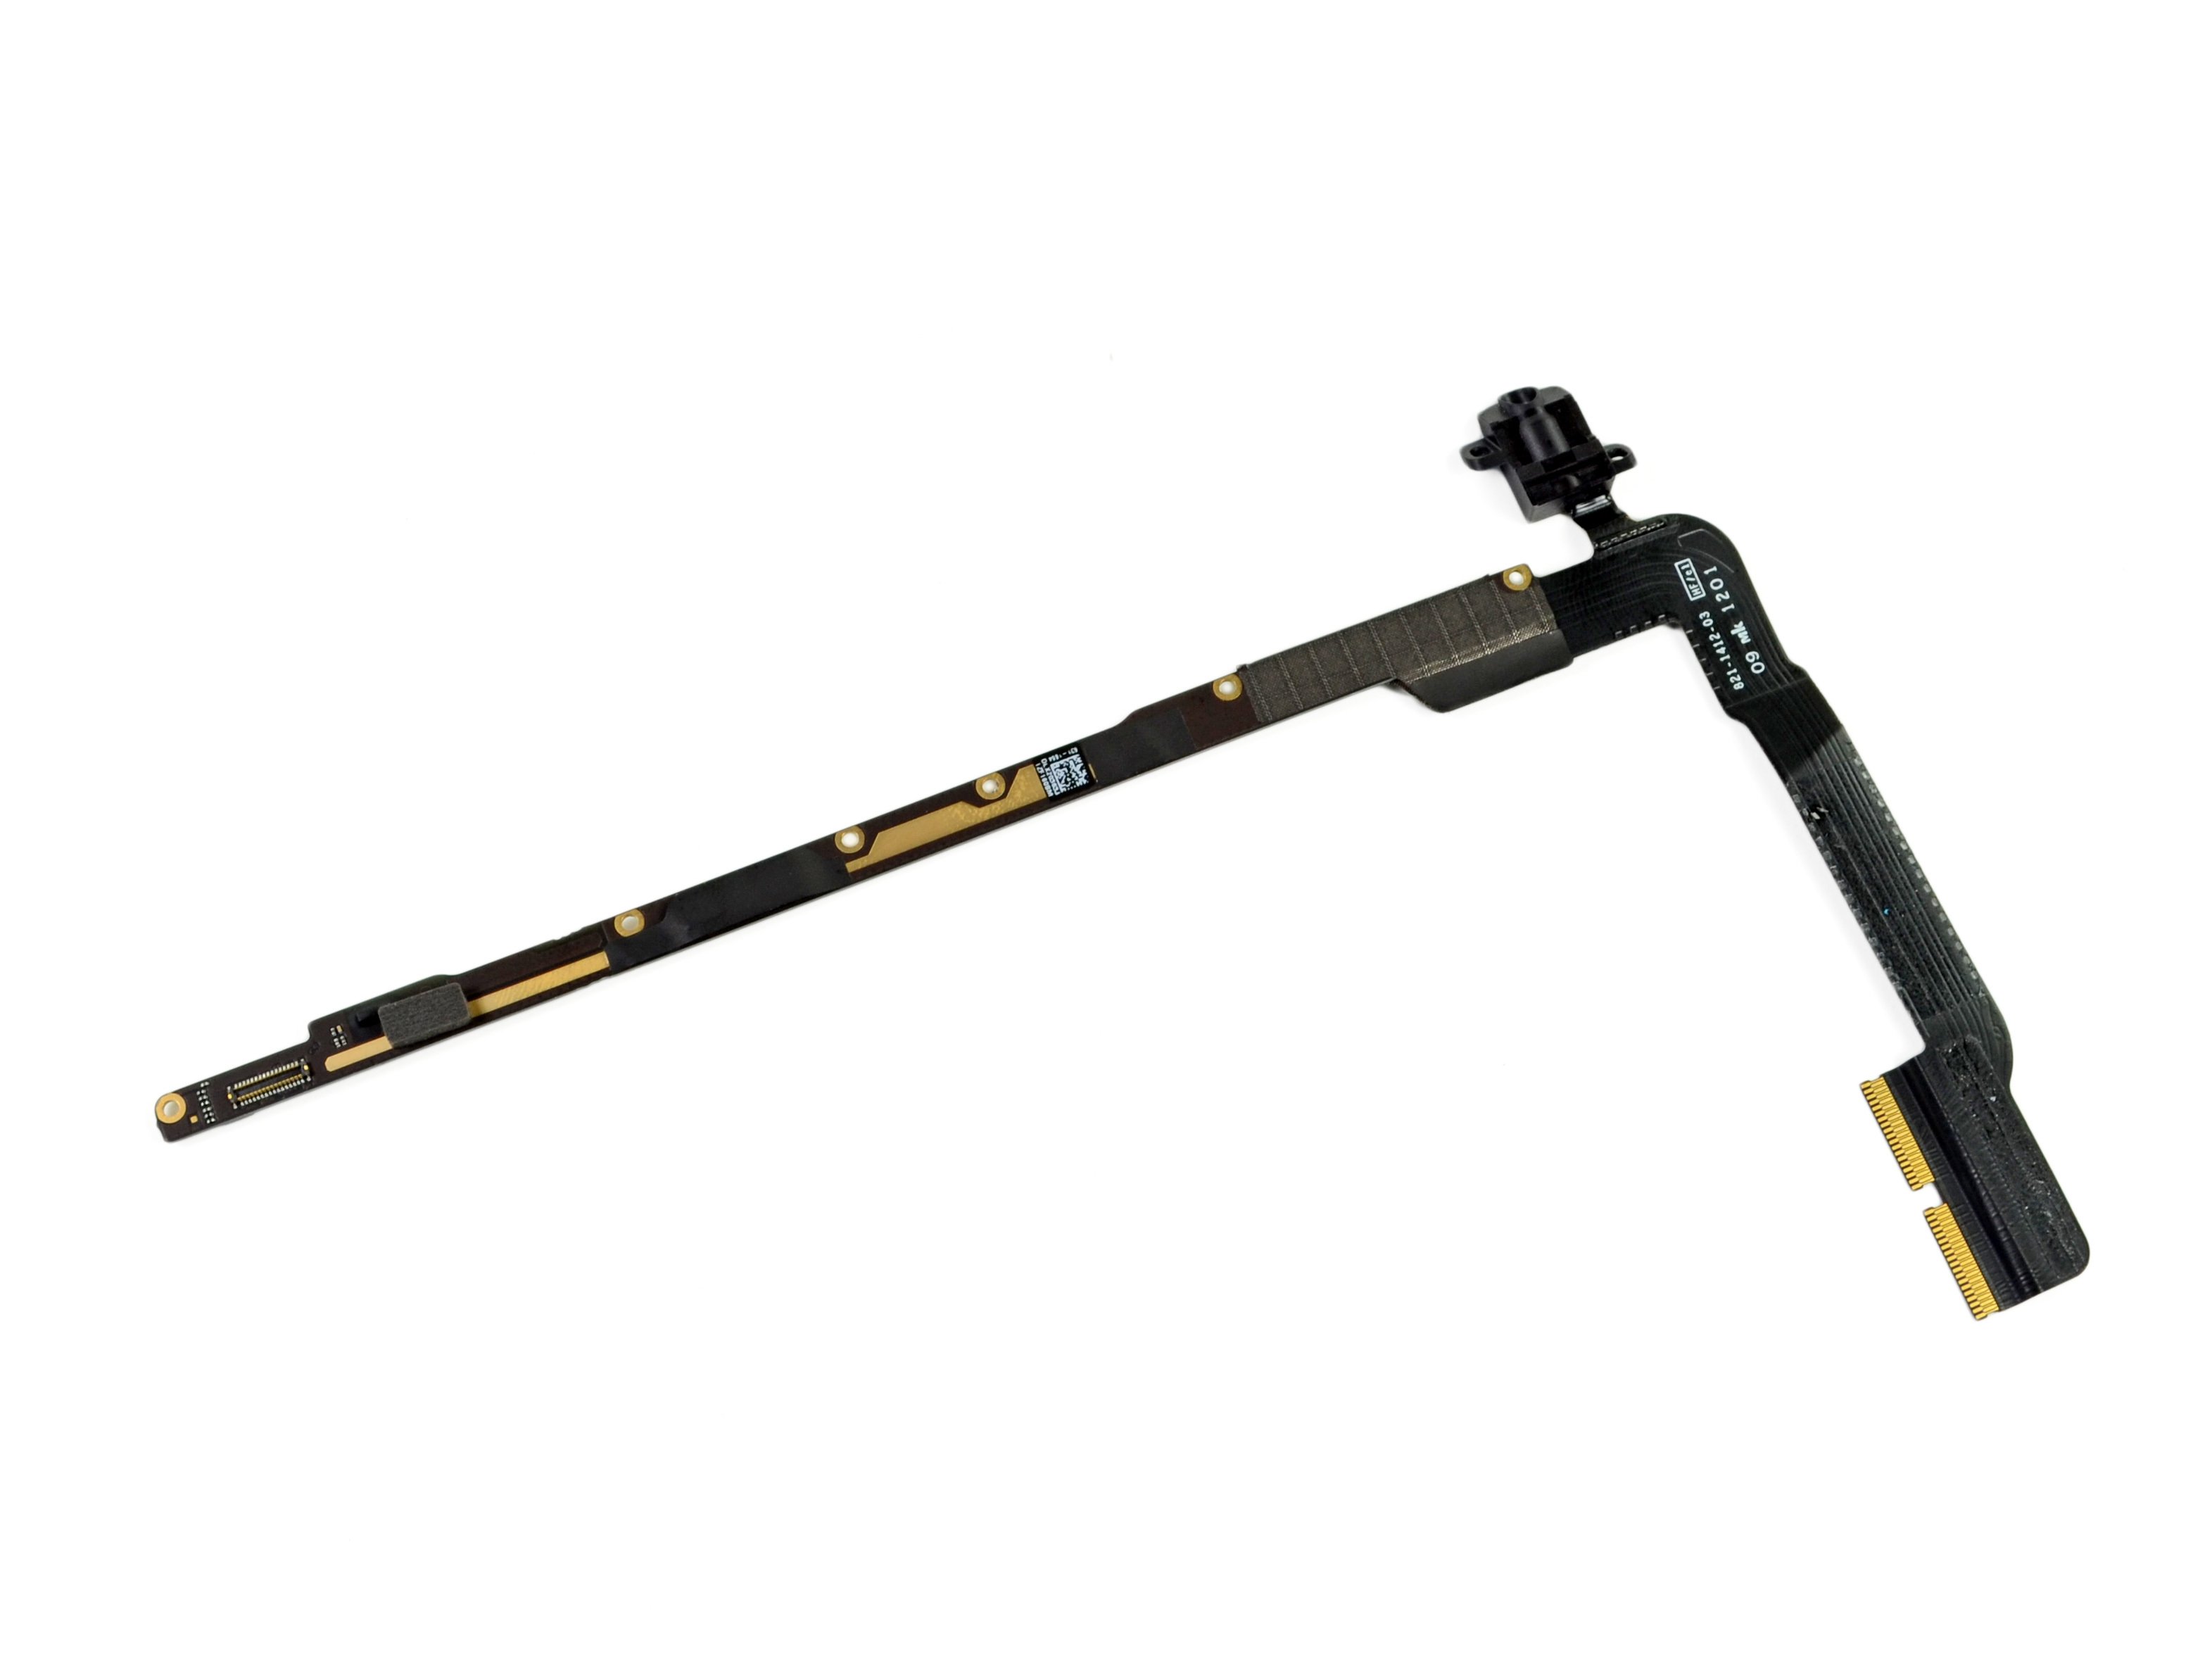
– Grab a trusty pair of tweezers and gently lift the clear backing off the adhesive strip snugly tucked under the home button ribbon cable. You’ve got this!
– Now, carefully place the home button ribbon cable onto the adhesive strip and smooth it down, starting from the center and working your way outwards. Just be sure to keep those pesky air bubbles at bay between the strip and the front panel. You’re almost there!
Tools Used
Step 15

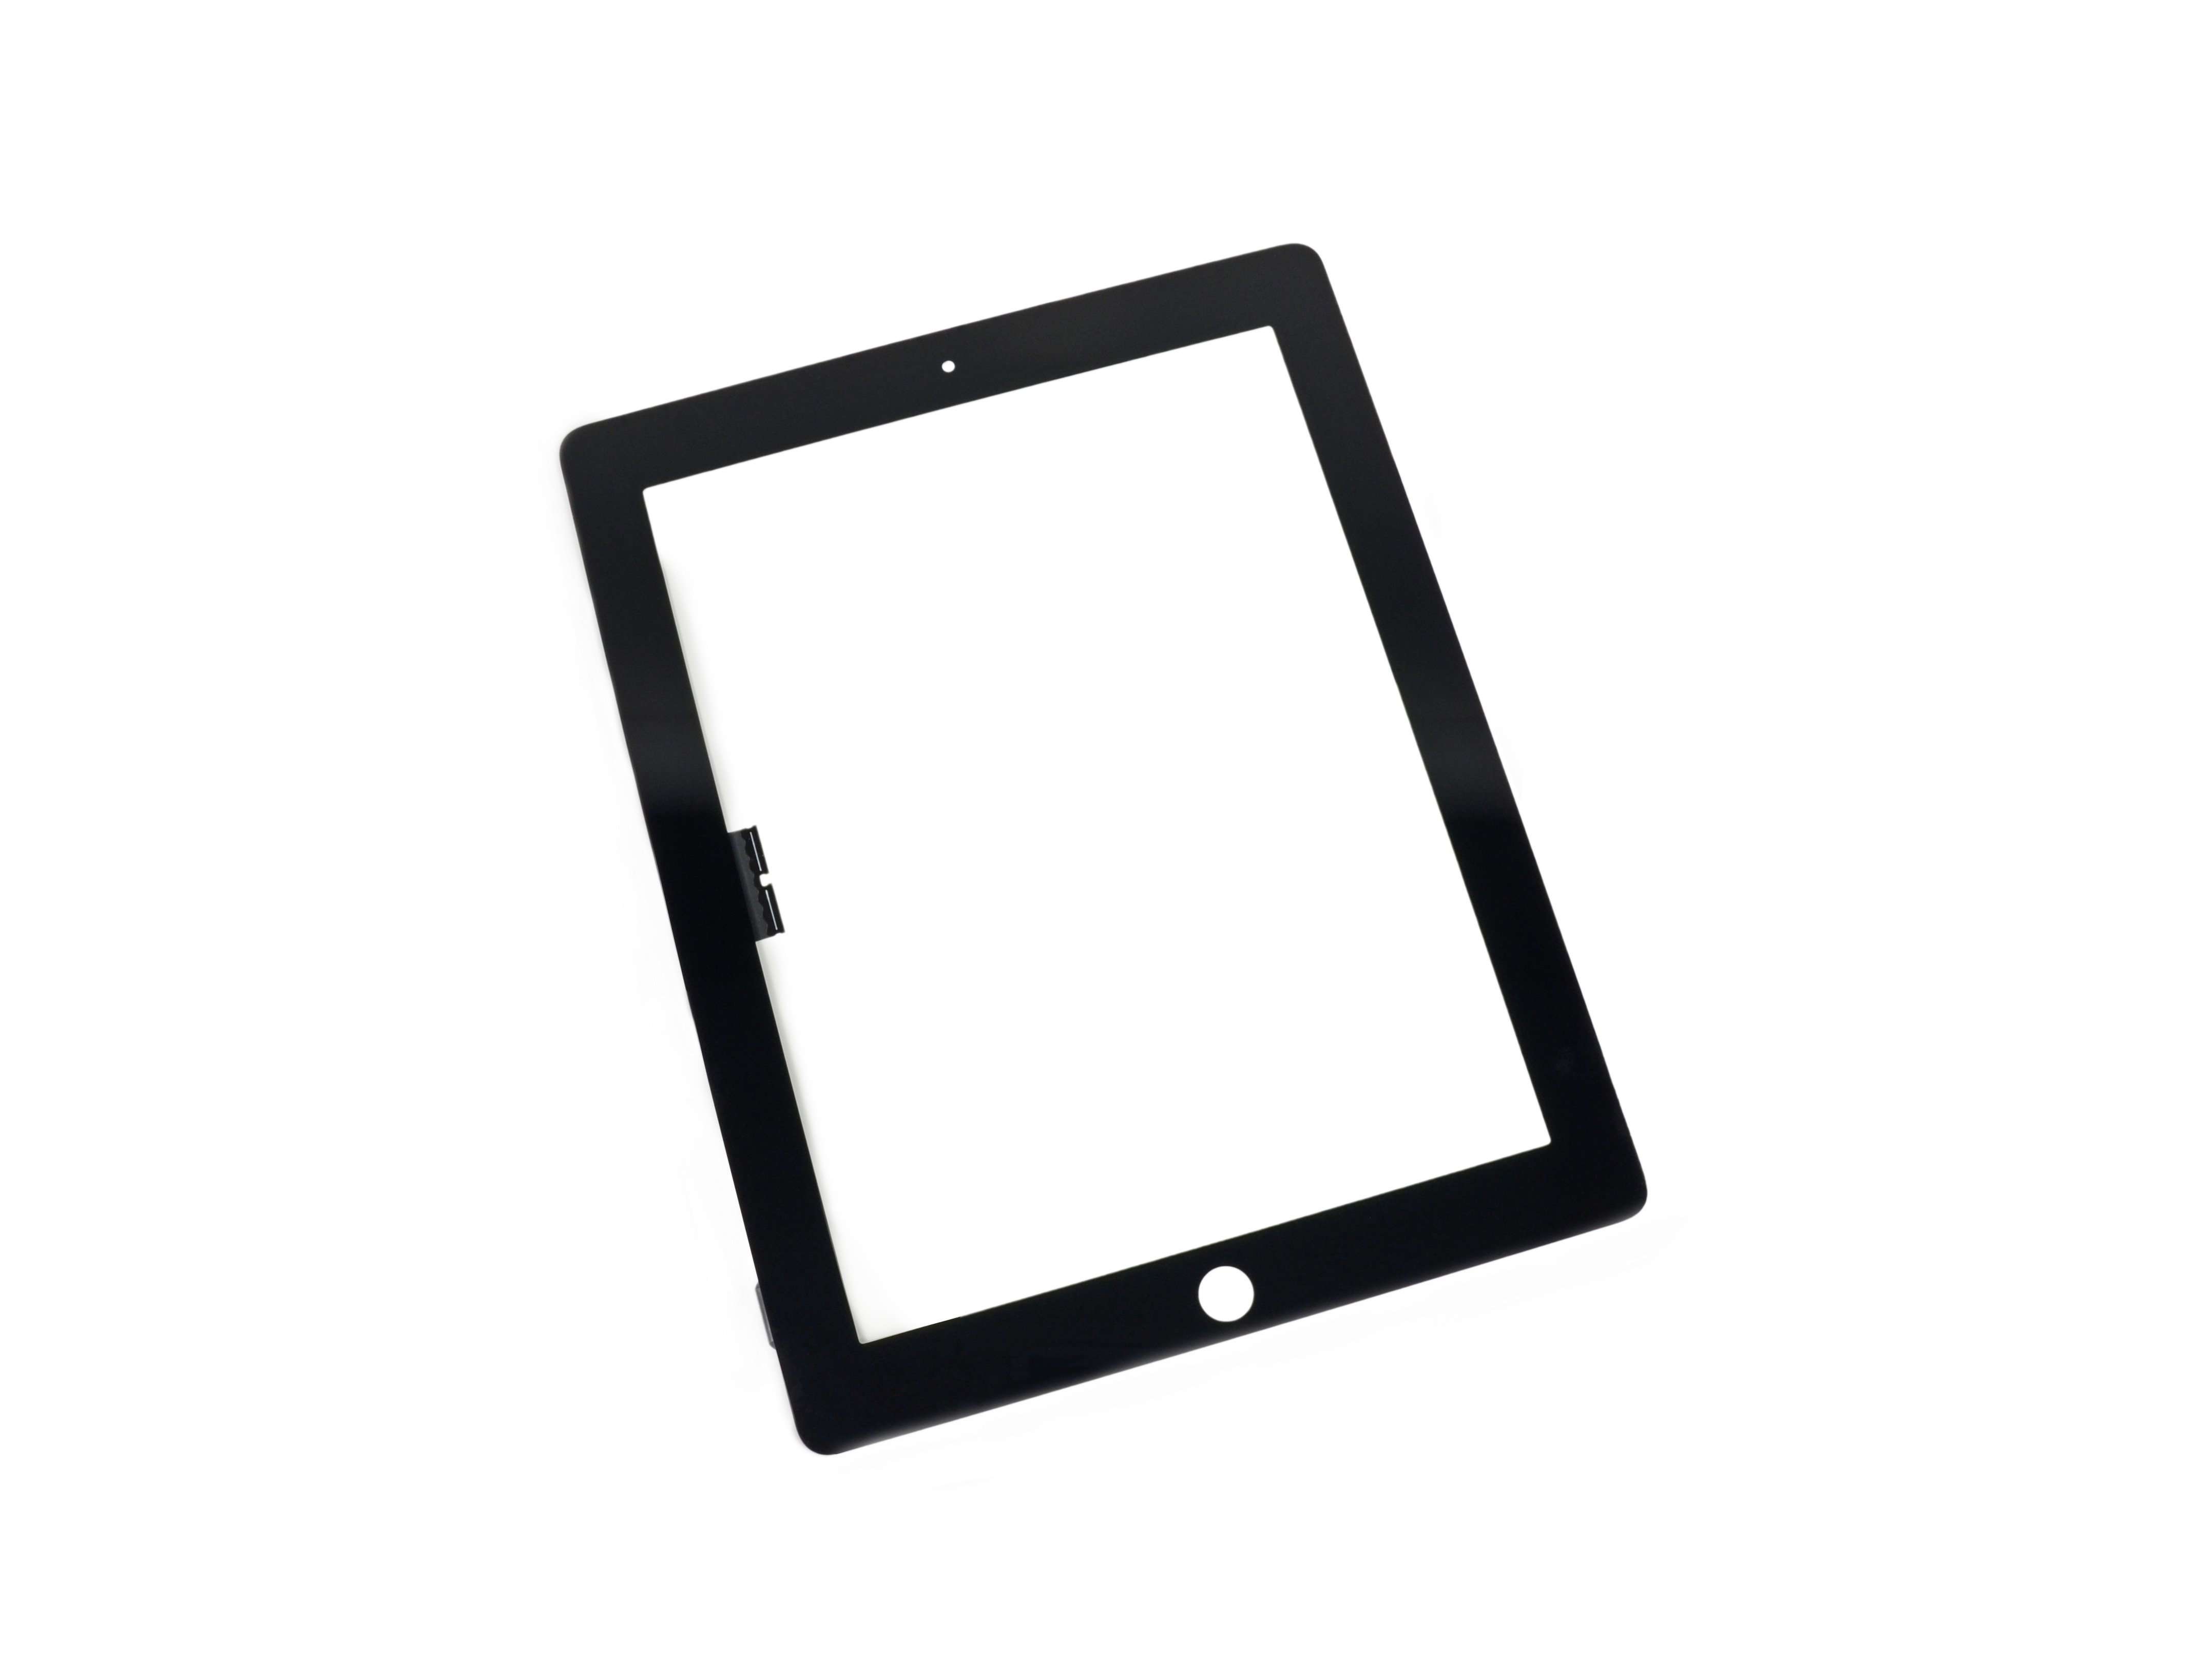
Gently lower the front panel onto the iPad, making sure it fits snugly within the plastic bezel. Keep an eye out for any dirt or fingerprints sneaking between the glass and LCD!
For a solid seal, flip the iPad face down on a soft envelope or cloth, then stack a few books on top to give that screen a little love and pressure. Let it chill like this for a few hours before you dive back in.
– Grab a dry microfiber cloth and give that LCD and the inside of the front panel glass a nice clean sweep. If there’s any pesky dust hanging around, a little blast from some canned air or an air compressor will send it packing!
– Take a pair of tweezers and gently lift the clear backing off each adhesive strip. You’ve got this!
Tools Used