iPad 4 Wi-Fi Teardown
Duration: 45 minutes
Steps: 13 Steps
We got our hands on the fourth generation of iPad, which we're calling iPad 4. Think of it as the unexpected fourth book in a trilogy: it popped up out of nowhere, but it's definitely part of the family! This version has a lot in common with its predecessor, so instead of our usual in-depth teardown, we're going to play 'spot the differences' and highlight all the changes from the last generation. Want more teardowns in your life? Follow us on Twitter, like us on Facebook, or subscribe to our YouTube channel. Why not do all three?
Step 1

- Hello there, tech enthusiasts!
- Apple has wowed us all once more. Just seven months after unveiling the iPad 3, they dropped the iPad 4 on October 23, 2012.
- Check out these tech specs:
- Powerful dual-core A6X processor paired with a quad-core GPU
- Stunning 9.7-inch LCD with backlit in-plane switching LED and a jaw-dropping 2048×1536 pixel Retina display
- Available in 16, 32, or 64 GB flash memory at launch
- 5 MP rear-facing camera for capturing those precious moments
- Convenient Lightning connector for all your connectivity needs
Step 2


- Alright, let’s talk connectors! The 3rd generation iPad sports the classic 30-pin dock connector up top, while the cool new kid on the block, the 4th generation, comes with the sleek Lightning connector down below. How stylish is that?
- Oh, and here's a fun fact: the iPad 4 has a shiny new model number, A1458. Keep that in your back pocket for when you need it!
Step 3

We're excited to share that all iPads came through this teardown unscathed! We've had our share of close calls in the past, but today is a win.
- Just like the trend, this iPad is sealed tight with adhesive. We've tackled our fair share of sticky iPads, and we're on a quest to make this opening process a breeze.
- With our trusty heated iOpener, we can focus the warmth exactly where it's needed, gently loosening that pesky adhesive. Once we slip in a few guitar picks along the seam, we’re almost there!
Tools Used

Step 4


- Now that we've cleared away the adhesive, let's pop open that iPad like a pro!
- As we dive in, you'll notice it looks just like the last version—no surprises here!
- With the tough part behind us, why not take a breather and enjoy a cozy cup of hot chocolate?
Step 5


- Unlike the Samsung screen used in the iPad 3, the iPad 4 sports an LCD made by LG.
- Apple has been trying to switch things up by moving away from Samsung as their main supplier, so seeing an LG display here makes total sense. That said, Apple likes to keep their options open, so you might find other brands of LCDs inside different iPad 4 units.
Step 6

- Take another look at the differences in those LCD cables—every little detail counts here!
- Looks like Apple decided to go with a different color Sharpie this time. Interesting choice!
Step 7


- Let's gently lift the LCD to uncover the battery underneath. Surprise, surprise! It's sporting the same model number (A1389) as our previous adventure, so it's another 3.7 V, 43 Whr powerhouse.
- Just like the iPad 3, this battery is glued down tighter than a secret! It's a bit of a bummer since batteries are like our trusty sidekicks that eventually need replacing. The trend of these glued-in batteries in iPads and other Apple gadgets can be a real head-scratcher.
Step 8

- Let's dive into the exciting details of the iPad 4's greatest upgrade—the A6X and its fantastic companions:
- Apple A6X Processor
- SK Hynix H2JTDG8UD2MBR 16 GB NAND Flash
- Apple 338S1116 Cirrus Logic Audio Codec
- 343S0622-A1 Dialog Semi PMIC
- Apple 338S1077 Cirrus Logic Class D Audio Amplifier
- QVP TI 261 A9P2 Boost Converter (likely)
Step 9

- On the flip side of the board, we're not seeing any earth-shattering upgrades:
- Broadcom BCM5974 Touch Screen Controller
- Broadcom BCM5973A1 Touch Screen Controller
- Texas Instruments CD3240B0 Touch Screen Line Driver
- 2 x 4Gb Elpida LP DDR2 = 1 GB DRAM in separate packages in a 64-bit setup
- 2 x Fairchild BCHAH/FDMC Voltage Regulator / Reference
- Murata 339S0171 Broadcom BCM4334 WiFi Module
Step 10

We were really hoping to save some space and end up with bigger, better speakers. What a letdown!
- Apple didn't really trim down on space when they switched to the smaller Lightning connector (lower); instead, they just made the Lightning cable fit snugly in a frame that’s the same size as the good old 30-pin dock connector (upper). Keep that in mind as you dive into your repair adventure!
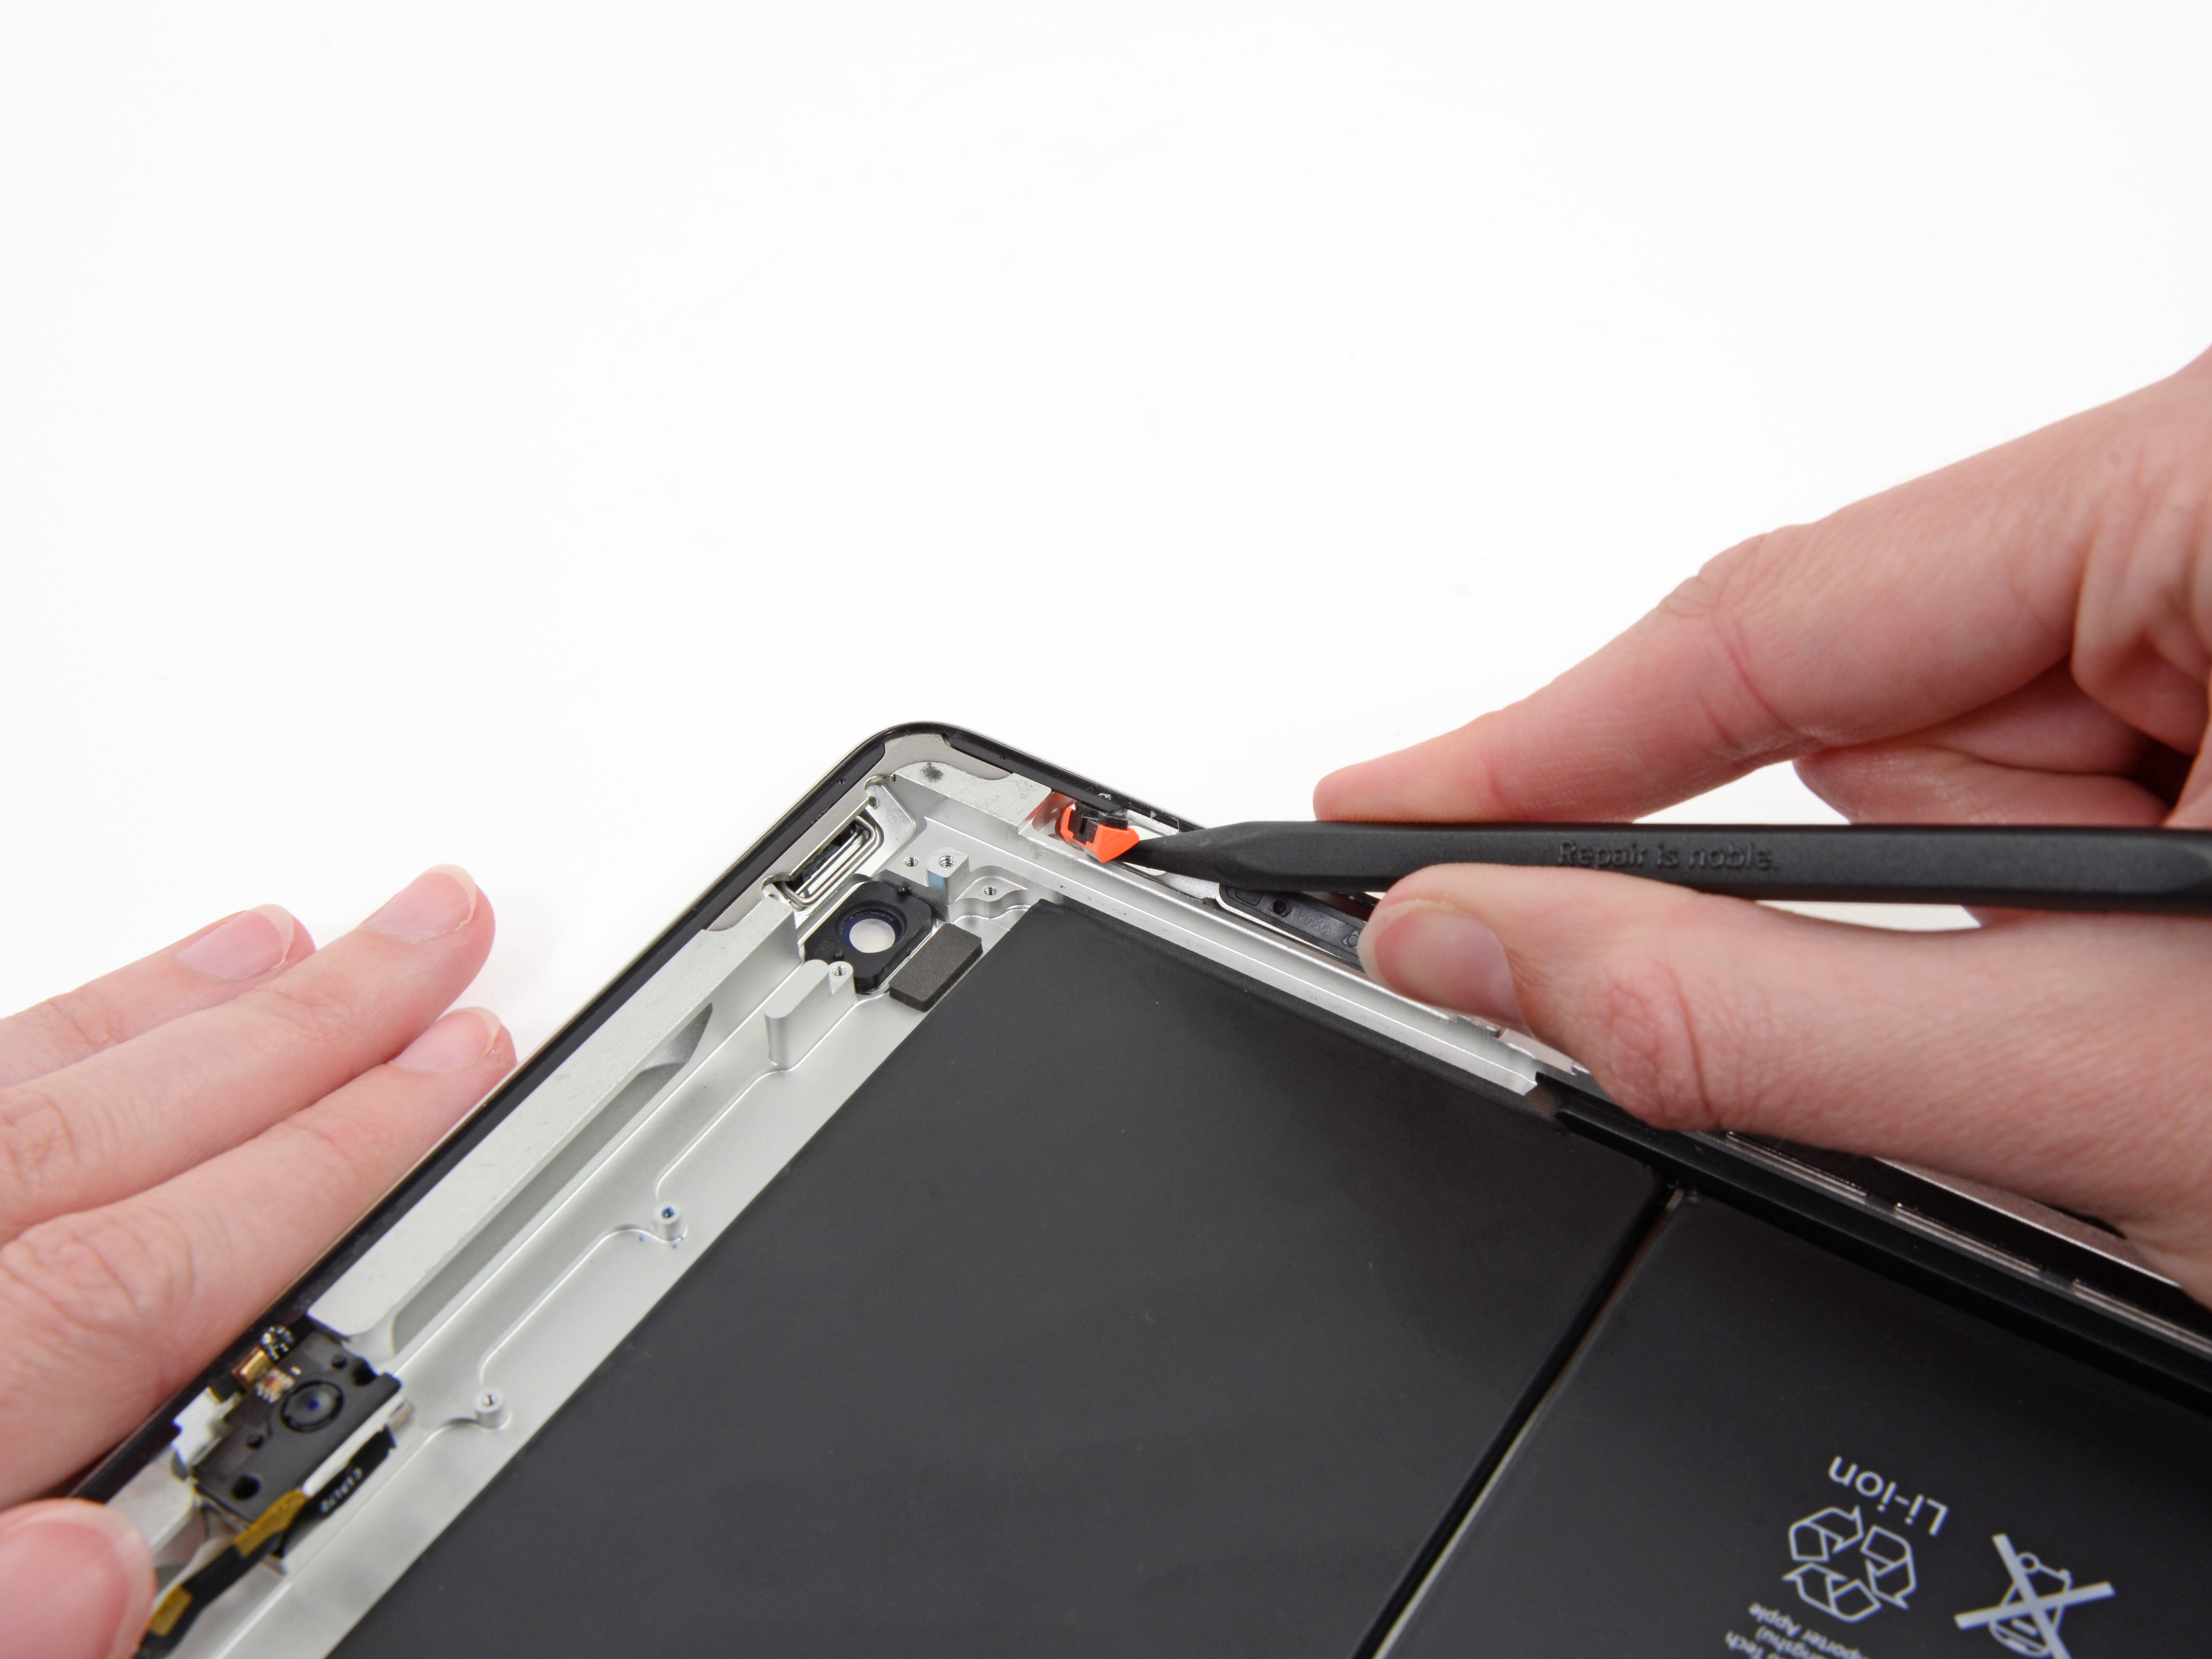
Step 11


- New to our site? Here’s a little insider tip: our 54 Bit Driver Kit is a game changer! It makes removing the Lightning connector a breeze, even when those tricky screws are hiding.
- There's a bit of adhesive keeping the connector in place, but trust us, it's a walk in the park compared to some of the sticky situations we've encountered.
- Attention all repair enthusiasts, DIY wizards, and occasionally clumsy iPad users! The Lightning connector is riding solo on its own ribbon cable, so finding a replacement should be super affordable.
Step 12


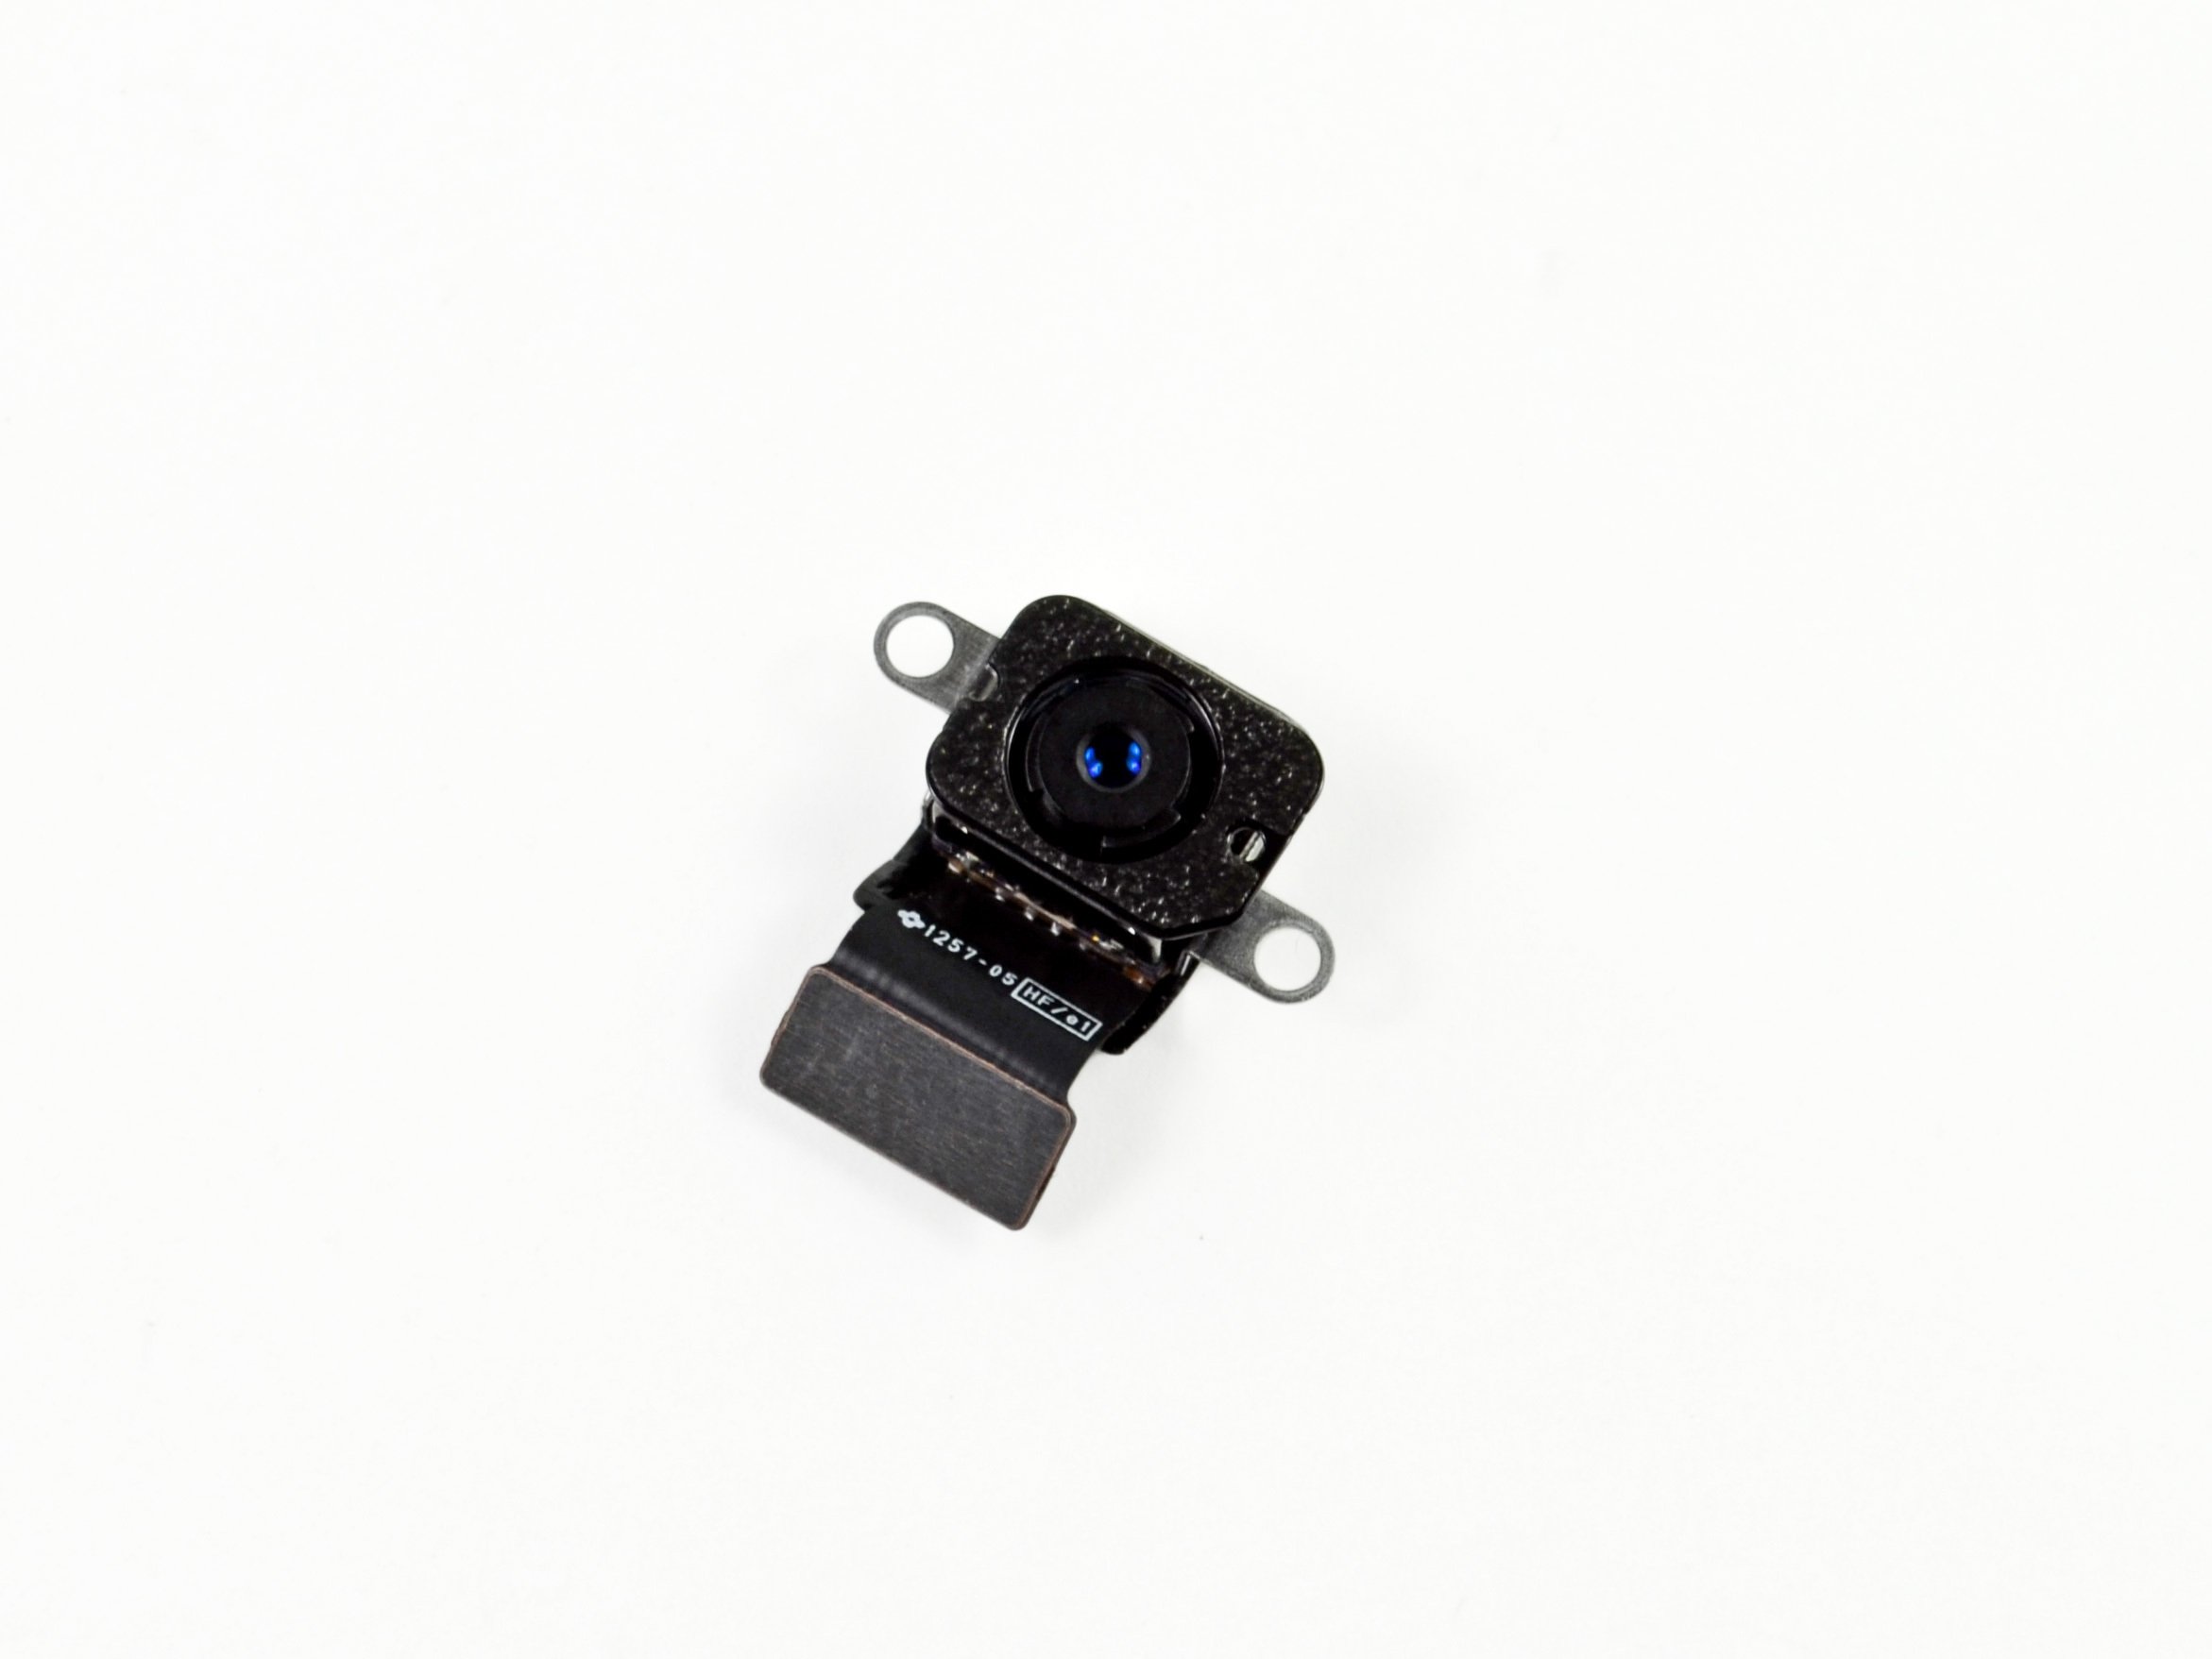
- At first glance, these two generations may seem like twins, but hold up! There's a cool difference lurking here: the front-facing camera! 🎉
- Say hello to the 1.2MP FaceTime HD camera! It can even shoot 720p HD video, which is a major upgrade from the .3MP FaceTime camera found in the iPad 3. Pretty neat, right?
- Now, this new camera is just a tad thicker—by an extra .4 mm—but don't worry, it still snuggles right into the same spot as before.
Step 13


- iPad 4 Repairability Score: 2 out of 10 (with 10 being the easiest to fix, so it’s a bit of a challenge).
- Once the front panel’s off, the LCD is actually pretty chill to remove.
- The battery isn’t glued down to the logic board, so swapping it out isn’t as tough as it could be.
- Just like its older siblings (iPad 2 & 3), the front panel is stuck down with tons of adhesive, which means you might end up with a cracked glass if you're not careful during removal.
- A whole lot of adhesive holds everything together, including the battery that could be a little too excited and catch fire if punctured.
- The LCD is stuck to the front panel with foam sticky tape, so be cautious — it’s easy to shatter the LCD when disassembling.
- The front panel's connector isn’t available until you’ve removed the LCD, so you’ll have to get past that first.