iPad 5 Teardown
Duration: 45 minutes
Steps: 10 Steps
The iPad team has taken a page from the iPhone SE playbook, introducing what seems to be a throwback—an iPad that’s a bit light on the specs but targets the education and enterprise markets. It’s priced reasonably and has enough power for professionals, but does it also score high for repairability? Let’s take it apart and find out. Want a sneak peek inside the latest gadgets? Follow us on Facebook, Instagram, or Twitter for all the latest updates from the repair world. Update: Check out our compatibility testing blog post for a complete list of part compatibility between the iPad 5 and the iPad Air 1.
Step 1


- Word on the street is this iPad brings a mix of the old and the new. Let's see how it stacks up with these specs:
- Apple’s 3rd-generation 64-bit A9 chip, complete with the embedded M9 motion co-processor for extra smooth performance
- A 9.7-inch Retina display with a crisp 2048 x 1536 resolution (264 ppi), though it's got a non-laminated digitizer, so no touch-screen magic here
- Options for 32 GB or 128 GB of storage to suit your app hoarding or minimalist needs
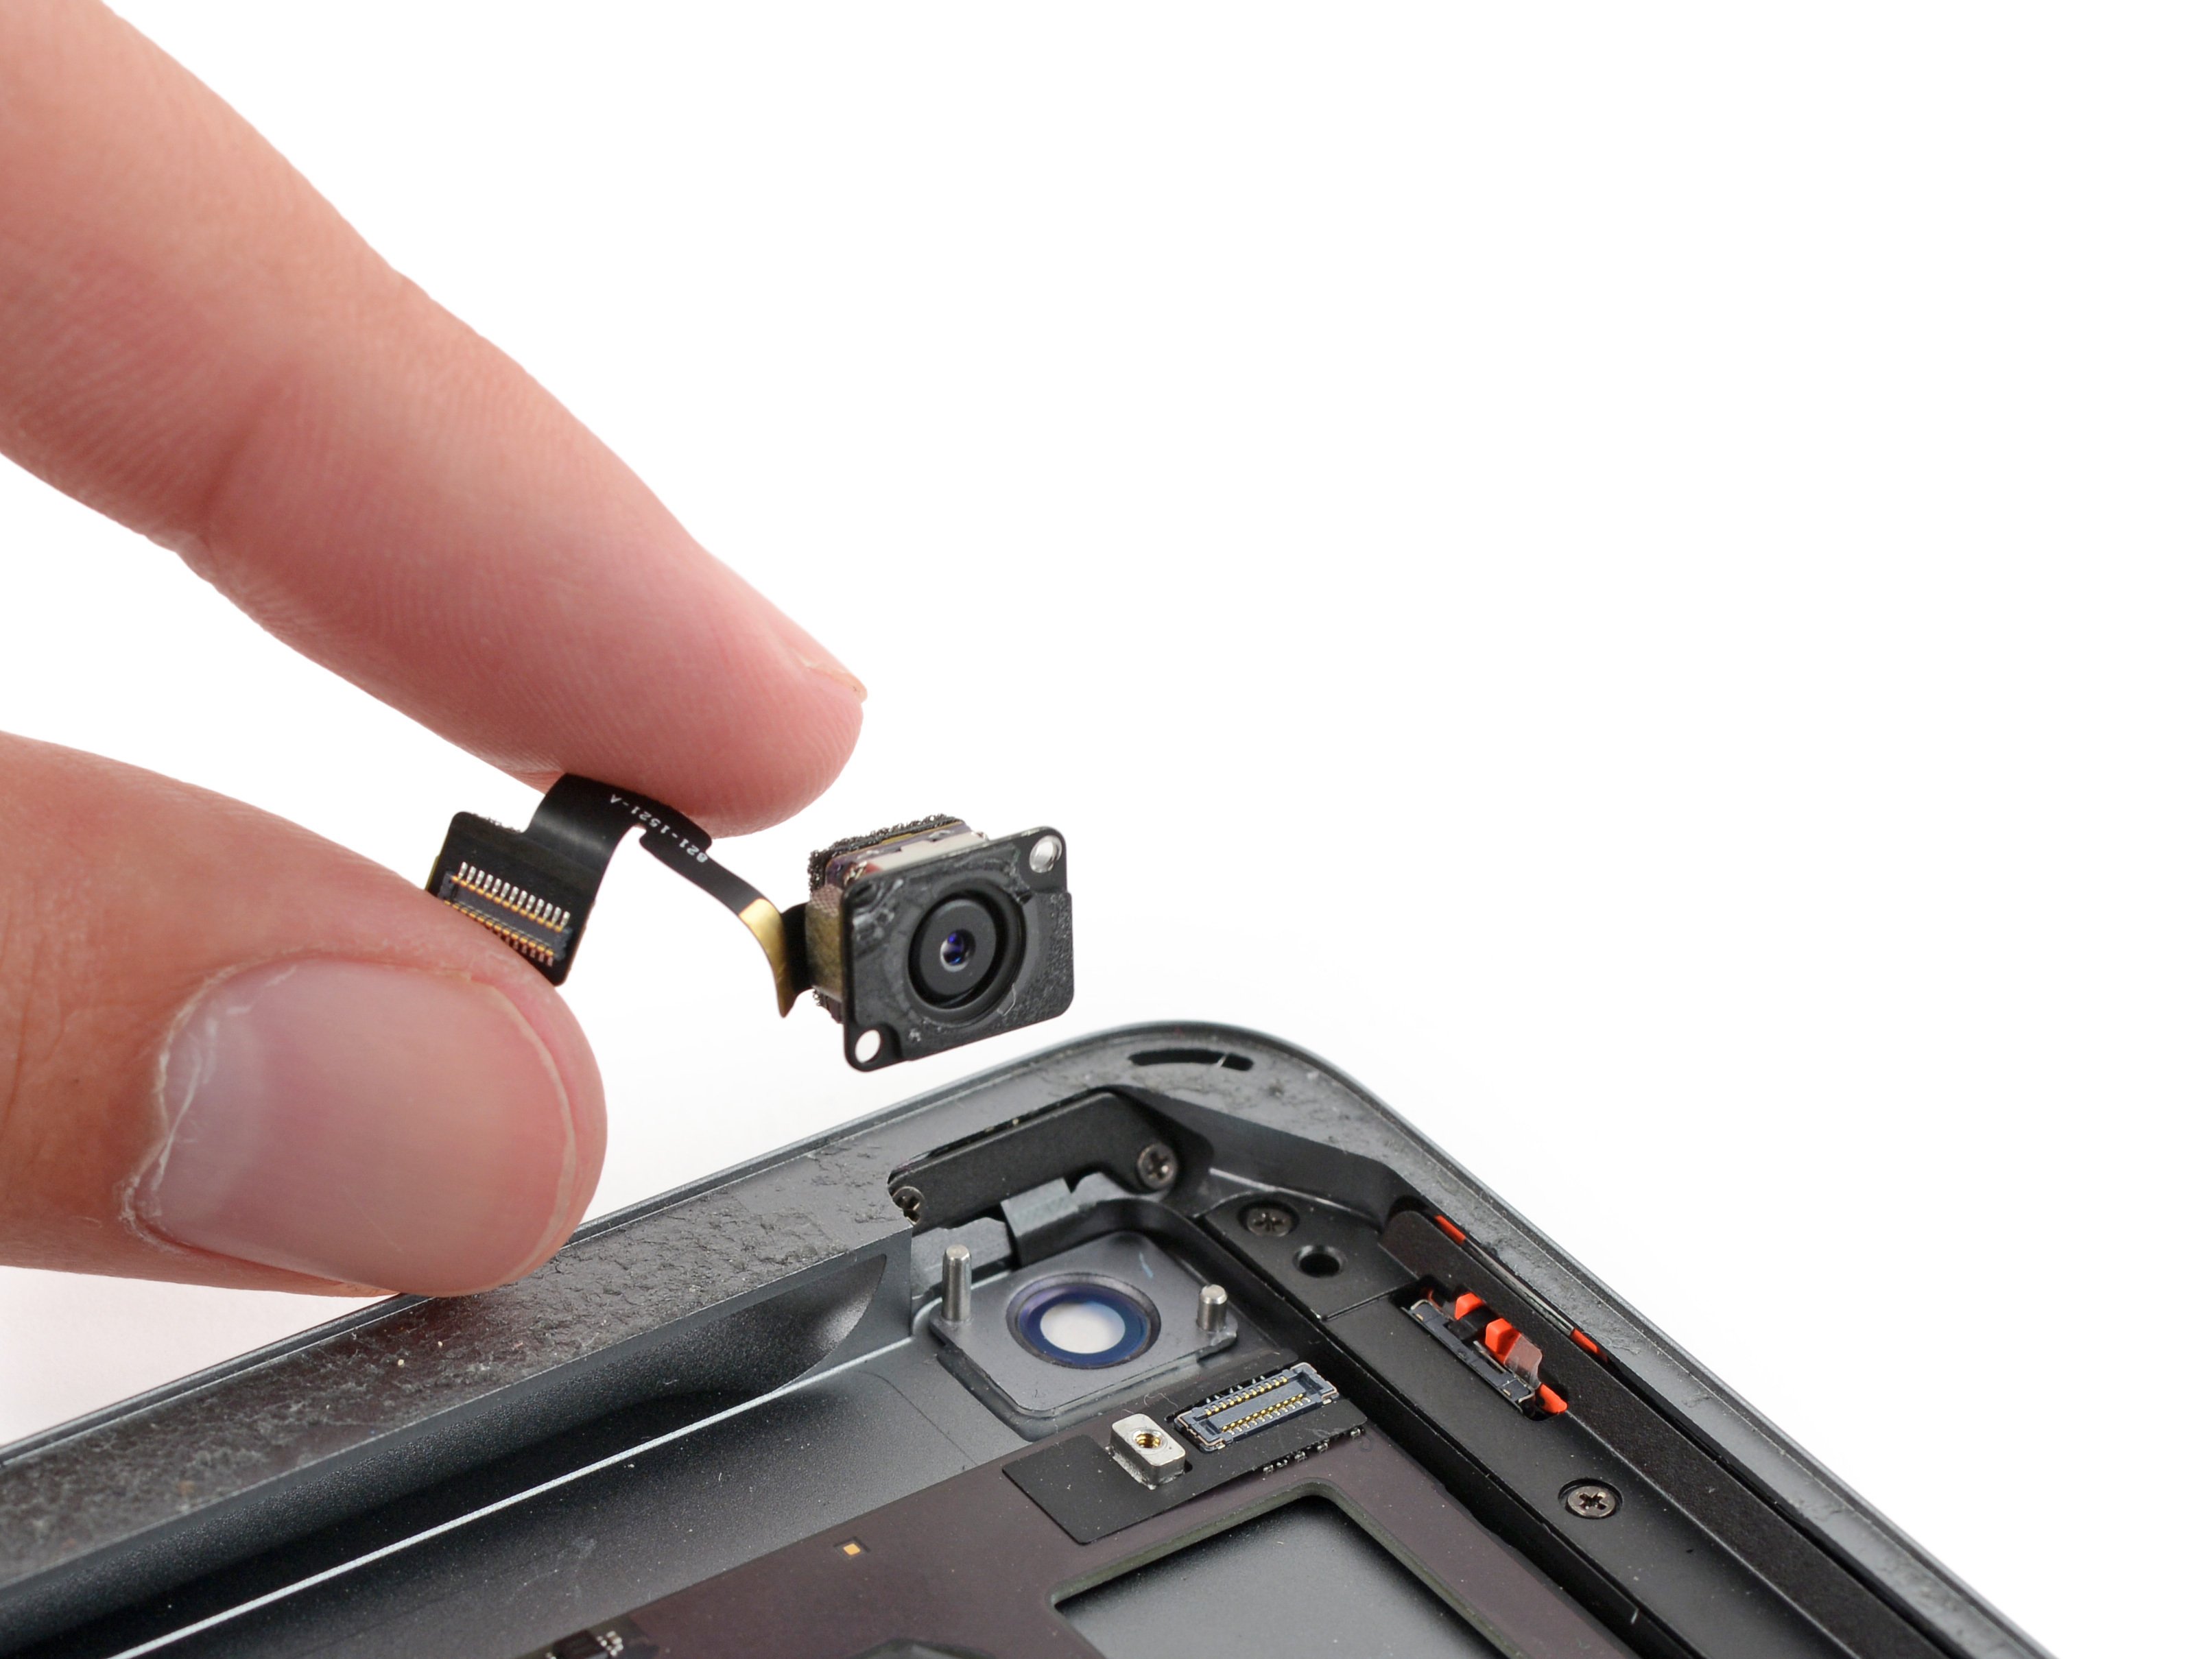
- An 8-megapixel rear-facing iSight camera shooting 1080p video, plus a 1.2-megapixel front-facing FaceTime HD camera for your video calls and selfies
- Supports 802.11a/b/g/n/ac MIMO Wi-Fi and Bluetooth 4.2 for all your wireless needs
- Built-in Touch ID fingerprint sensor, plus all the sensors you need: 3-axis gyro, accelerometer, barometer, and ambient light sensor for those extra smart features
Step 2


- We go the extra mile (and sometimes across the globe) to bring you the latest teardown insights—whether it's Australia's Eastern Standard Time or Japan's Standard Time, we've got it covered. And don't forget Pacific Standard Time, which meant a six-hour drive south... all for the teardown experience.
- Bottom line, our X-pert pals at Creative Electron in San Marcos hosted a teardown session for us and even helped us with some pre-teardown X-ray scouting.
- Yep, it’s definitely looking like an original iPad Air in there.
- From the outside, it’s the spitting image of an iPad Air, but let’s see if there’s more to it than meets the eye!
Step 3


And just to ease your mind, the headphone jack made it through unscathed!
- Before diving in, let's do a quick check on the back to make sure we’re not dealing with an old iPad disguised as something new. Trust us, it happens!
- When stacked next to the Air 1, the 2017 model is a near twin. But there are some key differences to note:
- New Model number: A1822—take a quick look, just to be sure.
- No more lock switch! If the Air 2 had it, the iPad 5 follows suit.
- The microphone slots have been shrunk down to holes. Less space for gunk to get in? Maybe!
- The speakers now have a single row of holes. More holes = fancier, right?
Step 4


- Let's dive into the iPad opening routine: Heat, Pry, Peek, Repeat.
- From initial findings, this device resembles the Air 1 more than the 2—here's why. The LCD and digitizer are not fused, allowing separate replacements. A big win for repairs.
- Testing this flexibility, we swap in the digitizer and LCD from an Air 1. The connectors align perfectly! We'll conduct tests soon to verify functionality.
- Insert a Battery Isolation Pick between the battery contacts and logic board to sidestep any issues, blocking those electrons.
Step 5


Fingerprint reading gets a thumbs up! But heads up—repairs can be trickier because the sensor is factory-paired to the logic board.
Looks like this is an NXP Semiconductor NVT8461A1 (WLCSP20) secure microcontroller.
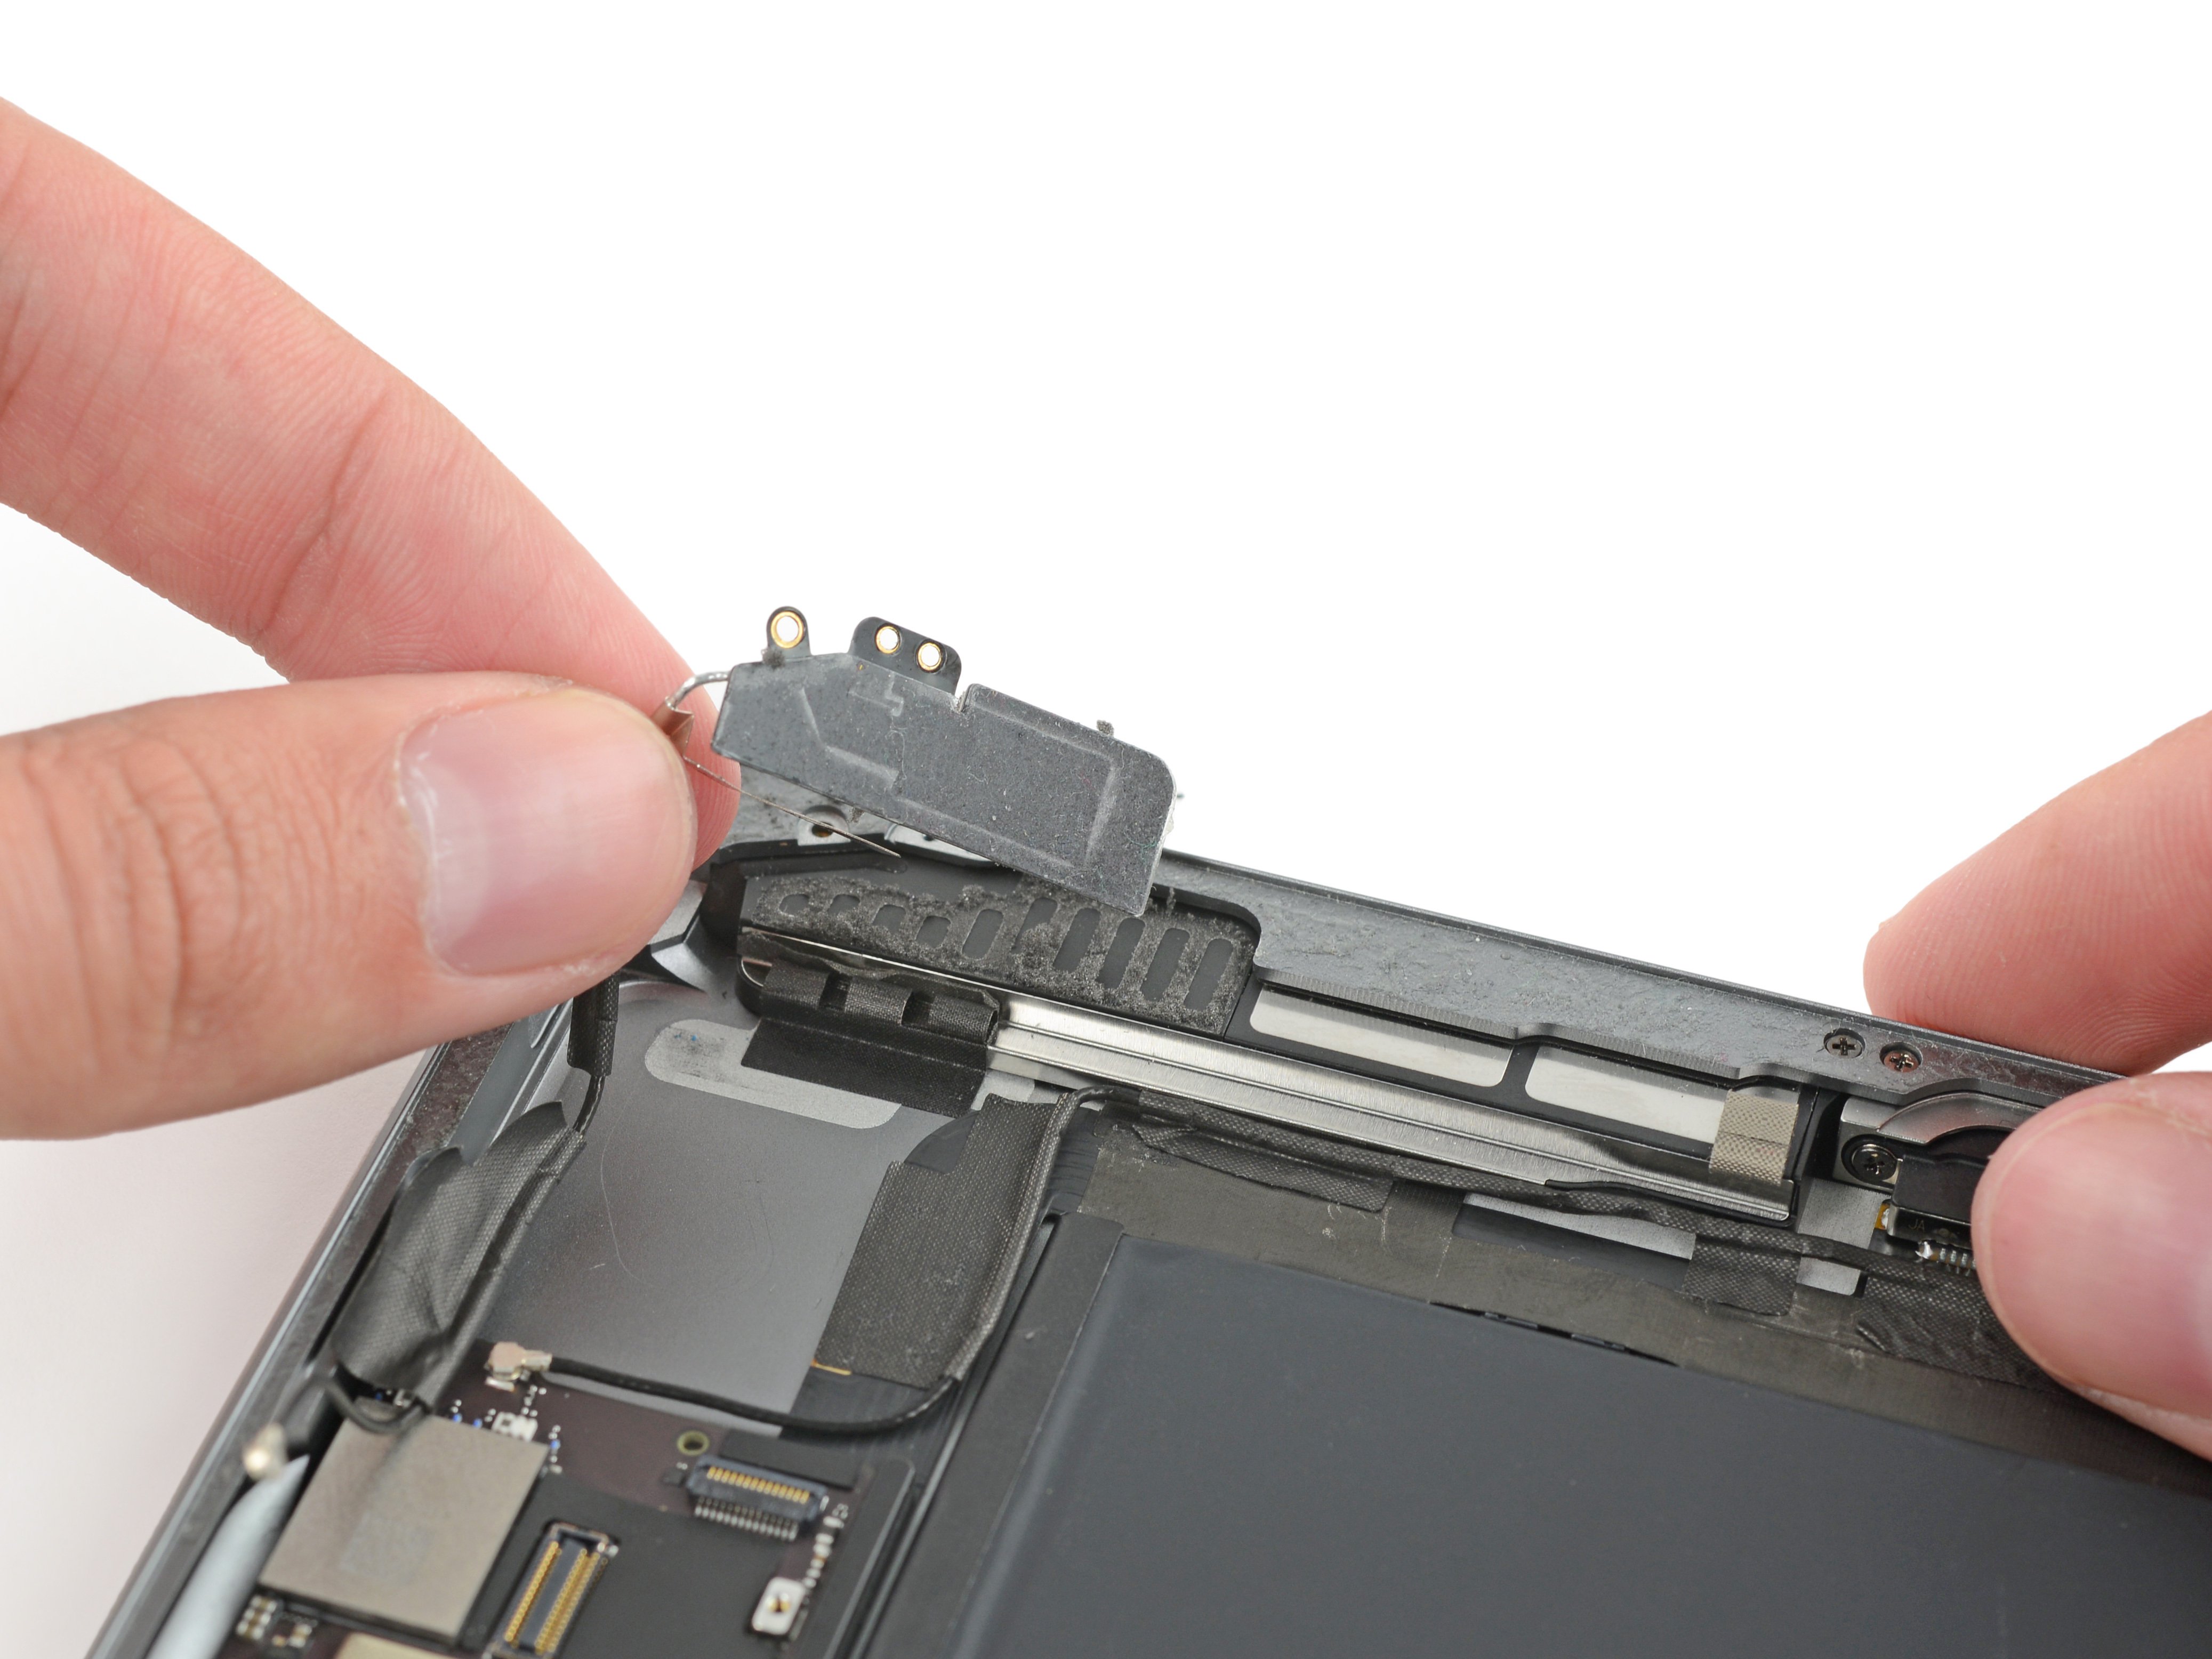
- Flip that digitizer over and voilà! You'll see the first big change from the lookalike iPad Air: the shiny addition of Touch ID and its little tech buddies.
- At least this awesome button is still, well, a button (unlike those fancy, button-less 7-series iPhones). Check out that sneaky switch hiding under the Lightning port traces.
- Yep, probably hall sensors. Pretty cool, right?
- NXP 8461A1 – check it out under the speaker in this sweet X-ray shot, all snug in a 5x4 ball grid array.
Step 6

Hey, when Apple rolled out the iPad 5, they highlighted its snazzy brighter 9.7-inch Retina display – pretty cool upgrade!
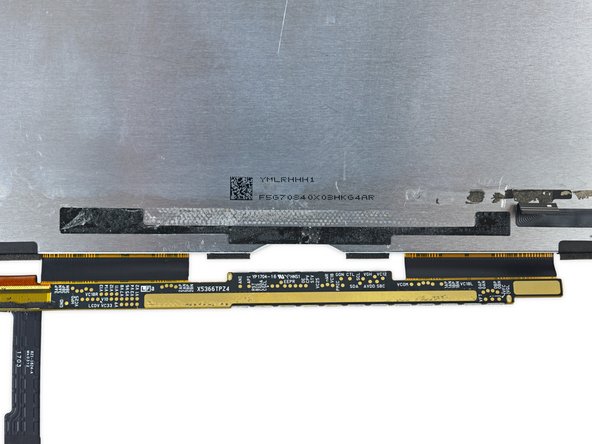
- Now, let's take a look at the display. No surprise marks from the manufacturer this time around, keeping things neat and clean.
- Smack dab in the center of the display PCB, we spot a Parade DP655 — the same LCD timing controller you’ll find in the Air 1 display.
- We've got a Texas Instruments TPS65143 display power supply here.
- Meet the Rohm BR24T16-W 16 Kb serial EEPROM memory — it's like the brain that helps store all that display data.
- LG, are you okay over there?
- So here's the thing: brighter than what? The display doesn't seem much different from the Air 1’s. If they're talking about brighter than the Air 2, it might just be because we're back to that classic Air 1 display design.
Step 7


- Remember when we mentioned this was pretty similar to the first Air? We weren’t kidding—take a look at the Air 1 and iPad 5. Not a whole lot has changed, really.
- Here’s the Air 1 in Space Grey, rocking a slightly larger Wi-Fi module for that extra edge.
- Now, the iPad 5 is dressed in silver, and... has a bit less tape? Honestly, they’re almost twins.
- Both have the same 32.9 Wh battery, which beats out the 27.6 Wh of the iPad Air 2 and the 27.9 Wh of the iPad Pro 9.7". (Though let’s be real, the Surface Pro 4 is still winning with its 38.2 Wh.)
- Editor’s note: It’s actually the same tape, just laid out a bit neater. Apologies if it got a little wrinkly after making guides for the Air 1—don’t worry, those guides will also help you out with your new iPad 5!
Step 8

- Let's dive into the components on this board! The backside is chip-free, so we can skip the glue showdown for now. Here's what you'll find on the top side:
- Apple A9 APL0898 SoC paired with Samsung K3RG1G10BM-BGCH 2 GB LPDDR4 RAM (just like in the iPhone 6s)
- SK Hynix H23QEG8VG2ACR 32 GB NAND flash storage
- Two Broadcom BCM5976 touch controllers—seen in iPhones 5, 5c, 5s, 6, 6 Plus, SE, and even in trackpads for MacBooks, MacBook Airs and Pros, plus the last two iPad generations
- Apple 343S00144-A0 for power management and 338S1213 for the audio codec
- NXP 67V04 (PN67V) NFC Controller, as found in the iPhone 7 and Apple Watch Series 2
- NXP Semiconductor CBTL610A38 USB charging IC, just like in the iPhone 7
- Apple/USI 339S0038 Wi-Fi module
Step 9

- Let's keep spotting those ICs!
- You've got the Texas Instruments TPS5662, probably handling the backlight.
- Next up, the Bosch Sensortec pressure sensor.
- And don't miss the Invensense accelerometer.
Step 10


Want to see how the iPad 5 and iPad Air 1 compare in terms of parts? Check out our compatibility testing blog post for all the details!
- And that's it!
- Thanks for following along on this repair adventure.
- If you're ever stuck or just want to chat about your device, you can schedule a repair.