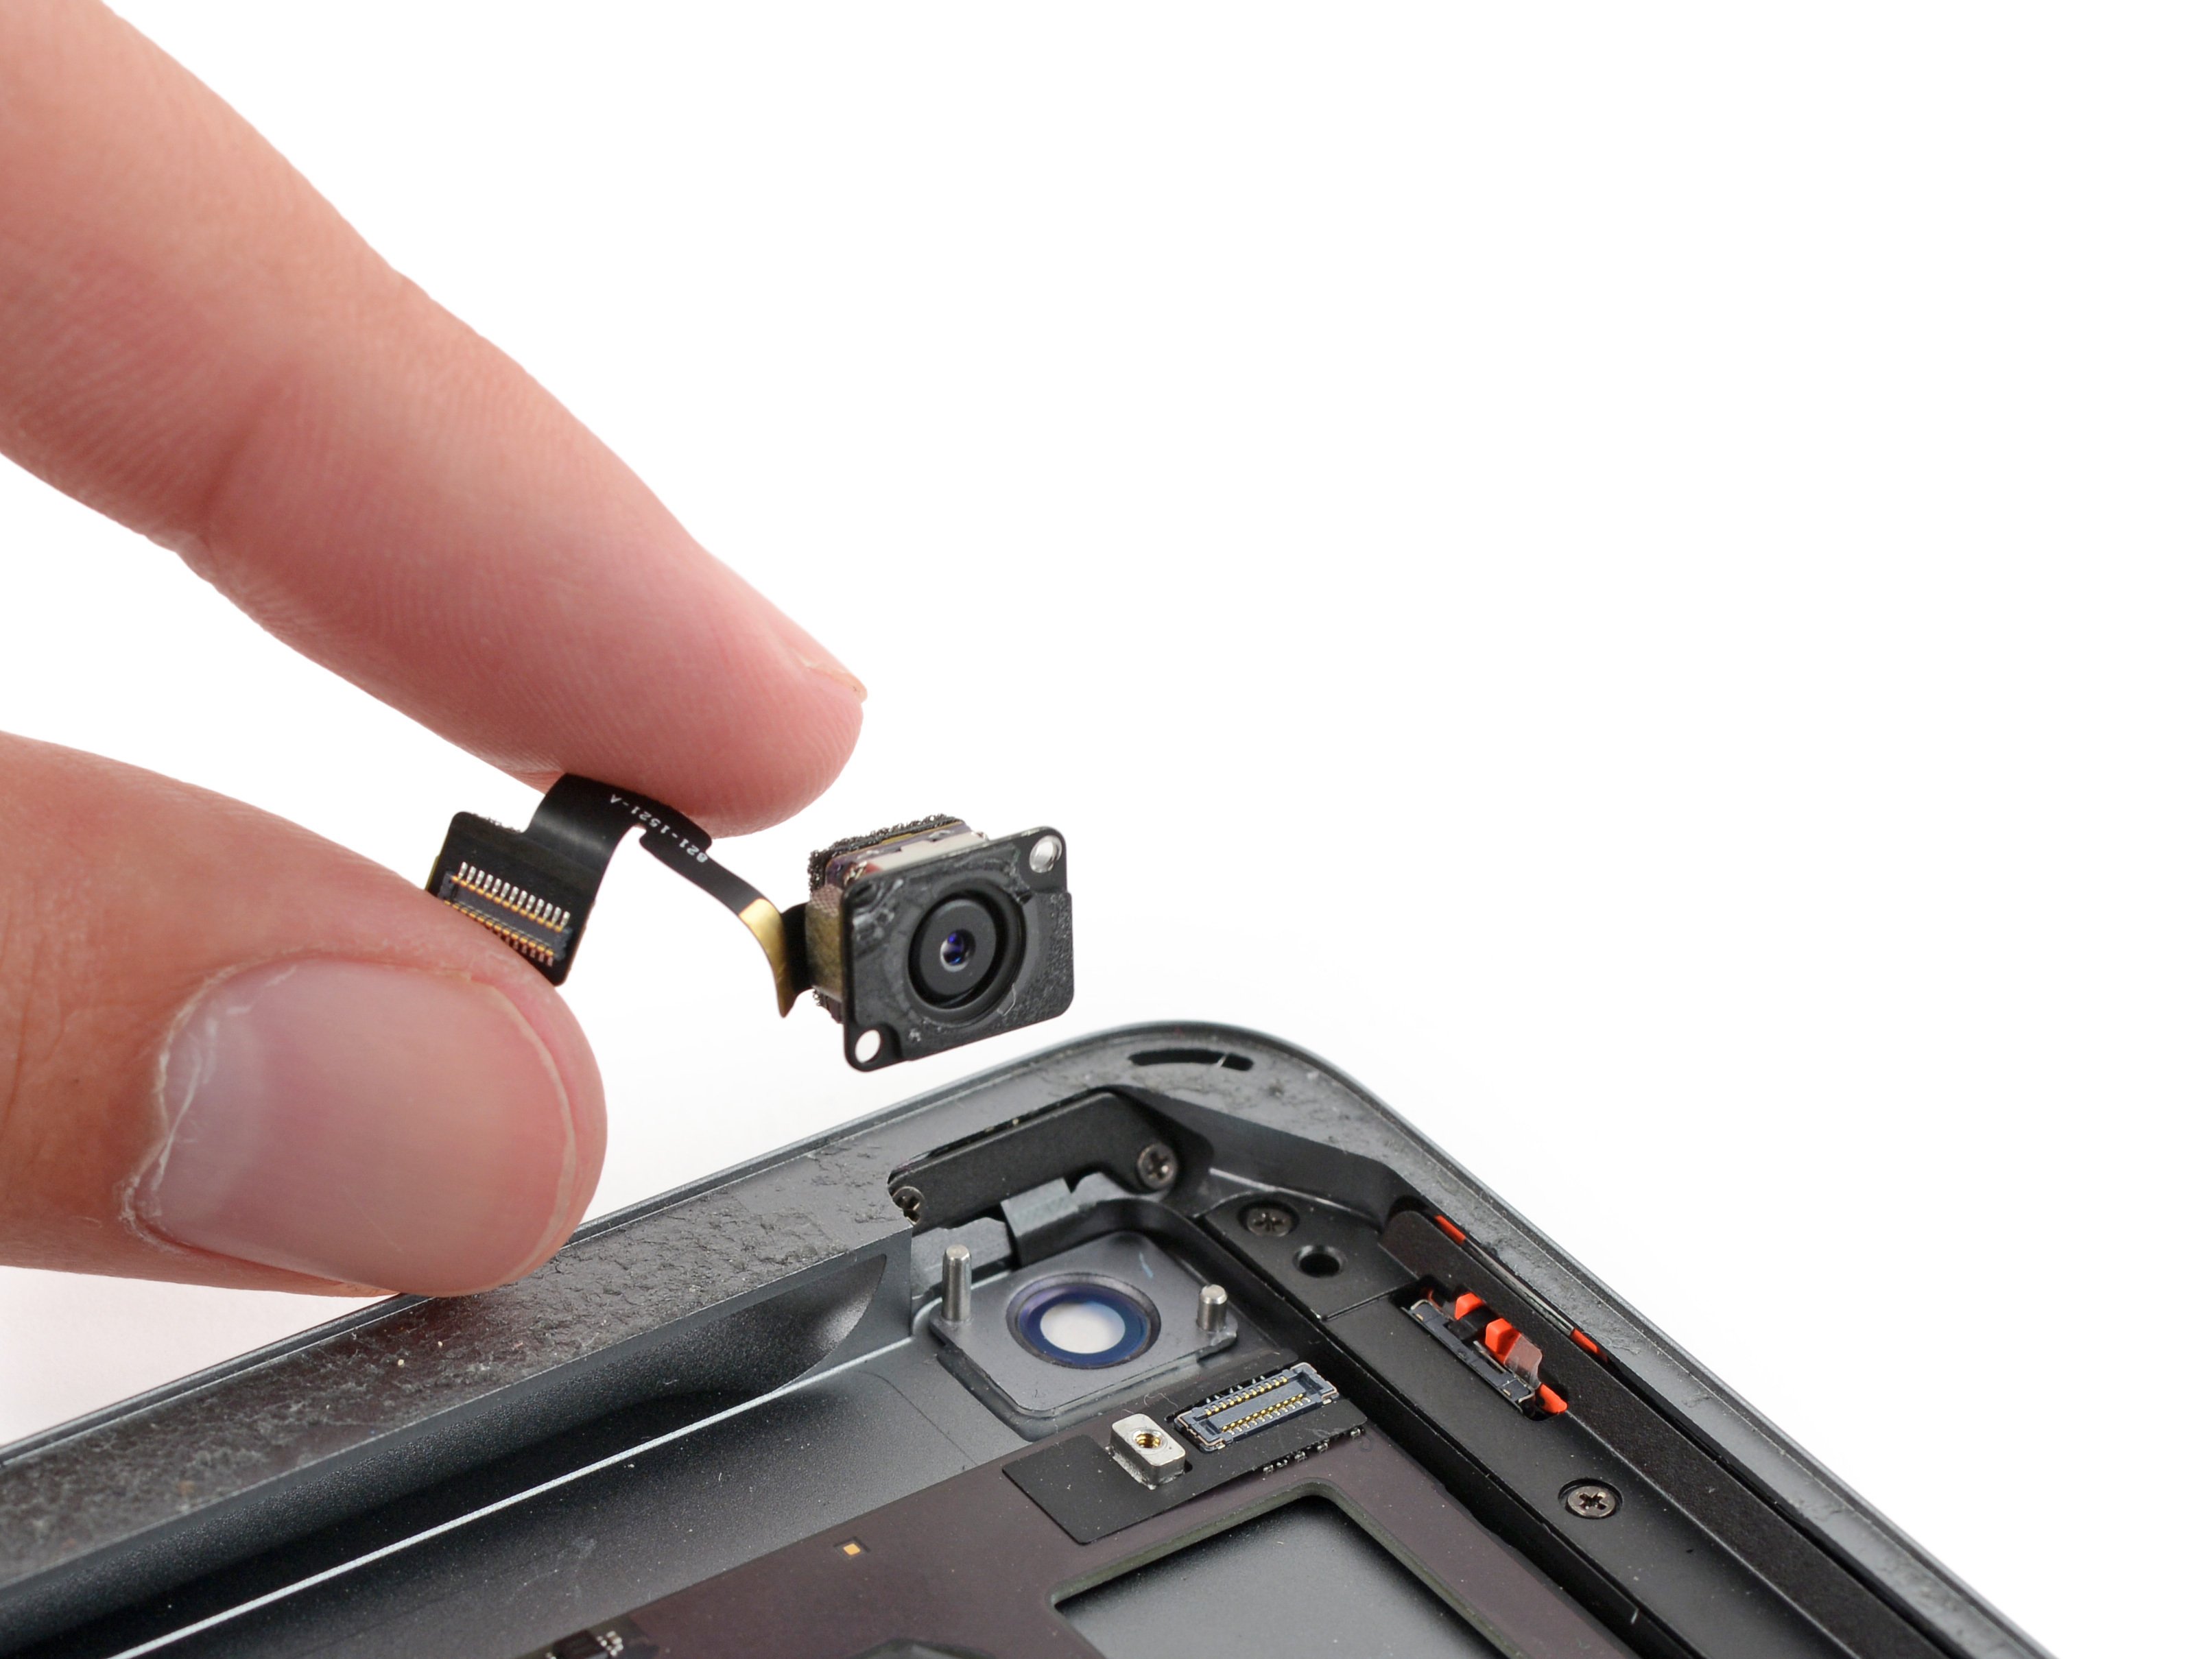
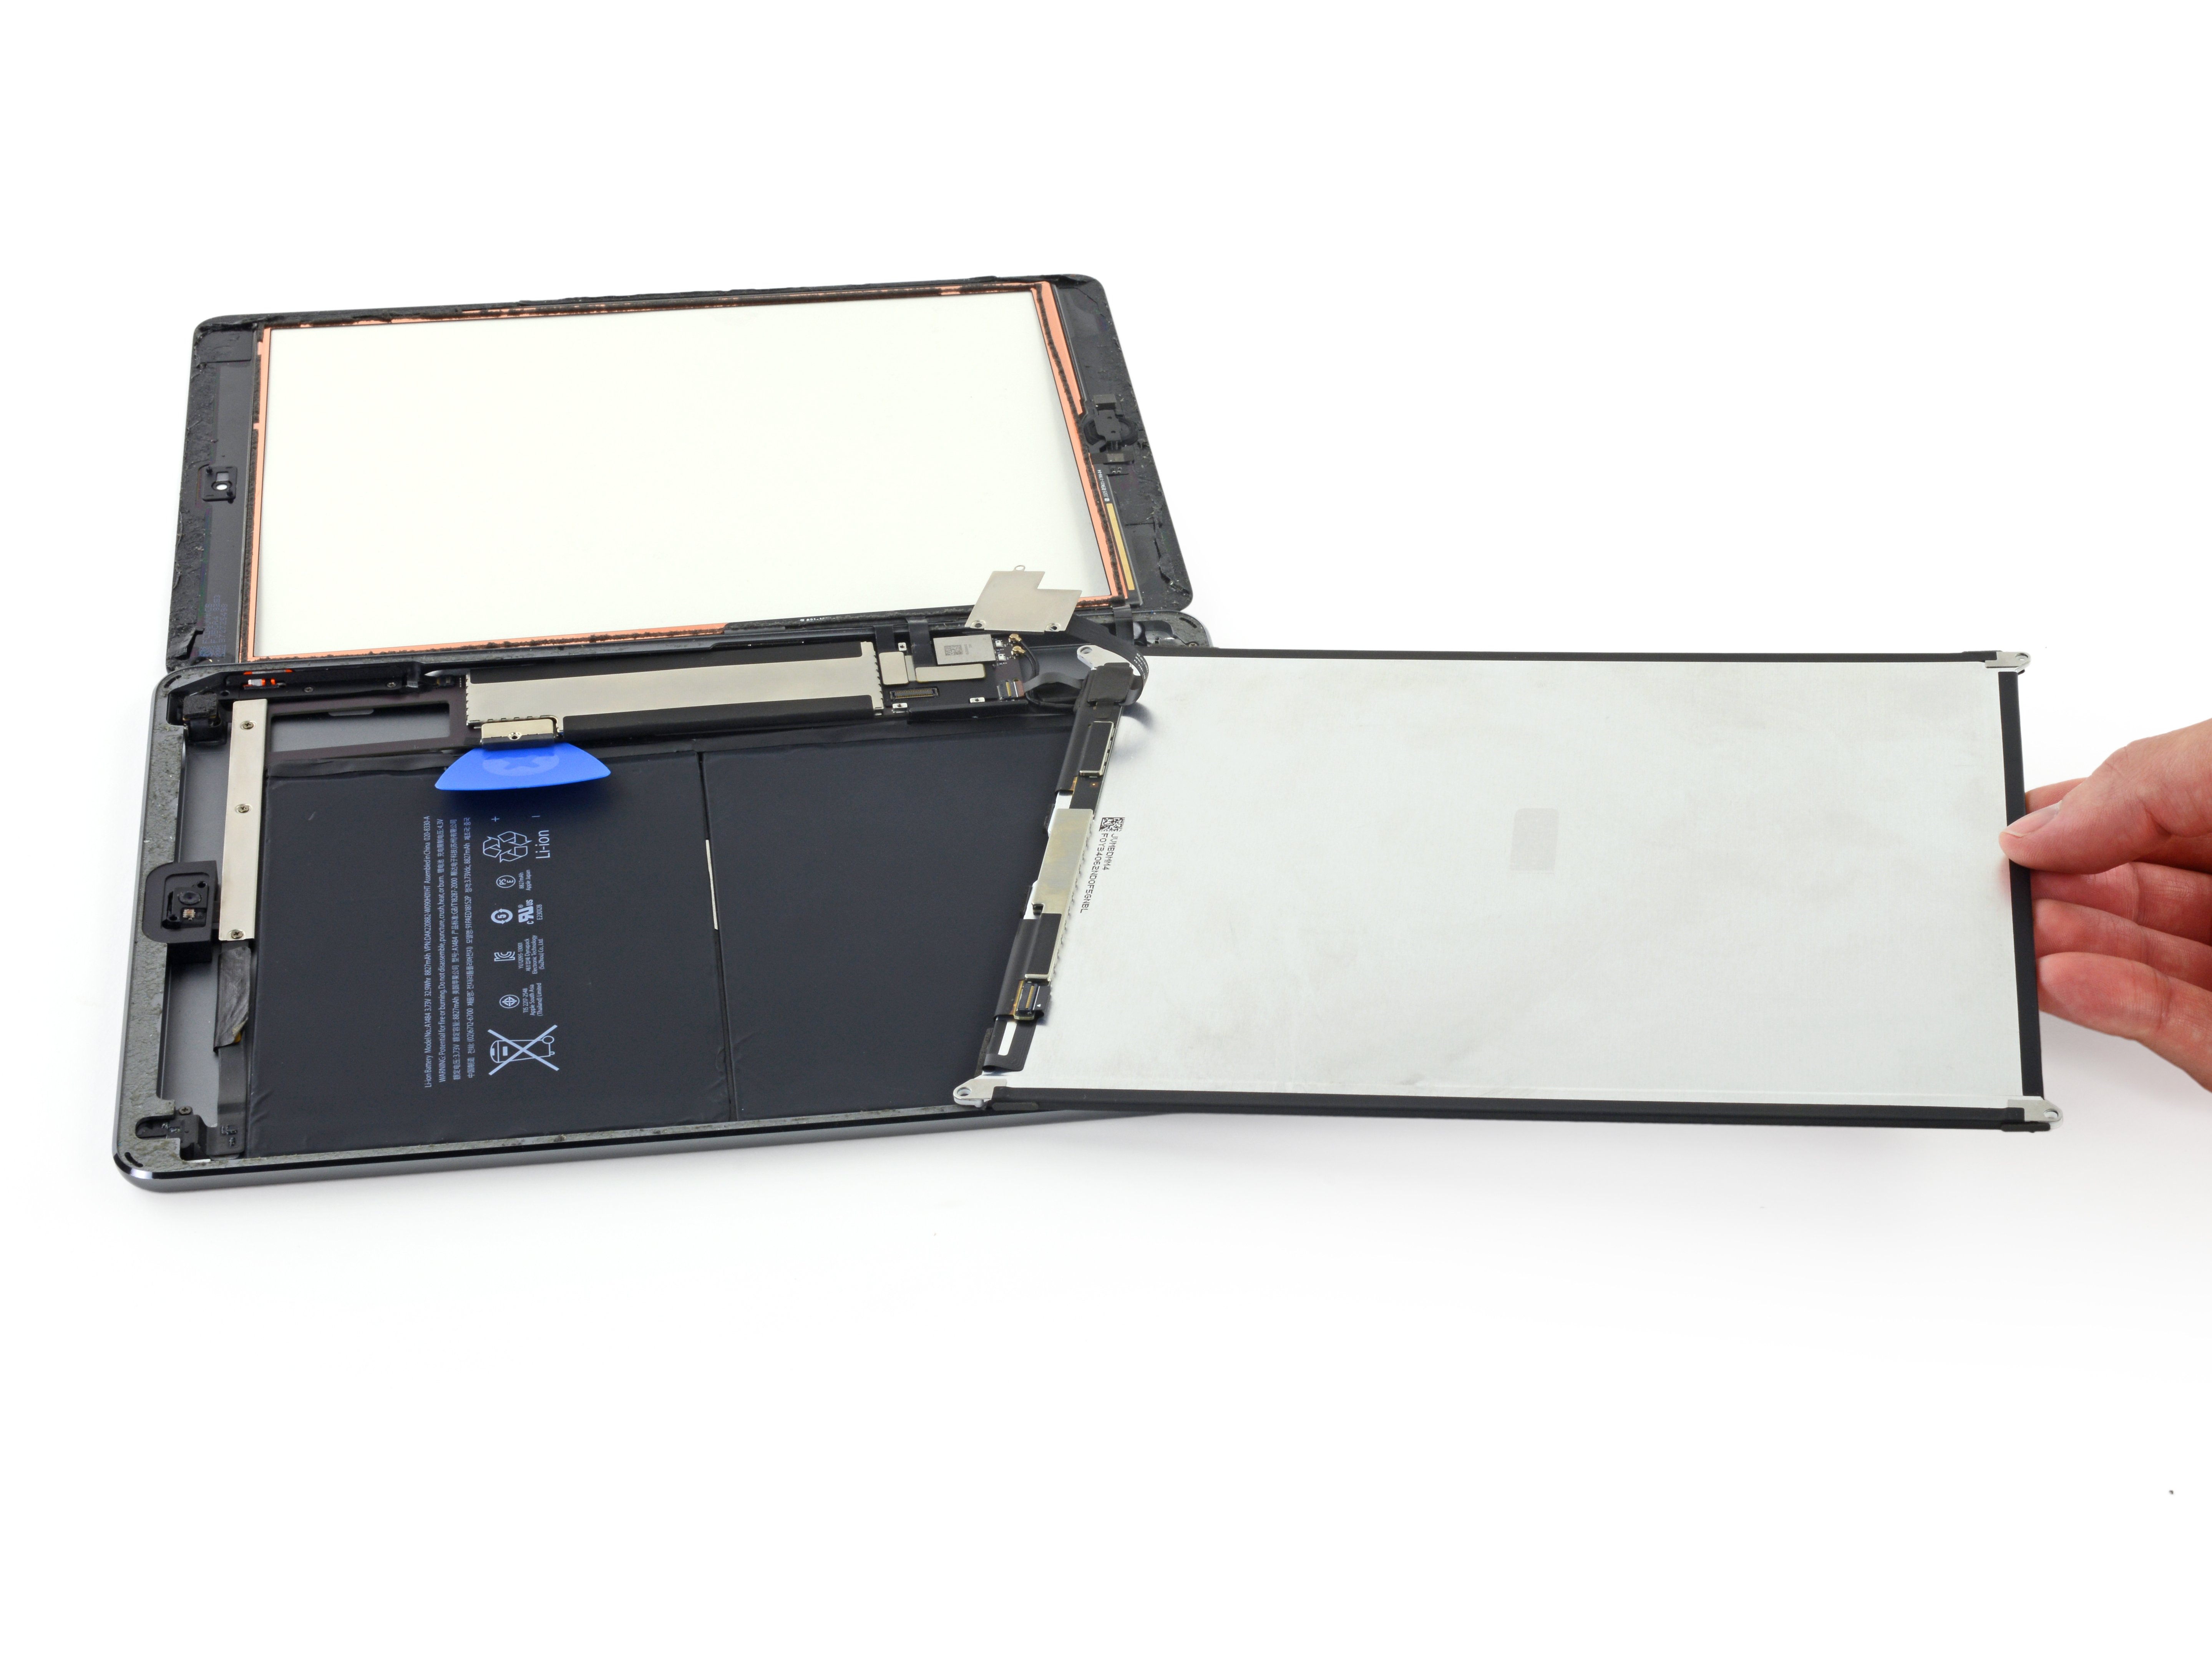
iPad 5 Wi-Fi Home Button Assembly Replacement
Duration: 45 minutes
Steps: 45 Steps
Heads up! The battery isolation method in this guide is a bit old-school and could cause some serious damage to the battery pins on the logic board. Not the best scenario! If you decide to go ahead with isolating the battery, be extra cautious and follow the steps carefully. If you skip the isolation step, just remember to steer clear of using metal tools unless absolutely necessary (like when you're unscrewing things) to avoid shorting the battery or messing up any delicate components. Need a hand with the tricky parts? No worries, just schedule a repair and we’ll take care of it.
Ready to swap out the home button assembly on your iPad 5 Wi-Fi? Just a heads-up: the Touch ID sensor is tied to its original logic board, so replacing the home button means saying goodbye to Touch ID. Also, the battery isolation technique shown here is a bit old-school and can permanently damage the battery pins on the logic board—so if you decide to go that route, proceed with extreme caution. If you skip isolating the battery, try to avoid using metal tools unless absolutely necessary (like when dealing with screws) to prevent any accidental short circuits or damage to delicate parts.
Step 1
- Warm up an iOpener and gently press it against the left edge of your device for two minutes. Let the heat do its magic!
Tools Used
Step 2
- While the adhesive is softening, keep an eye out for these tricky spots where prying can cause trouble:
- Front camera
- Antennas
- Display cables
Step 3
The upcoming three steps walk you through using the Anti-Clamp, a handy tool we created to make opening your device smoother. Not using the Anti-Clamp? No worries—skip ahead three steps for another method.
For detailed instructions on how to get the most out of the Anti-Clamp, check out this guide.
If your iPad’s surface feels too slick for the Anti-Clamp to get a good grip, try adding some tape to create extra traction.
- Slide the blue handle back to release the Anti-Clamp's arms.
- Set your iPad on something so it stays nice and level between the suction cups.
- Place the suction cups near the center of the left edge—one towards the top, the other near the bottom.
- Keep the bottom of the Anti-Clamp steady and press down firmly on the top cup to get a good seal.
Step 4
- Grab the blue handle and pull it forward to lock those arms in place.
- Give the handle a full 360-degree spin clockwise, or keep turning until the suction cups start to stretch just right.
- Keep an eye on the suction cups to make sure they stay lined up. If they start to drift, loosen them a bit, realign the arms, and get back on track.
Step 5
Take it easy—no need to rush! Turn no more than half a turn at a time, and give it a minute between each one. Let the Anti-Clamp and a little patience work their magic.
Need a refresher on how to use a hair dryer? Check out this guide for all the deets on how to get it just right.
If the Anti-Clamp isn't giving you the gap you need, no worries—just add a little more heat to the area and rotate the handle a half turn clockwise.
- Take a breather for about a minute to let that adhesive loosen up and create a little gap for you.
- If your screen feels a bit chilly, grab a hair dryer and warm up the left edge of the iPad a bit.
- Slide an opening pick under the digitizer once the Anti-Clamp gives you a nice enough gap.
- Feel free to skip the next step.
Step 6
Got a cracked display? No worries! You can cover it with some clear packing tape to give the suction cup something to stick to. If you’re feeling bold, swap the suction cup for some super strong tape. Worst case scenario? Superglue that sucker onto the broken screen. Keep it cool, you’ve got this!
- When the screen feels warm, stick a suction handle onto the left edge, as close to the border as you can get.
- Gently pull up with the suction handle to open a tiny gap between the digitizer and the frame.
- Slide an opening pick into that gap to help separate the digitizer from the frame.
Tools Used
Step 7
No need to stress if you spot the opening pick peeking through the digitizer — just give it a gentle tug! The LCD screen should be just fine, but keep in mind you might leave behind some stubborn adhesive that's not so fun to clean up.
- Pop a second opening pick into the gap you just made.
- Gently slide that pick down toward the bottom-left corner to loosen up the adhesive.
- Keep the pick wedged there to stop the adhesive from snapping back together.
Step 8
- If your opening pick gets a little too cozy with the adhesive and won’t budge, just roll it gently along the edge of the iPad to keep that glue from winning the battle.
Step 9
- Gently slide your opening pick up towards the top-left corner to loosen that stubborn adhesive.
- Keep the pick wedged there to stop the adhesive from snapping back together.
Step 10
- Warm up your iOpener and give the top edge of your device a nice two-minute heat treat.
Tools Used
Step 11
- Gently twist the pick around the top-left corner to loosen up that stubborn adhesive and get things moving.
Step 12
Keep the pick away from the front camera lens to avoid any accidental scratches. We'll guide you through the tricks to keep it safe in the next steps.
- Gently slide the opening pick along the top edge of your device, pausing just before you reach the front camera to keep everything safe.
Step 13
- Gently pull the pick out so only its tip stays tucked between the digitizer and the frame.
- Carefully slide the pick just above the front camera to loosen the adhesive holding things together.
- Keep the pick resting near the right side of the front camera before moving on to the next step.
Step 14
- Slide the pick back in and gently glide it toward the top-right corner to fully loosen the top adhesive.
- Keep the pick wedged in that corner so the adhesive doesn’t sneak back together.
Step 15
- Warm up your iOpener and give it a cozy hug on the right edge of your device for a solid two minutes.
Tools Used
Step 16
- Gently twist the pick around the top-right corner to loosen up that stubborn adhesive.
Step 17
The display cables hang out about halfway up from the bottom of your iPad. Stop sliding your tool once you hit roughly three inches from the bottom—you're in the right spot!
- Grab a new opening pick and slide it right into the heart of the iPad's right edge. You're doing great!
Step 18
- Warm up an iOpener and stick it onto the bottom edge of your device for a solid two minutes to loosen things up.
Tools Used
Step 19
Avoid spinning the pick all the way around the corner to keep the antenna safe and sound.
- Gently slide that bottom-left pick into the corner and let it work its magic to break the adhesive seal.
- Keep that pick snugly in the bottom-left corner as you gear up for the next step!
Step 20
Slide the pick gently toward the home button—moving it the other way might mess with the antenna, and we don’t want that!
If you find yourself needing to slide the pick over this spot again, just take it out and pop it back in at the bottom-left corner to keep things smooth.
- Pop a new opening pick into the gap you just made along the bottom edge of the iPad.
- Slide that pick along past the antenna, stopping right before you reach the home button.
- Let the pick rest just to the left of the home button before moving on.
Step 21
Be gentle with that pick! Just insert it up to 1 mm to keep your right antenna safe and sound.
- Pop an opening pick into that fresh little gap you just made.
- Gently slide the pick under the home button and glide it toward the bottom-right corner, making sure only the very tip sneaks between the digitizer and the frame.
Step 22
Slide the pick gently towards the home button only—going the other way might mess with the antenna, and we definitely don’t want that!
If you find yourself needing to slide the pick over this spot again, just pull it out and pop it back in at the bottom-right corner to keep things smooth.
- Slide that pick back in and gently nudge it towards the home button to fully break free the bottom adhesive. You're doing great!
- Now, keep that pick resting to the right of the home button before moving on. Almost there!
Step 23
- Warm up that iOpener and give it a cozy little hug on the right edge of your device for a solid two minutes.
Tools Used
Step 24
Take it easy and handle this step with care! Make sure the adhesive is nice and toasty, and use a pick to separate it gently. Remember, it's perfectly okay to pause and reheat if needed!
If you feel a stubborn grip, give those edges another warm hug with your heat source and gently wiggle your opening pick along them.
- Gently twist those two opening picks in the left corners of your iPad to give the digitizer a little lift, while also saying goodbye to the last bit of adhesive. You're doing great!
Step 25
- Gently raise the left edge of the digitizer to help loosen the adhesive along the right edge of the iPad.
Step 26
- Keep the digitizer steady and gently slide an opening pick between the two display cables to carefully loosen the last bit of adhesive holding them together.
Step 27
- After carefully loosening all the adhesive, flip the digitizer open like a book and let it rest side-by-side with the iPad.
- When putting everything back together, give the frame—and the digitizer if you're reusing it—a good clean with isopropyl alcohol to remove leftover adhesive. Then, swap in fresh adhesive strips or pre-cut adhesive cards to keep things snug.
- Keep an eye on those display cables during reassembly. Make sure they're neatly folded under the LCD screen to avoid any accidental damage.
Step 28
- Peel off any tape hiding the screws on the LCD – they’re ready to shine!
Step 29
- Grab your Phillips screwdriver and unscrew the screws holding the LCD in place.
- Tackle the three 4.0 mm screws first.
- Then, move on to the single 4.8 mm screw.
Step 30
Take it easy when removing the LCD—don't try to yank it out completely just yet. It's still attached to the iPad by a few cables near the home button. Start lifting from the camera end first.
Be gentle and keep a close eye on those LCD cables as you carefully flip the display over. It's like flipping pancakes—smooth and steady!
Gently place the LCD on a soft, clean, lint-free surface. Think of it as laying it down for a little rest before the next step!
- Gently use the flat end of a spudger to nudge the LCD out of its snug little home just enough so you can grab it with your fingers.
- Now, flip that iPad LCD like you're turning the page of a great book, lifting it up near the camera and swinging it over towards the home button end of the rear case.
- Carefully lay the LCD face down to give yourself a clear view of those display cables waiting for your attention.
Tools Used
Step 31
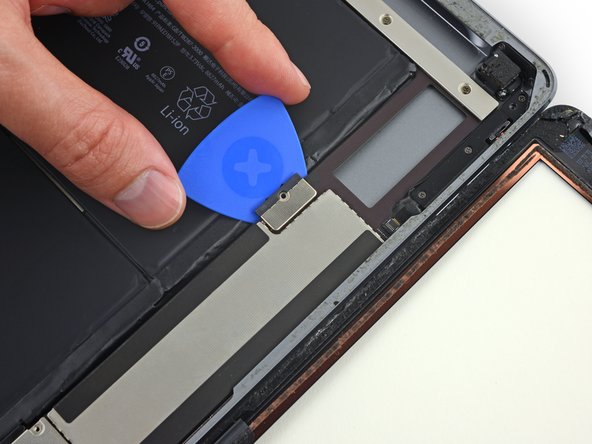
Handle that battery blocker with care! Those battery contacts are delicate little things, and one wrong move could lead to some serious trouble. Keep it gentle and take your time!
Want to keep those shorts at bay? Slip in a battery blocker or use a nifty modified opening pick to safely disconnect the battery.
If you're struggling to slide that battery blocker under the logic board, grab a playing card and give it a go—it's a fun little trick to help you out!
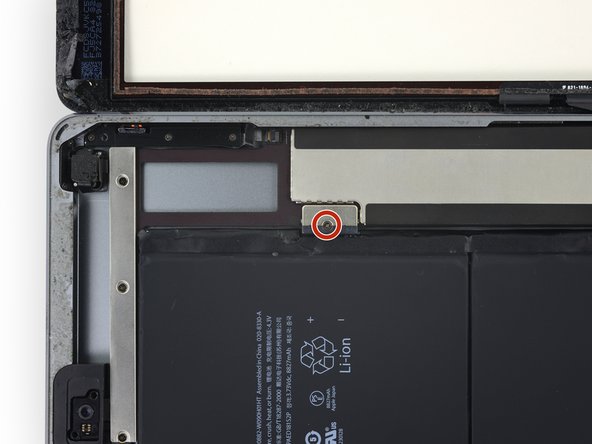
- Grab your trusty 2.3 mm Phillips screwdriver and remove that single screw holding the battery connector to the logic board. No sweat, just a little twist and it’s free!
- Now, slide the battery blocker right underneath the battery connector area of the logic board and leave it there while you work. It’ll help keep things secure while you move ahead!
Tools Used
Step 32
- Time to get those screws out! Unscrew the three 1.4 mm Phillips screws holding the display cable bracket in place. A little twist and you're on your way!
Step 33
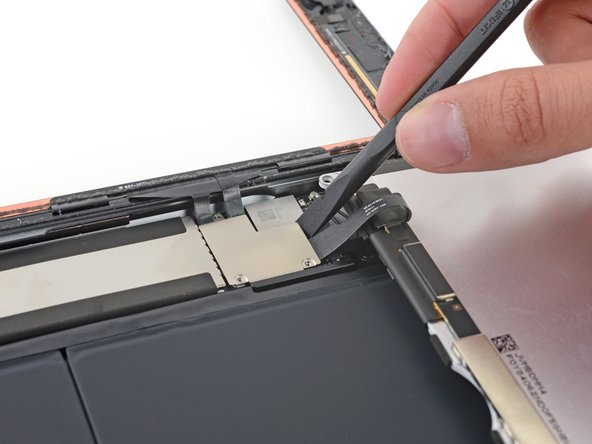
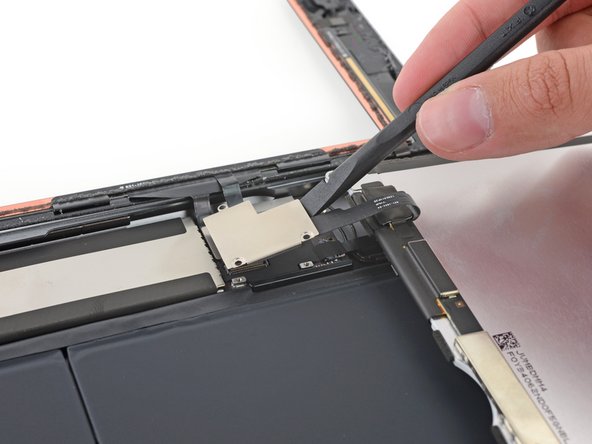
Heads up! The display cable connector is stuck to the bottom of the bracket, so don’t shove the spudger too far under there or you might accidentally mess up the connector.
- Grab your trusty spudger and gently wiggle the flat end under the display cable bracket. With a little finesse, lift it straight up from the logic board. Nice and smooth, just like that!
Tools Used
Step 34
- Carefully lift and take out the LCD.
Step 35
- Peel away any tape that's hiding the home button ribbon cable connector. Let's get that little guy ready for action!
Step 36
- Gently use the flat end of a spudger to flip up the little tab on the home button ribbon cable's ZIF connector.
- Slowly slide the home button ribbon cable straight out from the ZIF connector—no sudden moves!
Tools Used
Step 37
Be careful when prying! Only apply pressure to the connectors themselves, not the socket on the logic board. You don’t want to accidentally damage your iPad, so go easy and stay focused!
- Gently use the flat end of a spudger or your fingernail to lift the two digitizer cable connectors straight up from their sockets—think of it like giving them a little nudge to say hello!
Tools Used
Step 38
- Gently lift the home button ribbon cable away from the adhesive sticking it to the back case—think of it like peeling a sticker, but way cooler.
Step 39
The insulation here is pretty sneaky—it's not visible to the naked eye, unlike the foam dust barrier strips you might find on many iPads.
- Take off the front panel assembly with care.
- When putting everything back together, give the inside of the front panel a quick wipe to clear away any dust or fingerprints. You want that display looking its best!
- If you notice some weird 'ghost' or 'phantom' touch issues with your new screen, a quick fix is to add a super thin layer of insulating tape, like Kapton tape, to the areas highlighted on the back of the panel. Don’t worry—Salvation Repair panels come pre-insulated, so no extra tape is usually needed.
- Without that insulation, those parts of the digitizer can accidentally short out, causing touch malfunctions. Make sure everything is insulated properly to keep your screen happy.
Step 40
- Carefully start lifting the home button cable away from the back of the front panel.
- Keep peeling it back gently until you hit the metal shield on the cable.
Step 41
- Gently slide an opening pick between the metal shield and the front panel, and carefully lift it away from the digitizer. No need to rush, take your time and keep it steady.
Step 42
- Carefully lift the metal contact off the home button bracket. Take it slow and steady!
Step 43
- Grab your trusty plastic opening tool and carefully pry off the home button bracket from the back of the front panel. It's like unwrapping a surprise!
- Once one side of the home button bracket is free, hold onto it firmly and peel it away from the front panel like you're unveiling a masterpiece.
- When it's time to put that home button bracket back on, a little dab of adhesive or some double-sided tape will keep it snug as a bug!
Step 44
Take it easy and apply pressure gently. The adhesive is bonded to a fragile gasket that can rip if you're not careful.
- Gently press the home button from the outside of the digitizer to loosen the adhesive that's keeping it snugly in place.
Step 45
- To put your device back together, just follow these steps in reverse—easy peasy! And if you hit a snag, don’t hesitate to schedule a repair with us.


