
iPad 6 Teardown
Duration: 45 minutes
Steps: 11 Steps
Revealed at Apple's latest education event, the new iPad seems less like a "hot new sequel" and more like a "revised edition paperback with snazzier illustrations." With its upgraded processor and Pencil support, we can't help but wonder—has Apple made any other sneaky changes? Let’s dive in and take a closer look with a teardown! Want to be the first to peek inside the latest gadgets? Follow us on Facebook, Instagram, or Twitter for all the juicy repair news. And for those who love to stay updated, don't forget to check out our newsletter!
Step 1


- Hey everyone, meet the new kid on the block: iPad 6! Let’s hear what it’s all about:
- Powered by Apple's A10 Fusion chip with a built-in M10 motion coprocessor for smooth performance
- Features a 9.7-inch Retina display with a sharp 2048 × 1536 resolution (264 ppi) and a non-laminated screen assembly
- Comes with either 32 GB or 128 GB of storage options
- Equipped with an 8-megapixel rear iSight camera shooting 1080p video, plus a 1.2-megapixel front FaceTime HD camera at 720p
- Supports dual-band 802.11a/b/g/n/ac Wi-Fi with MIMO and Bluetooth 4.2 connectivity
- Includes Touch ID fingerprint sensor, 3-axis gyroscope, accelerometer, barometer, and ambient light sensor
- Compatible with Apple Pencil for creative and precise input
Step 2


- In the realm of education, Apple faces tough rivals with budget-friendly laptops. So, how does this iPad hold up against those Chromebooks from HP or Asus?
- Considering that kids can be a bit tough on their gadgets, here's our take on the situation:
- New iPad, new model number! This year's superstar is A1893.
- The iPad's glued-glass display is a bit more prone to accidents. But hey, this iPad comes with an air-gapped digitizer panel—it's not as dazzling as some of the newer iPads, but it makes replacing cracked glass a breeze since it isn't LOCA-bonded to the display panel beneath.
- Additional accessories like the keyboard and Pencil can add to the expense and are easier to misplace—but the silver lining is they are also simpler to replace if they go missing (like that missing key on our HP's keyboard!).
Step 3


- Once again, Creative Electron does their magic with X-rays, giving us a chance to take a peek inside the iPad—no magic wands required.
- As anticipated, there are only a few minor tweaks compared to the previous model.
Step 4


Here’s why having a non-fused display and digitizer glass is a game-changer—if one breaks, you're not left scrambling. This is especially helpful in a busy classroom environment where things can get a little wild! Less hassle, more peace of mind.
- We've done this dance before, so here’s the play: heat things up with the iOpener, then use the suction cup and opening tool to gently pry things apart—easy does it!
- Like clockwork, the digitizer panel lifts right off from the display, which is always a good sign when you’re diving into repairs.
Tools Used

Step 5


Removing the glass isn’t exactly a breeze, but it’s a well-trodden path—especially since it’s been documented on the similar iPad 5 by repair pros like us.
- We’re all about giving you extra bang for your buck, so this teardown doubles up: a look inside the new iPad, plus a sneak peek at what Salvation Repair has coming next!
- Once we’ve loosened a few Phillips screws, it’s time to lift the LCD panel and unplug it from the logic board.
- Safety first! Before moving on, we slide a battery blocker between the battery and logic board to prevent any electrical mischief during the teardown.
Tools Used

Step 6


Our wallpaper images for iDevices have become a hit—Apple sure knows how to craft some stunning internals. If you’re curious about what’s inside your iPad and want a cool wallpaper to show it off, we’ve got you covered!
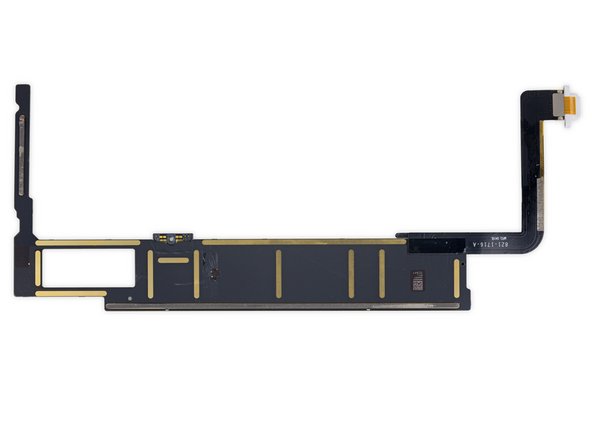
- Now that the display is out of the way, it's time to carefully unplug the digitizer.
- The digitizer has two cables just like before, but they have a slightly different look compared to last year's model.
- Check out what we uncovered under a protective shield! It's the same NXP 8461A1 Touch ID chip we spotted in the previous version.
- Maybe they've tweaked it a bit to work with Pencil compatibility?
Step 7


- The logic board is stuck tight to the case with some seriously strong adhesive, so let's bring in some liquid muscle to loosen things up!
- Boom! The stubborn adhesive lets go quickly, and the board comes out in one clean piece.
- Heads up: the Lightning connector is part of that board, and it's a high-traffic component that tends to fail before the rest. Replacing this port requires some solid microsoldering skills.
- If this step feels overwhelming, you can always schedule a repair.
Step 8


We think the new Pencil support is likely made possible by this snazzy 'Pro'-grade chip.
- While we haven't spotted any groundbreaking updates just yet, Apple might have hidden a few surprises on the logic board:
- We've got the Apple A10 Fusion APL1W24 SoC (also rocking the iPhone 7) paired with 2 GB of Micron MT53B256M64D2TP-062 L XT:C LPDDR4 SDRAM tucked away below.
- Check out the Apple 343500203-A0, which is probably a PMIC and might even be a new version of the iPad 5's 343S001441-A0.
- You'll find 2x Broadcom BCM15900B0 touch screen controllers hanging out in the 10.5" and 12.9" iPad Pro.
- Oh, and there's likely an NXP Semiconductor display port multiplexer in the mix.
- Don't forget the Bosch Sensortec pressure sensor keeping an eye on things.
- And last but not least, an Invensense accelerometer to ensure all your movements are tracked accurately!
Step 9

- Alright, folks! Here’s part two of our open-book, open-notes chip ID test:
- Did we find any sneaky extra credit chips on the backside? Nope, we took a good look!
- Check out this Toshiba TSB3236LX3536TWNB1 with 32 GB of flash memory.
- We've got the USI 339S00448 Wi-Fi/Bluetooth module making sure you're connected.
- Say hello to the NXP 80V18 PN80V NFC controller—it's here to help with your contactless needs.
- Next up is the Cirrus Logic CS42L83A low power audio codec, bringing your sound to life.
- And there’s a Cirrus Logic audio amplifier (most likely) adding some extra oomph.
- Last but not least, we have a Maxim Integrated MAX98357B class AB audio amplifier x4, because why not have a little extra power?
Step 10

Not only does this free up more battery power for you, but reusing existing production lines helps cut down on waste. How cool is that?
- Apple sticks with the same trusty battery from the iPad 5—model number A1484 with a solid 32.9 Wh capacity.
- Unfortunately, they also brought along the same repair-hindering adhesive from the iPad 5. Not ideal, but here we are.
- On the bright side, replacement batteries are already available. And if you’re managing a fleet of iPads, you'll only need to stock one part that works across multiple models. (That’s if you can manage to get the original batteries out, of course.)
- Apple once teased us with a glimpse of easy iPad battery removal, but we haven’t seen anything like that since. Here's hoping!
Step 11


Big thanks once again to Creative Electron for making this all possible!
- That's a wrap! Thanks for following along with this teardown. Time to kick back and enjoy a well-earned break!
- Want to keep a piece of this teardown with you? Check out our cool internals wallpaper and the X-ray wallpaper!
- All content here is shared under the Creative Commons BY-NC-SA 3.0 license.