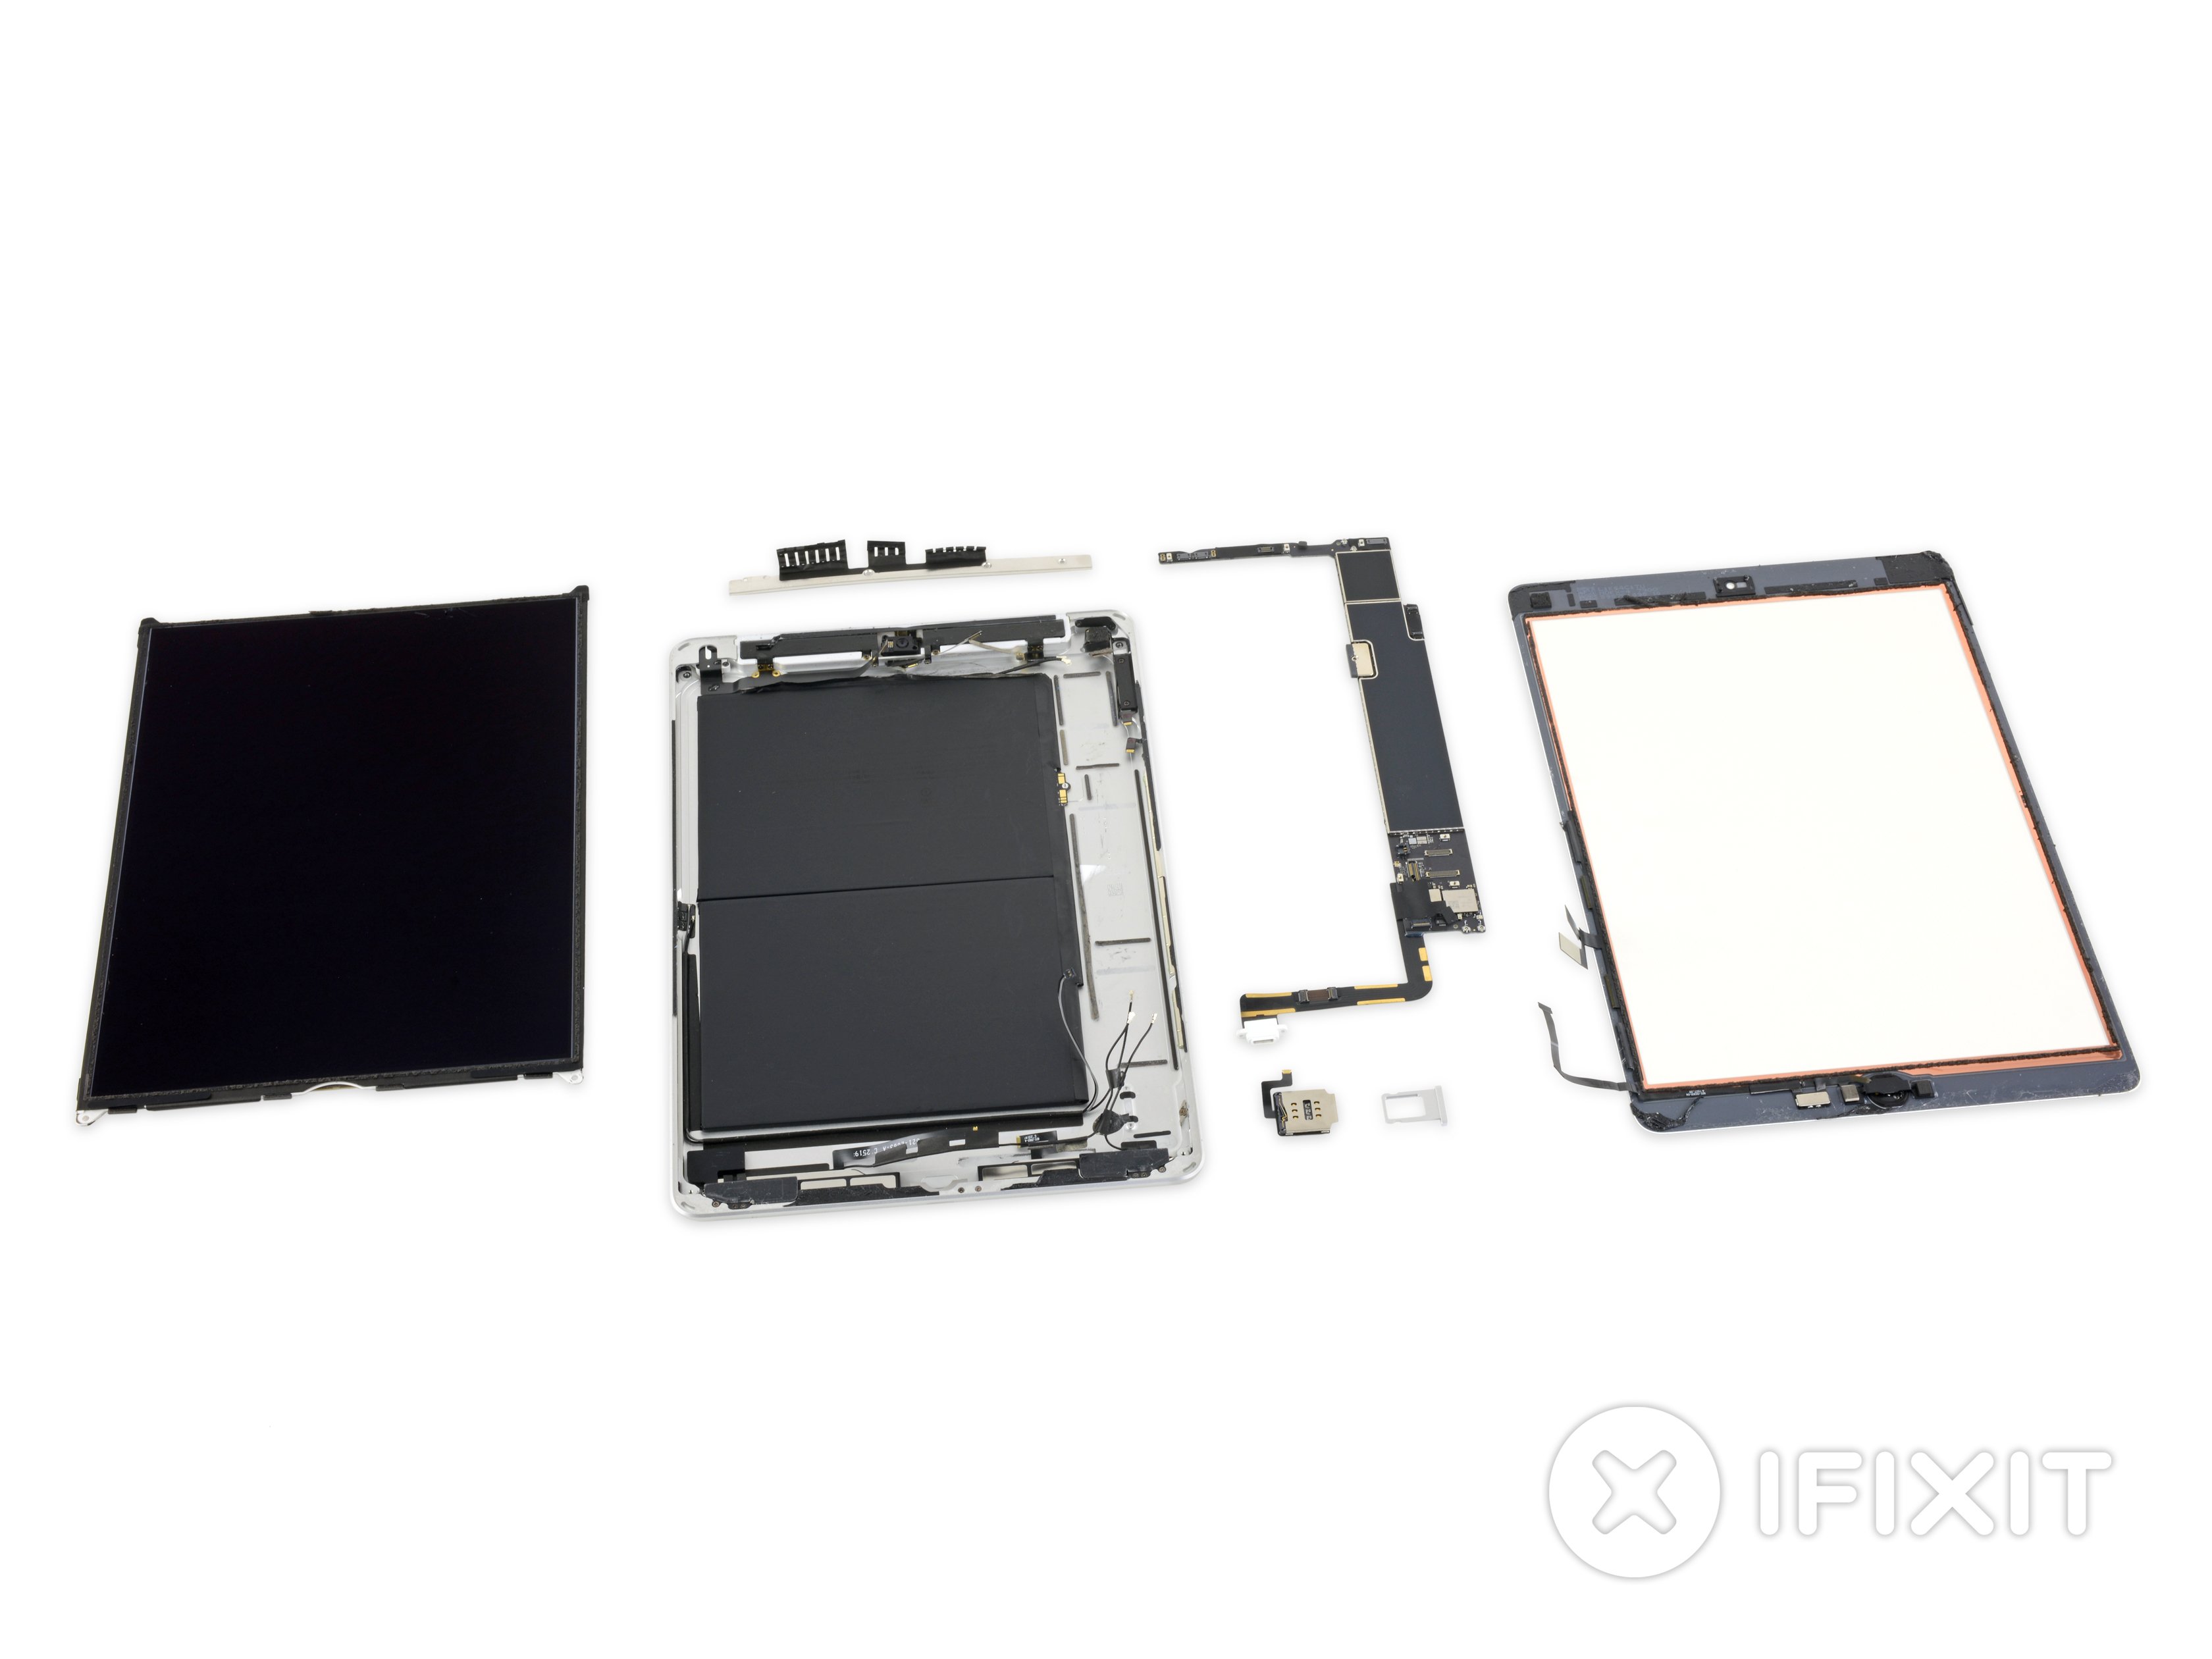
iPad 7 Glass Digitizer Replacement
Duration: 45 minutes
Steps: 12 Steps
Replacing the glass digitizer on an iPad 7/8? No sweat! The trickiest part here is getting rid of that old, damaged glass—so make sure you’re extra careful with that step. It’s super important to remove all the broken glass completely before you put the new screen on. If not, you might end up with a less-than-perfect seal, or worse, mess up your new screen. Take your time, and if you need a hand, you can always schedule a repair.
Step 1

Gently apply heat to the screen along the red lines. The goal here is to make the surface warm to the touch—not too hot, just enough to loosen up that stubborn adhesive. Heat makes the whole process a bit smoother, but keep it comfortable, not scorch-your-fingers hot!
- I like to grab a heating pad and give the screen a gentle warm-up to loosen the adhesive. If you don’t have one, a hair dryer works just as well—just aim the heat at the edges and let the adhesive soften up a bit. No rush, just enough to get things moving!
Step 2


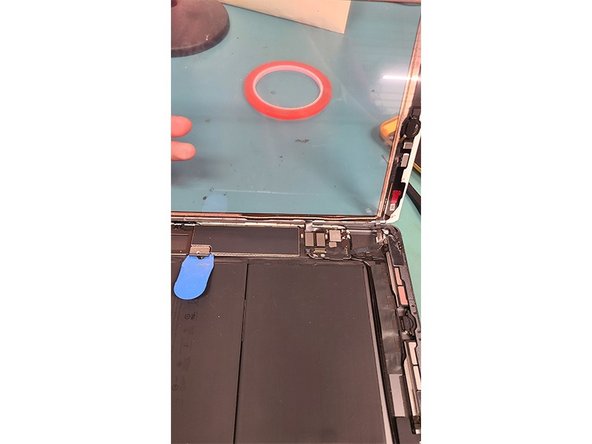
Cracks in the screen can lead to some glass shards, so be extra careful with your hands. If you’ve got gloves, now’s the time to wear them!
- Gently pry along the screen's edges, just like shown. Keep an eye on those delicate parts at the bottom and under the screen, like the home button, WiFi attachments, and GPS antennas.
- The screen's connected by a ribbon cable about a third of the way up the right edge. Handle that spot with extra care.
Step 3

- Gently lift and wiggle the digitizer starting from the top left corner.
- The screen will pivot open like a door on the ribbon cable located on the right side.
Step 4


Prop up that glass digitizer to keep your hands free and ready to roll!
- Twist out those 4 PH000 screws from the corners of the LCD screen – nice and easy!
- Grab a metal tool and gently lift the LCD from the top left and right brackets – steady hands!
Step 5

- Gently lift the LCD screen from the top, taking care not to rush. A little patience goes a long way here!
Step 6
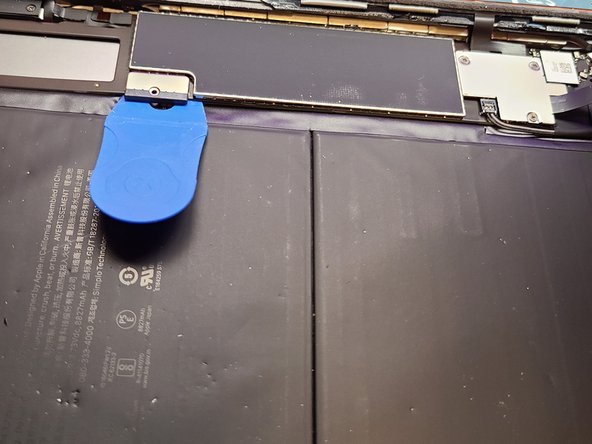

- Let's loosen up that single PH000 screw holding the battery connection – you've got this!
- Gently slip a plastic pick underneath the battery connection for some smooth detachment.
- Now, unscrew those three PH000 screws from the display cable bracket – steady and easy!
Step 7


- Let's unplug that LCD ribbon cable.
- Now, disconnect both of the digitizer's ribbon cables.
- Swing open the lock holding the home button ribbon cable in place.
- Use the flat end of a plastic spudger to disconnect the home button ribbon cable, or gently slide it out of the port with tweezers.
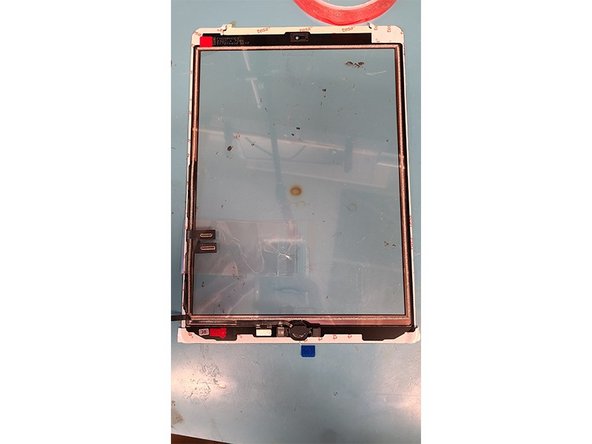
Step 8

- Carefully disconnect the cable from the iPad's housing, keeping that rubber protector snug over the home button cable.
- You're all clear now—go ahead and fully detach the glass screen from the iPad housing.
Step 9


- Crank up a heat gun or heating pad to warm that home button for an easy pull. A blow dryer works great too!
- Lift the home button up gently, tugging lightly on the ribbon cable. Take it slow to avoid any cable ouchies.
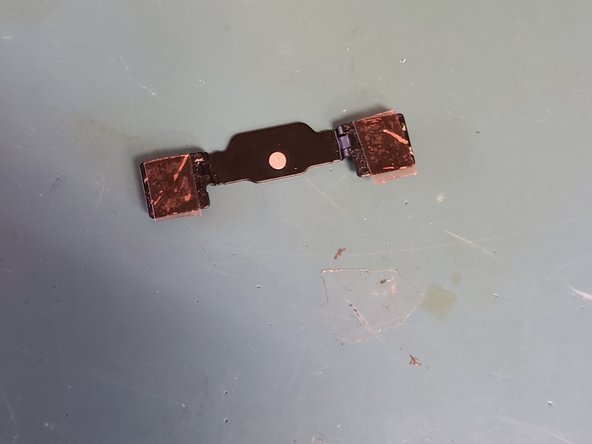
- Carefully pry off the metal home button bracket using a metal pry tool—nice and steady!
Tools Used

Step 10
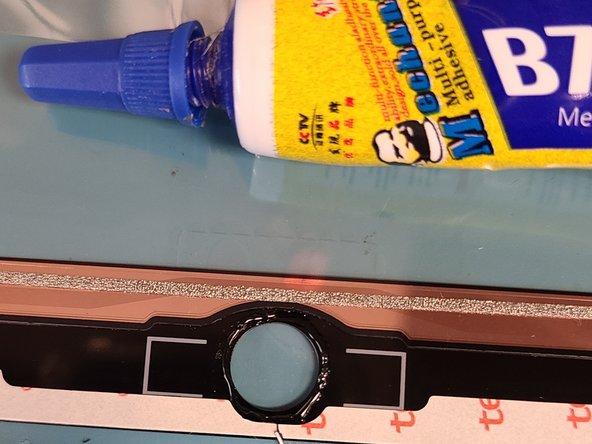

- Now that the home button and bracket are out of the way, spread some liquid adhesive around the new glass digitizer's home button hole to get things sticking nicely.
Step 11

Before you move on, make sure to clean the edges thoroughly. A Q-Tip with just a dab of isopropanol will do the trick. Any stray debris in the digitizer groove could lead to a cracked digitizer down the line.
- Pop that home button in first, then slide on the metal bracket. Give it a few test clicks to make sure it's sitting nice and stable.
- Get set for testing by plugging back in the home button and glass digitizer's ribbon cables, just like you disconnected them in step 7.
- Remove the plastic pick from the battery connector and screw back in the PH000 screw.
- Put the display cable bracket back on with its three PH000 screws.
- Screw the LCD back into the iPad housing using its four PH000 screws.
Step 12

Do not glue until the new digitizer and home button have been tested.
- Your fresh new screen should work just like the original did before the mishap. If you run into any snags, feel free to schedule a repair.