iPhone 11 Battery Replacement DIY Guide: Step-by-Step Tutorial
Duration: 45 min.
Steps: 19 Steps
Ready to breathe new life into your iPhone 11? This guide will walk you through the process of replacing your battery step by step, making it super easy for you to do it yourself! Why go through the hassle of sending your device away when you can keep all your data safe, save some cash, and enjoy the satisfaction of fixing it yourself? With the right replacement part and a solid repair kit, you’re all set for this adventure! Let’s get started!
Step 1


– Before you dive into the repair fun, let’s make sure your iPhone 11 stays safe and sound! Power it down completely by pressing and holding the Standby button along with one of the volume buttons for about three seconds.
– If you see the slider with the message ‘Turn off’, give it a gentle swipe from left to right. Your phone will gracefully shut down in about ten seconds. Easy peasy!
Step 2

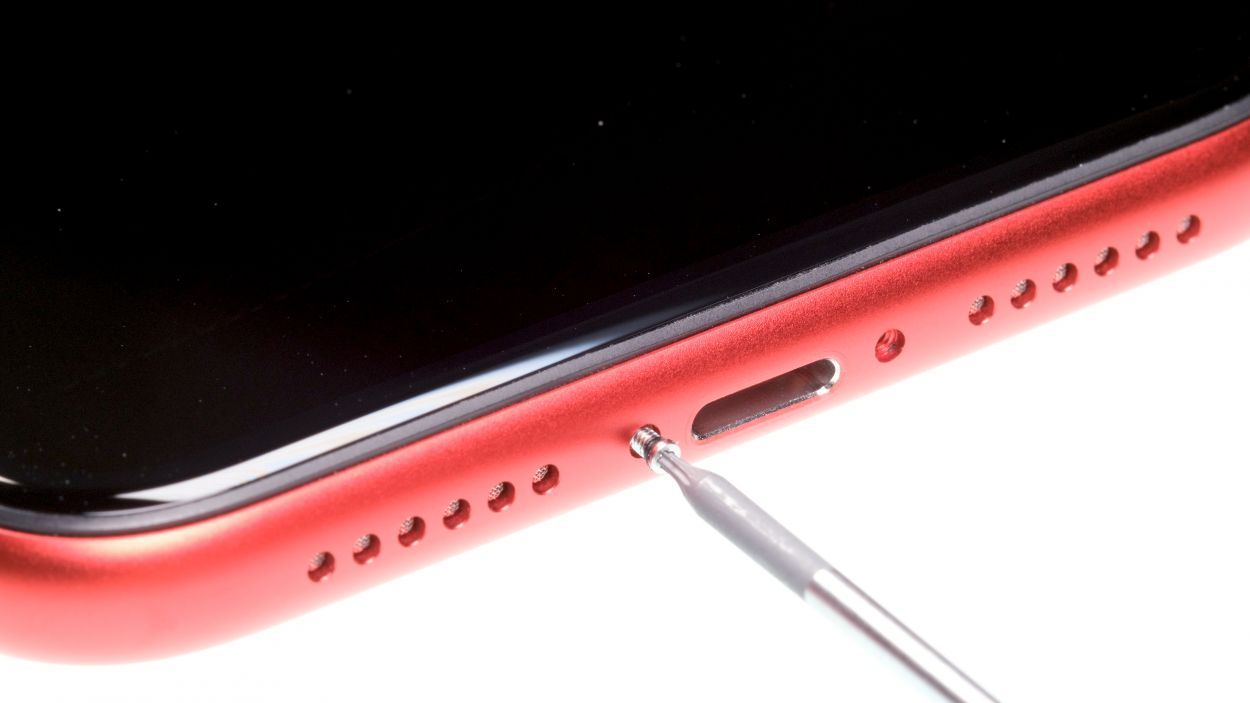
2 × 6,8 mm Pentalobe
Once you’ve opened up your device, the IP68 classification’s cozy dust and splash protection will be taking a little vacation. Keep that in mind while you work your magic!
– On the bottom side of your device, just to the right and left of the Lightning connector, you’ll spot two Pentalobe screws waiting for you. Go ahead and remove both of them, then toss them into the shared area on your magnetic pad. You’ve got this!
Tools Used
Step 3

– Set your iPhone 11 down on a cozy, clean surface to keep its back looking sharp during this step.
– To lift the screen, grab a suction cup, a sturdy plastic plectrum, and a hairdryer. If your glass is really splintered, a strip of parcel tape over it will keep those pesky shards at bay.
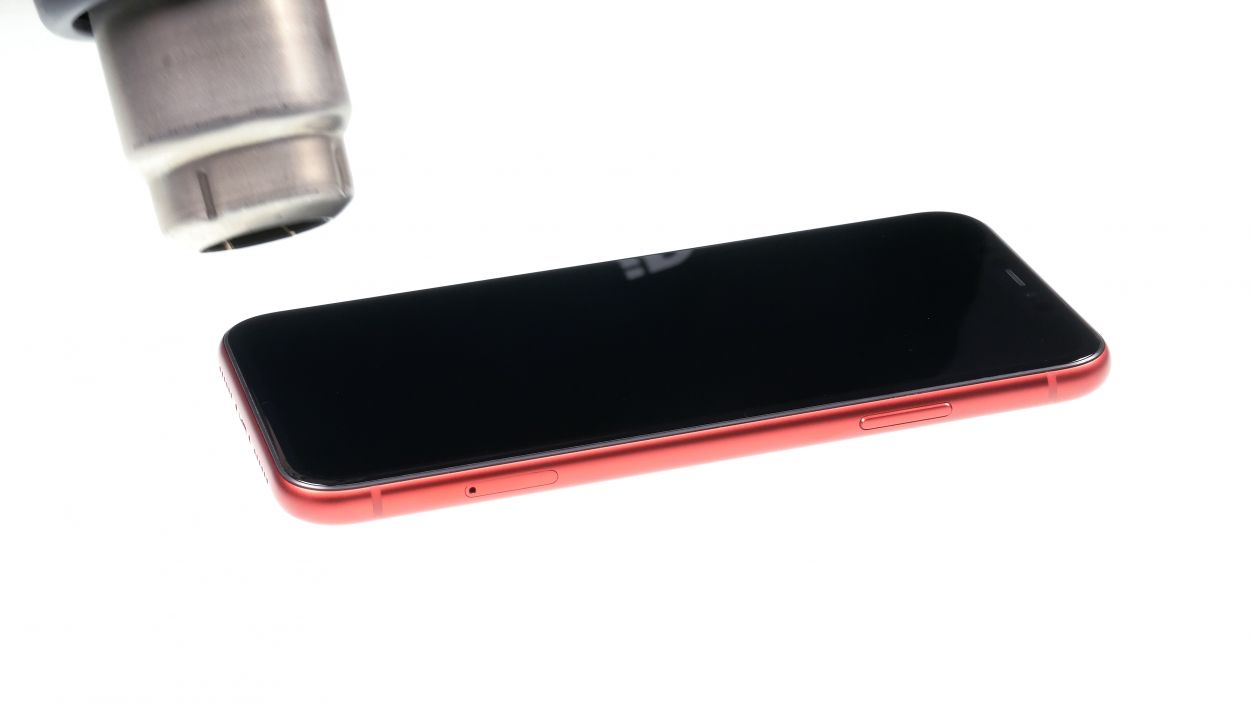
– Warm up the edge of the display with your hairdryer to about 60° C (140° F) to loosen that glue.
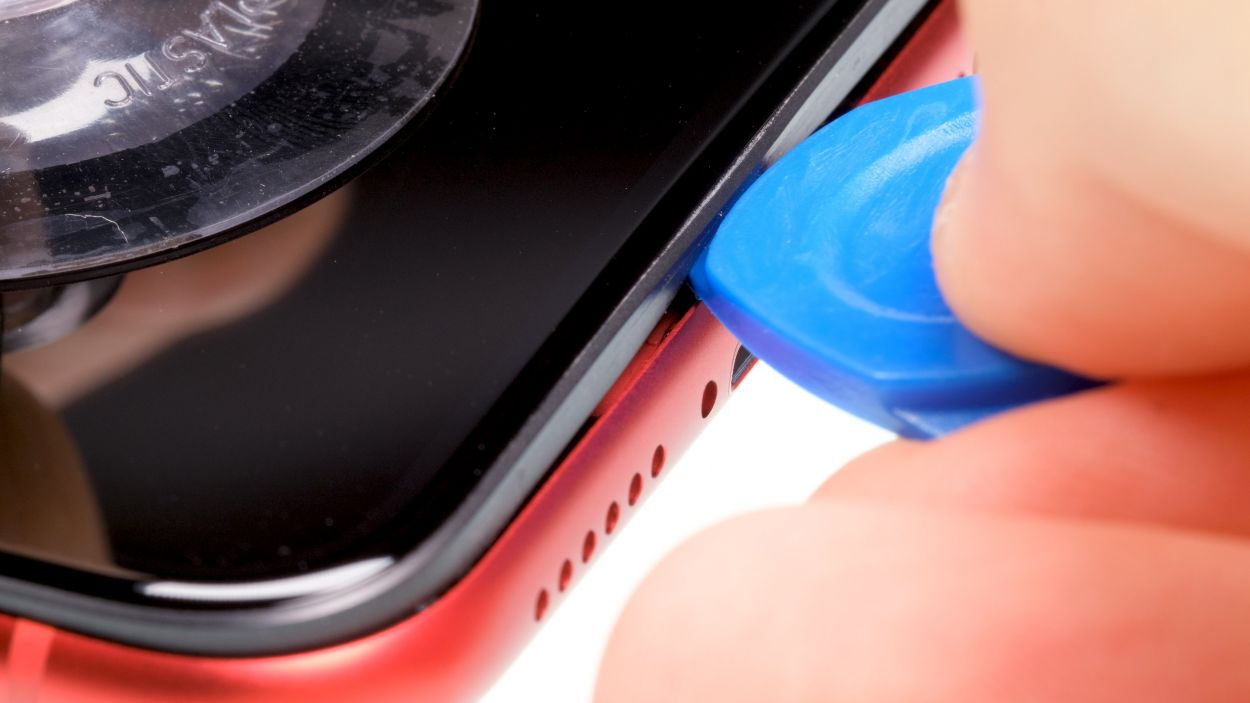
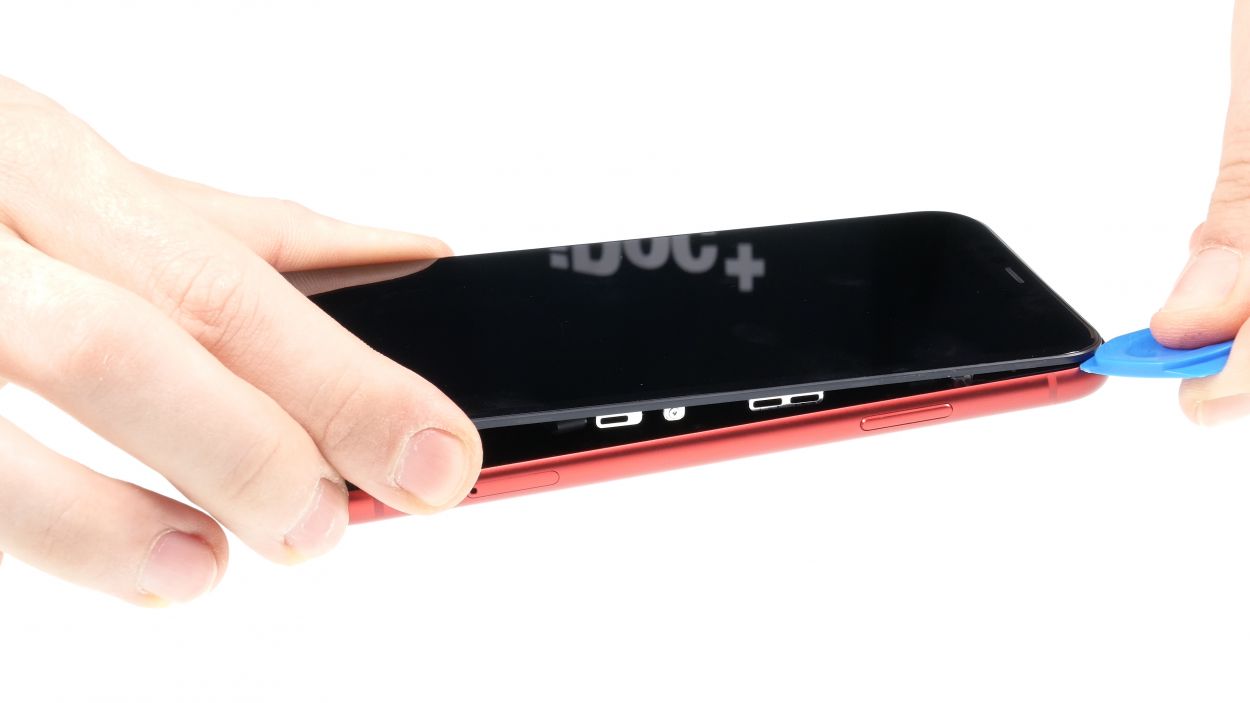
– Now, stick the suction cup on the lower edge of the iPhone. Use the key ring on the suction cup to gently lift the display while sliding the hard plastic plectrum between the case and display frame, pressing the case frame down. To tackle the display adhesive, make sure to move that plectrum all the way around the iPhone.
Hey there, repair champ! Just a friendly reminder: when you’re using your tool, keep it to about 5mm deep inside the device. We wouldn’t want you to accidentally poke any sensitive components, especially around the standby button where those delicate flex cables are hanging out. You’ve got this!
Feel free to swap in an iFlex instead of that hard plastic plectrum. Just a heads-up though—it might leave a few scratches on the frame. But hey, a little character never hurt anyone, right?
Tools Used
- heat gun to heat parts that are glued on so they’re easier to remove.
In most cases, you can also use a hairdryer.” rel=”noopener”>Heat gun - Pick Set
- iFlex Opening Tool
- VAKUPLASTIC Suction Cup
Step 4


– Grab your trusty Y-type Y000 screwdriver to tackle those Y-type screws holding the metal cover in place. Once you’ve got them out, make sure to gather all the little parts in the designated area on your magnetic mat. You’re doing great!
5 × 1,1 mm Y-Type
Touch connector
LCD connector
Earpiece connector
With the iPhone 7, Apple decided to shake things up with some Y-type screws! You might have heard folks call them Tri-Point or Tri-Wing, but let’s set the record straight—those names are a bit off. To tackle these bad boys, just make sure you’ve got the right screwdriver handy to keep those screw heads in tip-top shape!
Tools Used
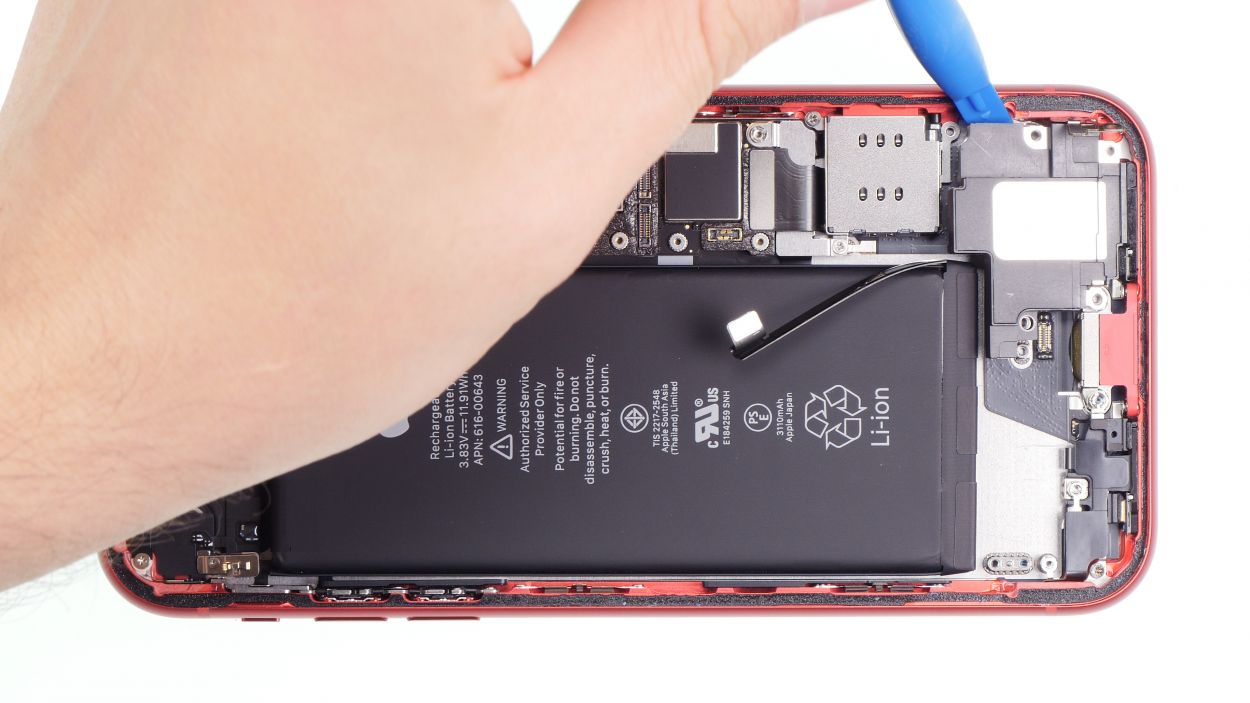
Step 5

3 × 1,1 mm Y-Type
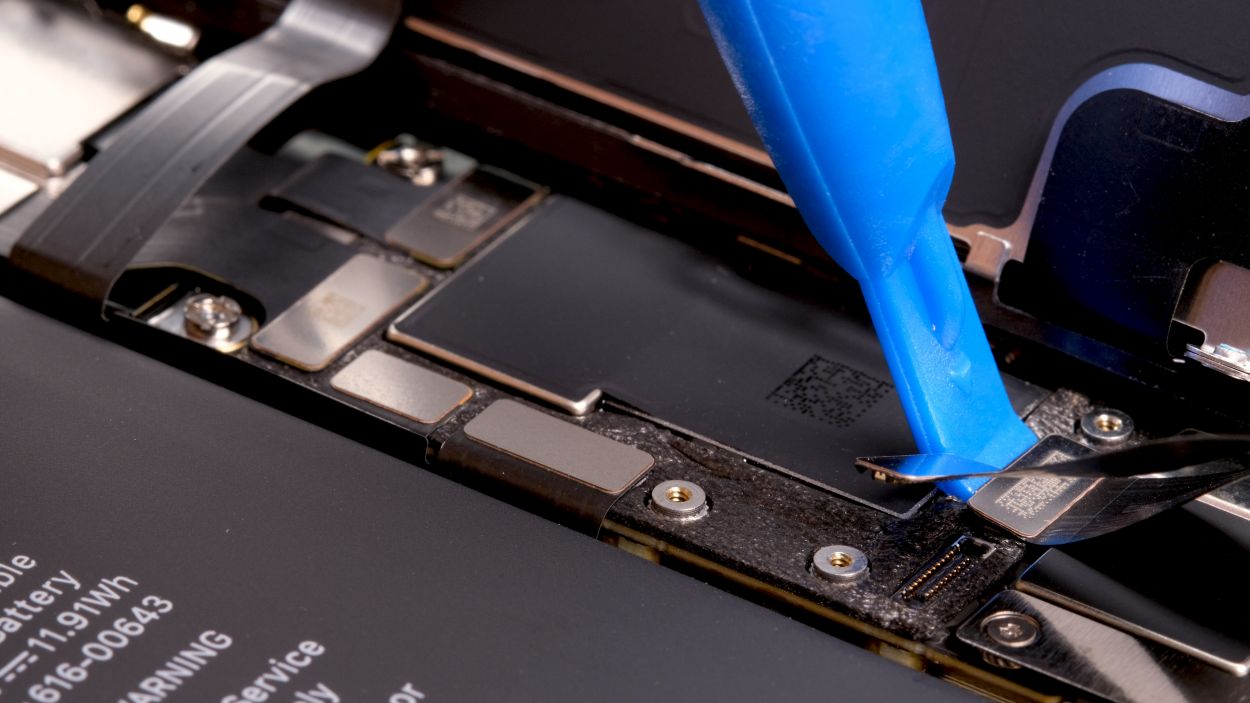
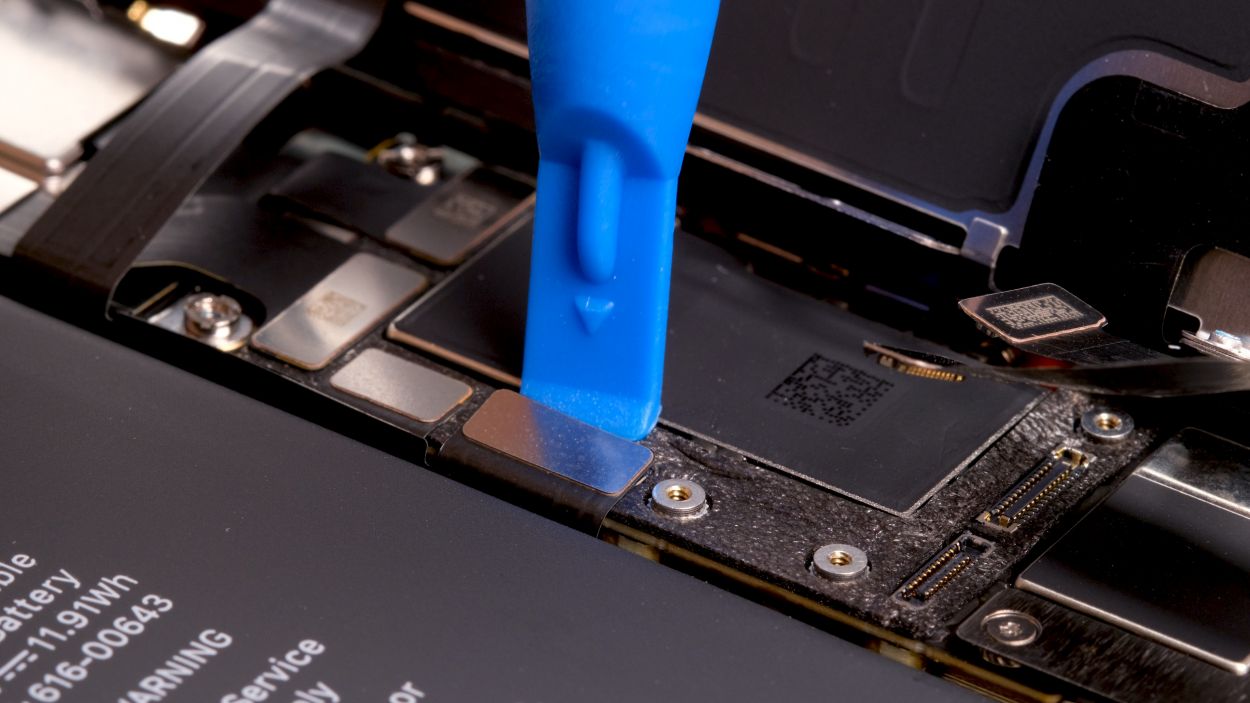
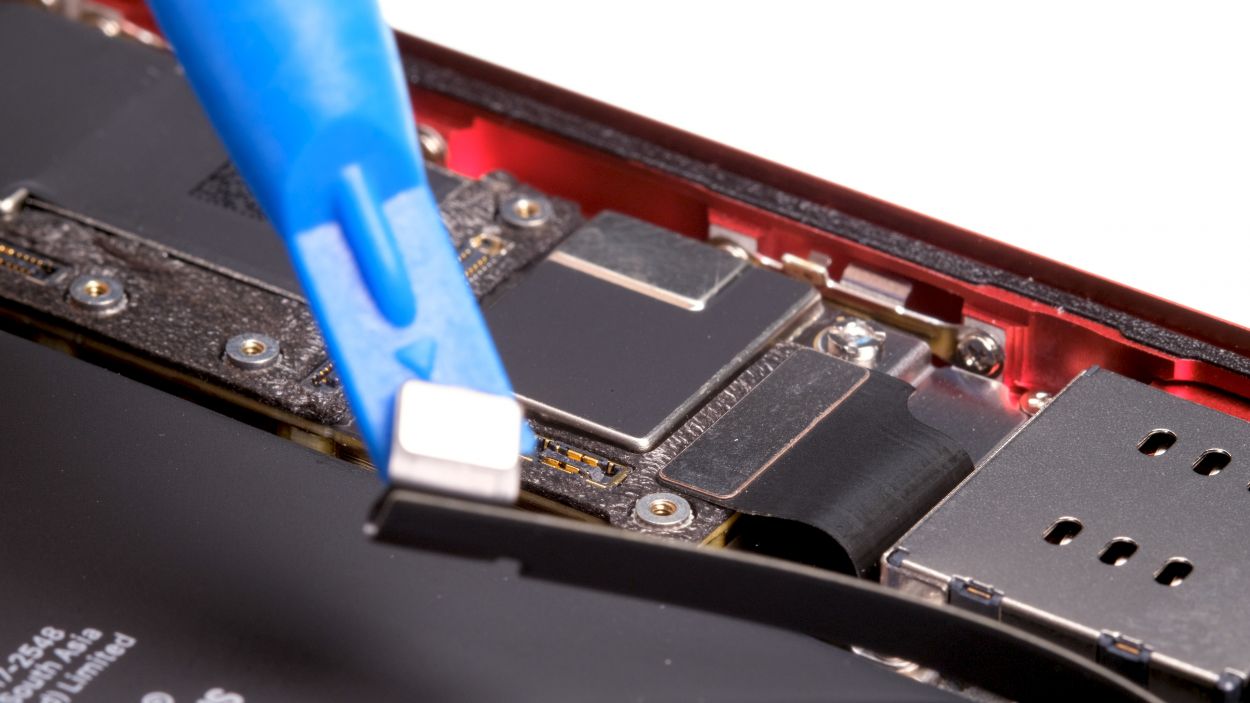
Battery connector
– Let’s kick things off by unscrewing those little screws sitting on the cover plate above the battery contact. You’ve got this!
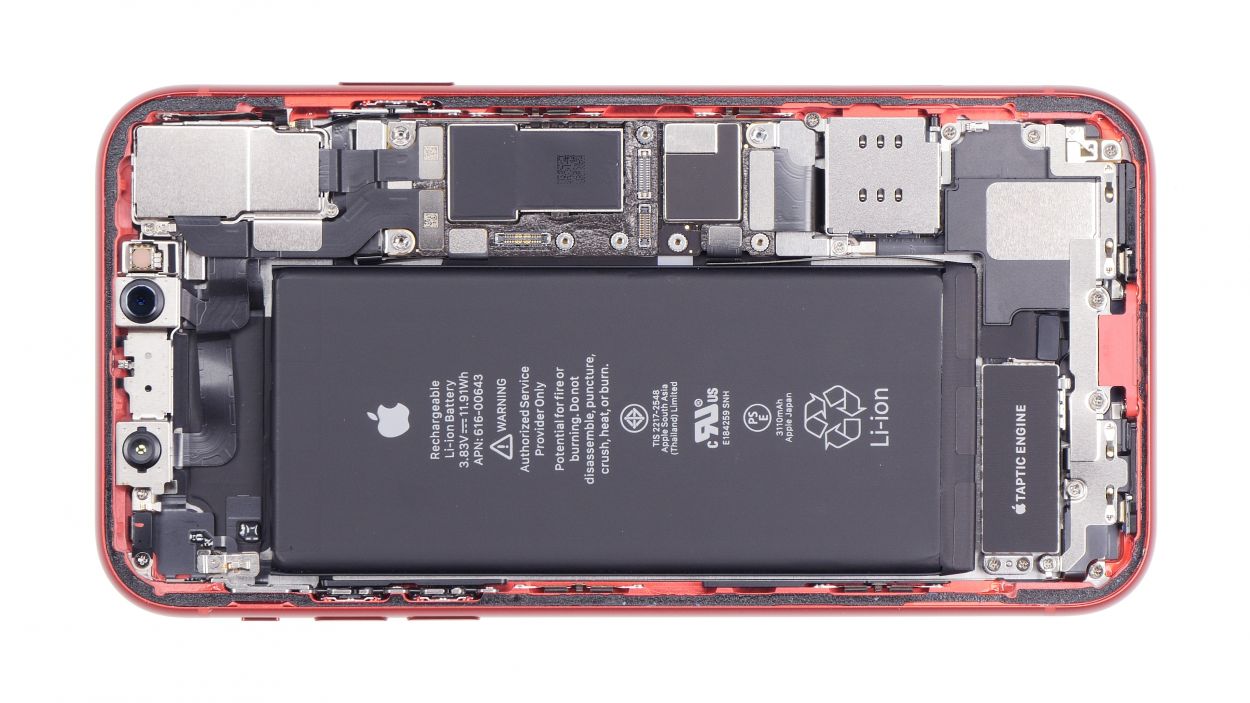
– Next, gently remove the cover plate and gather all the parts in the designated area on your magnetic mat. Keep it organized!
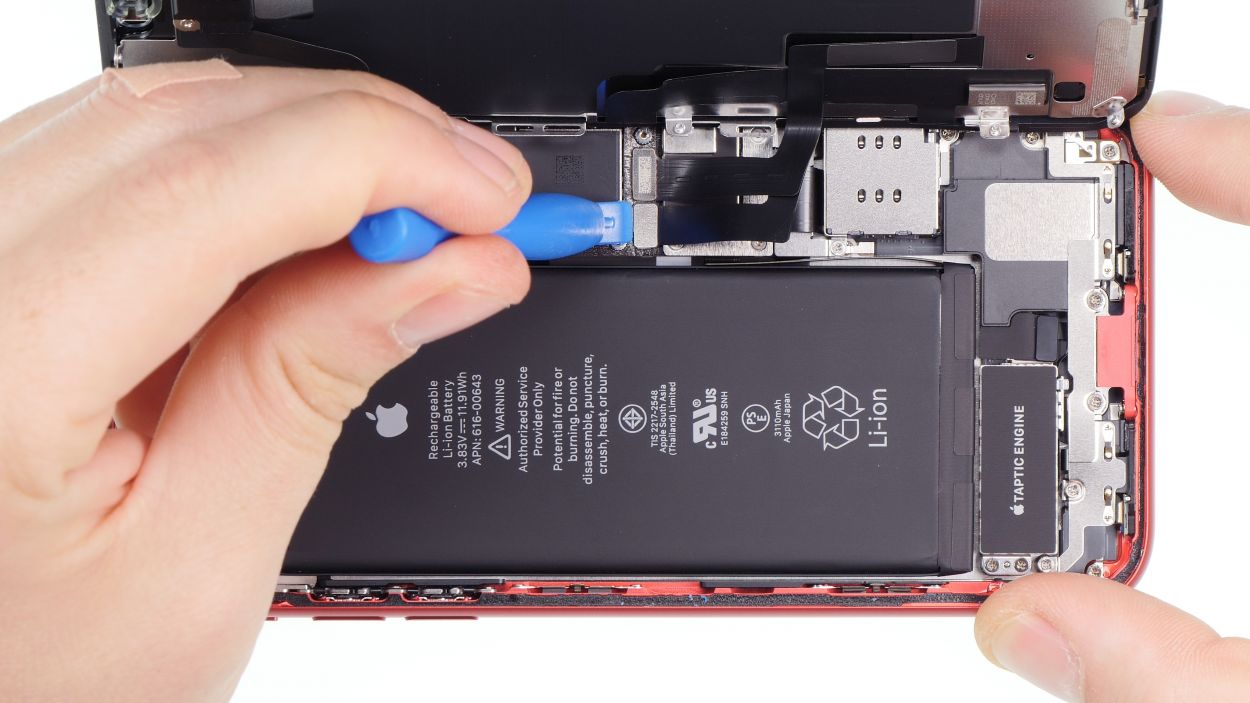
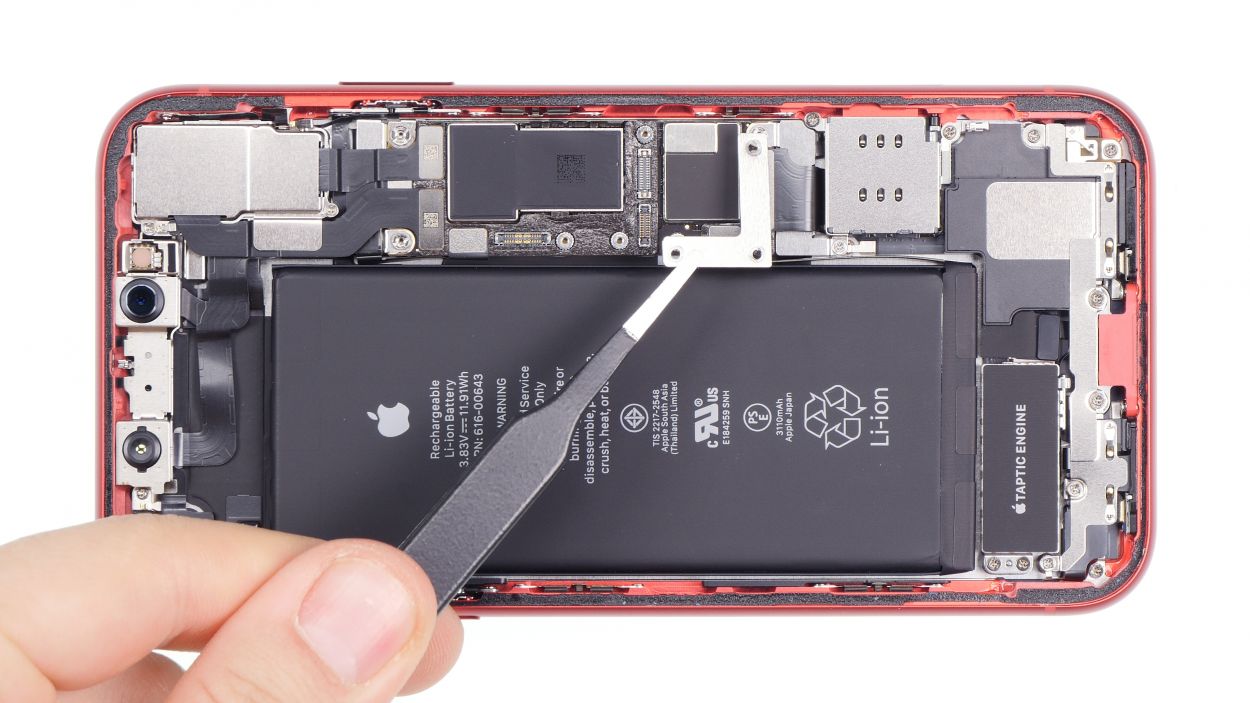
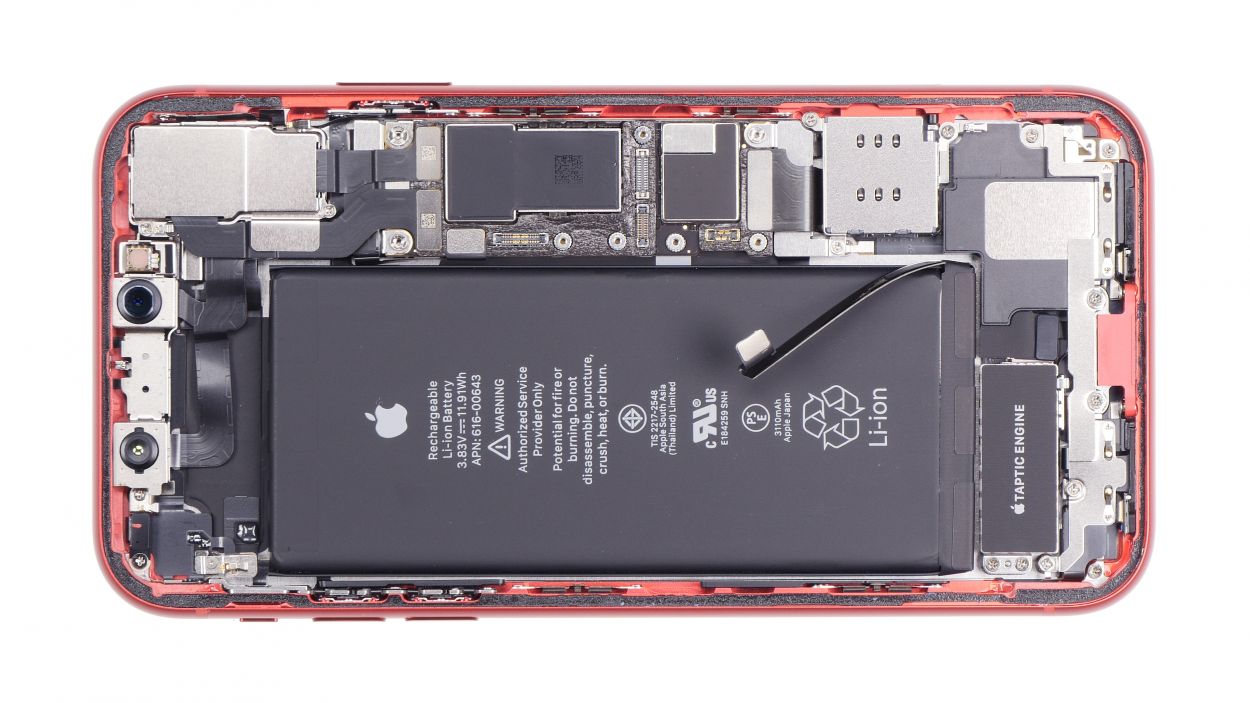
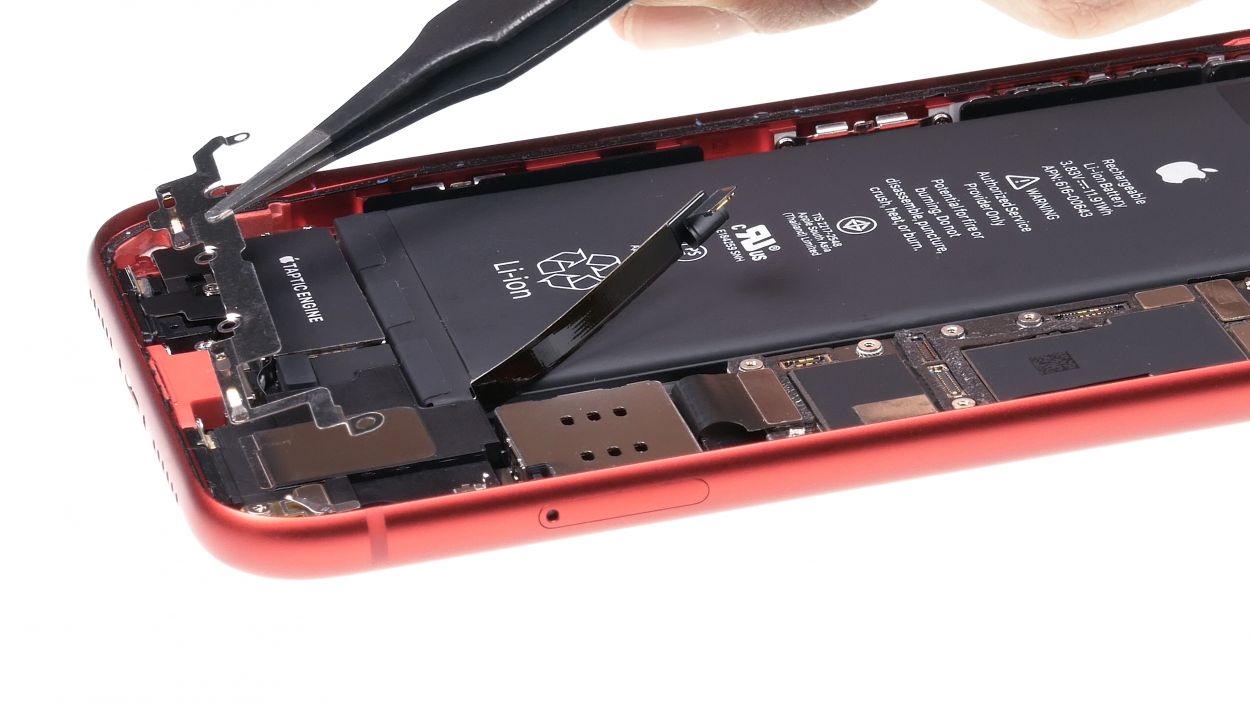
– Now, it’s time to carefully lift off the battery contact using a plastic spudger. Give it a little bend to the side, but remember, a plastic spudger is your best friend here to prevent any short circuits!
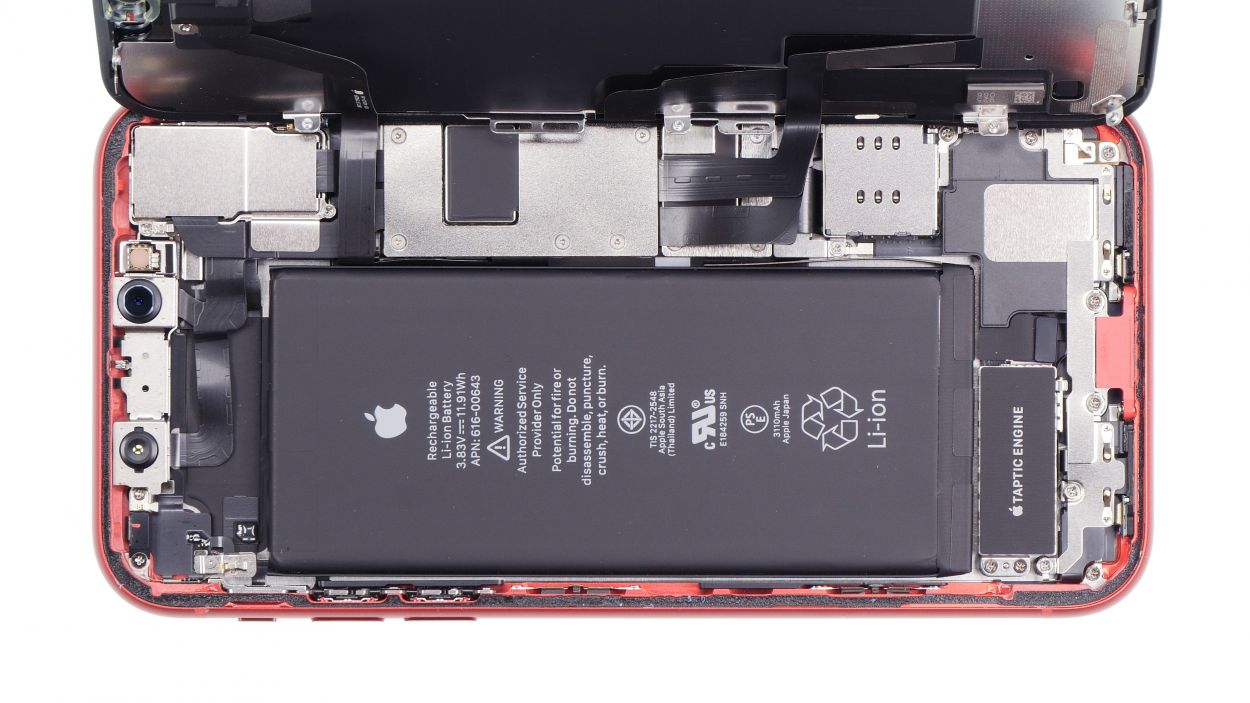
Step 6
4 × 1,5 mm Phillips
1 × 1,2 mm Phillips
The best way to keep track of those pesky screws is with a magnetic pad! You can sort them just like they are in your device, and don’t worry—those little guys will stick around and won’t go missing on you!
– Take out the screws from the cover plate that’s hanging out over the speaker. Just a heads-up: these screws come in different lengths, so keep an eye on them to avoid a mix-up!
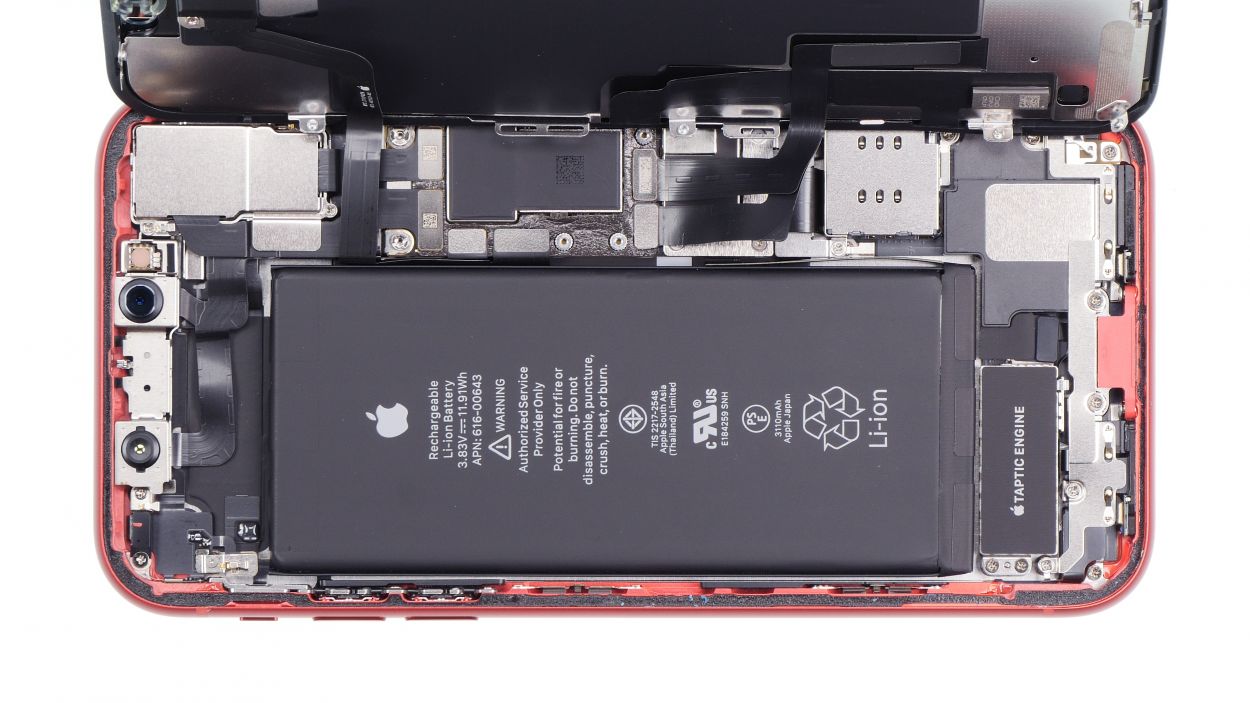
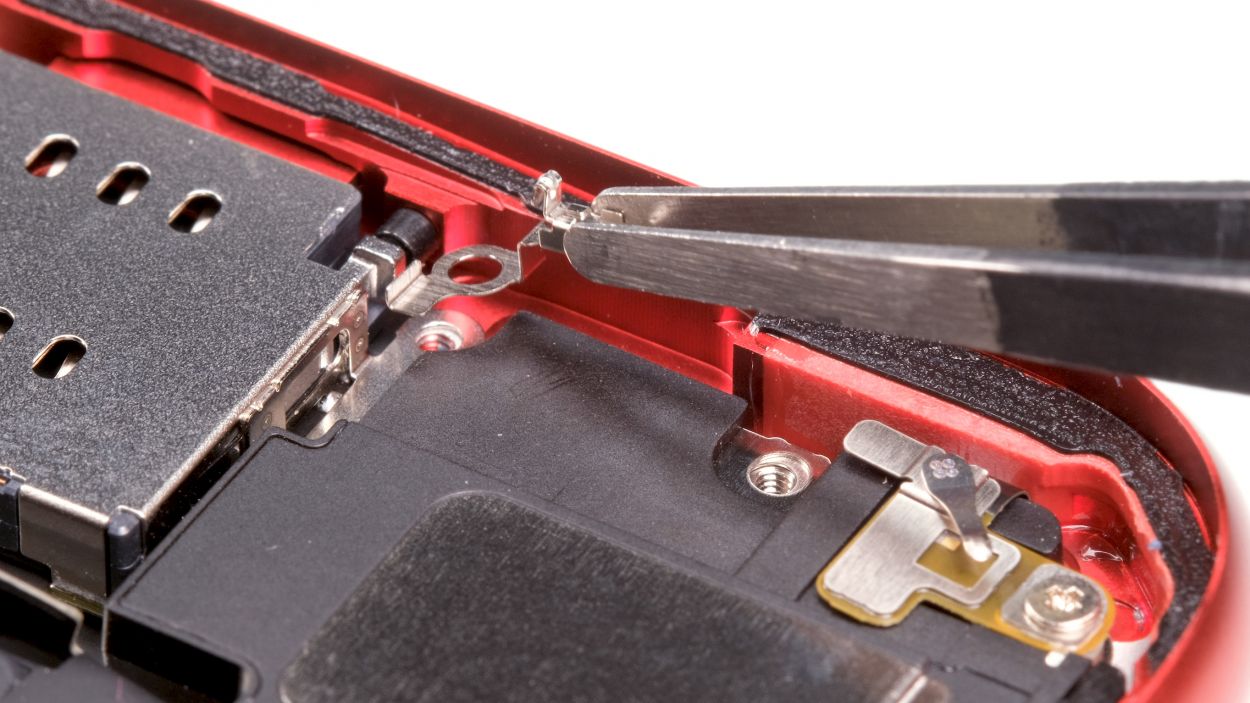
Step 7

3 × 1,5 mm Phillips
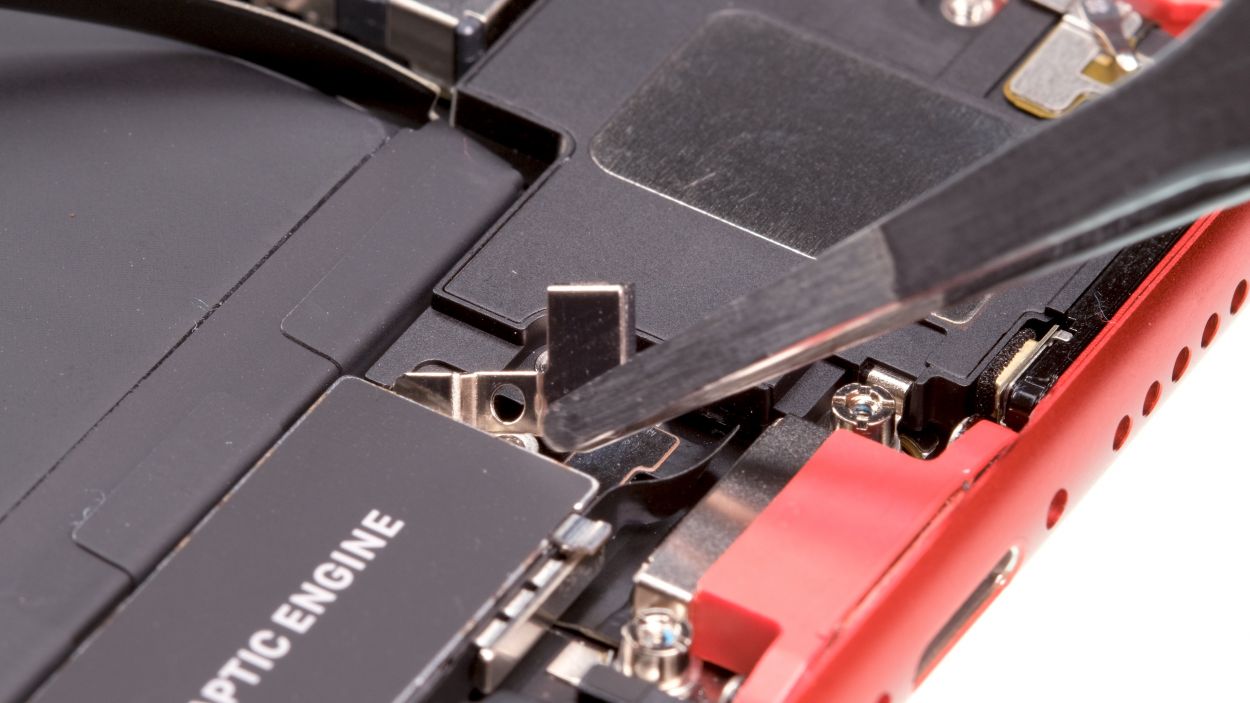
Taptic Engine Connector
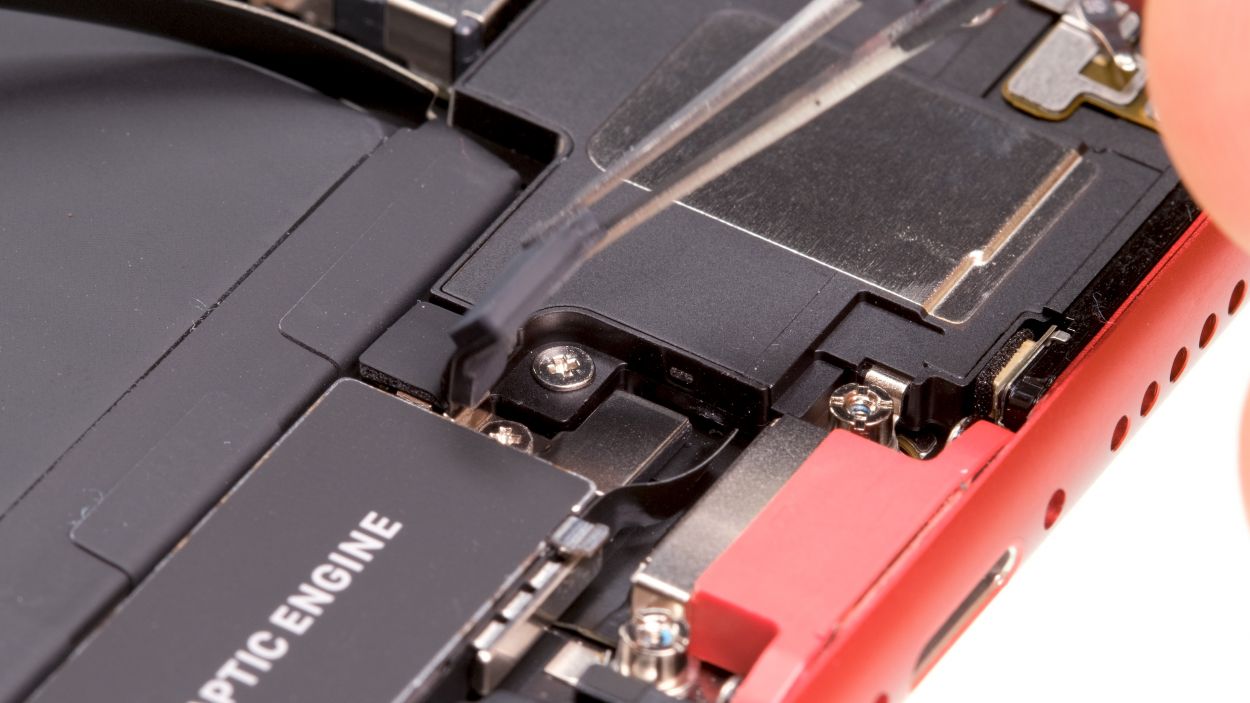
– Start by gently peeling off the slightly stuck rubber cover that’s cozying up to the Taptic Engine’s contact.
– Next, give the screws on both sides of the Taptic Engine a little twist to loosen them up.
– Carefully take off the cover plate and use a spudger to delicately loosen the contact—you’re doing great!
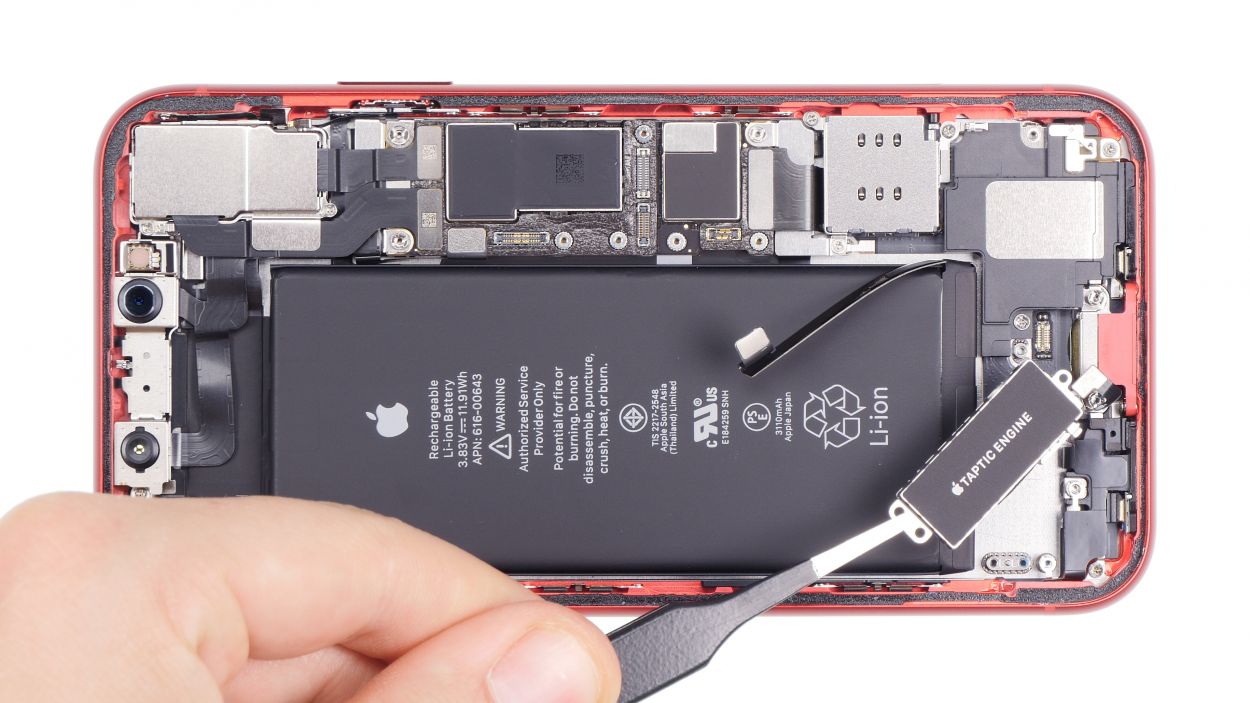
– Now, it’s time to lift out the Taptic Engine and celebrate your progress!
Step 8
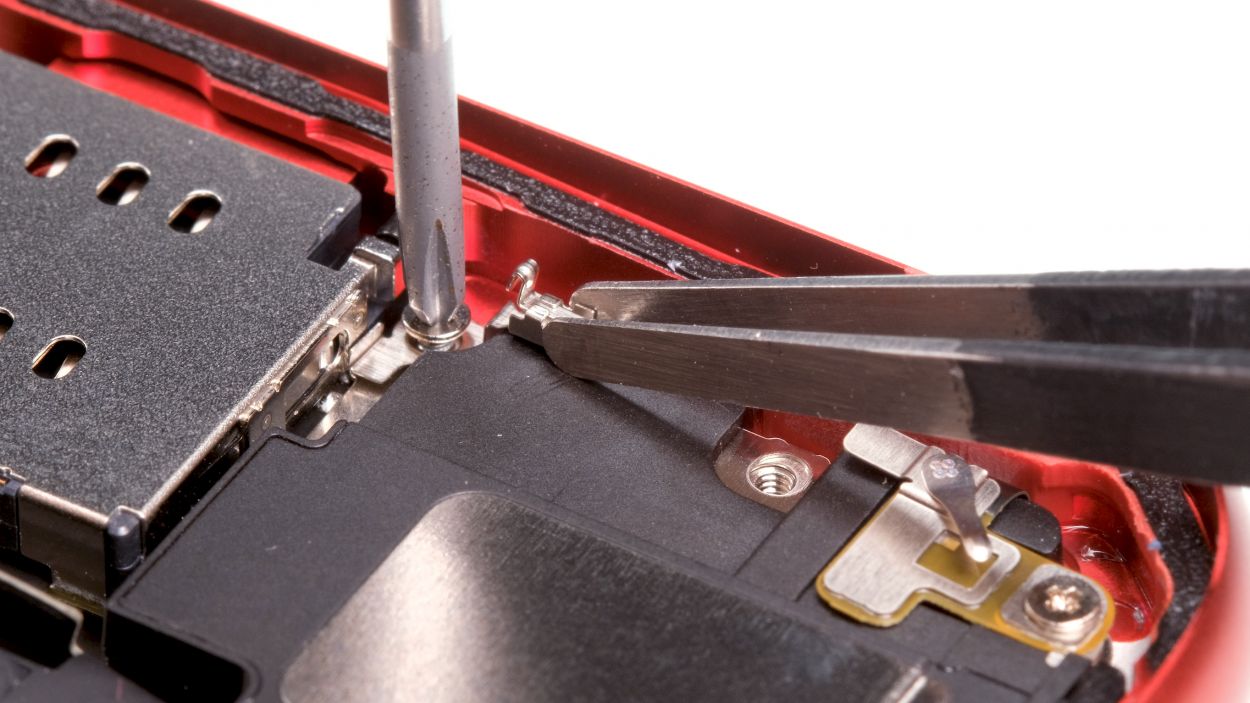
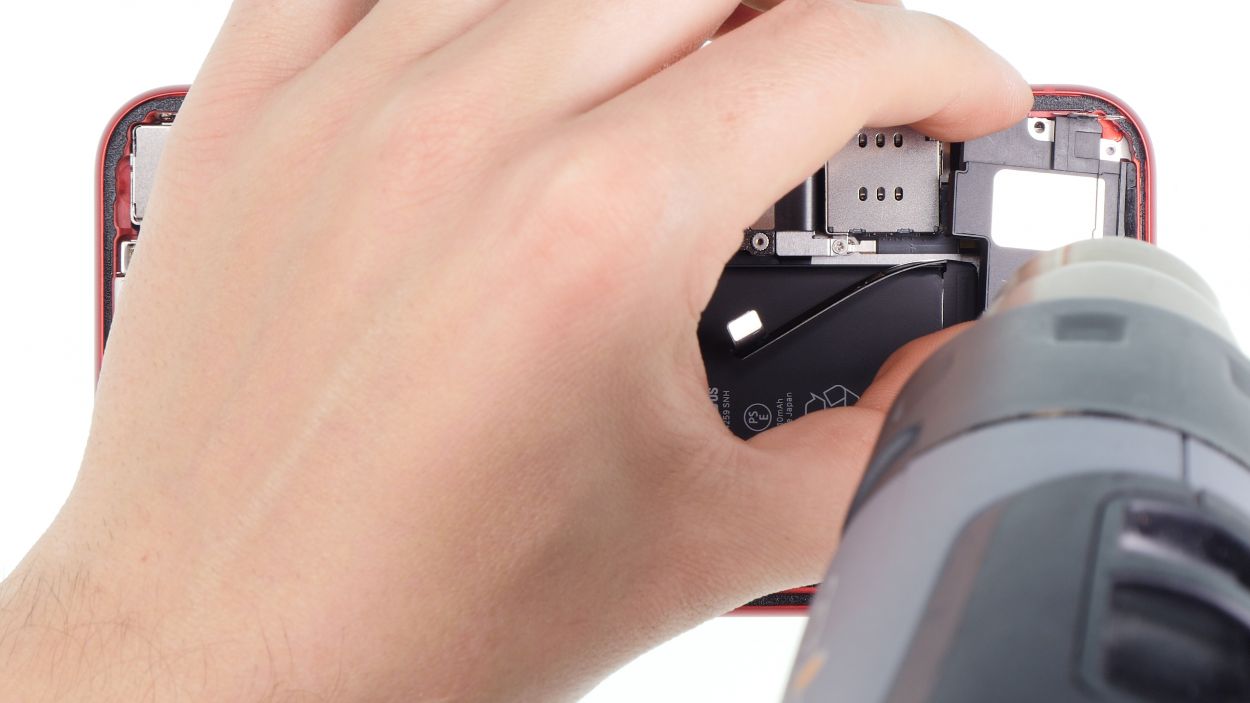
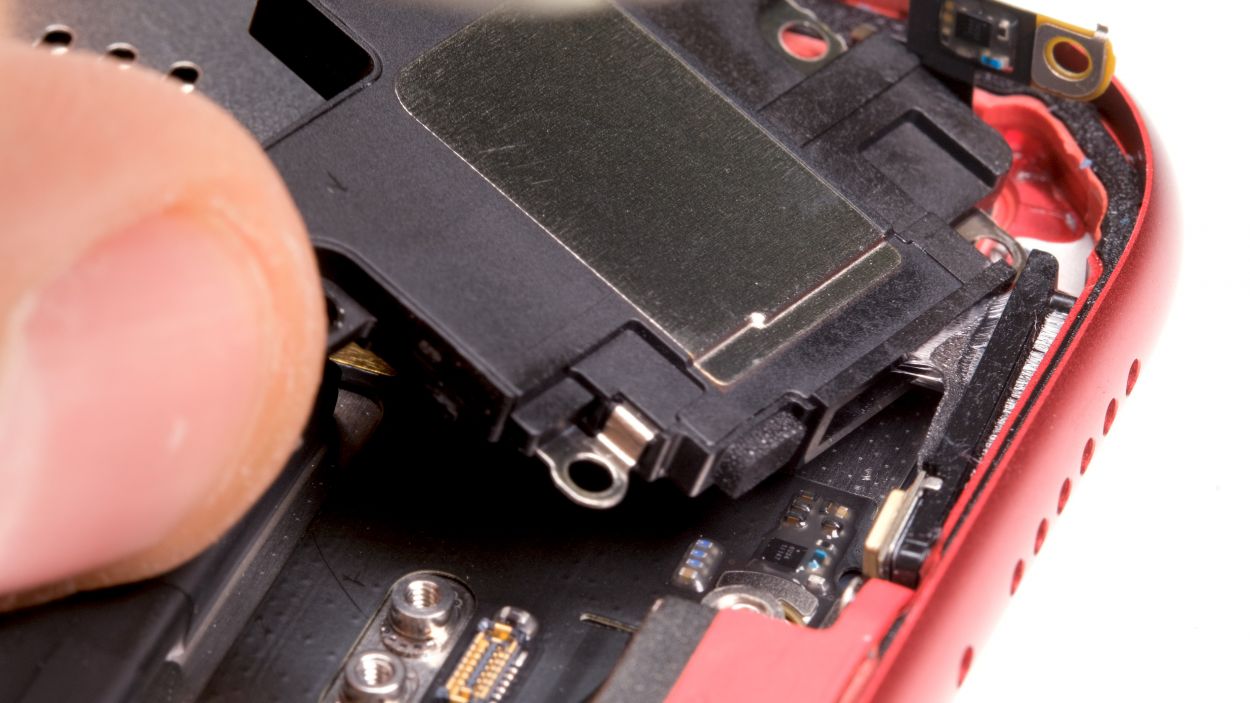
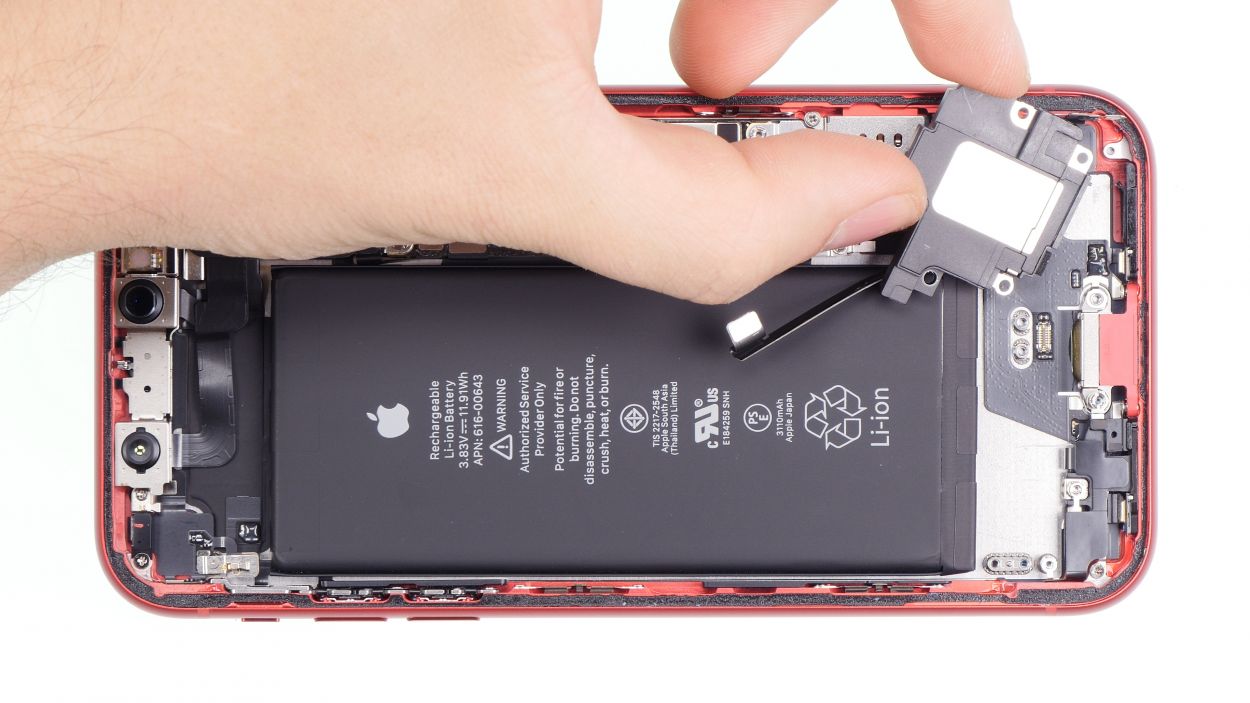
– Unscrew the little screws that are keeping the speaker snug in its spot. You’re on the right track!
2 × 1,5 mm Phillips
1 × 3,0 mm Standoff
2,3 mm Standoff
One of the screws is in cahoots with a tiny metal clip, so make a mental note of how it sits before you take it out—this will help you pop it back in just right later! There’s also another screw holding a delicate flex cable, and guess what? There’s yet another screw hiding underneath it, just waiting for you to find it!
Step 9