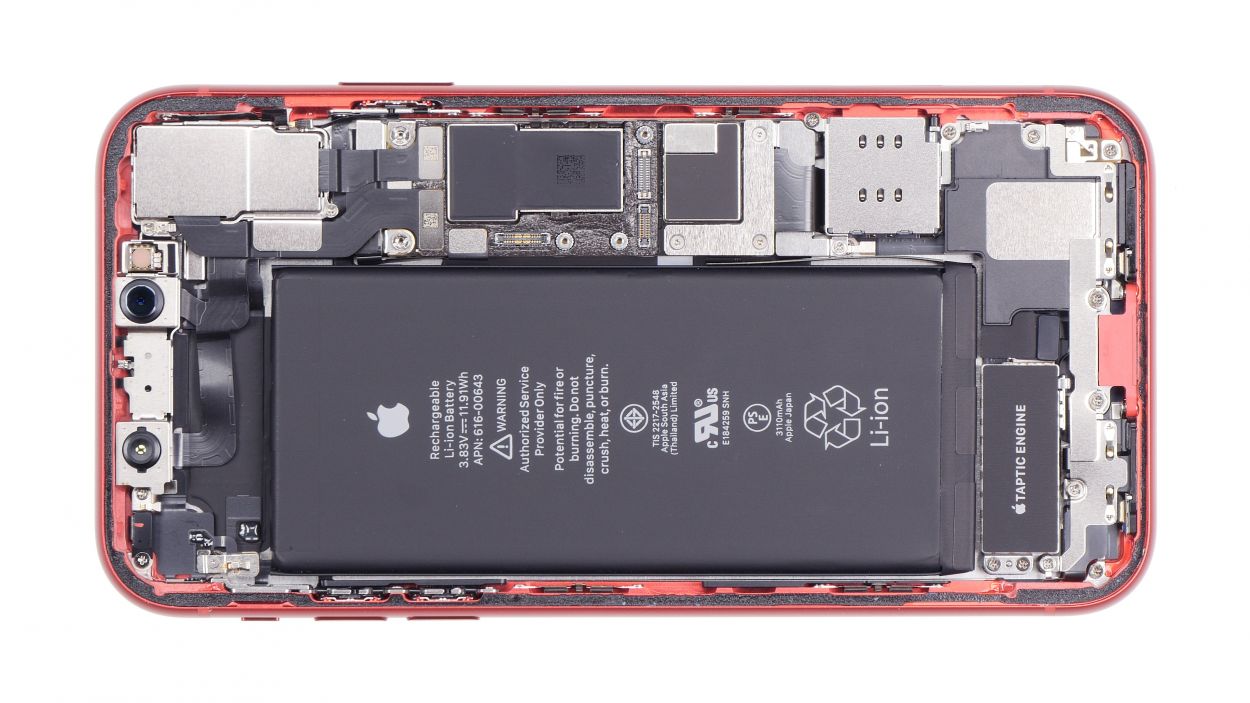
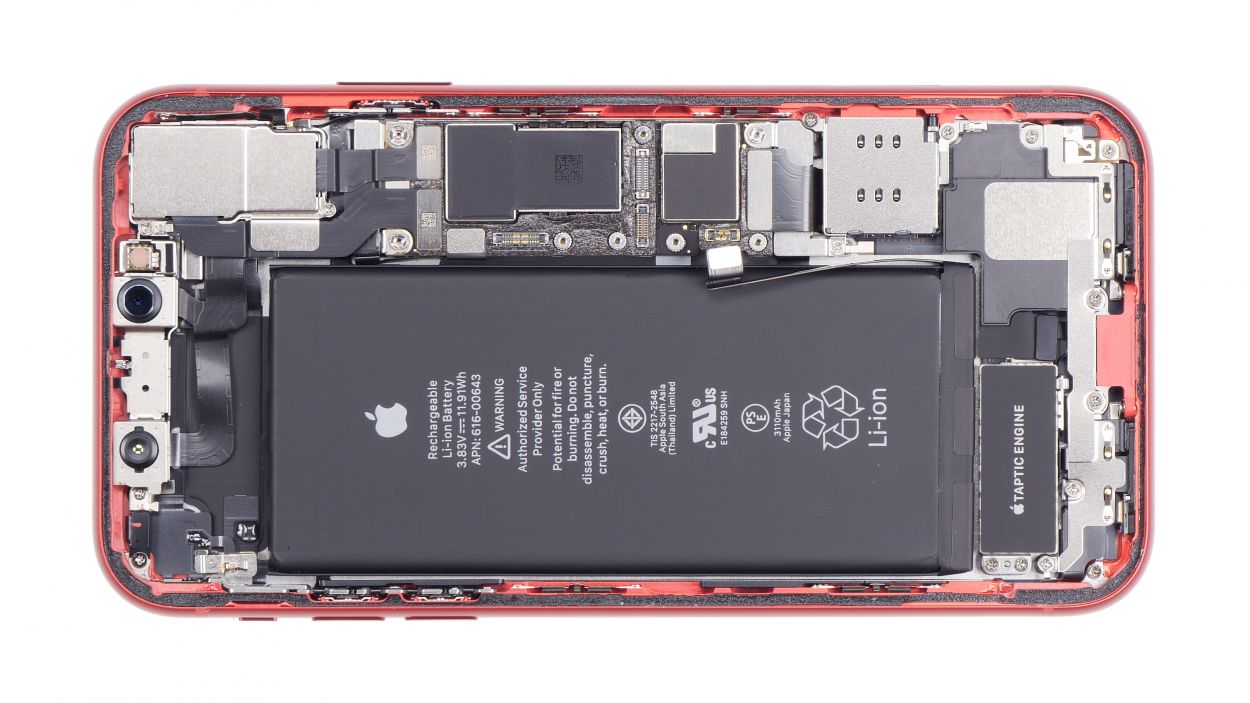
iPhone 11 Camera Replacement Guide: DIY Step-by-Step Tutorial
Duration: 30 min.
Steps: 13 Steps
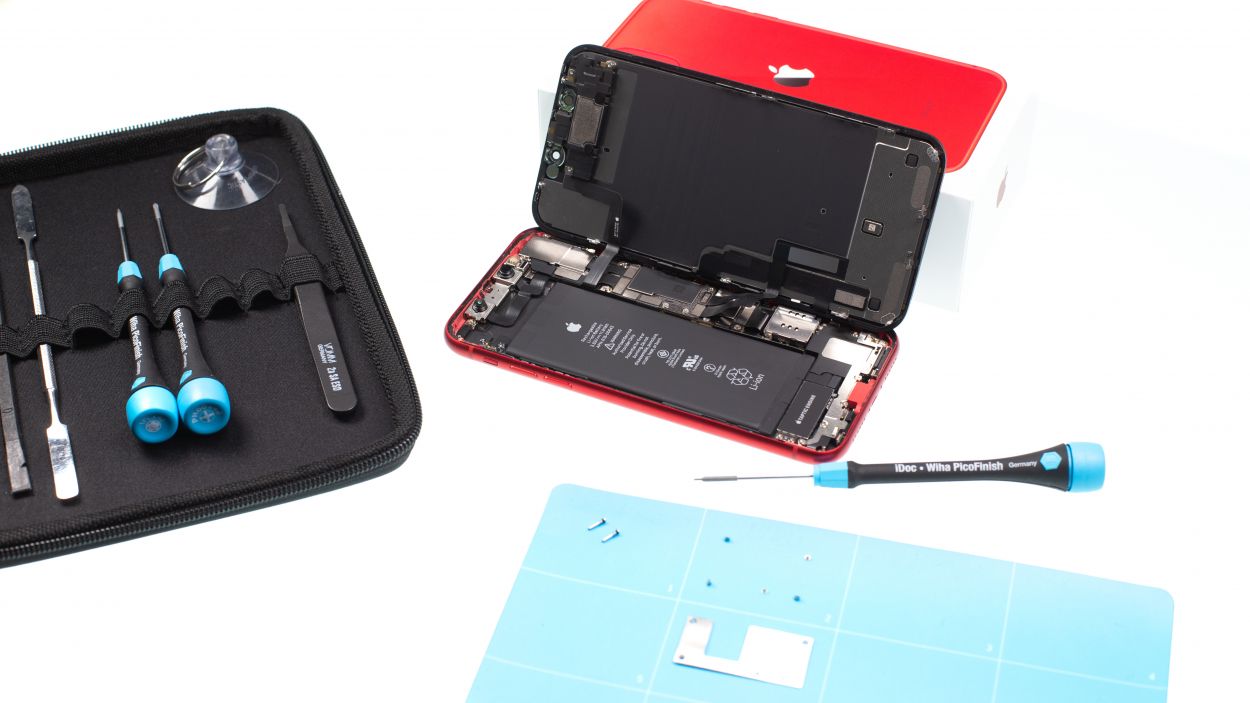
Ready to tackle that iPhone 11 camera issue? With our handy repair guide, you can become your own repair guru and say goodbye to those pricey repair shops! We believe everyone has the power to fix their phone with just a sprinkle of patience, the right tools, and our clear, step-by-step instructions – all available for free right here. Our team of experts has crafted a detailed guide to help you get your camera back in action so you can snap those beautiful photos again. Alongside our detailed steps, we’ve included some short videos to guide you through the process. Stuck or have a question? Just drop a comment in the manual, and our friendly community or experts will jump in to assist you. Plus, everything you need for a successful repair is laid out in one spot. Need some tools or a shiny new camera? No worries – check out our shop for all the essentials. Let’s get your iPhone 11 back to snapping in no time!
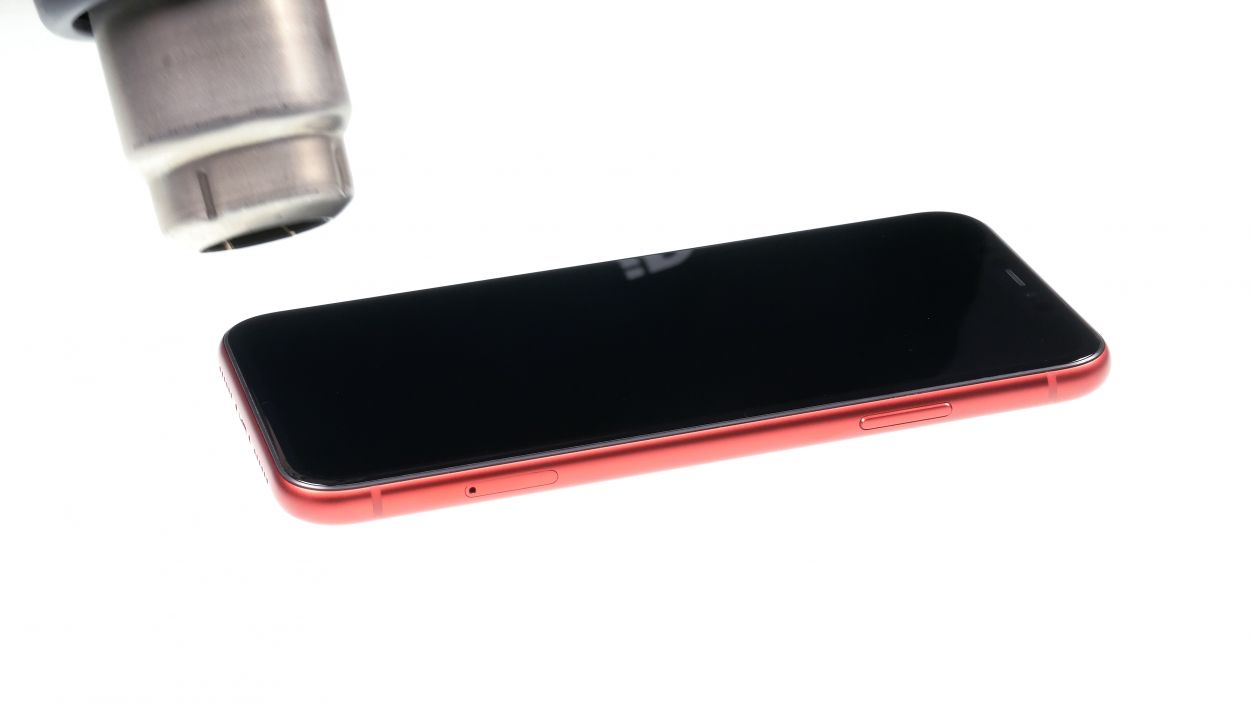
Step 1

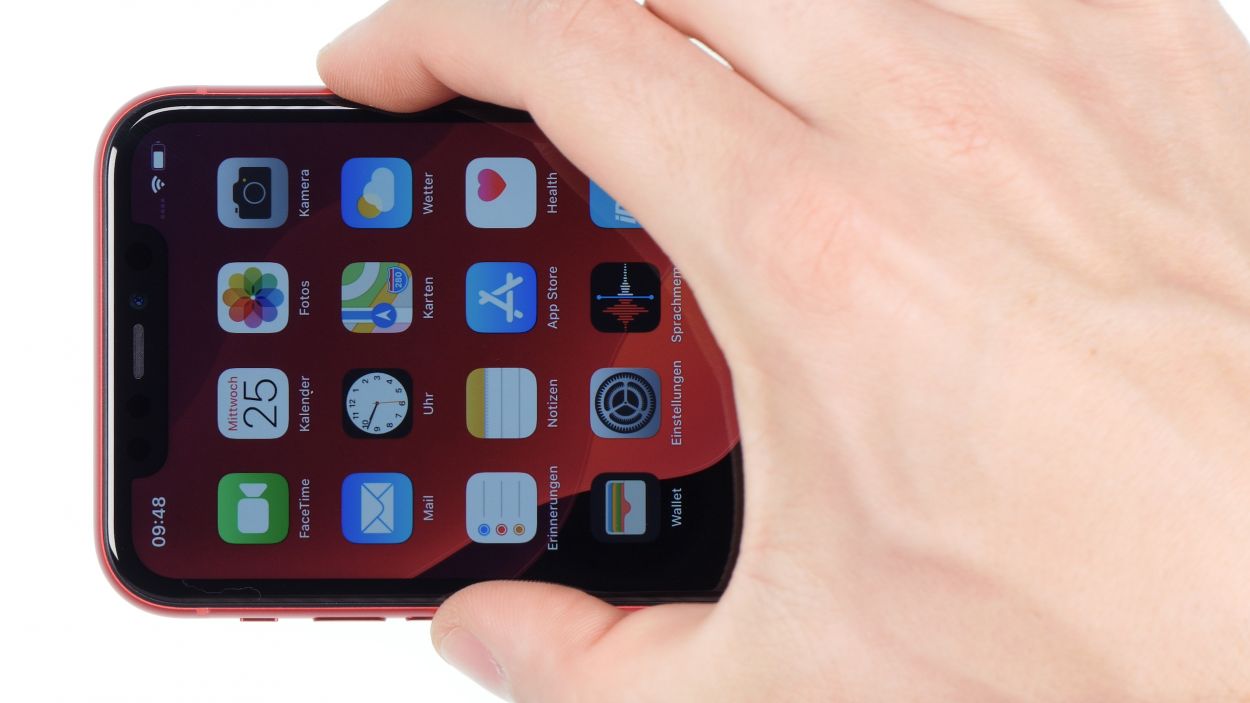
– First things first, let’s keep your iPhone 11 safe and sound while we work our magic. Power it down completely! Just press and hold the Standby button along with one of the volume buttons for about three seconds.
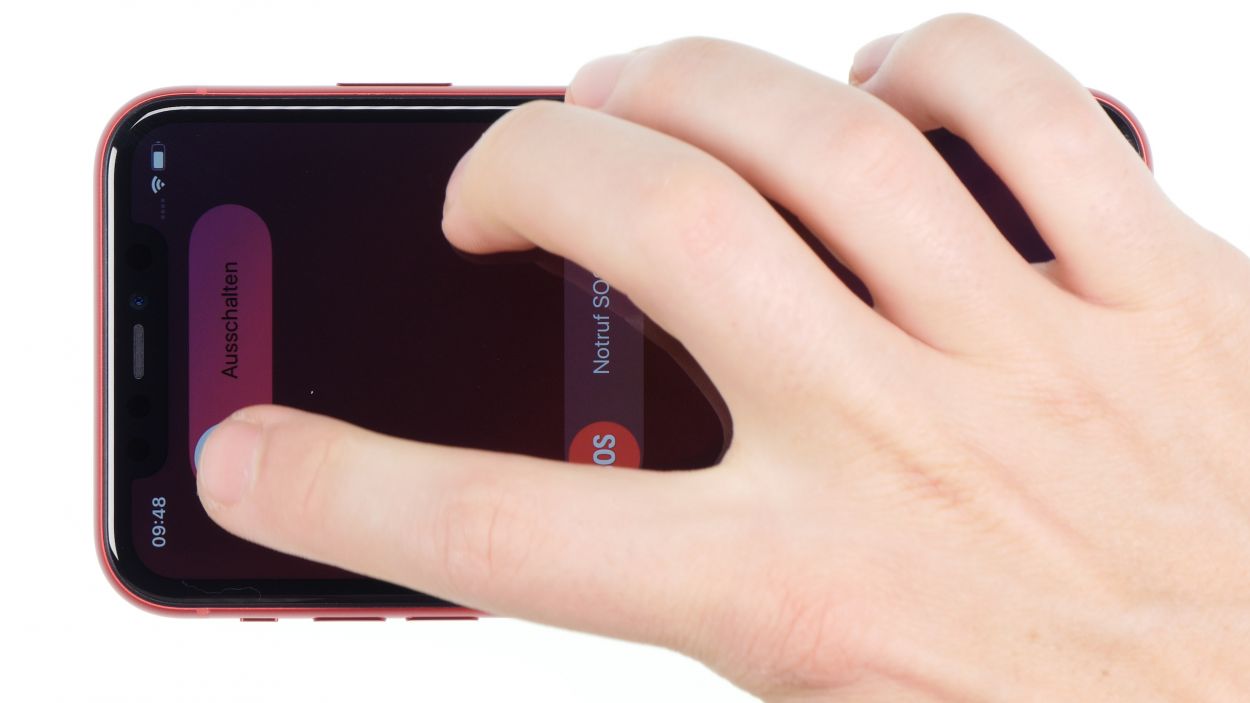
– If you see the slider pop up with the message ‘Turn off’, give it a gentle swipe from left to right. Your iPhone will gracefully shut down in about ten seconds. Easy peasy!
Step 2

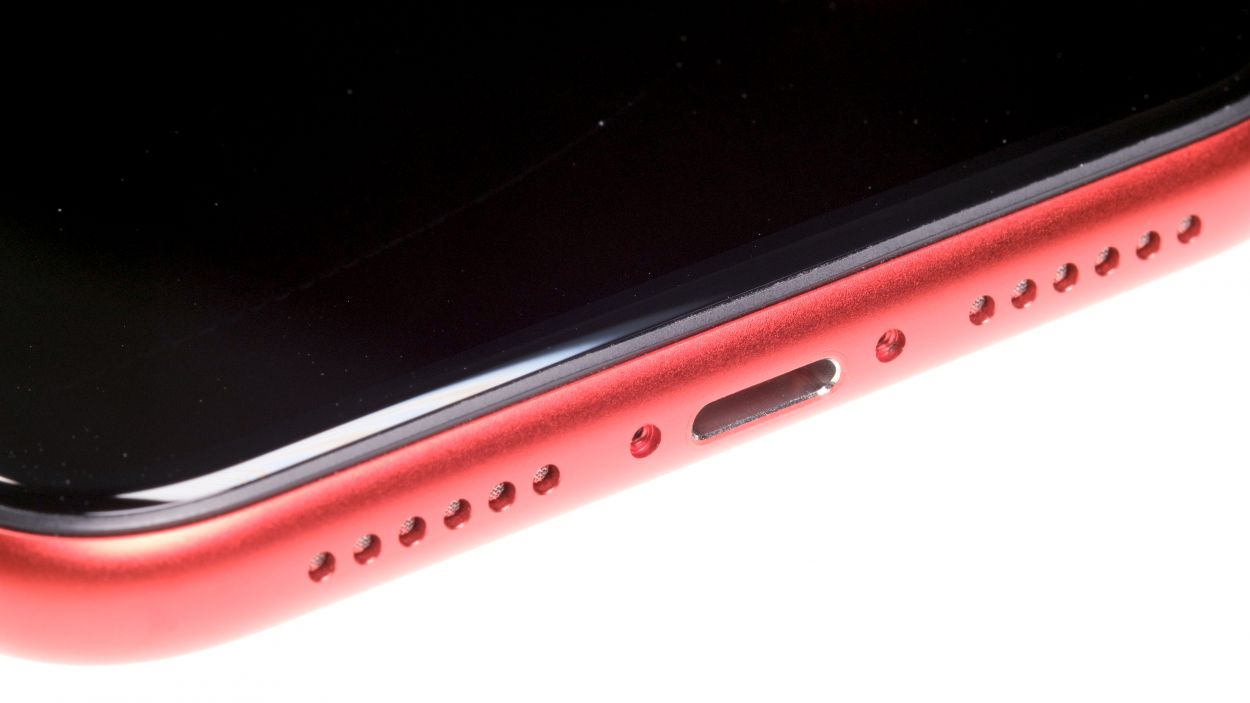
2 × 6,8 mm Pentalobe
Once you crack open that device, the cozy IP68 dust and splash protection will take a little vacation. So, handle with care!
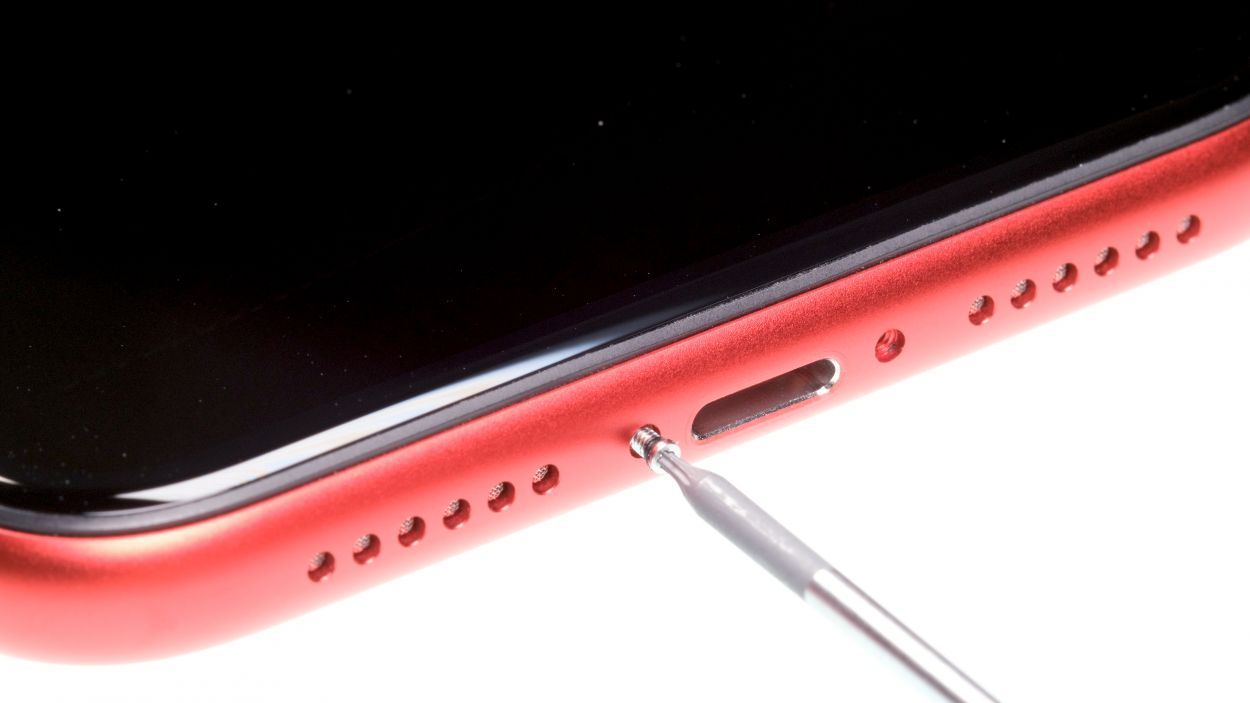
– On the lower side of your device, just to the right and left of the Lightning connector, you’ll spot two Pentalobe screws waiting to be freed. Go ahead and remove both of them, then safely stash them in a shared spot on your magnetic pad.
Tools Used
Step 3
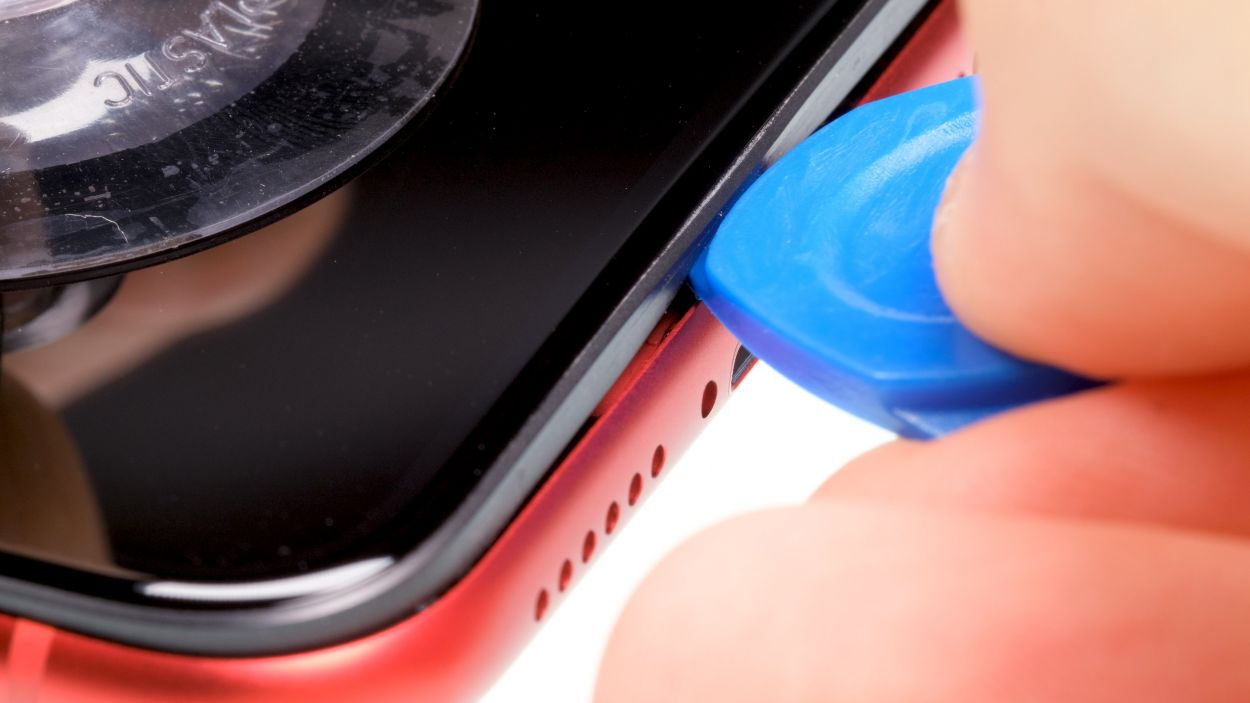
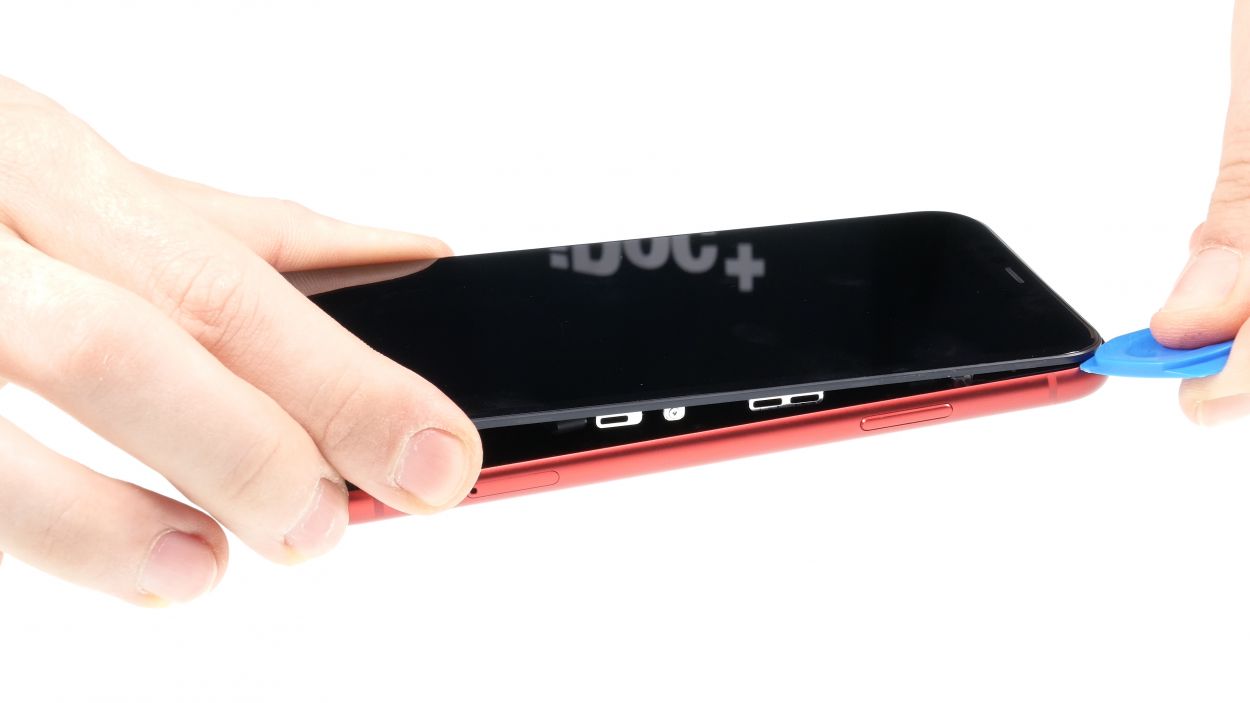

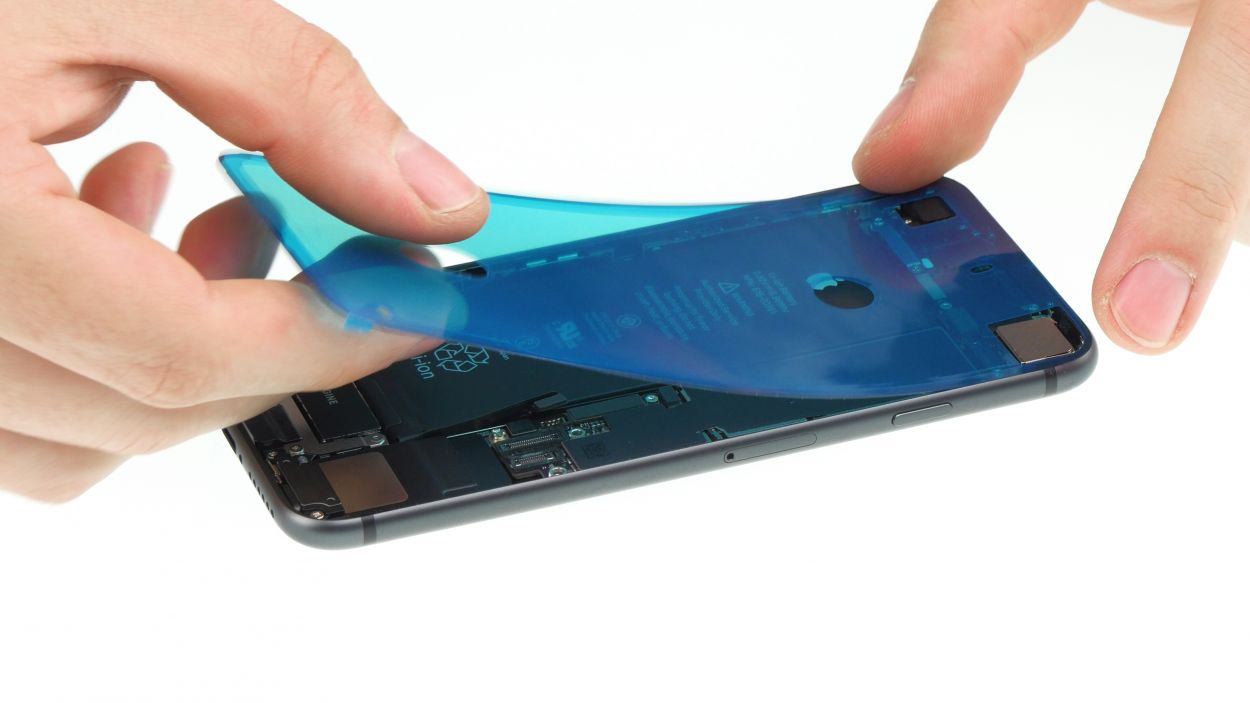
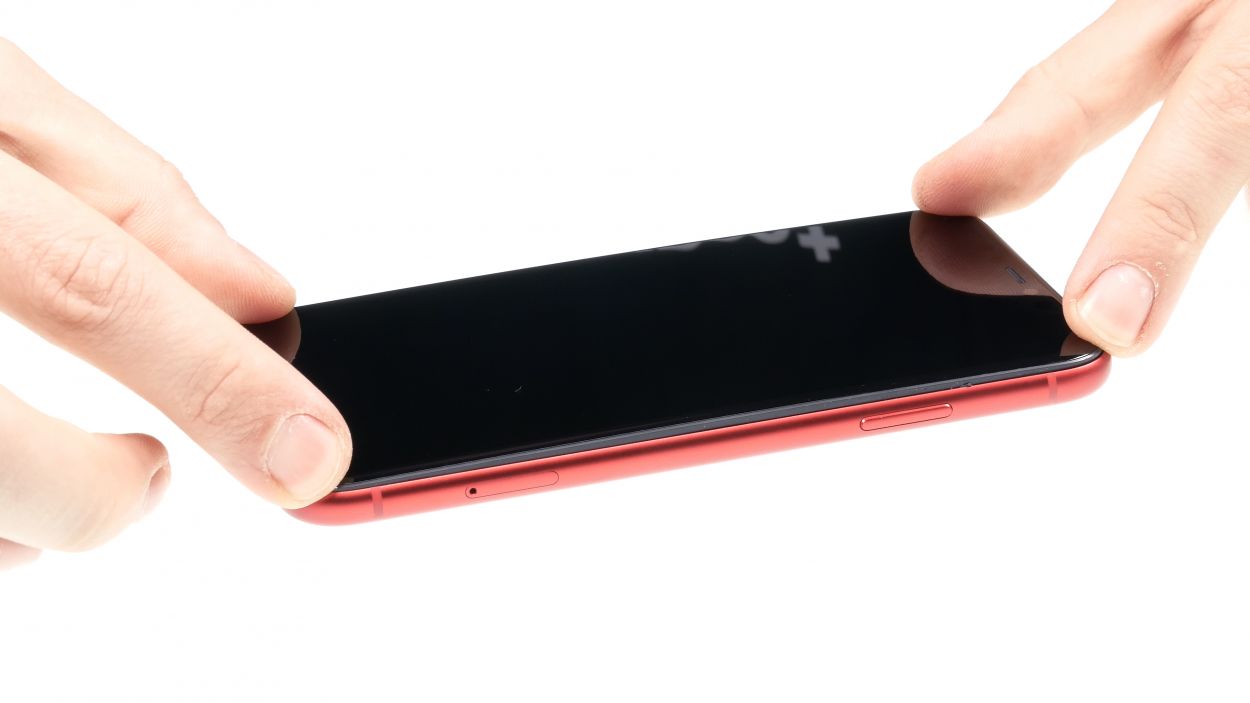
– First up, let’s give your iPhone 11 a cozy spot to rest. Find a soft, clean surface to place it on, so we can keep that back looking pristine while we work our magic.
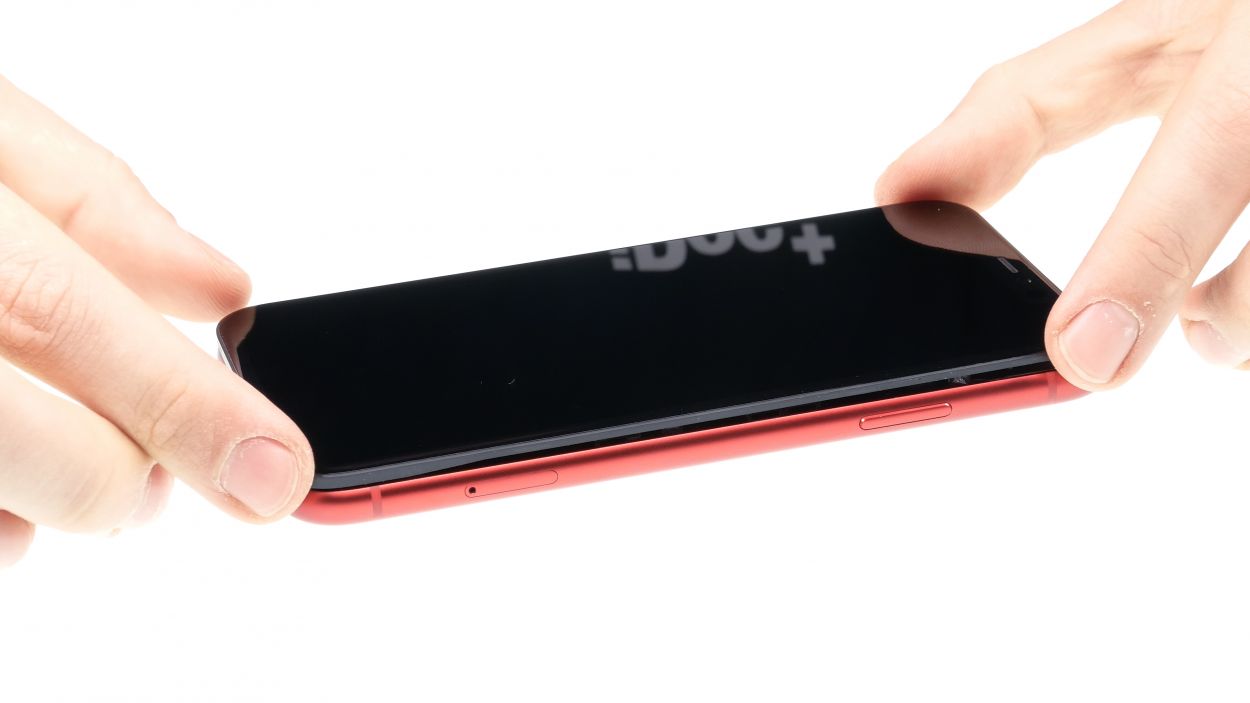
– Ready to lift that screen? Grab a suction cup, a hard plastic plectrum, and a trusty hairdryer. If your glass is looking like it went through a battle, stick some parcel tape on it first to keep those pesky splinters at bay.
– Now, let’s get that glued screen off! Warm up the edge of the display with your hairdryer to about 60° C (140° F) to make things easier.
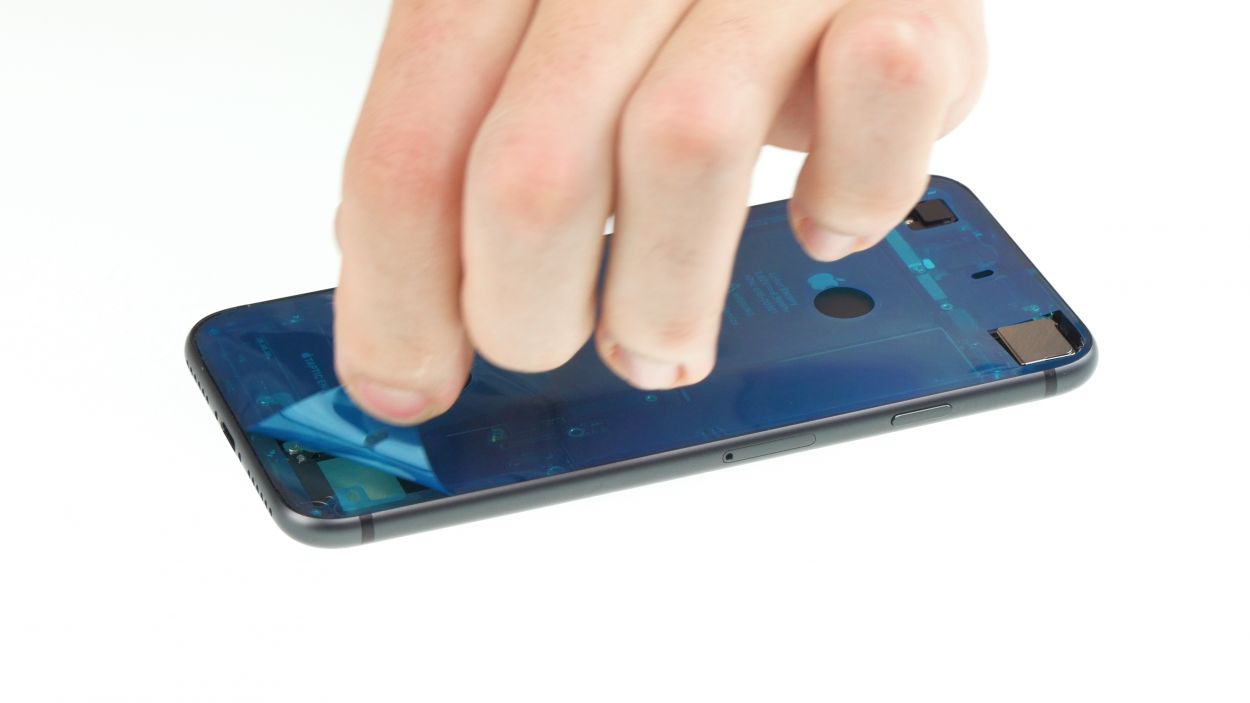
– Time to use that suction cup! Stick it on the lower edge of your iPhone, and pull gently. While you’re at it, slide the hard plastic plectrum between the case and the display frame, pressing the case frame down. To tackle that display adhesive, move the plectrum all around the iPhone like a pro!
Be careful not to poke that tool in deeper than about 5mm into your iPhone! We don’t want to accidentally disturb any of the delicate components inside. This is particularly crucial near the standby button, where those sensitive flex cables from the display are hanging out.
Feel free to swap in an iFlex instead of that hard plastic plectrum! Just a heads up, it might leave a few scratches on the frame. But hey, a little character never hurt anyone, right?
Tools Used
- heat gun to heat parts that are glued on so they’re easier to remove.
In most cases, you can also use a hairdryer.” rel=”noopener”>Heat gun - Pick Set
- iFlex Opening Tool
- VAKUPLASTIC Suction Cup
Step 4


– Grab your trusty Y-type Y000 screwdriver and get ready to tackle those Y-type screws holding the metal cover in place. Once you’ve got them out, make sure to gather all the little parts and place them in a shared space on your magnetic mat. Keeping things organized makes everything smoother!
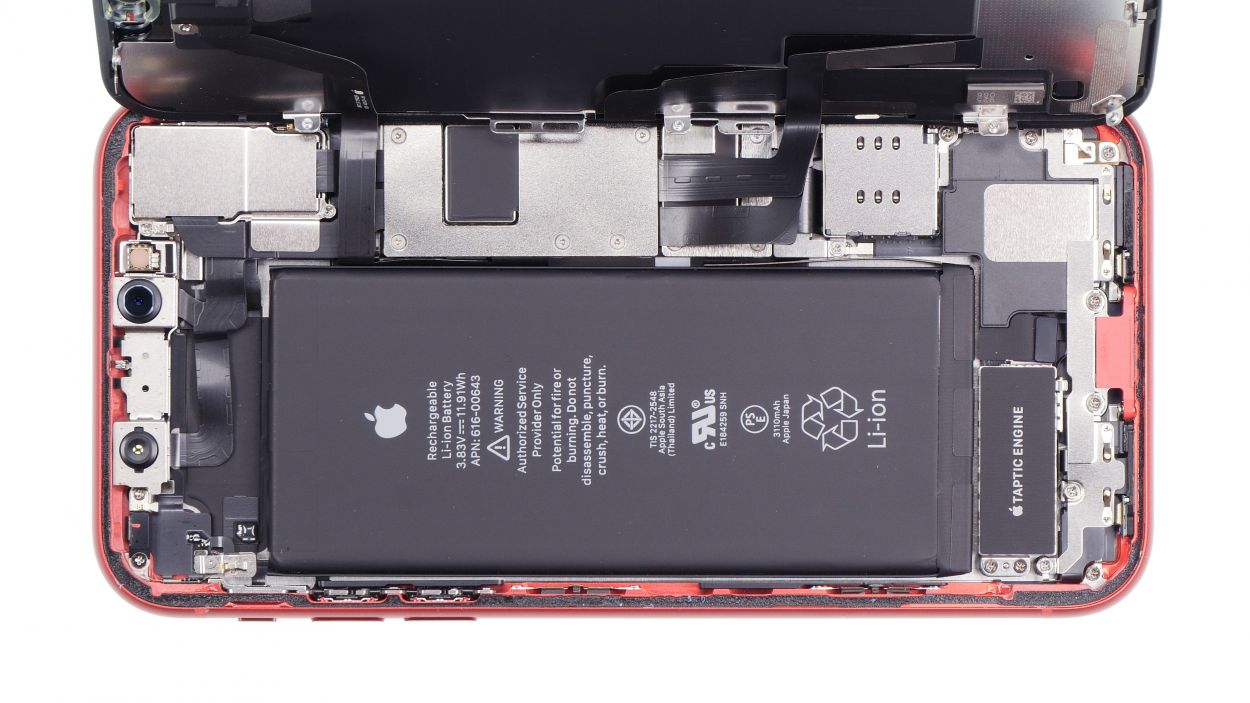
5 × 1,1 mm Y-Type
Touch connector
LCD connector
Earpiece connector
With the iPhone 7, Apple decided to spice things up by introducing Y-type screws! You might have come across the terms Tri-Point or Tri-Wing, but let’s clear that up: those are just misnomers. To tackle these screws, make sure you’ve got the right screwdriver handy to keep those heads looking sharp and undamaged!
Tools Used
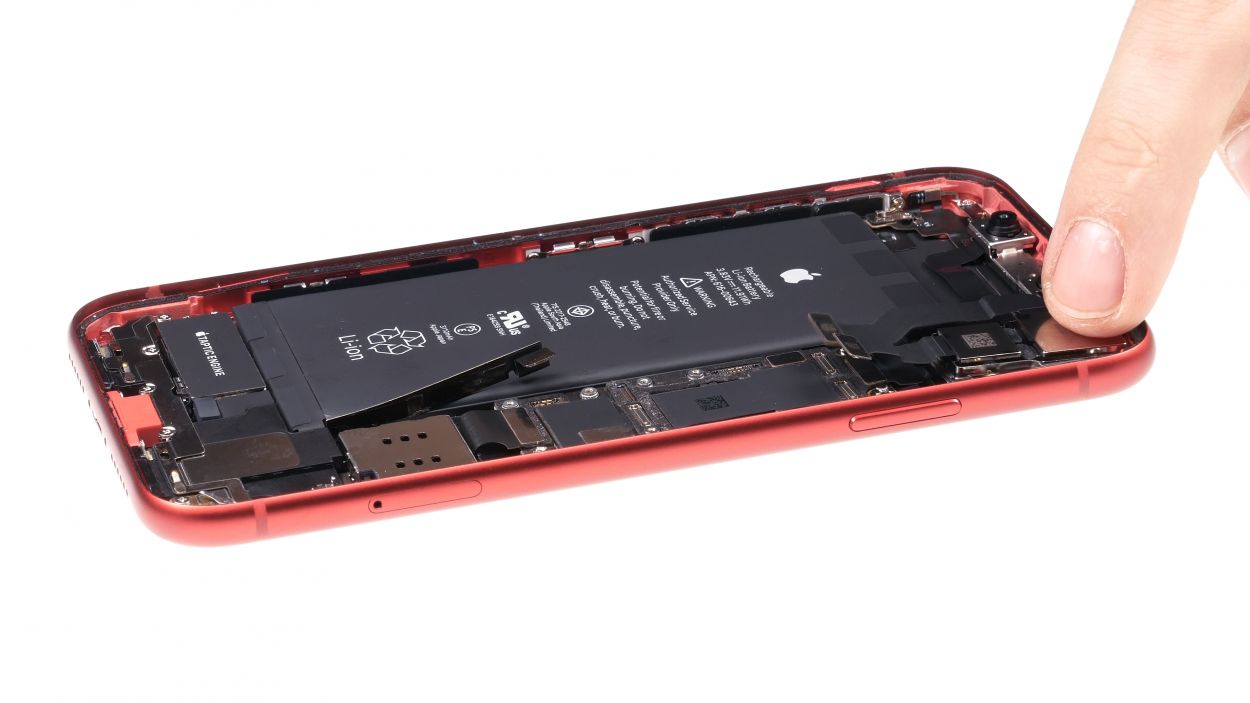
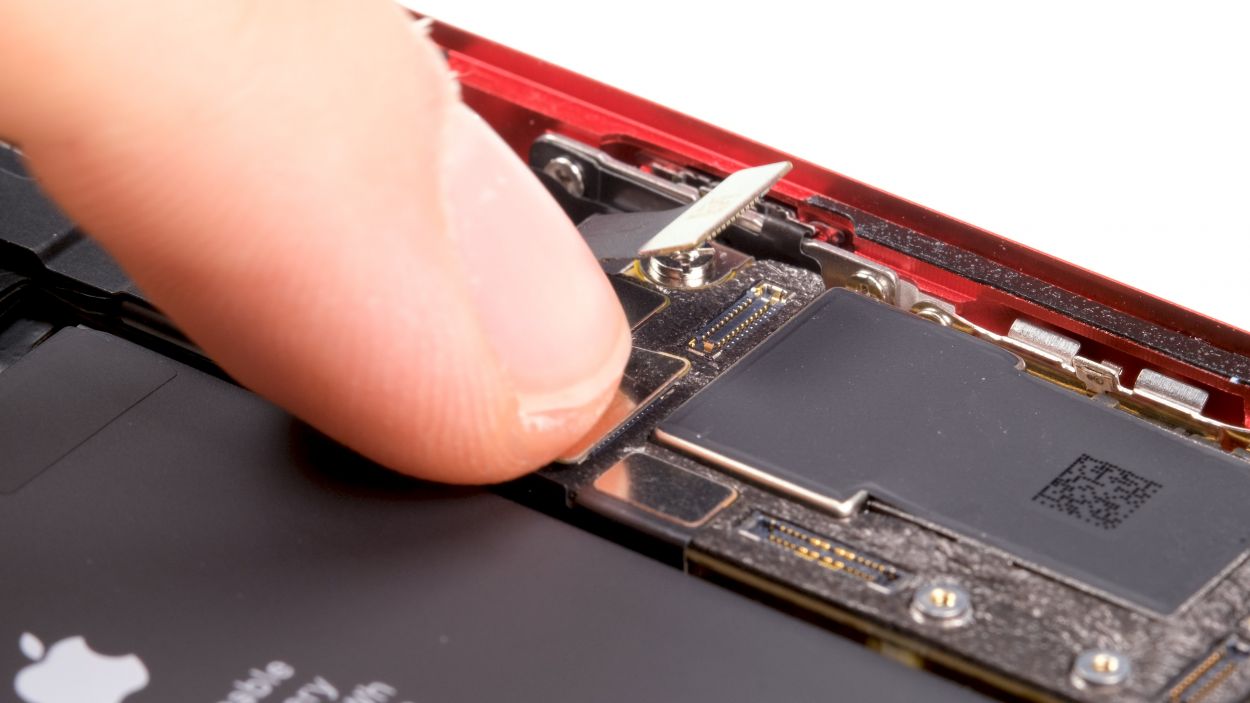
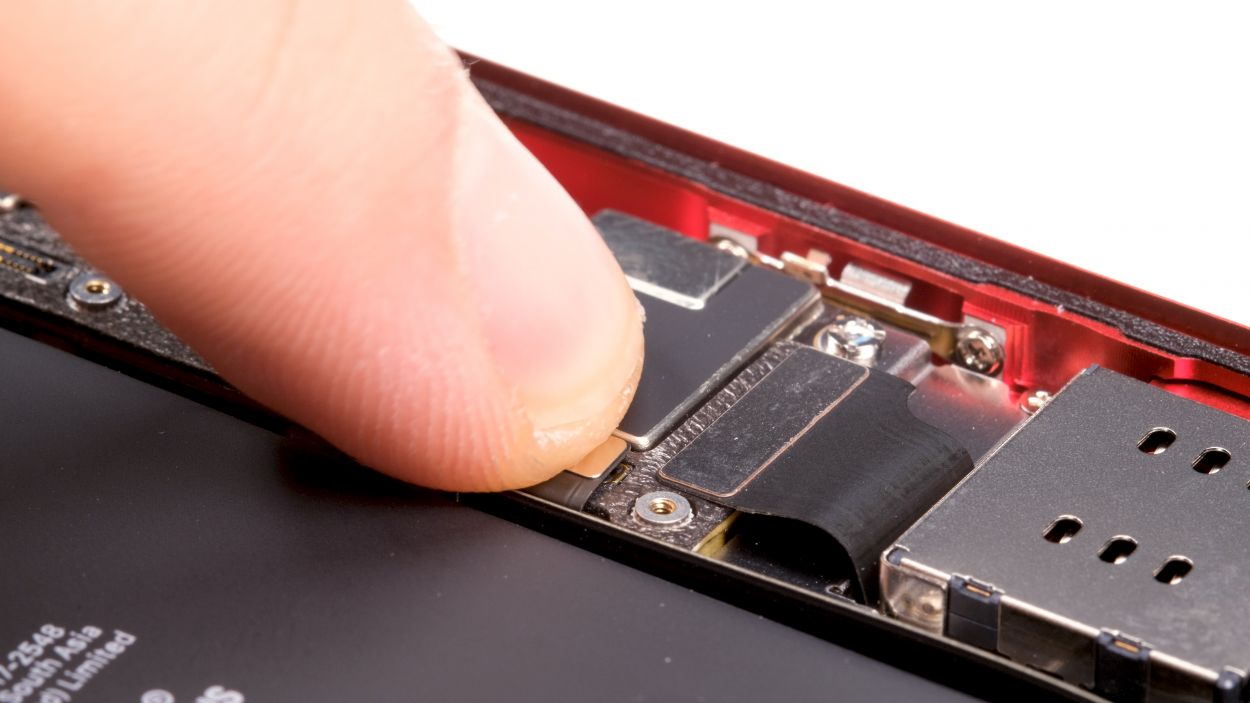
Step 5


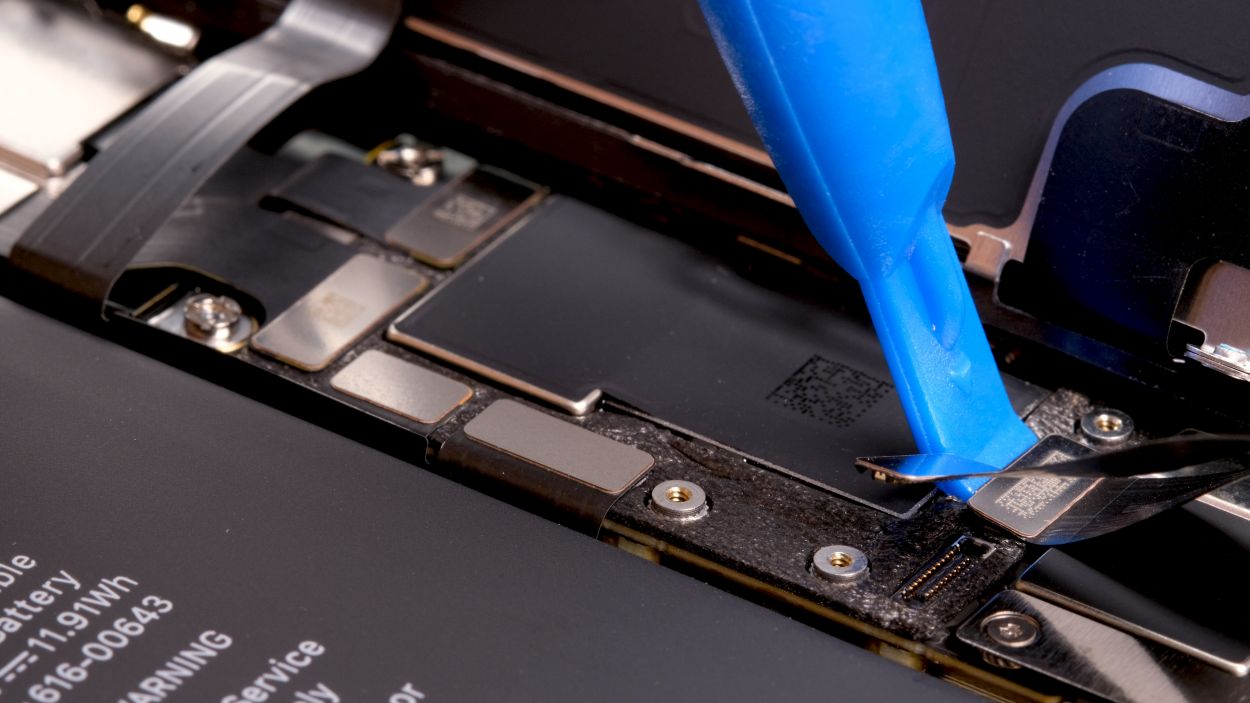
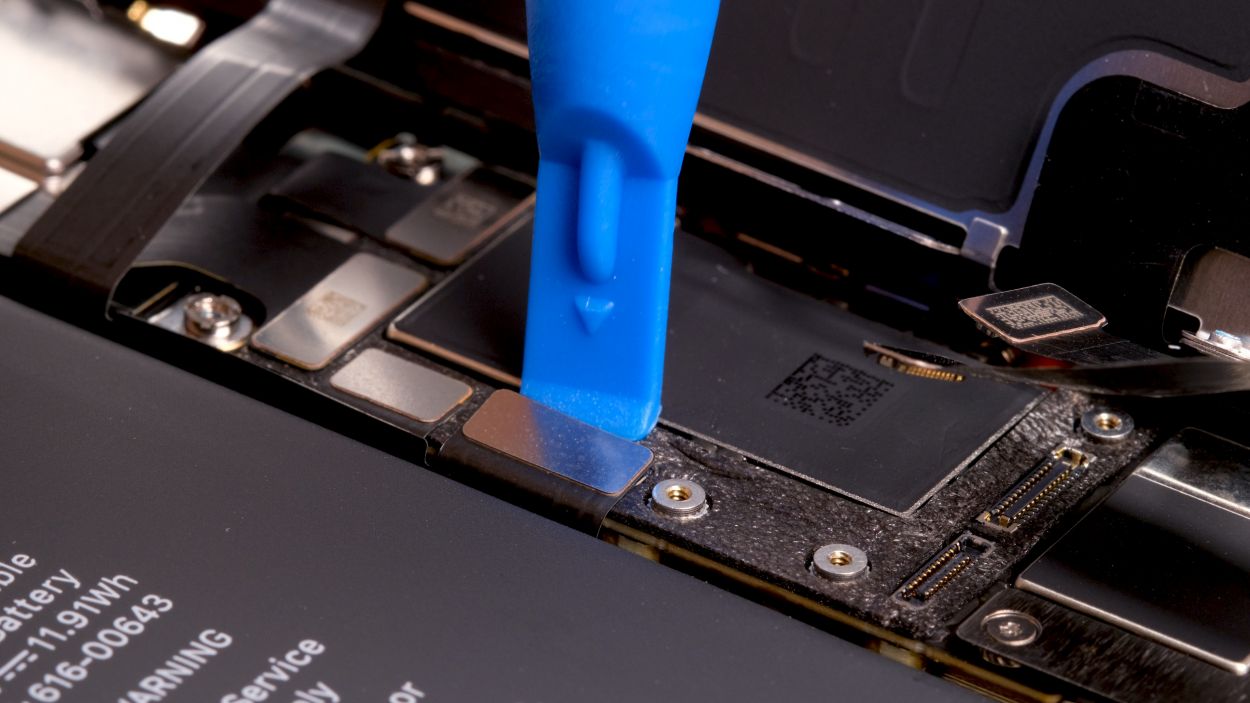
3 × 1,1 mm Y-Type
Battery connector
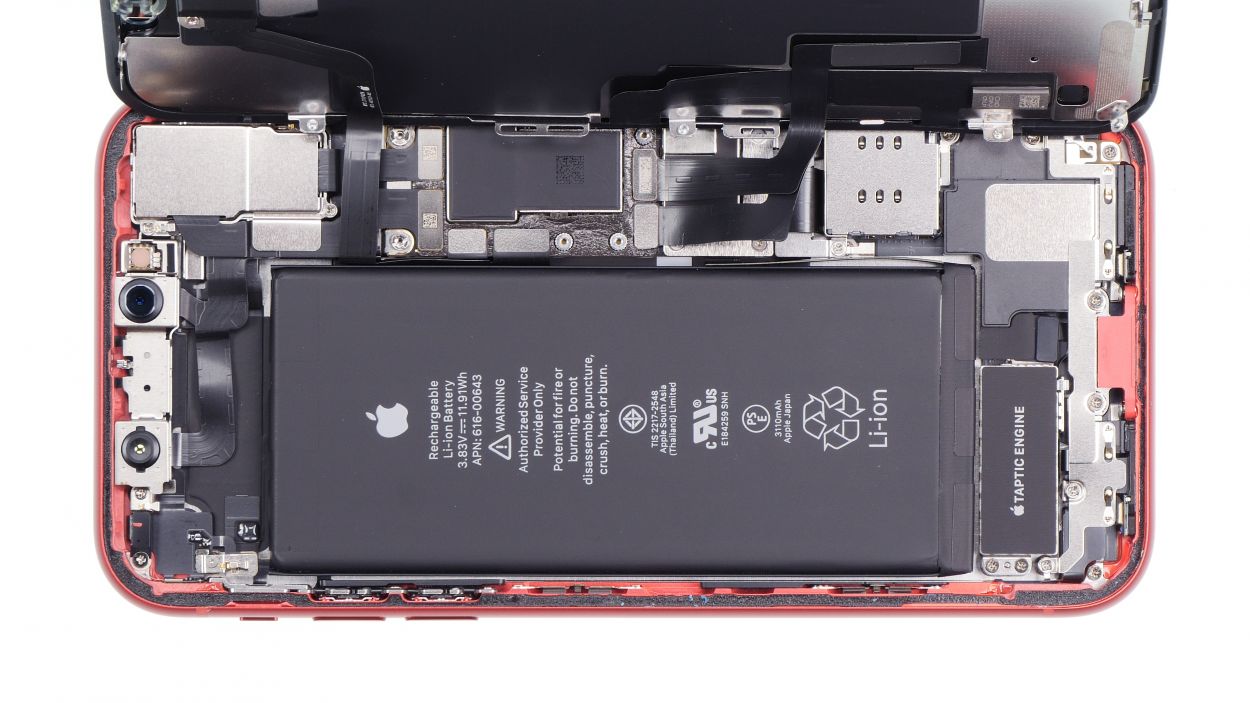
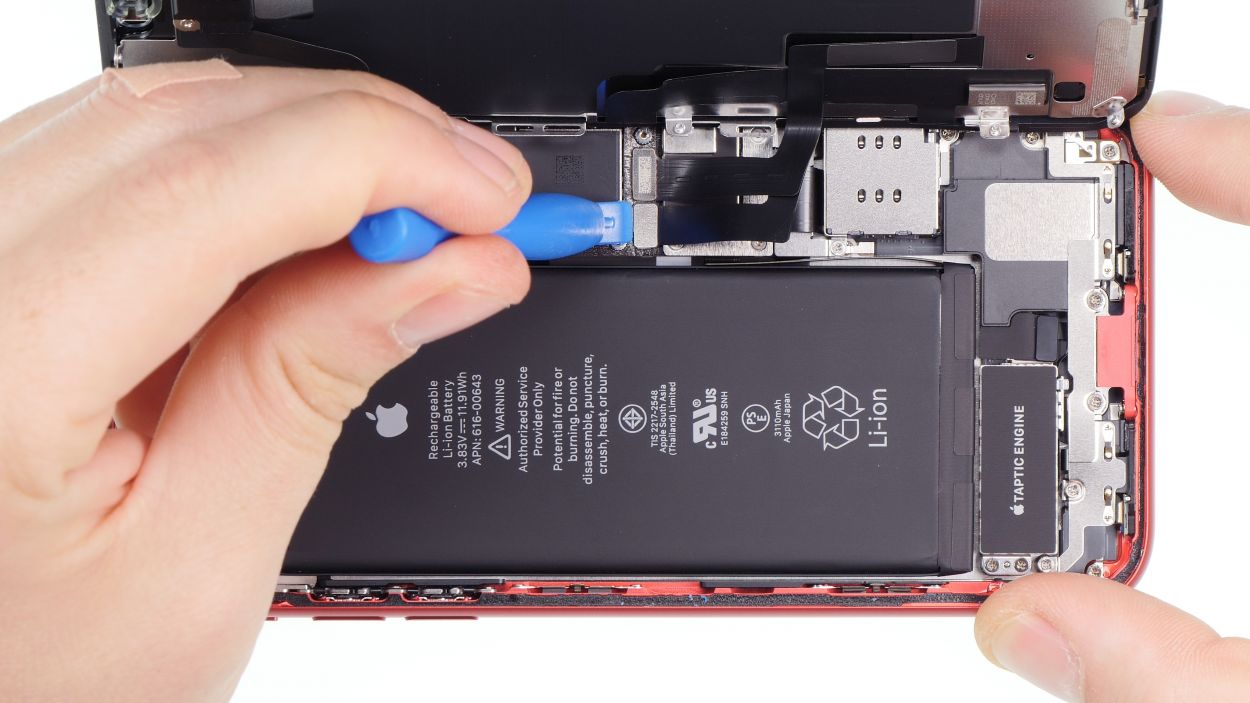
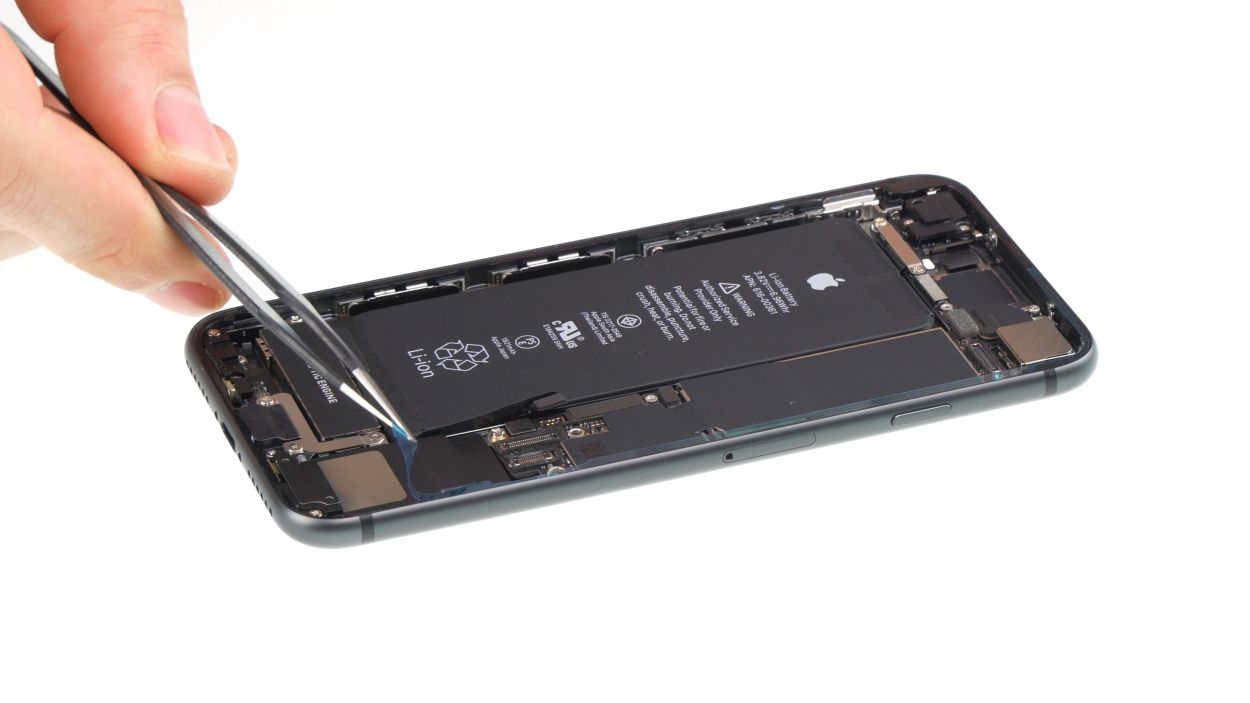
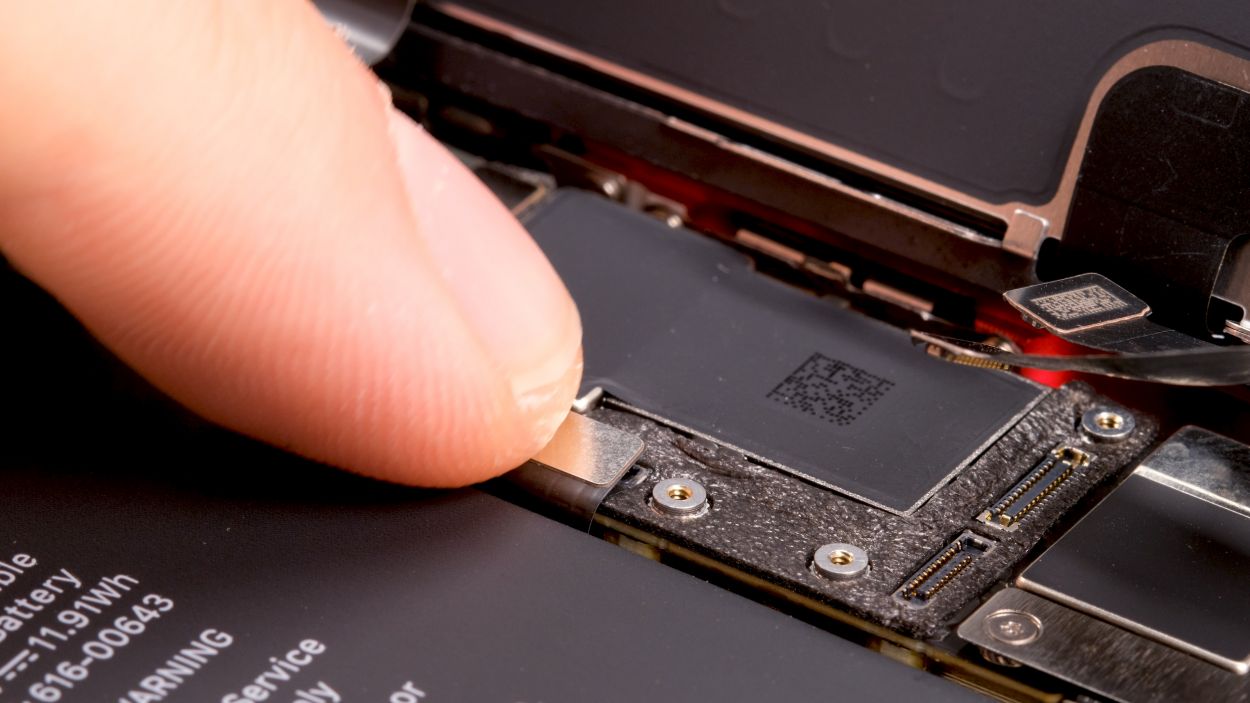
– Unscrew the two screws sitting on the cover plate just above the battery contact – they’re just begging to be removed!
– Once those screws are out, gently lift off the cover plate and make sure to keep all the little parts organized on your magnetic mat. We don’t want any runaway screws!
– Now, with a plastic spudger in hand, carefully lift the battery contact and give it a little nudge to the side. Remember, stick with the plastic spudger to keep things safe and sound!
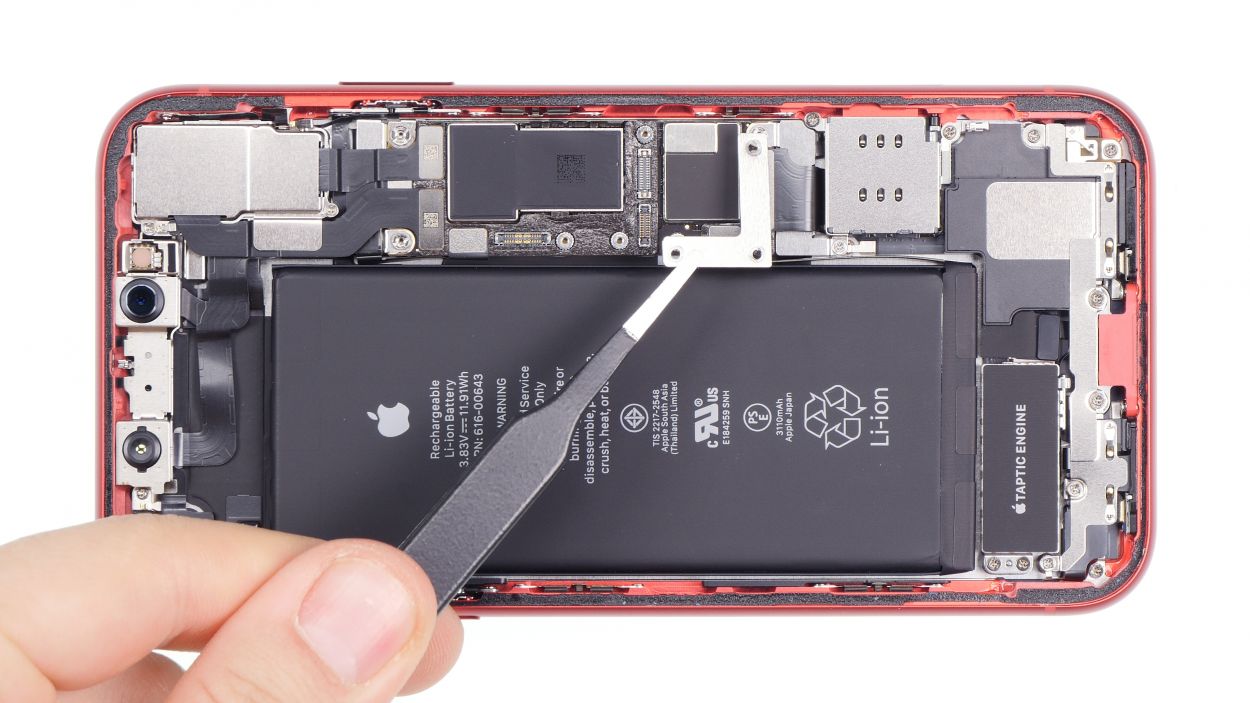
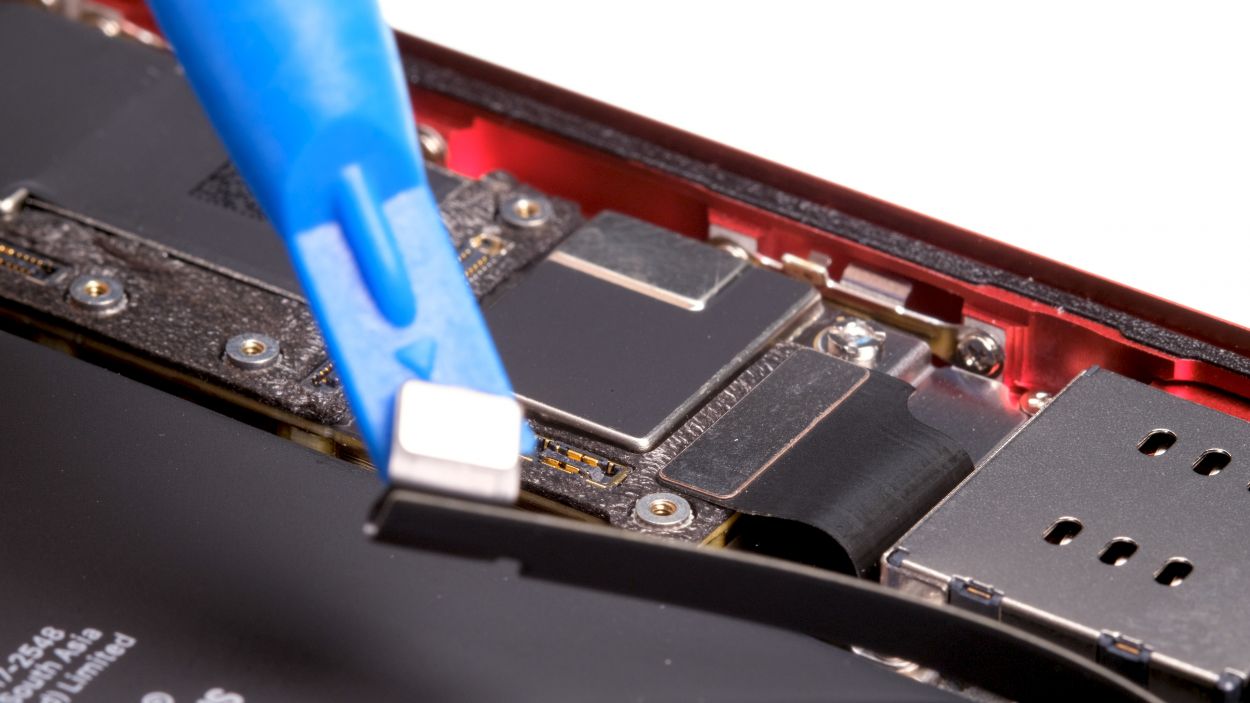
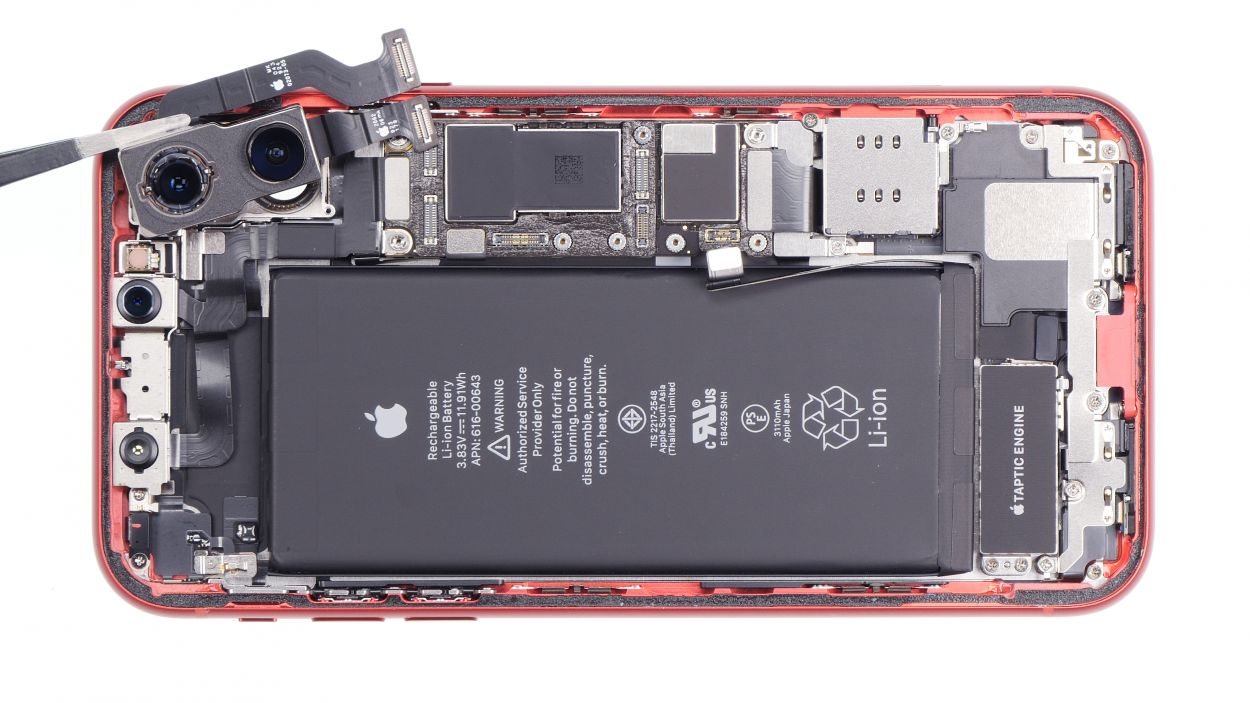
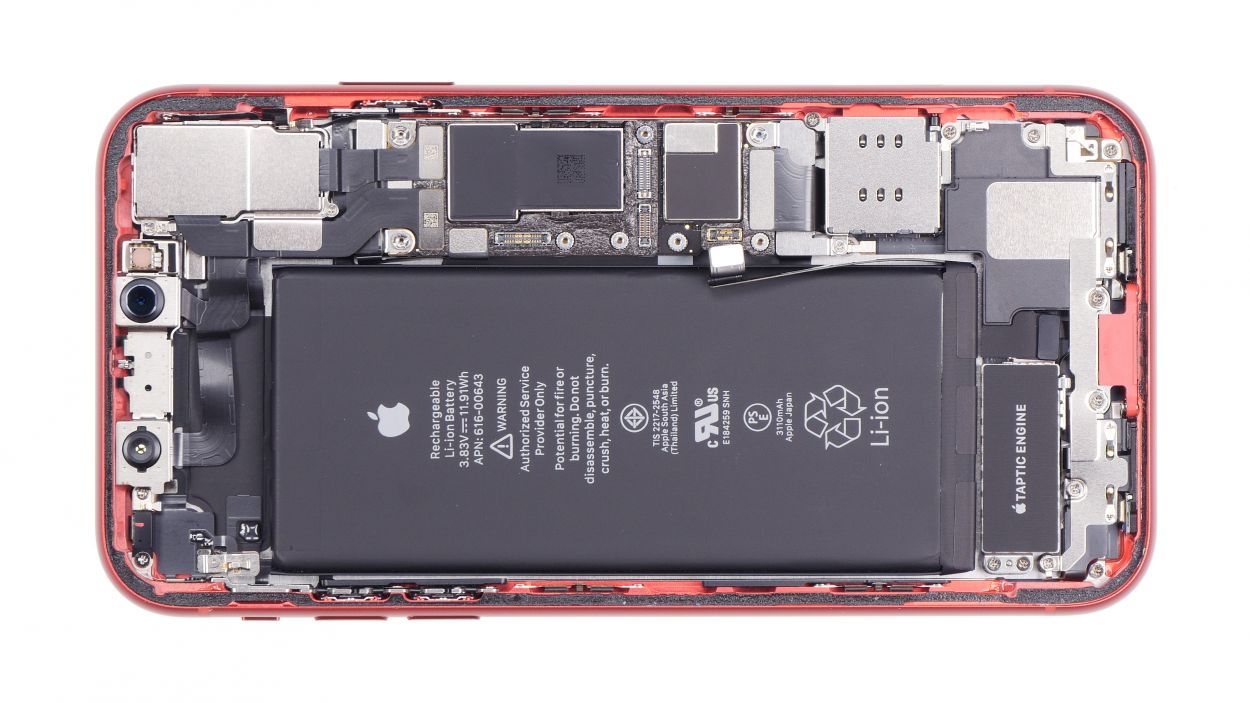
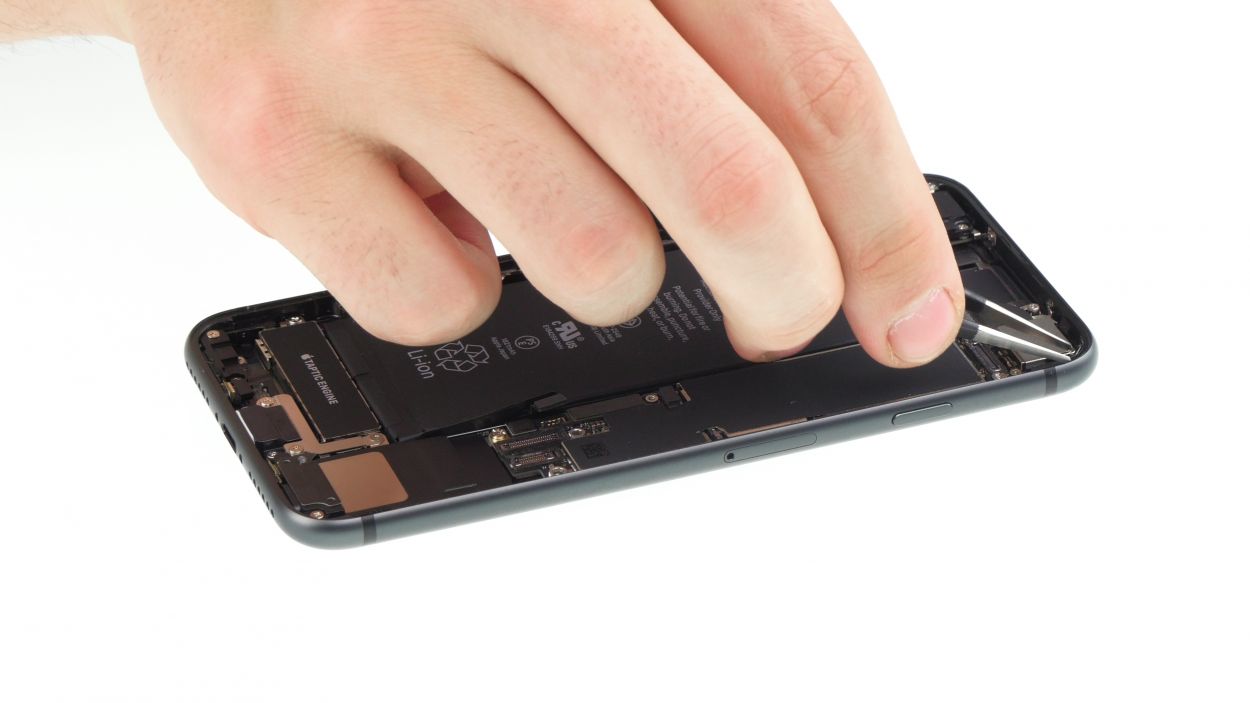
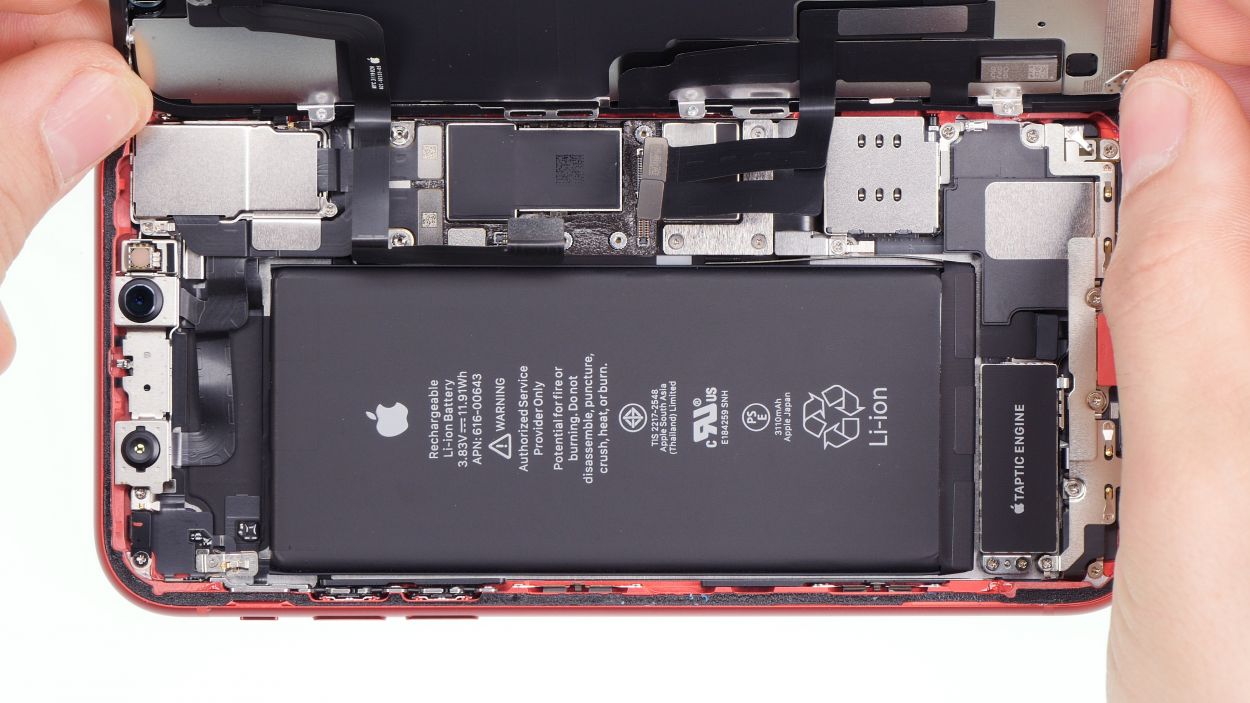
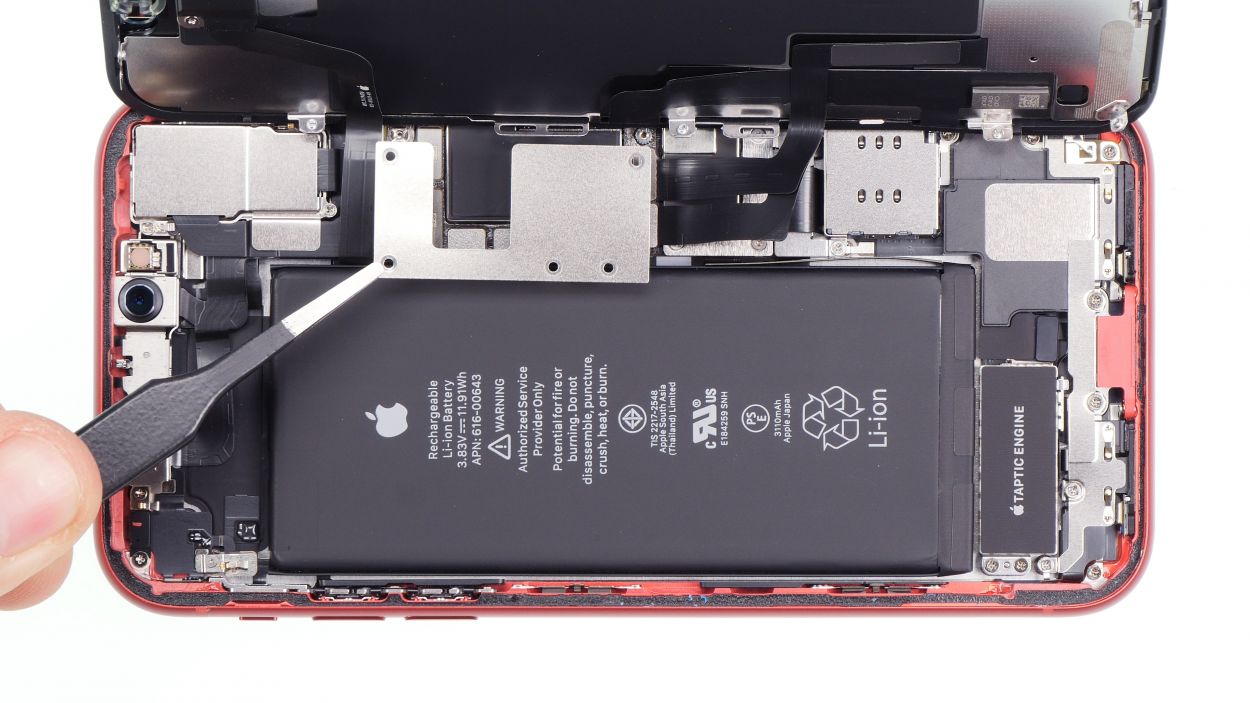
Step 6
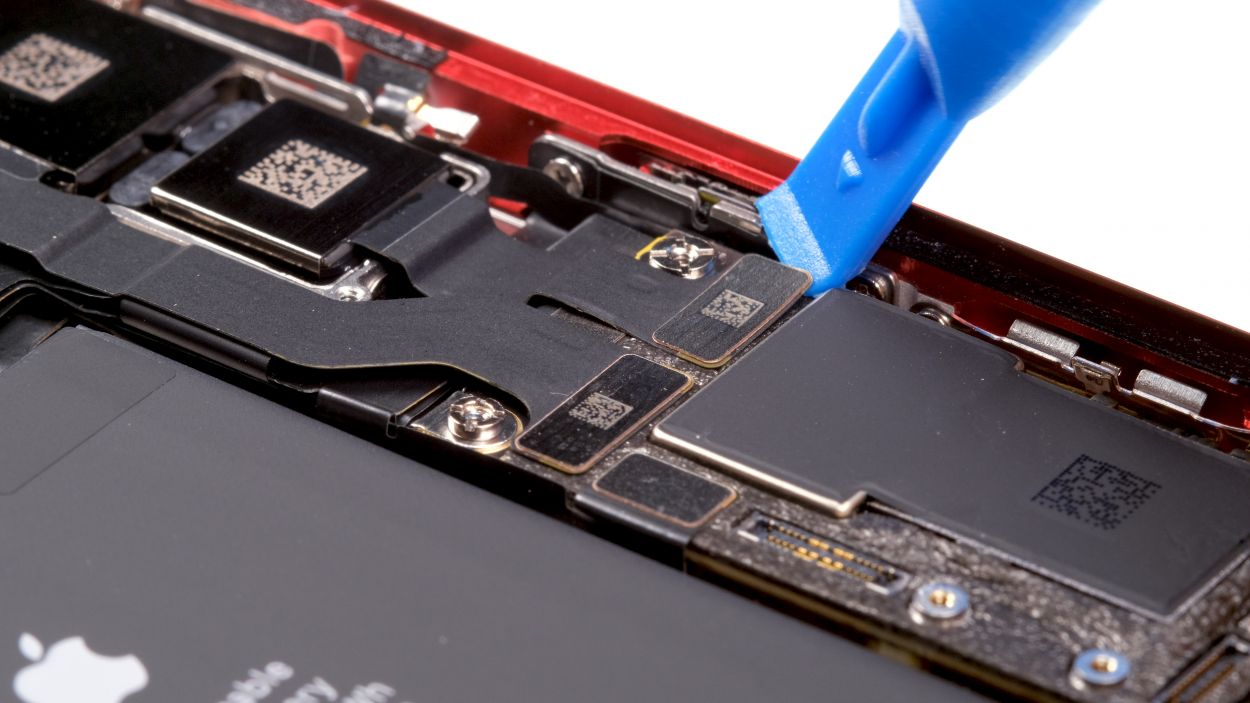
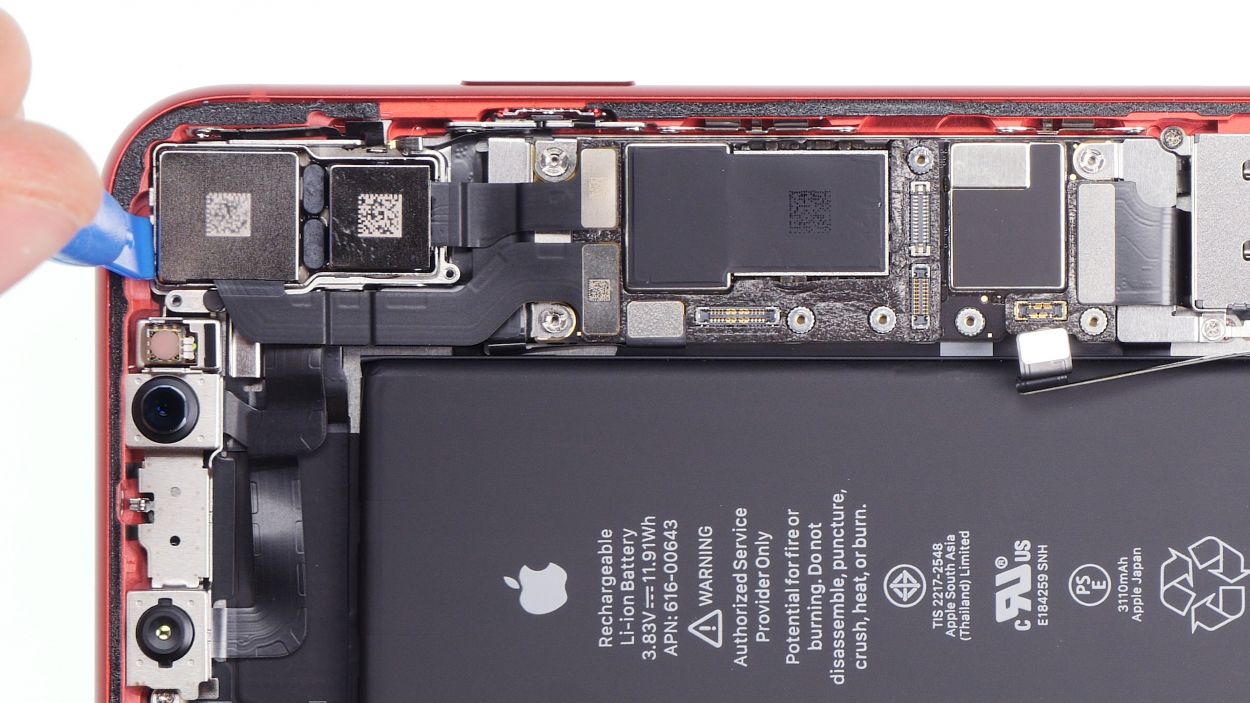
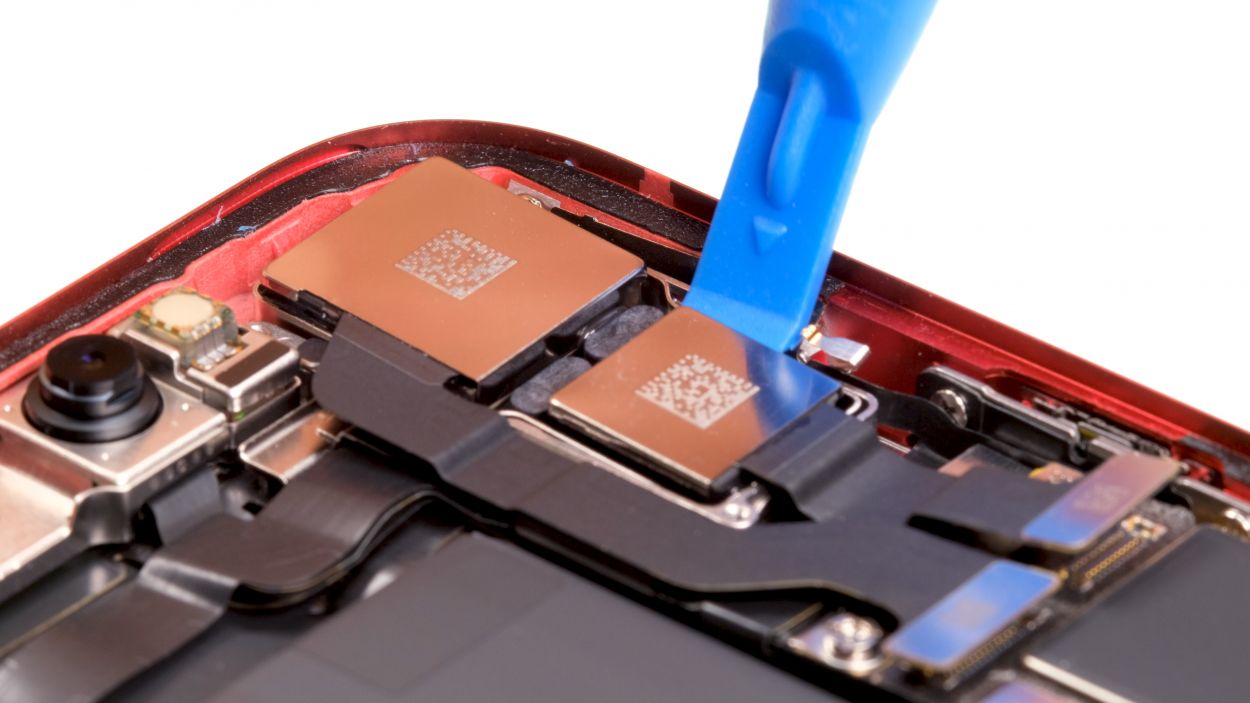
2 × 1,3 mm Phillips
Camera connector
– Start by loosening those two screws, then gently lift the plate up and slide it out like a pro.
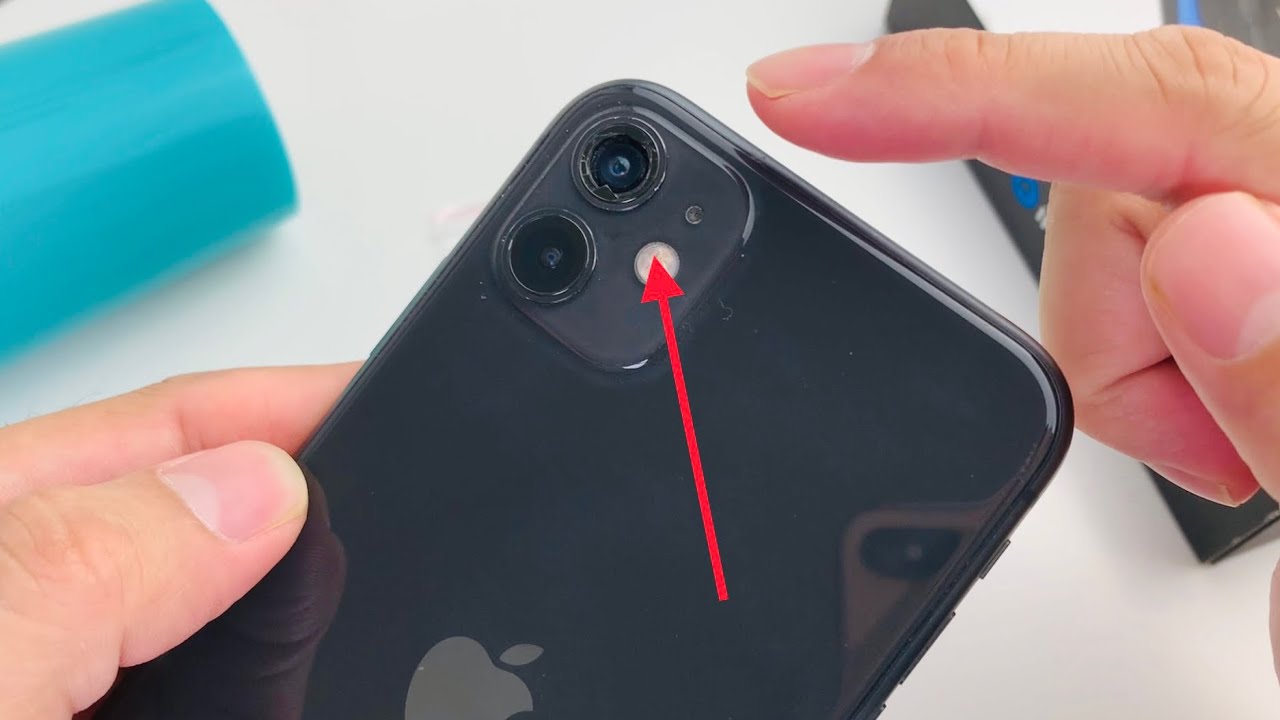
– Next up, it’s time to disconnect the two connectors from the logic board – each camera has its own little connector, so don’t mix them up!
– Now, let’s remove the camera unit from the phone. Grab a handy tool and carefully pry up the upper side to loosen the component a bit. This will make it a breeze to take it out!
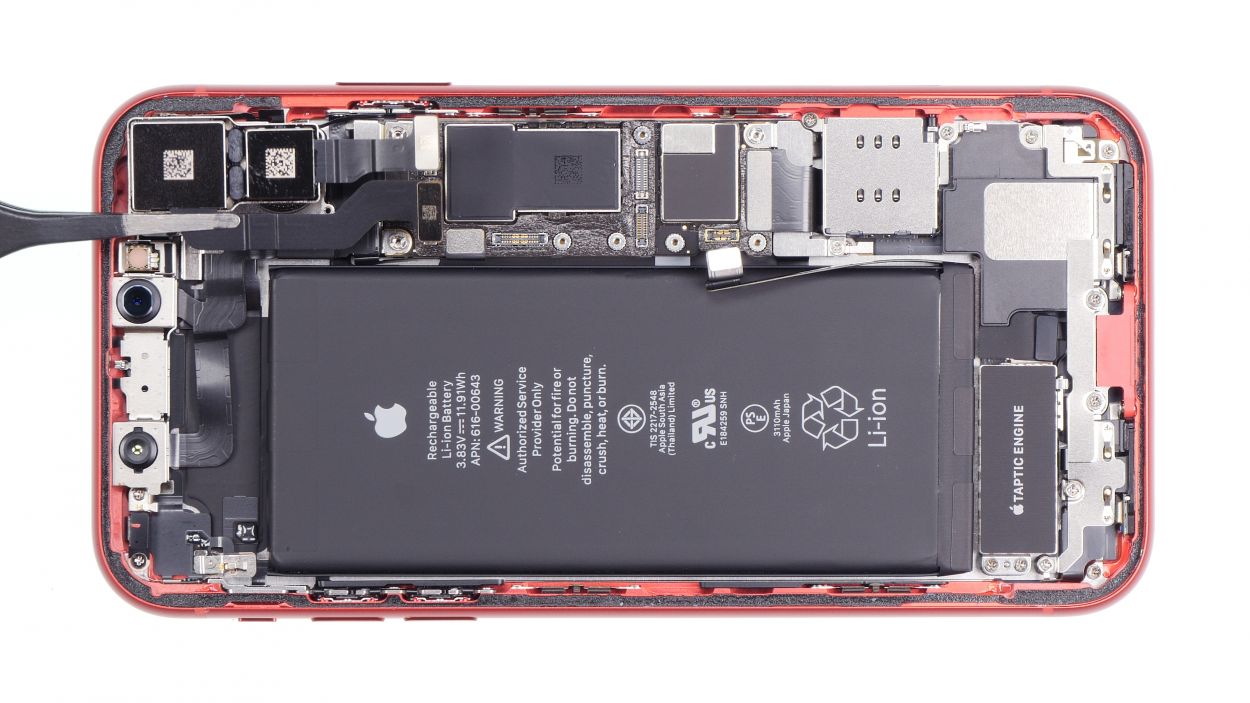
Step 7
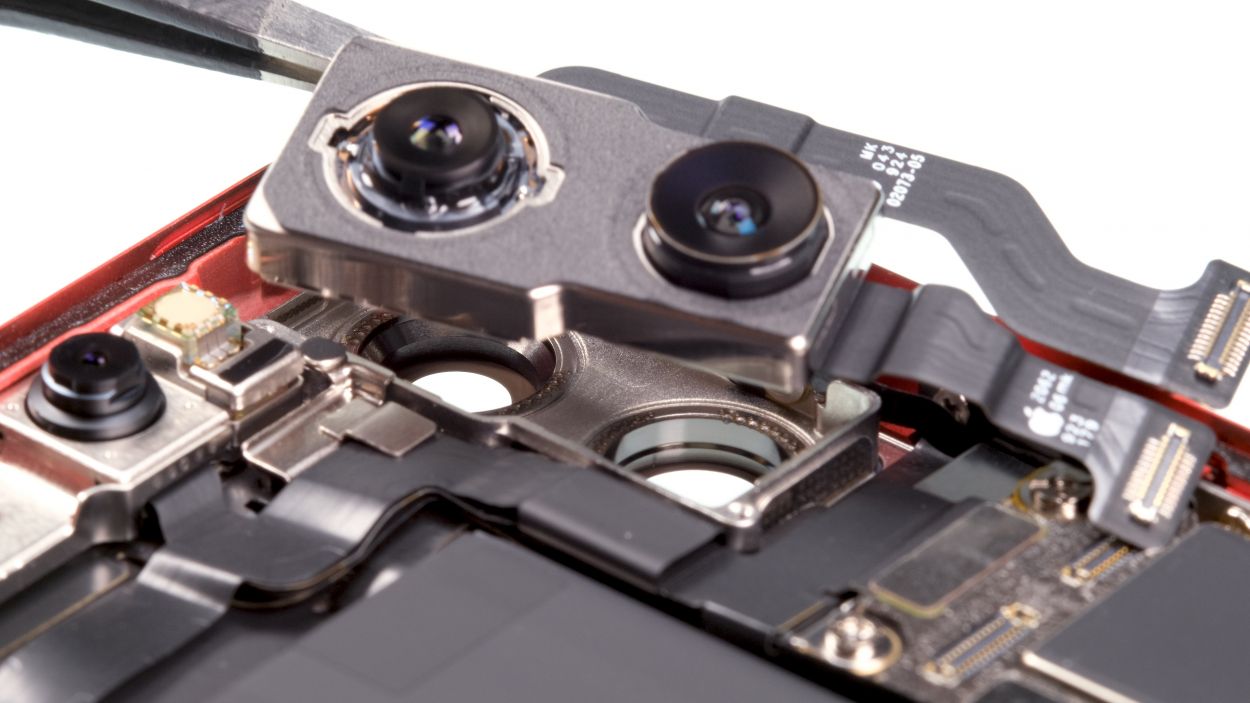

2 × 1,3 mm Phillips
Keep those camera lenses and the inside of the glass cover squeaky clean, like a freshly polished mirror! Dust and fingerprints are a no-go, so make sure everything shines before you slide in that new camera unit.
– First, gently place those cameras into the device and give them a light push to make sure they’re snug as a bug in a rug!
– Next up, reattach the two connectors. Just remember, no need to go all Hulk on them; a gentle touch will do just fine.
– Now, let’s get that cover back on! Hook one side first and then fold it down like you’re tucking in a cozy blanket.
– Finally, secure the cover with those two screws again. You got this!
Step 8


3 × 1,5 mm Phillips
Battery connector
– Carefully position the contact back onto its designated spot on the logic board and give it a gentle press to secure it in place.
– Now, let’s wrap things up by placing the metal cover back on and securing it with the screws. You’re almost done!
Step 9
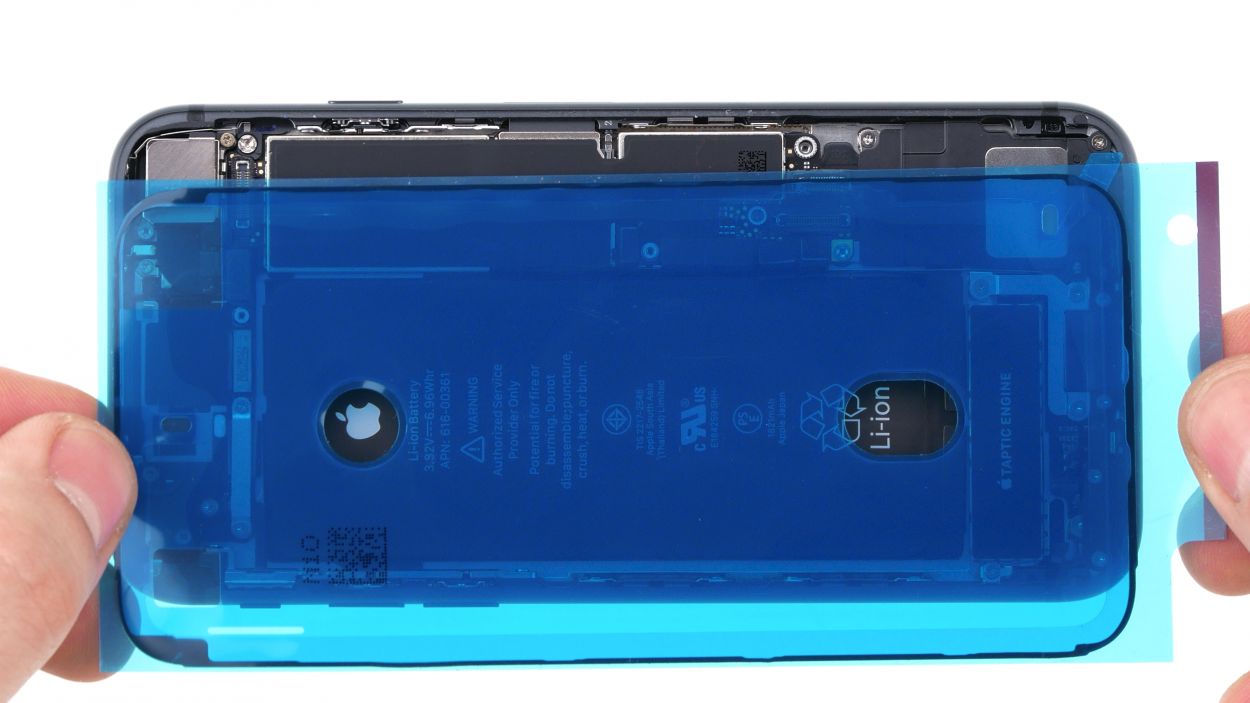
– First up, let’s get rid of that pesky adhesive residue from the metal frame and display. This will help the new adhesive frame fit just right.
– Now it’s time to get that new glue frame ready! Peel off the first protective film.
– Start by placing the adhesive frame on one edge of the case. Then, gently apply it to the device bit by bit. Hold off on pressing it down firmly until you’re sure it’s in the right spot. A plastic spudger can come in handy here.
– Next, go ahead and remove the larger protective foil.
– And remember, don’t take off that last small protective film until you’ve connected the display and attached the cover plates. This will help keep the adhesive frame clean and free from any unwanted bits.
After you work your magic on that iPhone, it won’t be sporting its 100% waterproof vibes anymore! So, treat it with a little extra care!
Step 10

Touch connector
Display connector
Earpiece connector
5 × 1,1 mm Y-Type
Make sure those connectors slide right into their cozy spots on the device! Avoid dragging them across the Logicboard slots, or you might end up giving those contacts a rough day.
– Alright, let’s get that display unit back on the frame! To keep those delicate flexible cables from stretching too much, lean the screen against something sturdy. Just make sure your iPhone doesn’t take a tumble while you’re at it!
– Once that’s done, plug the two display connectors and the earpiece connector back together. You’ve got this!
– Now, secure the cover plate with those screws of the same length. Easy peasy!
Step 11

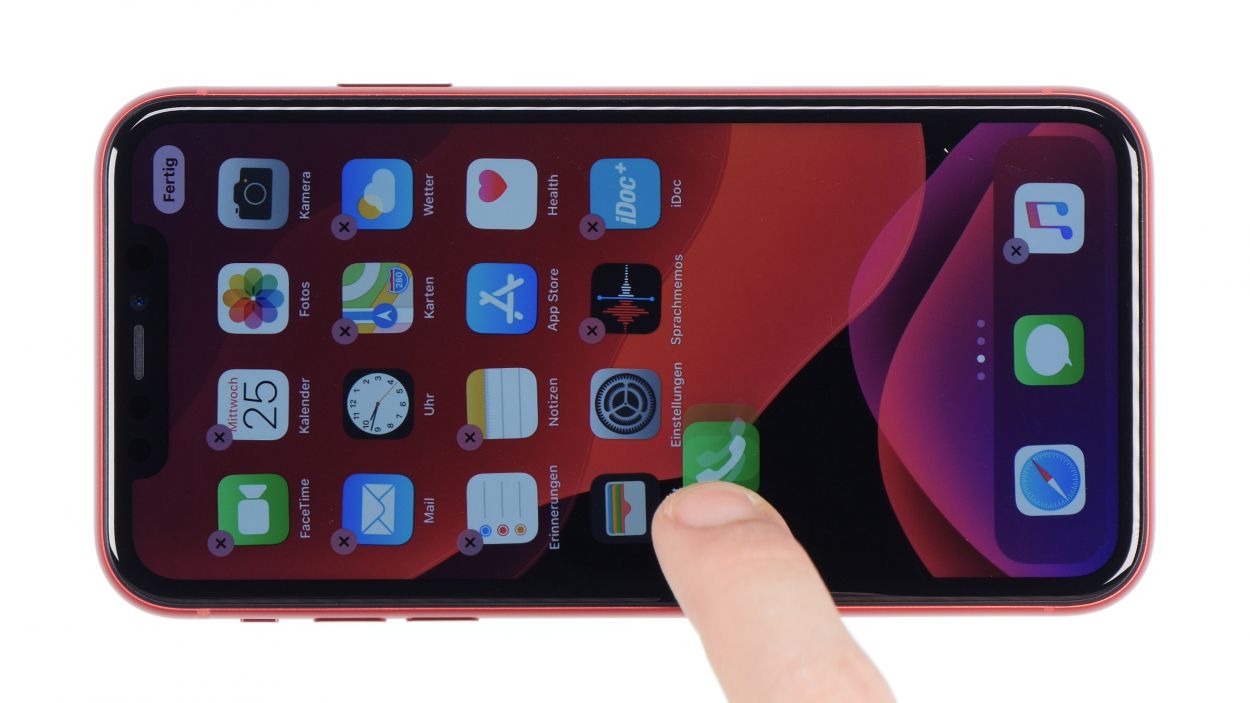
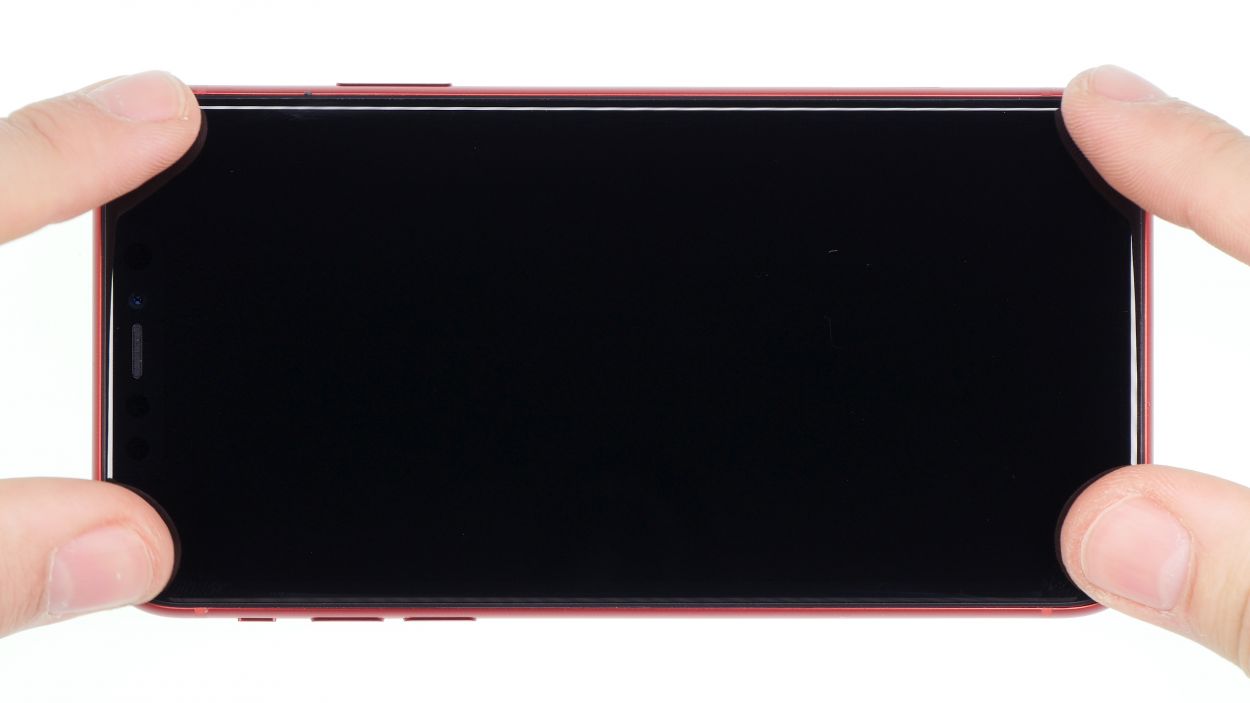
– Want to give that touchscreen a little workout? Open up an app and swipe it all over the screen! If it glides around smoothly without any hiccups, you’re all set – your touchscreen is in tip-top shape!
– Next up, let’s check out the brightness of your display. Make sure it shines bright like a diamond!
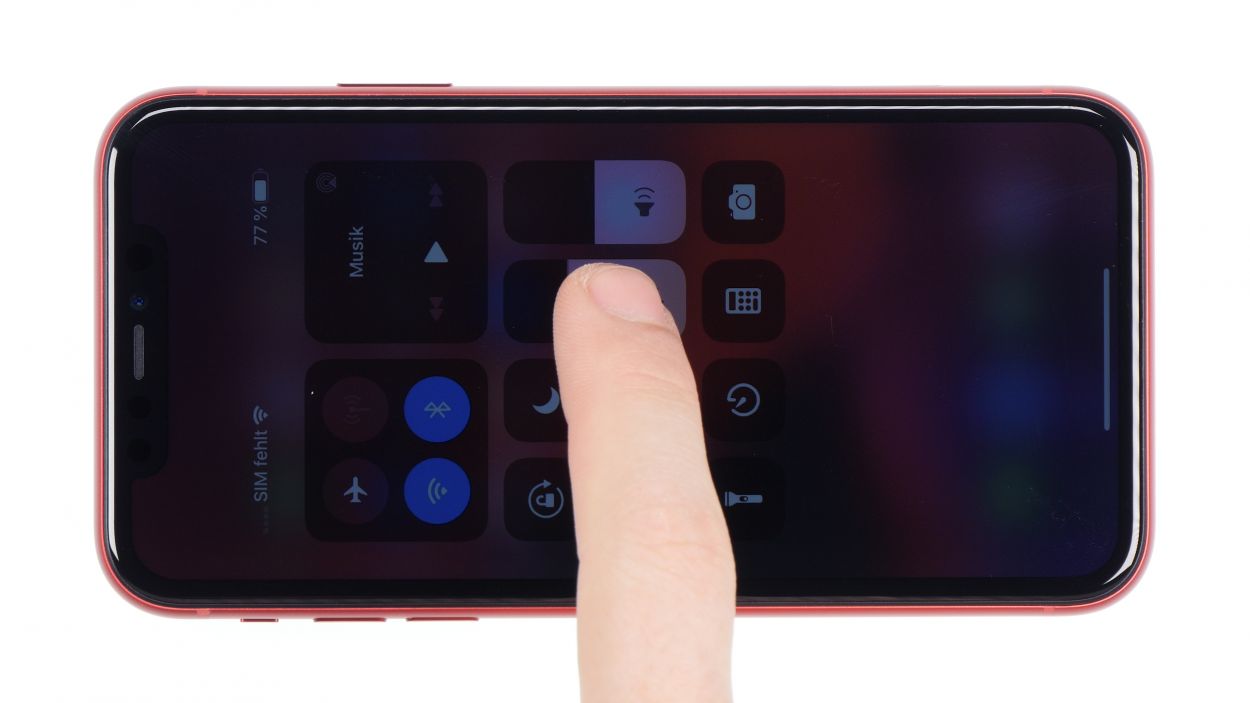
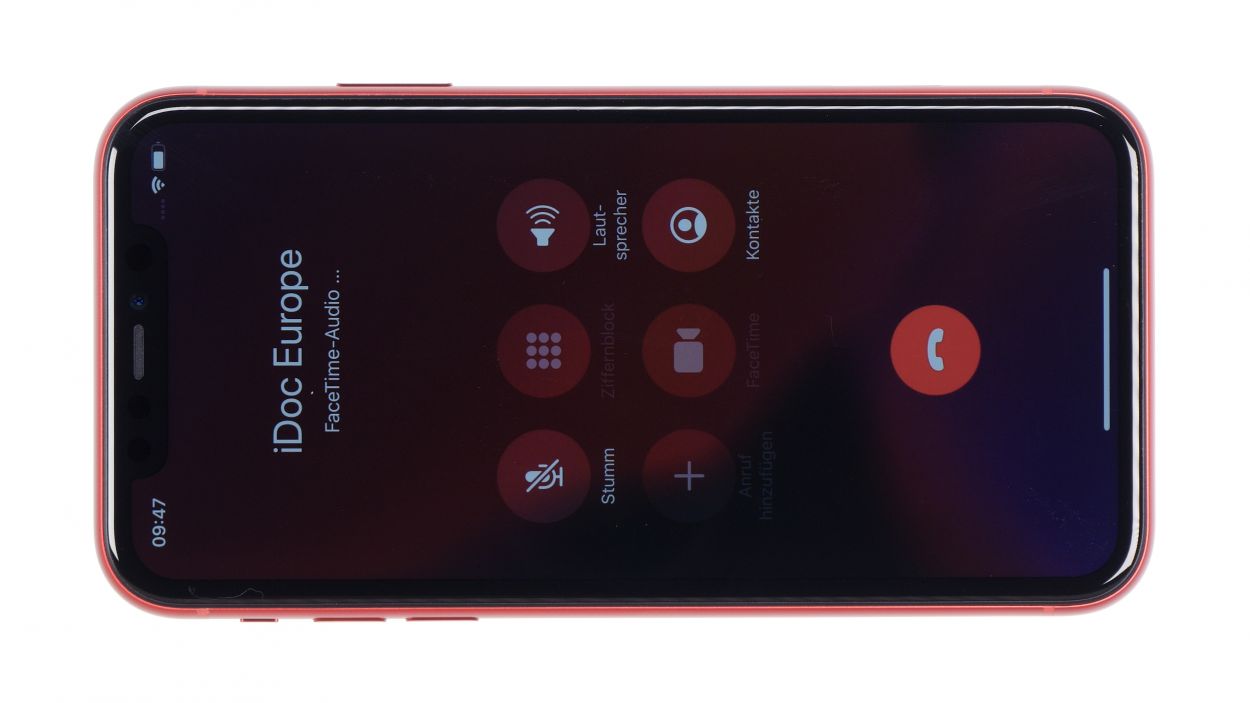
– Now, let’s put those audio features to the test! Call a friend and see how the microphone, speakers, earpiece, and proximity sensor are performing. A little chat will do the trick!
Step 13
2 × 6,8 mm Pentalobe
– Alright, time to secure those two pentalobe screws snugly on either side of the Lightning connector! Just pop them back into their cozy little home in the enclosure.