iPhone 11 Pro Front Camera Replacement Without Losing Face ID
Duration: 45 minutes
Steps: 40 Steps
If your front camera is acting up or damaged, replacing just the front camera is doable but a bit tricky. Since it’s bundled together with the infrared camera and dot projector, swapping out only the front camera means you’ll want to keep the Face ID feature working smoothly. Replacing just the front camera won’t mess with Face ID, but swapping the entire front camera assembly will disable it. Before diving into the replacement, plug in a new camera to test and make sure this will actually fix the issue.
Step 1
Before diving in, make sure your iPhone battery is below 25%. A fully charged lithium-ion battery can be a bit temperamental and might decide to throw a party if accidentally punctured. Let's keep it safe and sound!
Cracking open your iPhone’s display will break its waterproof vibe. If you want to keep your phone splash-proof, grab some fresh seals before you move ahead. If not, just be extra careful to keep your device away from liquids when you seal it back up.
- First things first, let's power down your iPhone before diving into the fun world of disassembly!
- Next up, grab your trusty pentalobe screwdriver and take out those two 6.7 mm-long screws at the bottom edge of your iPhone. You're doing great!
Step 2
Pop on those safety glasses—your eyes deserve VIP treatment in case any glass decides to make a dramatic exit during the repair.
Got a cracked iPhone screen? Keep those pesky shards from causing more trouble or hurting you by carefully taping over the glass before you start the repair.
If the suction cup just won’t stick, a little superglue on the cup can help it grip the screen better.
- Cover the entire iPhone screen with overlapping strips of clear packing tape, like wrapping a present but way easier.
- If that suction cup won’t stick when you try to lift the screen, no worries! Grab a sturdy piece of tape (duct tape works great), fold it into a little handle, and use that to gently lift the screen instead.
Step 3
In the next few steps, we're going to show you the Anti-Clamp, a nifty little gadget we've whipped up to make opening your device a breeze. If you decide to go another route and skip the Anti-Clamp, just hop down three steps for a different method.
Need the lowdown on how to work the Anti-Clamp like a pro? Check out this handy guide.
If your iPhone's surface feels like it's auditioning for a slip-and-slide contest and the Anti-Clamp can't get a grip, just slap some tape on it to add some texture and make it stick!
- Give the blue handle a friendly tug to unlock the Anti-Clamp's arms.
- Gently slide those arms over the edge of your iPhone, choosing the left or right side like a pro.
- Position the suction cups just above the bottom edge of your iPhone—one on the front and the other on the back.
- Squeeze the cups together, letting them work their magic to create a strong grip on the area you've chosen.
Step 4
- Slide that blue handle forward to lock those arms in place.
- Twist the handle a full 360 degrees (or until you feel those cups stretching!).
- Keep those suction cups aligned! If they start to drift, just loosen them a bit and bring those arms back into line.
Step 5
Turn no more than a quarter turn at once, then give it a minute to chill. Let the Anti-Clamp and some patience do their magic!
Got a hair dryer, heat gun, or hot plate? Those can work wonders, but remember—too much heat can fry your display or battery. So, let's keep it chill and proceed carefully!
If the Anti-Clamp isn't giving you the gap you need, no worries! Just add a bit more heat and give that handle a gentle quarter turn for some extra help.
- Warm up an iOpener and thread it through the arms of the Anti-Clamp.
- Bend the iOpener so it rests along the bottom edge of the iPhone.
- Hold tight for one minute to let the adhesive soften and create a small gap.
- Gently slide an opening pick into the gap between the screen and the plastic bezel—avoid prying under the screen itself.
- Skip the next three steps.
Tools Used
Step 6
Warming up the bottom edge of your iPhone is a clever way to loosen that pesky adhesive holding the display in place, making it a breeze to pop open!
- Grab a hairdryer, heat gun, or an iOpener and gently warm the lower edge of your iPhone for about a minute to loosen up that stubborn adhesive underneath.
Tools Used
Step 7
- Grab your suction handle and place it carefully on the bottom edge of the phone—just steer clear of that curved glass part!
Tools Used
Step 8
The waterproof glue that's keeping the display snug is super strong; getting that first little gap going requires some serious elbow grease. If you're struggling to pry it open, crank up the heat a bit more, and gently wiggle the screen up and down to loosen the adhesive until you can slide your tool in there. You've got this!
- Give that suction cup a solid tug to create a small opening between the front panel and the rear case. You've got this!
- Slide an opening pick into the gap under the screen and the plastic bezel, just not on the screen itself. Be gentle but confident!
Step 9
Heads up! Don’t slide your pick in deeper than 3 mm, or you might poke around where you shouldn’t and cause some trouble inside.
- Gently slide the opening pick around the lower left corner and glide it up the left edge of your iPhone, carefully cutting through the adhesive that’s keeping the display stuck in place.
Step 10
Watch out for the delicate cable on the right edge of your iPhone! Keep your pick away from there, or you might accidentally give that cable a bad day.
Step 11
Keep your pick under 3 mm while you work, or you might accidentally give those display cables a bad day.
- Slide your pick back into the lower edge of the iPhone and glide it up the right side to keep separating that pesky adhesive.
Step 12
The top edge of the screen is double-secured with some stubborn glue and sneaky little clips.
- Gently tug down the right edge of the display just a smidge towards the Lightning port. You've got this!
- Slide your pick into the top-right corner of the phone like a pro.
Step 13
Keep your pick under 3 mm deep—going any further could mess with the front panel sensor array.
- Keep gently pulling the display down towards the Lightning port until you've created a gap that's big enough for the pick to slide in.
- Once you’ve got that gap, slide the pick up to the top left corner and carefully cut through any leftover adhesive that's holding the display in place.
Step 14
- Give that little nub on the suction cup a gentle tug to free it from the front panel. It's like a mini victory every time!
Step 15
Hold up! Don't try to fully separate the display just yet. There are a few delicate ribbon cables still keeping it connected to the iPhone's logic board. Take it slow, and you'll be golden!
- Lift up the iPhone display from the left side like you’re opening a hardcover book—just don’t lose your page.
- Prop the screen up against something sturdy so it stays put while you work your magic.
- When it’s time to put everything back together, set the display in place, line up the clips at the top edge, and press just the top in first. If it’s being stubborn and won’t snap down smoothly, take a peek at the clips around the edge to make sure none are bent or out of shape.
Step 16
Keep an eye on your screws and make sure each one returns to its original spot—your iPhone will thank you for it!
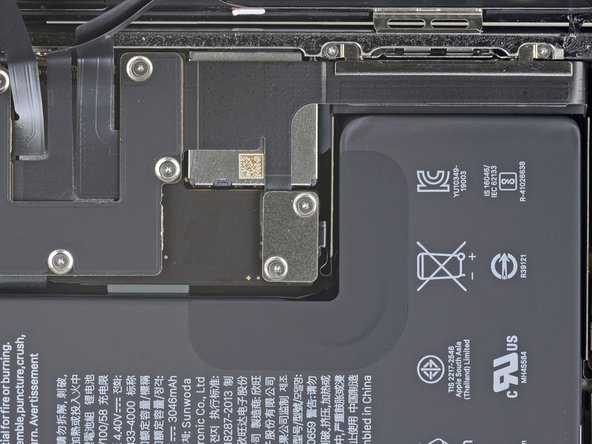
- Unscrew those two tiny 1.3 mm long Y000 screws holding the battery cover bracket in place. Simple stuff!
- Before you seal everything up, power on your iPhone to make sure everything is working fine. It's like a quick test run! Just remember to power it down completely before moving on to the next step.
Step 17
- Take off the bracket.
Step 18
Keep the black silicone seal around the board connections in good shape—it's your device's personal bouncer against water and dust sneaking in!
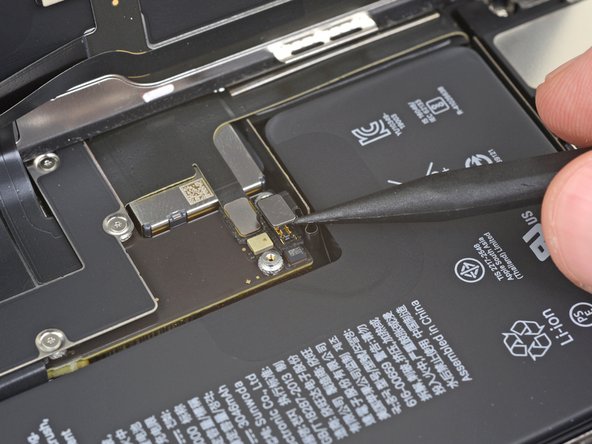
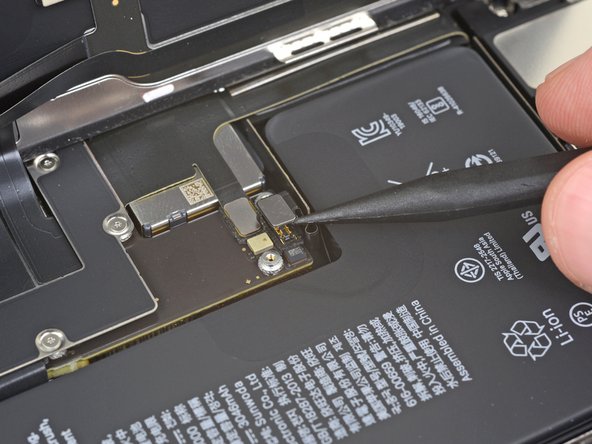
- Grab a spudger or use your clean fingernail to gently lift the battery connector from its cozy spot on the logic board.
- Now, gently bend the connector away from the board. This will stop it from accidentally sliding back into place and turning on the phone while you're working your magic.
Step 19
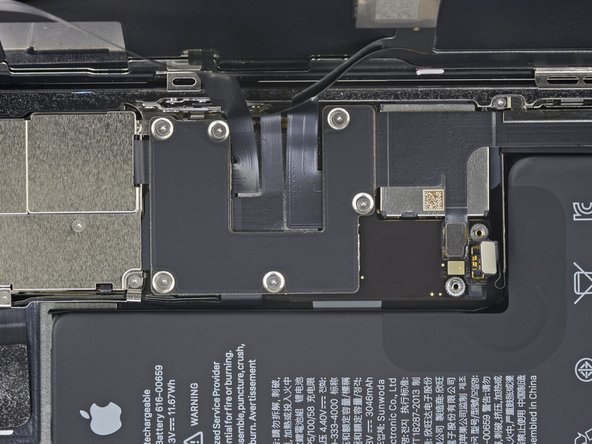
- Grab your Y000 driver and take out the six 1.3 mm screws holding down the logic board cover bracket. Nice and easy!
Step 20
- Take off the bracket. You got this!
Step 21
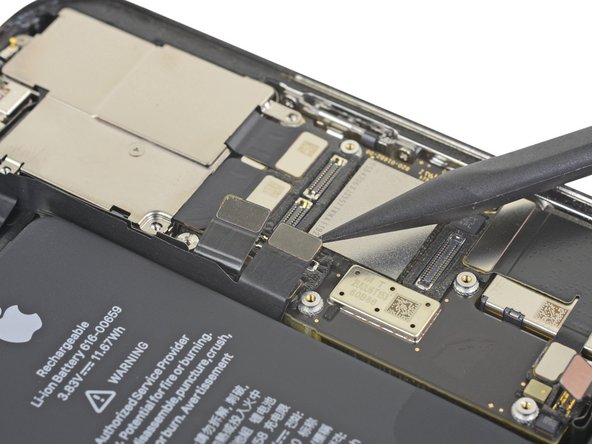
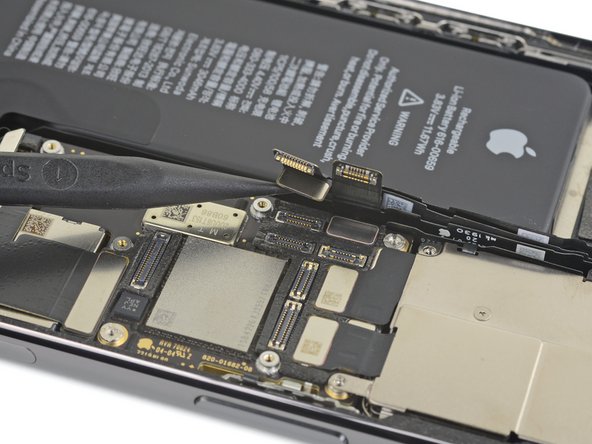
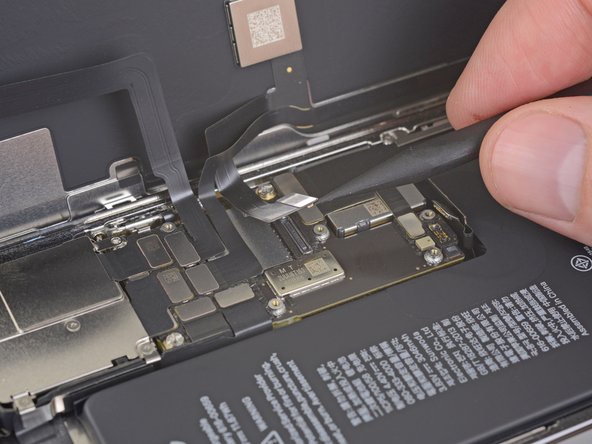
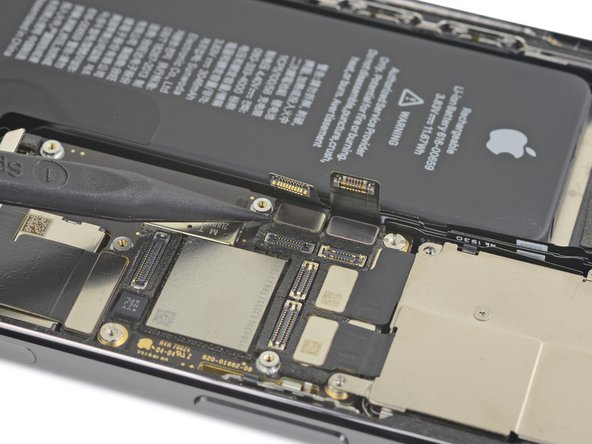
- Time to channel your inner DIY pro! Grab a spudger or use your trusty fingernail, and gently detach the Face ID dot projector and sensor cables from their cozy homes on the logic board.
Step 22
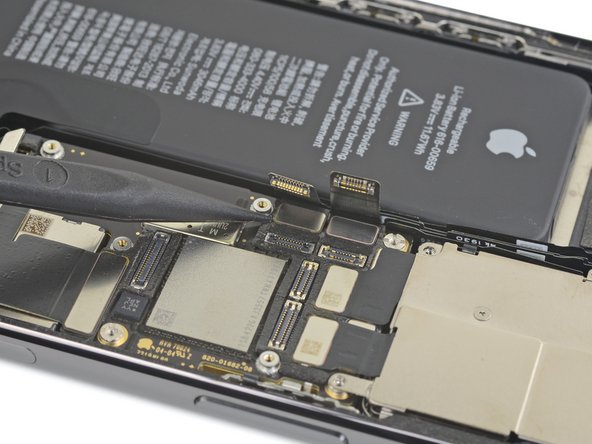
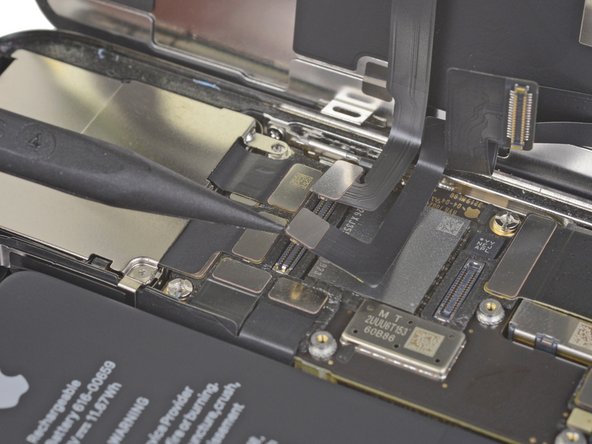
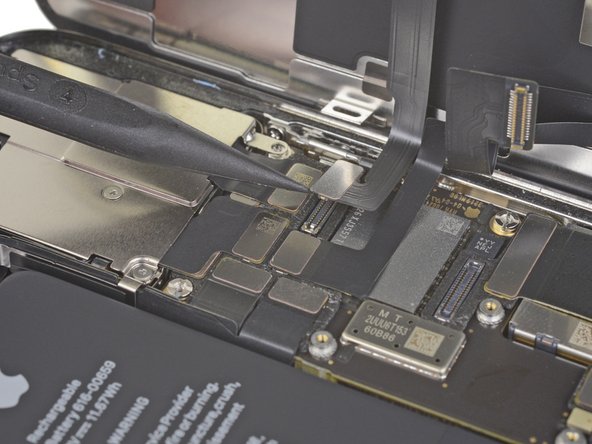
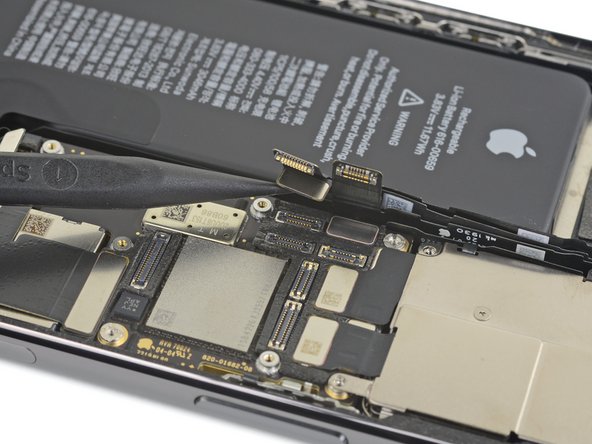
- Gently nudge the Face ID cable connectors away from the logic board to reveal the selfie cam connector hiding underneath.
- Carefully detach the selfie cam by lifting its connector straight up.
Step 23
- Before you dive in and swap out that camera, give your new one a quick test run to make sure it’s going to solve the problem. A little troubleshooting now saves a lot of hassle later!
Step 24
- Snap the new camera connector into place—give it a gentle press so it clicks in nice and snug.
Step 25
- Snap that battery connector into its socket—make sure it’s nice and snug!
Step 26
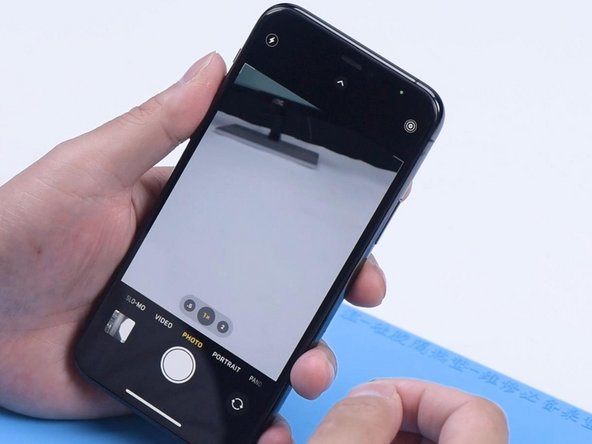
- Power up your phone and get that camera rolling!
- Check out both the front and back cameras to make sure they're in tip-top shape.
- If everything's working smoothly, then swapping out the damaged front camera should do the trick, and we can dive right into this repair.
- But if the new camera doesn't do the job, then it's time to call it a day. Just reassemble your phone and you're all set!
Step 27
- Grab your trusty spudger or a clean fingernail and gently lift the battery connector from its cozy spot on the logic board.
- Now, give that connector a little bend away from the logic board to keep it from accidentally reconnecting and powering up your device while you work your magic.
Step 28
- Gently use a spudger or your fingernail to unplug the OLED panel cable connector.
- When reconnecting press-fit connectors like this one, line it up carefully and press down on one side until you hear a click, then do the same on the other side. Avoid pressing the middle to keep those pins happy and straight—misalignment can bend them and cause permanent damage.
Step 29
- Grab a spudger or your trusty fingernail and gently disconnect the front sensor assembly cable connector. You've got this!
- Next up, use that spudger or nail again to unplug the digitizer cable connector. Easy peasy!
- In case your screen decides to play hard to get and doesn't respond to touch after your repair, just disconnect the battery. Then carefully re-plug that connector—listen for that satisfying click! And make sure there’s no dust or any sneaky obstructions lingering in the socket.
Step 30
- Let's get that display assembly off! Remember to be gentle as you remove it.
- If you're thinking about swapping out the waterproof adhesive while you're at it, this is the perfect moment to pause and take care of that around the edges of the display.
Step 31
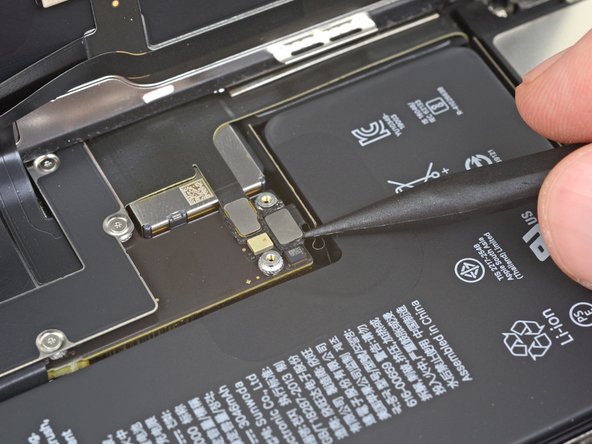
- Gently nudge those Face ID cable connectors away from the logic board so you can sneak a peek at the selfie cam connector hiding underneath.
- Carefully disconnect the selfie cam by prying its connector straight up—it's like giving it a little lift-off!
Step 32
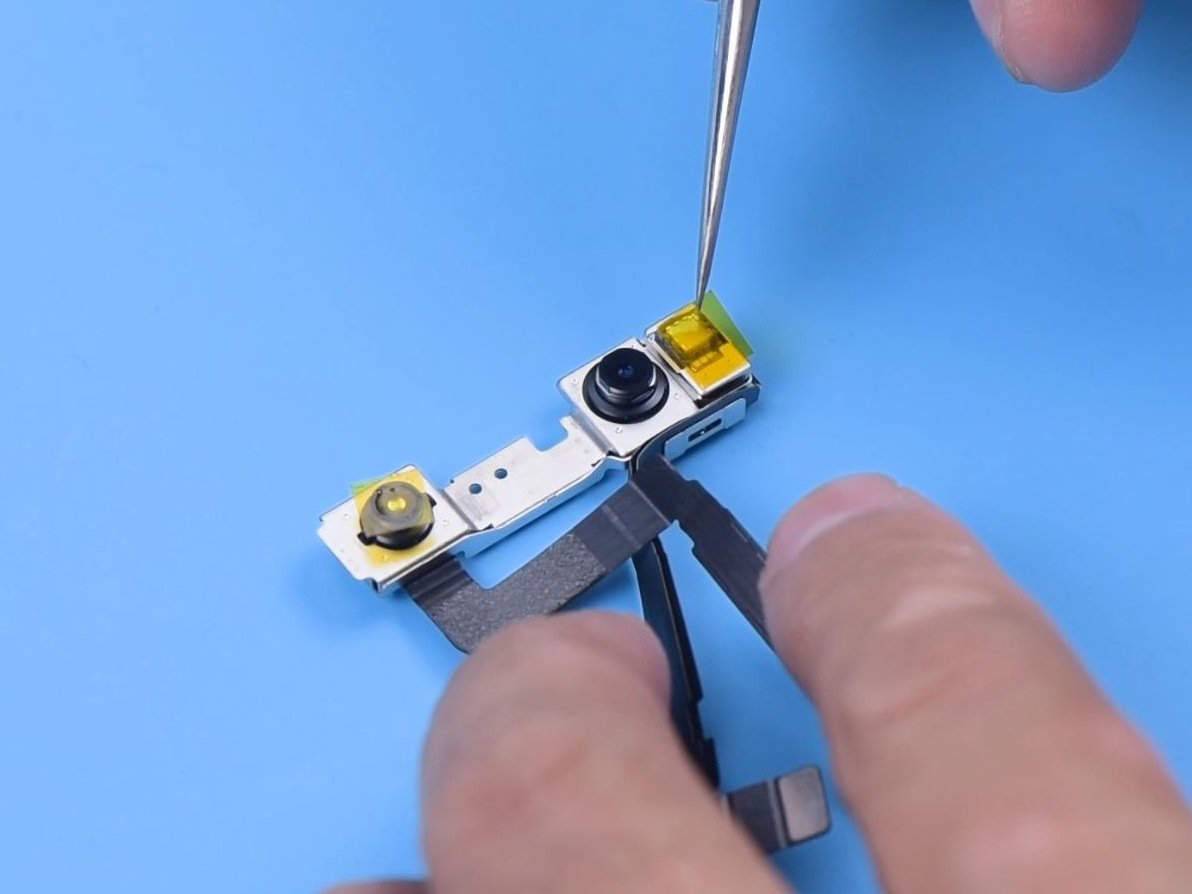
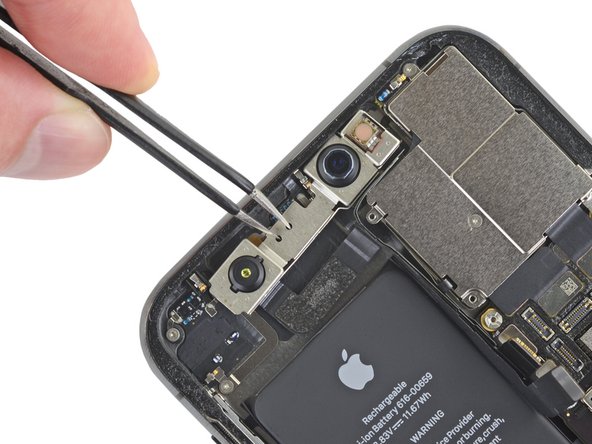
Carefully pick up the front camera assembly with your tweezers, and make sure not to leave any fingerprints on those delicate sensors. Precision is key!
- Gently nudge the front camera assembly down and to the left, giving it just enough room to pop free from the enclosure. It's like a mini dance move – smooth and easy!
Step 33
- Say goodbye to those front-facing cameras! It's time to gently detach them with care.
Step 34
- Stick some Kapton tape over the infrared camera and dot projector to keep them safe from accidental bumps or scratches. Better safe than sorry!
Step 35
- Flip the front camera module over and pop it into a holder. Gently warm it up with a hot air gun set to 100 °C to loosen and remove the tape.
Step 36
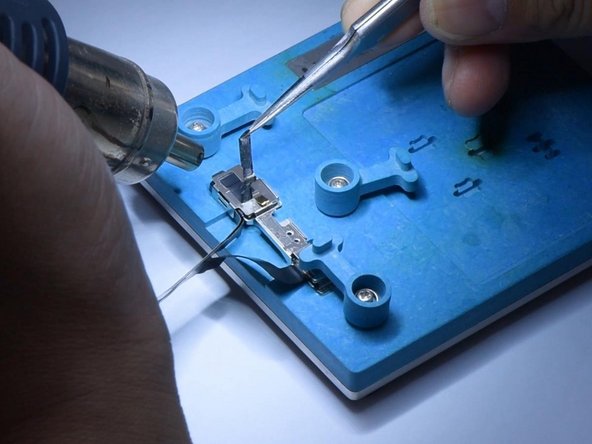
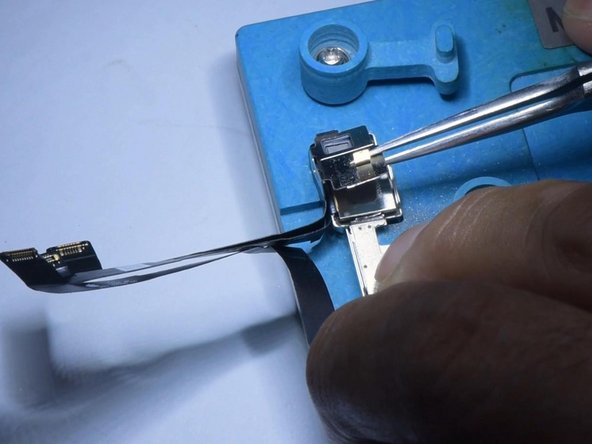
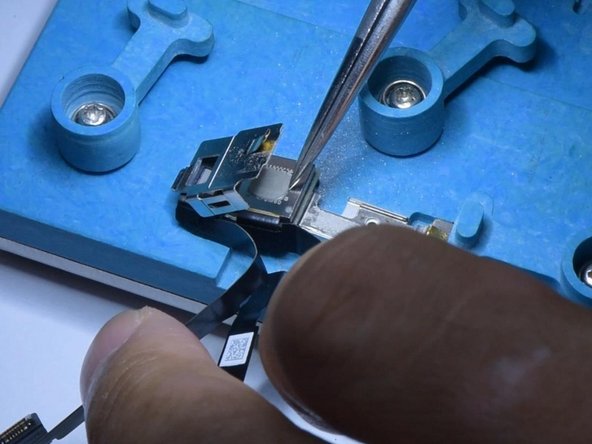
- Give that metal plate a little love by carefully grinding down the corner with a Polishing & Grinding Pen or a trusty Dremel multitool. It's like a spa day for your device!
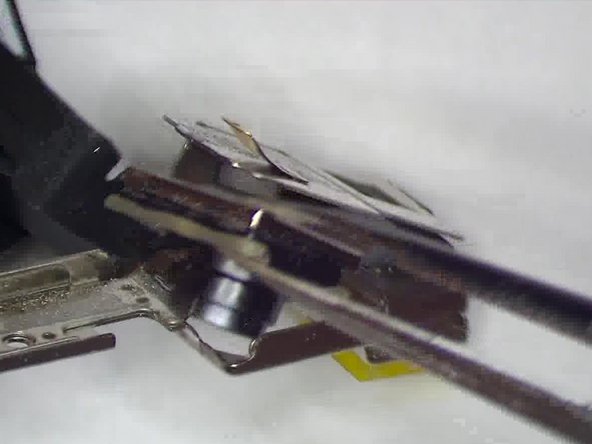
- Now, with a gentle touch, use some tweezers to pry up the metal plate. Just think of it as giving your gadget a little hug to get it all cozy and open!
Tools Used
Step 37
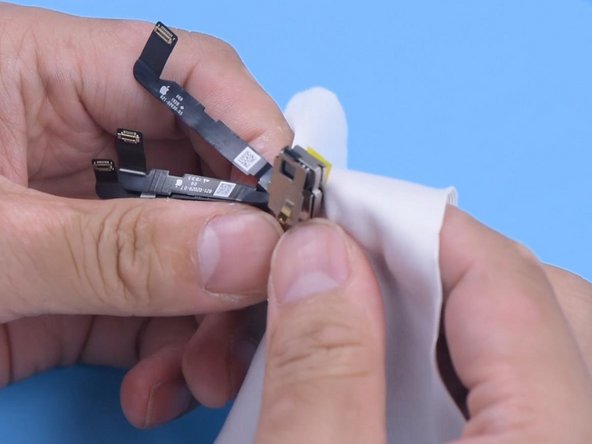
- Gently warm up the front camera with a hot air gun set to 100 °C for about 30 seconds to soften the adhesive holding it in place.
- Place a lint-free wipe over the front camera and apply a little pressure to keep things tidy.
- Carefully take out the damaged front camera.
Step 38
- Carefully apply a thin layer of adhesive around the edges of the frame that borders the camera opening. Less is more here!
- Gently pop the new front camera into place, making sure it fits nice and square in the hole—avoid getting any adhesive on the lens to keep things crystal clear.
Step 39
- Slap some adhesive on the back of that camera and give the frame a good press down to snug it onto the camera like a warm hug.
- Carefully place the front camera into its holder, then pop a retainer on top of the glued-up assembly to keep it in place while that adhesive sets. You're doing great!
Step 40
- Give it an hour, then pop out the front camera module. Front camera—out with the old, in with the new! Peel off the Kapton tape from the IR camera and dot projector. No tape, no problem.
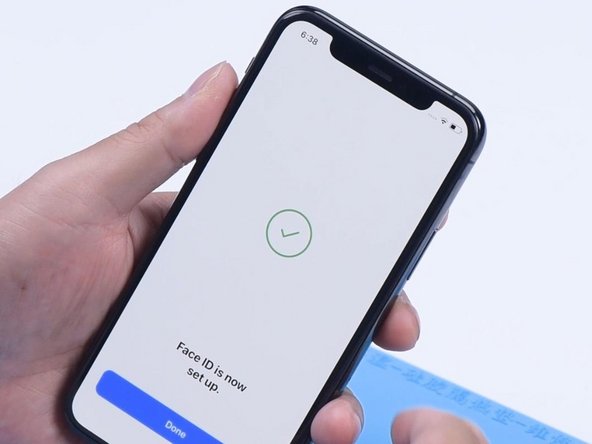
- Slide the front camera module back in and fire up the phone. Double-check both the front and rear cameras—picture perfect. Face ID should be working like a charm. If things get weird, you can always schedule a repair.
