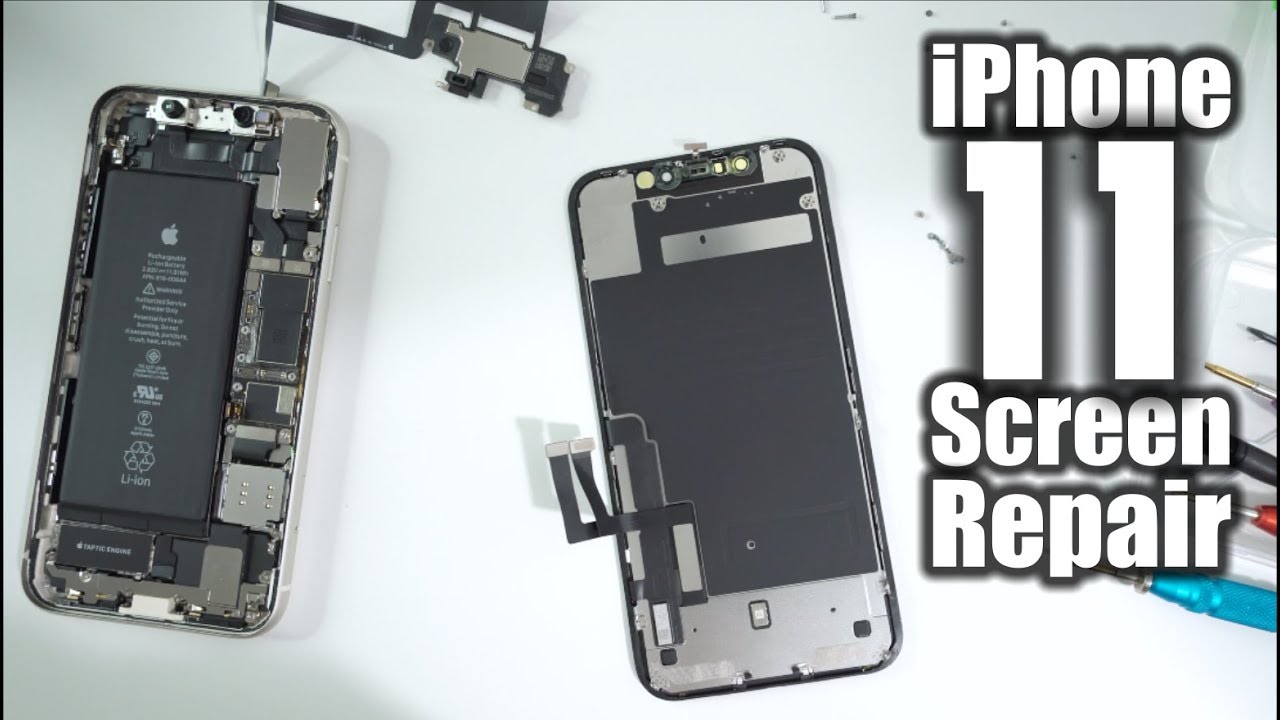
iPhone 11 Screen Replacement Guide: DIY Fix for a Cracked Display
Duration: 45 min.
Steps: 16 Steps
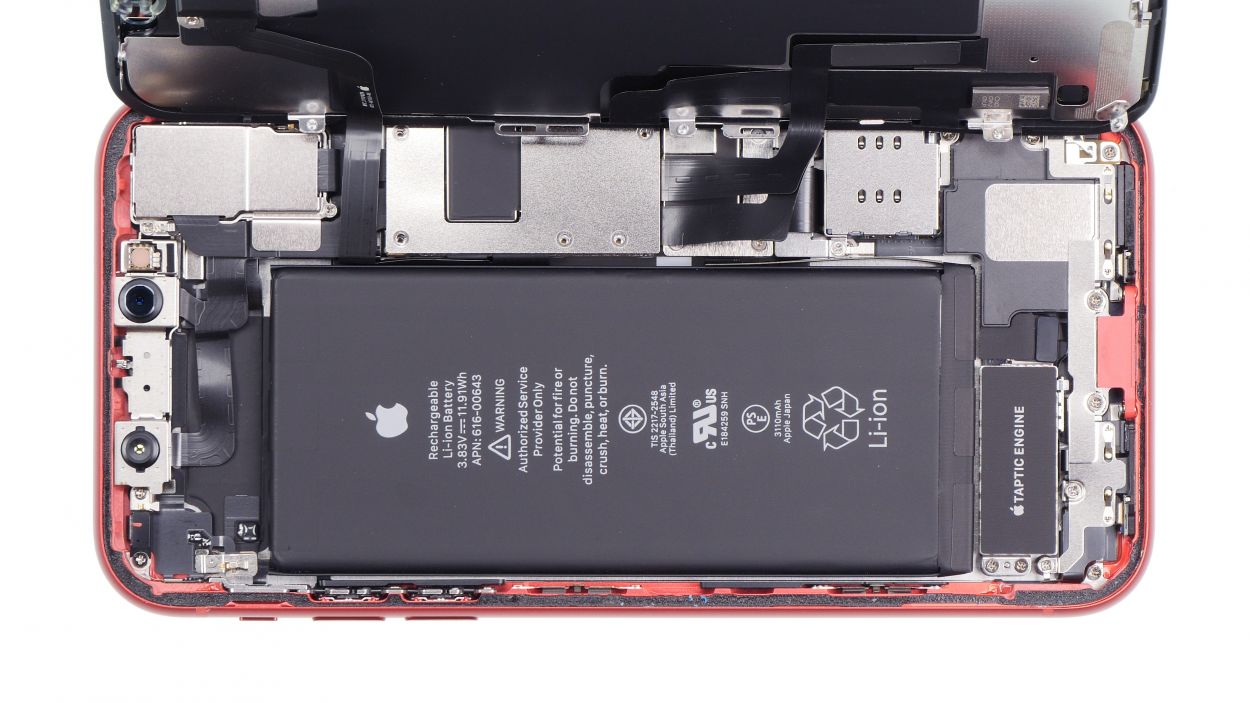
In this guide, you’ll discover how to swap out your cracked display like a pro! Not only will you save some cash, but you’ll also keep your data safe from prying eyes. Plus, peeking inside your iPhone gives you a cool glimpse into its inner workings. Our talented team at Salvation Repair has crafted these iPhone 11 manuals just for you, packed with step-by-step instructions, estimated time for the display swap, and a handy list of tools you’ll need. Looking for tools or parts? No worries! We’ve got links to top-notch gear right in the guide. Just one click, and the right spare parts are in your cart—no more endless searching! And here’s a little nugget of wisdom: before diving in, check your battery’s performance in the iOS settings under ‘Battery.’ If the maximum capacity is under 80%, we suggest swapping it out too. This way, you can tackle two tasks in one go! Ready to get started?
Step 1
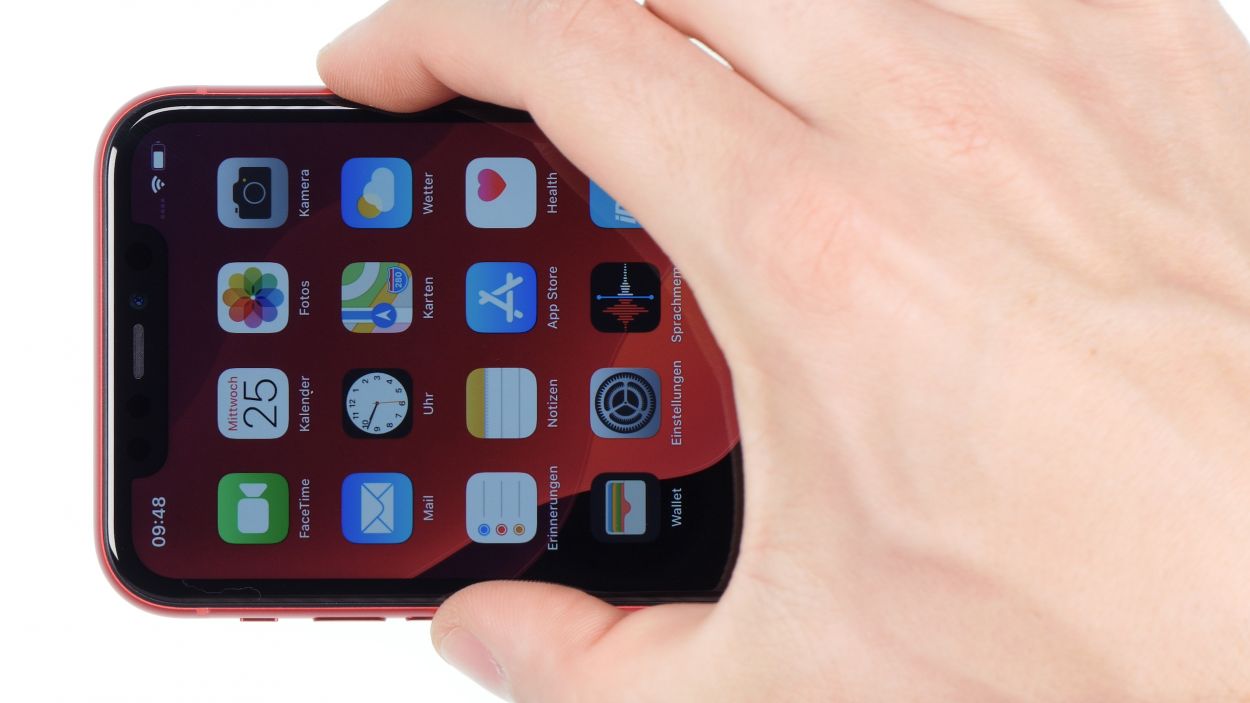
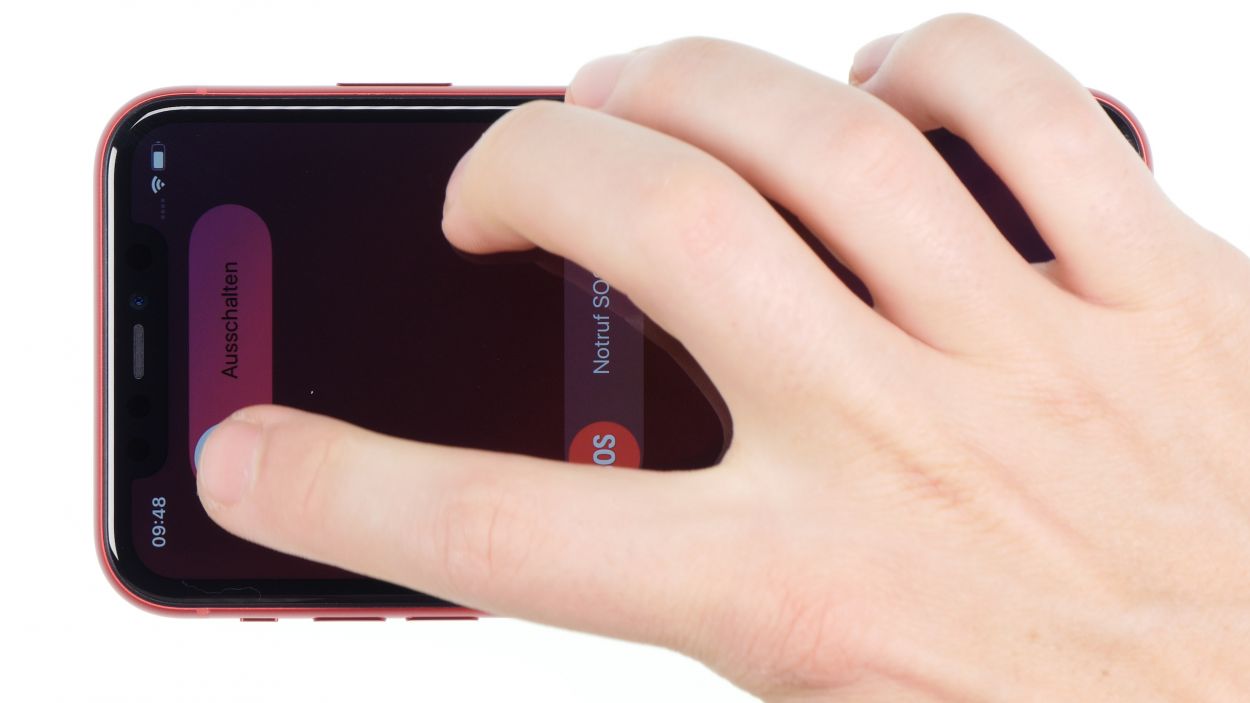
– Before you start your repair adventure, let’s keep your iPhone 11 safe and sound! Power it down completely by pressing and holding the Standby button along with one of the volume buttons for about three seconds.
– If you see the slider pop up with ‘Turn off’, just swipe it from left to right. Voila! Your phone will shut down in about ten seconds, ready for some repair magic.
Step 2

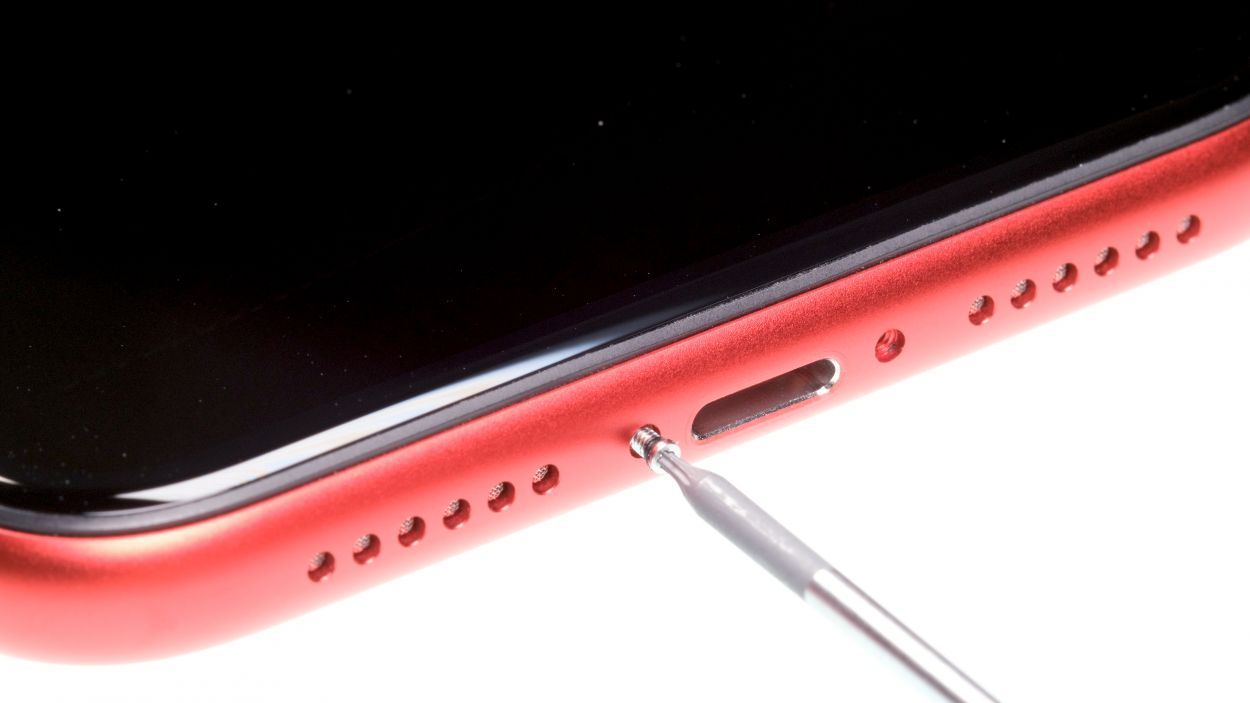
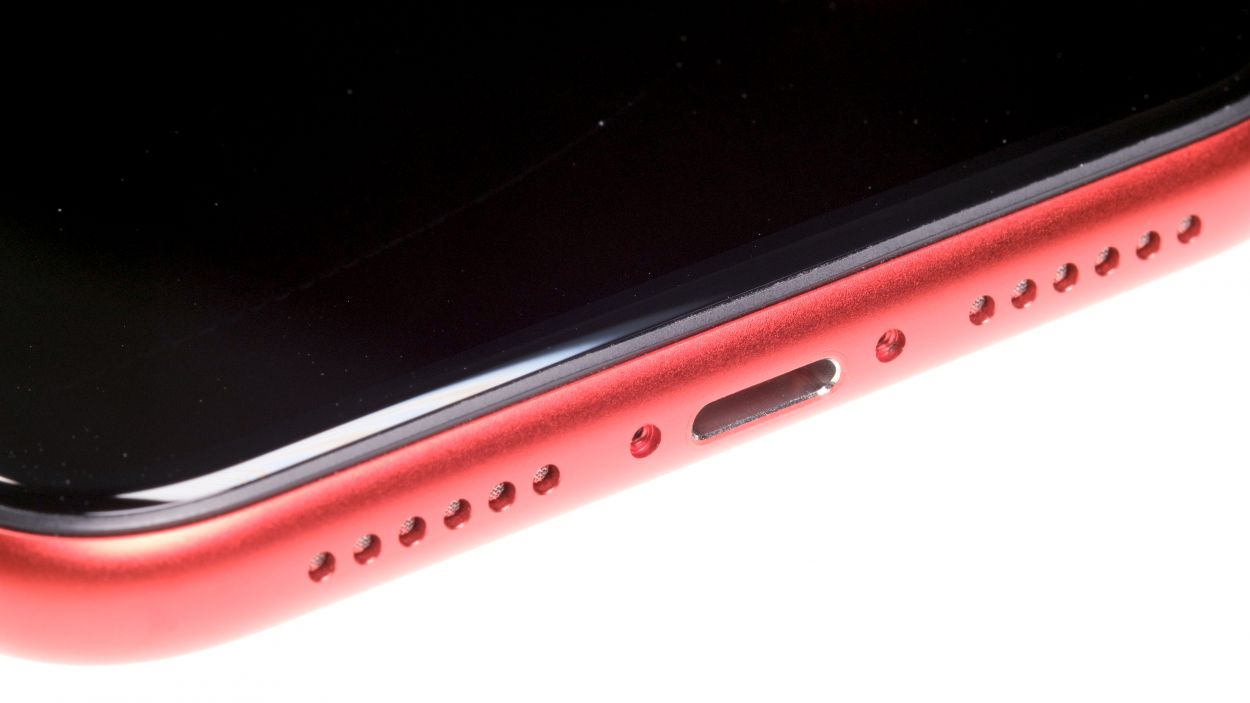
2 × 6,8 mm Pentalobe
Once you pop the lid off your device, that sweet IP68 dust and splash protection? Yeah, it’s taking a little vacation. So, keep it safe from the elements!
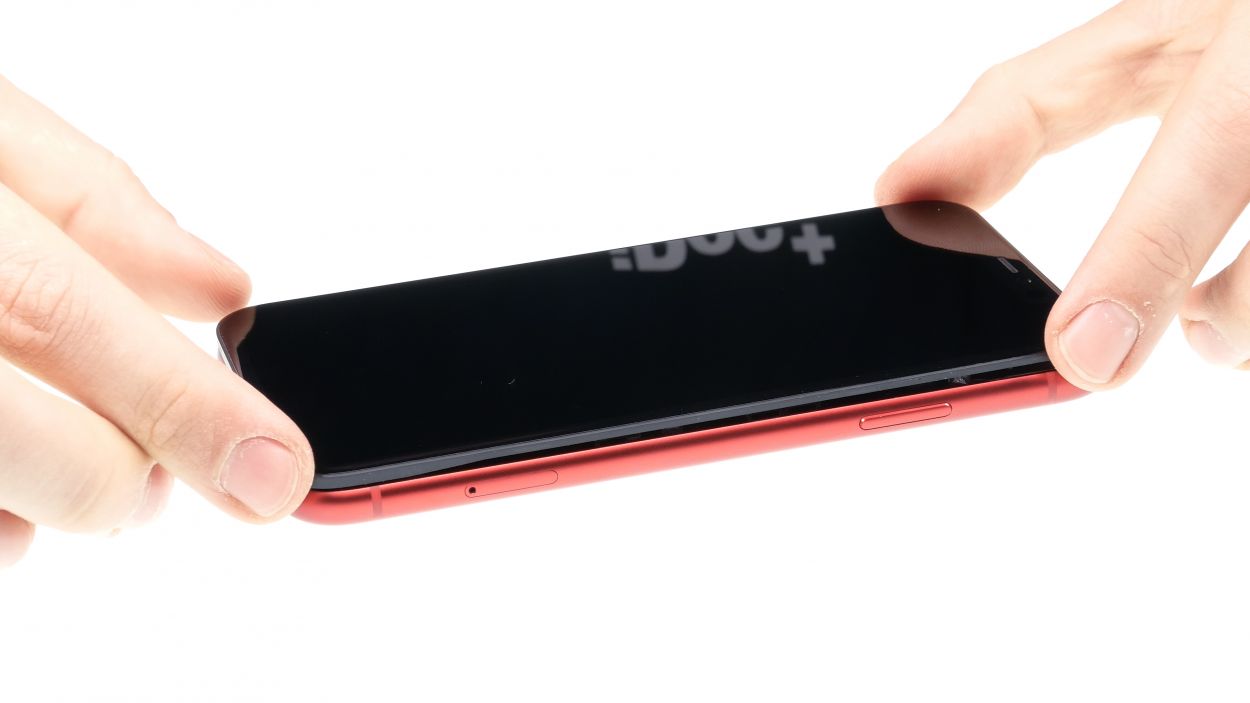
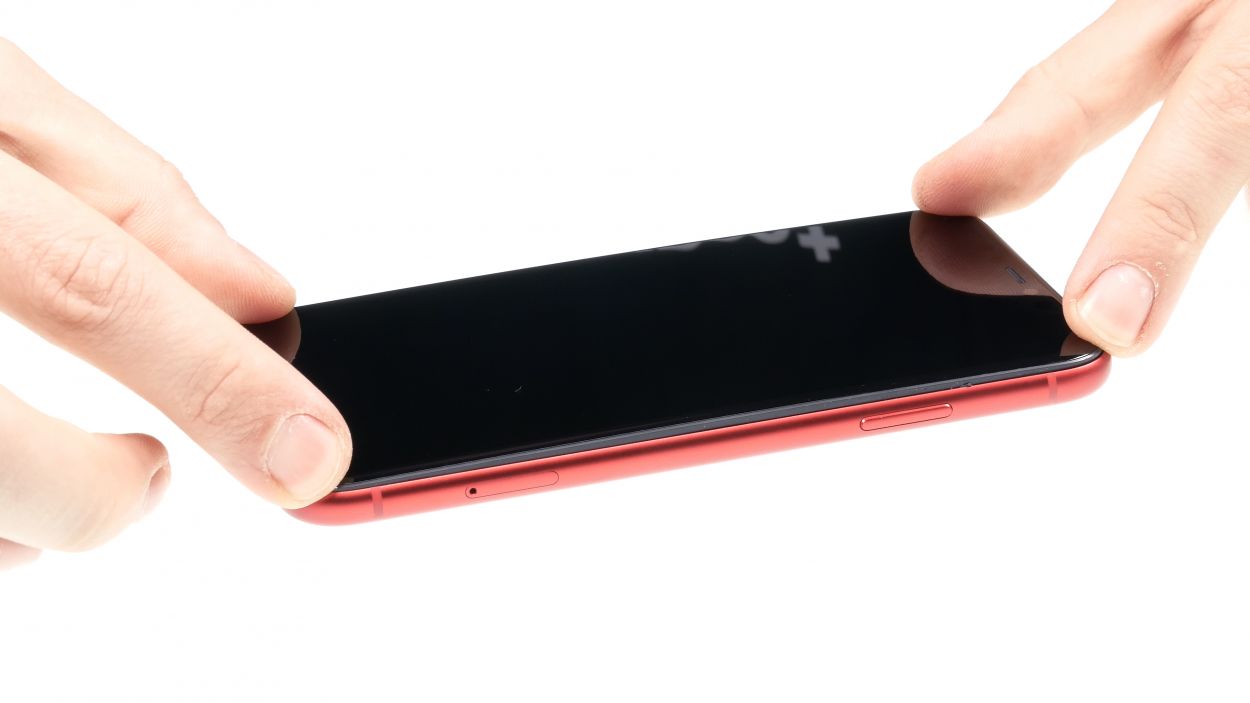
– On the bottom side of your device, right next to the Lightning connector, you’ll spot two Pentalobe screws just waiting to be removed. Go ahead and take them out, then place them in a designated spot on your magnetic pad. You’re doing great!
Tools Used
Step 3
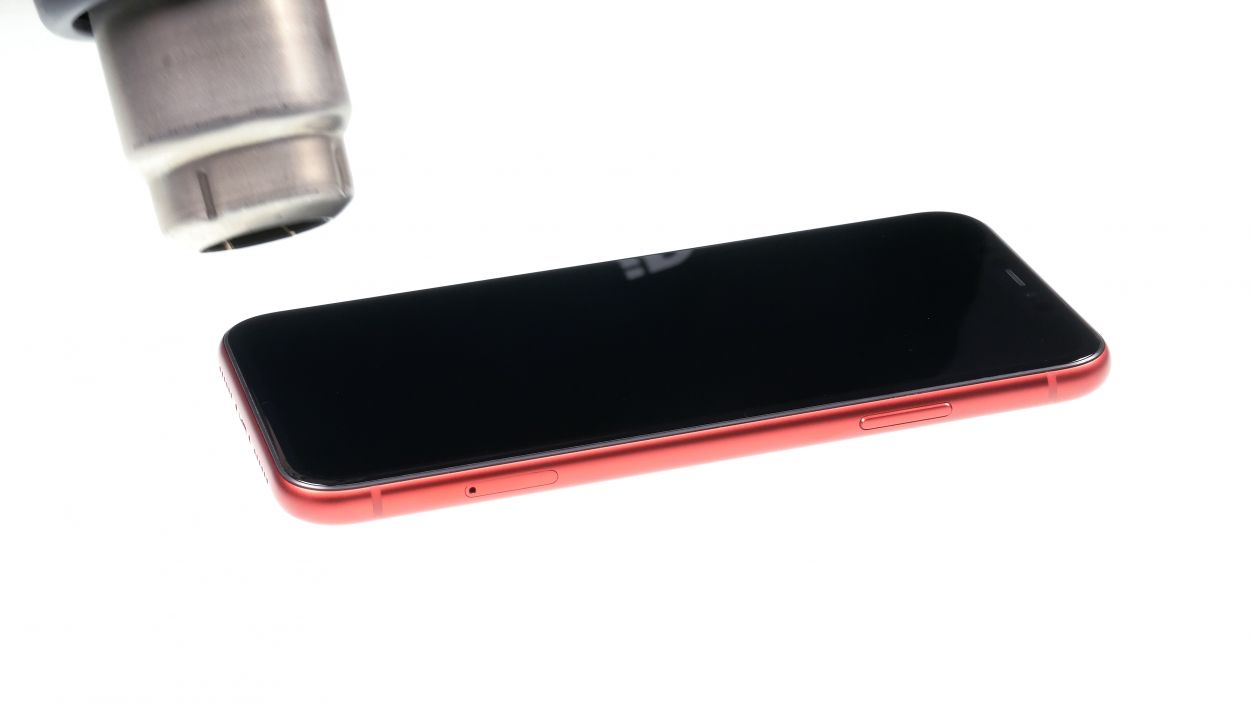

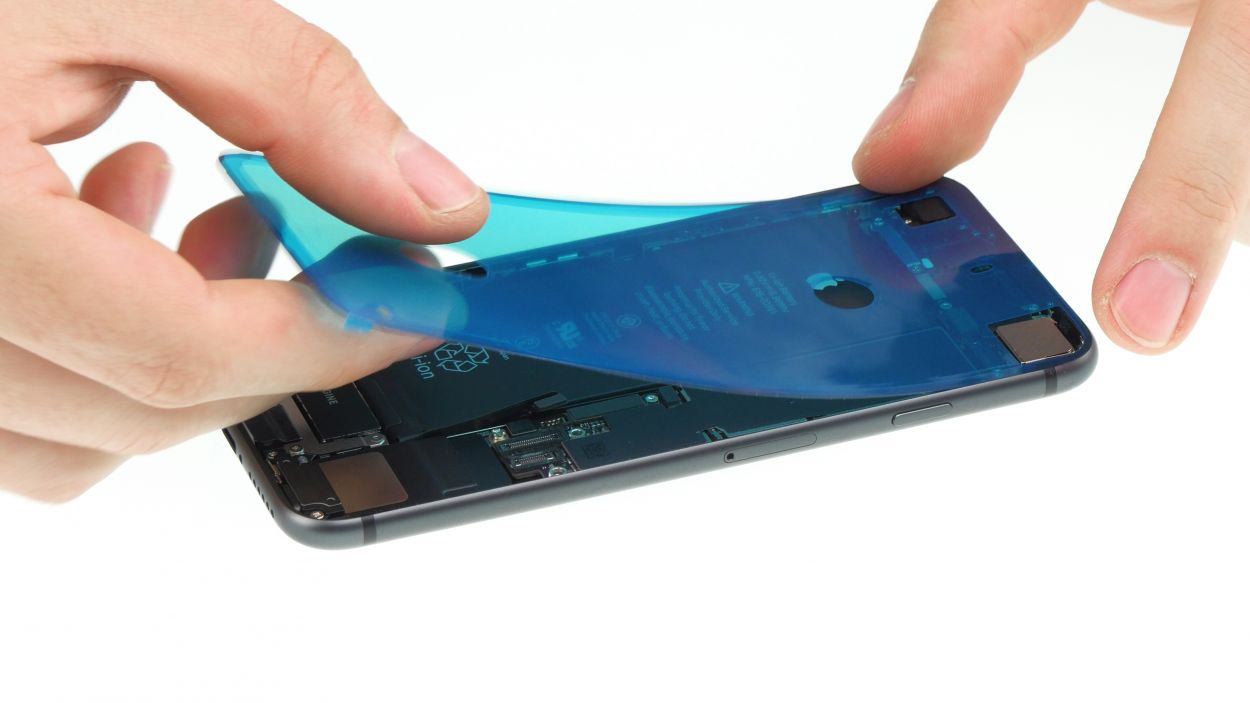
– Set your iPhone 11 down on a soft and clean surface. This way, you can keep the back of your device scratch-free while you work your magic.
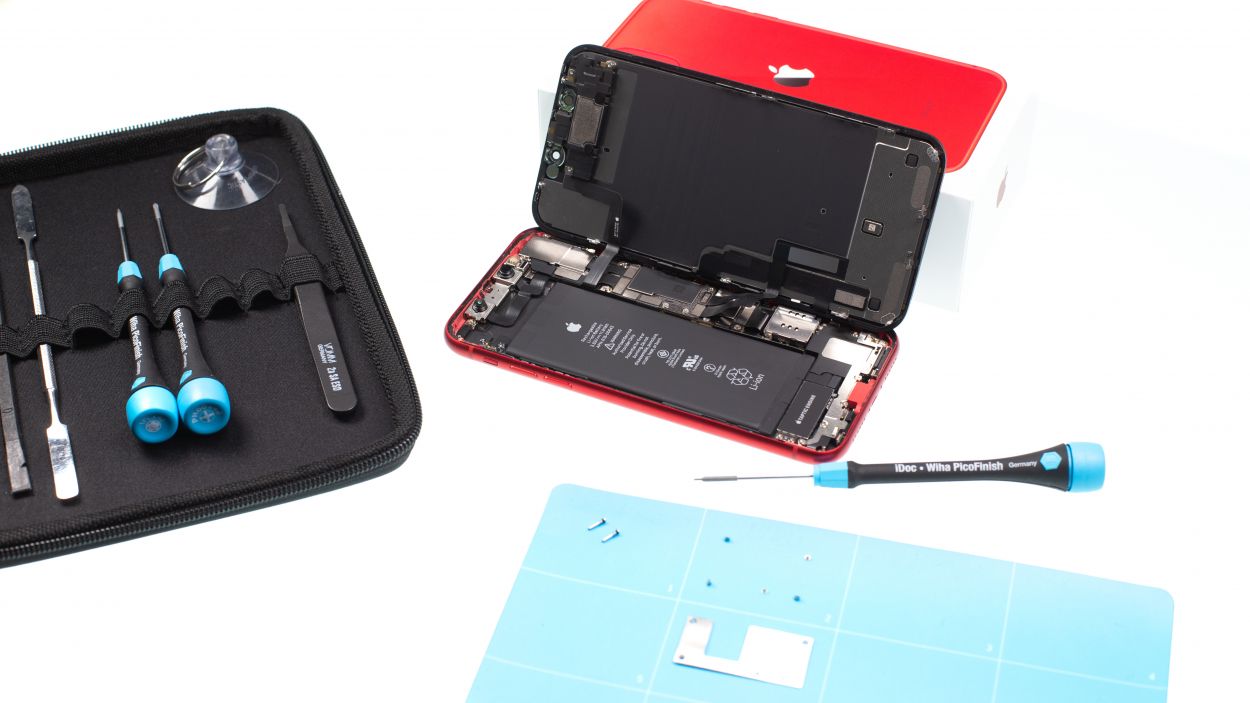
– To pop that screen off, grab a suction cup, a hard plastic plectrum, and a hairdryer. If your glass is really shattered, don’t forget to slap on some parcel tape first to catch those pesky shards.
– Now, let’s warm up that glued screen! Use your hairdryer to heat the edge of the display until it reaches about 60° C (140° F).
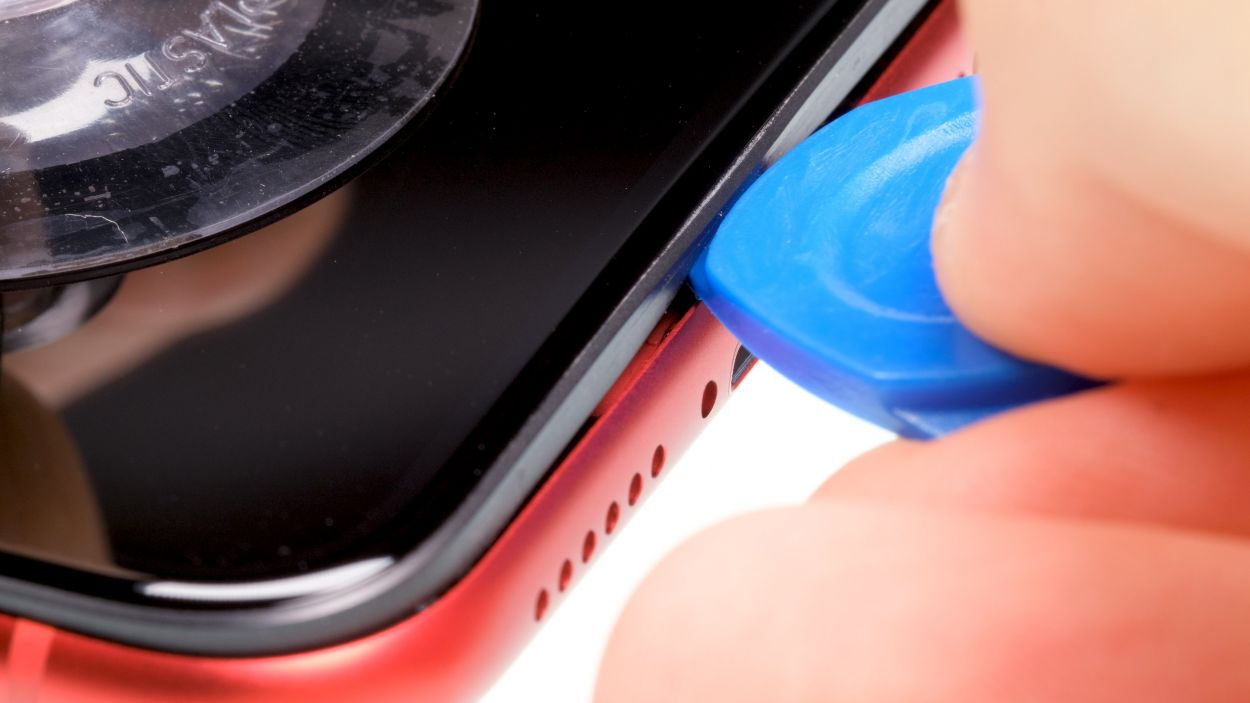
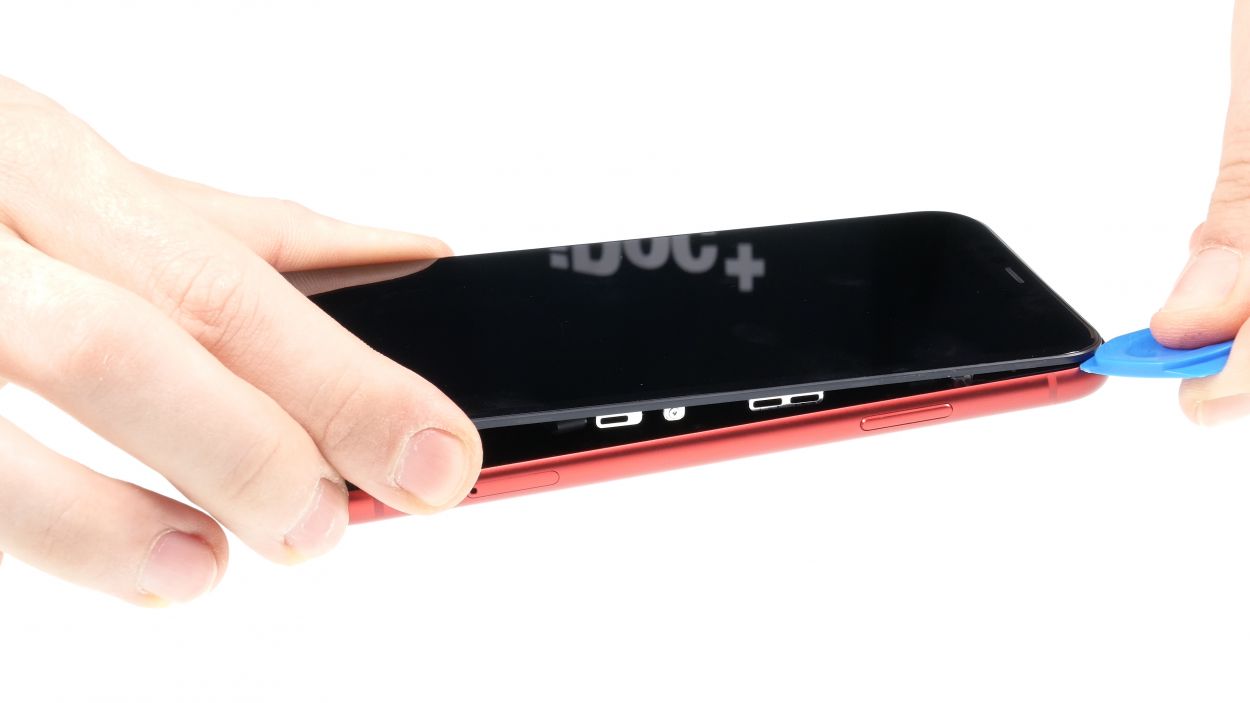
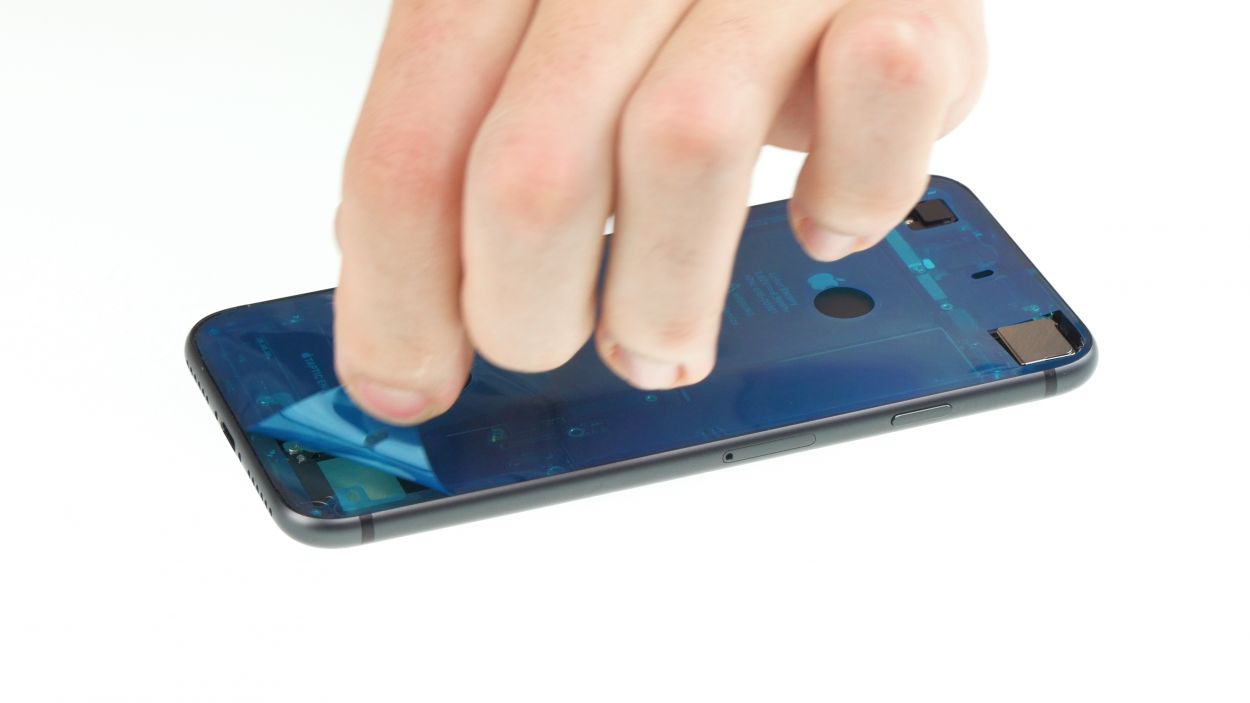
– Time to get lifting! Stick the suction cup on the lower edge of the iPhone. Use the key ring on the suction cup to pull the display up while you gently slide the hard plastic plectrum between the case and display frame, pushing the case down. Move the plectrum all the way around the iPhone to break that display adhesive free.
Hey there! Just a friendly reminder: when you’re using the tool, keep it to about 5mm deep inside the device. We want to avoid any mishaps with those delicate components, especially near the standby button where those sensitive flex cables from the display like to hang out. Let’s keep everything safe and sound!
You can totally swap out the hard plastic plectrum for an iFlex if that’s your jam! Just a heads up, though—using the iFlex might leave a few scratches on the frame. No biggie, right?
Tools Used
- heat gun to heat parts that are glued on so they’re easier to remove.
In most cases, you can also use a hairdryer.” rel=”noopener”>Heat gun - Pick Set
- iFlex Opening Tool
- VAKUPLASTIC Suction Cup
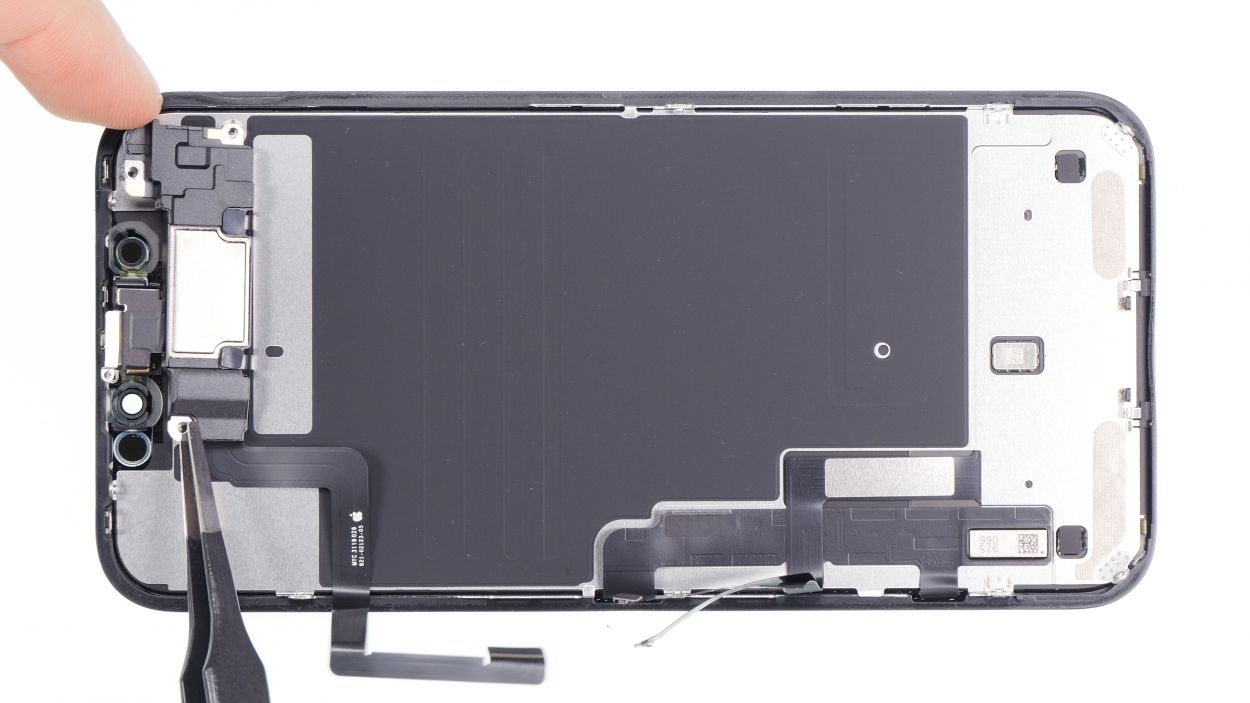
Step 4


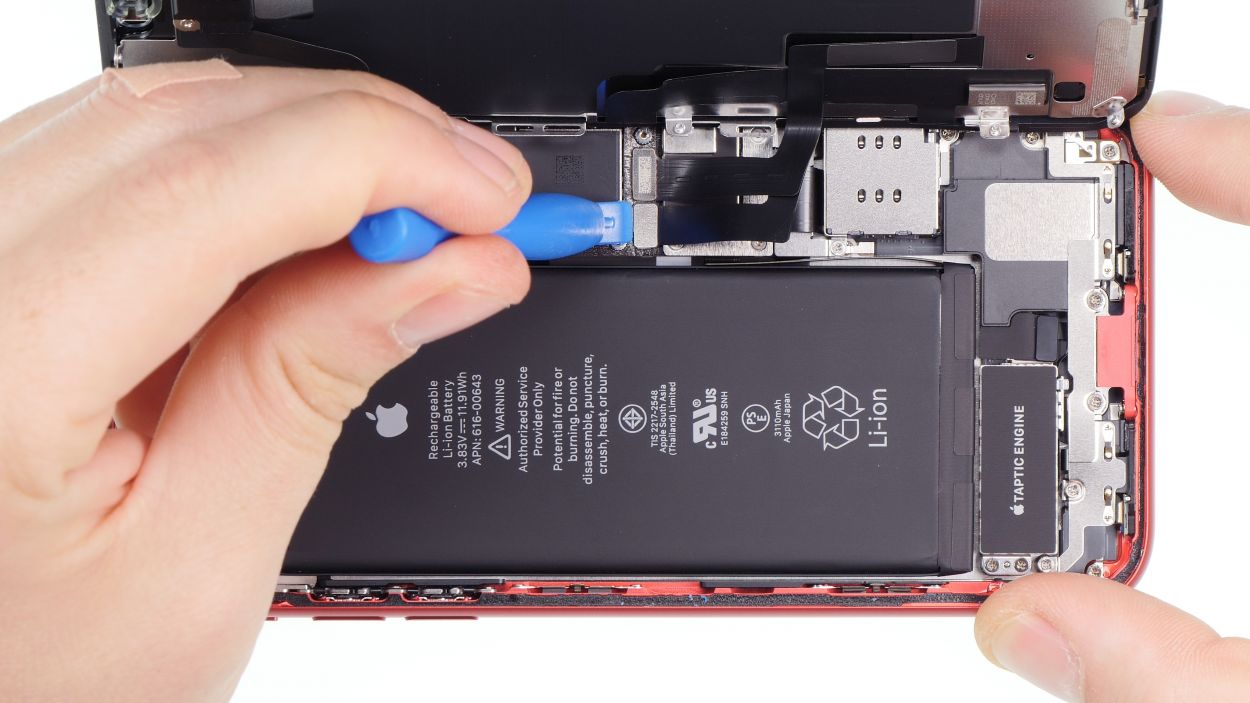
– Grab your trusty Y-type Y000 screwdriver and let’s tackle those Y-type screws holding the metal cover in place. Once you’ve got them out, make sure to set all your little bits and pieces in a nice, organized spot on your magnetic mat. You’ve got this!
5 × 1,1 mm Y-Type
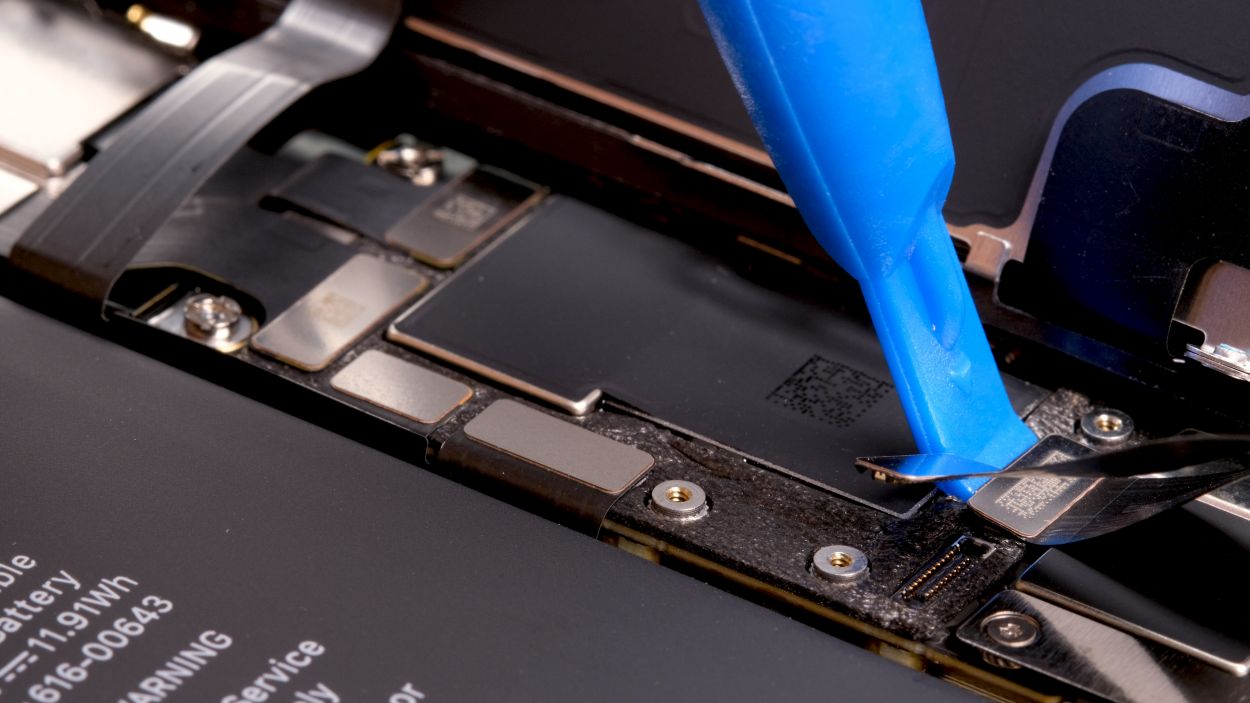
Touch connector
LCD connector
Earpiece connector
So, here’s the scoop: when Apple rolled out the iPhone 7, they brought along these nifty Y-type screws. You might have heard them called Tri-Point or Tri-Wing, but that’s a bit of a mix-up! To tackle these screws, just make sure you’ve got the right screwdriver on hand—it’s the key to keeping those screw heads looking sharp and undamaged!
Tools Used
Step 5

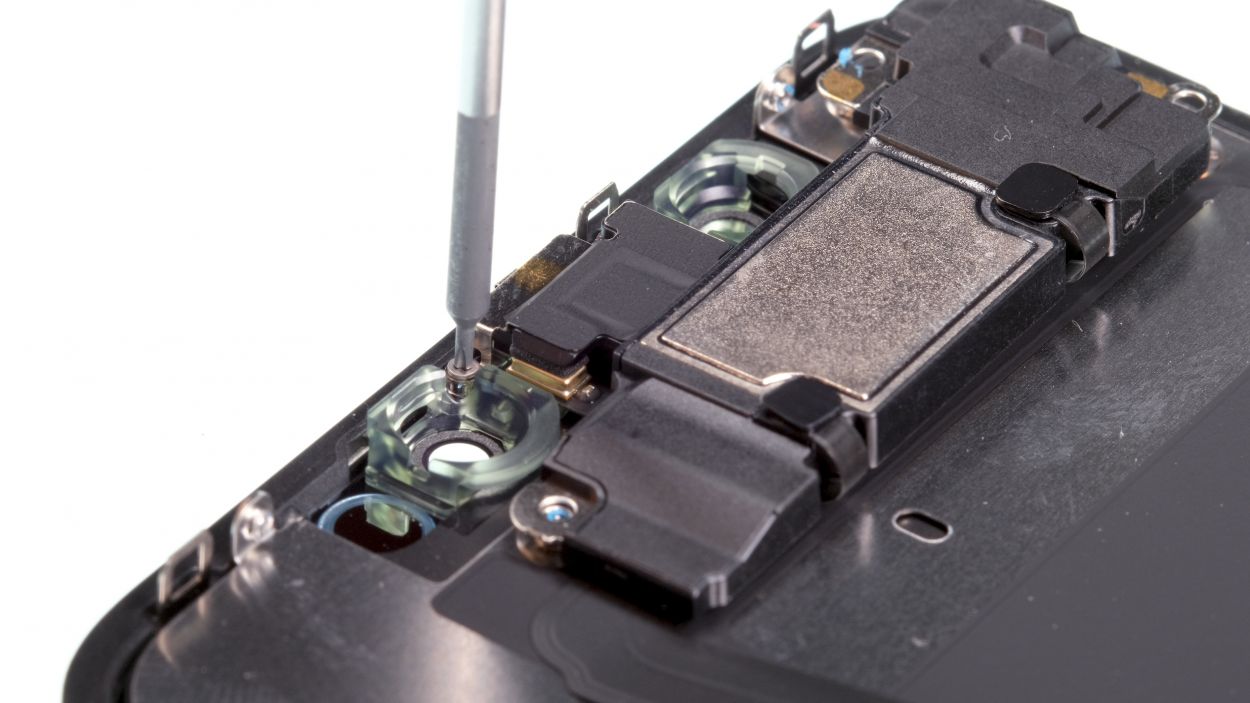
3 × 1,5 mm Phillips
1 × 1,2 mm Y-Type
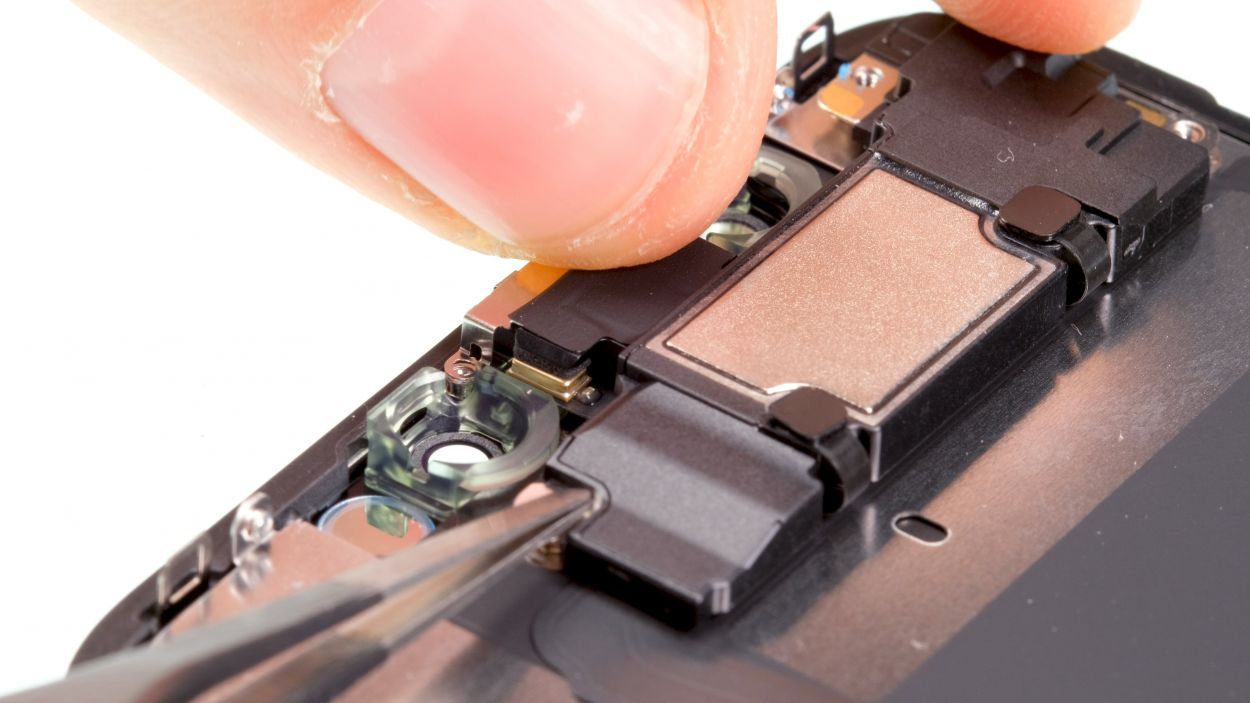
Hey, just a quick heads-up! When you’re loosening the earcup, keep an eye on those delicate flexible cables connecting the earcup to the sensors. They’re super sensitive and irreplaceable! If they get damaged, you might run into some FaceID hiccups. So, let’s handle with care!
– Unscrew the four screws that are keeping the earcup snug in place. Once you’ve done that, gently fold the earcup over like a pro!
Tools Used
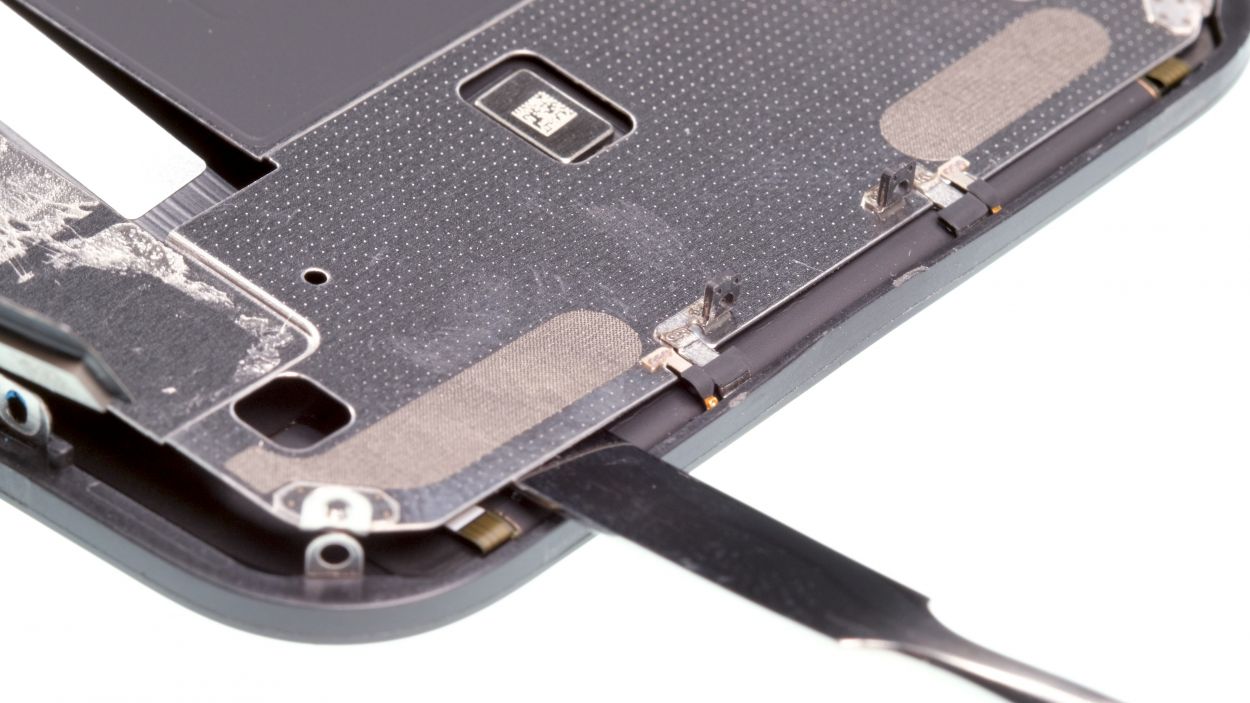
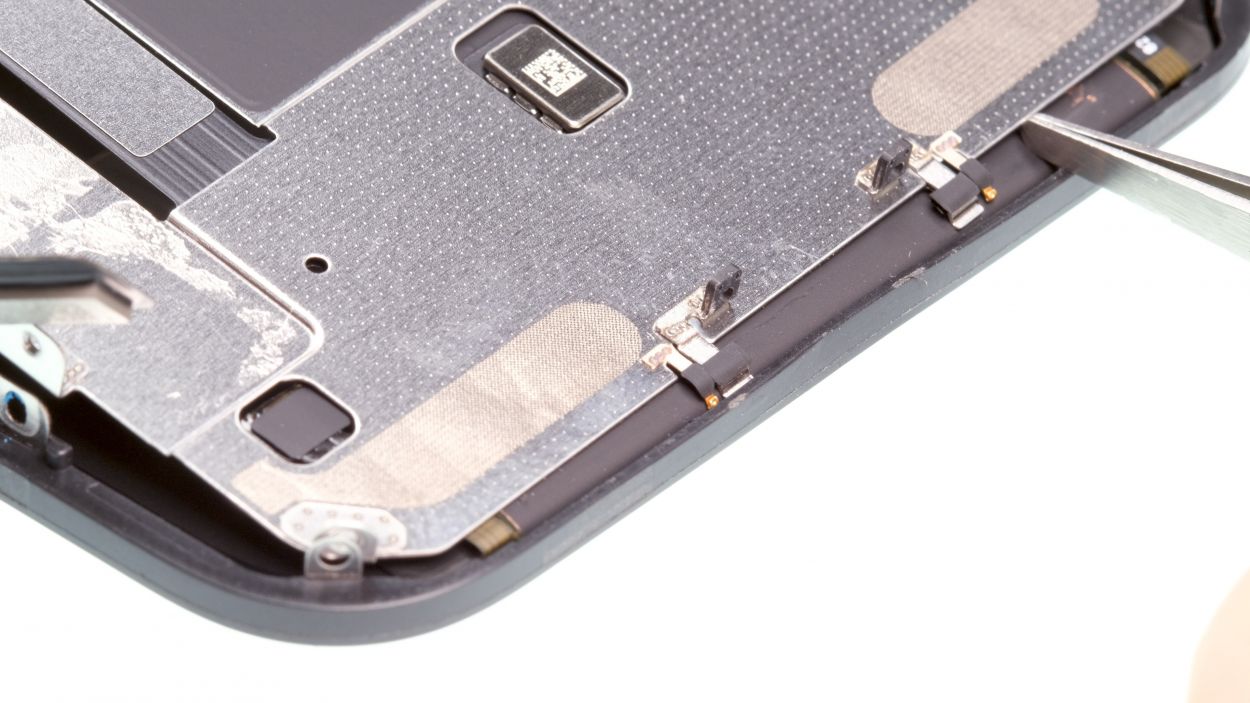
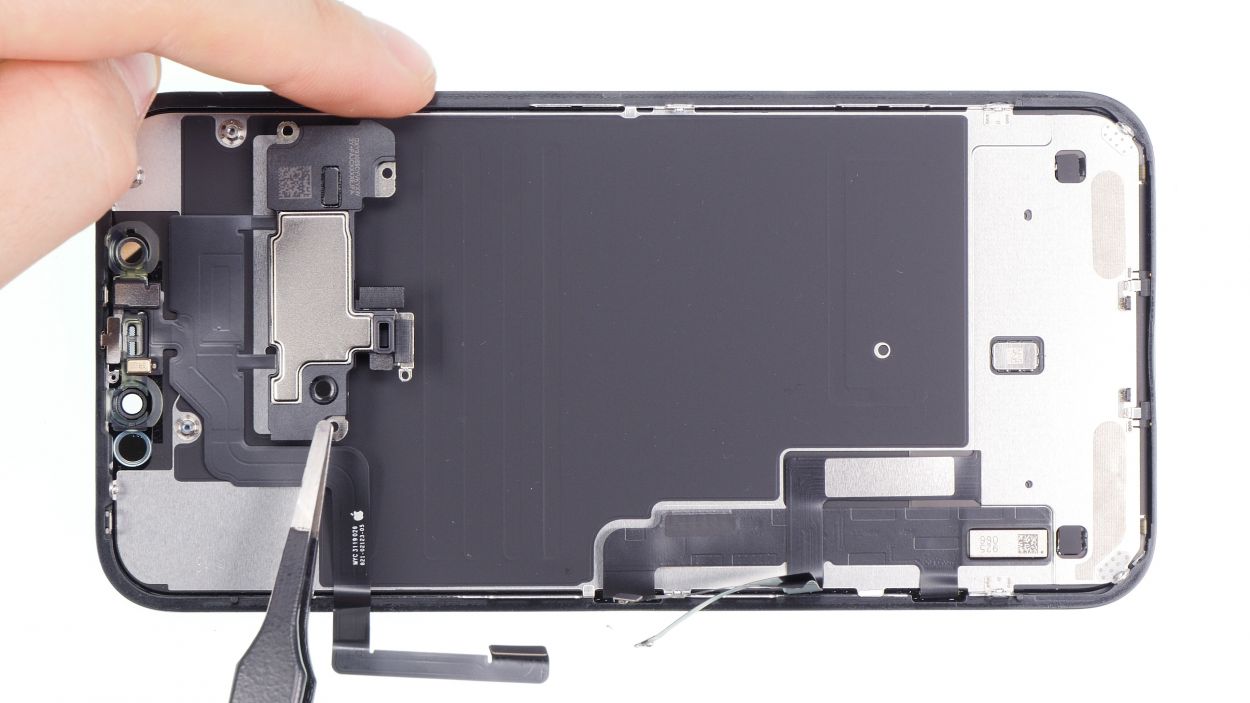
Step 6
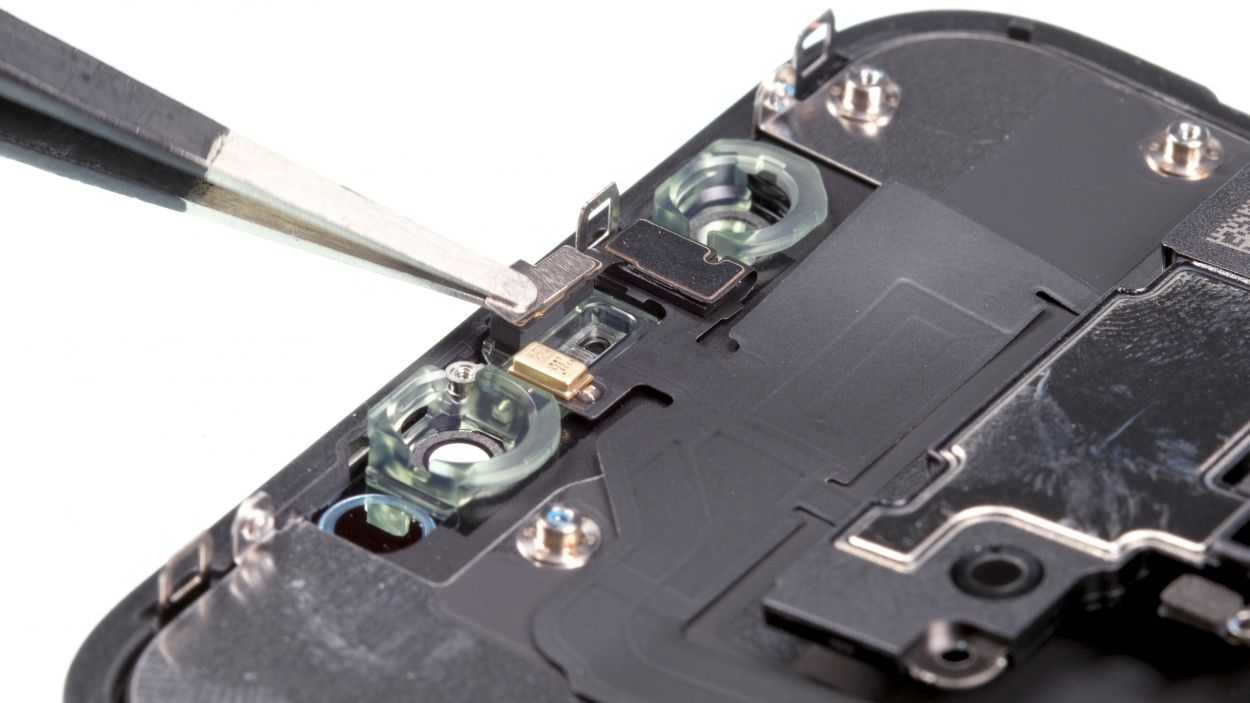

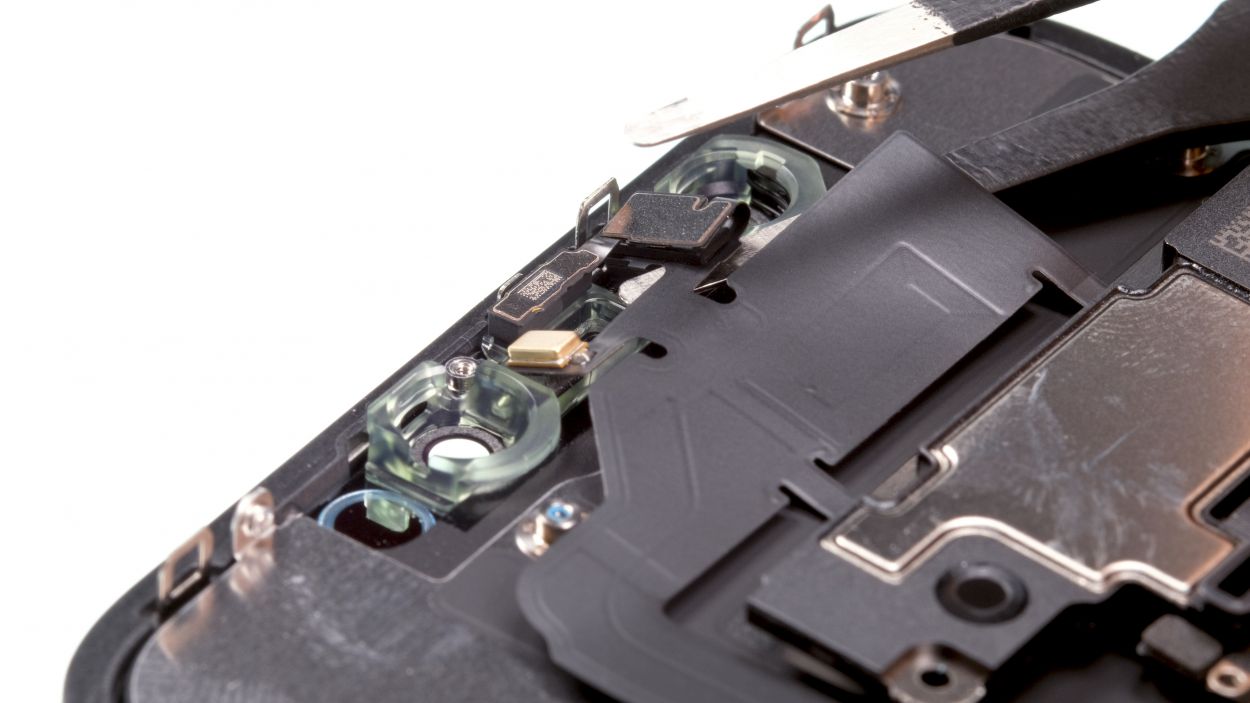
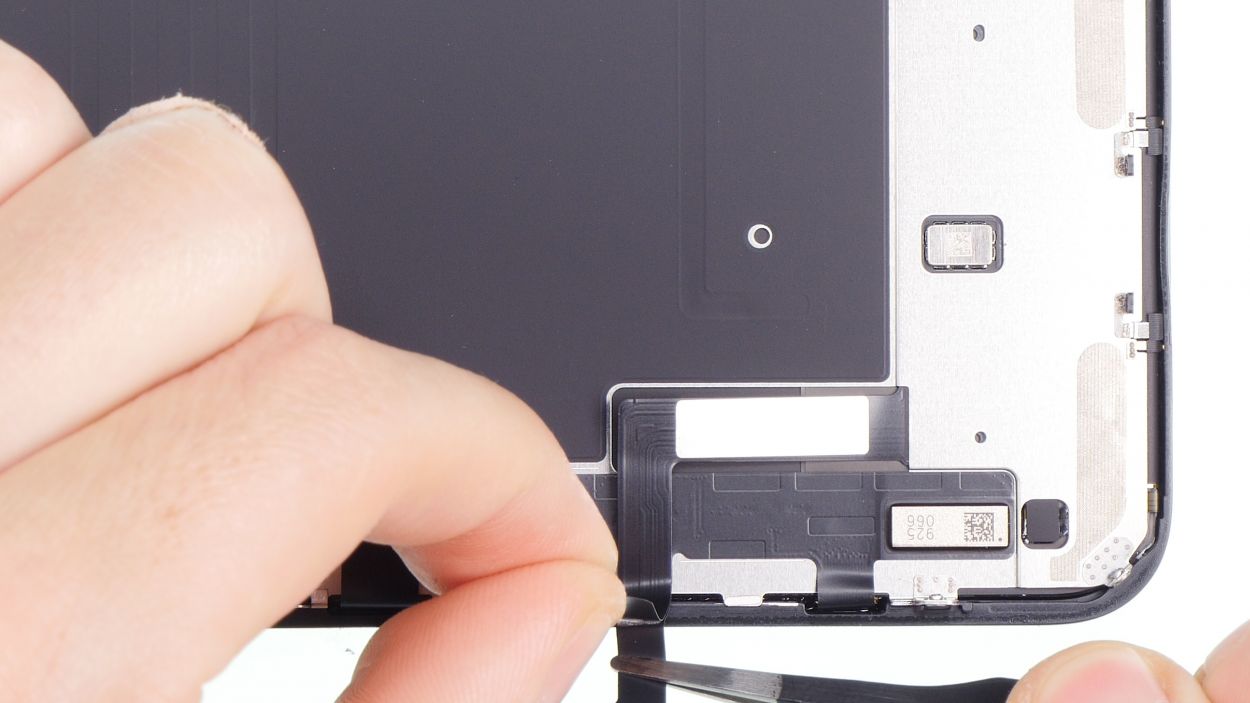
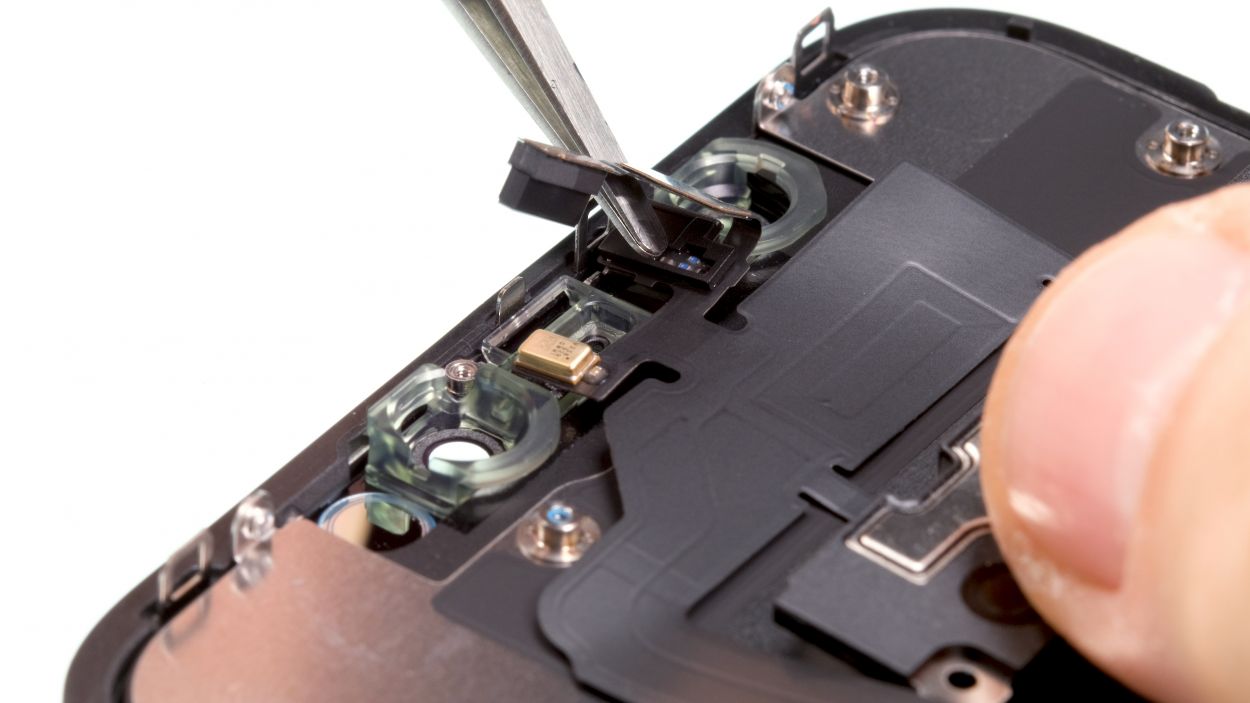
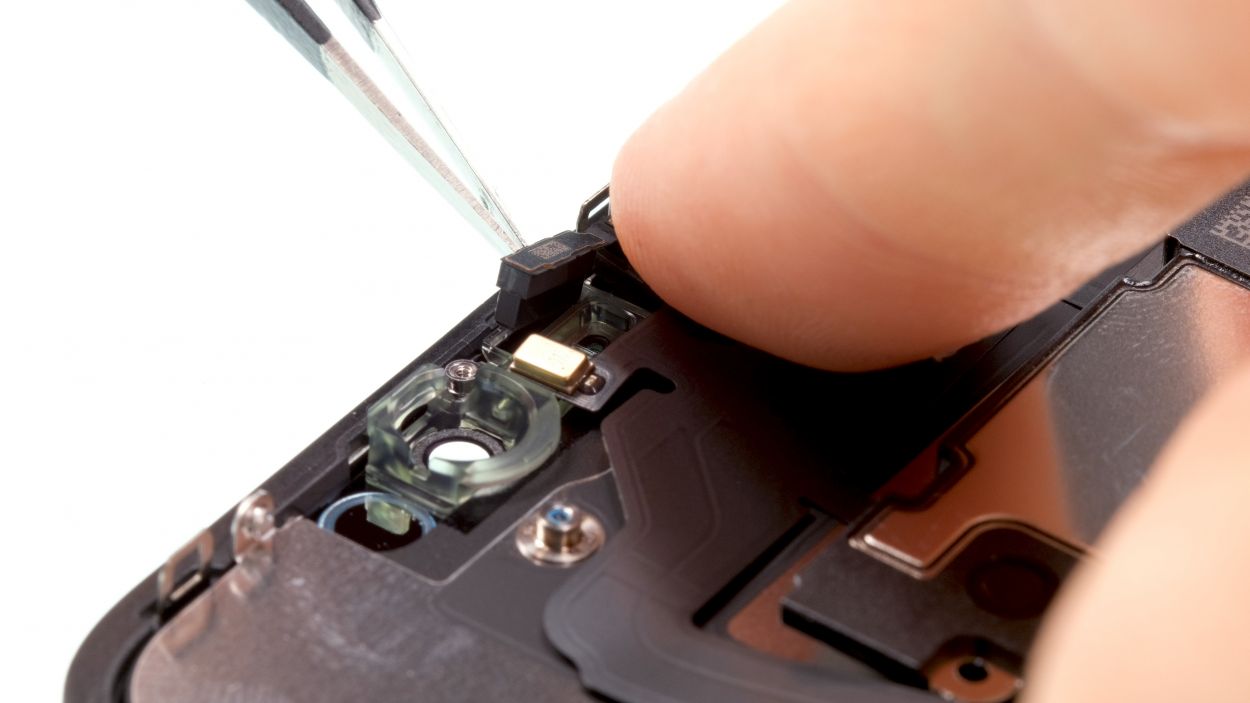
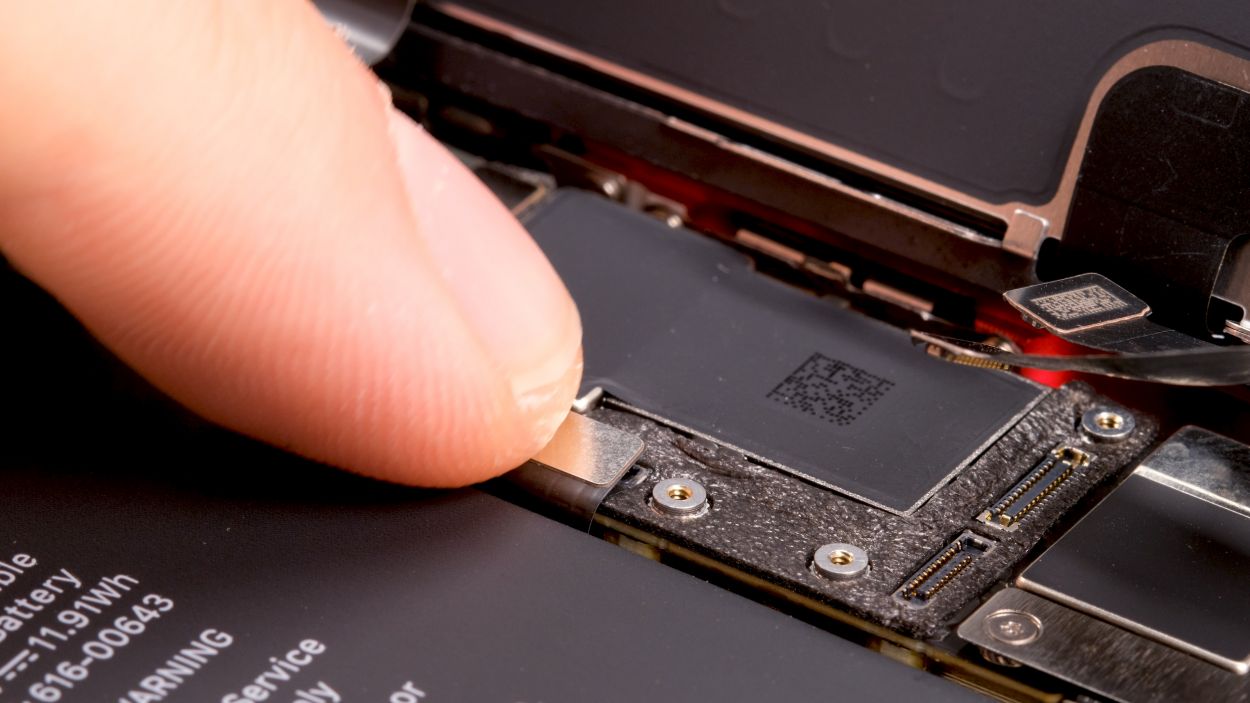
Hey there! Just a friendly reminder: when you’re loosening the components, keep an eye out for that delicate flex cable. It’s a bit of a diva and can get damaged easily. Let’s handle it with care!
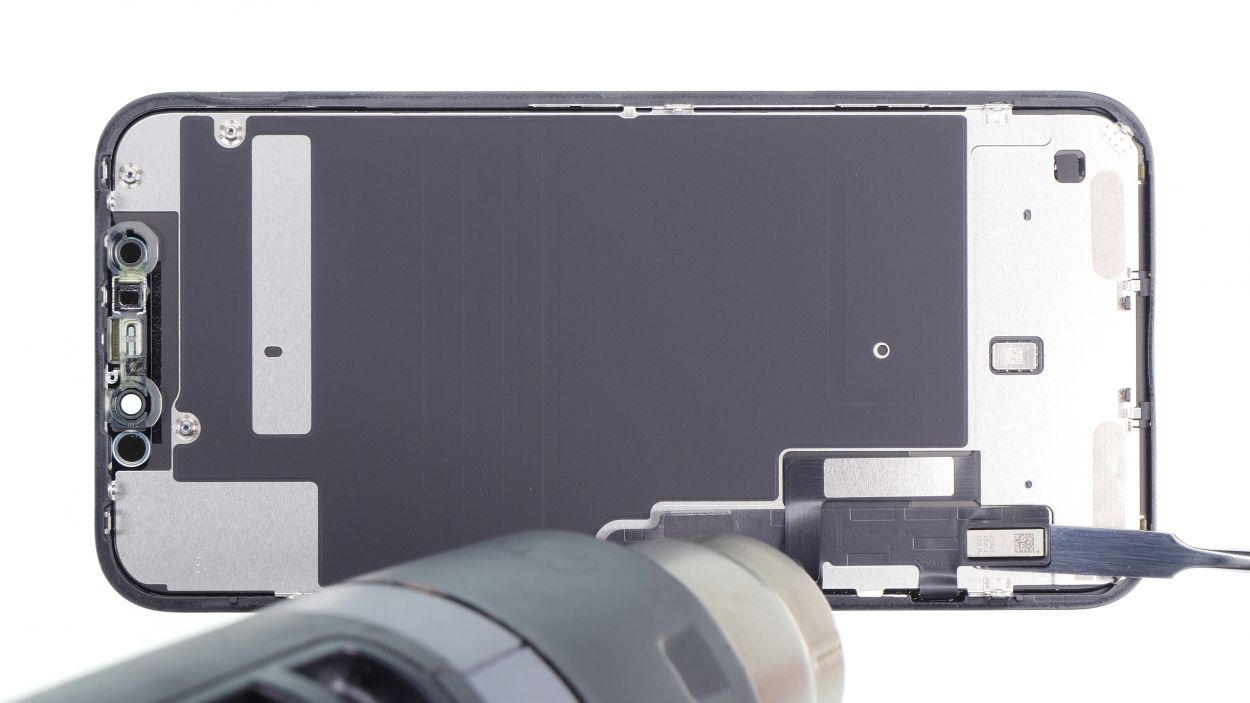
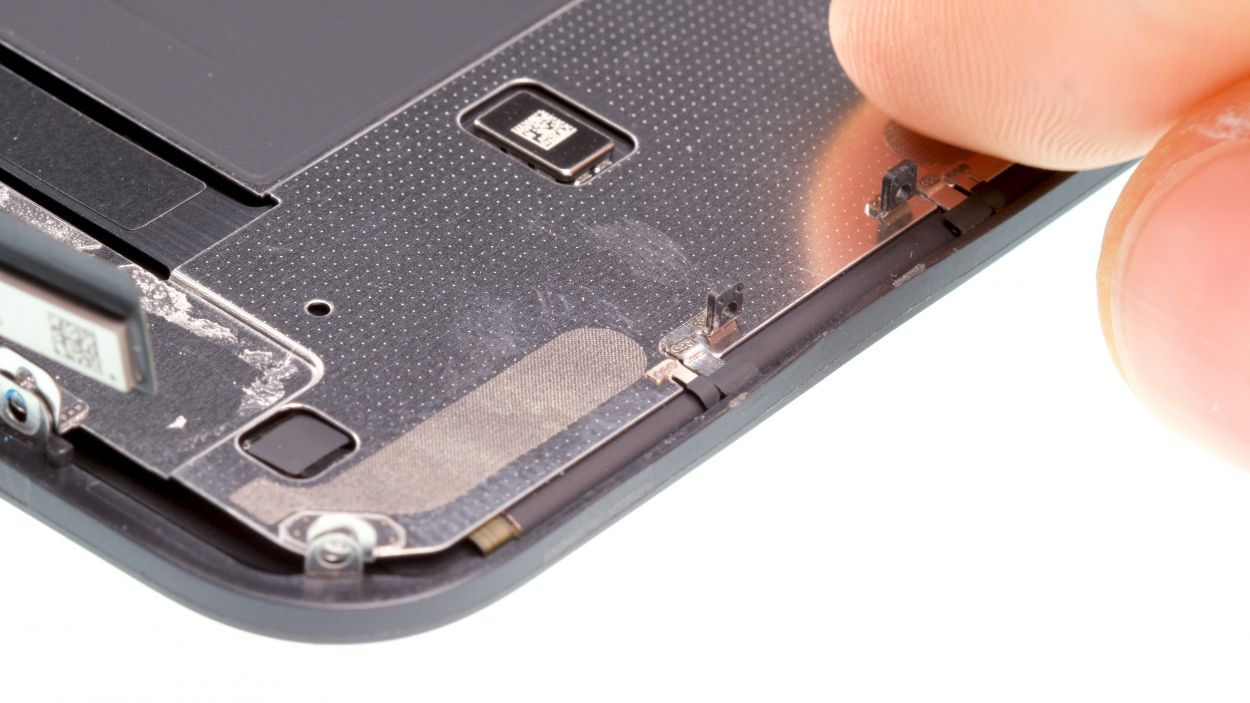
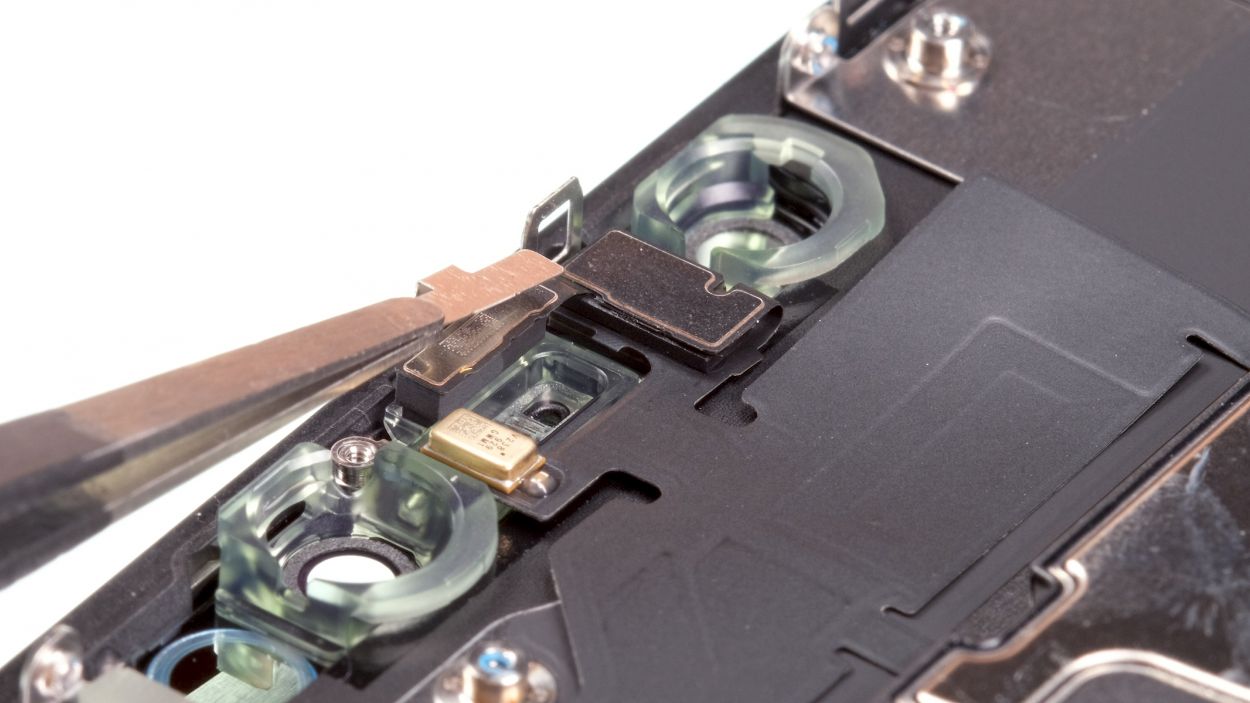
– First, let’s take off that little metal holder hanging out above the ambient light sensor. It’s just chilling there, waiting for you!
– The flexible cable is a bit glued down. To help it out, grab a hair dryer and give it a gentle warm-up. That glue will be saying goodbye in no time!
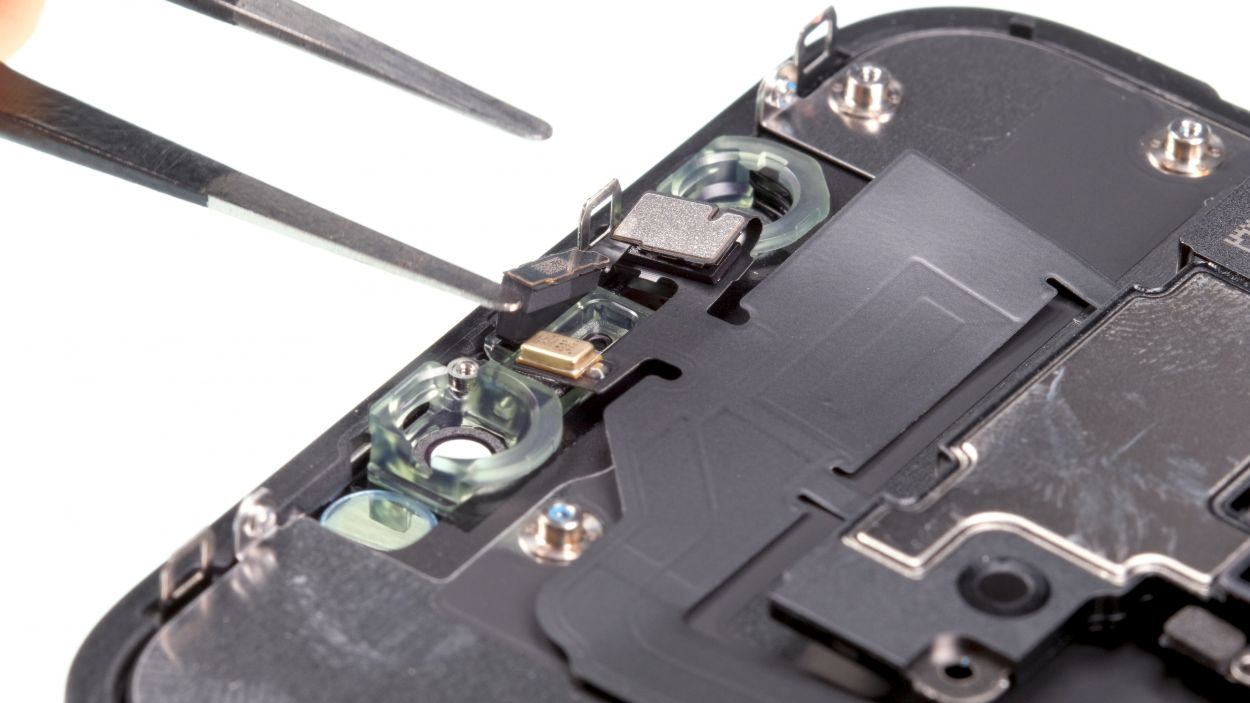
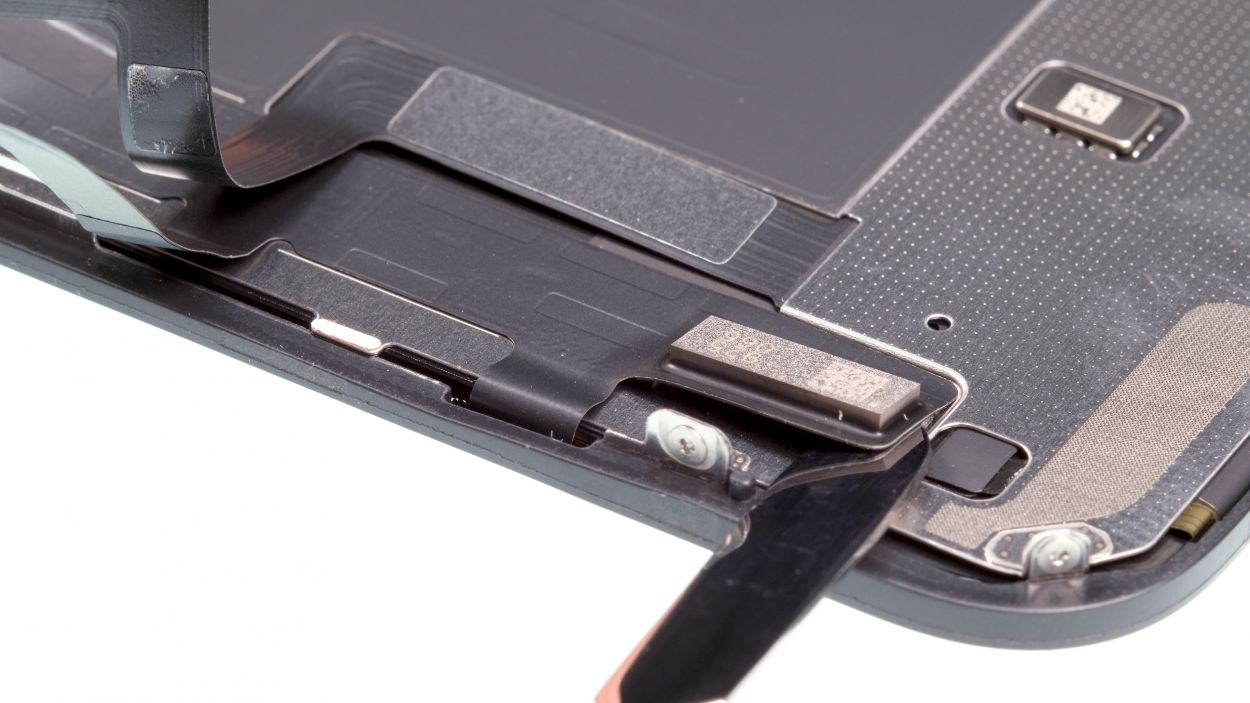
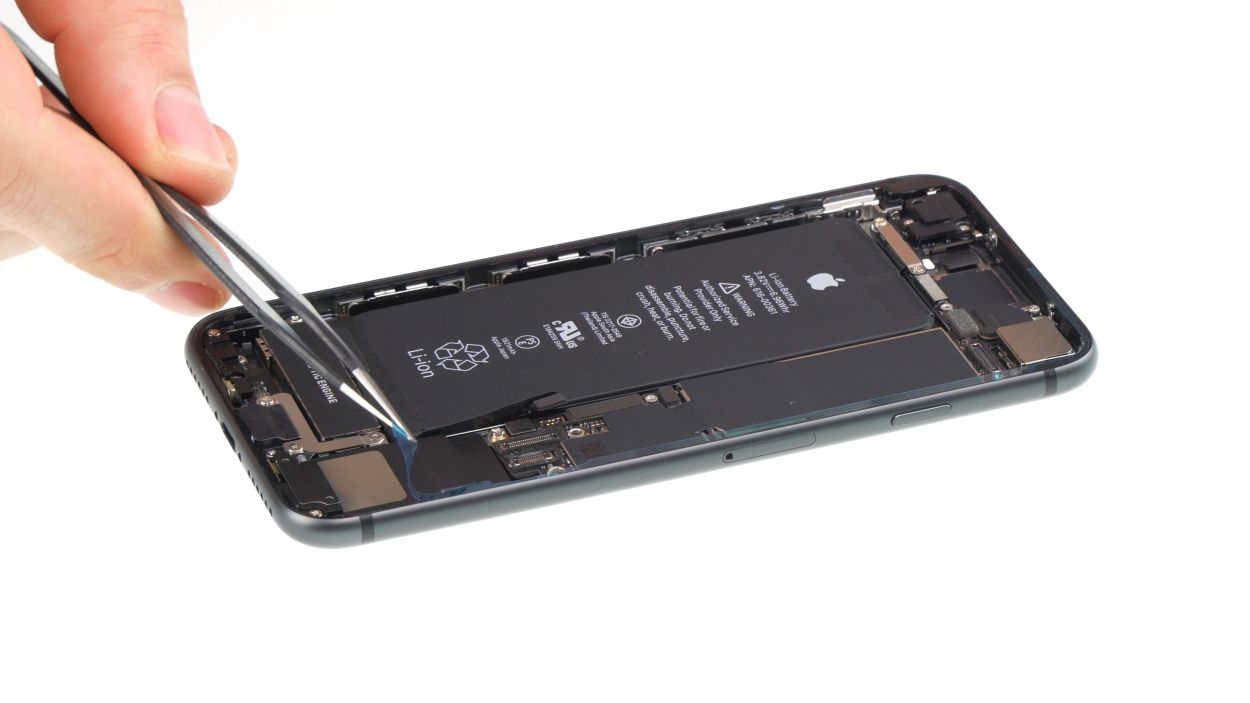
– Now, you can carefully slide a flat, sturdy tool—like a steel spatula or tweezers—underneath the flex cable. You’re doing great!
– Gently lever those various sensors out of their cozy sockets. They’ve had their fun, but it’s time for them to move!
– Once everything is loosened up, you can easily remove the flex cable. You’re almost there!
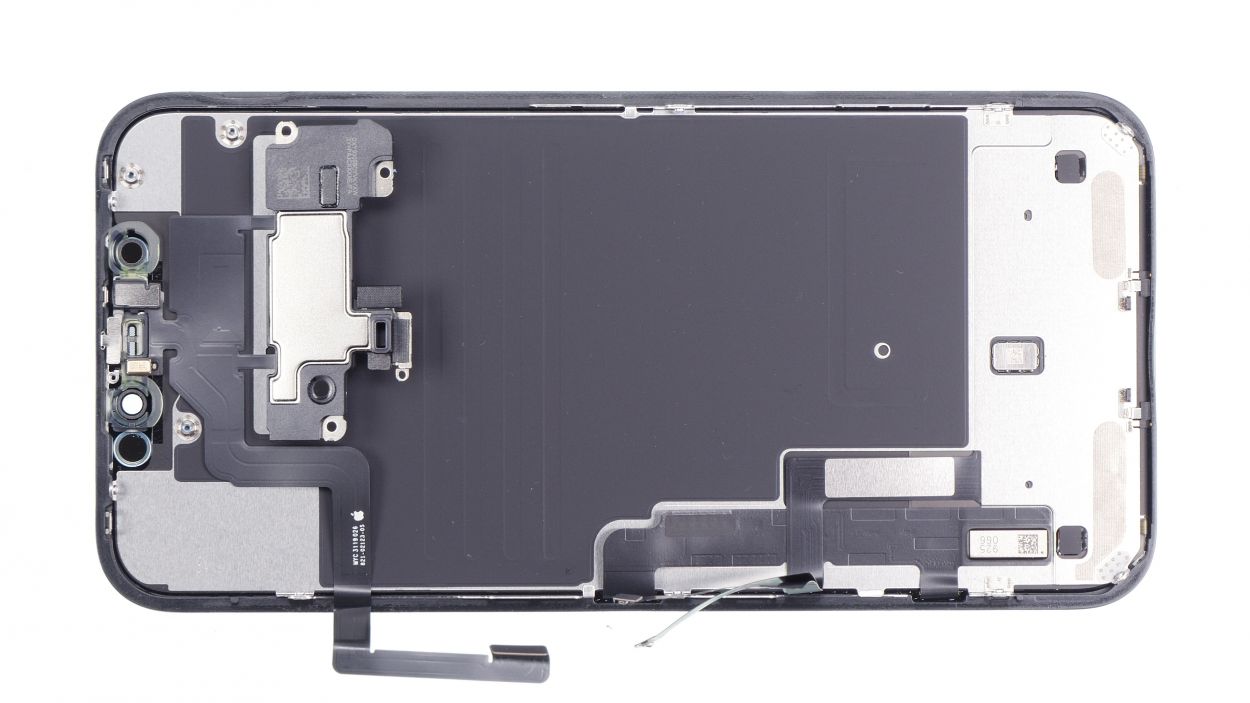
Step 7
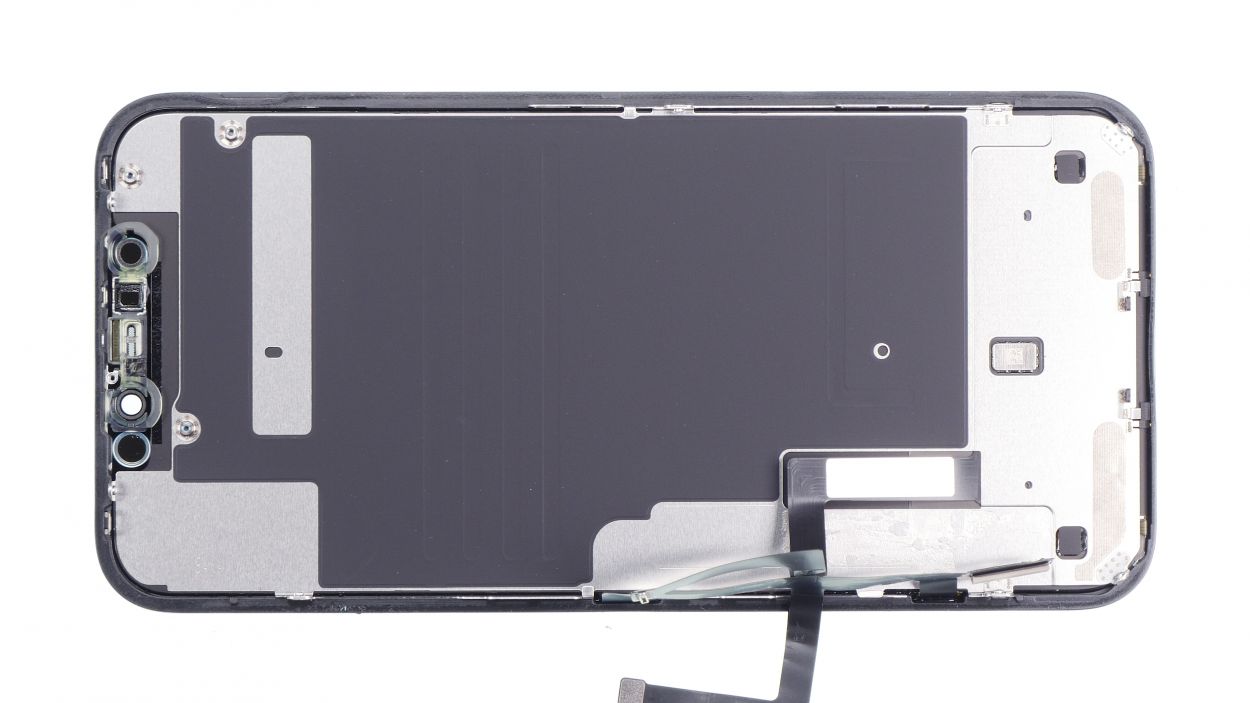
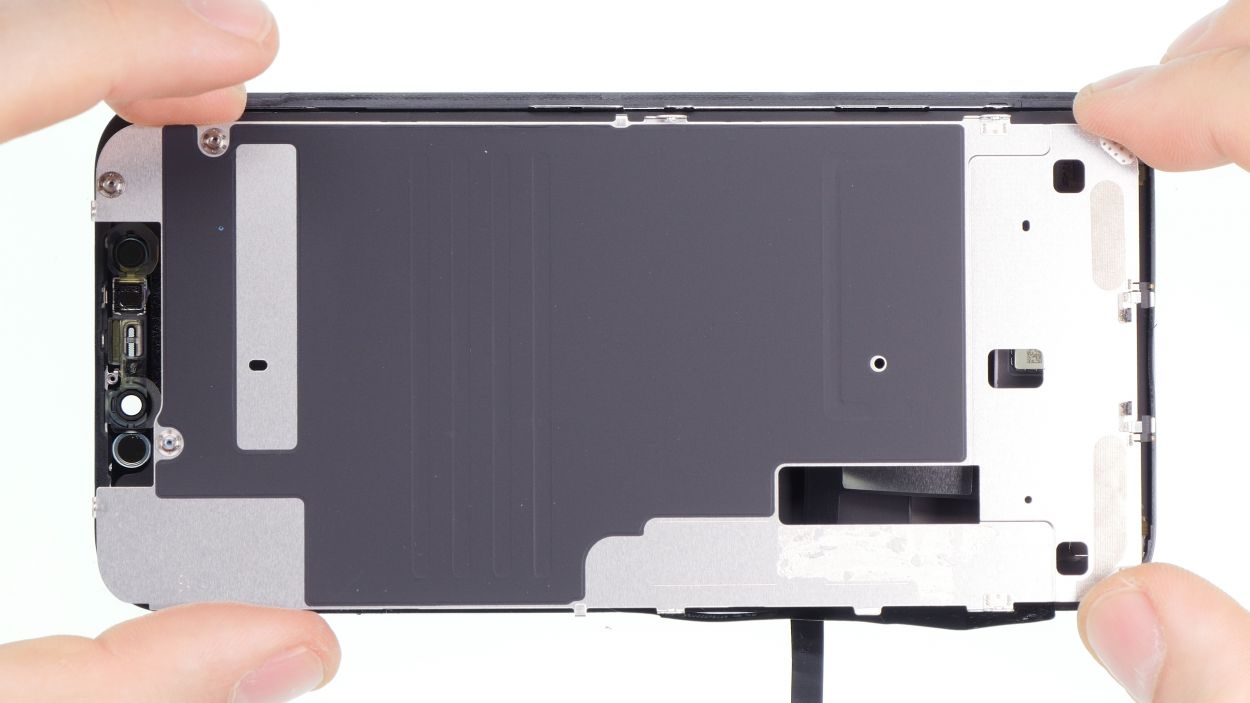
9 × 1,1 mm Y-Type
Some of those screws can be a bit stubborn! To loosen them up, make sure you’re using top-notch tools—trust us, it’ll make your life a whole lot easier!
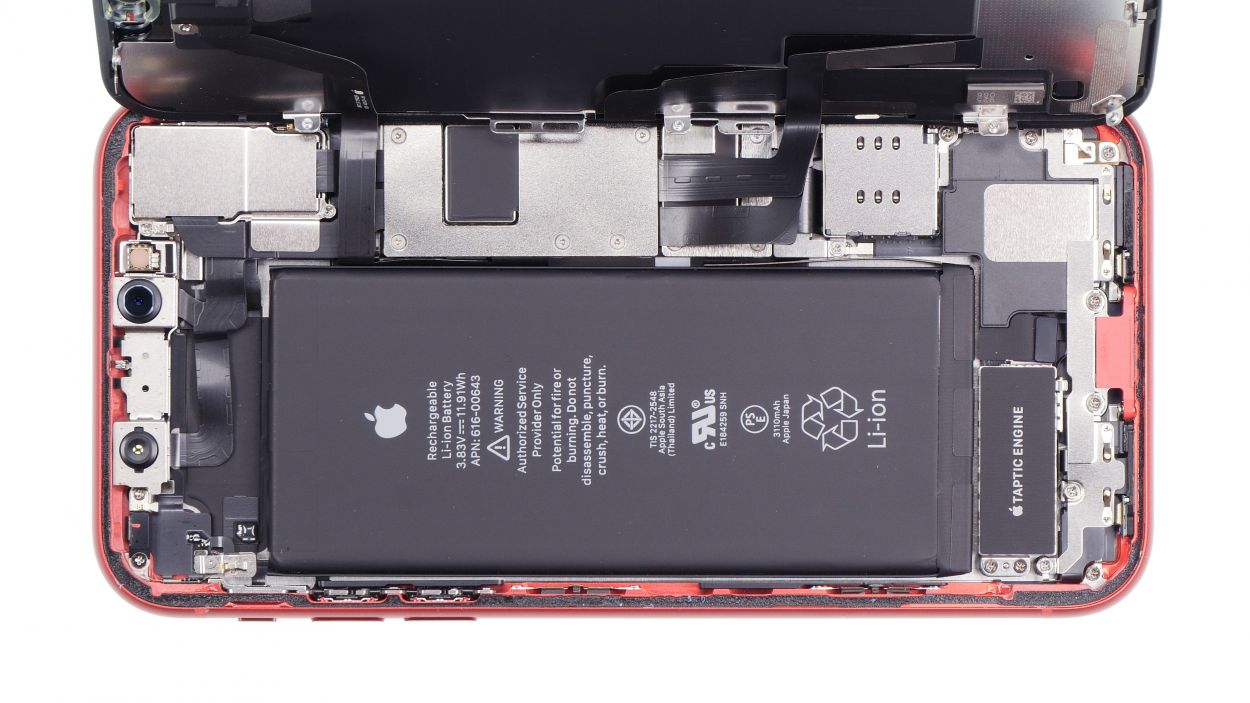
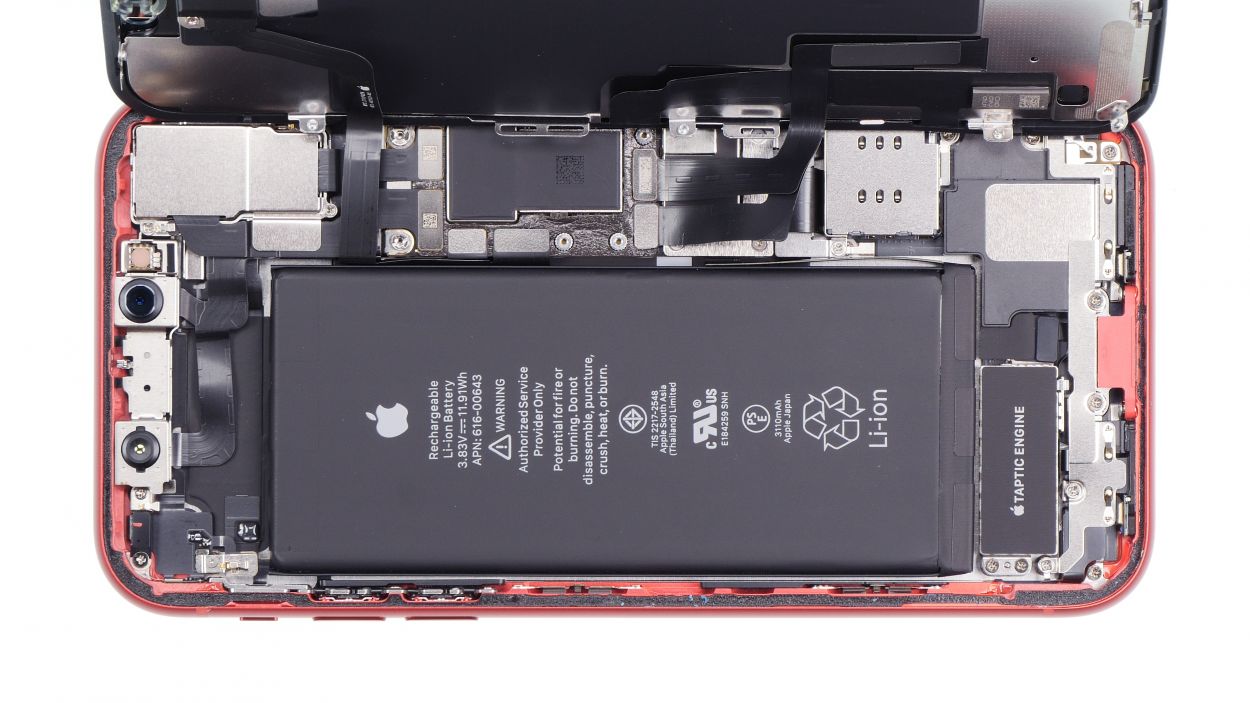
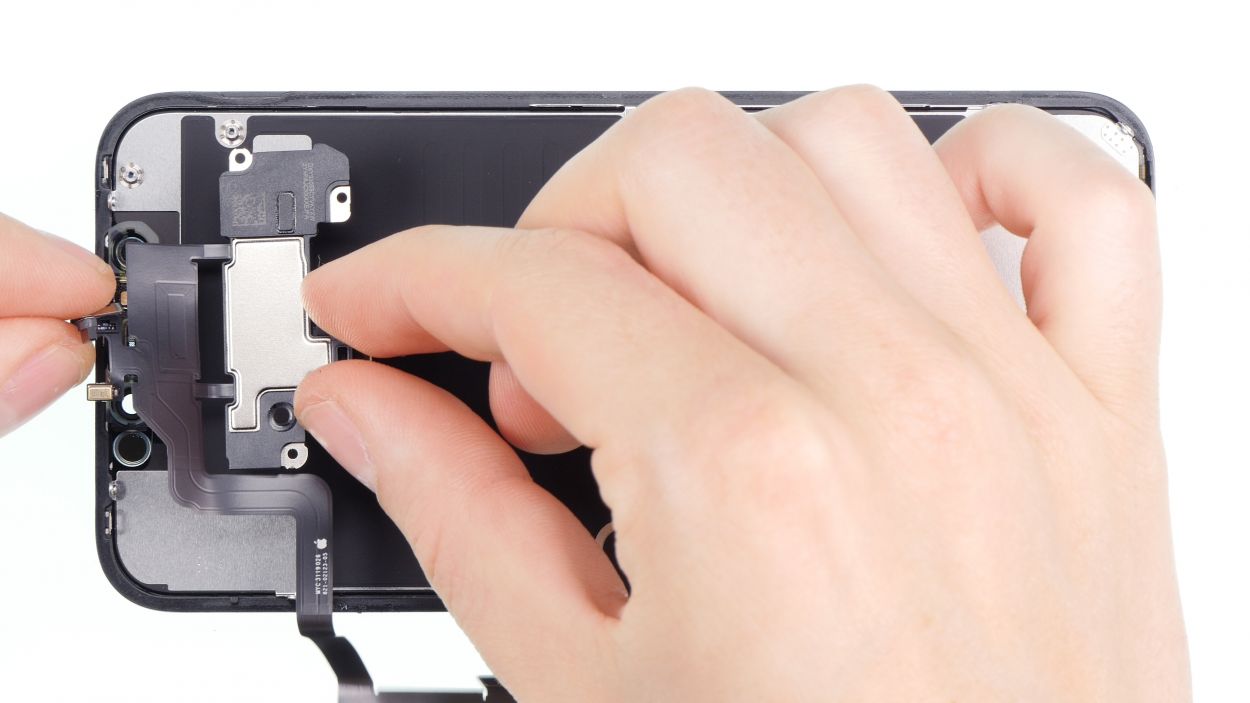
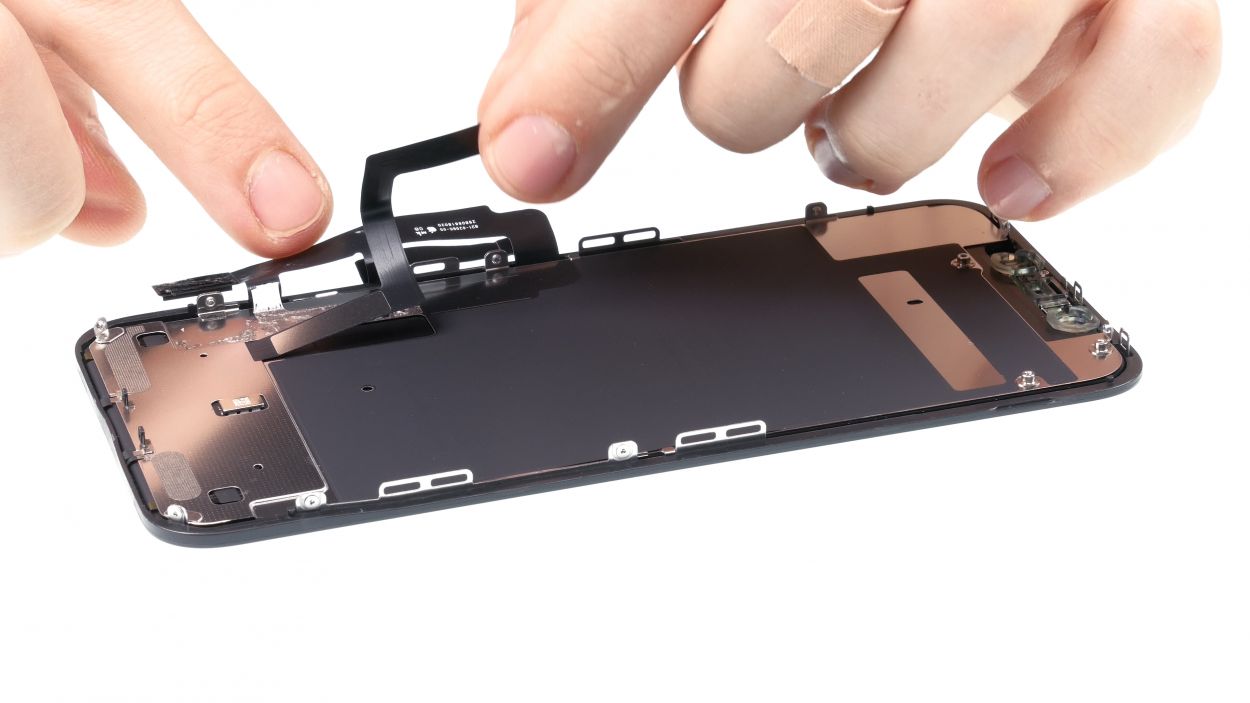
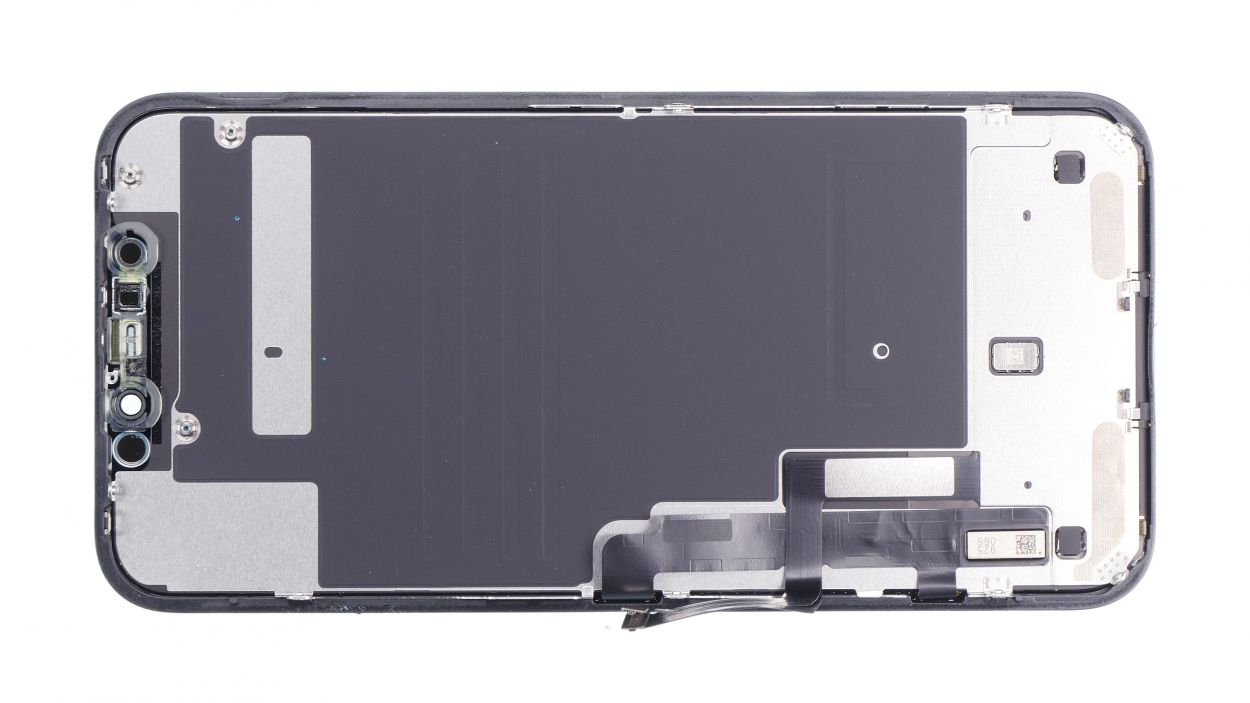
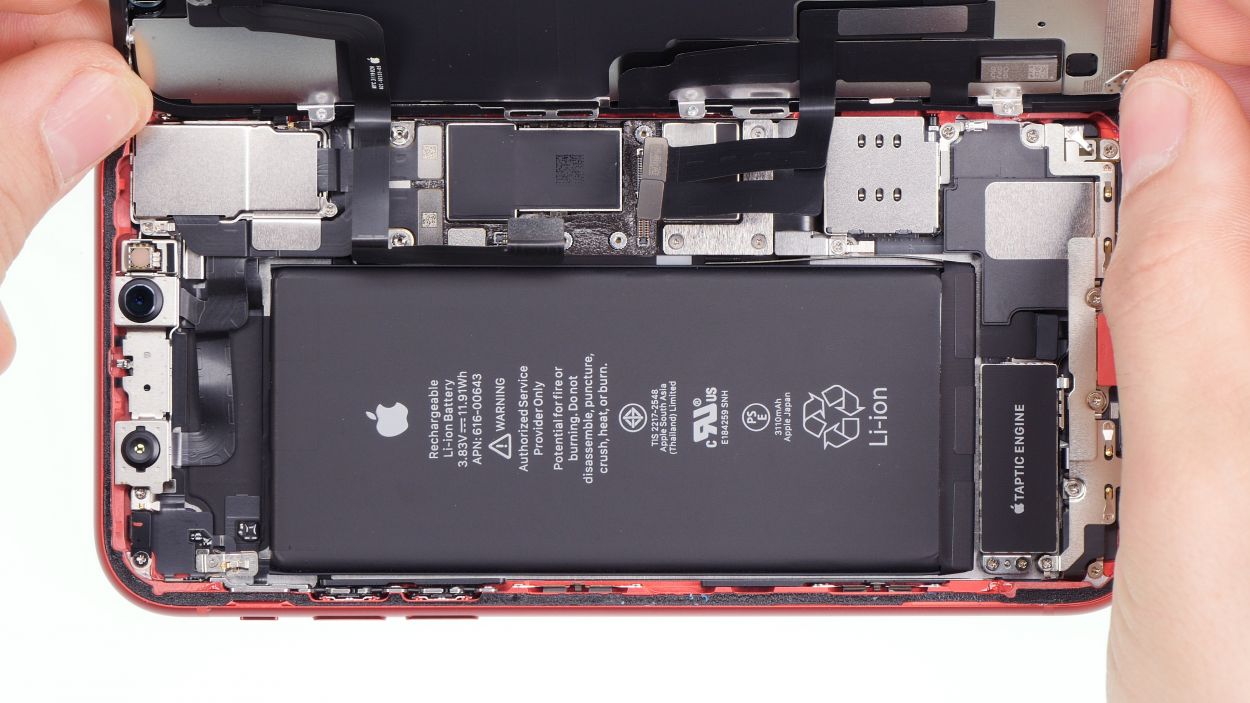
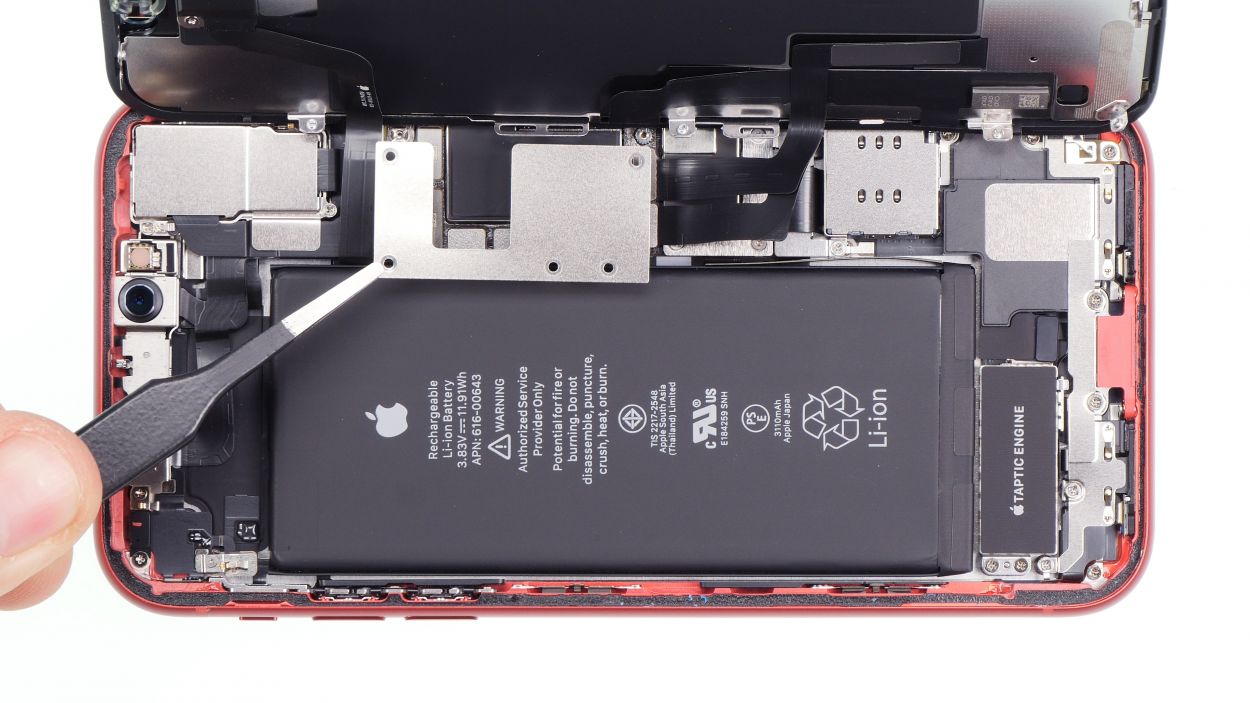
– Alright, let’s tackle those pesky Y-Type screws! Start by removing all of them from the sides. You’ve got this—let’s get that back plate off!
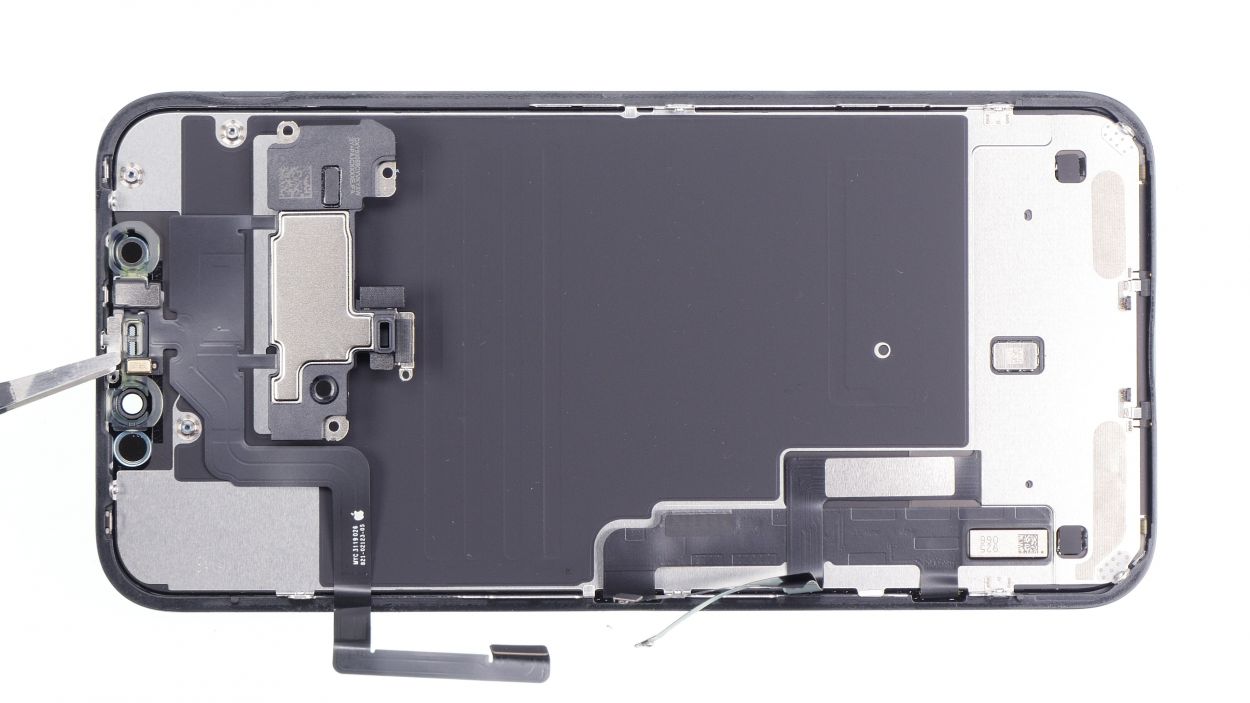
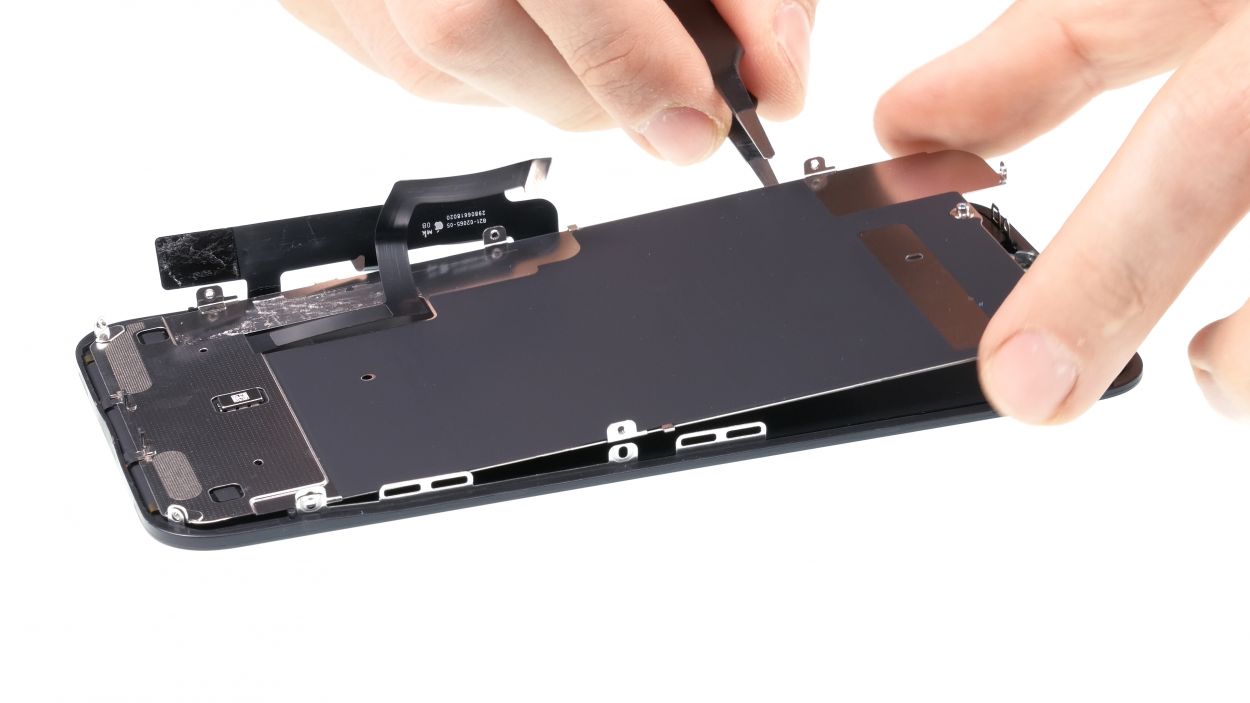
Step 8
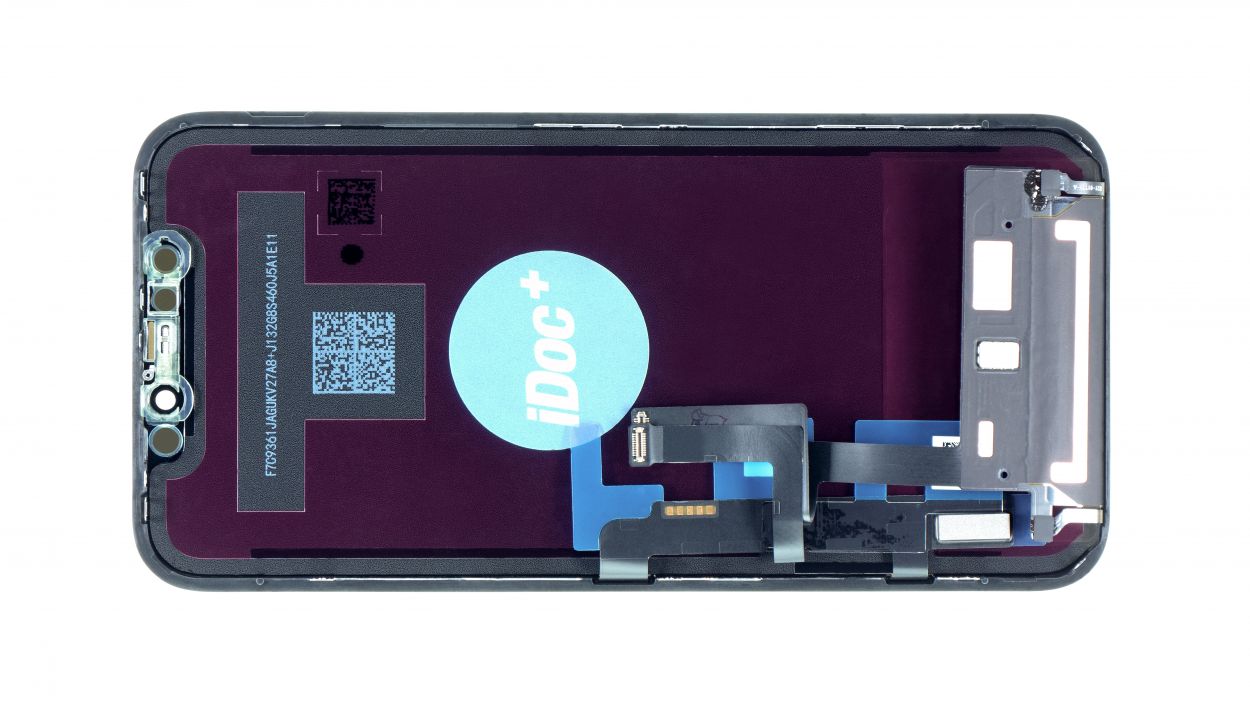
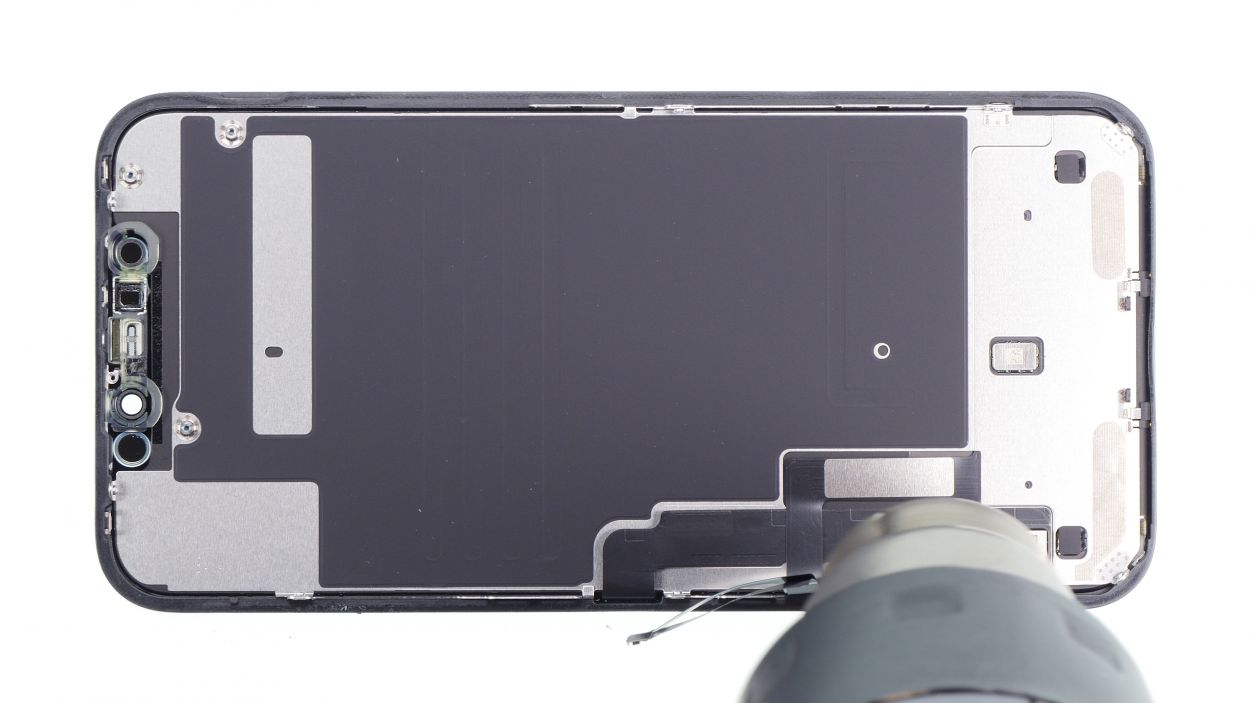
– The display components may vary a bit, so you might need to gently remove a few parts that are slightly glued before you can install your shiny new unit: Front camera holder, Infrared camera holder, and Sensor holder.
– Front camera holder
– Infrared camera holder
– Sensor holder
– Don’t forget to peel off the protective film and any seals from your new display!
Tools Used
Step 9
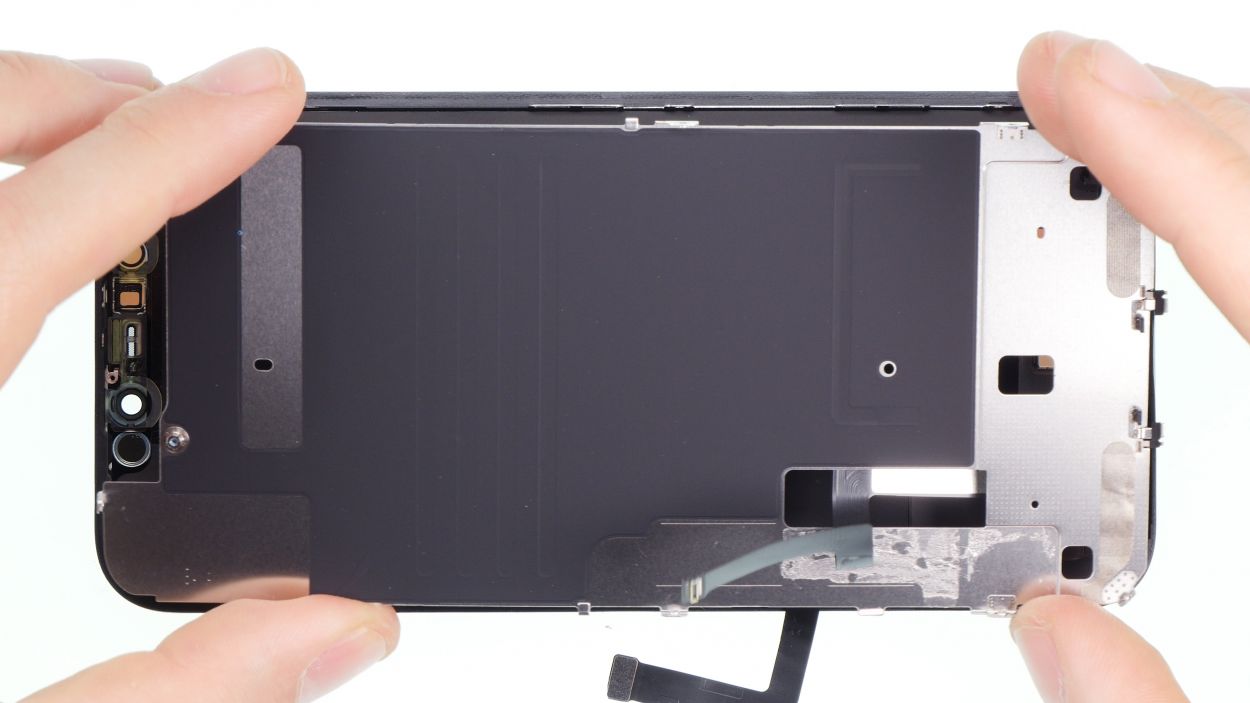

9 × 1,1 mm Y-Type
Watch out! Make sure that the second cable doesn’t get squished under the plate. We want everything to fit just right!
– Now, let’s get that back plate snugly back where it belongs! First, guide the flex cable through the opening. Then, position the plate at the lower edge at a cool diagonal angle. You’re doing awesome!
Step 10
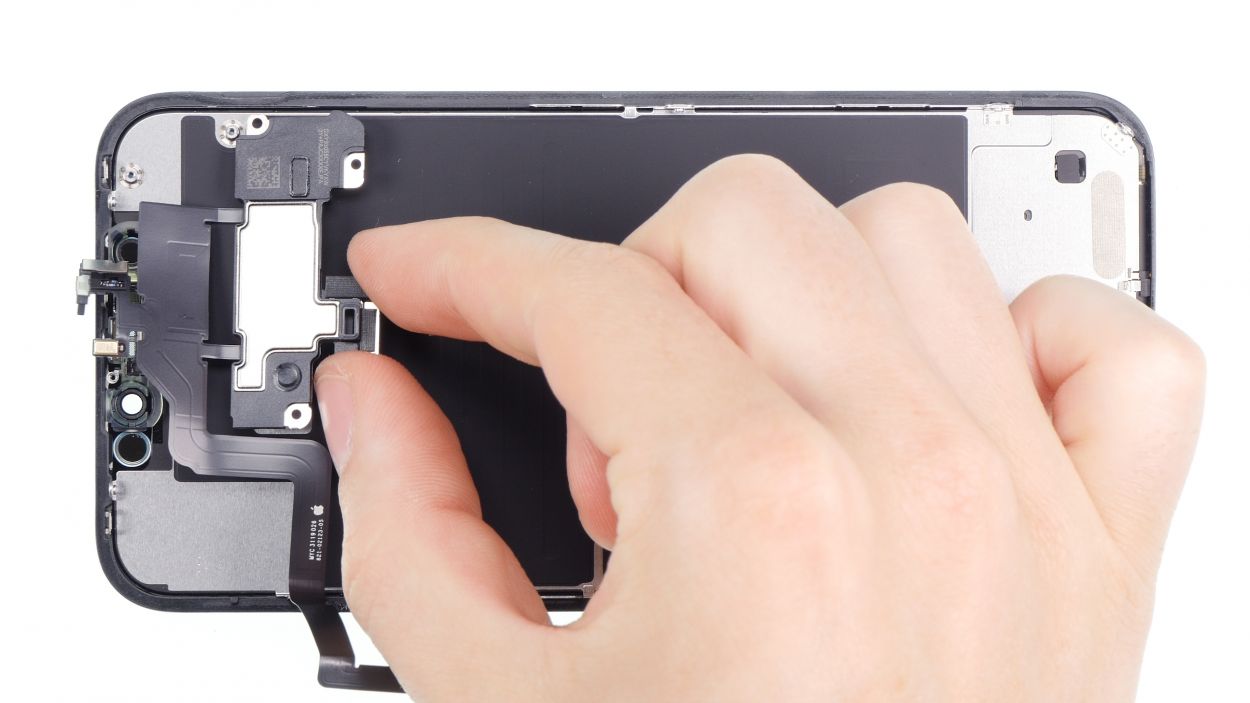
– Take those flexible cables from the earcup and sensors and guide them into their cozy spots on the display. They’ll be right at home!
– Give those sensors a gentle press to ensure they’re snug and secure. You want them to feel comfy!
– And don’t forget to attach that little metal holder above the ambient light sensor. It’s just hanging out, waiting for its moment!
Step 11

3 × 1,5 mm Phillips
1 × 1,2 mm Y-Type
Hey, just a little reminder! Keep those screws organized and don’t go overboard with the tightening. We wouldn’t want them peeking through the front of your display, would we?
– Alright, time to pop that earcup back on! Just make sure the screw holes are aligned perfectly with the threads on the display.
– Now, grab those screws and secure the earcup in place. You’re doing an awesome job!
Step 12
– First, let’s clean up that metal frame and display by removing any leftover adhesive residue. This ensures your new adhesive frame fits like a glove!
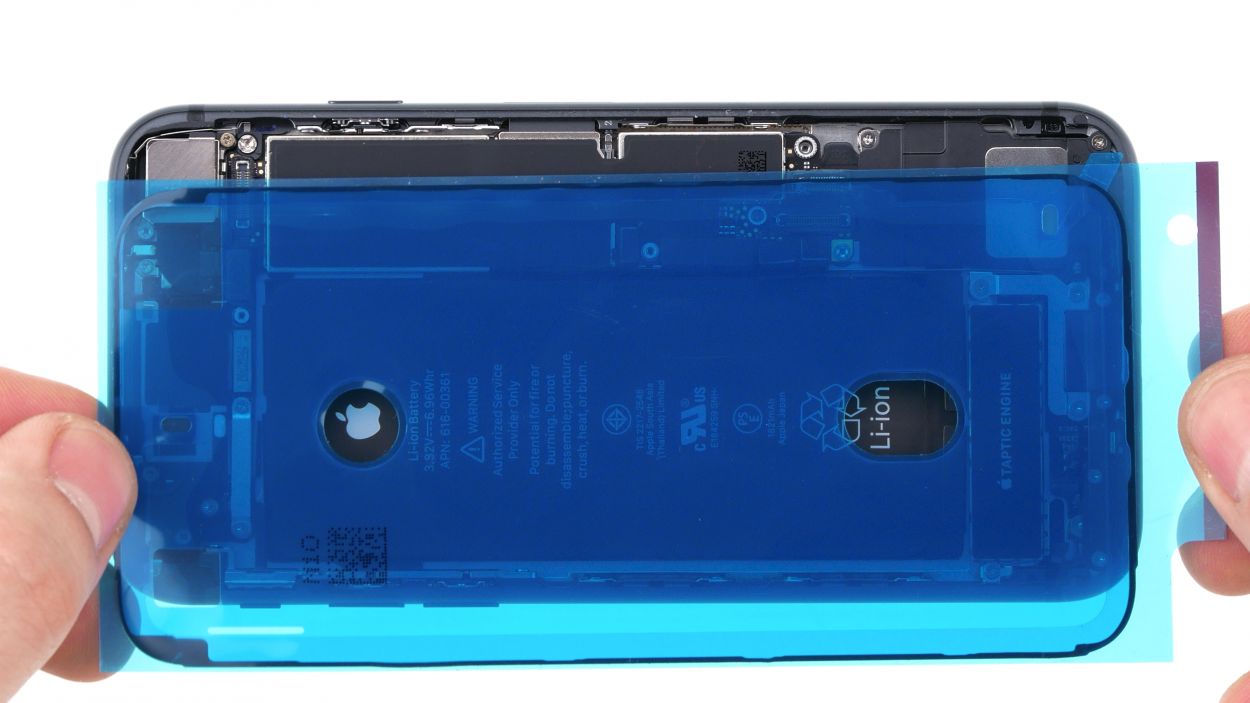
– Next up, it’s time to bring in the new glue frame! Start by peeling off the first protective film.
– Now, place the adhesive frame along one edge of the case. From there, gently apply it to the device bit by bit. Remember, don’t press down too hard until you’re absolutely sure it’s in the right spot. A plastic spudger will be your best buddy here!
– Now, go ahead and remove that next large protective foil.
– And a quick tip: hold off on removing the last small protective film until you’ve connected the display and secured the cover plates. This way, you can avoid any sticky situations with the adhesive frame.
After your repair adventure, your iPhone’s IP68 dust and splash protection might be taking a little break! So, keep it away from water and dust to keep it happy!
Step 13
Touch connector
Display connector
Earpiece connector
5 × 1,1 mm Y-Type
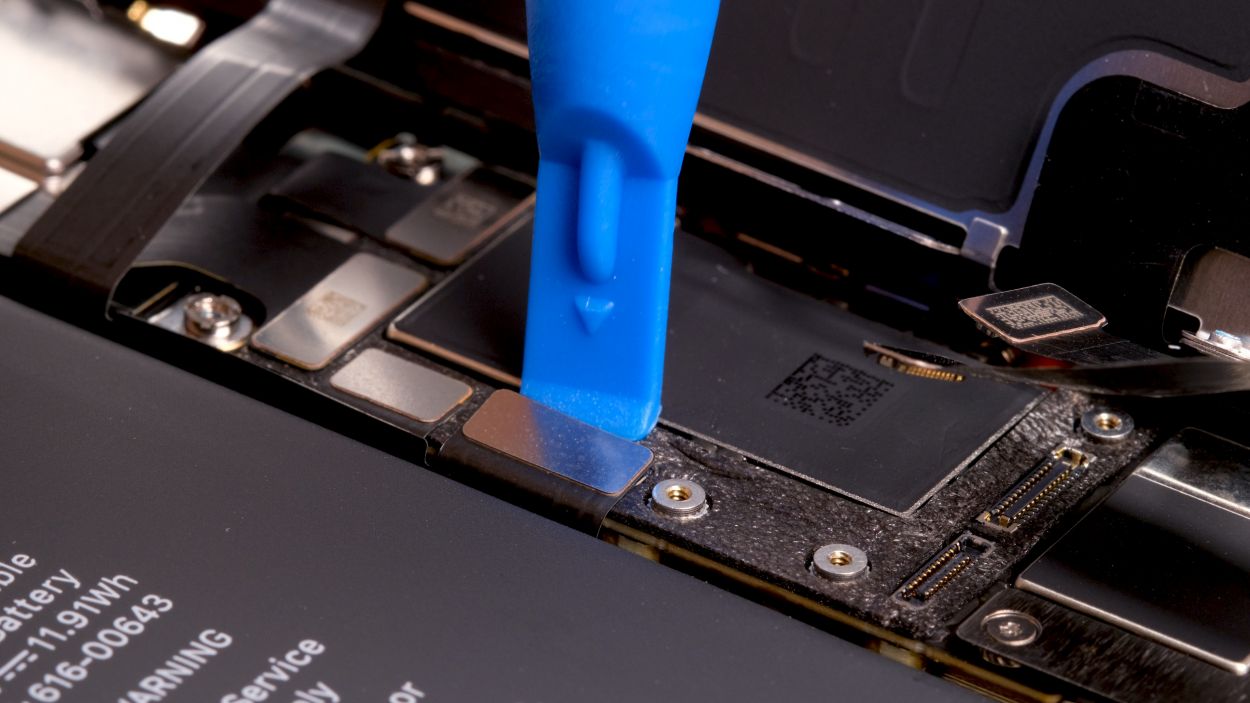
Hey there! Just a friendly nudge: make sure those connectors slide in smoothly without any fancy moves over the slots on the Logicboard. We want to keep those contacts happy and intact!
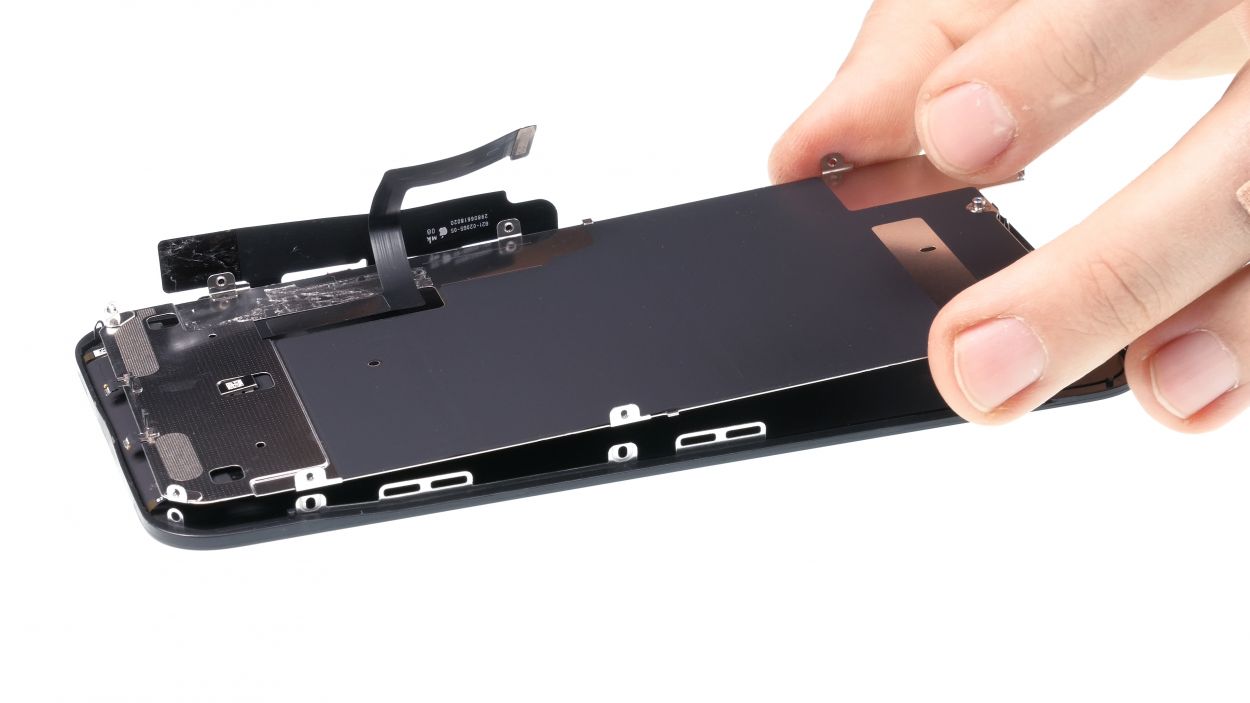
– Now it’s time to gently place the display unit back onto the frame. To keep those delicate flexible cables from stretching too much, lean the screen against something stable. Just a little tip: make sure your iPhone doesn’t take a tumble while you’re working!
– Next up, reconnect the two display connectors and the earcup connector. You’ve got this!
– Finally, secure the cover plate by fastening it with the screws of the same length. Easy peasy!
Step 14
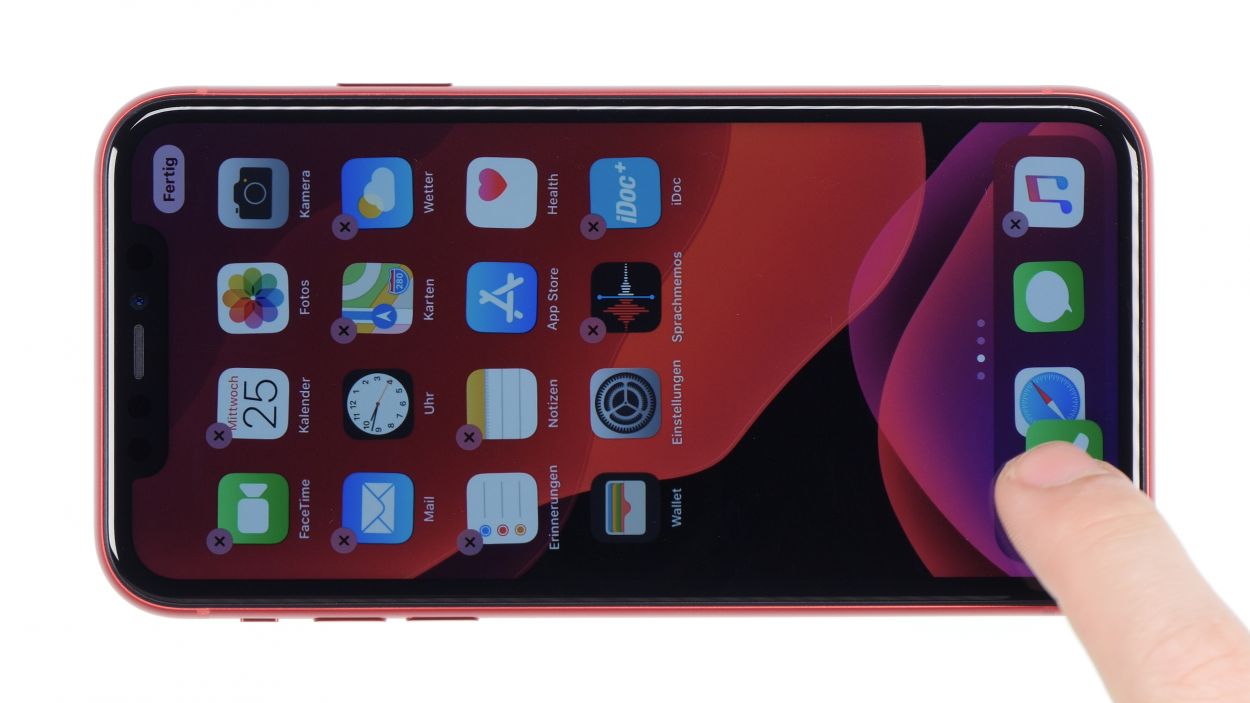
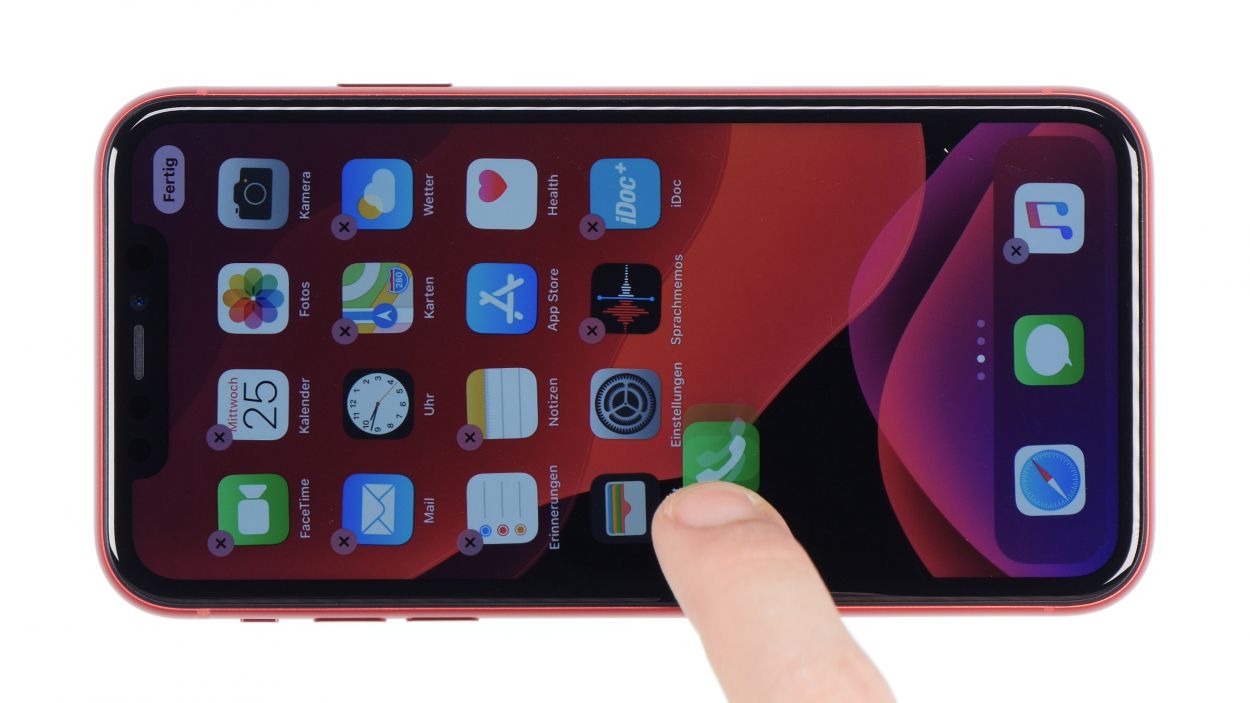
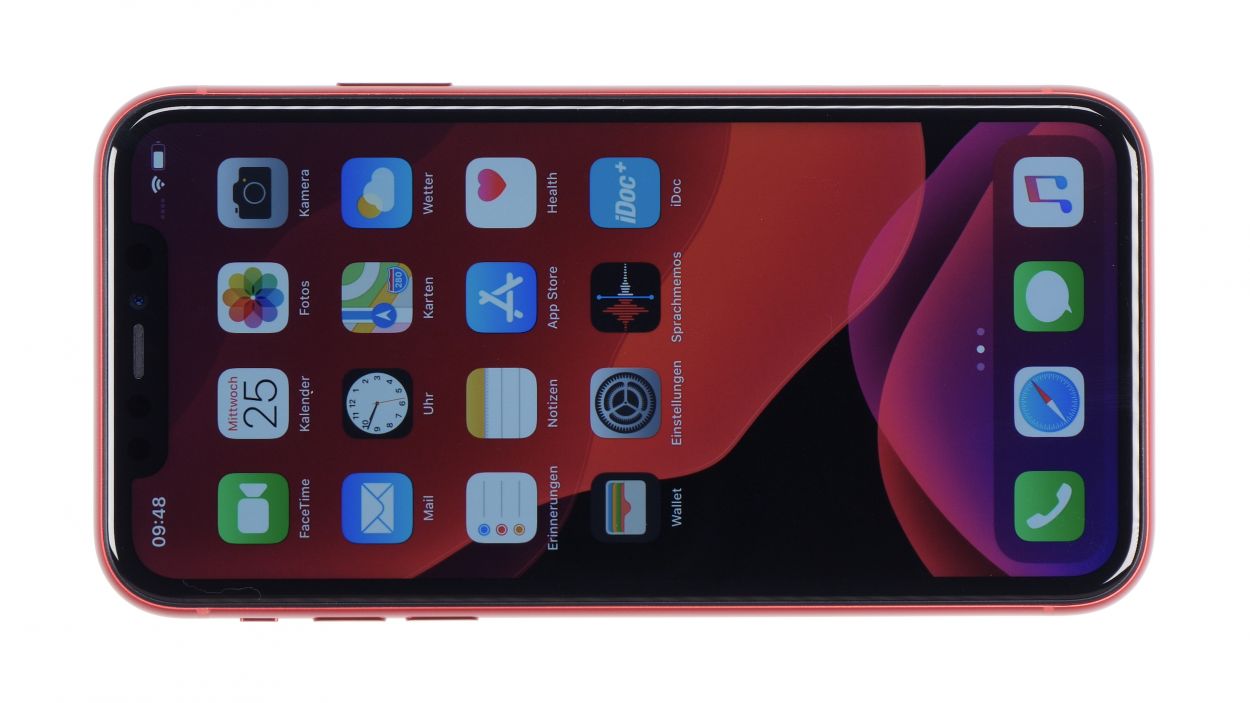
– Give that touchscreen a whirl! Open up an app and slide it around the screen. If it dances along smoothly, your touchscreen is in tip-top shape.
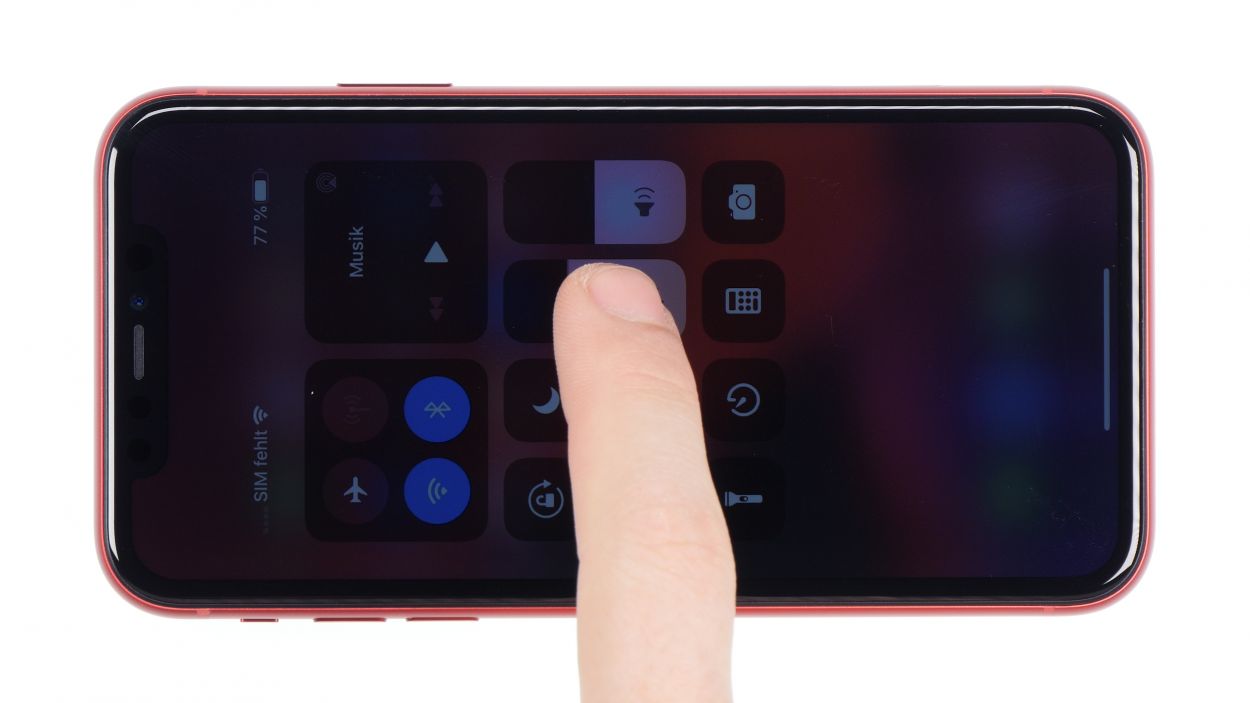
– Let’s brighten things up! Check the display brightness to make sure it’s shining bright.
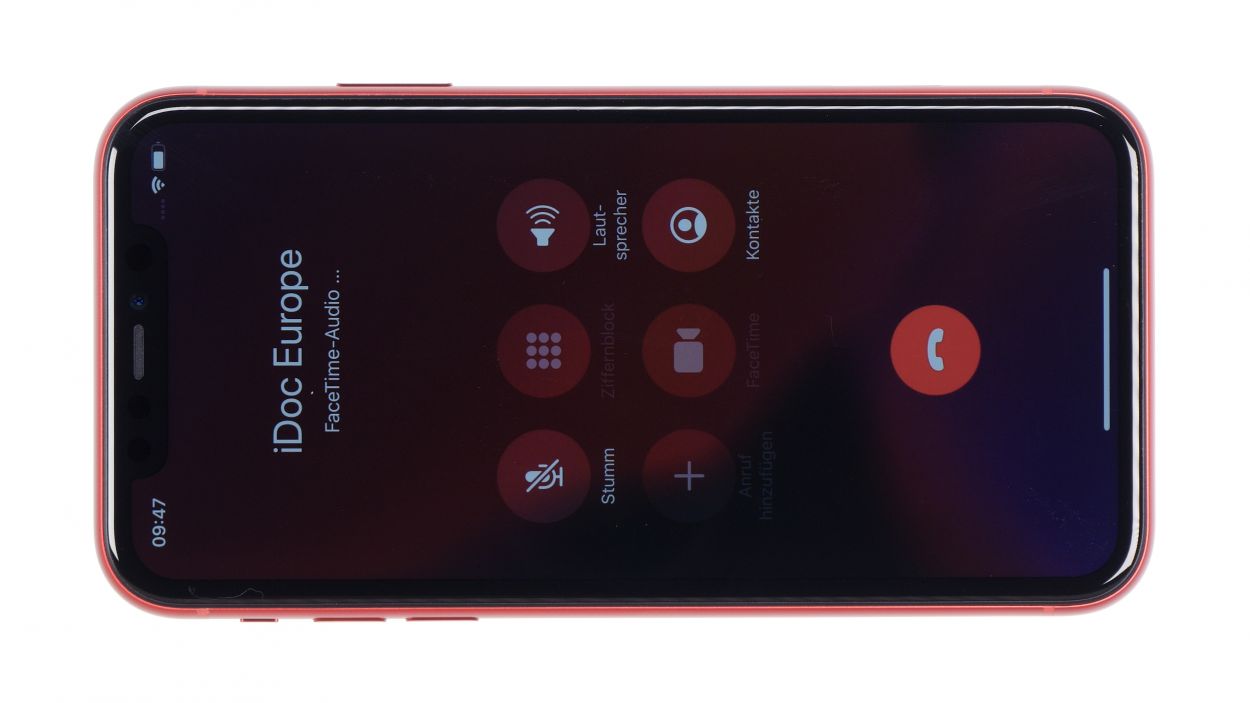
– Put your audio gear to the test! Give someone a call and see how the microphone, speakers, earpiece, and proximity sensor are performing.
Step 15
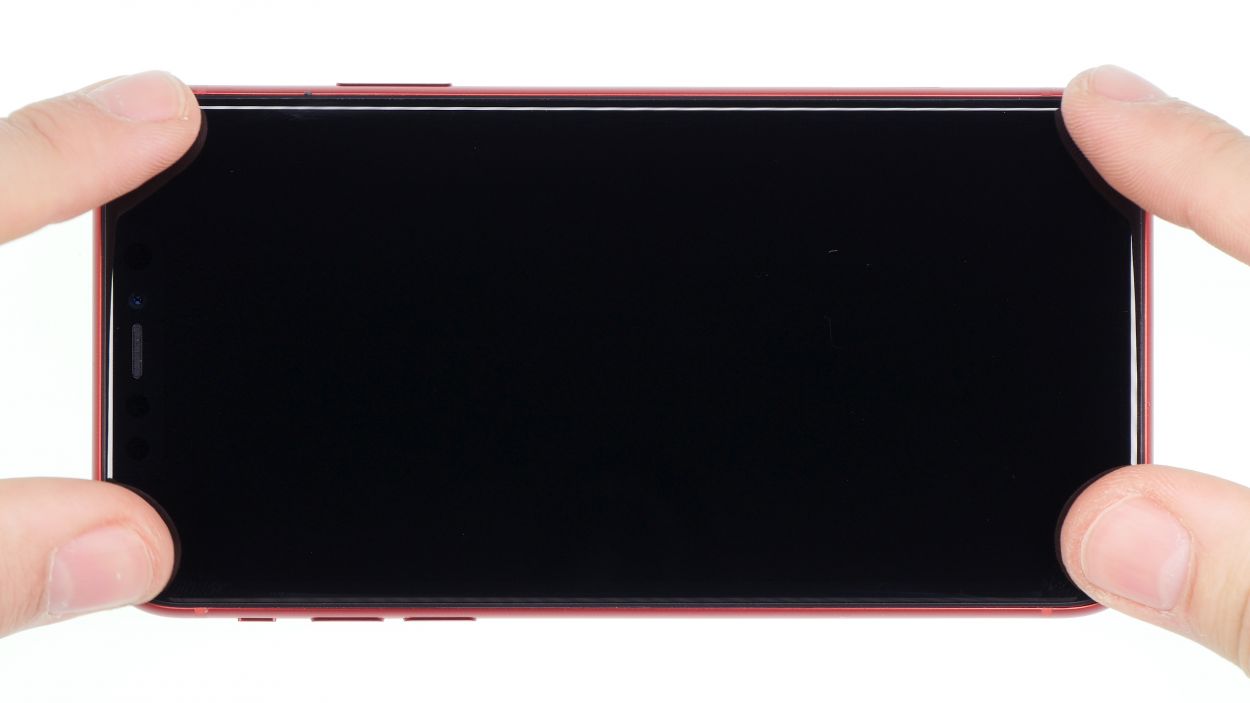
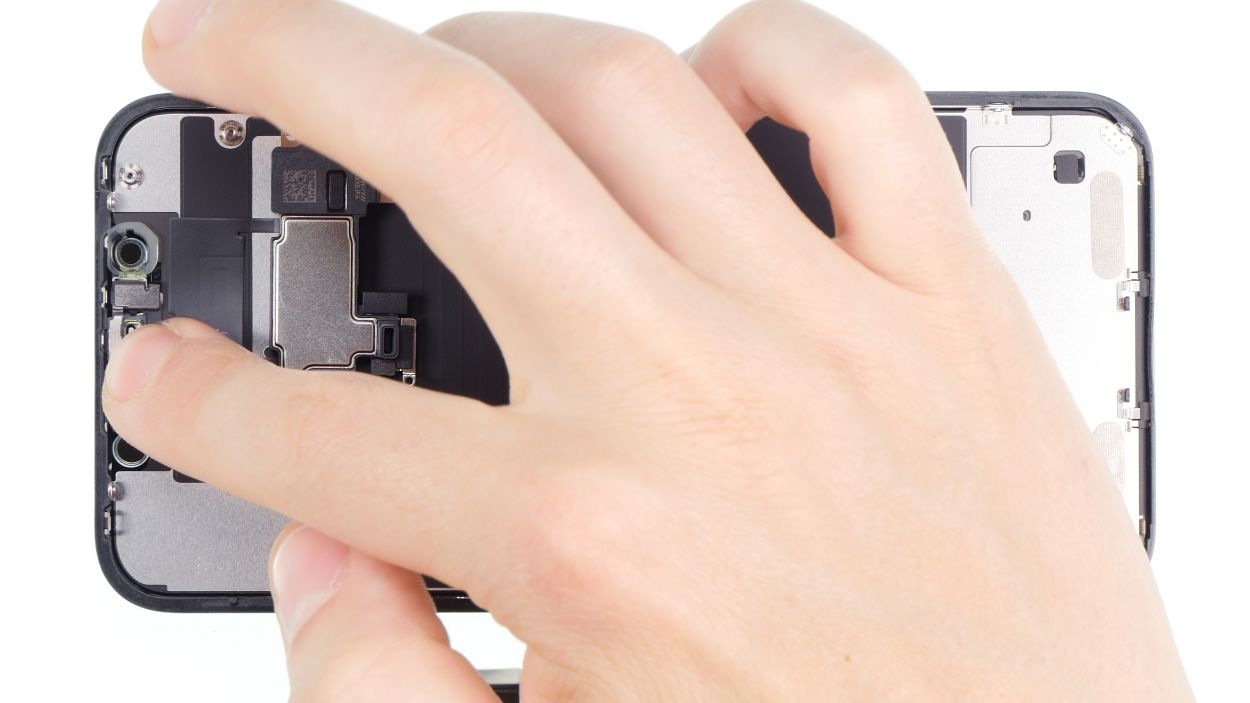
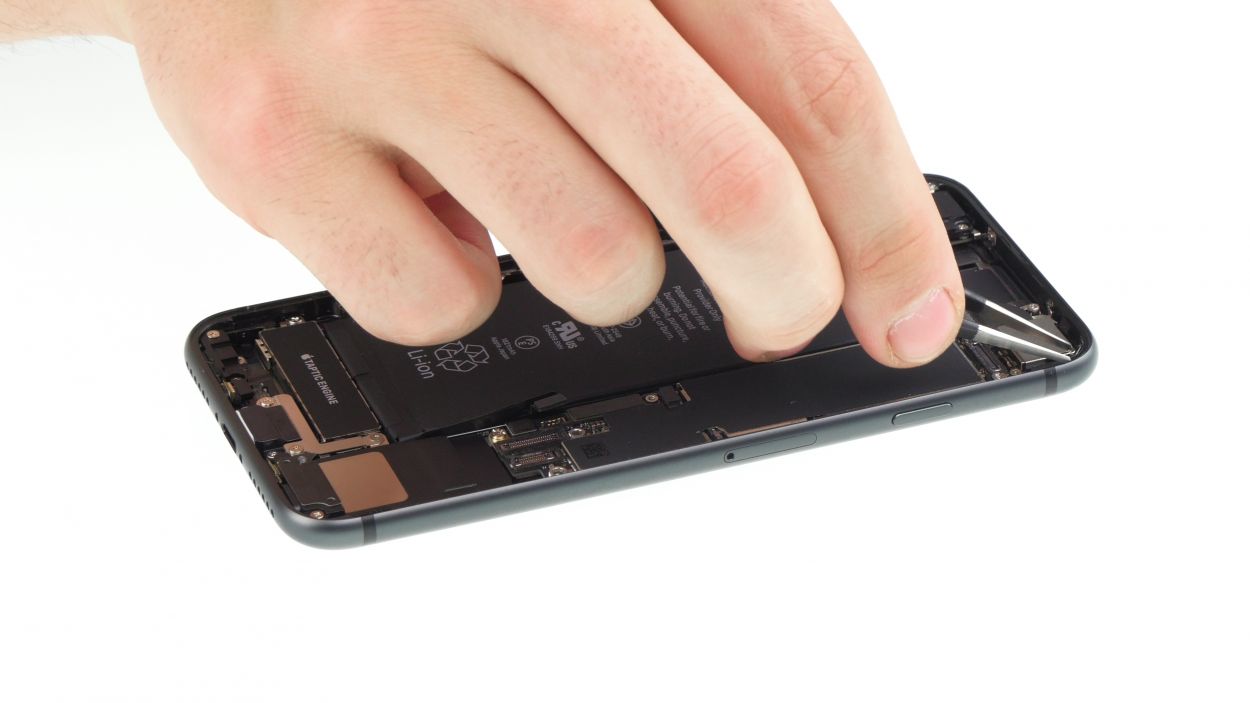
– Feeling good about how things are shaping up? Awesome! Now, it’s time to bring that display back into the fold! Grab it with both hands, hover it above the frame, and gently press it down like you’re tucking it in for a cozy nap.
– Once the frame is settled in, give it a little love by pressing down all around. You’re nailing this!
Step 16
2 × 6,8 mm Pentalobe
– Time to secure those two Pentalobe screws on either side of the Lightning connector! Just pop them into their cozy little spots in the enclosure. You’re doing fantastic!