iPhone 12 Back Glass Replacement
Duration: 45 minutes
Steps: 7 Steps
Everyone knows Apple brought MagSafe to the iPhone 12 series, and that means the back glass isn’t just glued—it’s magnetically glued! That definitely makes swapping out the back glass trickier. But after some trial and error (and a few almost-fails), we nailed the process. First up, take the phone apart and remove the wireless charging coil. Then, carefully laser-scan the back glass, avoiding the camera area. Next, pull off the magnet array along with the back glass. Swap in the new back glass with the slightly bigger camera openings, then reattach the magnet array and shielding. This clear, step-by-step guide breaks down the whole replacement process for the iPhone 12 back glass. If you hit any snags or just want a pro to handle it, you can always schedule a repair with us!
Step 1
- Place the iPhone 12 back glass under the laser marking machine's focus positioning probe. Once it's lined up, mark the back glass area carefully—skip over the camera and wireless charging spots. We leave the wireless charging area unmarked to keep it safe from any damage.
Step 2
Peeling back the wireless charging area, you’ll notice the magnets are glued directly to the glass. So, the back glass fix that works for iPhone 11 won’t do the trick for iPhone 12—these two are playing by different rules.
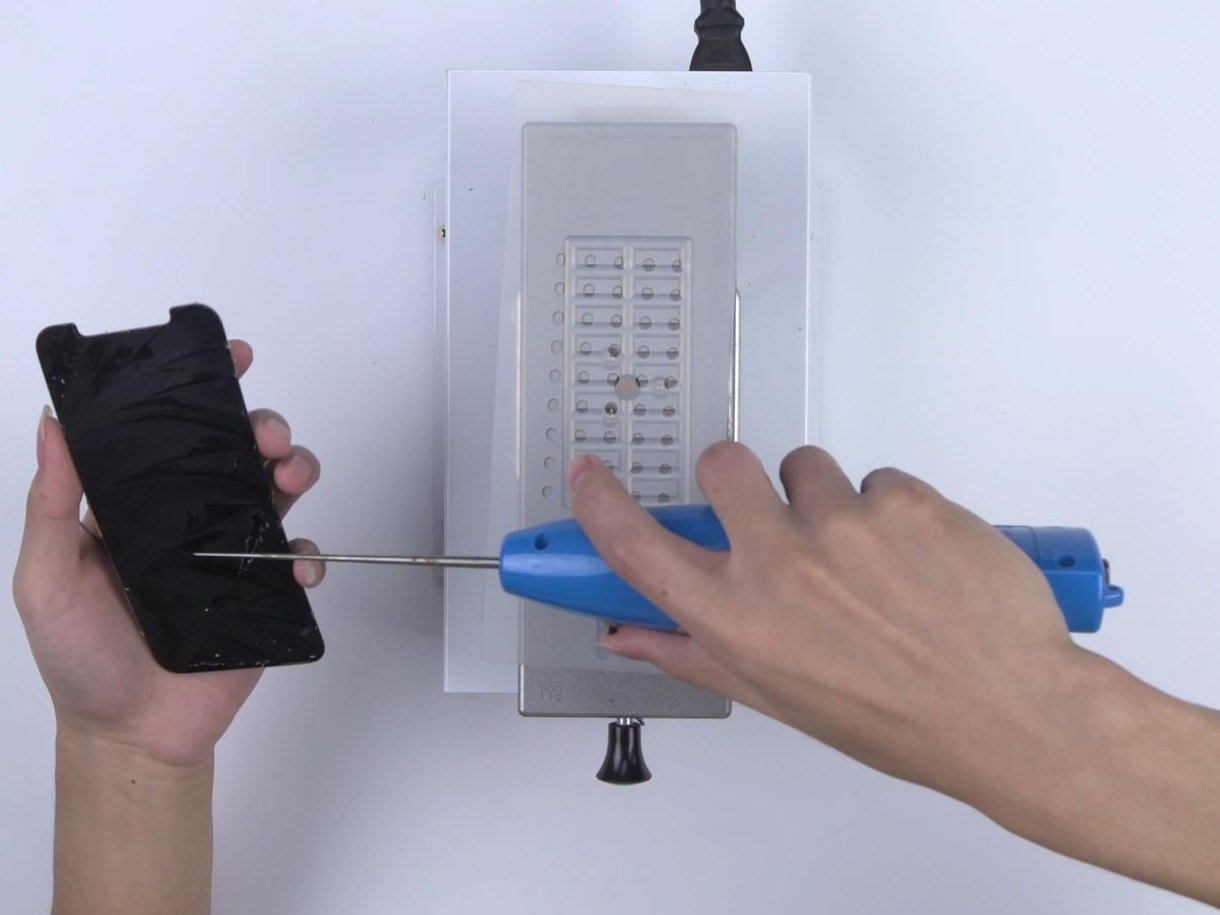
- Meet the Glass Breaking Pen—your new best friend for back glass repairs. Use it to crack the glass, then sweep away those pesky shards with the Pry Bar.
- If you stick with the old-school approach, all the magnets will make a run for it and you'll be left with a puzzle that's a pain to solve. Plus, trying to laser-mark the wireless charging area could spell trouble for your device.
Step 3
- Let's go ahead and take out that wireless charging coil. Once that's done, it's time to mark things up a bit! After marking, the magnet array and shield will come off without a hitch. You're doing great!
Step 4
- Next, gently remove the glass surrounding the camera. Be careful not to touch the camera lens—let's keep that lens spotless!
- Once the glass is off, take a moment to clean up any leftover adhesive on the back. A little tidy-up goes a long way!
Step 5
- Place the new back glass with the larger camera openings onto the middle frame first to check the fit—think of it like a dress rehearsal.
- Spread adhesive evenly on the middle frame, then carefully set the back glass in place and press down gently to secure it.
Step 6
- Give the back glass a firm press onto the middle frame using the Press Clamp—show that adhesive who's boss.
- Let the adhesive chill for 10 minutes. Pop the back cover off and inspect: is the gap looking huge, is glue making a mess, does everything sit smooth? If things look off, a little tweak might do the trick.
Step 7
- Once the back glass glue has dried, it's time to pop in the magnet array and shield. Dab a little B-7000 Adhesive around the magnet circle to stick the magnet array firmly to the back.
- Double-check that the opening of the magnet array lines up exactly as shown in the picture—placement matters!
- If you accidentally peeled off a magnet, no worries! Just stick it back on and secure the alignment magnet with some glue.
- Finally, put your phone back together and give the MagSafe function a test drive. If all goes well, it should work perfectly.


