iPhone 12 Battery Replacement Guide: Step-by-Step Tutorial
Duration: 60 min.
Steps: 24 Steps
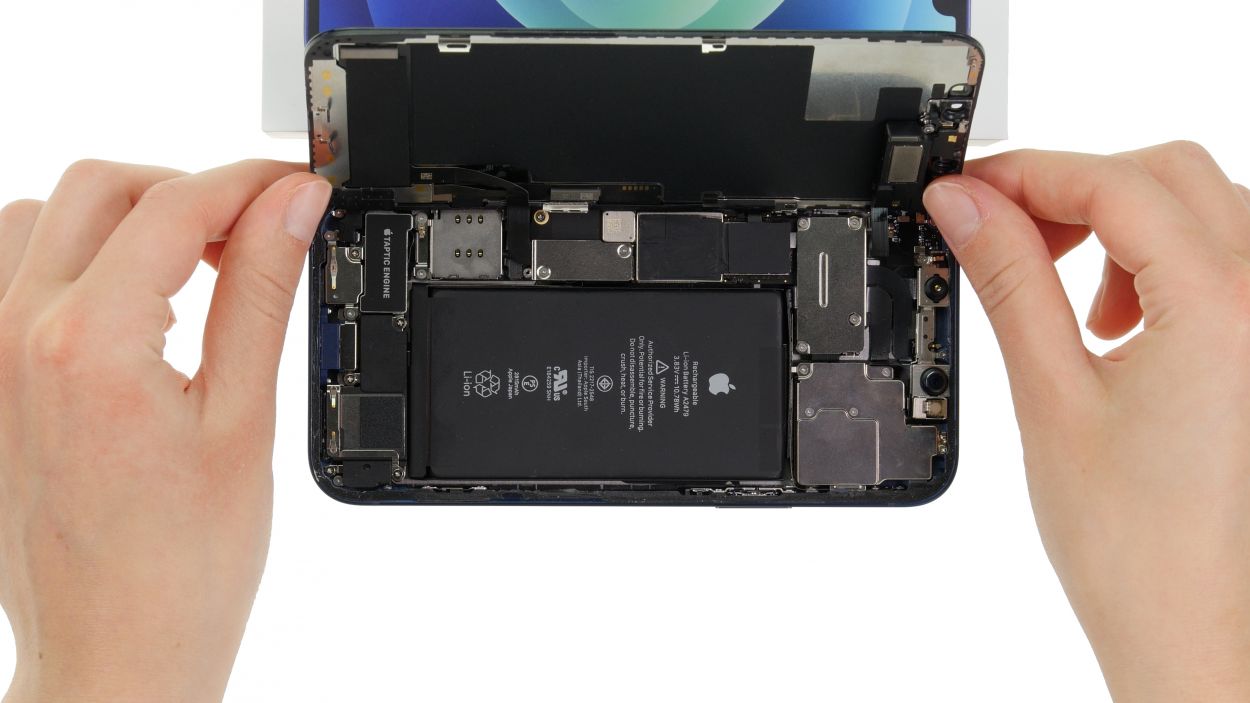
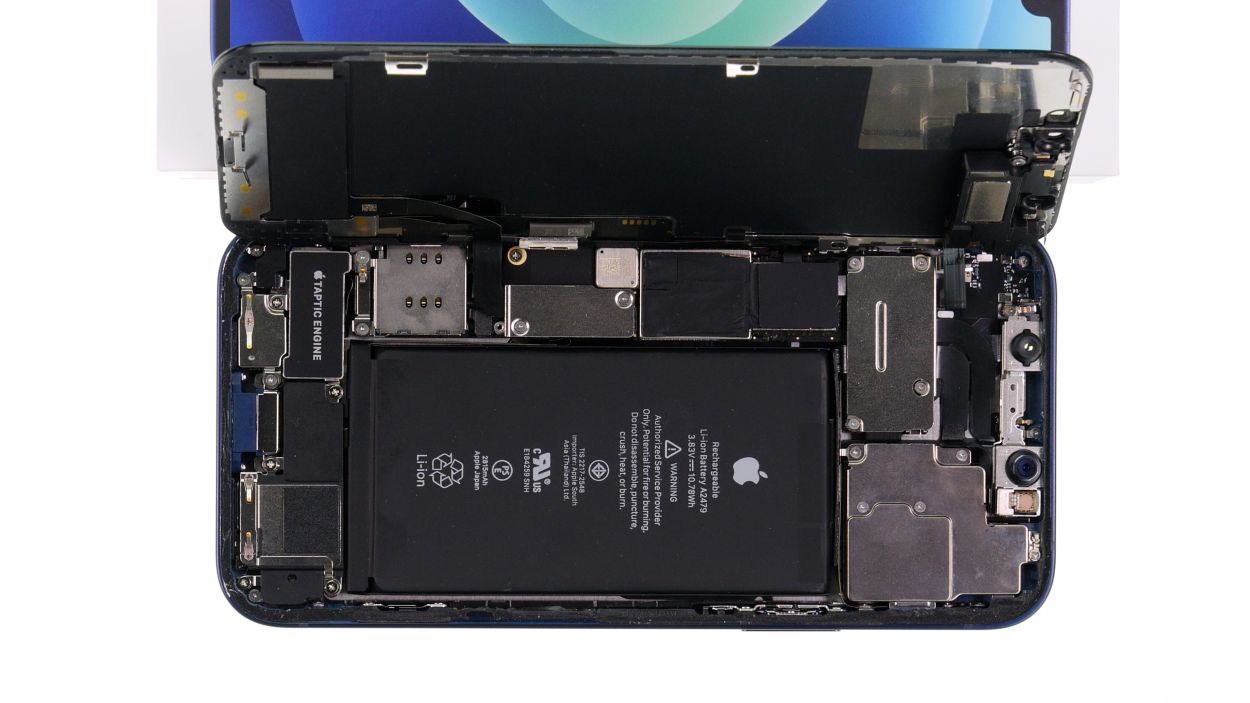
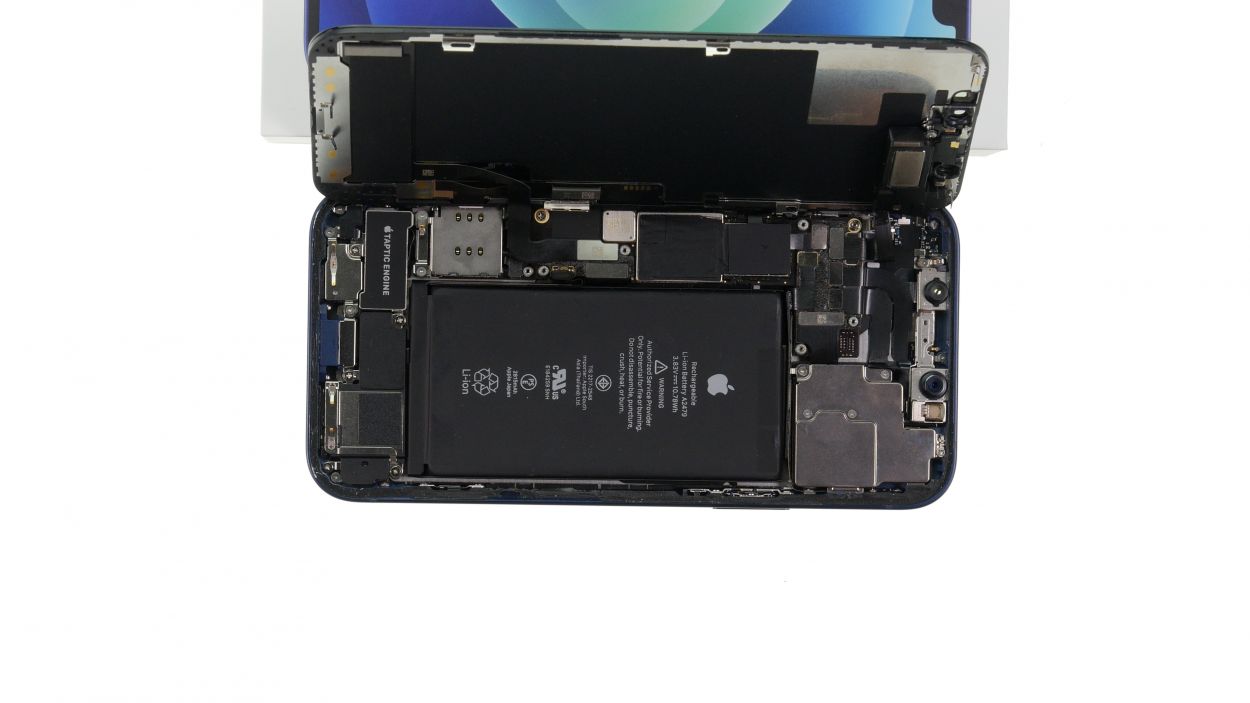
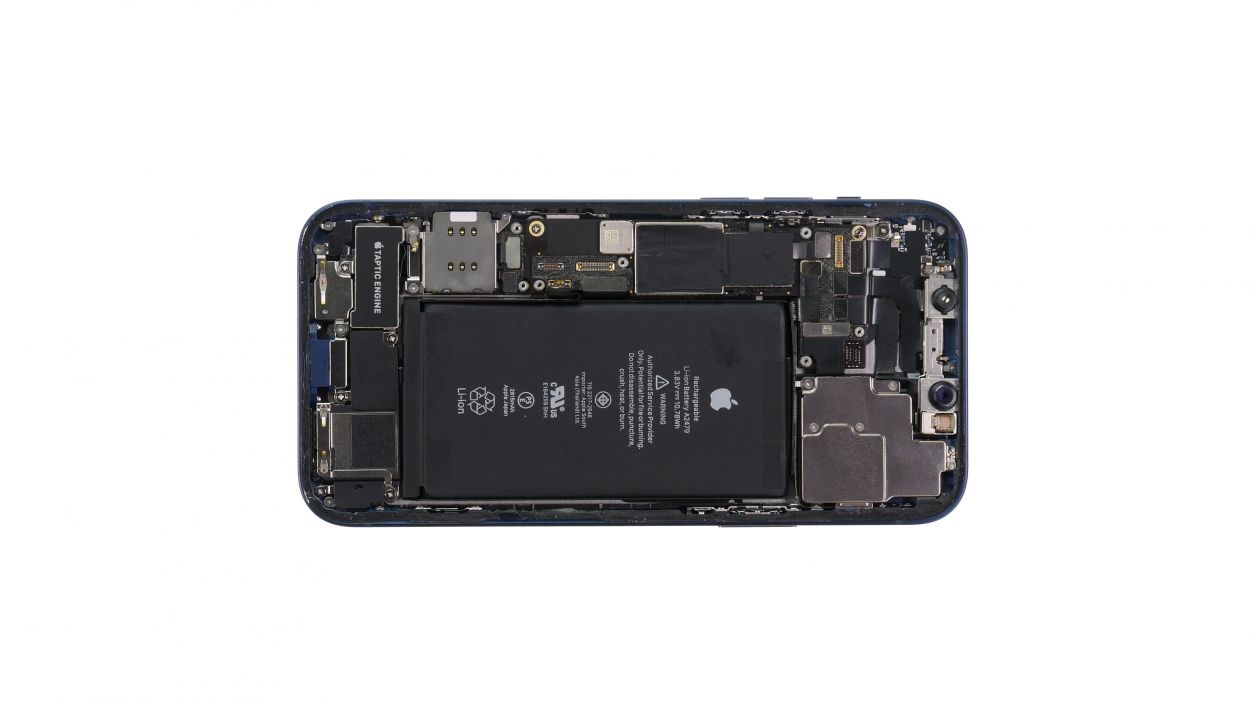
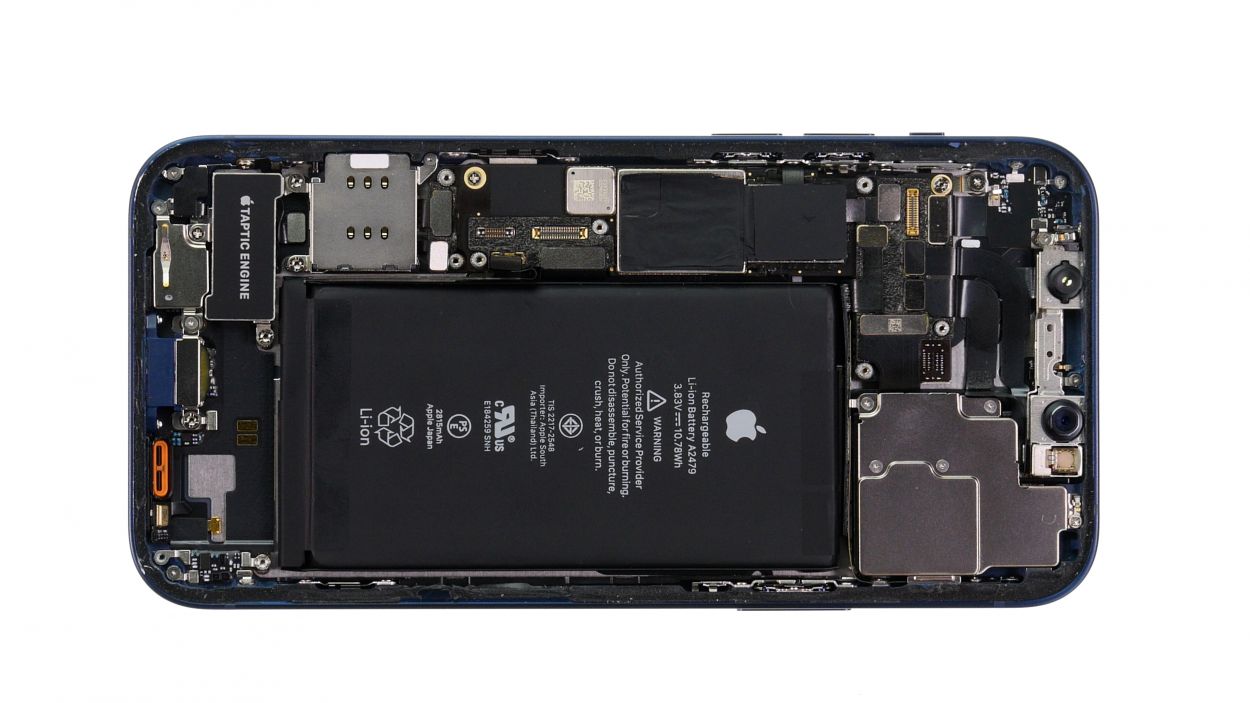
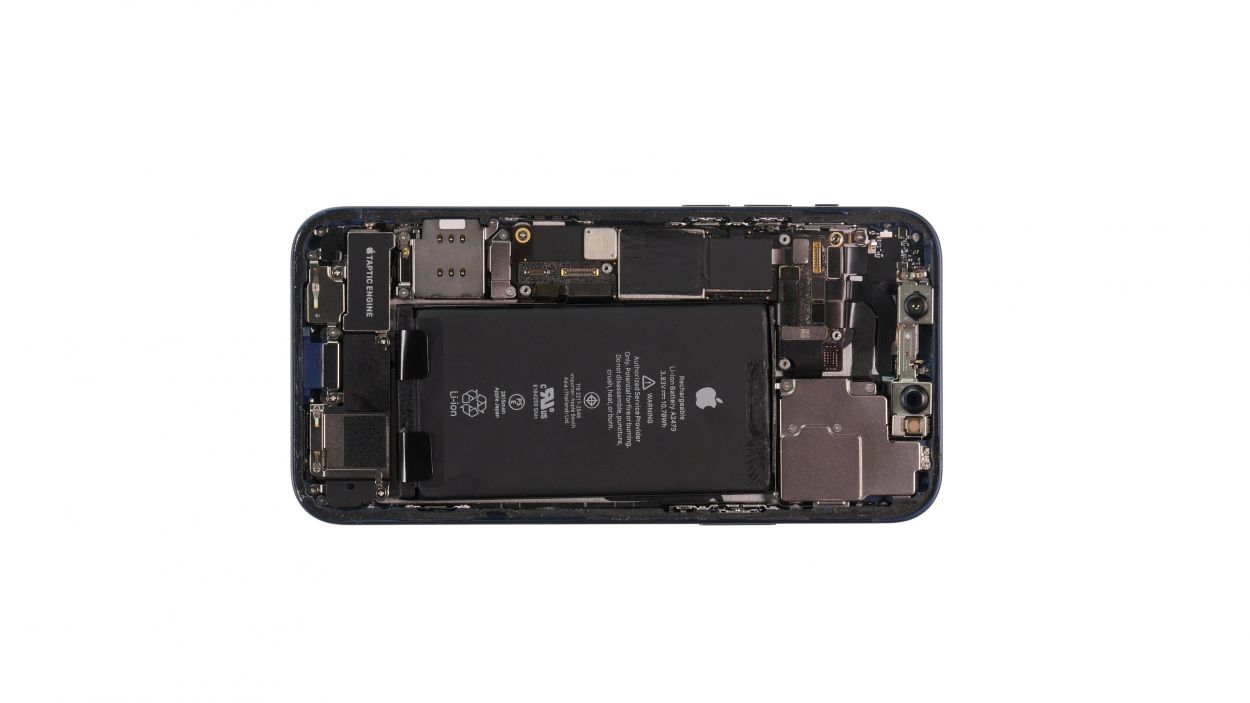
Alright, folks! It’s battery replacement time! Our step-by-step photo guide will walk you through the process with ease. Swapping out the battery on your iPhone 12 is a bit of a challenge, but nothing you can’t handle! First, we need to remove the speaker, SIM module, and Taptic Engine. This way, we can easily and safely pull out those adhesive strips hiding under the battery. Good luck with your repair journey! And hey, if you need the right tools for the job, check out our online store at schedule a repair!
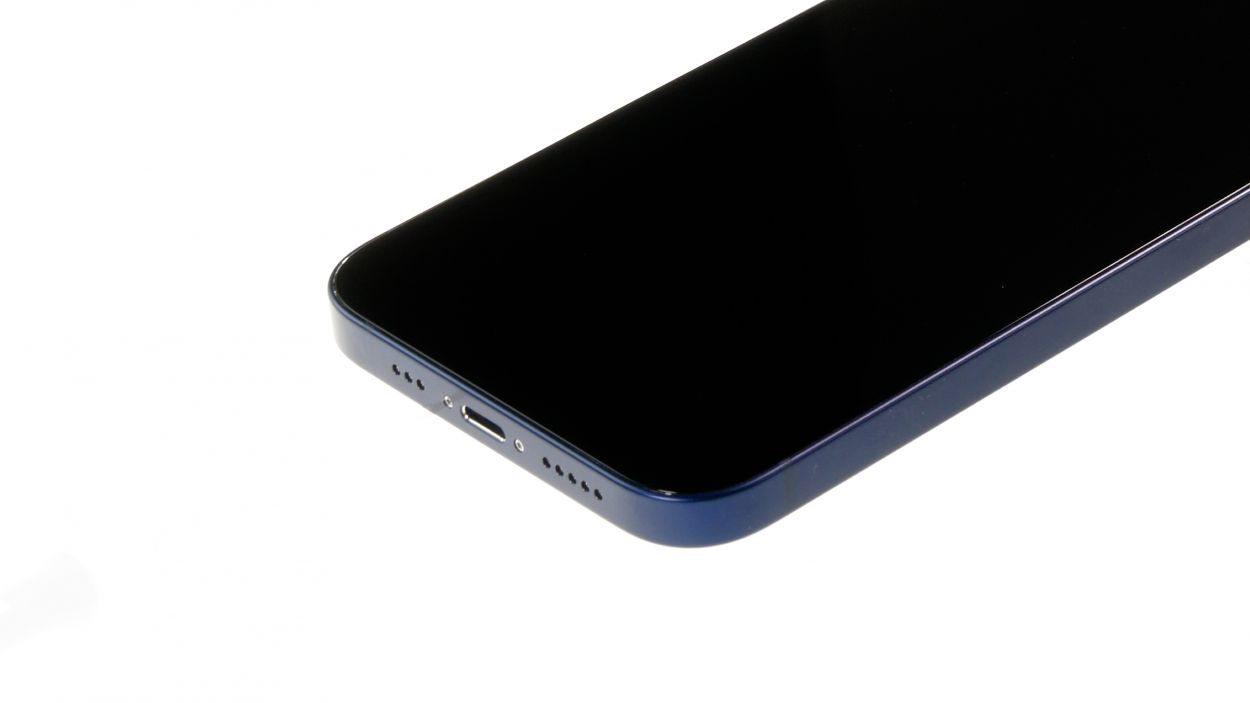
Step 1
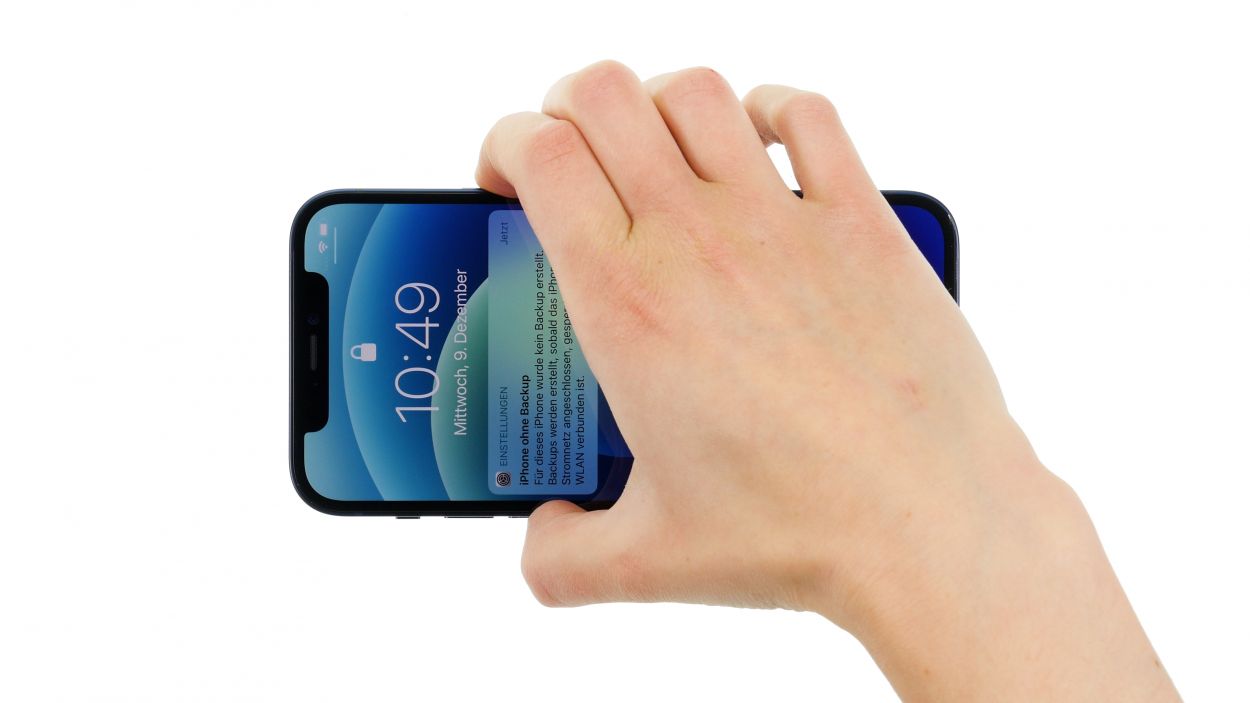
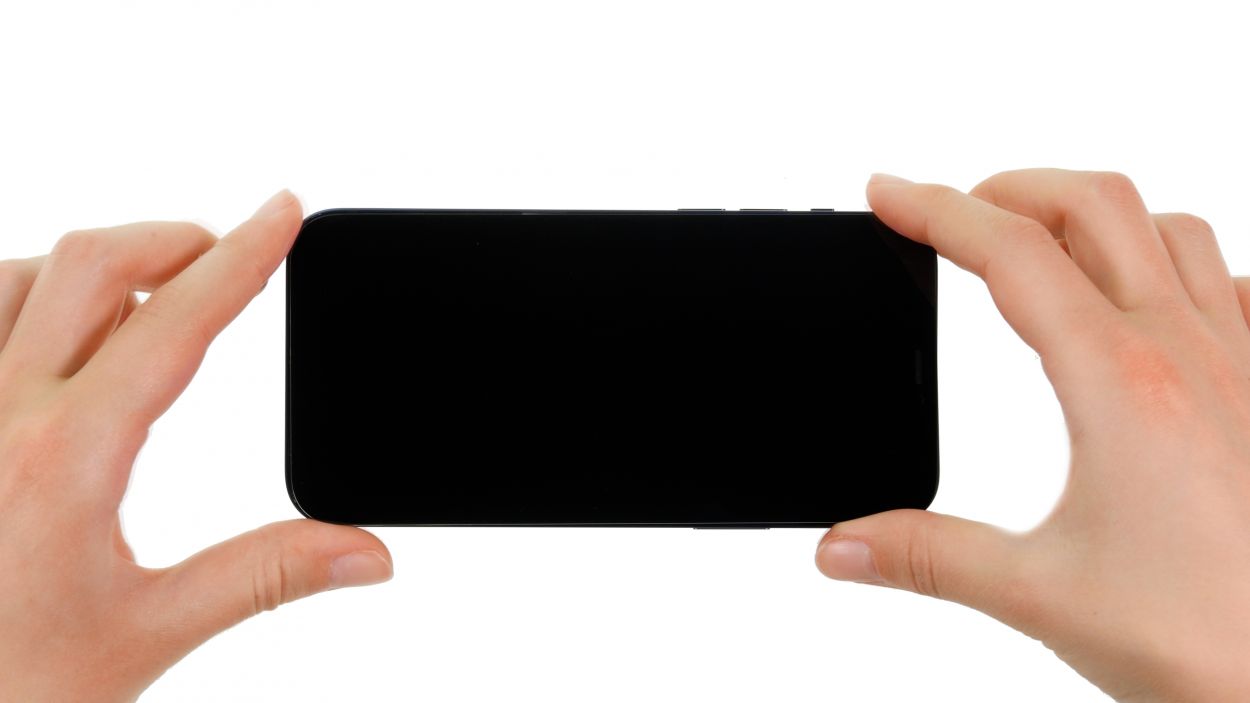
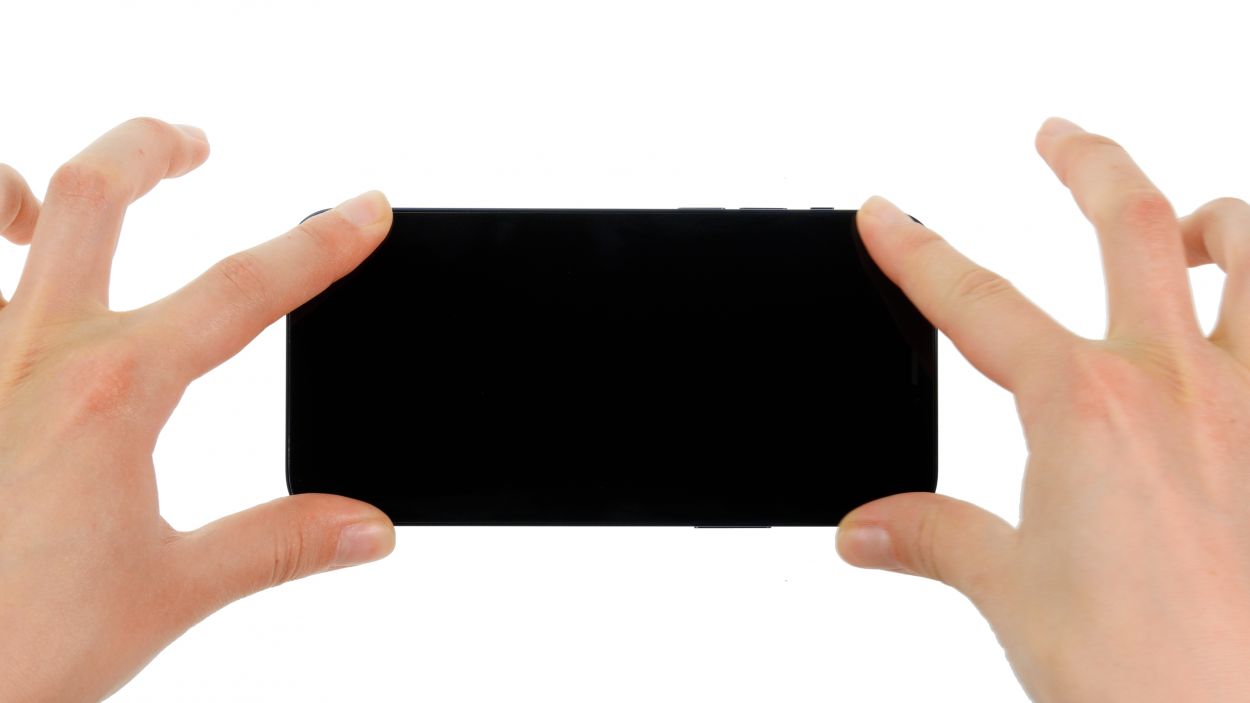
– Press and hold the side button and the volume down button together for a few seconds. You’ve got this!
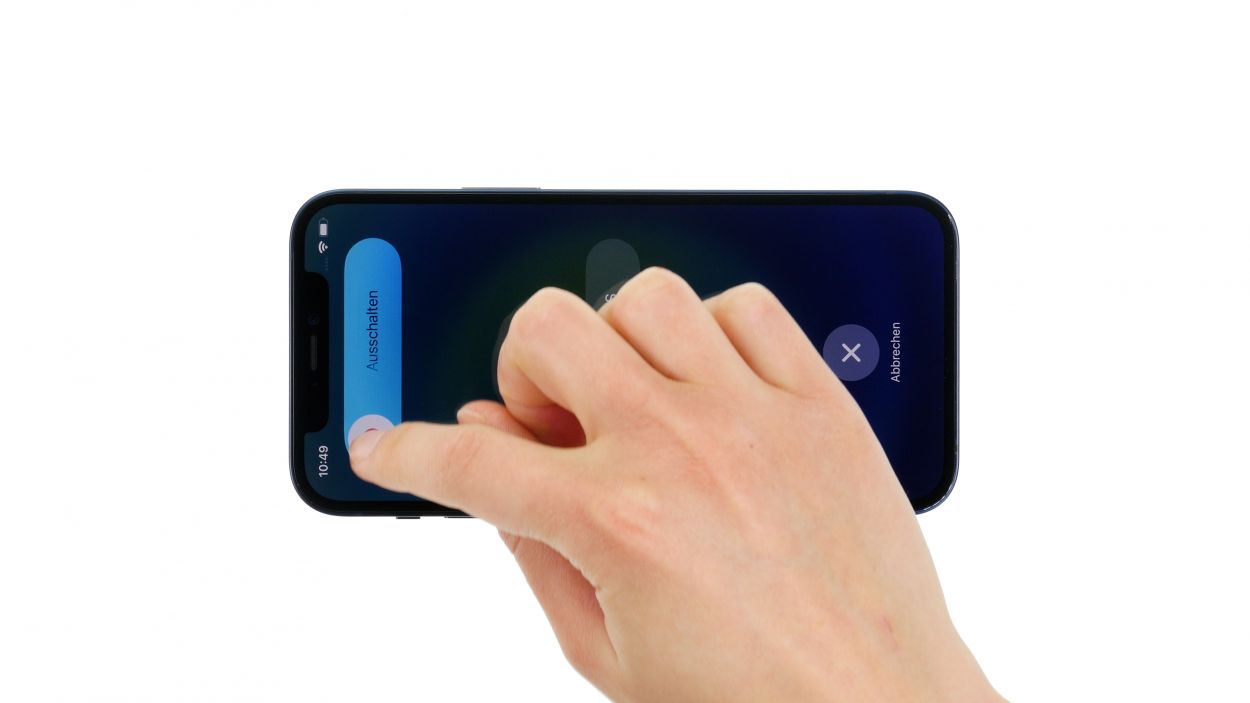
– Swipe the ‘Switch off’ slider from left to right like a pro.
– Your phone will gracefully power down in just a few seconds. Easy peasy!
Step 2
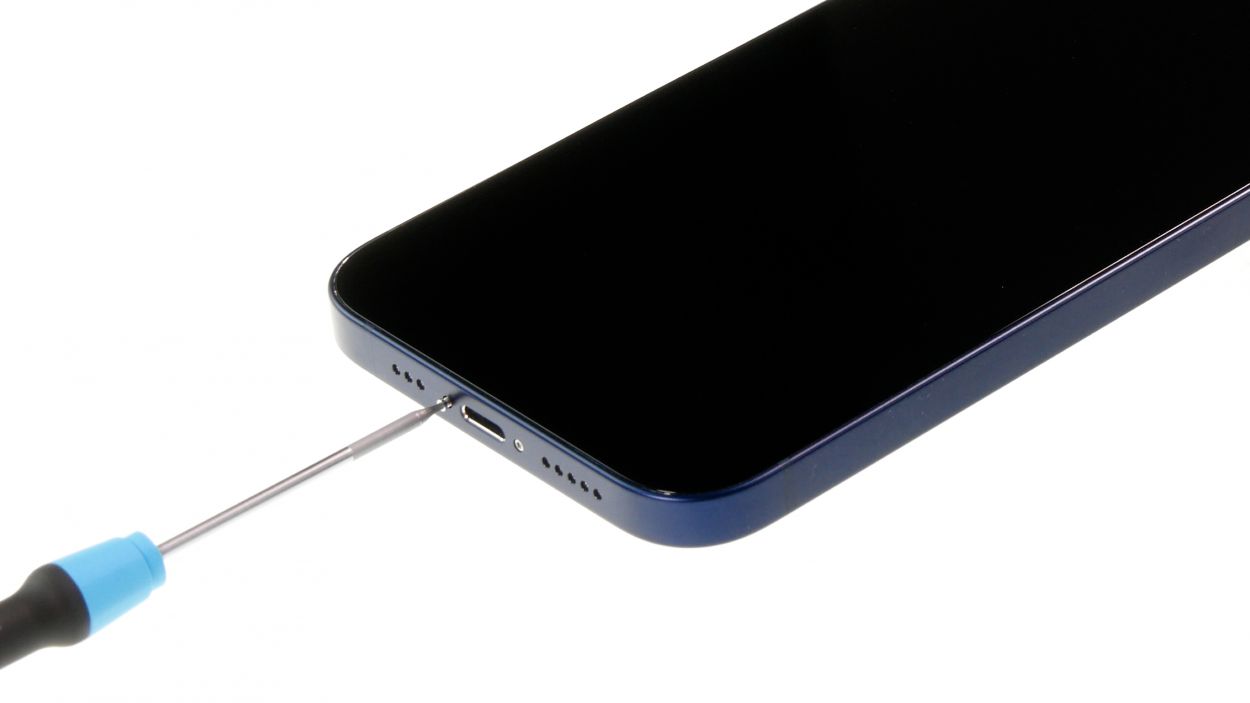
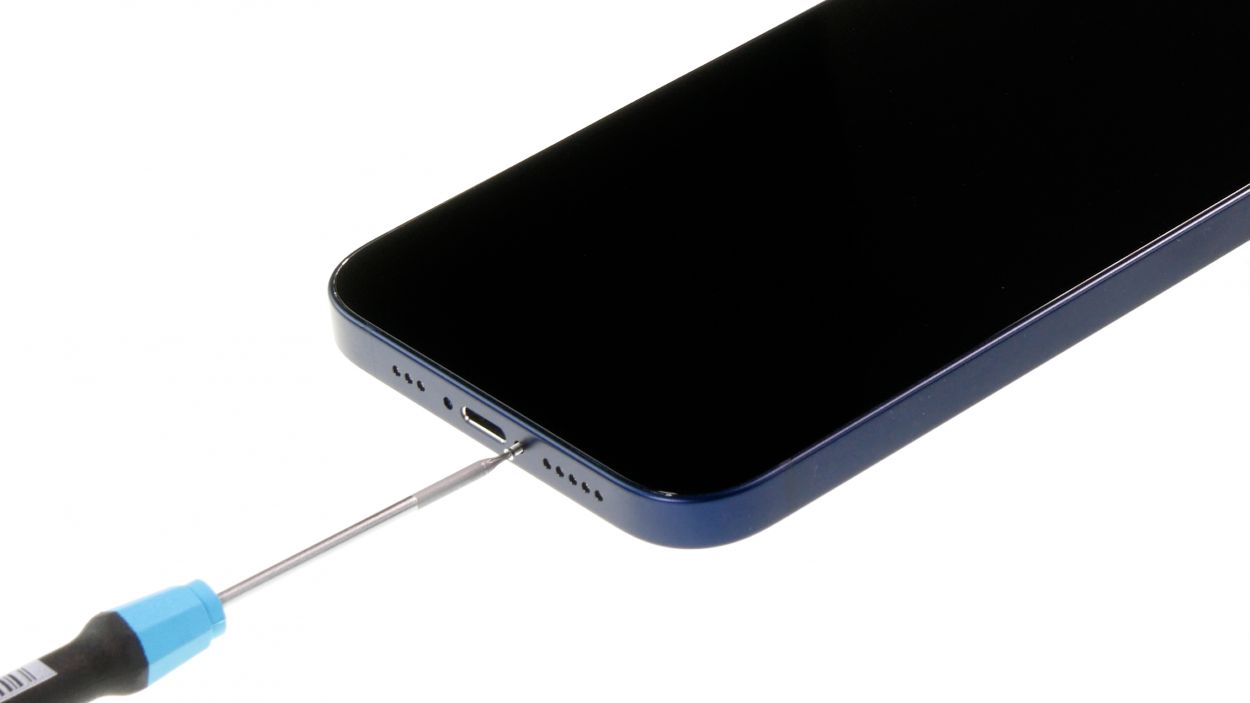
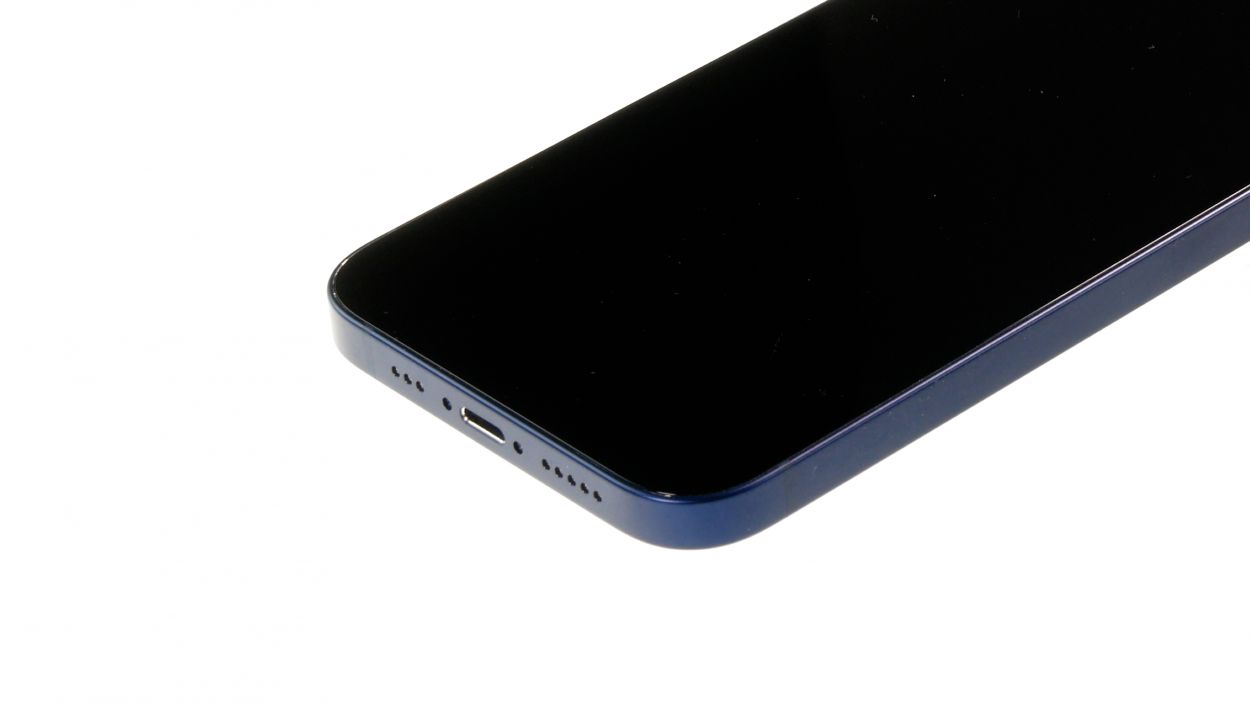
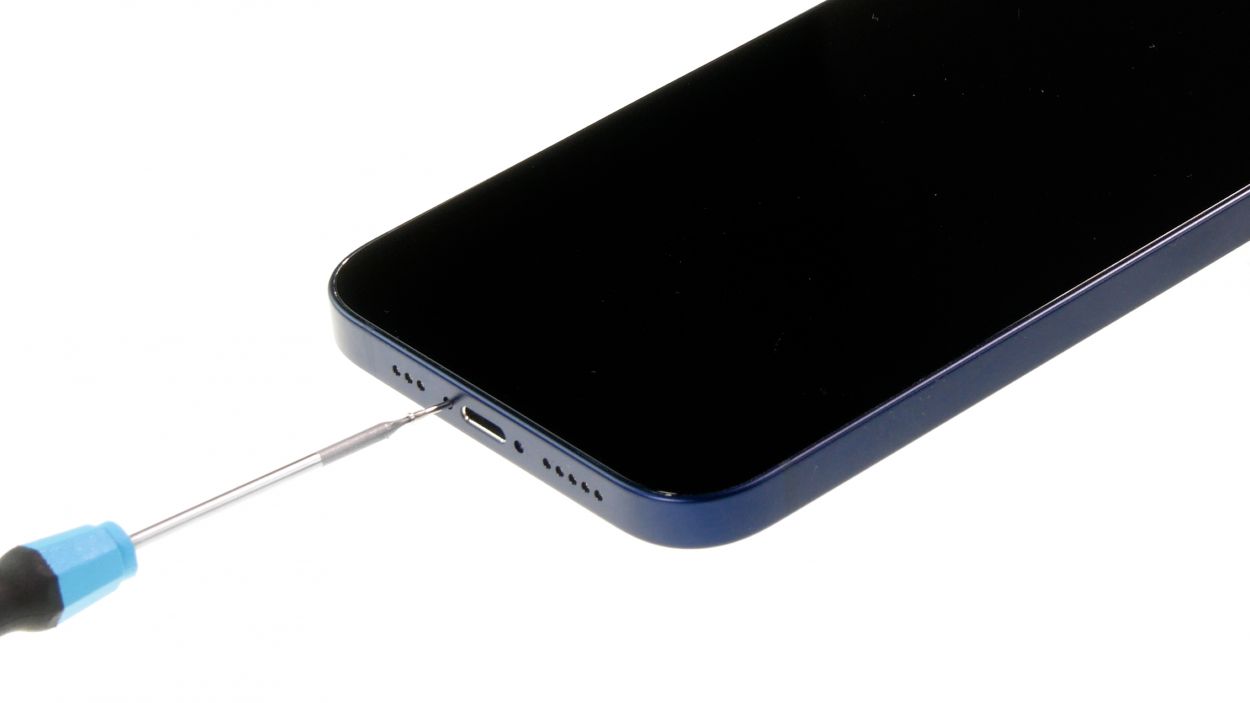
– Grab your trusty pentalobe screwdriver and unscrew those two pentalobe screws. You’ve got this!
– Once they’re free, toss them into a screw storage solution to keep them safe and sound.
2 × 6.8 mm Pentalobe
Once you crack open your device, the warranty that keeps dust and splash water at bay (you know, the IP68 magic) goes poof! So, handle with care!
We suggest grabbing a screw storage solution for your repair—think of an old sewing box or something similar! This way, you can keep all those little screws and parts safe and sound, while maintaining a clear view of what you’ve got. And with our nifty magnetic pad, nothing’s going to slip away, letting you arrange everything like a pro!
Step 3

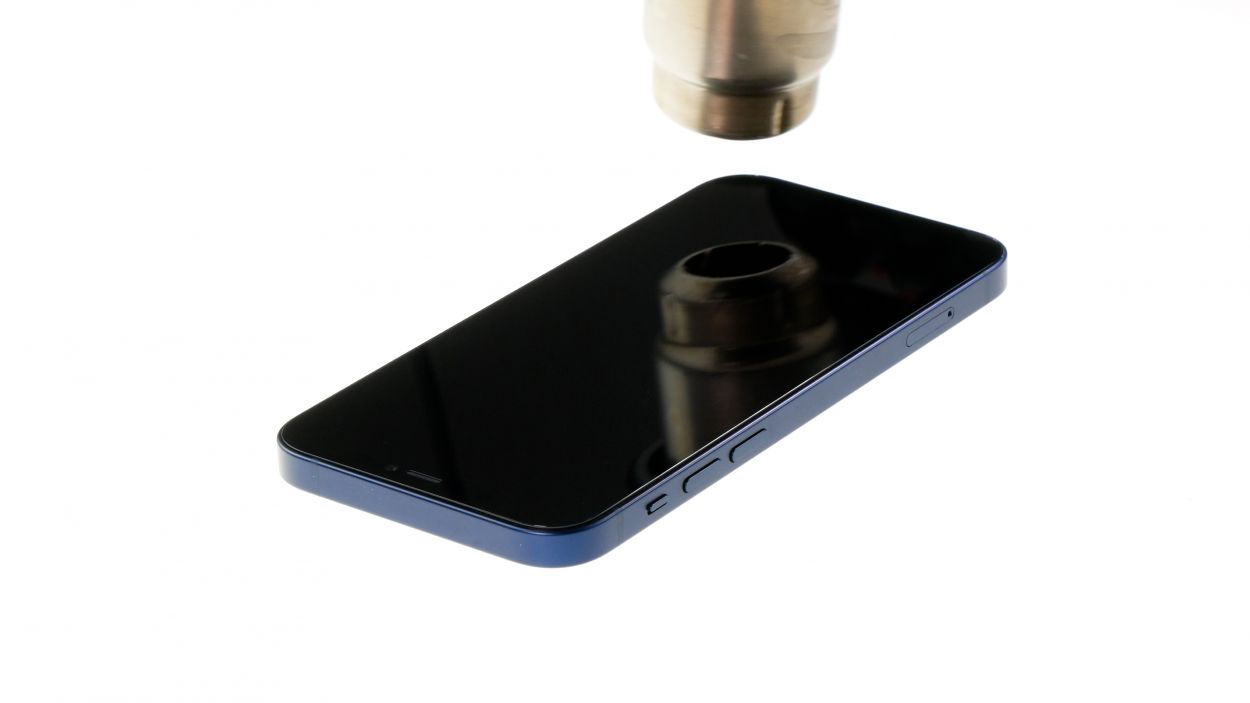
A good rule to follow is that you should be able to touch the screen without feeling like you’re getting a free sauna treatment.
– First, set your iPhone down on a cozy, clean surface to keep that case looking sharp and scratch-free.
– Next, give the edge of the screen a little warmth by gliding the heat gun along it evenly. It’s like a spa day for your phone!
Tools Used
- heat gun to heat parts that are glued on so they’re easier to remove.
In most cases, you can also use a hairdryer.” rel=”noopener”>Heat gun
Step 4
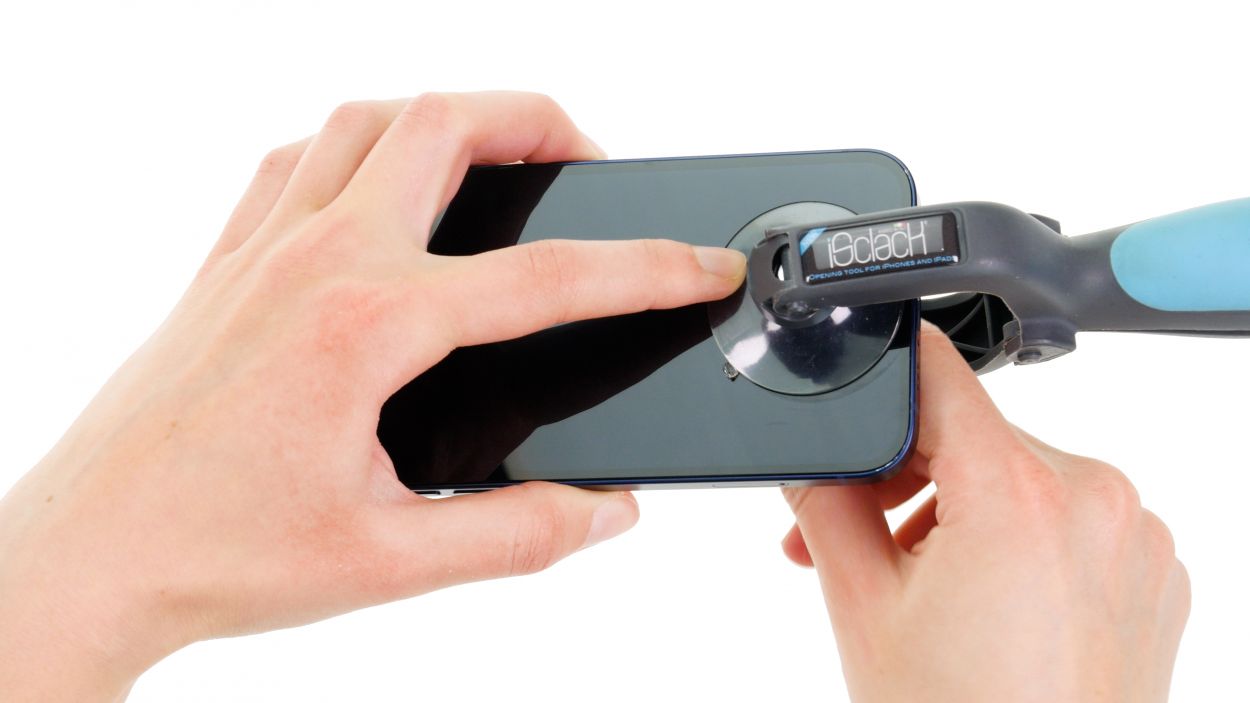

Why not give the iSclack a whirl instead of the suction cup? It’s way easier to create that gap with a lot less elbow grease!
– To kick things off, grab a suction cup and place it on the bottom edge of the screen. Gently pull upwards to create a slim gap between the screen and the case. You’re doing great!
Step 5
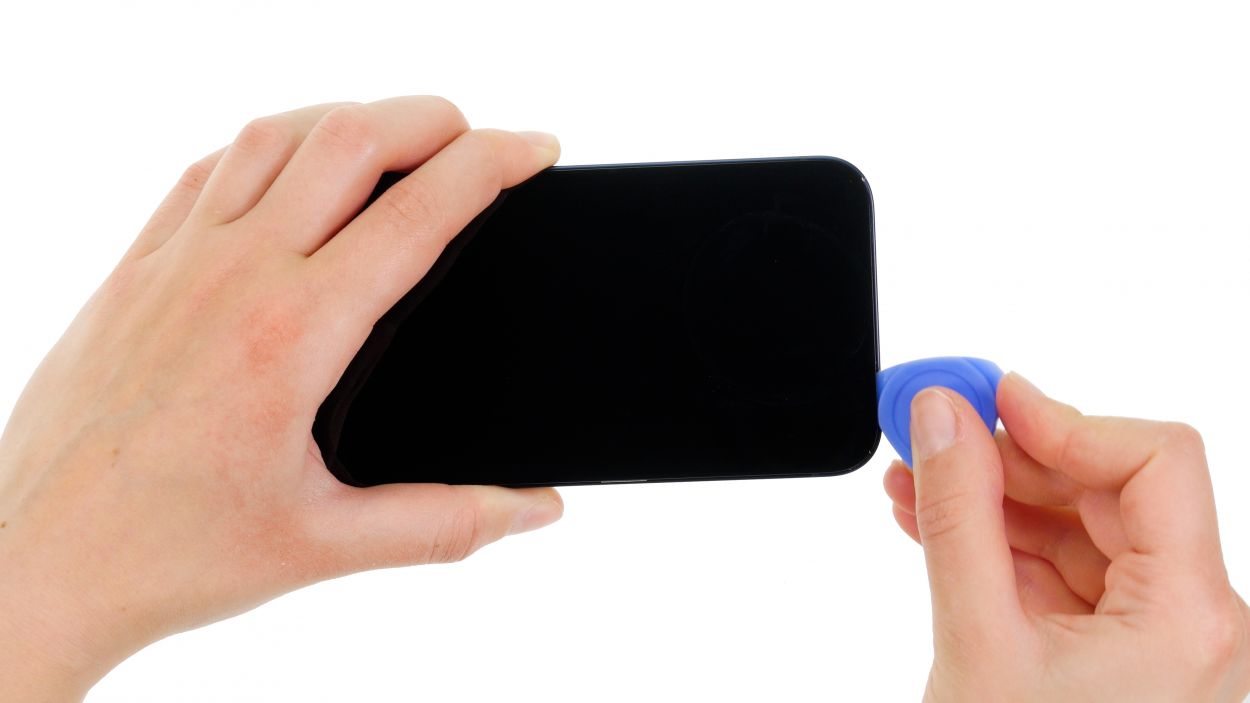
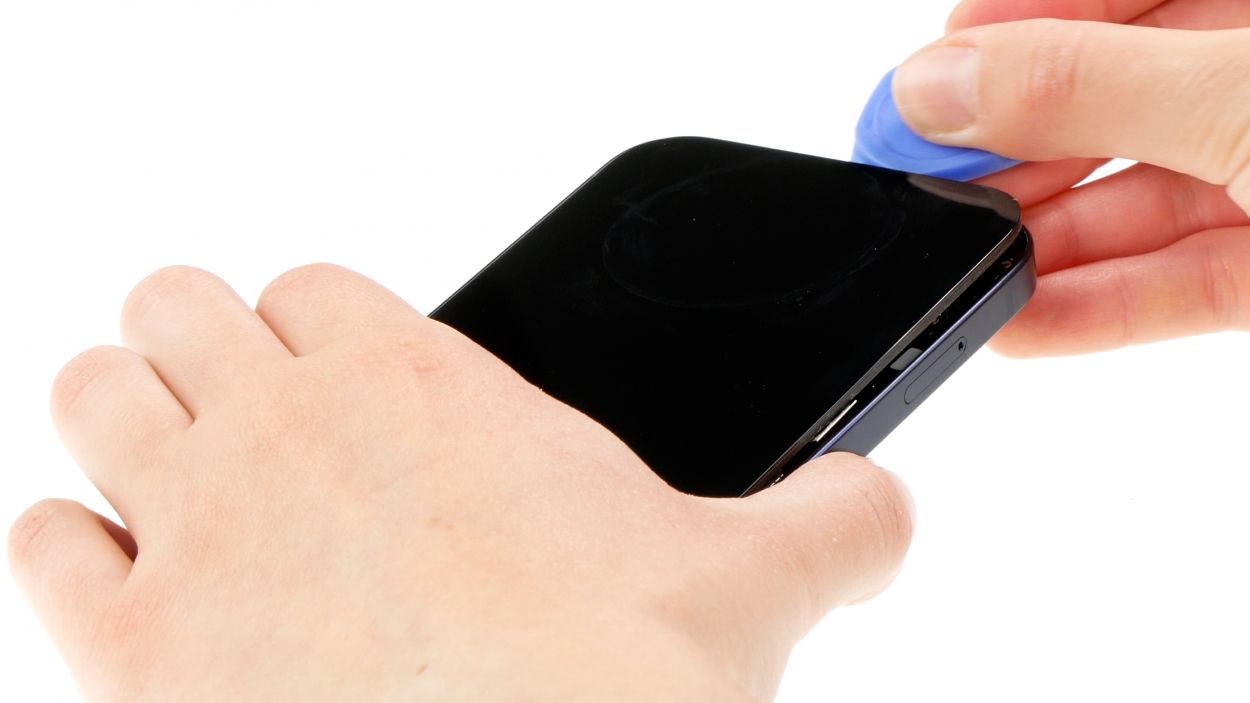
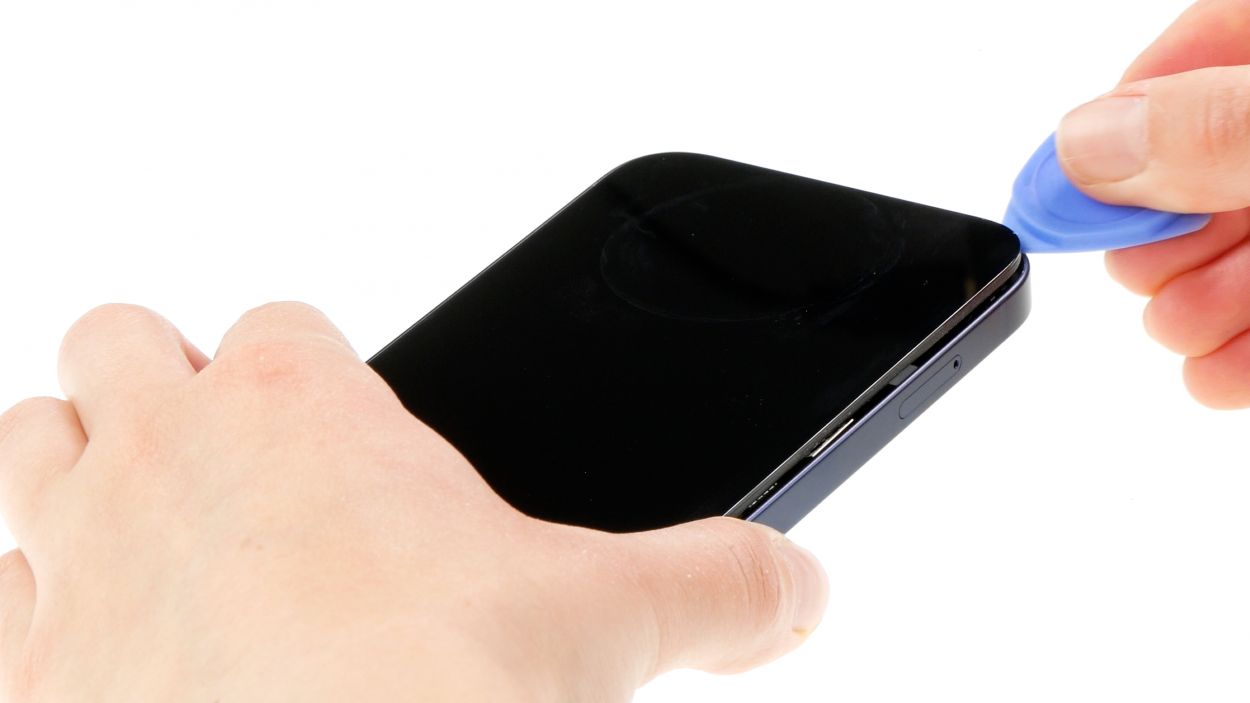
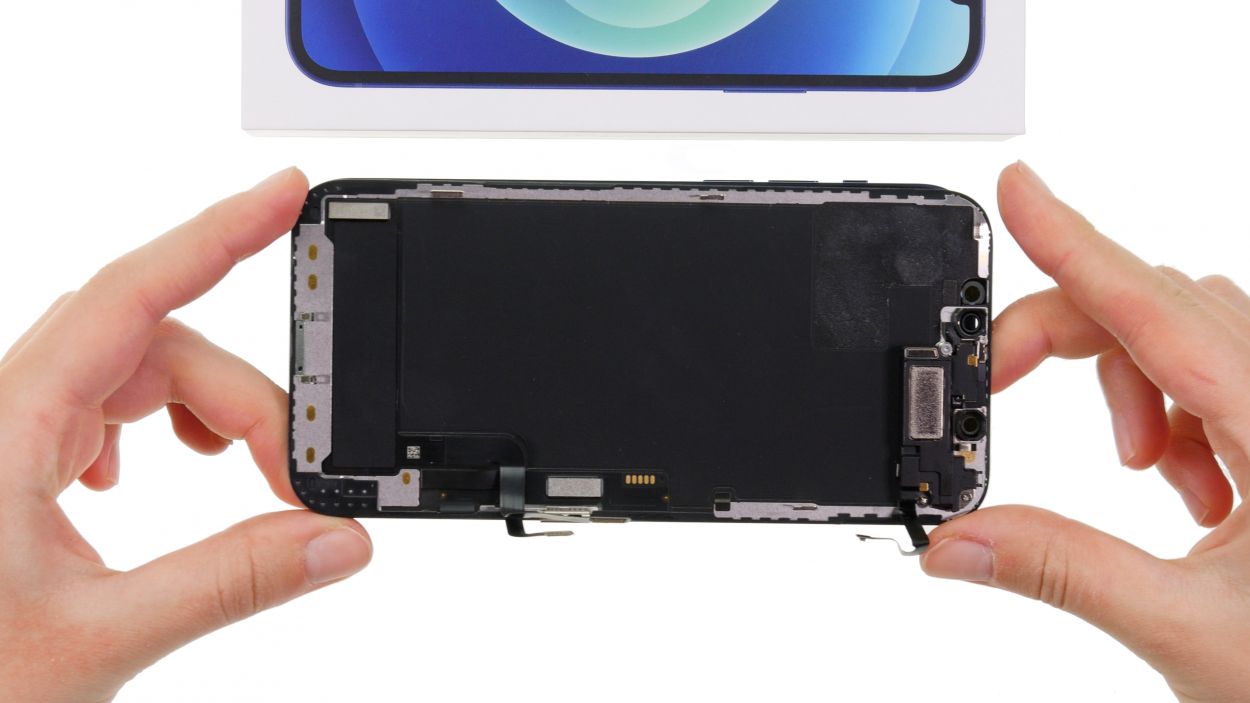
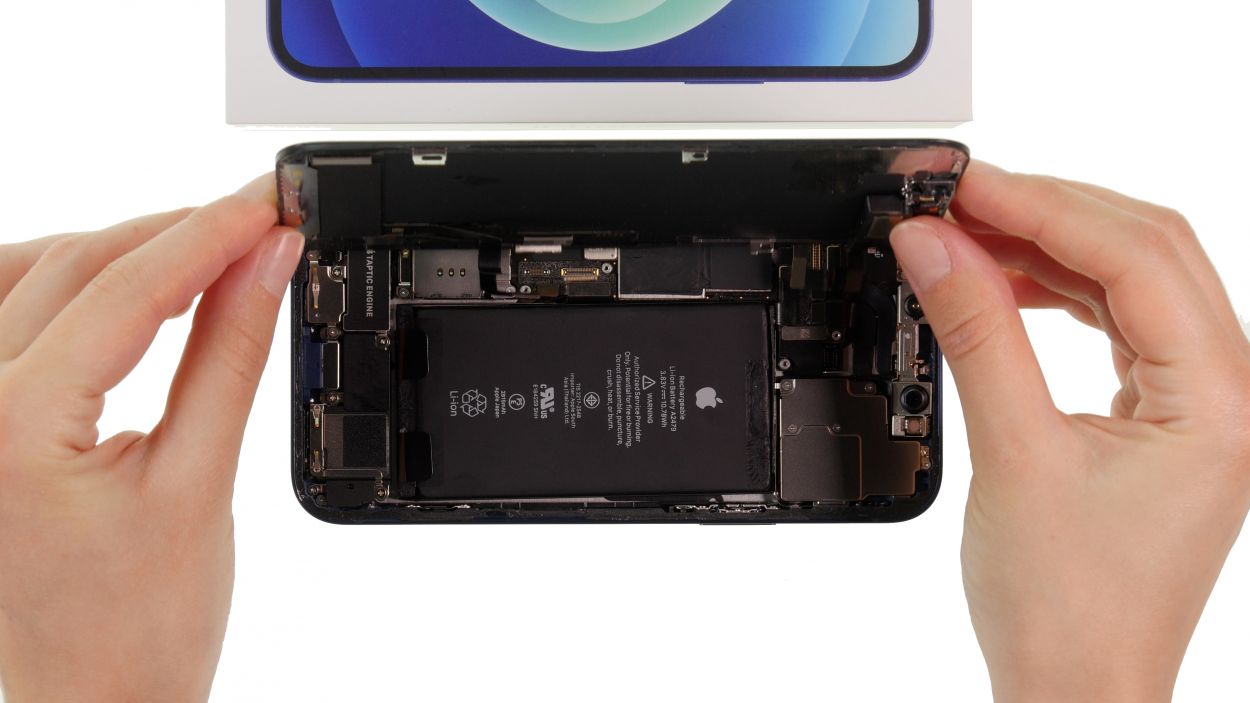
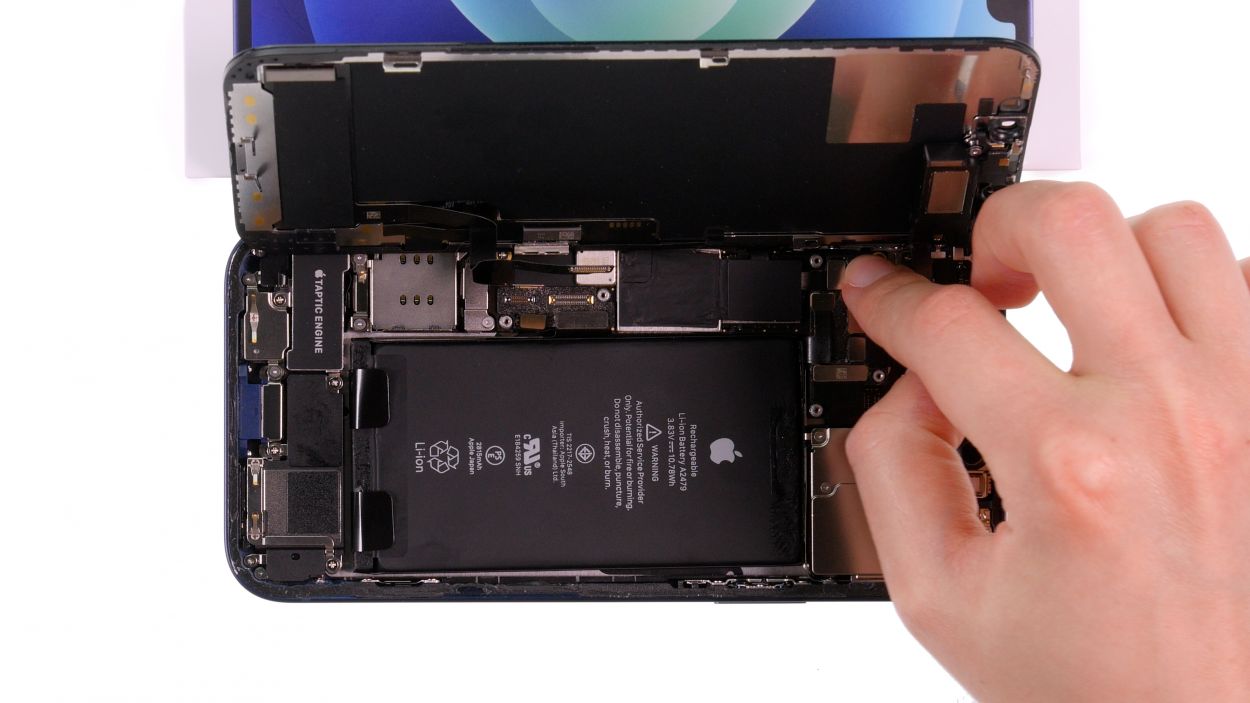
Keep your screen open to a max of 180° while those delicate screen cables are still connected. Going beyond that could lead to some unfortunate tearing!
Why not give that glue a little extra love? Just reheat it with some hot air every now and then to make peeling it off a breeze!
– Glide that hard plastic plectrum all the way around the screen’s edge like you’re painting the town red! Give it a little upward nudge at the same time to pop those hooked lugs of the display free from the rear case. You’re doing awesome!
Tools Used
Step 6

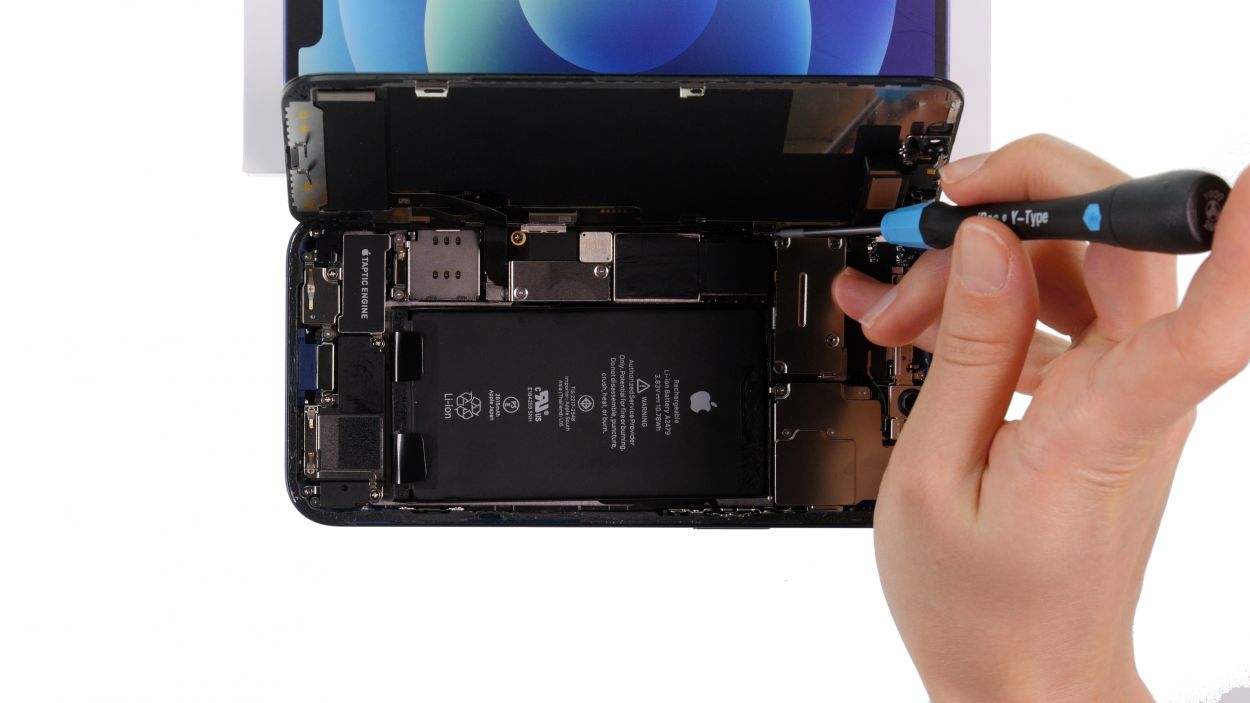
6 × 1.0 mm Y-Type
Make sure to hook in the bigger cover plate before you tighten those screws down. It’s a crucial step to keep everything snug and secure!
– Using your trusty Y-type screwdriver, unscrew those six Y-type screws from the two cover plates and stash them safely in your screw storage. You’ve got this!
– Now, with a gentle touch, use a pair of tweezers to carefully lift off the two cover plates from your device. You’re doing great!
Step 7


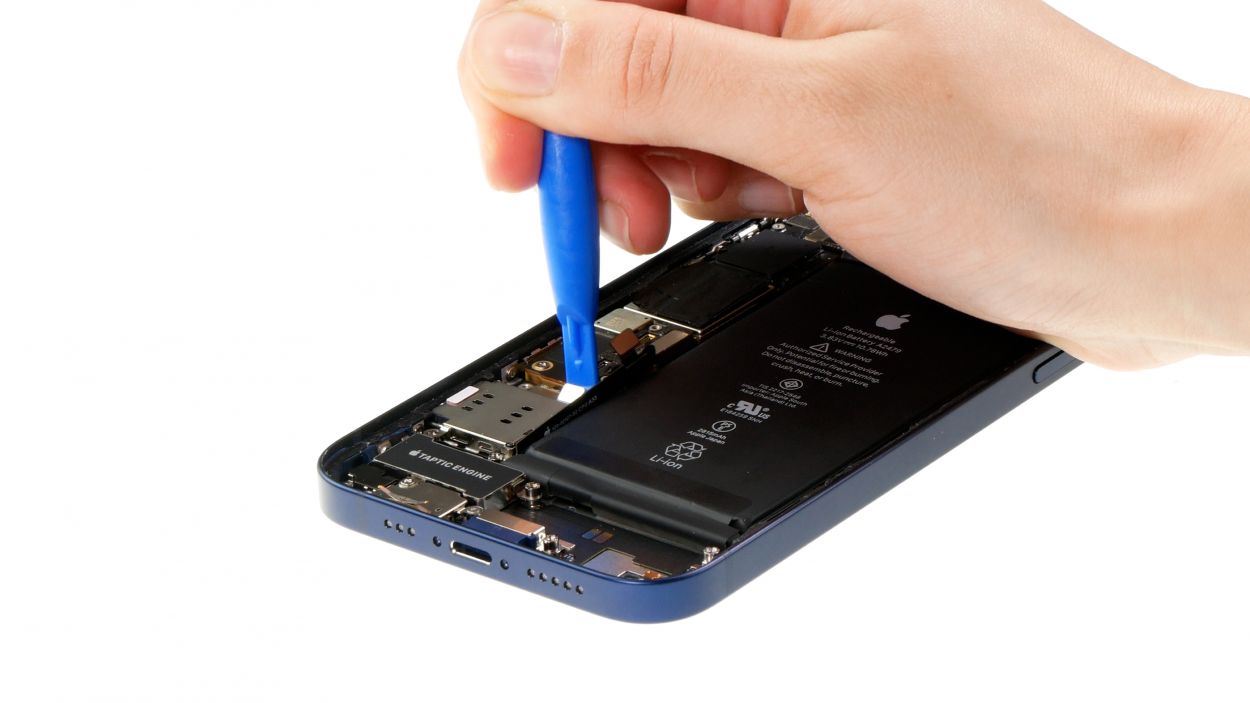
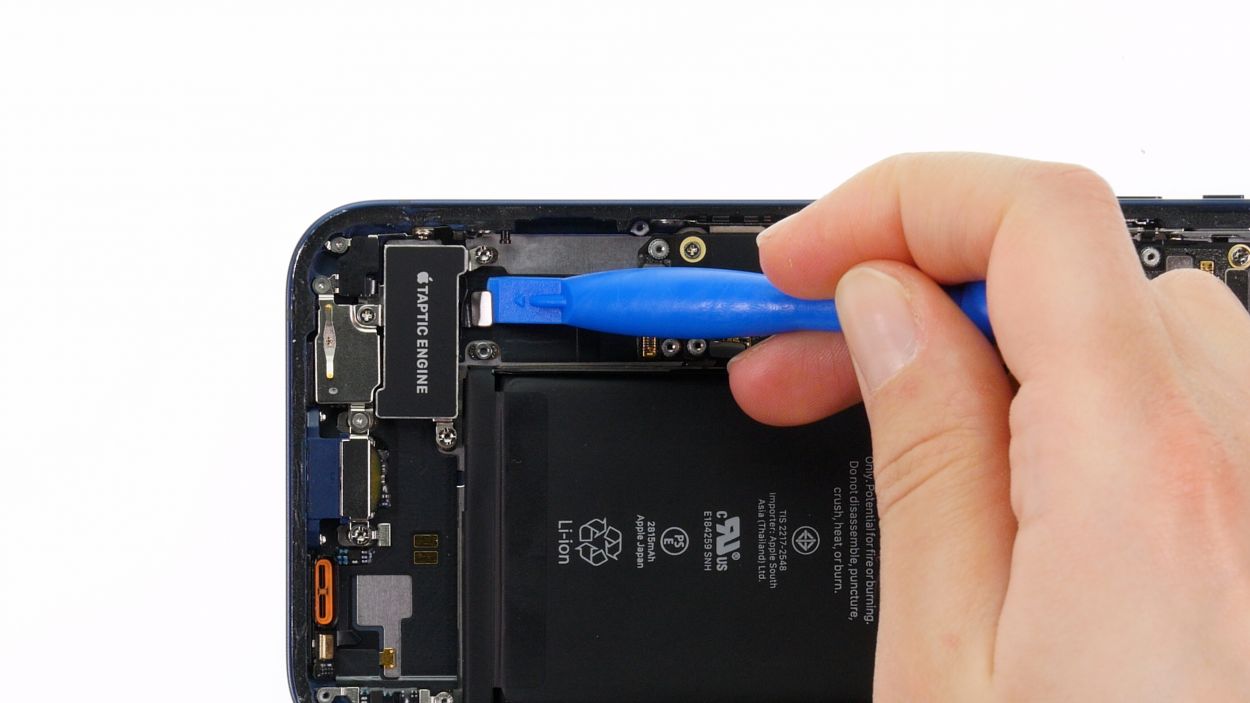
When you’re unplugging those connectors, kick things off from the side without tiny components on the logic board. It’ll keep everything safe and sound!
– Next, grab your trusty plastic lever tool and gently slide it under the connector to separate it from the board. A plastic spudger works wonders for this task!
Tools Used
Step 8
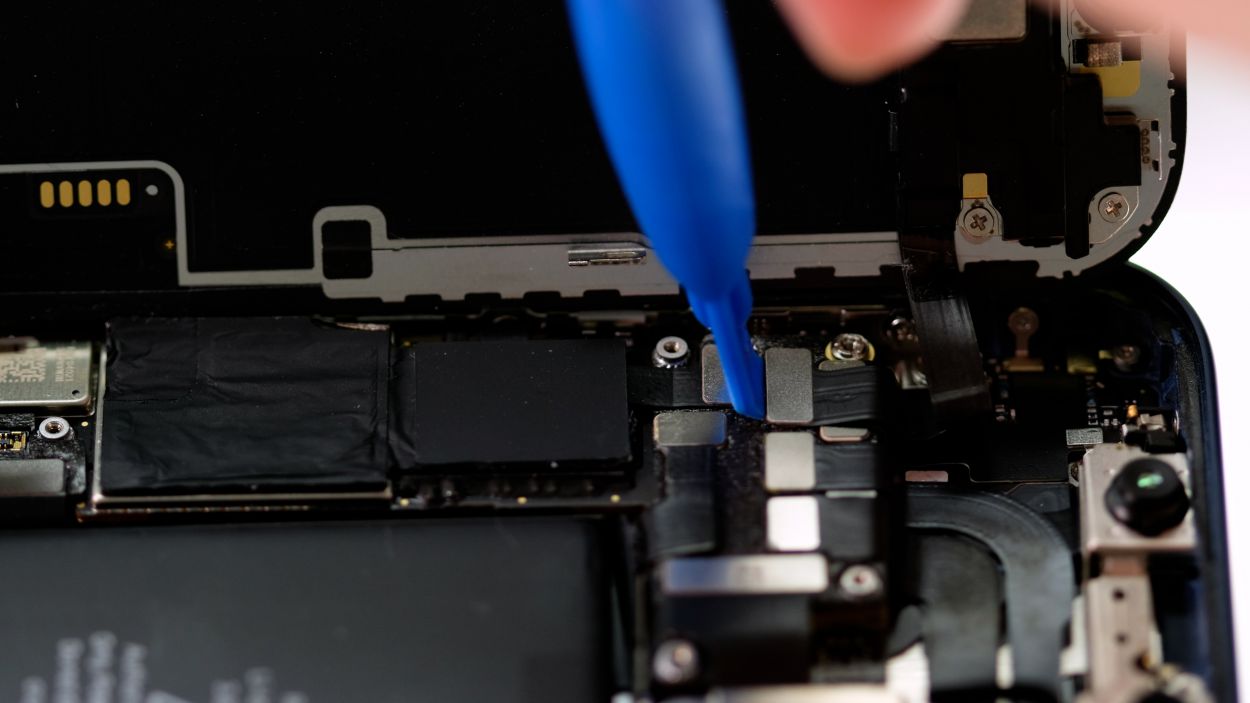
When you’re unplugging those connectors, start from the side without tiny components on the logic board. It’s a smart move to keep everything safe and sound!
You’ve got a little connector party happening here—two of them are stacked right on top of each other! Just take it easy and make sure to separate them gently.
– Using a spudger, gently slide it under each of the three connectors, one at a time, and carefully lift them off the logic board. You’ve got this!
Tools Used
Step 9
4 × 1.5 mm Phillips
– Start by loosening those four Phillips screws with your trusty Phillips screwdriver. You’ve got this!
– Once they’re free, gently lift the speaker out of your device. You’re on a roll!

Step 11
4 × 1.4 mm Y-Type
1 × 1.1 mm Y-Type
1 × 2.8 mm Standoff
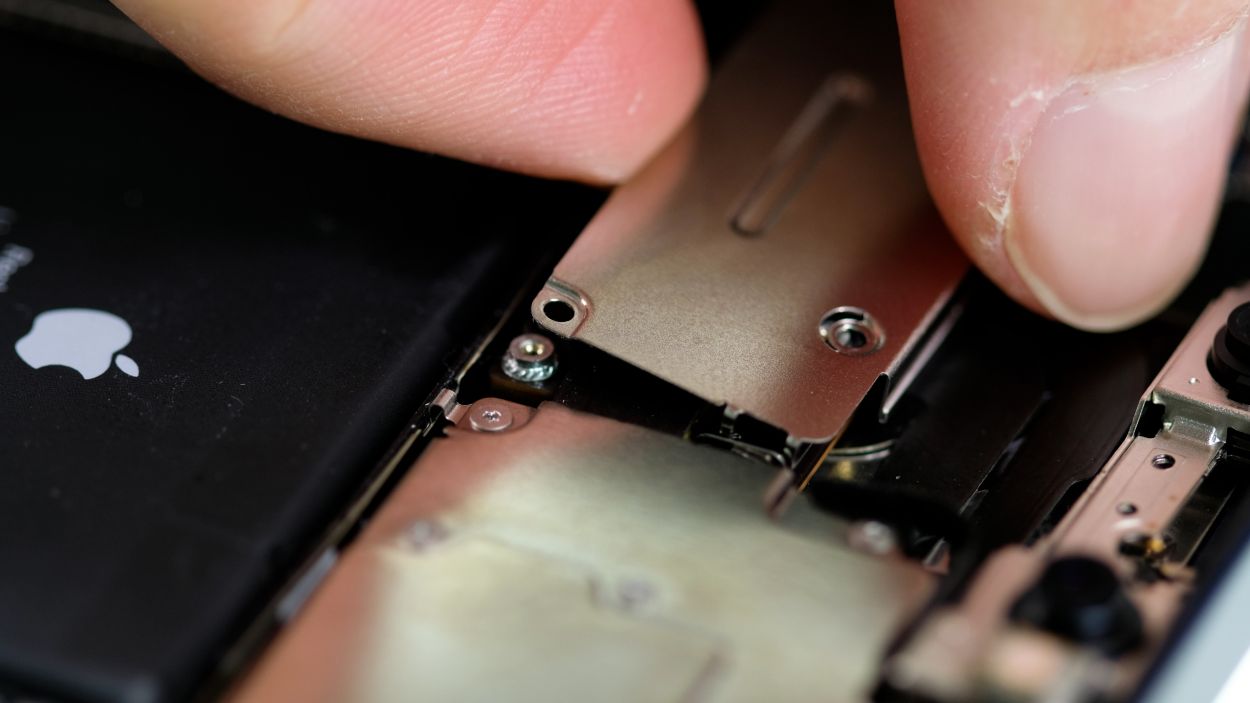
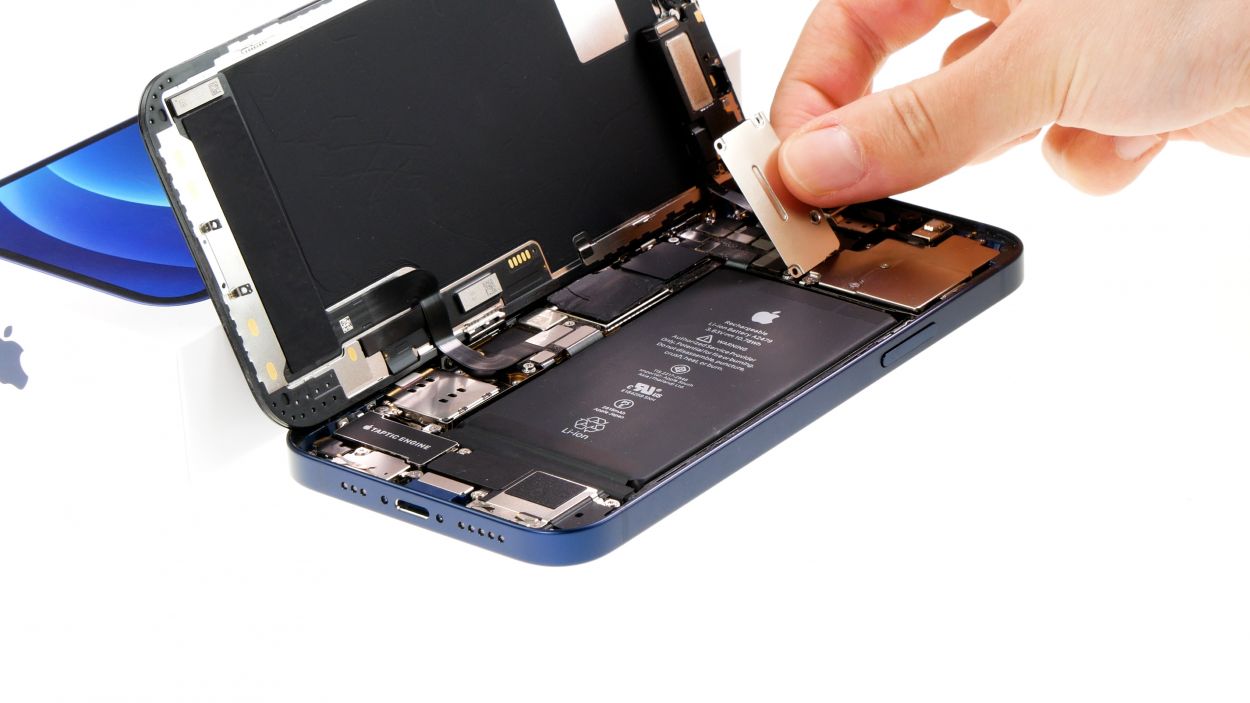
When unplugging those connectors, kick things off from the side without tiny components on the logic board. It’s a smart move to keep everything safe and sound!
– First, unscrew the two cover plates by removing the two Y-type screws.
Tools Used
- Pry Tool
- screwdriver+with…+Repair&linkCode=ll2&tag=salvationrepa-20&linkId=1c0aa533b7b8148cb48741a4635ea648&language=en_US&ref_=as_li_ss_tl” rel=”noopener”>WIha PicoFinish Phillips screwdriver with…
- Piergiacomi Tweezers 2a SA ESD
- Wiha PicoFinish Y-Type Screwdriver Y000
Step 12
2 × 2.8 mm Standoff
1 × 1.8 mm Phillips
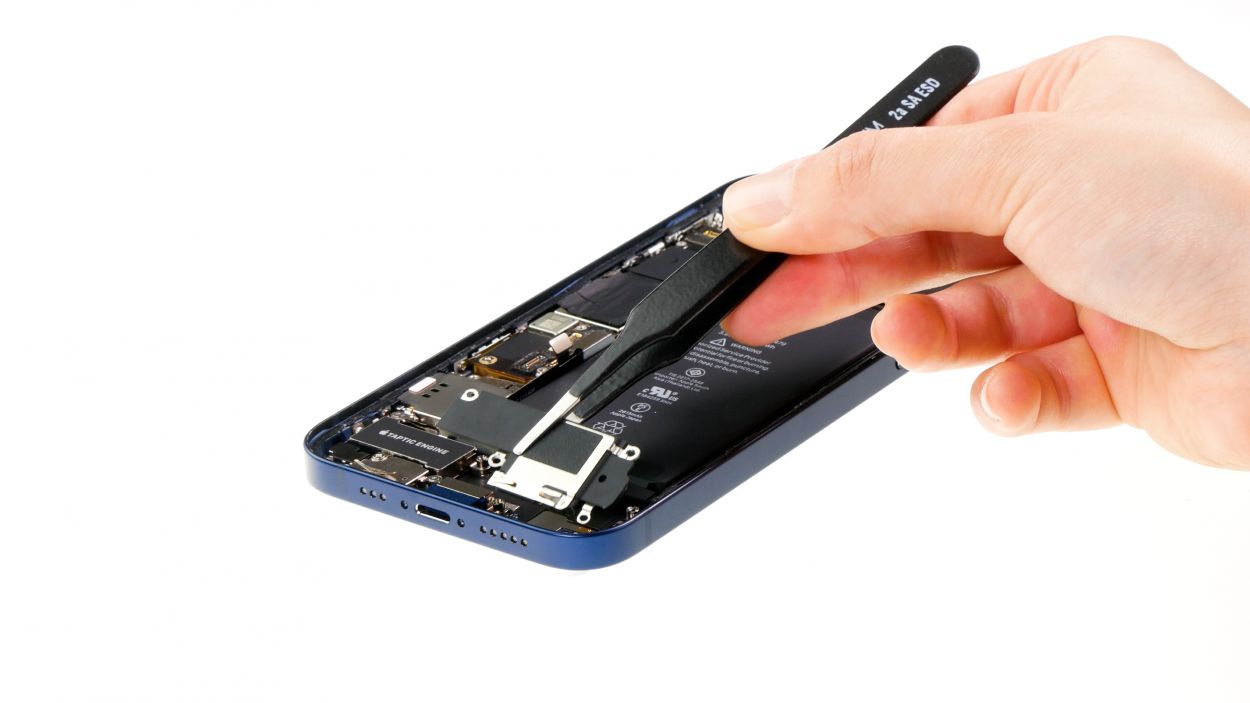
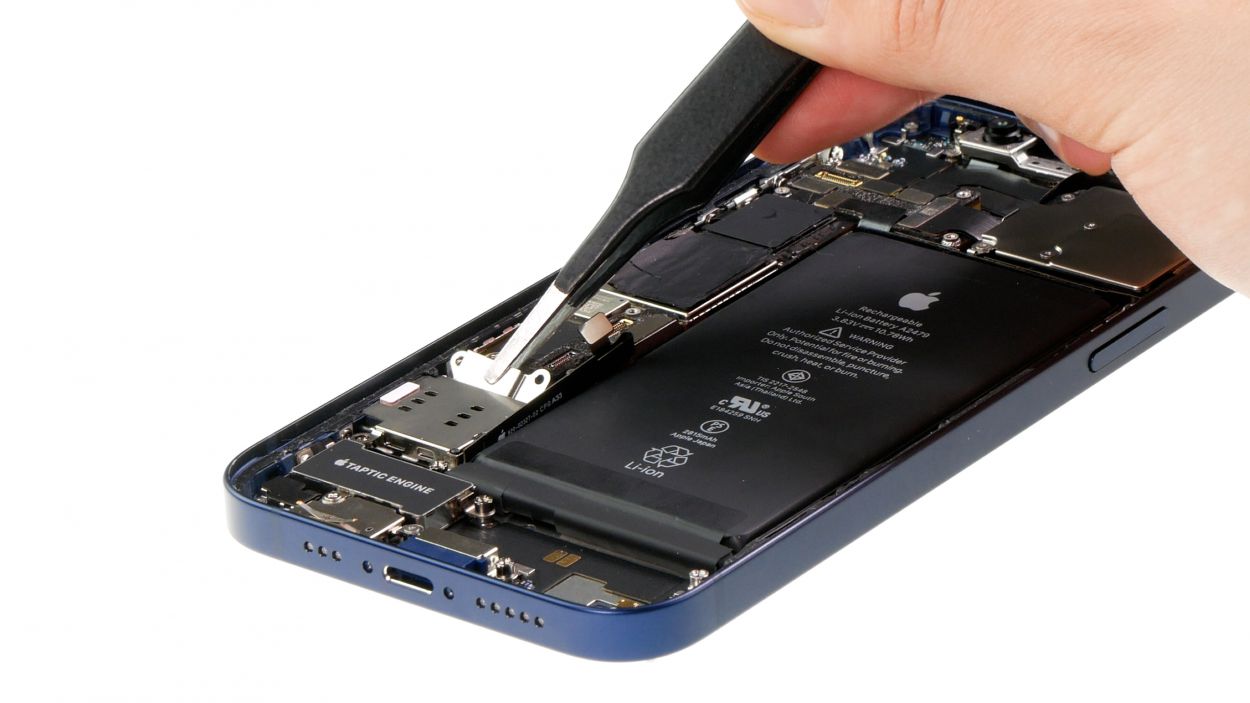
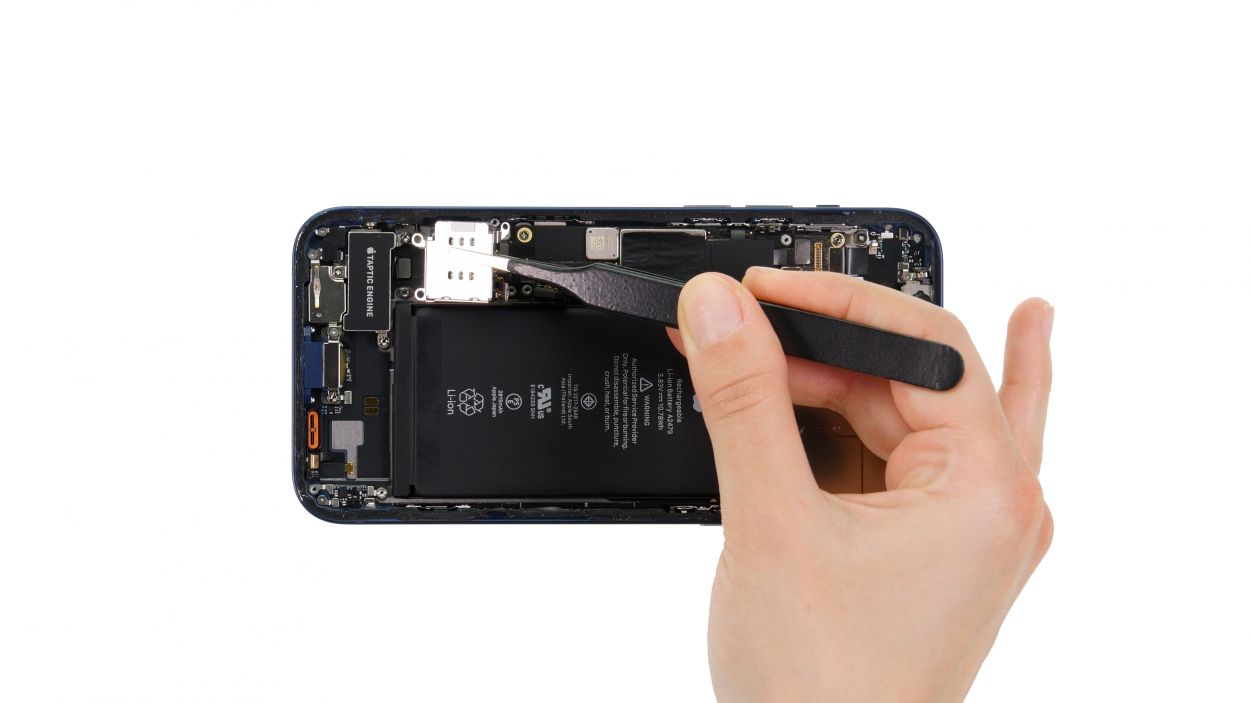
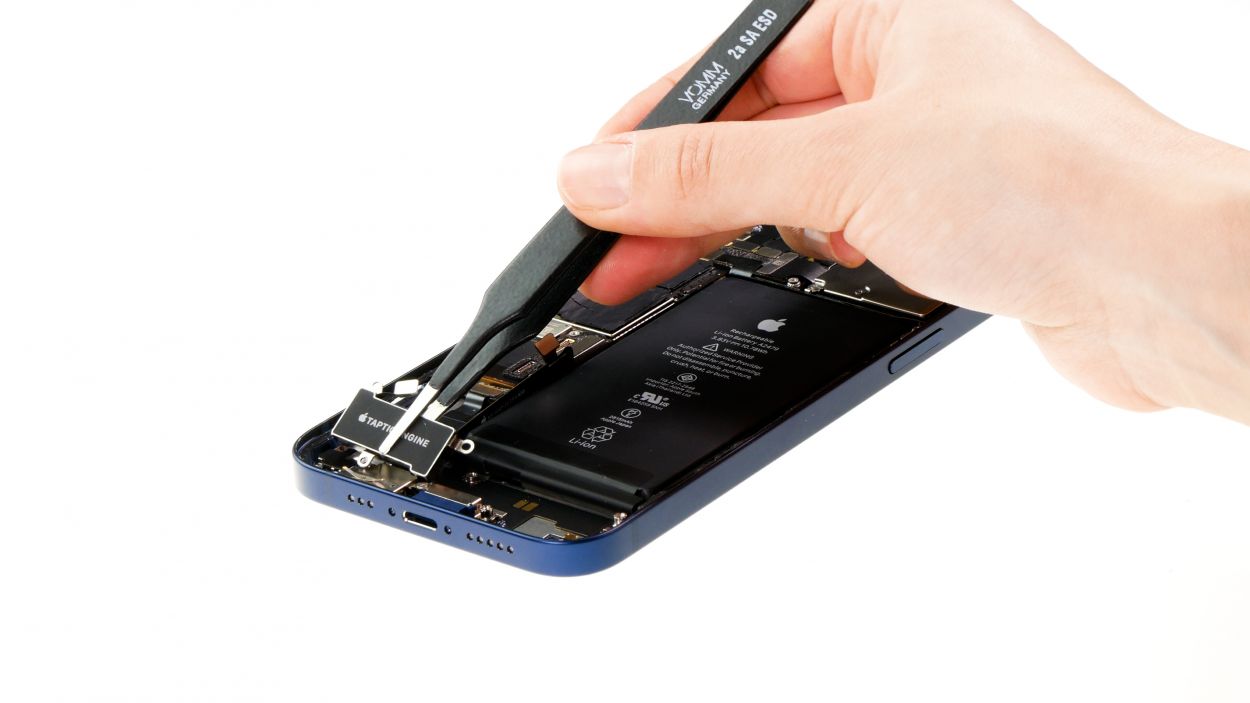
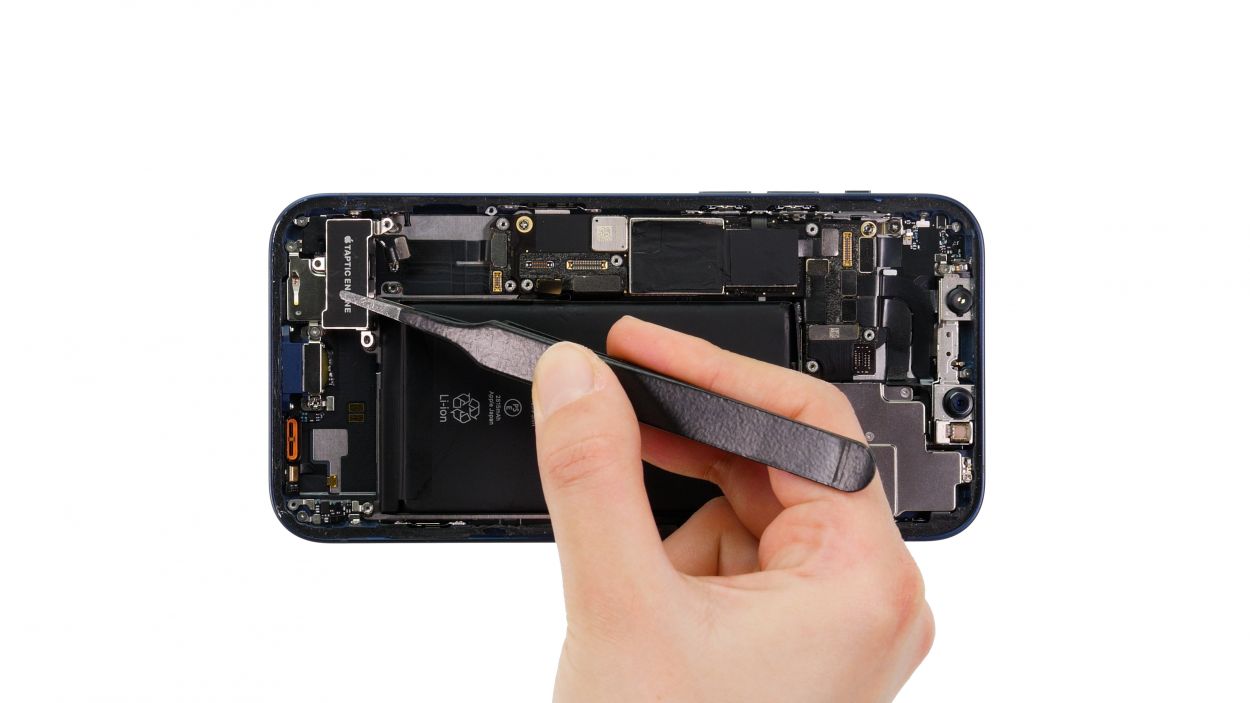
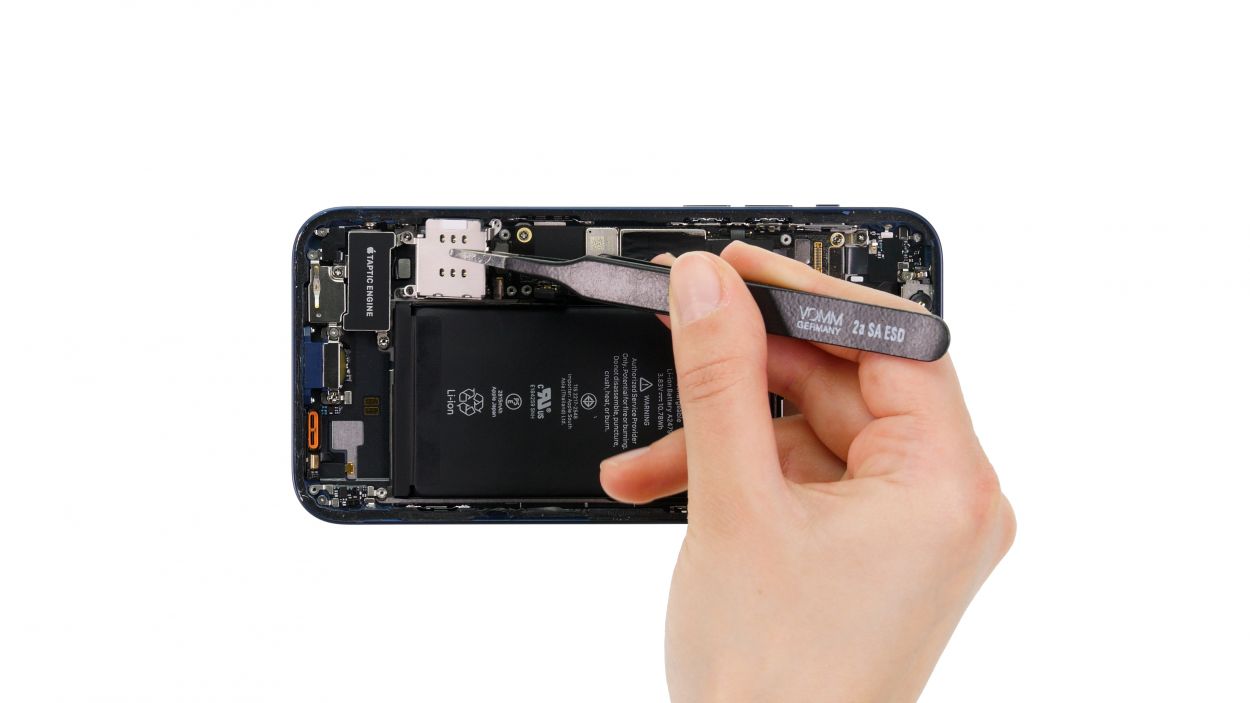
When you’re disconnecting the Taptic Engine, be super gentle! We don’t want to hurt the delicate Lightning connector cables. Treat them like the precious little noodles they are!
– First, gently unplug that connector attached to the Lightning cable set. It’s like giving your phone a little hug before the big reveal!
– Now, loosen those three screws and delicately lift the Taptic Engine out of your device with tweezers. You’re doing fantastic!
Tools Used
- Pry Tool
- Wiha PicoFinish Phillips Screwdriver PH00
- screwdriver+with…+Repair&linkCode=ll2&tag=salvationrepa-20&linkId=1c0aa533b7b8148cb48741a4635ea648&language=en_US&ref_=as_li_ss_tl” rel=”noopener”>WIha PicoFinish Phillips screwdriver with…
- Piergiacomi Tweezers 2a SA ESD
Step 13
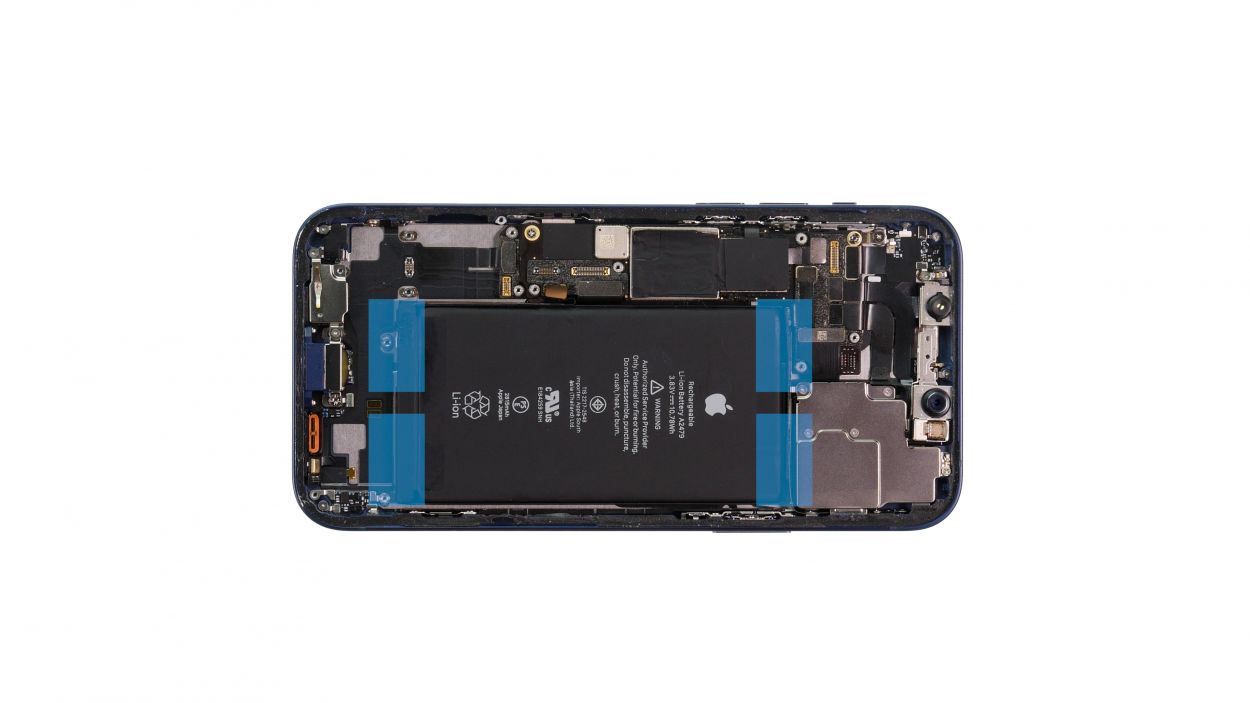

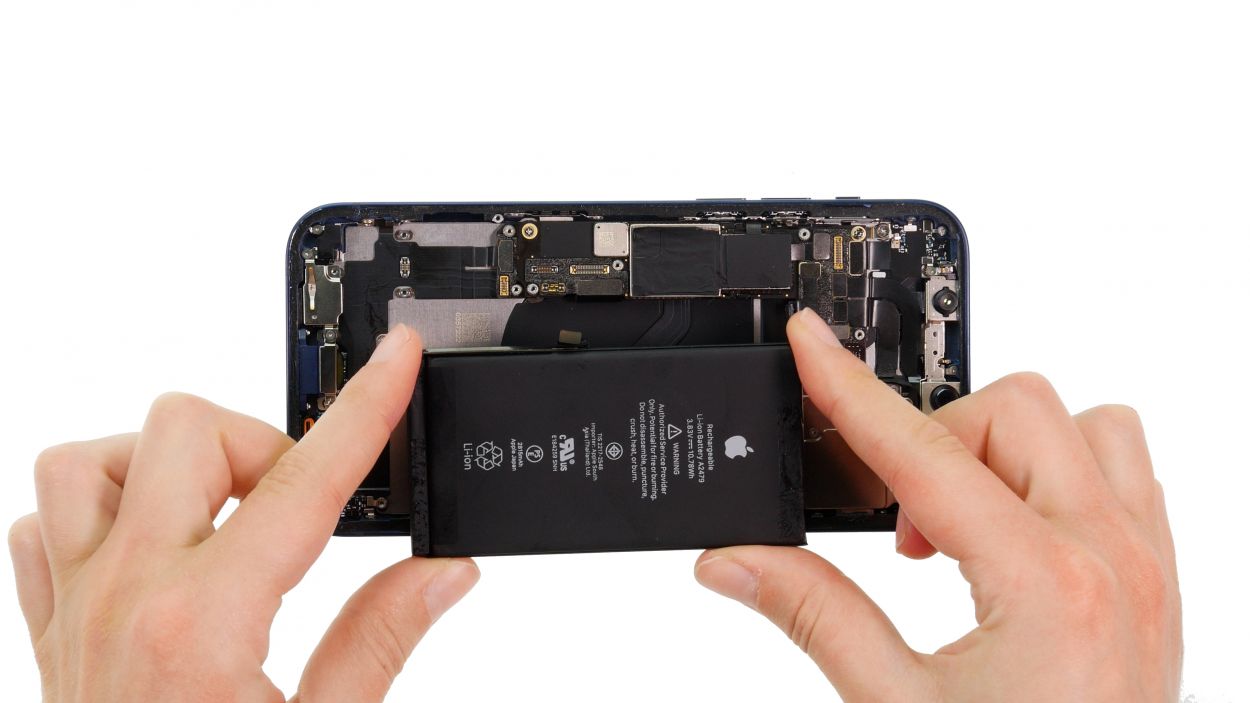
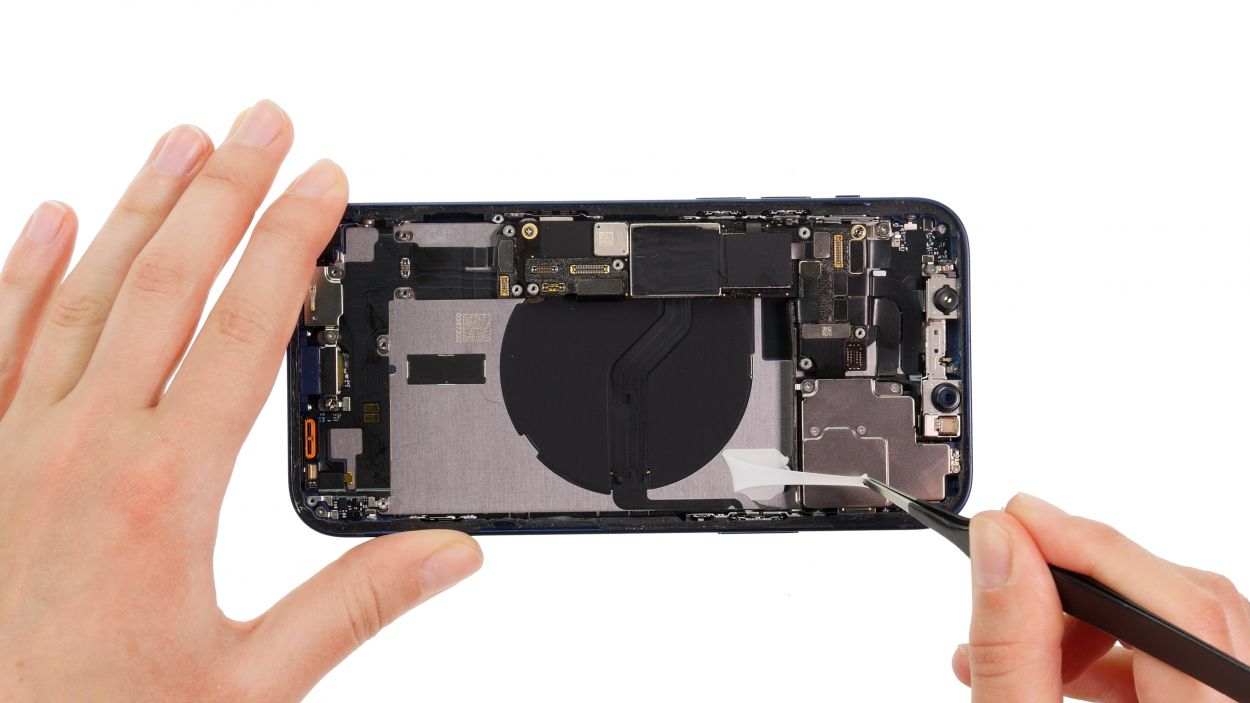
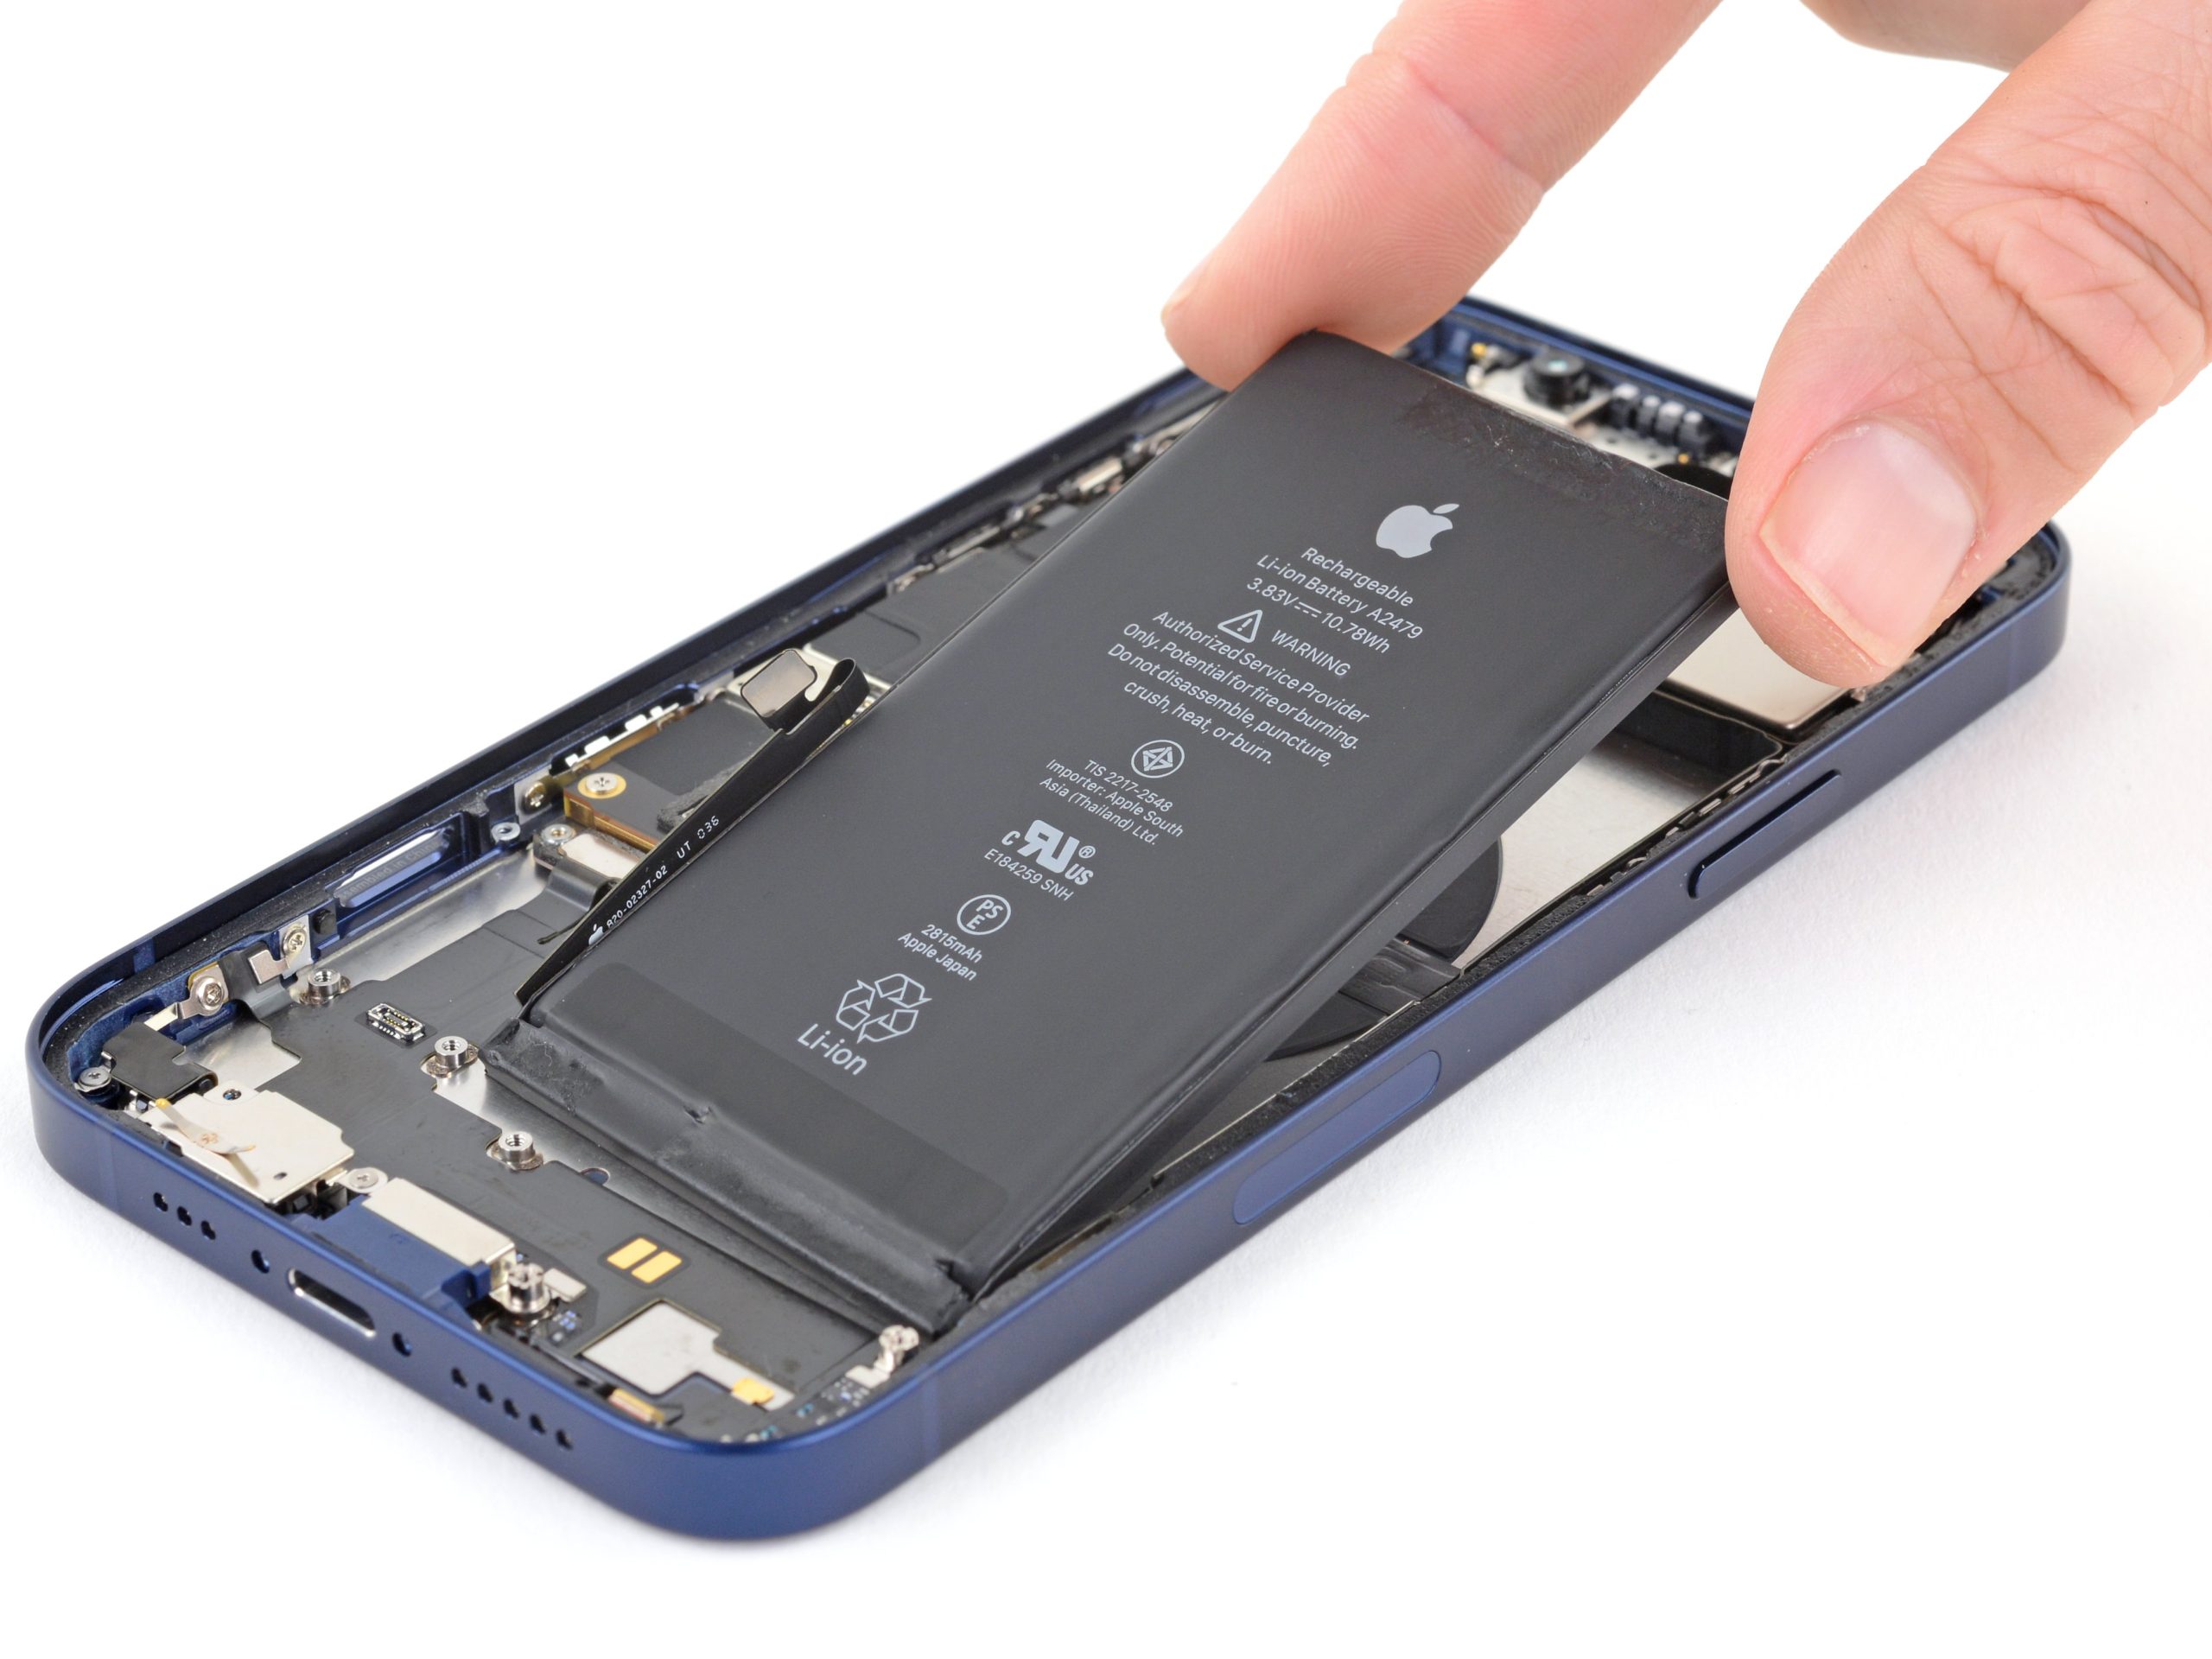
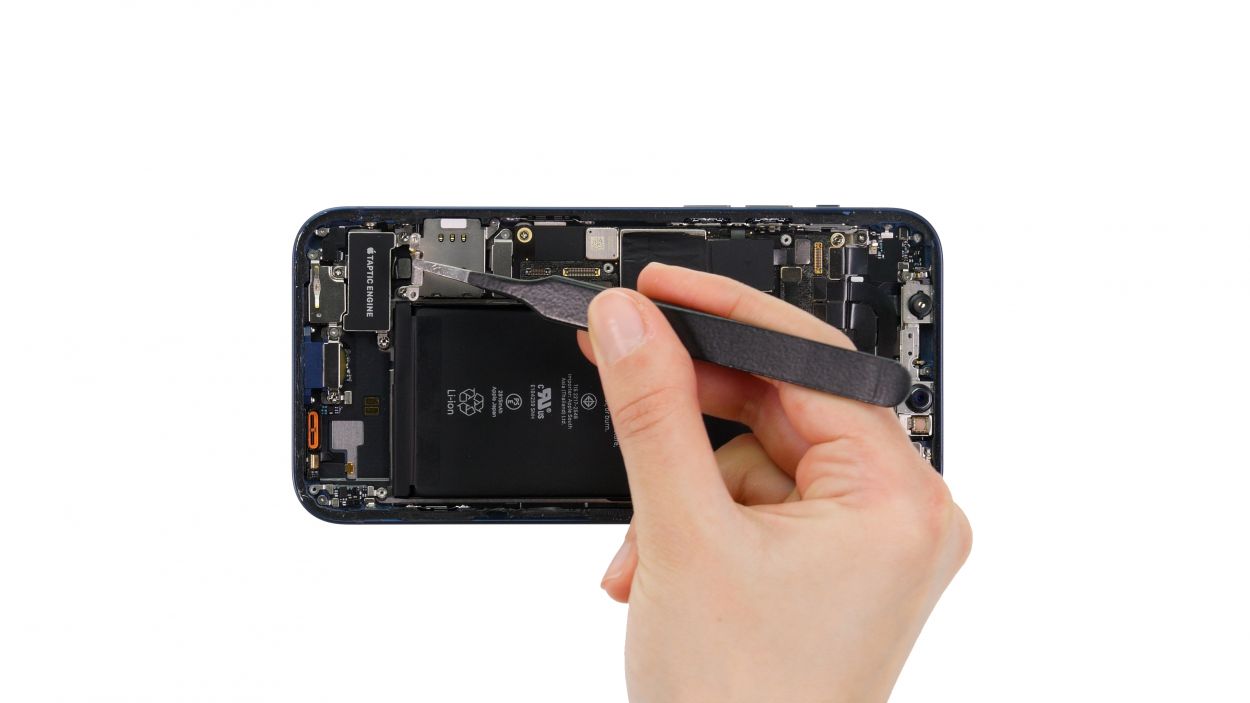
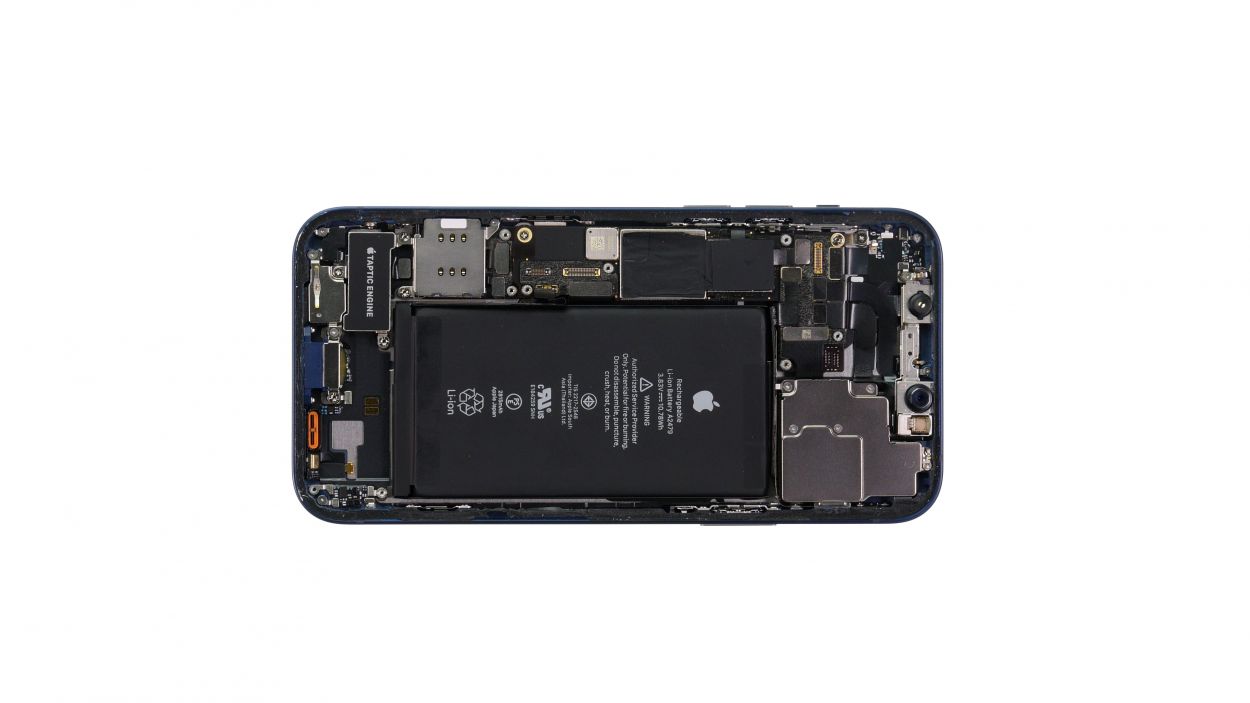
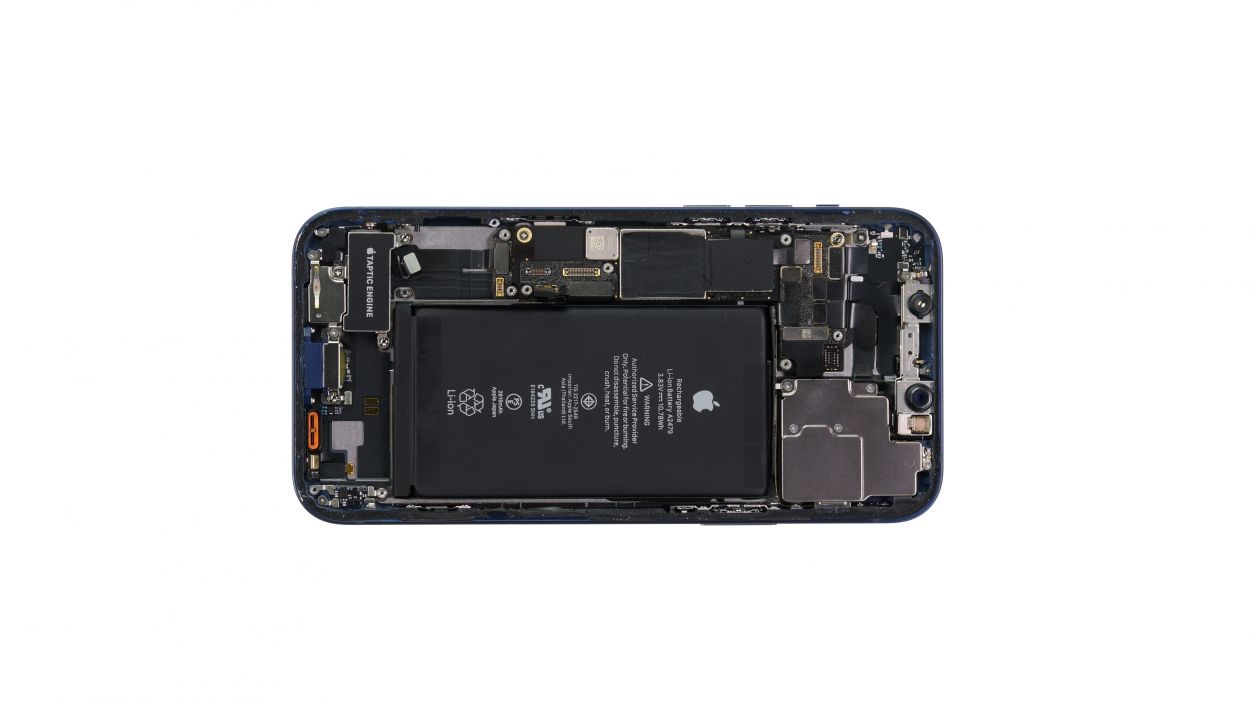
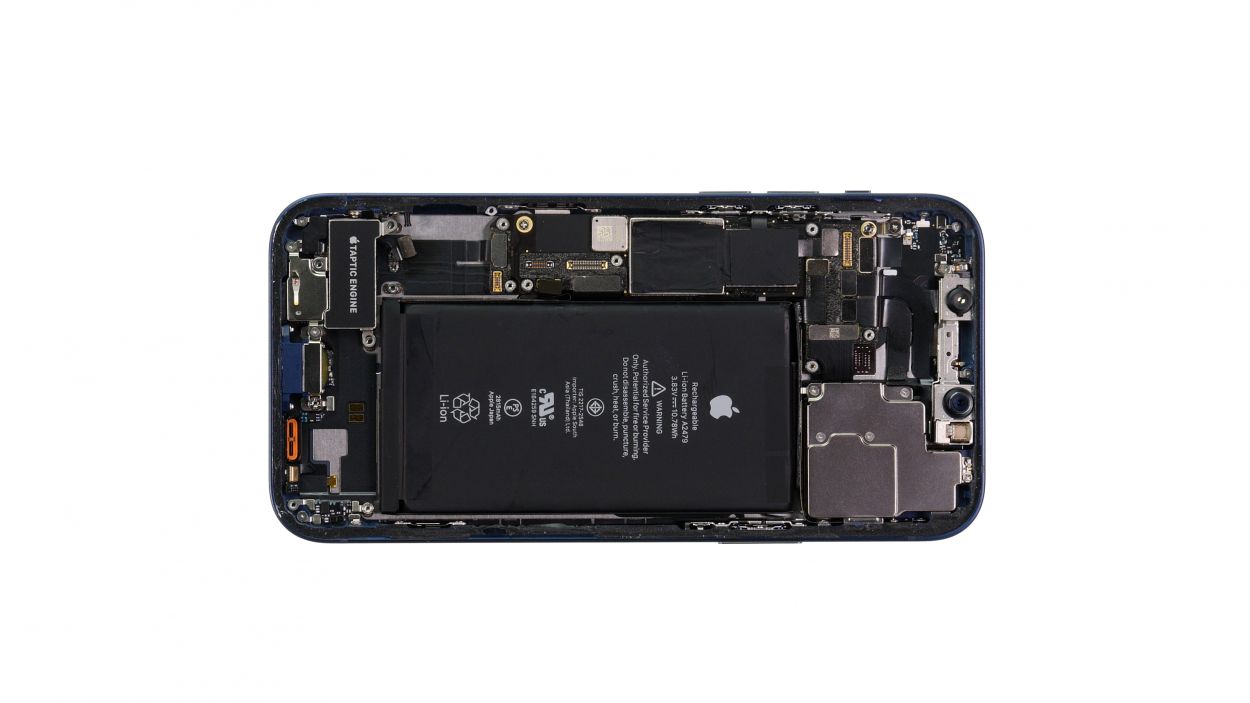
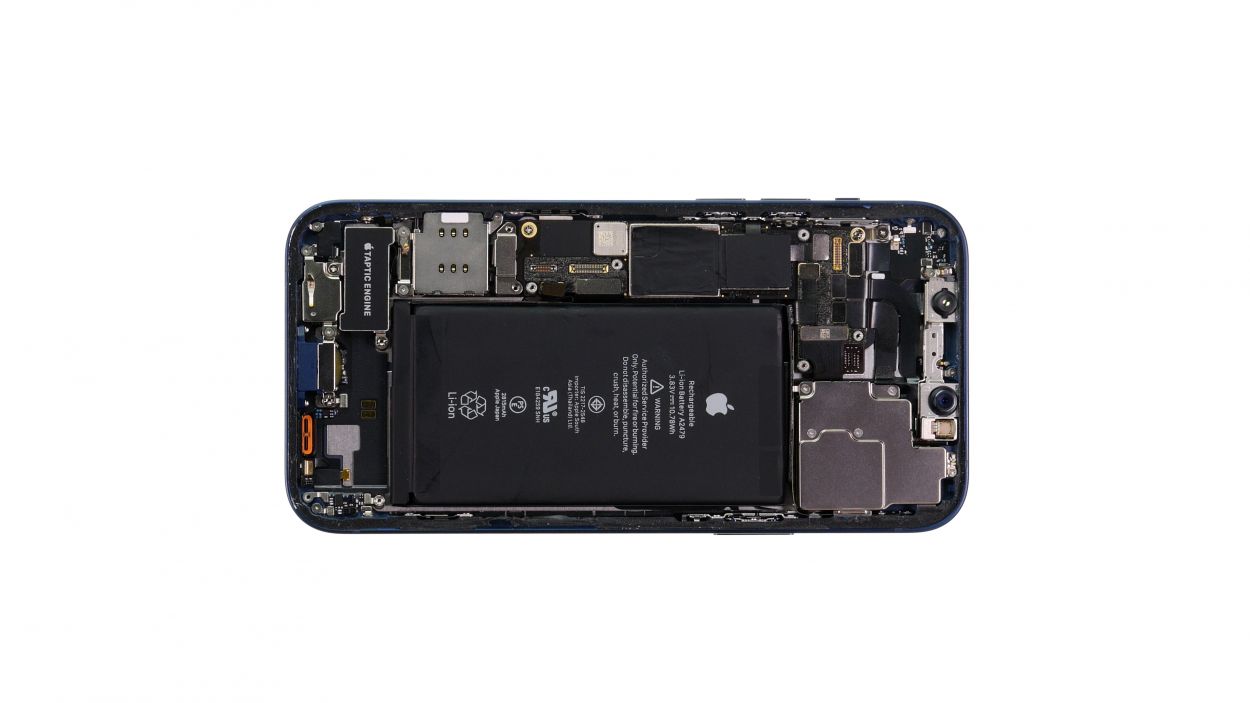
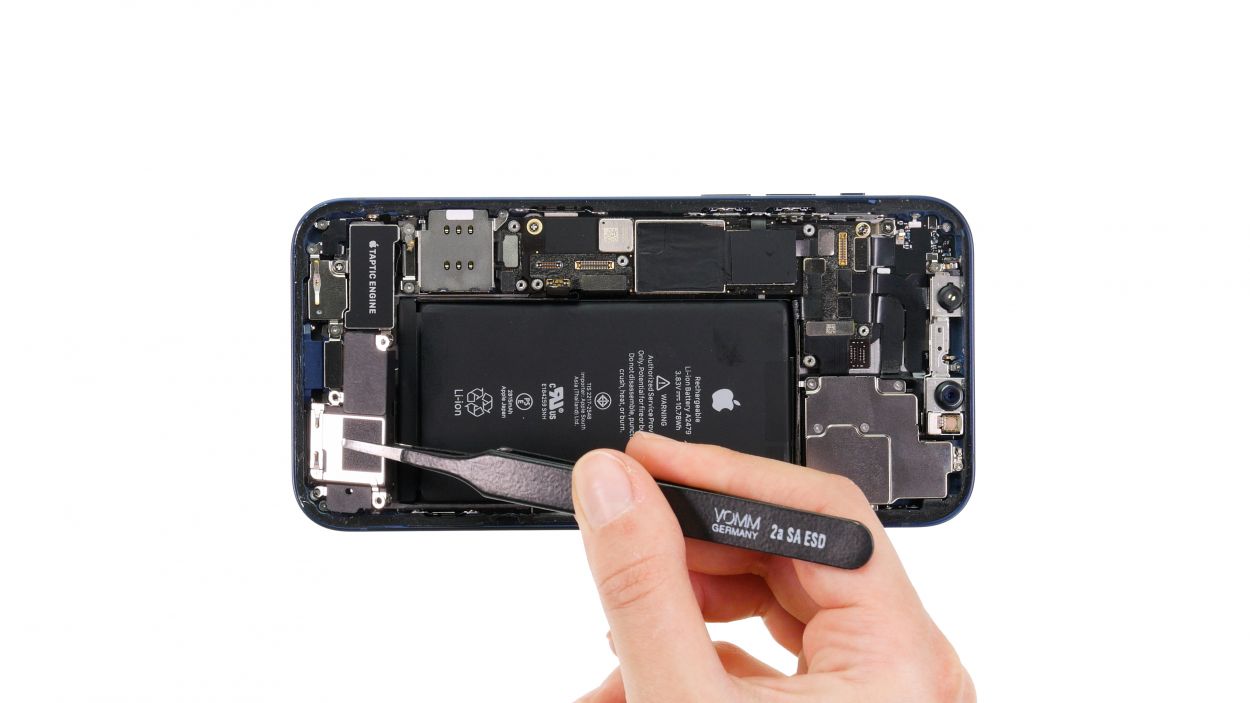
Be cautious with those adhesive strip tabs—they’re flatter than a pancake! Make sure you don’t mistake them for the battery’s protective film.
– Grab your tweezers and gently peel away those black tabs from the edge. You’re doing great!
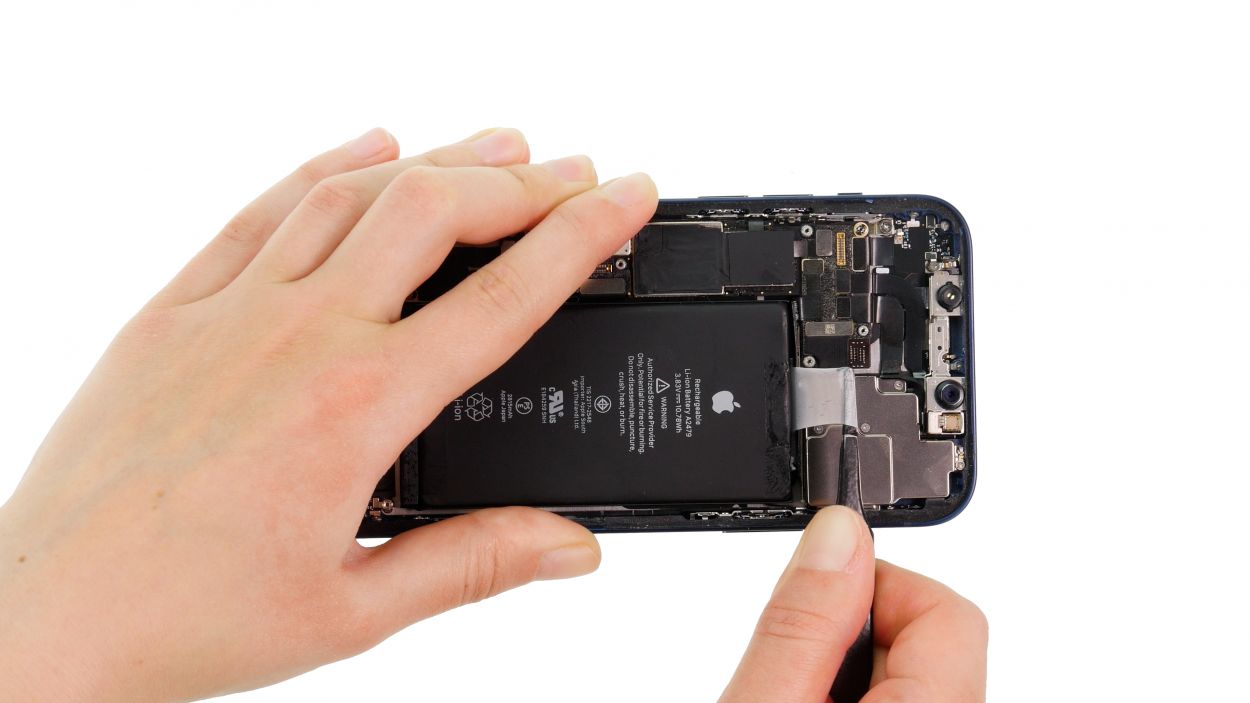
– Now, take your time and carefully pull the adhesive strips out from beneath the battery, one at a time. Use your fingers or tweezers, and aim to keep them nice and flat to avoid any tearing. You’ve got this!
Tools Used
Step 14
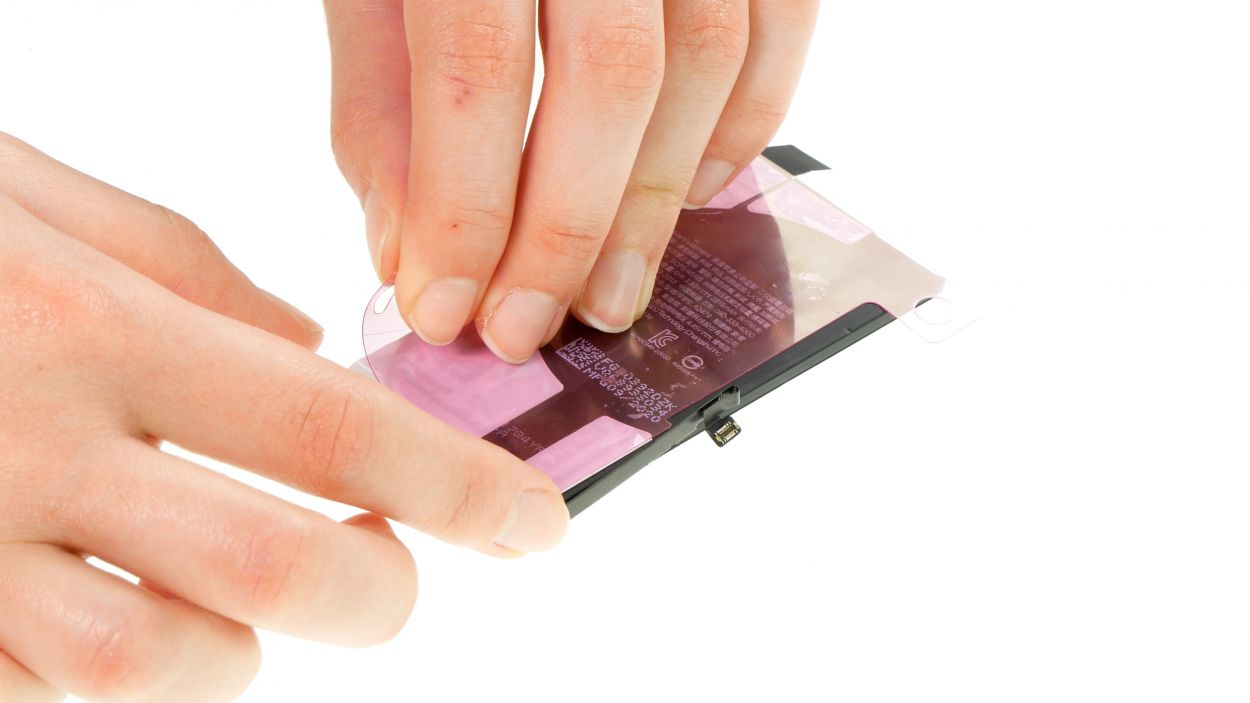
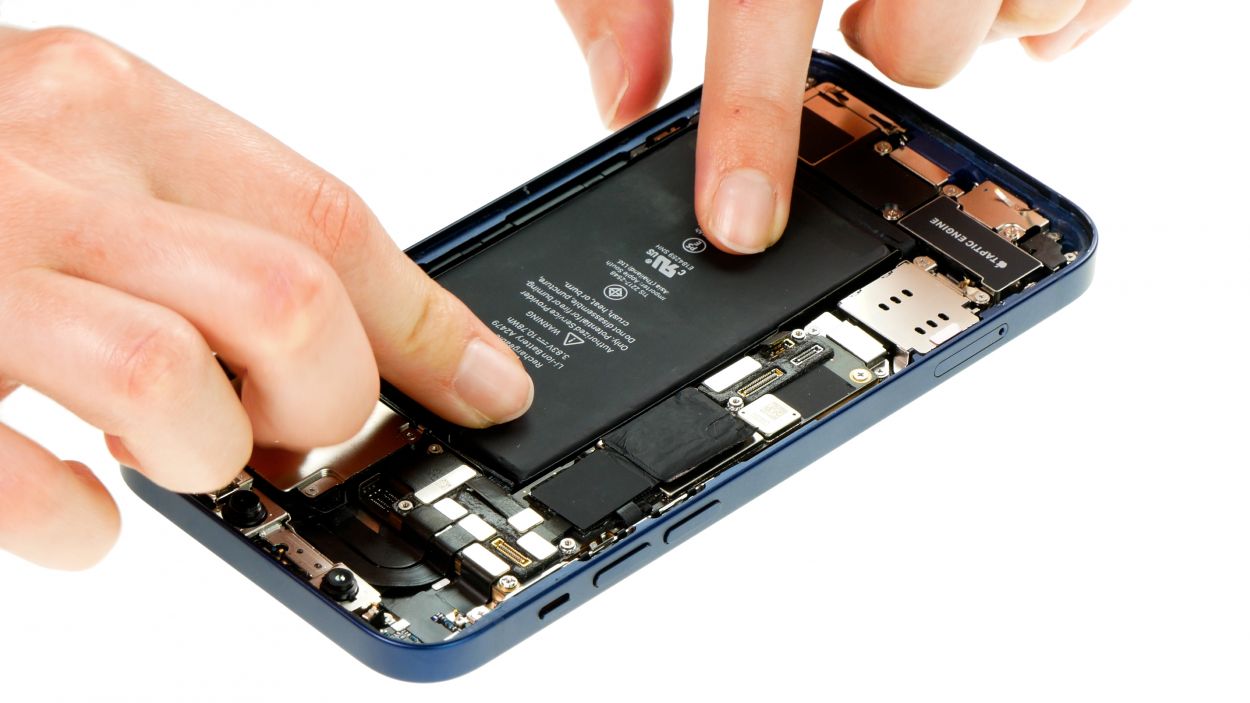
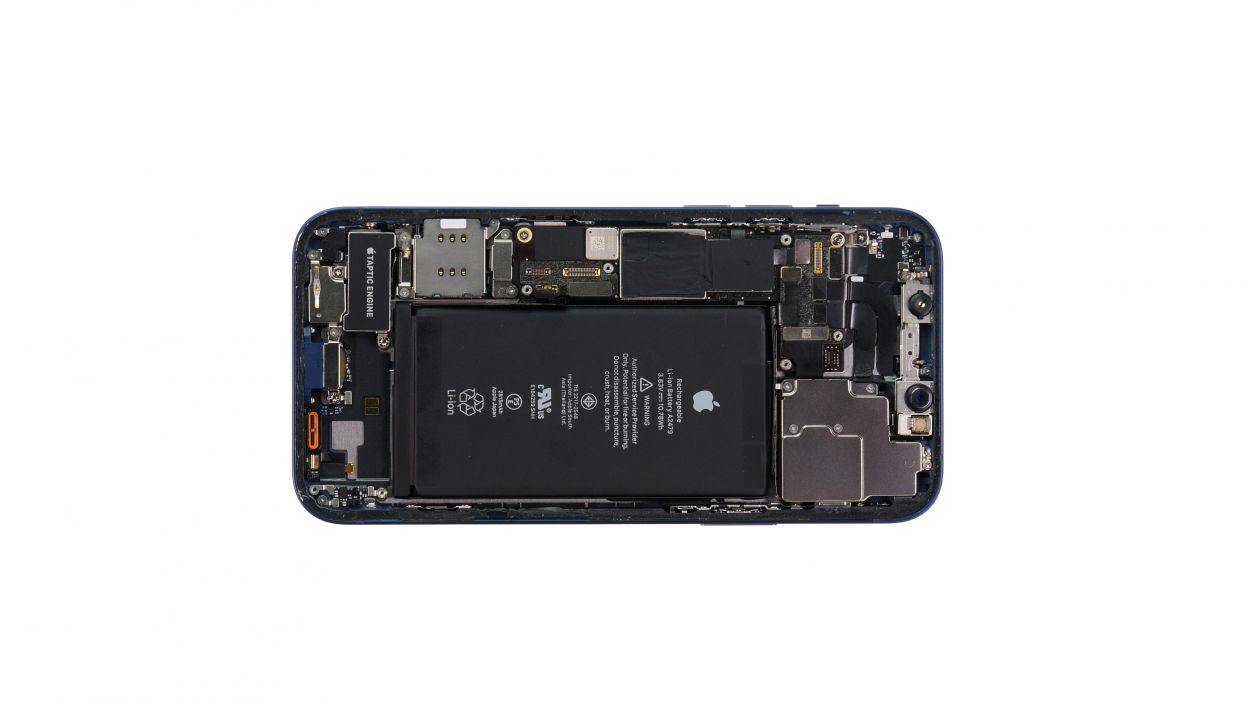
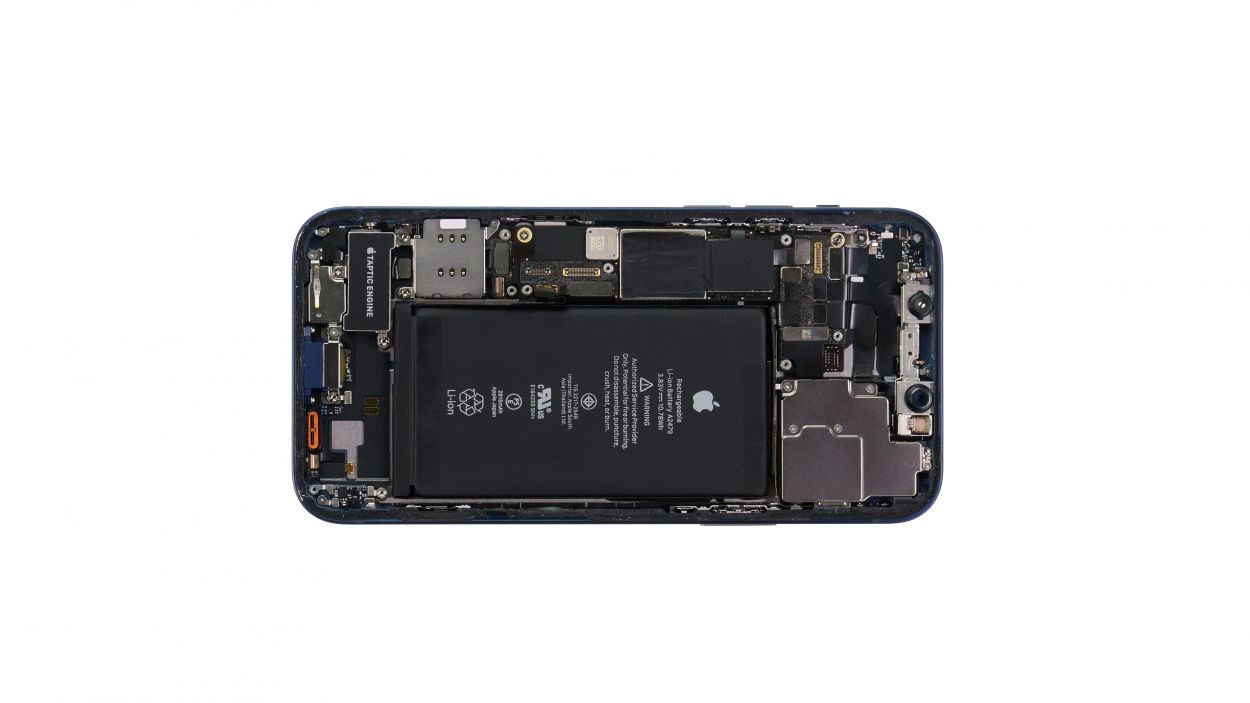
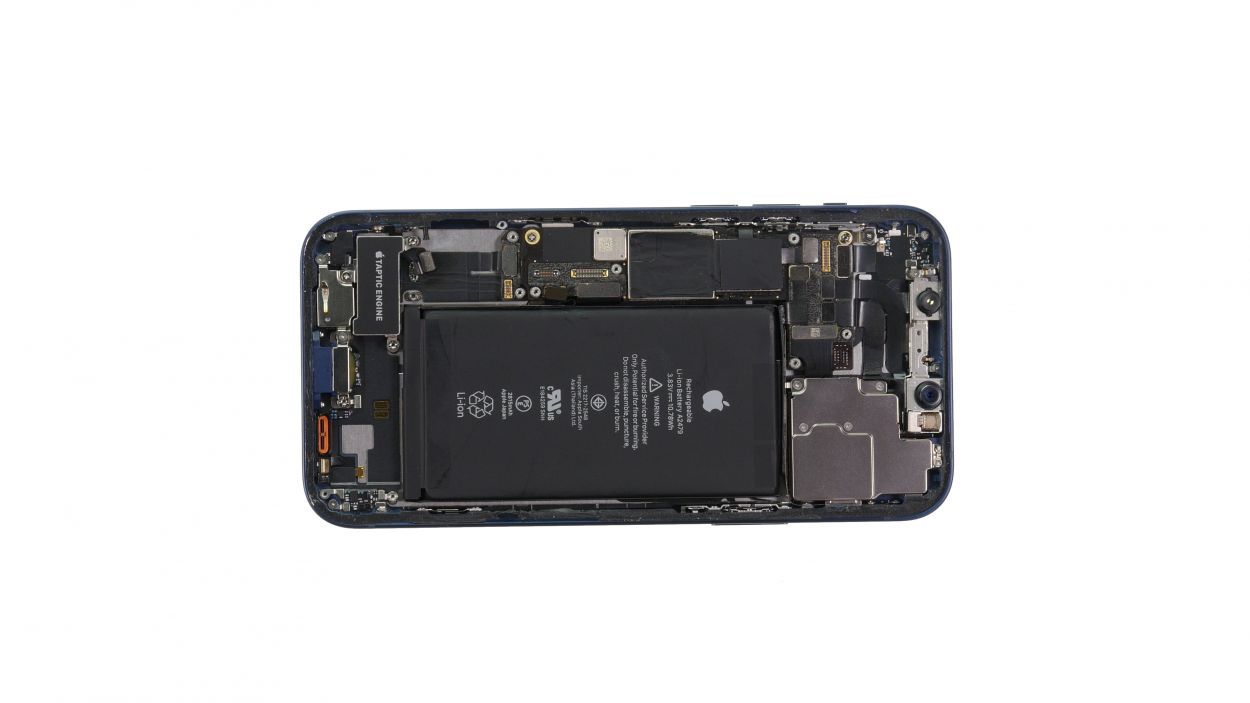
– First, peel off that protective film from the adhesive strips already on the back of the battery—it’s like unwrapping a gift!
– Before you press it into place, take a moment to check the alignment. The battery connector is your trusty guide here.
– Now, give that battery a firm press into the rear case. You’ve got this—let’s make it snug!
Step 15
2 × 2.8 mm Standoff
1 × 1.8 mm Phillips
Always be gentle when connecting those connectors! Forcing them can lead to damage that might put the whole component out of commission.
– Secure the Taptic Engine in place using those three trusty screws. You can do this!
Tools Used
- Wiha PicoFinish Phillips Screwdriver PH00
- screwdriver+with…+Repair&linkCode=ll2&tag=salvationrepa-20&linkId=1c0aa533b7b8148cb48741a4635ea648&language=en_US&ref_=as_li_ss_tl” rel=”noopener”>WIha PicoFinish Phillips screwdriver with…
- Piergiacomi Tweezers 2a SA ESD
Step 16


1 × 1.1 mm Y-Type
1 × 2.8 mm Standoff
4 × 1.4 mm Y-Type
Always be gentle when connecting those connectors. Using too much force could lead to damage, and we definitely don’t want to see any components waving goodbye!
– Pop that SIM module back into its cozy home and give it a good twist with the smallest Y-Type screw and the standoff screw. You’ve got this!
Tools Used
- screwdriver+with…+Repair&linkCode=ll2&tag=salvationrepa-20&linkId=1c0aa533b7b8148cb48741a4635ea648&language=en_US&ref_=as_li_ss_tl” rel=”noopener”>WIha PicoFinish Phillips screwdriver with…
- Piergiacomi Tweezers 2a SA ESD
- Wiha PicoFinish Y-Type Screwdriver Y000
Step 17
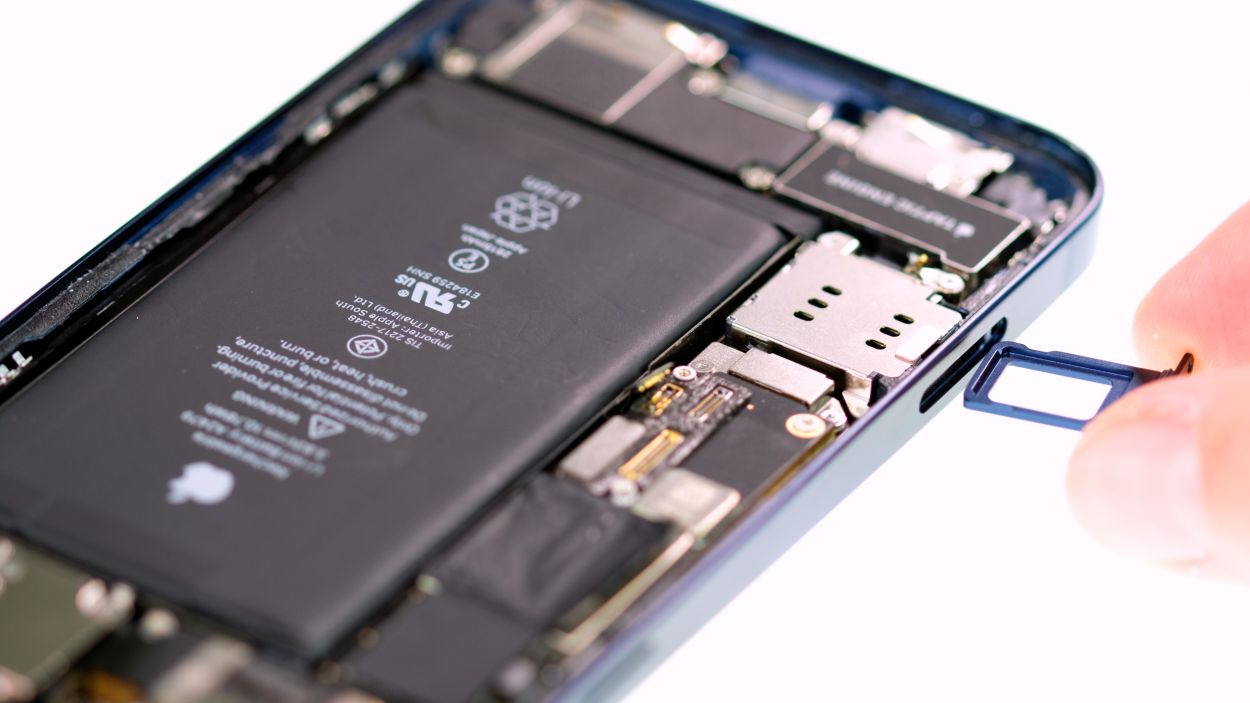
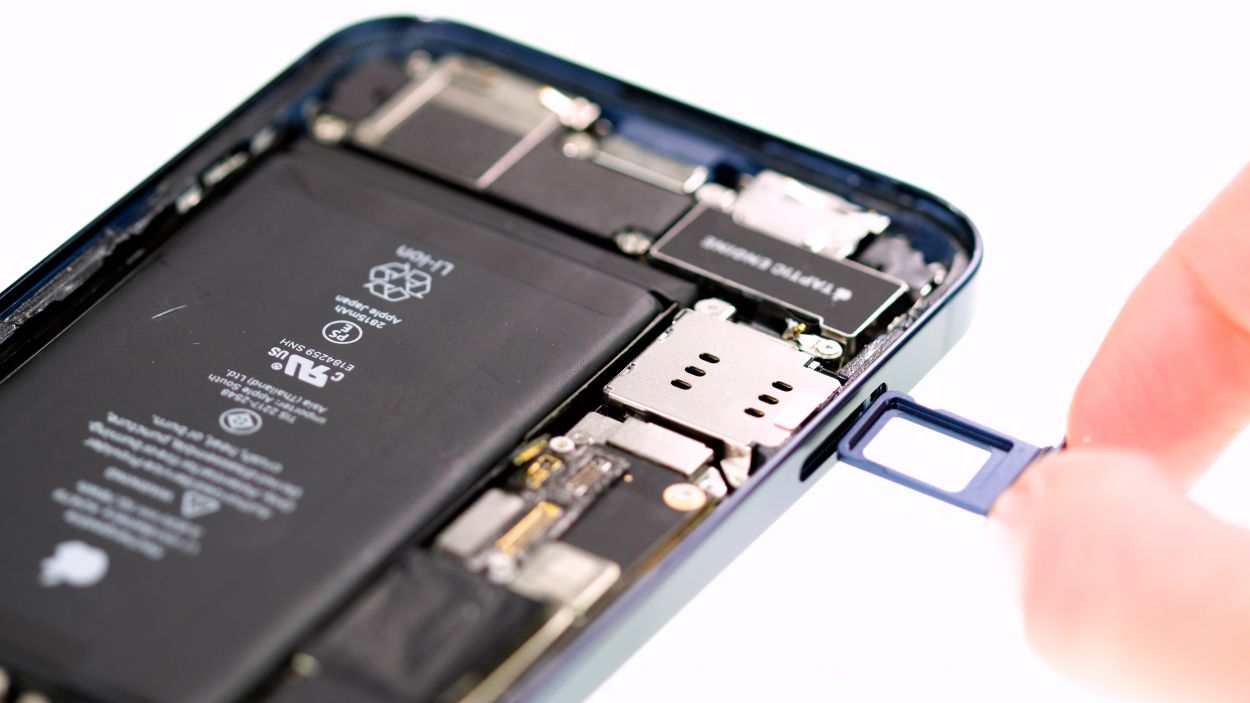
– Slide that SIM tray back into the SIM module like a pro! Just make sure everything’s lined up just right.
Step 18
4 × 1.5 mm Phillips
If you’re ready to seal the deal with a shiny new adhesive frame for your iPhone, now’s your moment! Just a quick tip: hold off on peeling off that outer protective film until you’re all set to close up your phone for good.
– Secure that speaker in its cozy spot by fastening it with the four Phillips screws. You’ve got this!
Step 19
Hey there! When connecting those connectors, remember to be gentle—no need to flex your muscles! Forcing them can lead to some serious damage, which we definitely want to avoid!
– Rest the screen back against a sturdy object to keep those flex cables from getting overstretched while you connect them. You’re doing great!
Step 20


Hey there! When connecting those connectors, be kind and gentle—no need to flex those muscles! Forcing them can lead to some serious damage, which we definitely want to avoid!
– Gently press that connector onto the logic board until you hear and feel it click into place. You’re doing great!


Step 22

2 × 1.0 mm Phillips
4 × 1.0 mm Phillips
Don’t forget to hook in the larger cover plate first before tightening those screws down. It’s a key step to keep everything snug and secure!
– Place those two cover plates over the connectors like a pro! The screw holes are your trusty guides to get everything lined up just right.
Step 23
When you’re folding down that screen, just keep an eye out for those sneaky flex cables! We want to avoid pinching them, so be gentle!
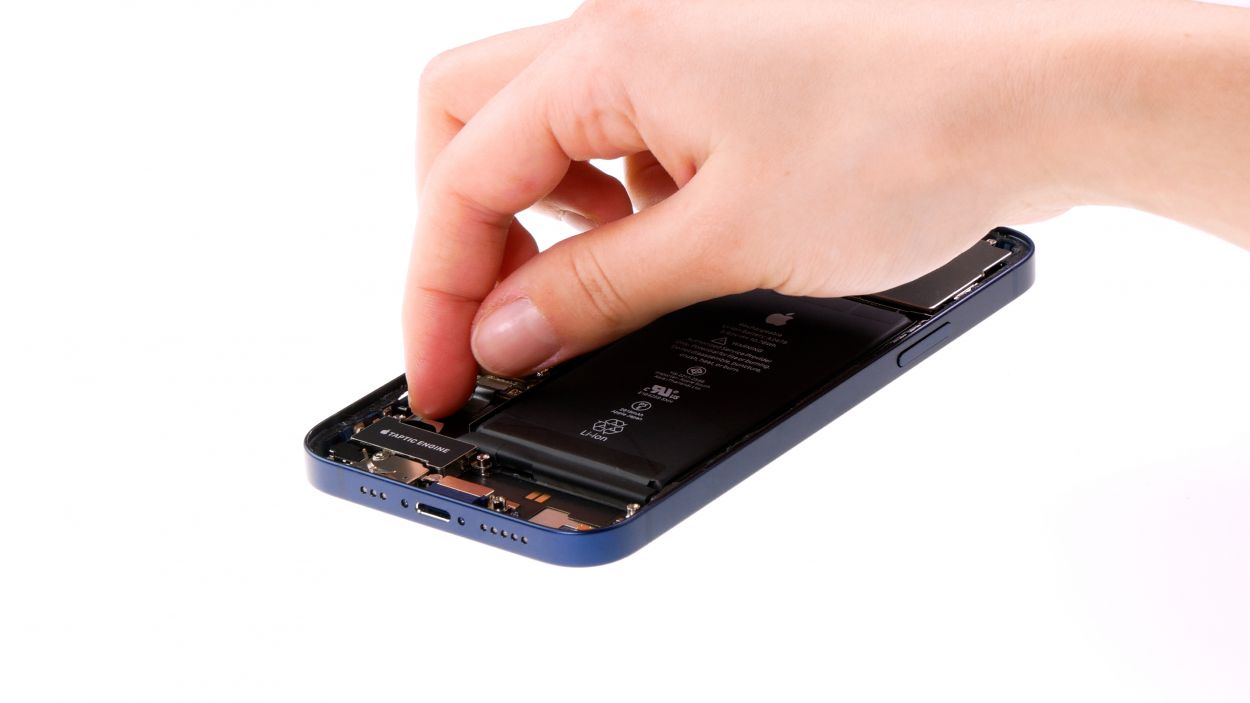
– Gently fold that screen down and give it a nice, even press into the rear case until you hear it click. You’re nailing this repair!
Step 24
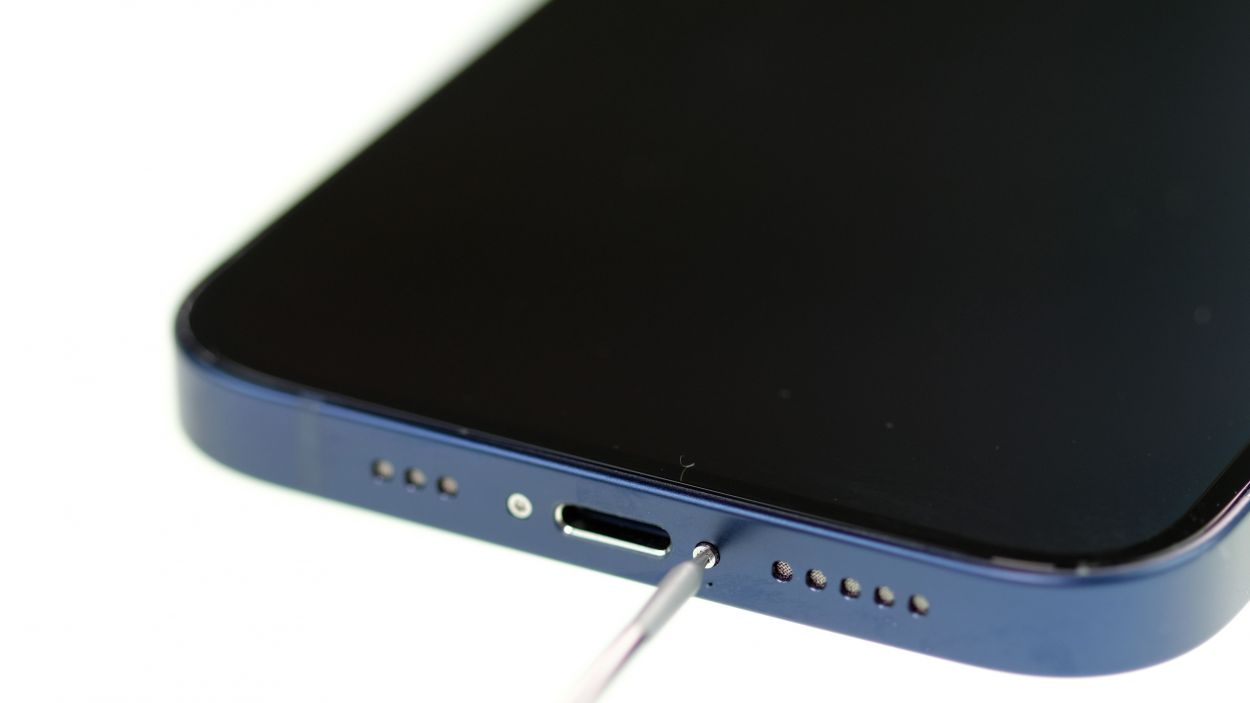
2 × 6.8 mm Pentalobe
– Time to connect that display to the rear case! Grab your pentalobe screwdriver and snugly screw in a pentalobe screw on both the left and right sides of the Lightning connector. You’re doing great!
Tools Used