
iPhone 12 Screen Refurbishment
Duration: 45 minutes
Steps: 14 Steps
Screen repairs are some of the most common yet tricky tasks in phone repairs. Using the right tools and techniques can make all the difference – not only reducing the chances of failure but also speeding up the process. As you probably know, the iPhone 12 lineup comes with an OLED display. In this guide, we'll walk through the latest techniques and equipment used in the industry for refurbishing iPhone 12 screens. Let’s dive in and get that screen looking as good as new!
Step 1


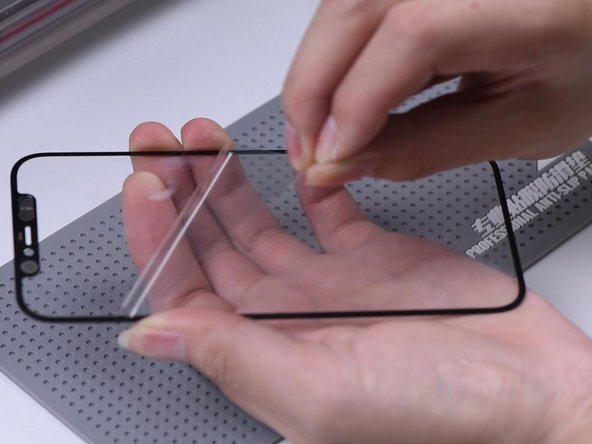
- Let's kick things off with a quick look at the screen's appearance. The iPhone 12 sports a slimmer bezel compared to the iPhone 11 Pro, which means taking it apart might be a bit simpler.
- Also, unlike before, the iPhone 12 bezel no longer wraps around the glass lens. Because of this, the bezel adhesive needs to be top-notch to keep everything stuck in place. Next up, we'll dive into refreshing the iPhone 12 screen.
Step 2


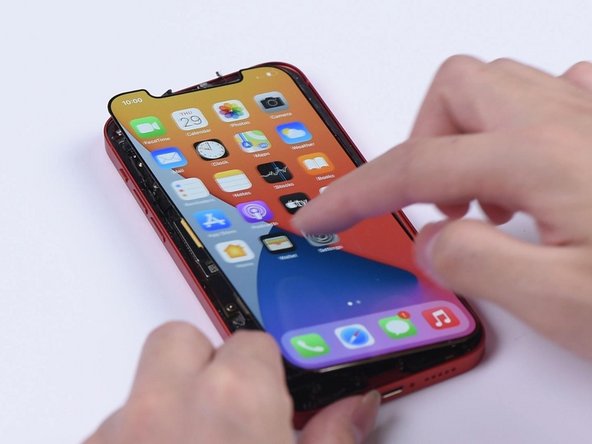
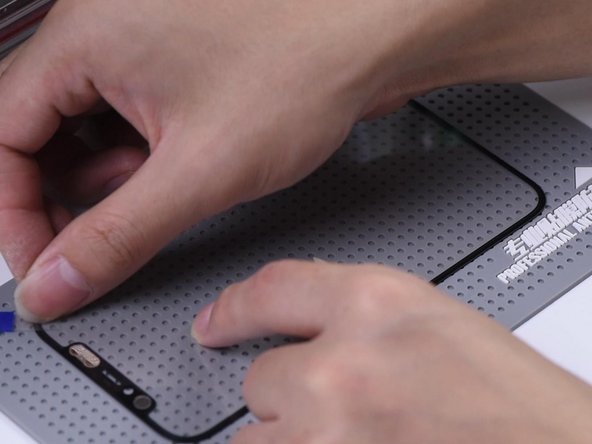
- Alright, let's kick things off by testing the screen. Make sure the display, touch, and 3D Touch are all working perfectly.
- Now, flip the screen upside down and place it on the Screen Separator. Set the temperature to 100 ℃ and get the suction going.
Step 3
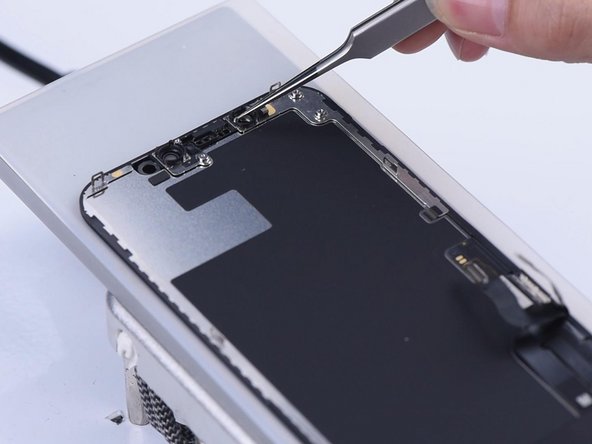

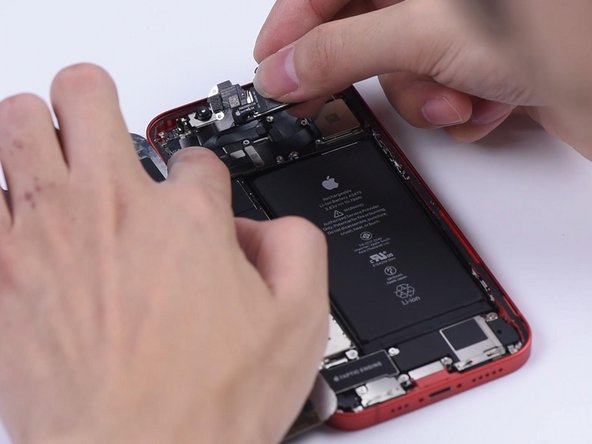
Also, just a heads up, the ear speaker sensor ring on the iPhone 12 is cleverly tucked into the bezel.
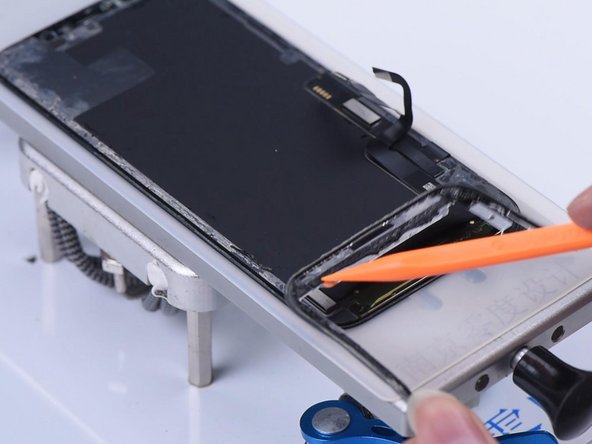
- Start by carefully removing the ear speaker flex cable. It’s super delicate, so make sure to warm up the screen first to keep things safe and smooth.
Step 4

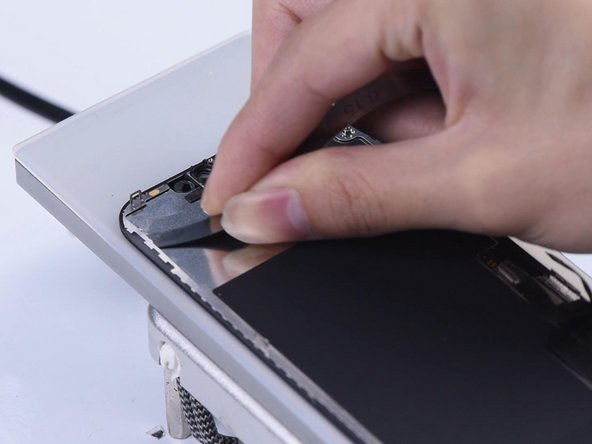

- Alright, time to tackle the bezel! Start by giving it a little spa treatment with some adhesive remover.
- As you work the Razor Blade between the bezel and the device, keep dipping it in adhesive remover to keep things smooth.
- Gently slide the blade back and forth, prying up the bezel with care. Slow and steady wins this race!
Step 5
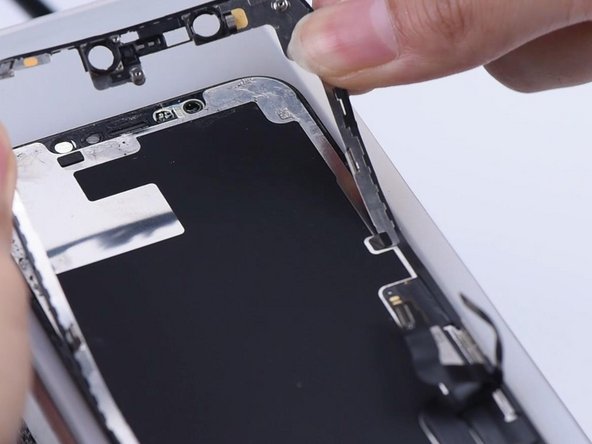

We originally planned to remove the bezel in one clean move and reuse it, but as you can see, it’s a bit fragile. This part of the bezel is made of plastic, and let’s just say, plastic and phones don’t always get along. If you’re aiming to remove the bezel in one piece, just be extra cautious. It’s super easy to break, so handle with care!
- The ear speaker flex cable has a bit more adhesive than usual, so let's generously apply some adhesive remover to help loosen it up.
- Gently grab the corners of the bezel with both hands and carefully start peeling it off. Take it slow and steady to avoid any damage.
Step 6

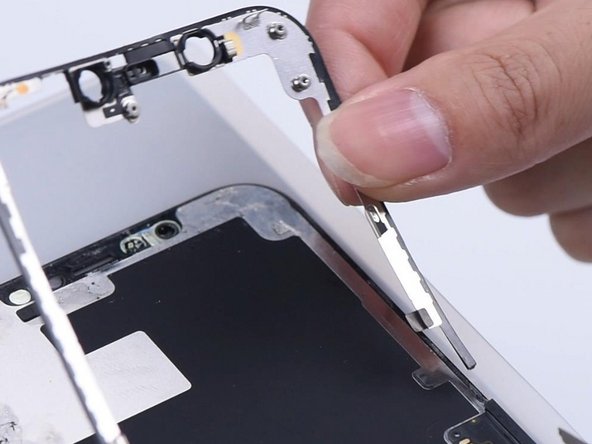
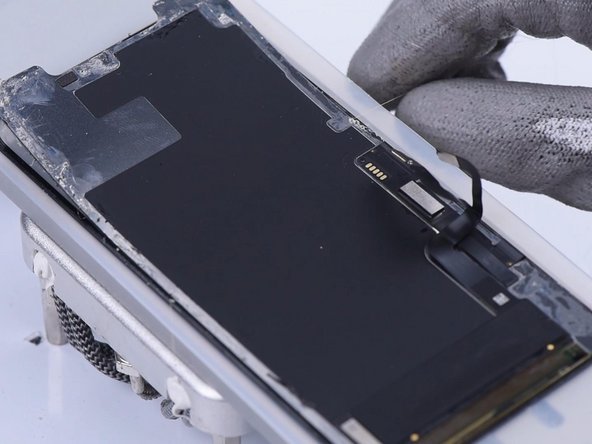
- To keep things safe and sound, we start off by using a thin film to gently lift the flex cable part. No harm, no foul!
- Next up, it's time to ditch the bezel! Once it's removed, you'll notice that the 3M adhesive in the bezel flex cable area isn't the cold kind anymore. Thanks to this nifty adhesive, getting that bezel off is a breeze!
Step 7

After taking a closer look, we noticed that the iPhone 12's touch panel is built a bit tougher than the iPhone 11 Pro's. It's less prone to damage, and here's why: the iPhone 12's touch panel is thicker, with more defined and wider cut lines. So, if you're worried about it being fragile, don't be! It's made to last a little longer.
- Get rid of any leftover adhesive on the ear speaker flex cable. We want a clean slate here!
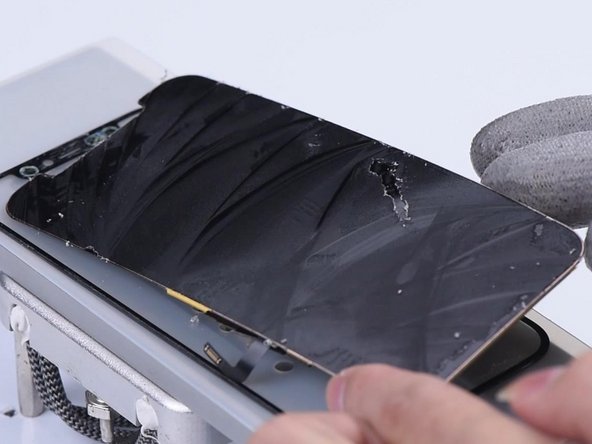
- Now, carefully start to separate the OLED from the bottom layer of the glass lens using the Cutting Wire. Take it slow and steady!
Step 8


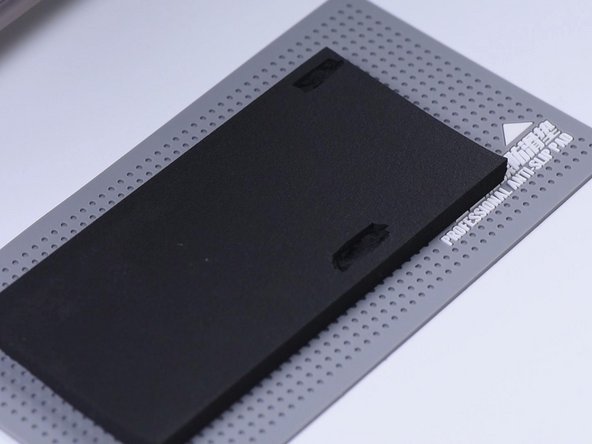
- Set the OLED carefully on the heating platform.
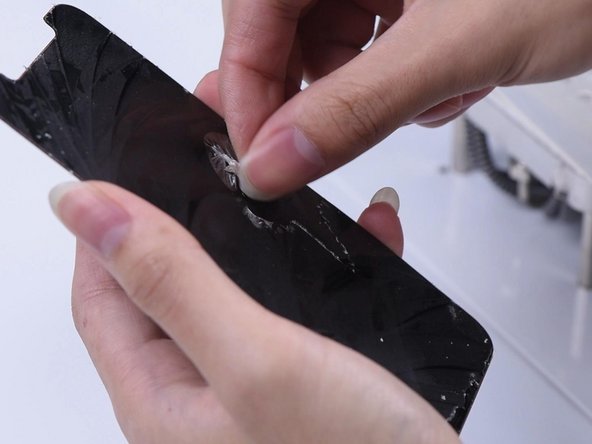
- Use the Electric Adhesive Removing Tool to roll up the OCA adhesive, then finish cleaning off any leftover adhesive by hand.
Step 9

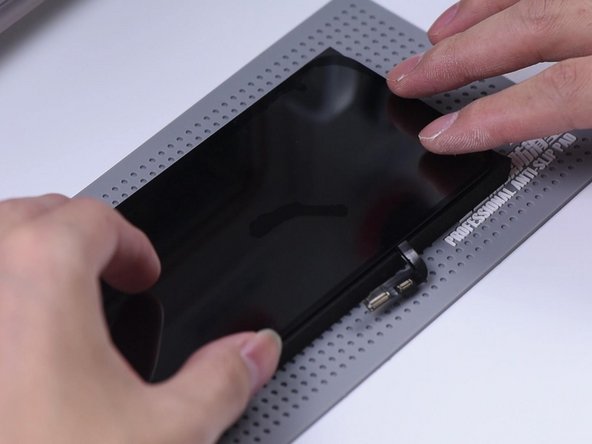
Just a little heads up: if you forget to connect that ear speaker flex cable, you might find yourself in a dark place! Without it, the light-sensing feature won’t work, and testing the screen could be a challenge. Keep that in mind as you work through the steps!
- Plug in the OLED and ear speaker flex cable. This gets your display lighting up and the touch screen ready to respond like a champ.
Step 10
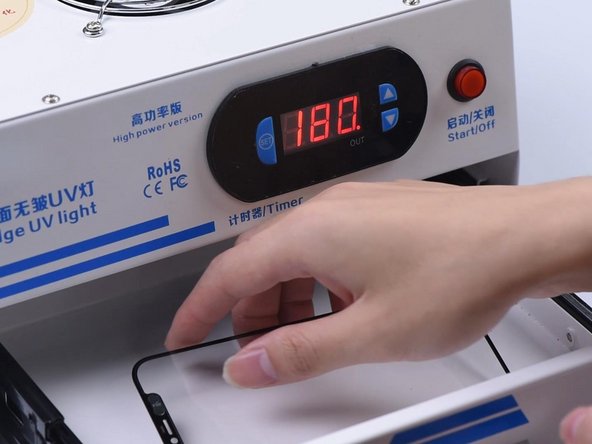

- First things first, let's stick that OCA adhesive onto the glass lens like it's a cozy blanket.
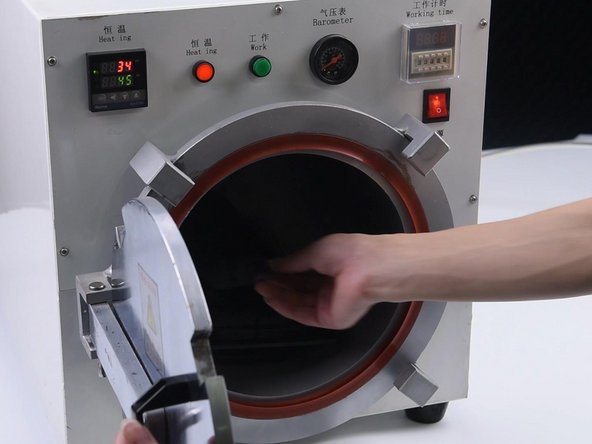
- Next up, pop that glass lens with the OCA adhesive into the Bubble Removing Machine and let it chill there for a solid 3 minutes.
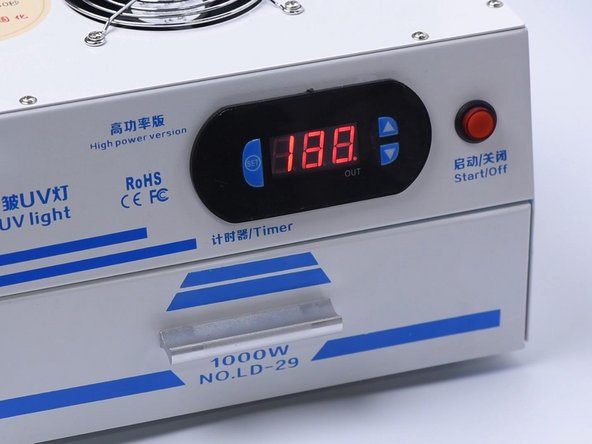
- After that, give it a quick 5-second visit under the UV Lamp to set that OCA glue just right.
Step 11

- Give the OLED a quick clean and use the pull tape to attach a corner of the glass lens. You're on the right track!
- Hold the pull tape in place for a few seconds, then peel off the protective film from the OCA adhesive. Easy peasy!
Step 12

Heads up! We've got two little slots cut into the sponge to help keep your OLED safe and sound.
- Since the iPhone 12 aligning mold hasn’t dropped yet, we’re going old-school with manual alignment.
- Once you’ve got it lined up, gently set the screen down on the laminating sponge.
Step 13


- Place the screen into the laminating machine and hit the “LCD laminate start” button.
- Pull the screen out and check it out—there are some bubbles hanging out on the screen.
Step 14


- Time to put your device back together—just follow these steps in reverse. If things get tricky, you can always schedule a repair and let the pros handle it!


