
iPhone 12 Teardown
Duration: 45 minutes
Steps: 15 Steps
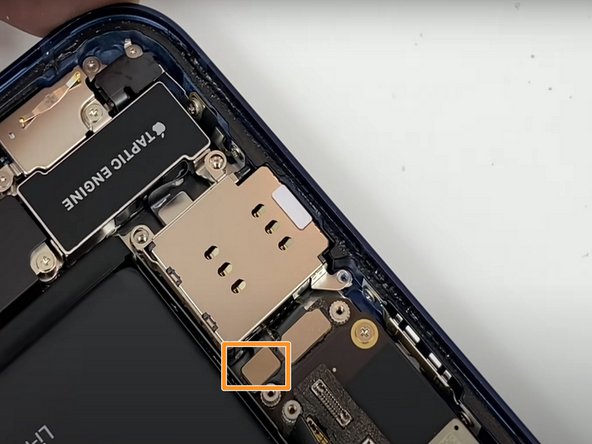
Step 1


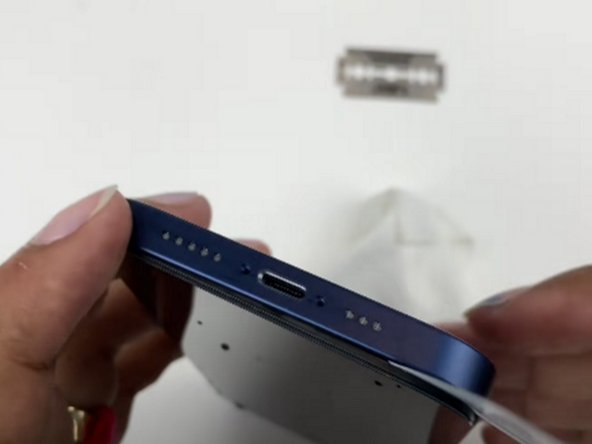
- Use a SIM card eject tool to gently pop out the SIM card tray.
Tools Used

Step 2


Power down your device—like giving it a quick nap before the action begins.
- Loosen those two Pentalobe screws that are 6.9 mm long and get ready to dive in!
Step 3


- Warm up an iOpener and gently glide it around the screen's edge to help loosen that stubborn adhesive holding the display in place.
- Using a trusty suction cup, gently lift the display and slide in a thin tool to carefully pry the screen away from the frame.
- Keep that fine tool moving along the edge to slice through the adhesive like a pro.
- Now, carefully raise the display and you're on your way!
Tools Used

Step 4

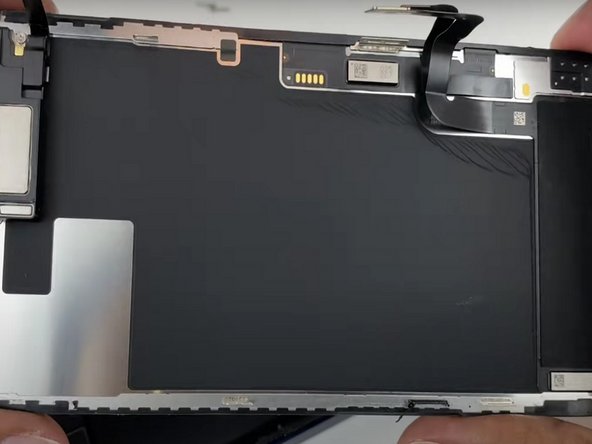
- Unscrew the 6 Phillips #00 screws—like loosening up a stubborn jar lid, but way easier.
- Use a spudger or just your fingernails to pop up those two connectors. It’s like opening a tiny treasure chest.
- Give a gentle lift to the connector hiding underneath. No sudden moves—just a smooth little nudge.
- Unplug the display connector. Imagine unplugging your phone charger but with more finesse.
- Gently raise the display. Take a moment to admire your handiwork.
Tools Used

Step 5

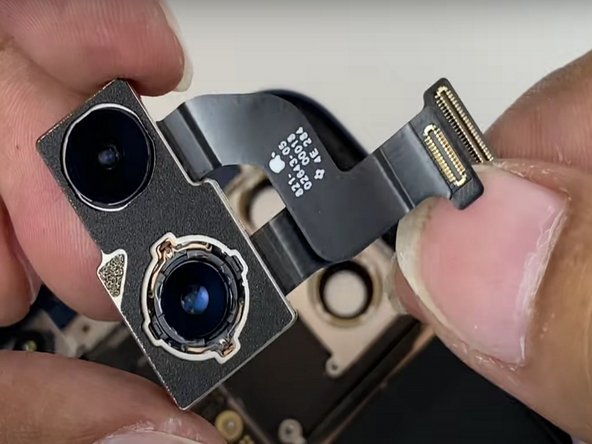
- Unscrew the four Phillips #00 screws – don’t lose them, they’re tiny escape artists.
- Use a spudger or your fingernails to gently pop off the two rear camera connectors. Go slow, like you’re peeling a sticker you actually want to save.
- Lift out the rear camera like a pro. You’re getting closer to victory!
Tools Used
Step 6
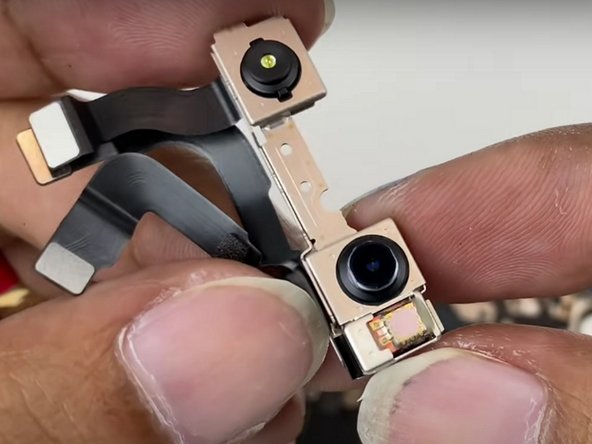

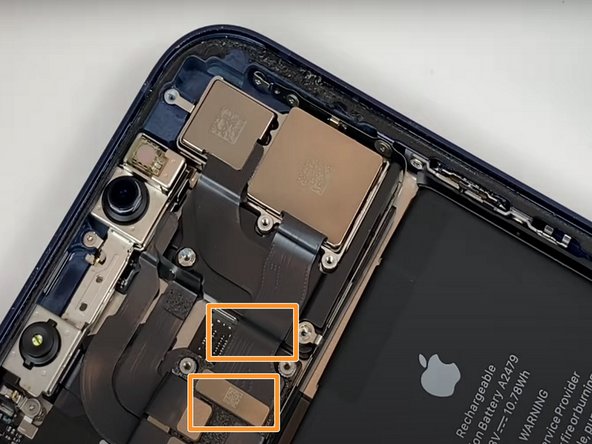
- Use a spudger or your fingernails to gently unplug the three connectors holding the front camera in place.
- Carefully lift out the front camera.
Tools Used
Step 7

- Pop that battery holder connector loose using a spudger or your fingernails—just a little gentle persuasion.
- Grab your Phillips #00 screwdriver and twist out the three screws holding things down.
- Lift out the battery holder and set it aside. You’re making progress!
Tools Used
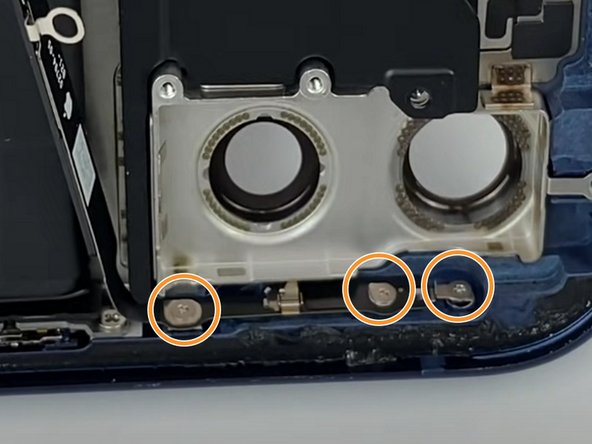
Step 8

- Pop off the rear camera flash connector with a spudger or your fingernails—gentle but confident!
- Remove the 3 Phillips #00 screws like a pro.
- Now tackle the next 2 Phillips #00 screws—almost there!
- Lift out the rear camera flash and give yourself a high five.
Tools Used
Step 9
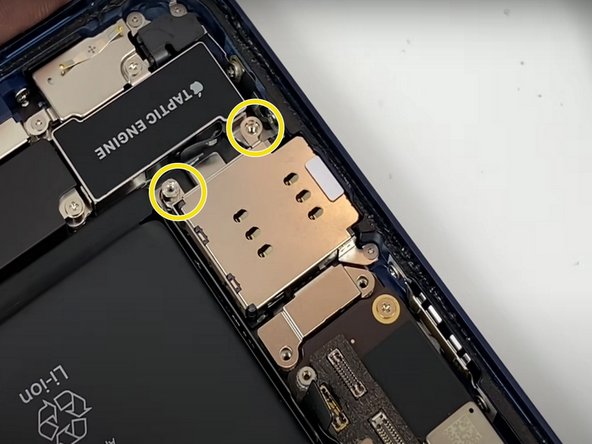

- Remove the 4 Phillips #00 screws—easy does it!
- Next, unscrew the 2 screw holders using the right screwdriver for the job.
- Gently pry off the SIM card holder connector using a spudger or your fingernails—no need to be a ninja.
- Finally, take out the SIM card holder and you’re all set for the next step.
Tools Used
Step 10

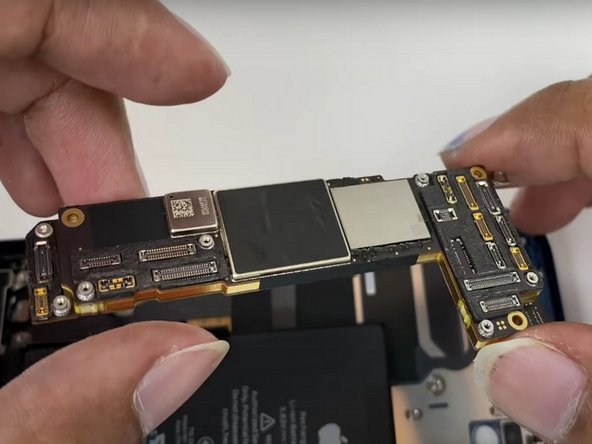
Heads up: you need to do this final step to get that logic board out of there.
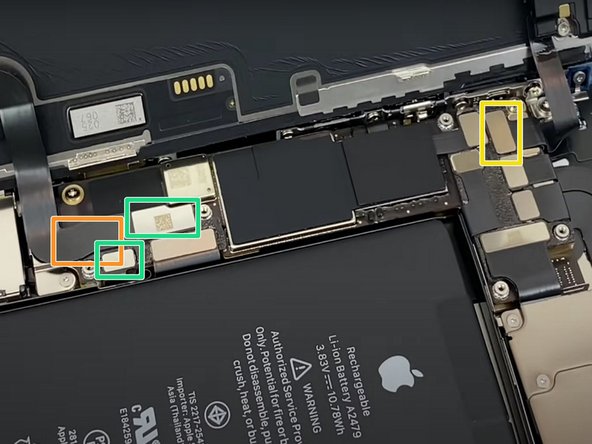
- Unscrew the 2 Phillips #00 screws to get started.
- Use a spudger or your fingernails to carefully unplug the 3 battery connectors.
- Grab your standoff screwdriver made for iPhones and remove the screw holder.
- Gently peel away the film using a spudger.
- Lift out the logic board with care.
Tools Used
Step 11
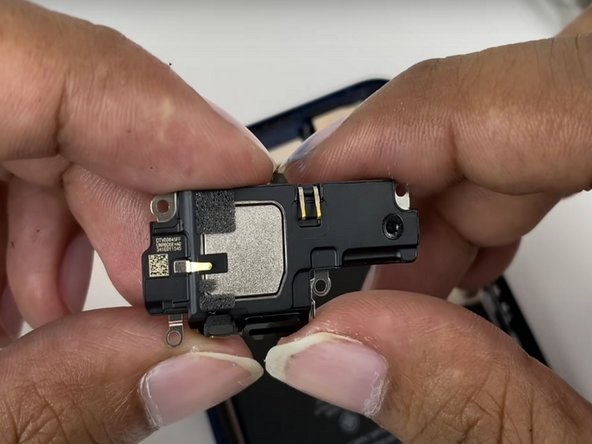

- Grab your Phillips #00 screwdriver and remove those 5 screws holding everything together.
- Lift out the speaker—easy does it, no force needed!
Step 12
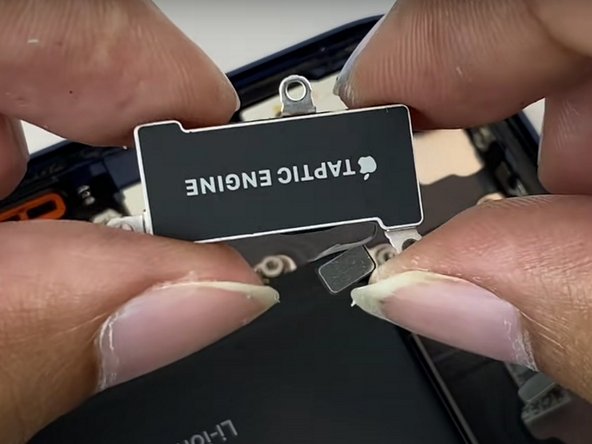

- Grab your trusty standoff screwdriver and gently take off those two screw holders for your iPhone.
- Next up, it's time to unscrew three Phillips #00 screws—let's get those out of the way!
- Now, with a spudger or even your fingernail, carefully disconnect the taptic engine connector.
- Finally, go ahead and lift out the taptic engine like a pro!
Tools Used
Step 13


Peel off those red-marked stickers in the first photo to loosen up the adhesive under the battery. It’s like giving your battery a little freedom dance!
- Peel away the sticky stuff holding the battery in place.
- Gently lift out the battery.
Step 14


Heads up! This step is key to getting that charging port out cleanly.
Take it easy with the force—too much pressure might mess up some parts.
- Take out the 6 Phillips #00 screws—don’t lose them!
- Use an iPhone standoff screwdriver to pop off the 4 screw holders.
- Gently peel back the film with a spudger—smooth moves here.
- Carefully lift out the charging port and give yourself a pat on the back.
Tools Used
Step 15

- Check out all the parts that come together to make the new iPhone 12!


