iPhone 13 Lightning Connector Replacement Guide: Step-by-Step DIY Tutorial
Duration: 120 min.
Steps: 41 Steps
Opening your iPhone means waving goodbye to its shiny IP68 certification. But don’t worry, you’ve got this!
In this fun and easy-to-follow photo guide, we’ll walk you through the steps to swap out your Lightning connector like a pro! You’ve got this, and we wish you all the best with your repair adventure! If you need a hand, don’t hesitate to schedule a repair.
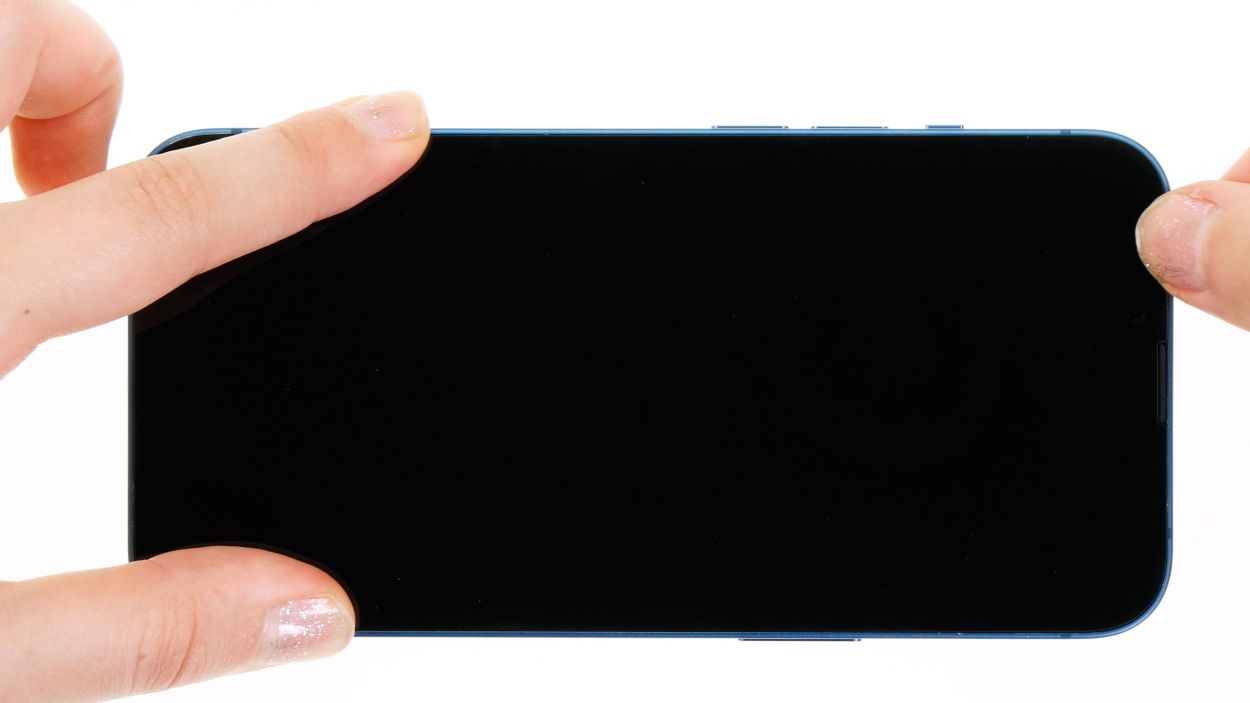
Step 1
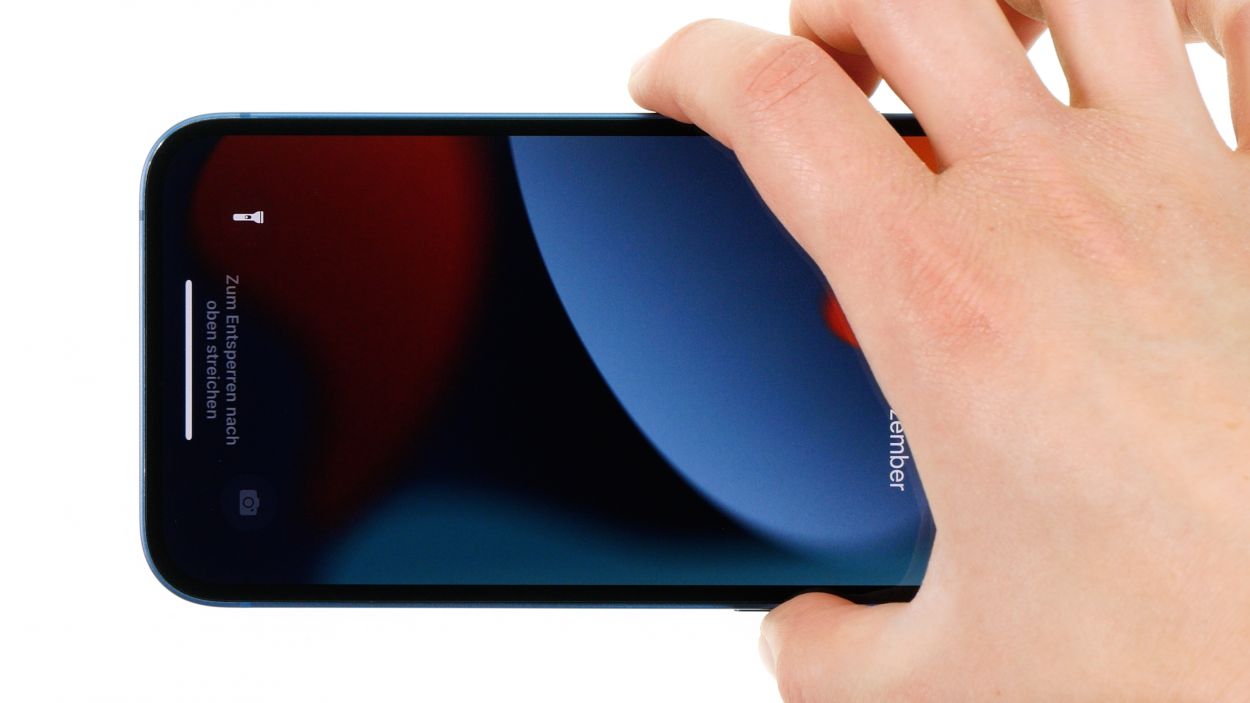
Before you dive into the repair fun, why not give our checklist a whirl? It’s a great way to test the basic functions of your iPhone 13. After the repair, you’ll be able to see if everything went smoothly!
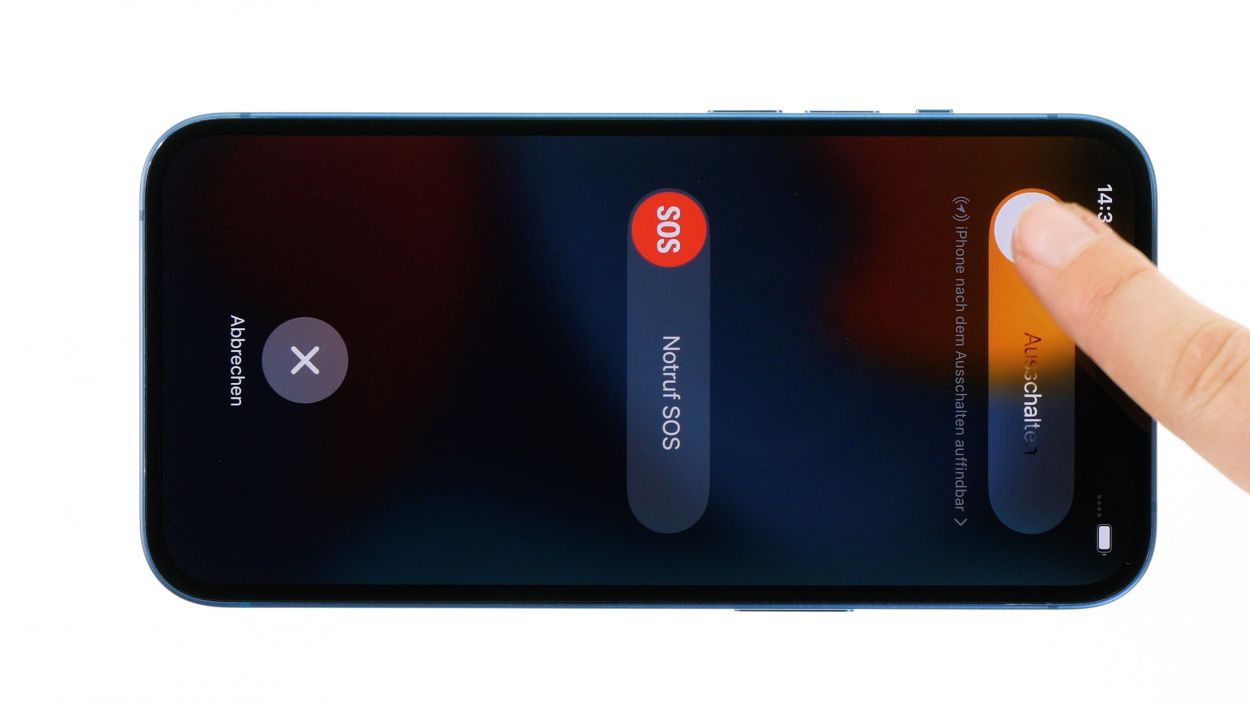
– Press and hold both the side button and the volume down button at the same time for a few seconds. You got this!
– Swipe the slider on the screen from left to right like you’re opening a door to a new adventure!
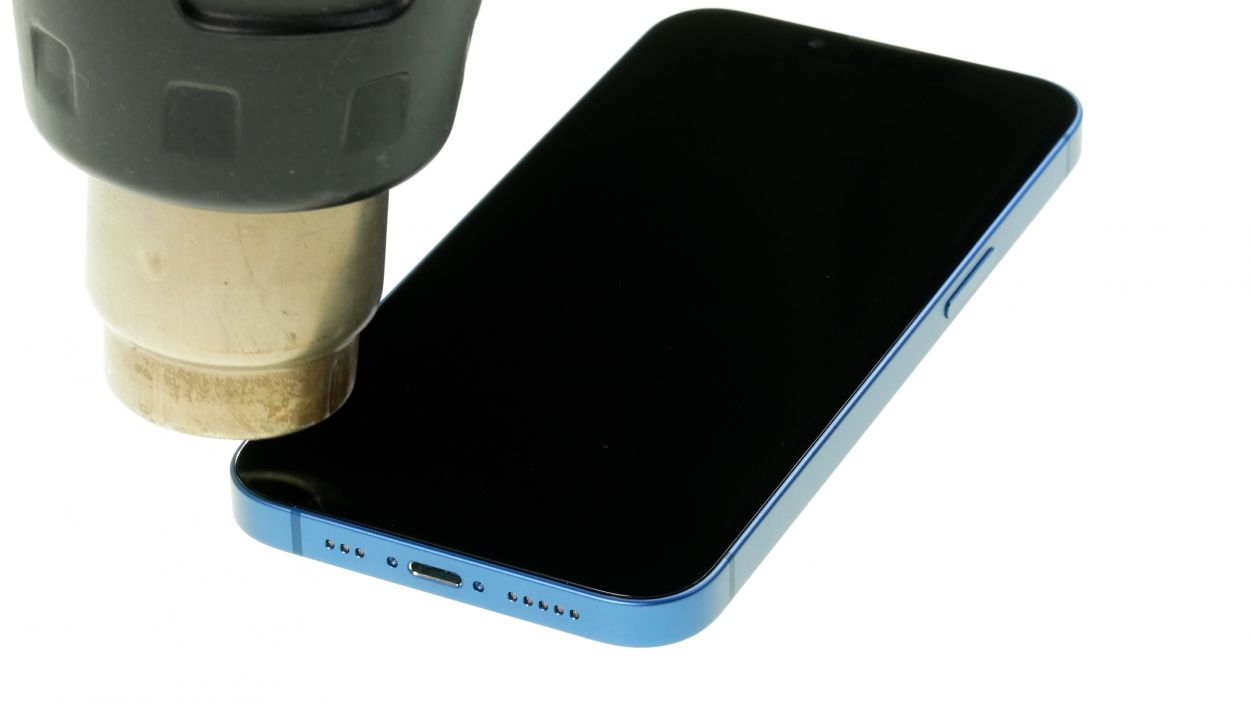
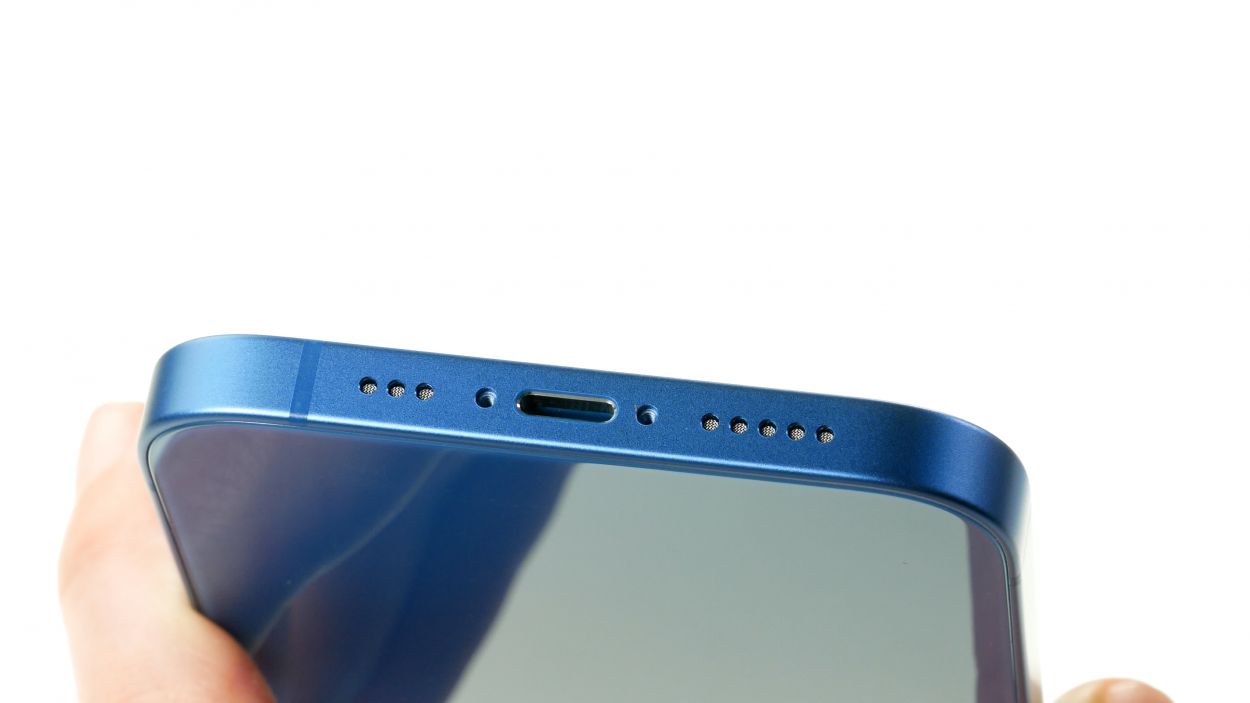
Step 3
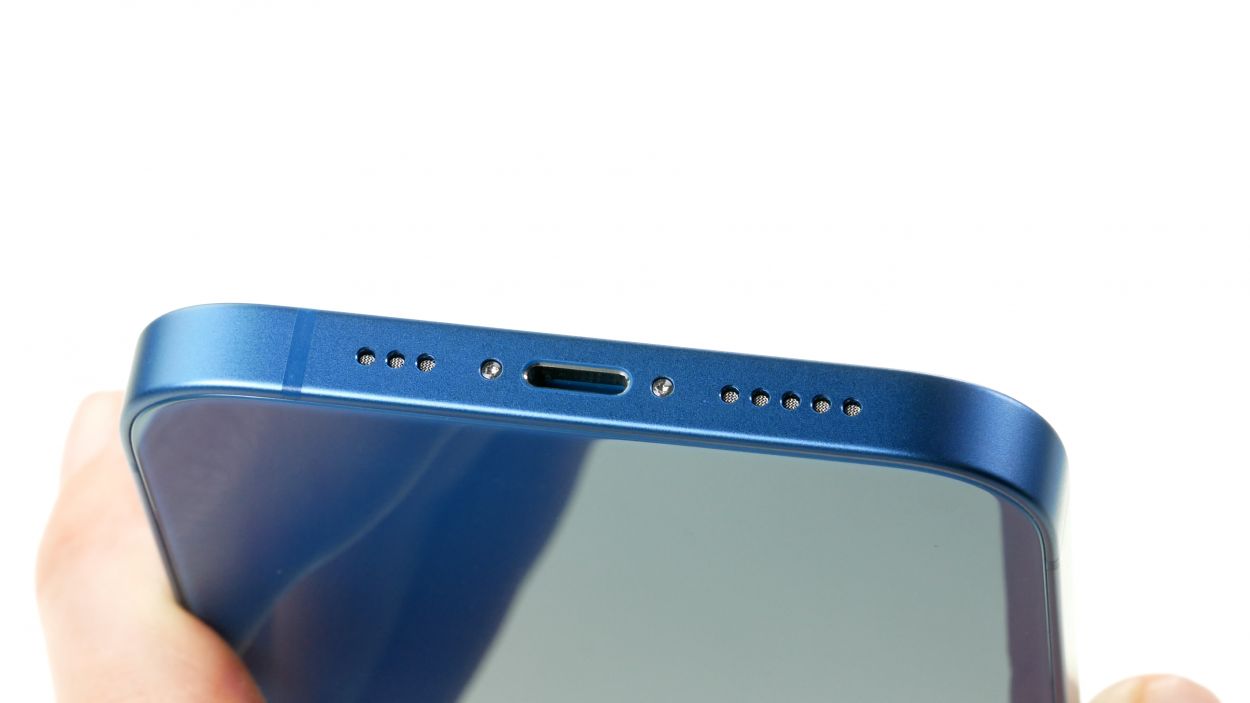
– Unscrew the two Pentalobe screws located on either side of the Lightning connector. You’ve got this!
– Now, let’s keep those screws safe! Toss them into your screw storage for safekeeping.
2 × 6.8 mm Pentalobe
Opening your iPhone means saying farewell to its awesome IP68 certification. But hey, don’t sweat it! You’re totally capable of handling this!
Keep your workspace neat and tidy to ensure your device stays as sharp and scratch-free as possible. A clean space equals a happy repair experience! Plus, using a magnetic pad means your screws and parts will stay put, making your repair journey even smoother!
Step 5
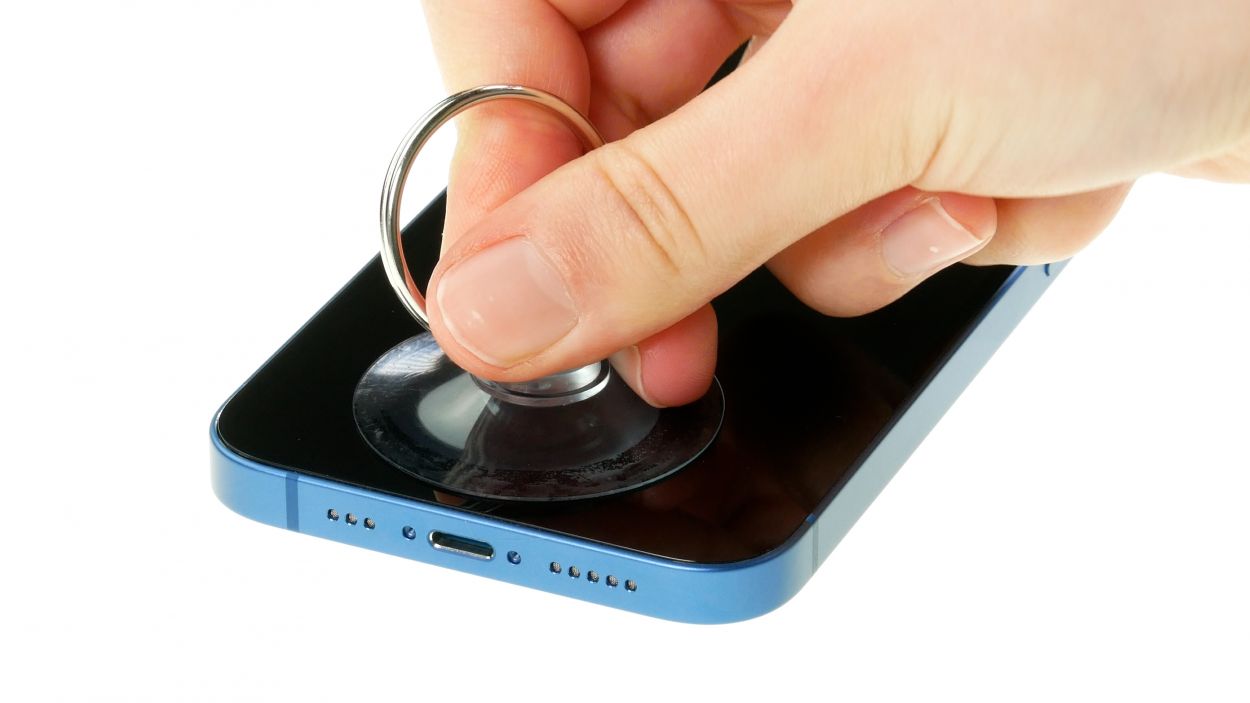
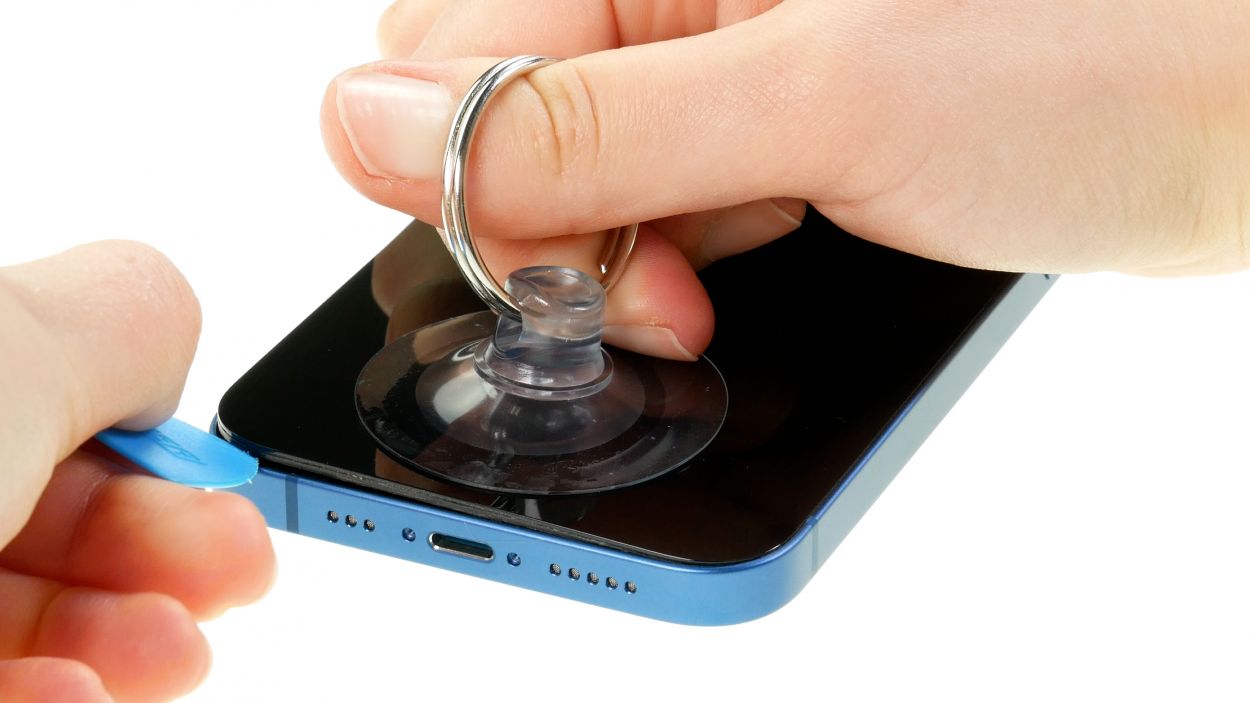
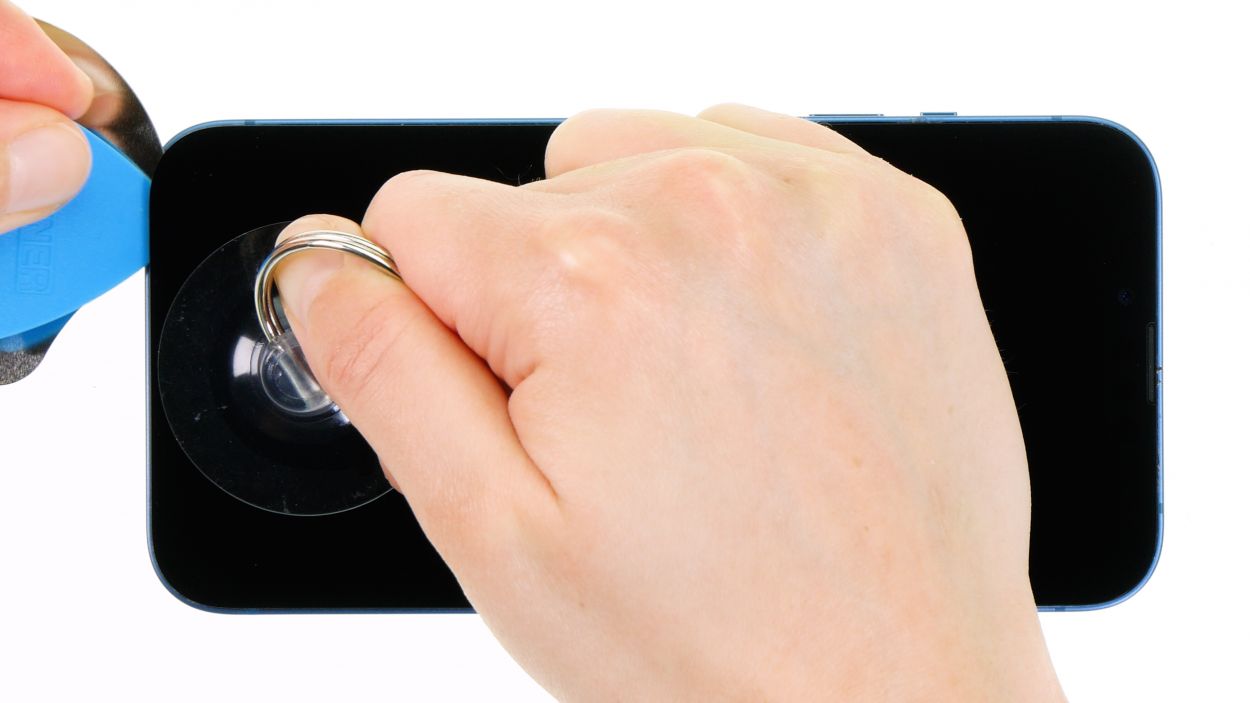
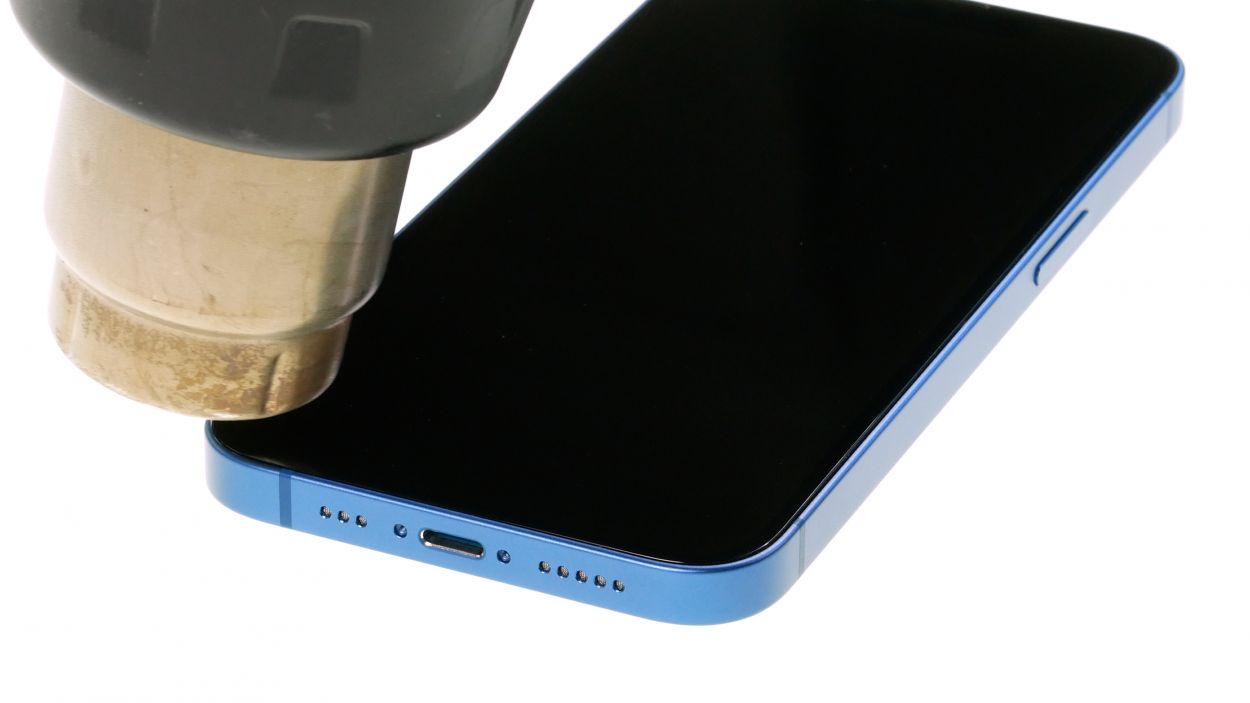
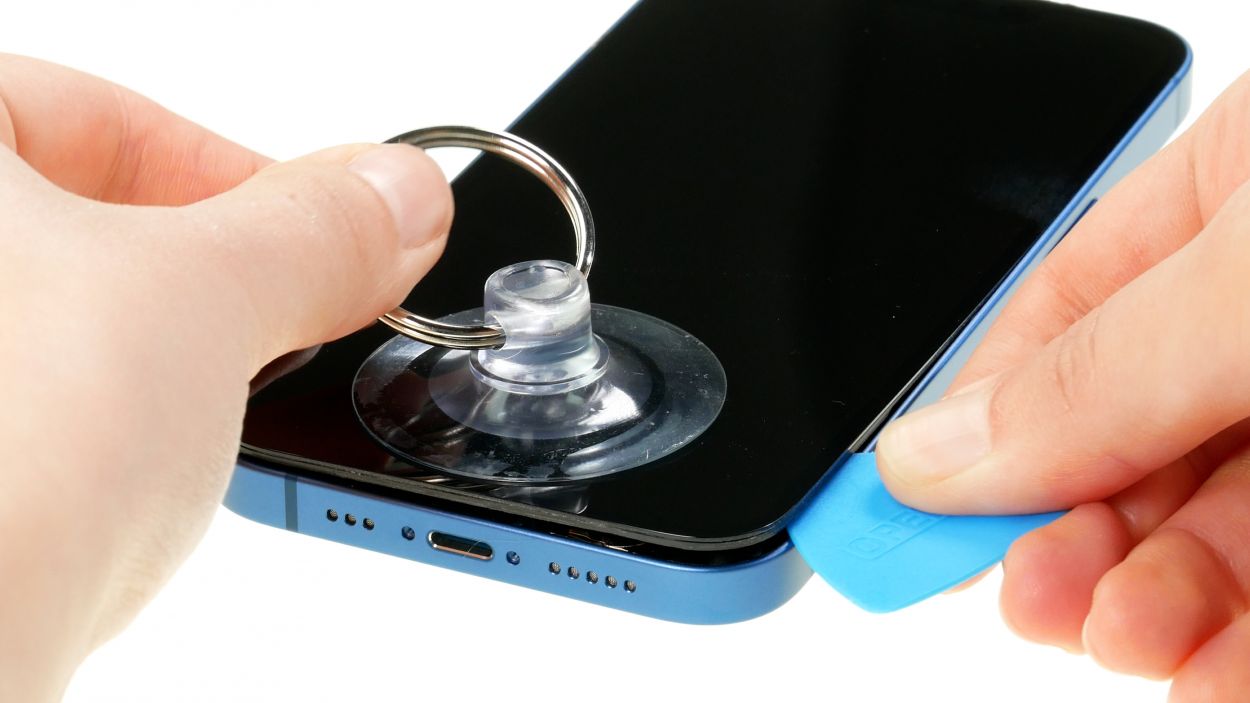
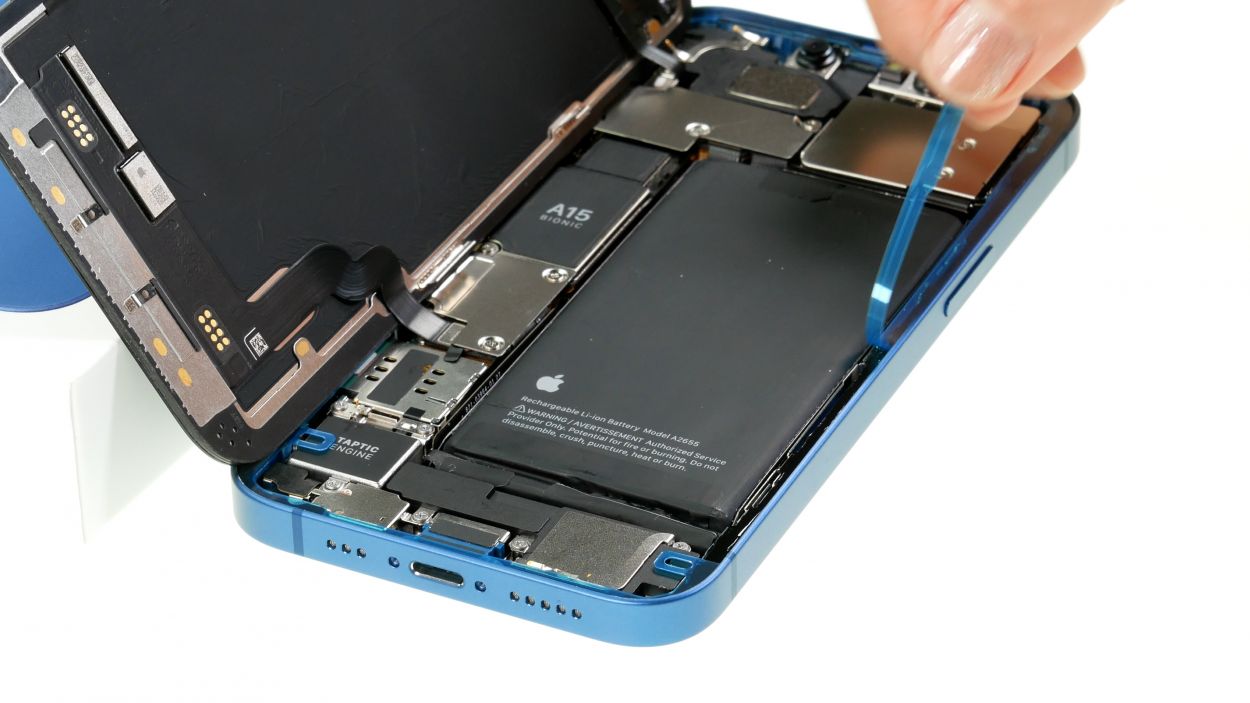
To keep your case looking fresh and free from scratches, make sure your workspace is neat and level. A tidy space makes for a happy repair experience! For extra help, grab a flat pick to slide between the screen and the case. If you’re feeling fancy, the iPlastix and iFlex tools can give you a hand too!
– Stick a suction cup to the bottom edge of the screen and give it a good pull upwards to create a sneaky little gap between the screen and the case. You got this!
– Slide a flat, sturdy tool into that gap to widen it a bit more. Easy peasy!
Step 6
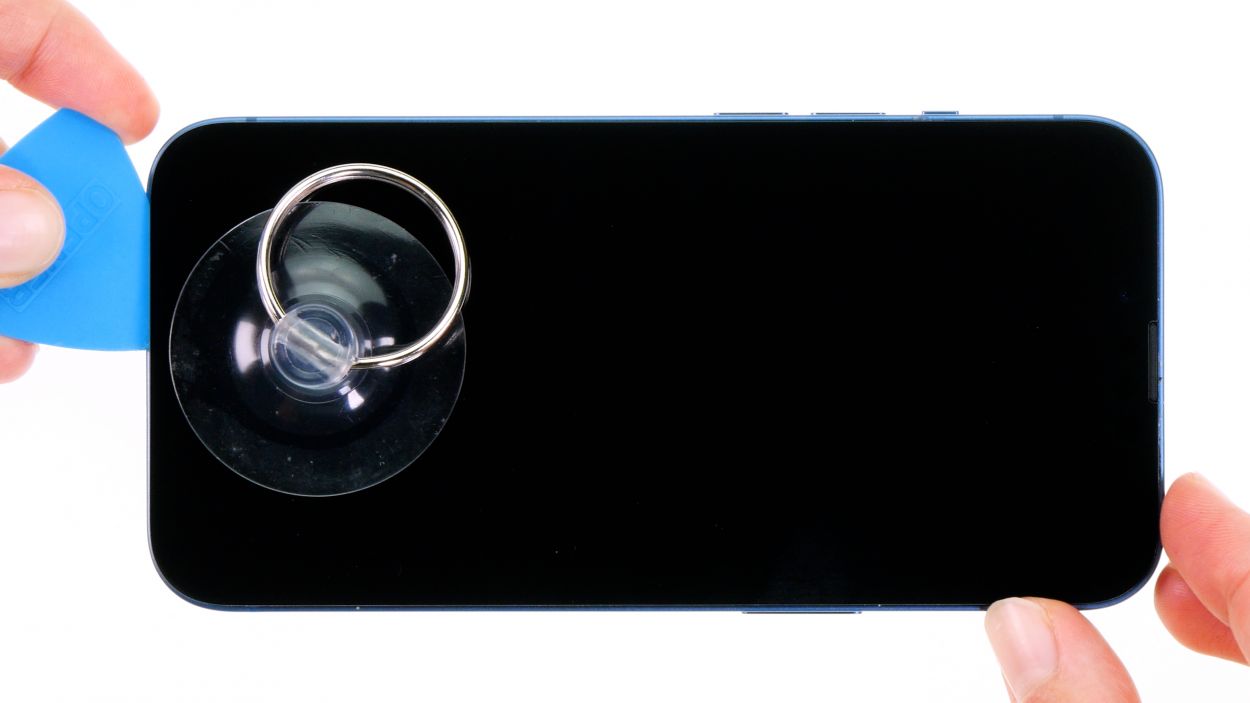

Be careful when sliding your tool near the volume buttons! We don’t want any cables getting tangled up in the excitement of your repair.
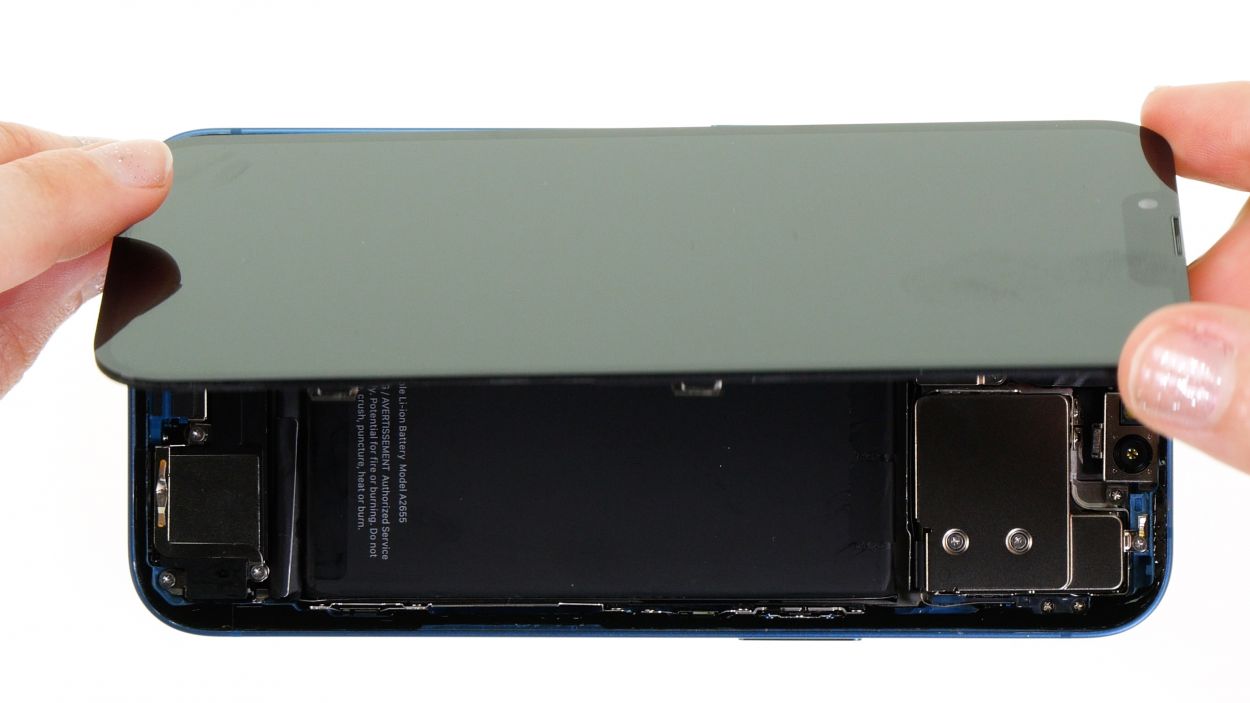
– Run the plastic tool around the screen’s edge like you’re tracing a secret path. Give it a little upward nudge to pop those hooked lugs free from the case unit!
– Once the screen is fully detached, gently unfold it towards the volume buttons and lean it against something sturdy. You’ve got this!
Tools Used
Step 7
4 × 1.2 mm Phillips
1 × 1.7 mm Y-Type
1 × 1.6 mm Phillips
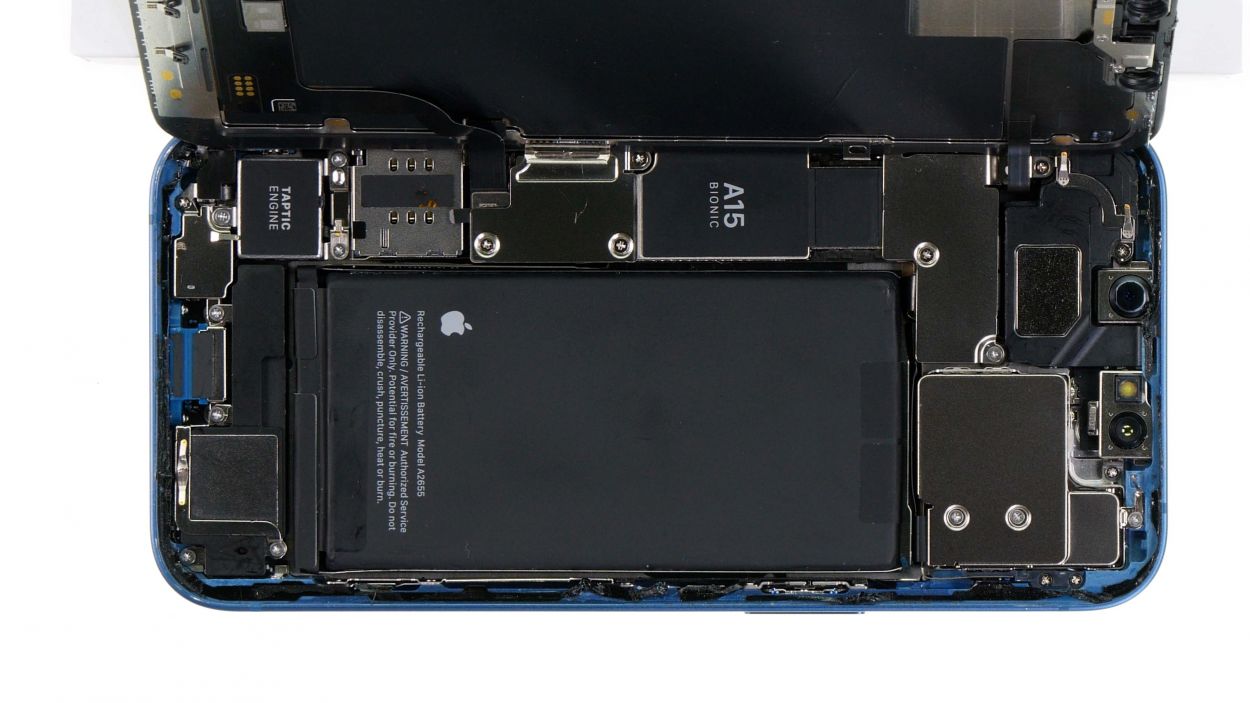
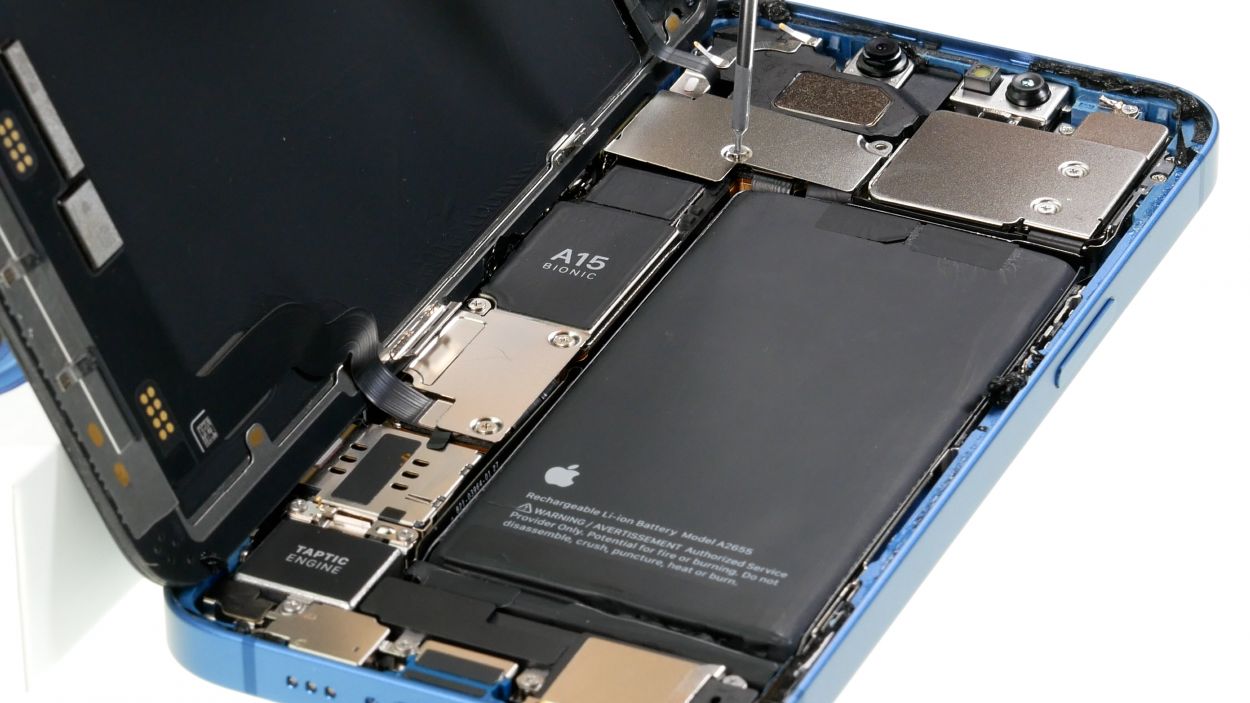
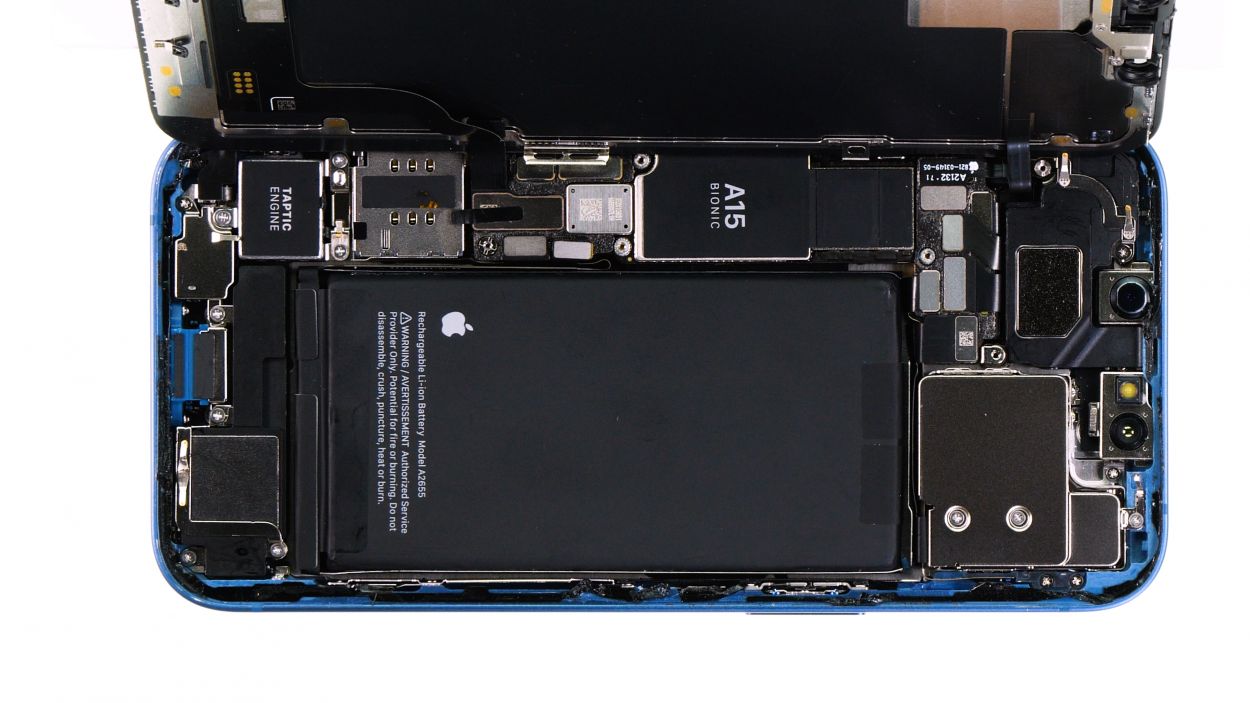
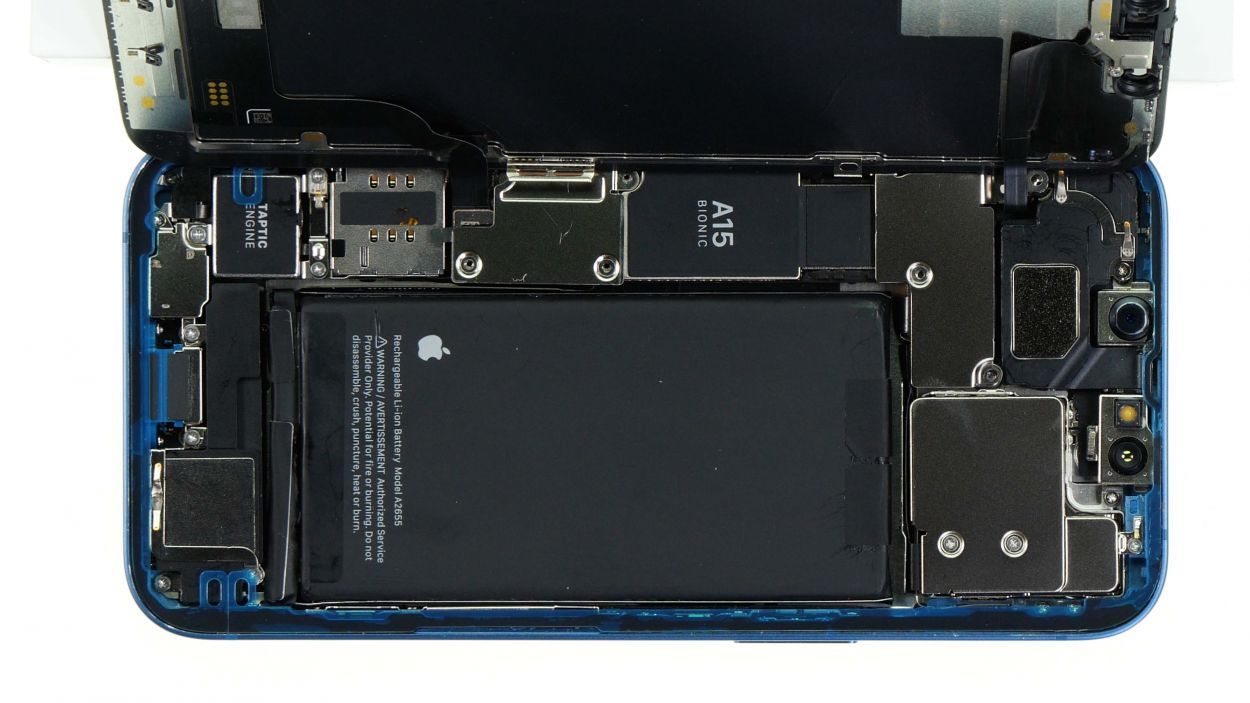
To totally liberate the screen, you’ll need to unplug the battery connector and the two screen connectors. They’re hiding under a couple of cover plates, so be sure to check there!
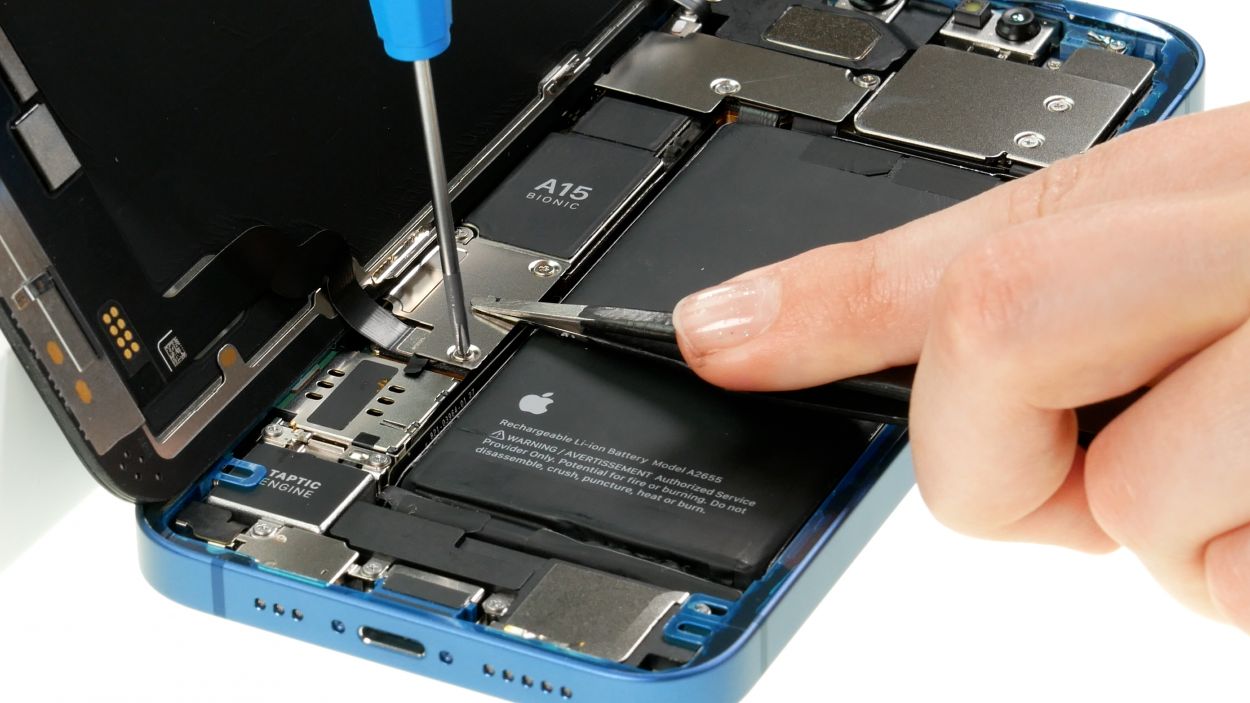
– Unscrew the six screws from the two cover plates and stash them safely in your screw storage. You’re doing great!
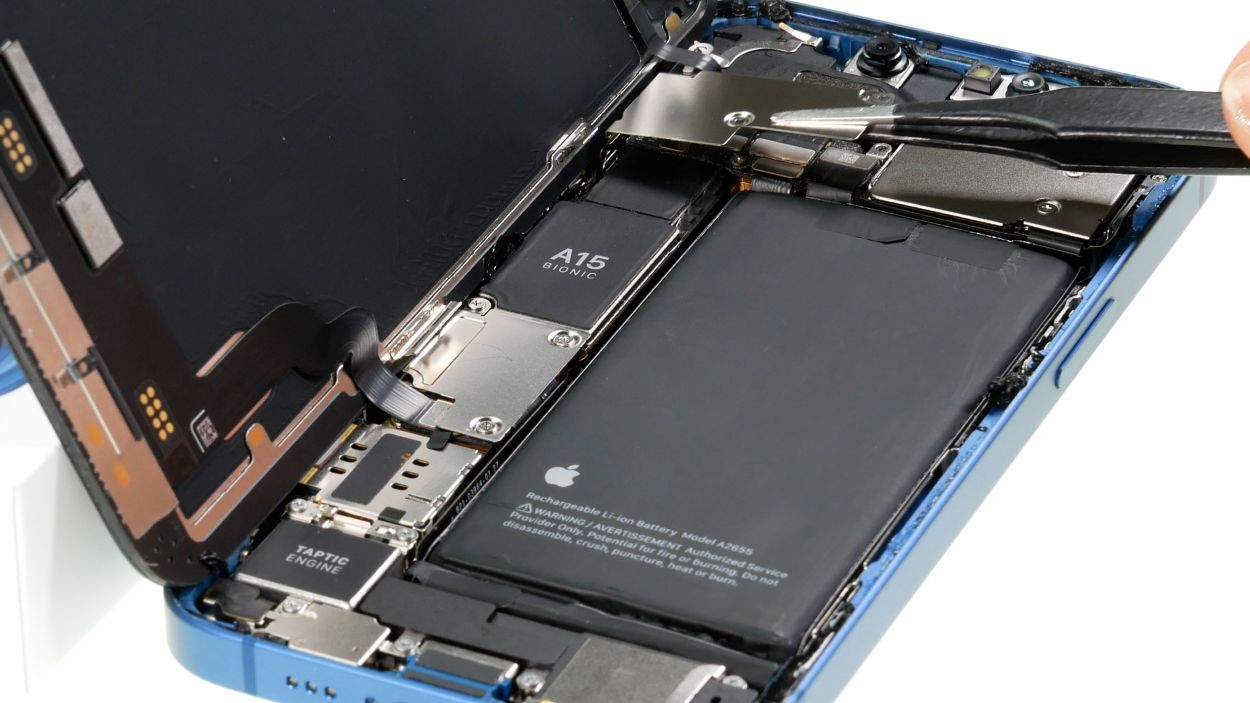
– Now, with the help of your trusty tweezers, gently lift those cover plates off your device. Easy peasy!
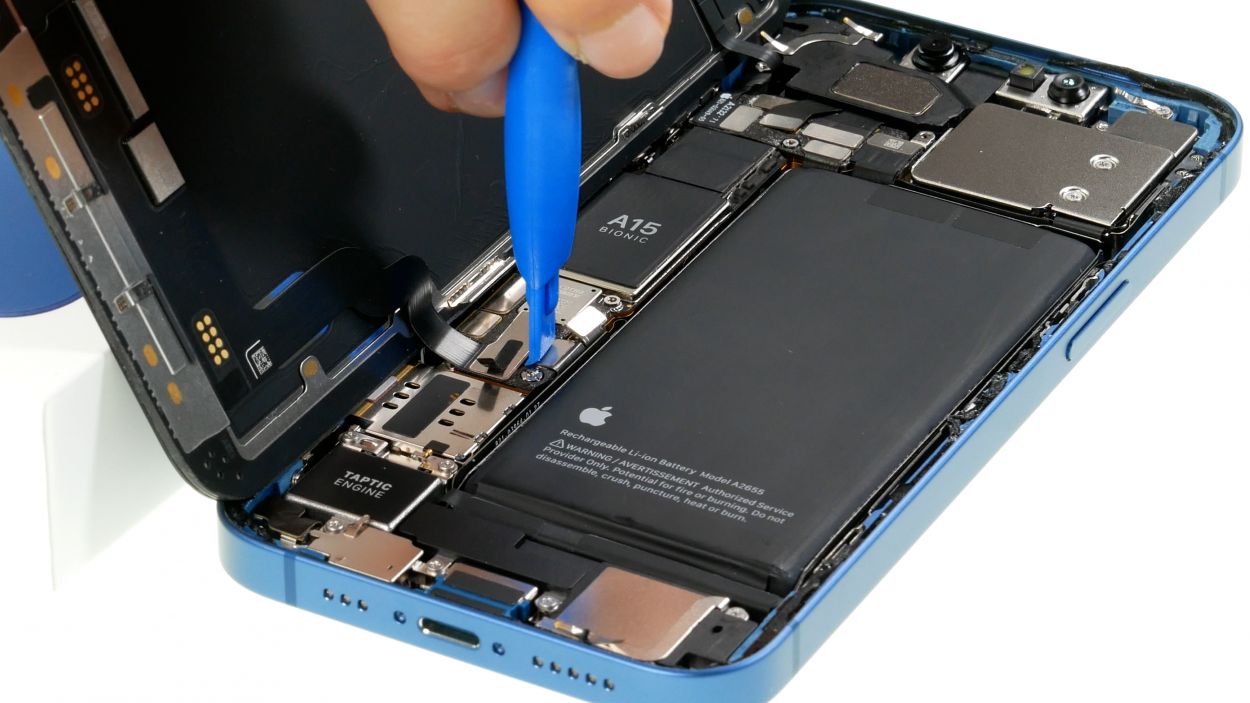
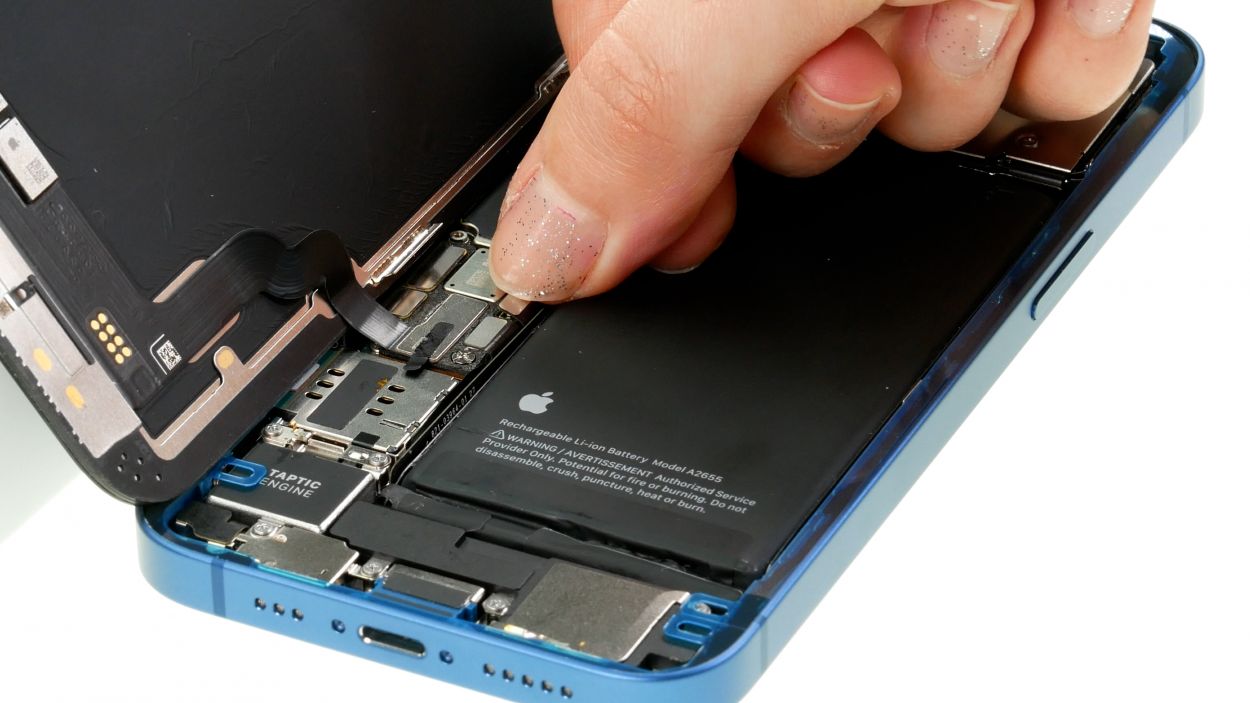
Step 8
To keep things safe and sound during your repair journey, always make sure to disconnect the battery connector first. It’s the smart move!
– Gently slide a plastic lever tool underneath the connector and carefully lift it away from the board. A plastic spudger works wonders for this task!
Tools Used
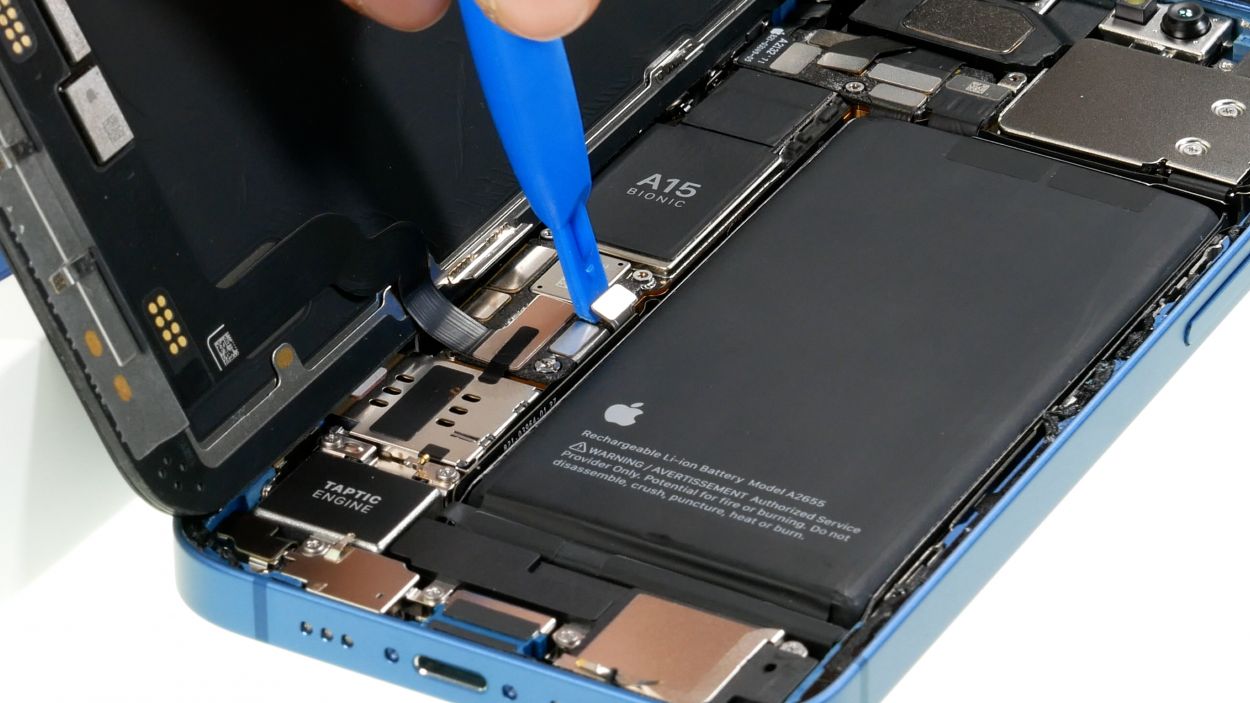
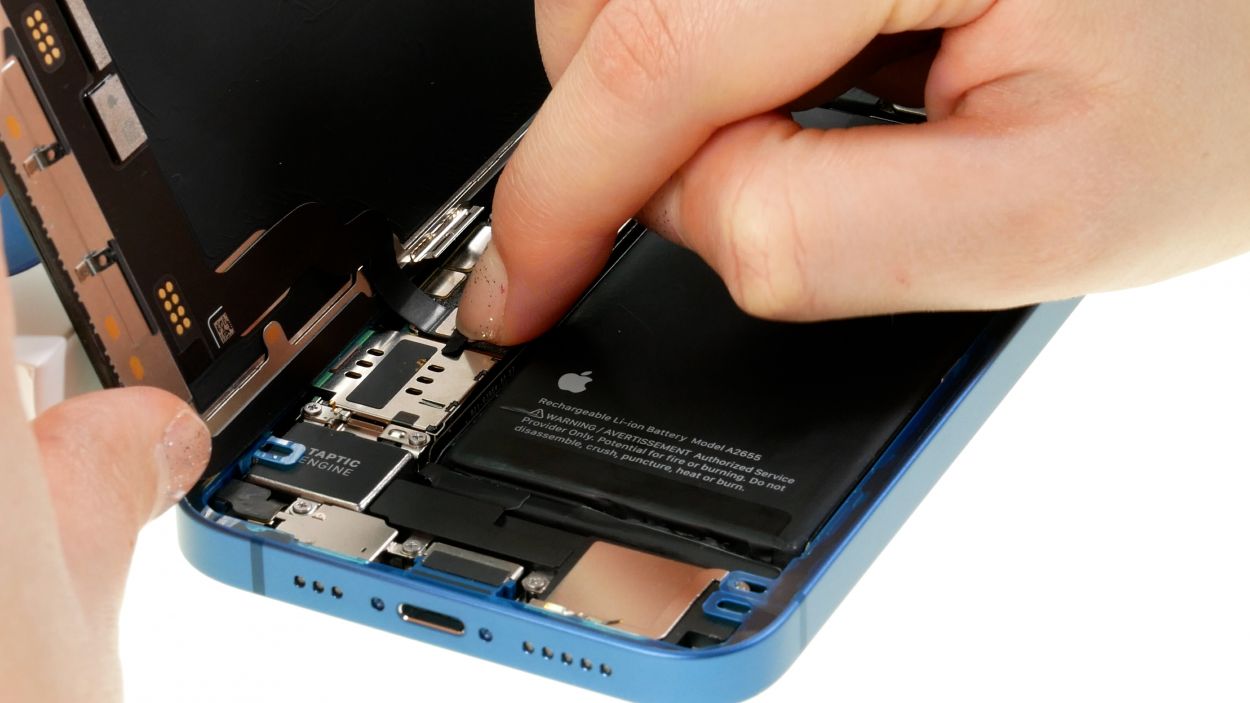
Step 9
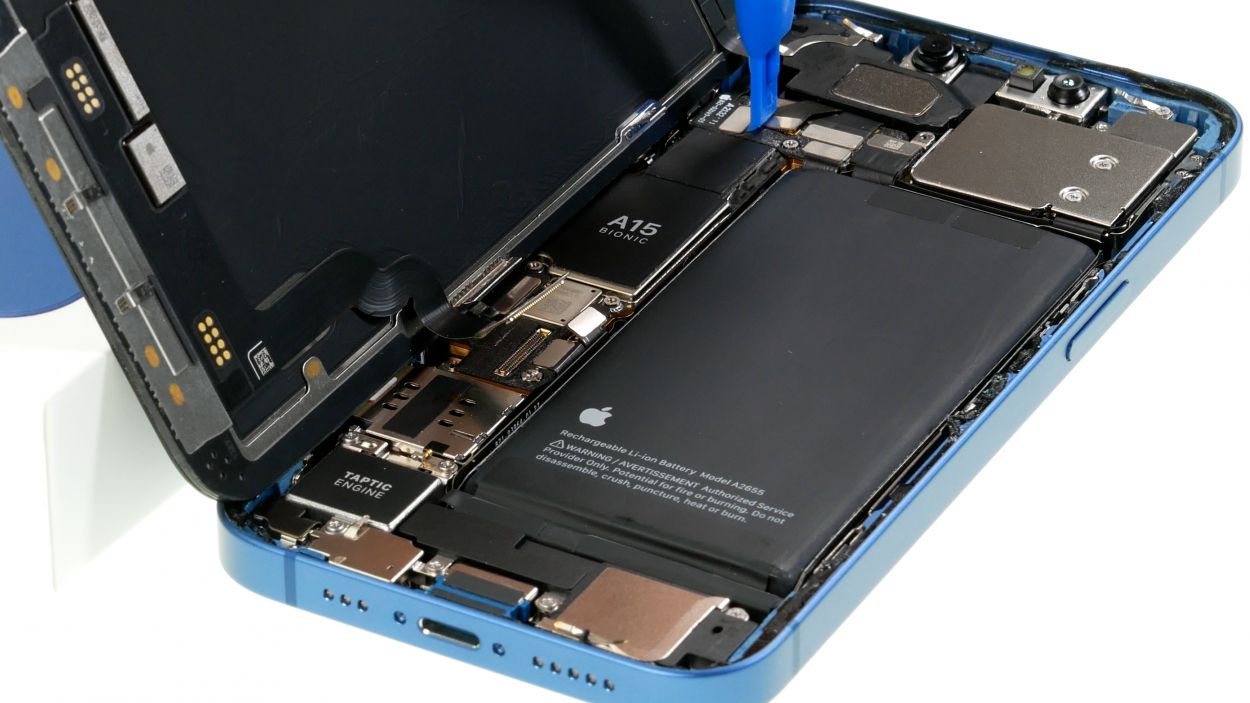

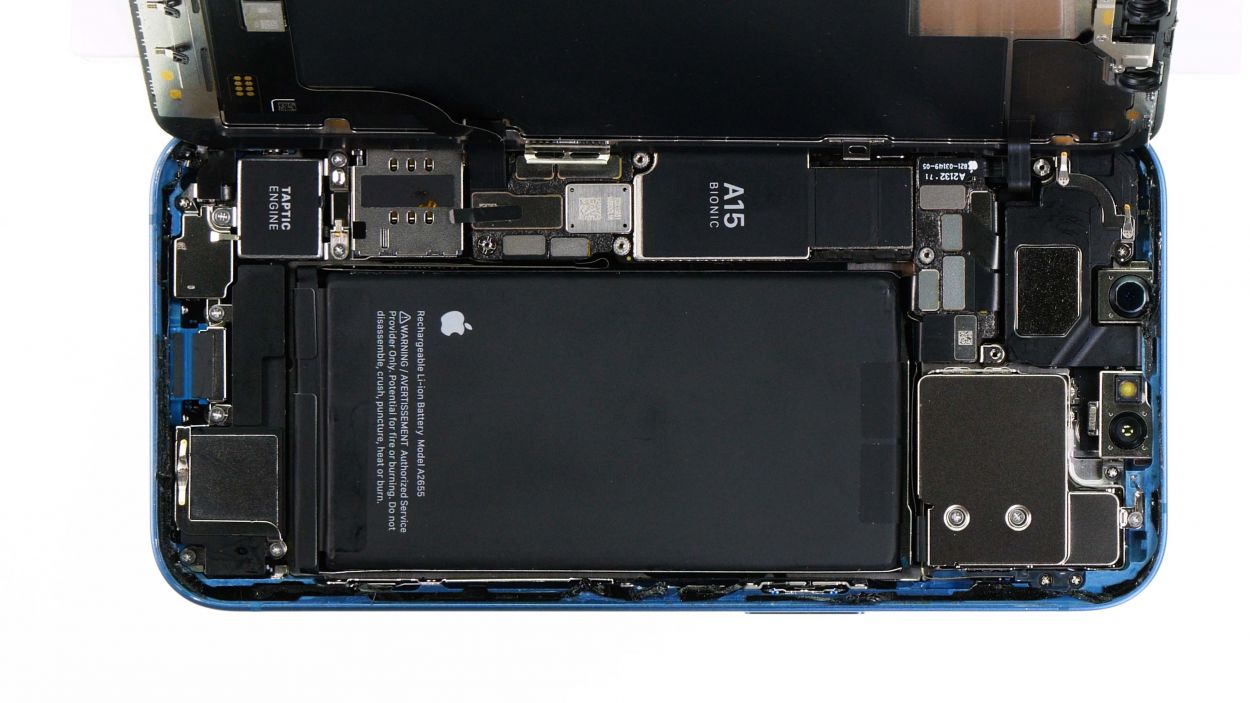
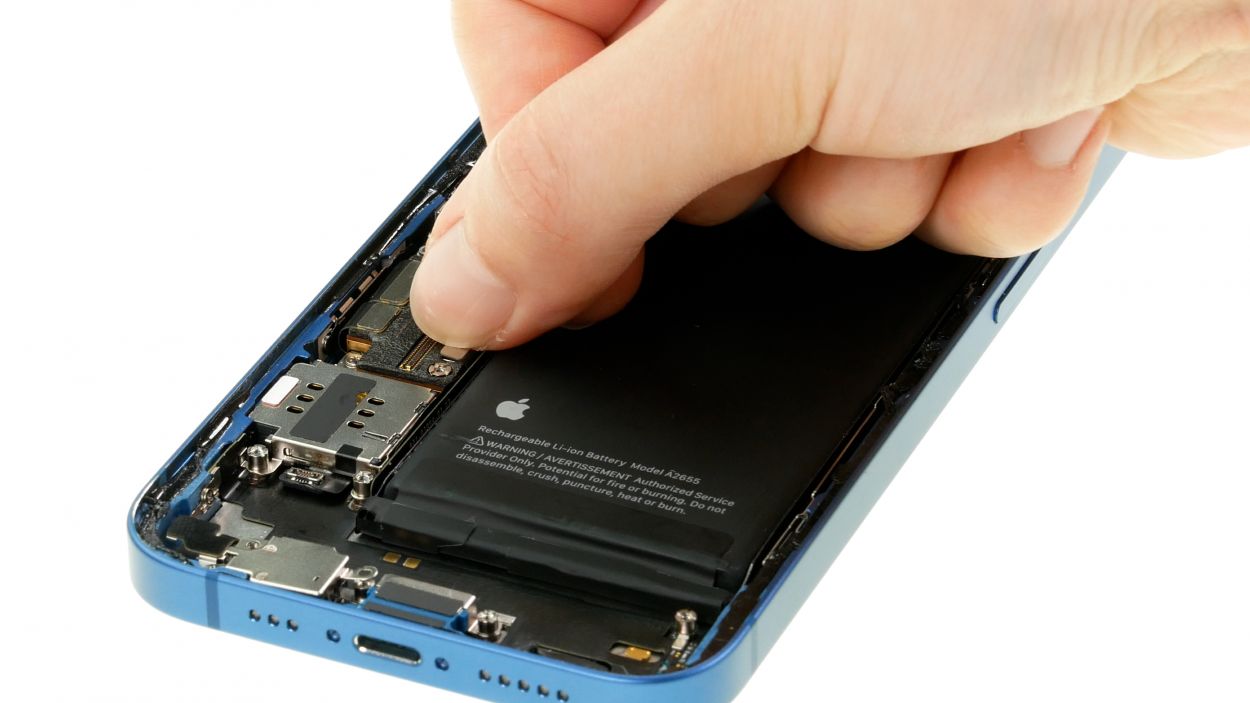
– Gently coax the two screen connectors off the logic board using your trusty spudger. You’re doing great!
– Once you’ve got the screen all free, just set it aside like a pro!
Tools Used
Step 10
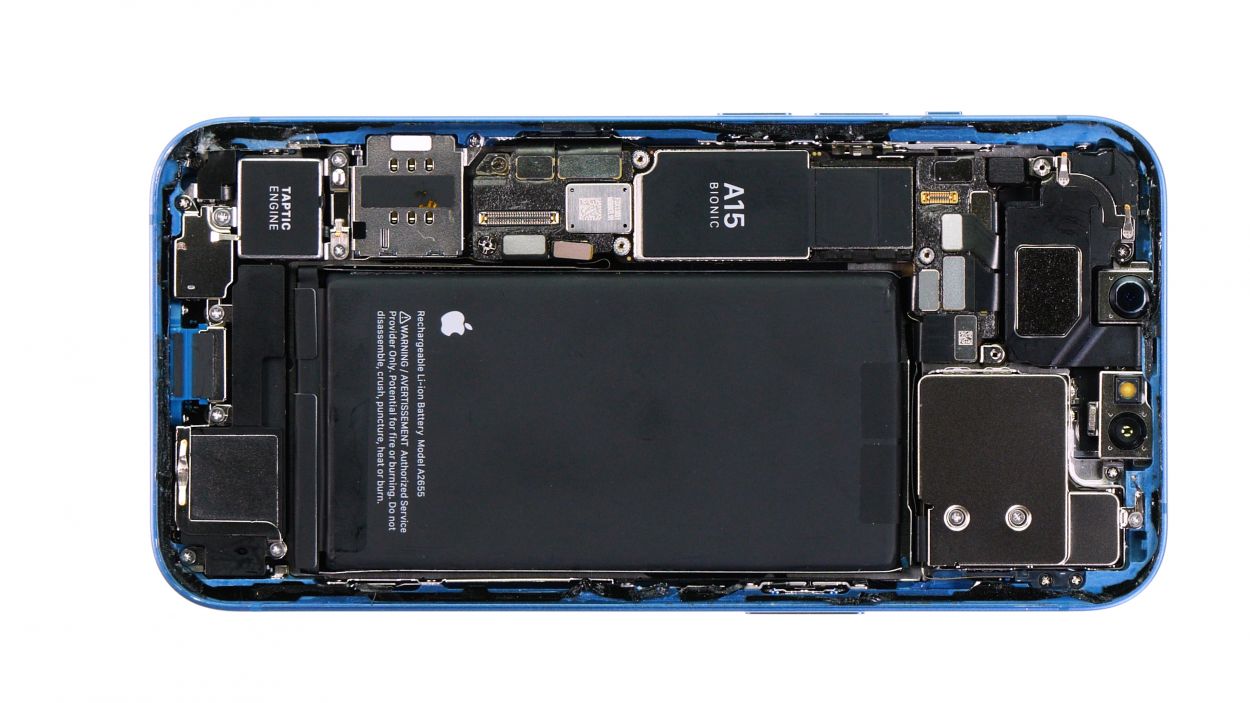
4 × 1.6 mm Phillips
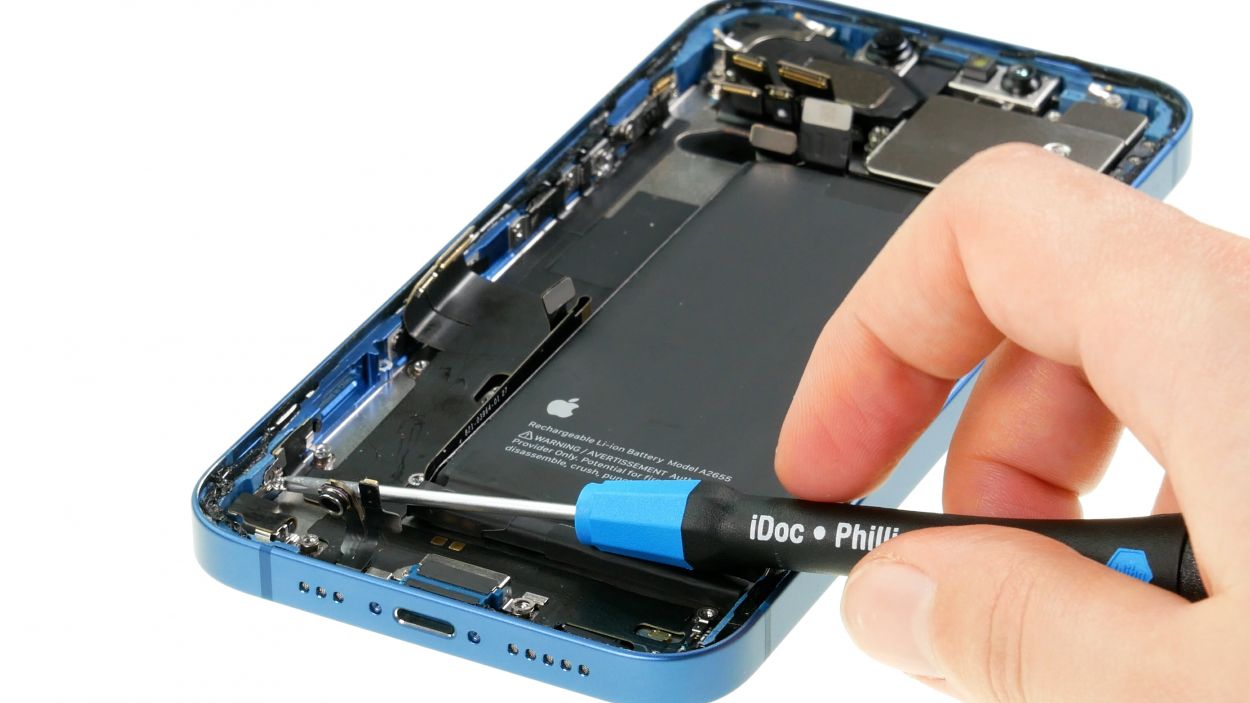
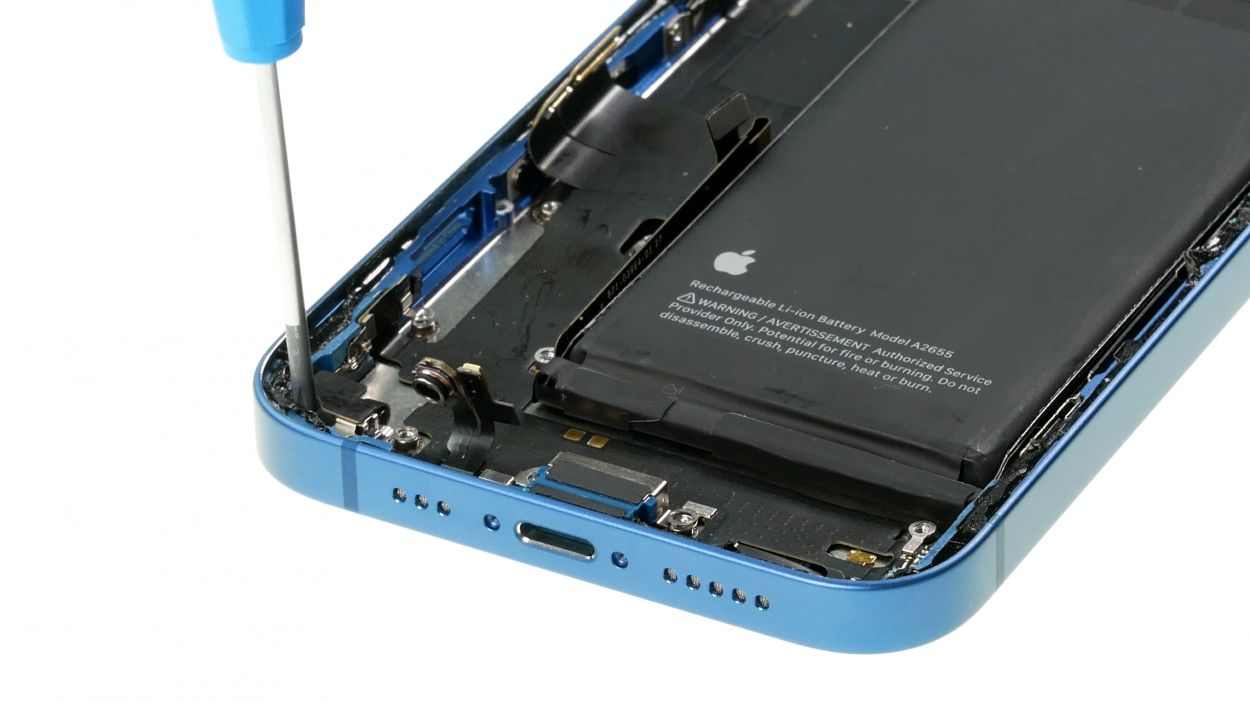
– Start by loosening those four Phillips screws holding the speaker in place. You got this!
– Once they’re free, gently lift that speaker out of your device like a pro!
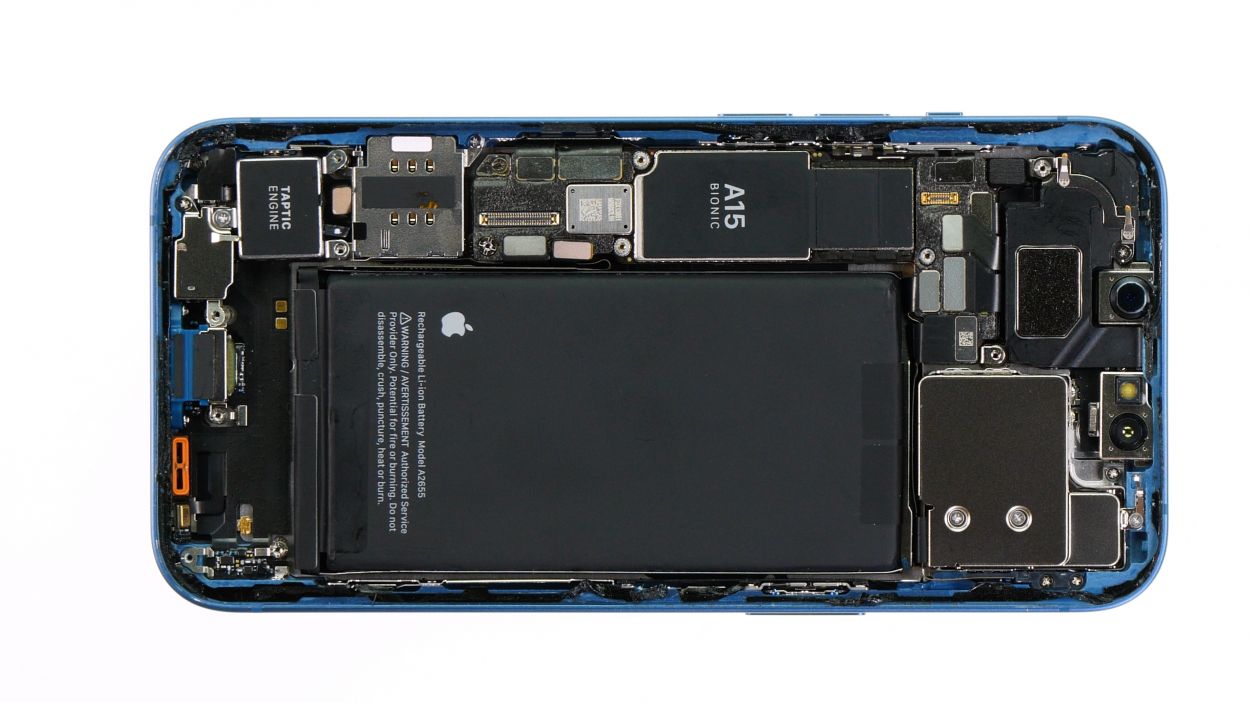
Step 11

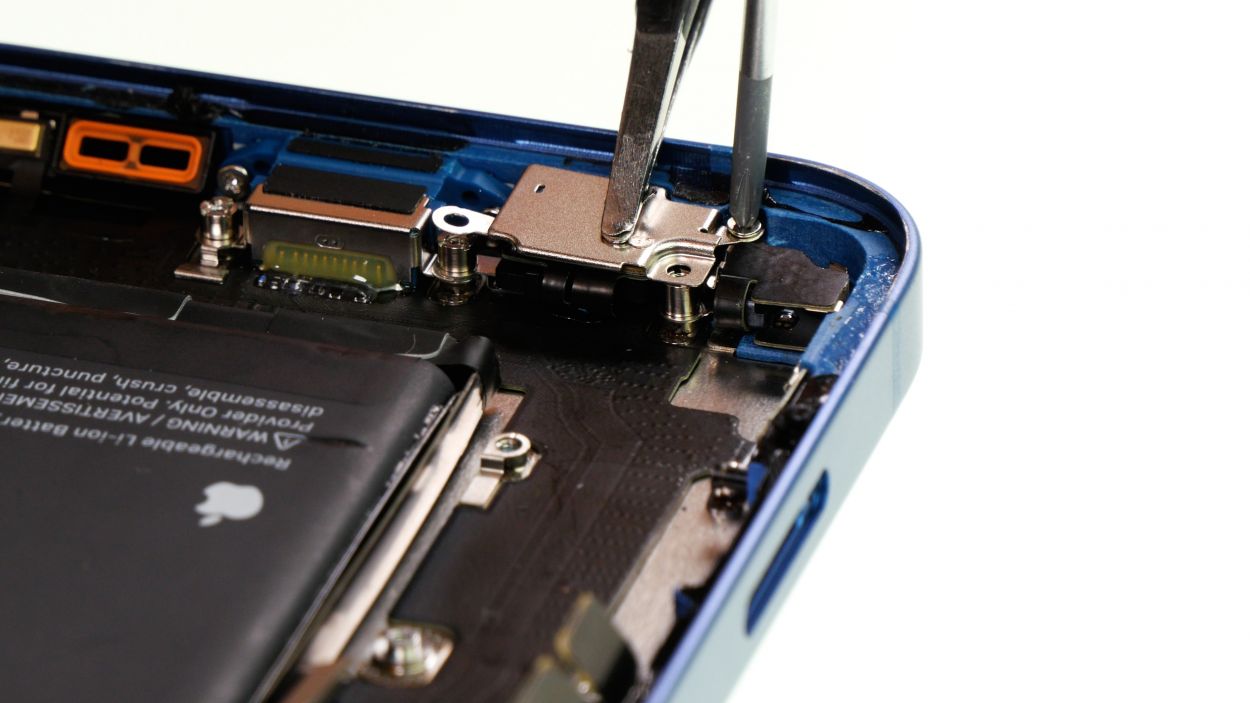
2 × 2.1 mm Phillips
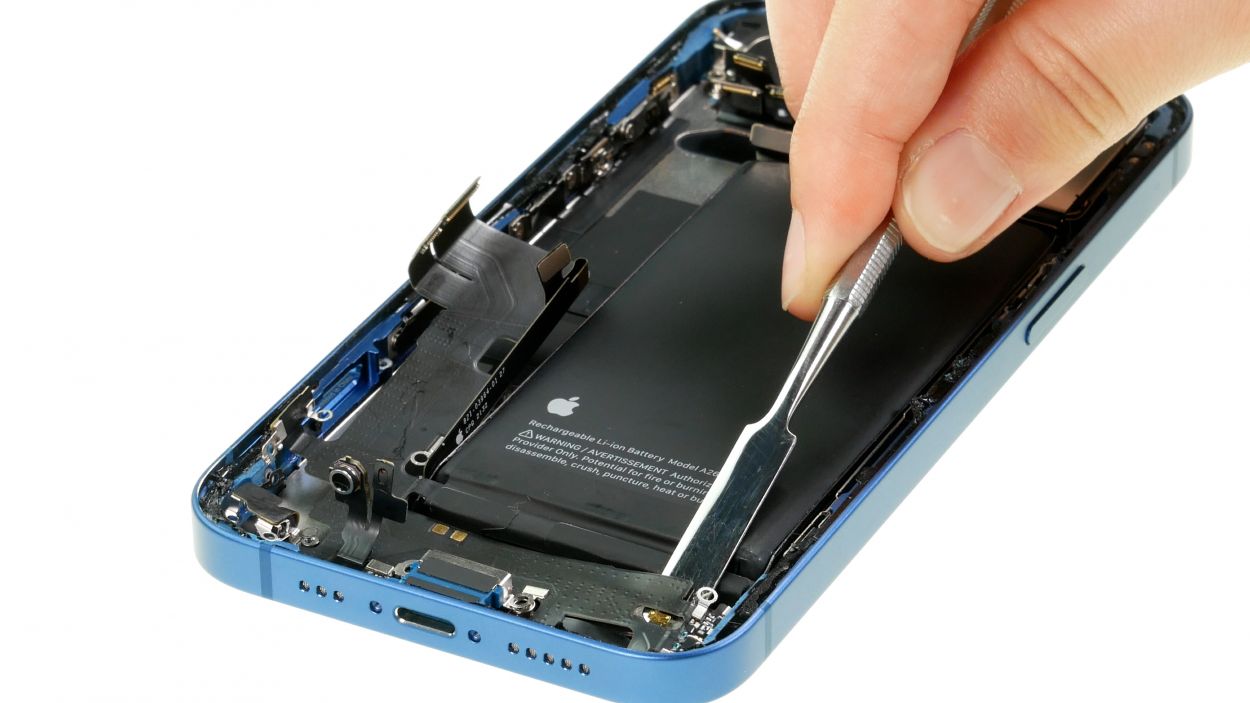
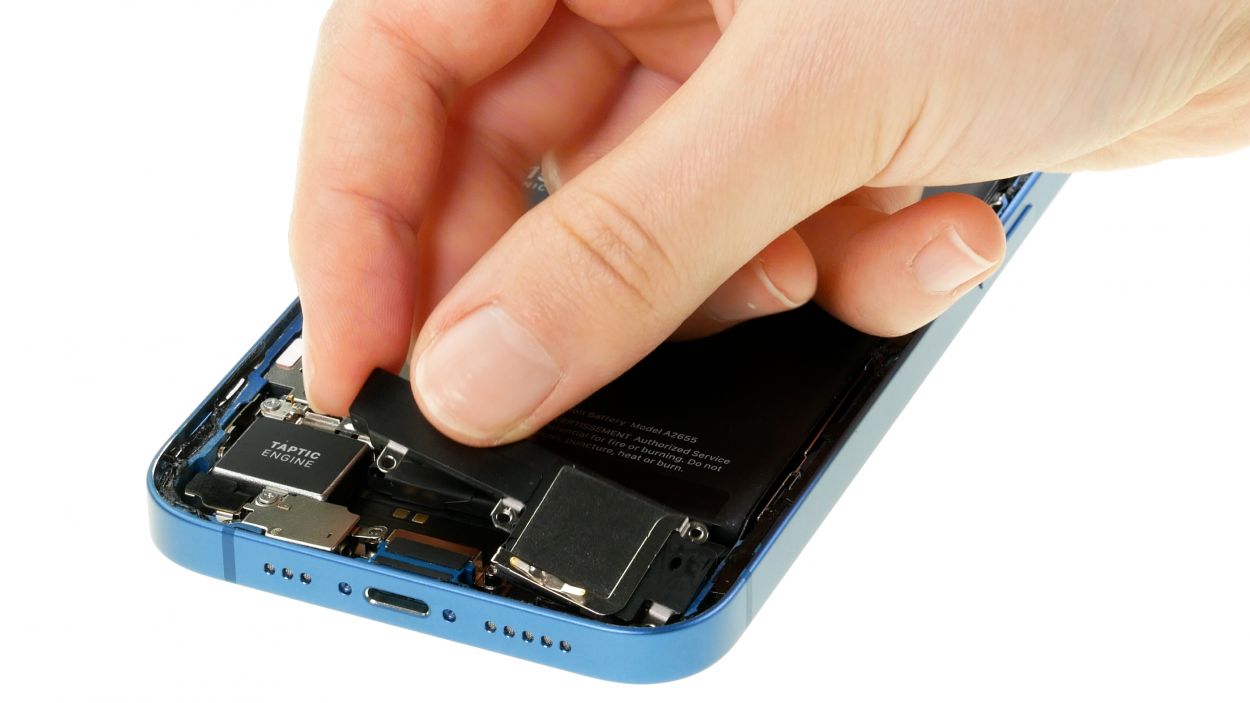
– Unscrew the two Phillips screws from the cover plate sitting above the Taptic Engine connector. You’re doing awesome!
– Carefully lift off that cover plate from your device. You’ve got this!
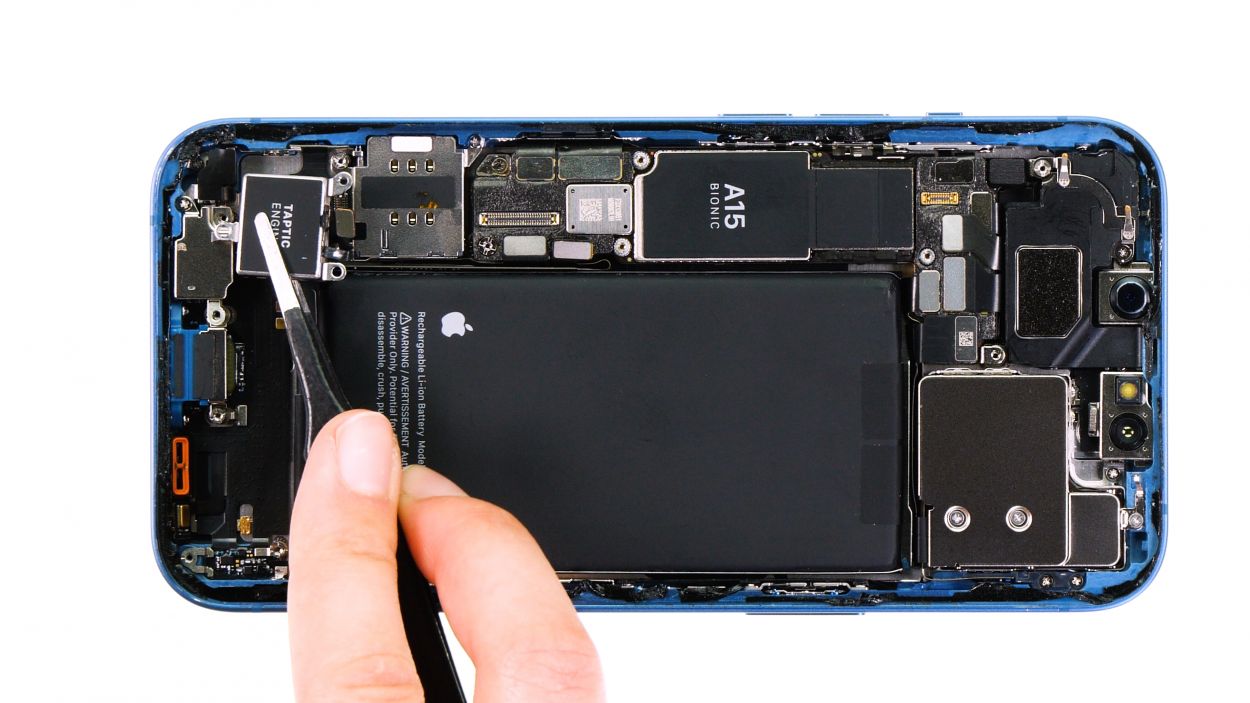
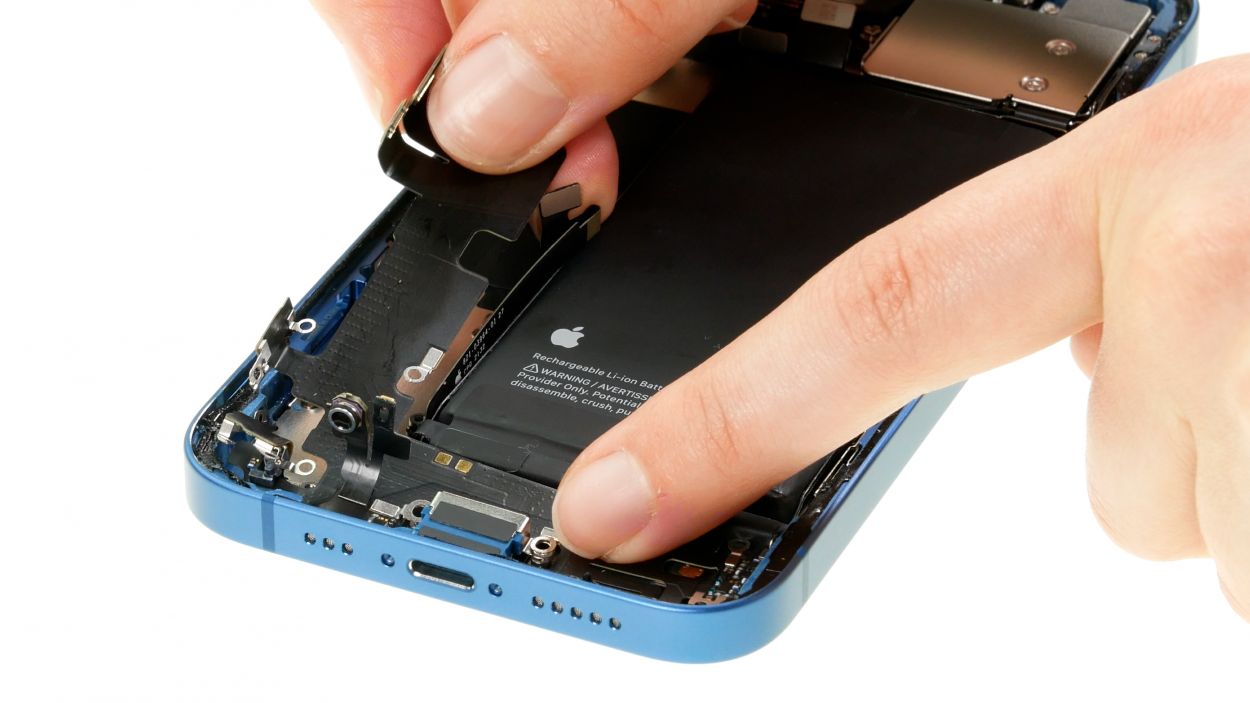
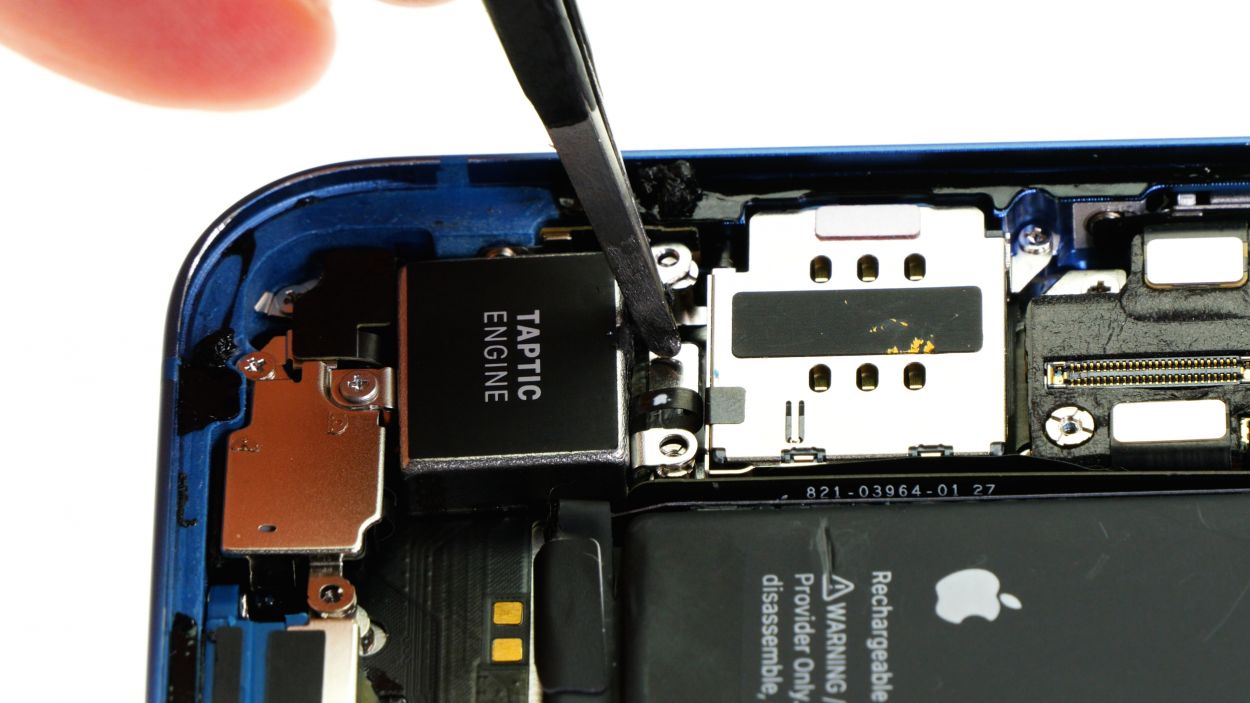
Step 12
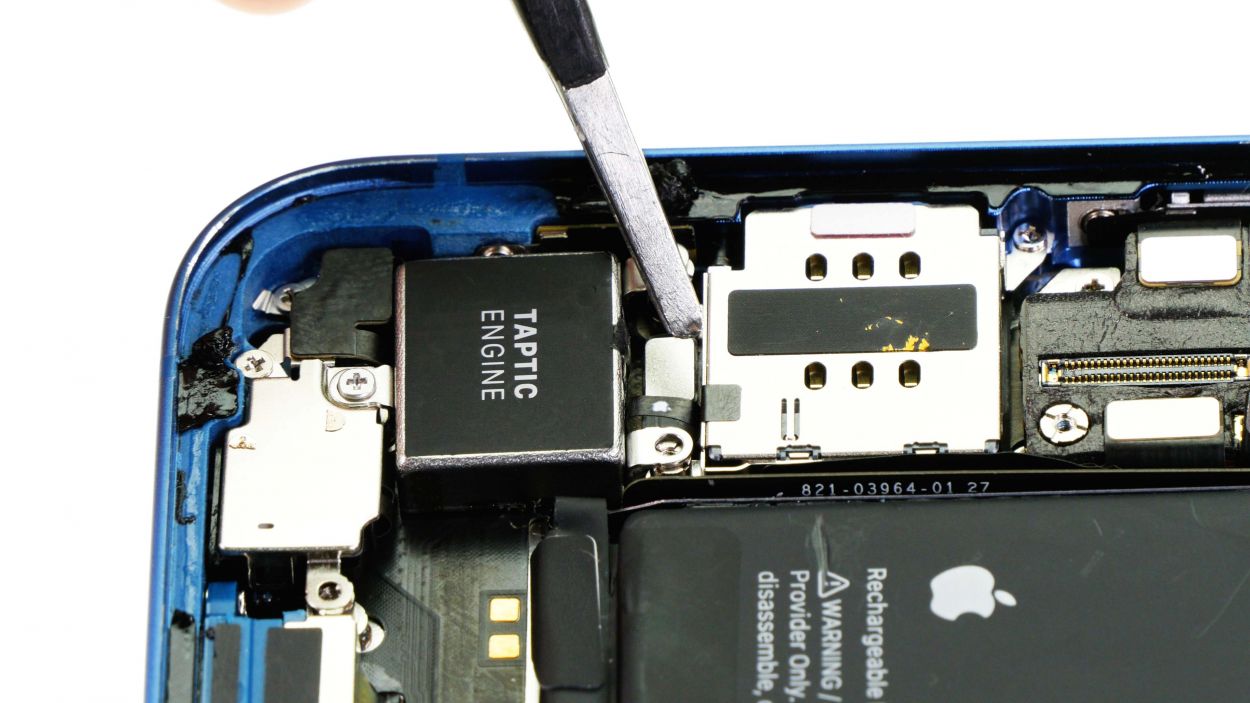
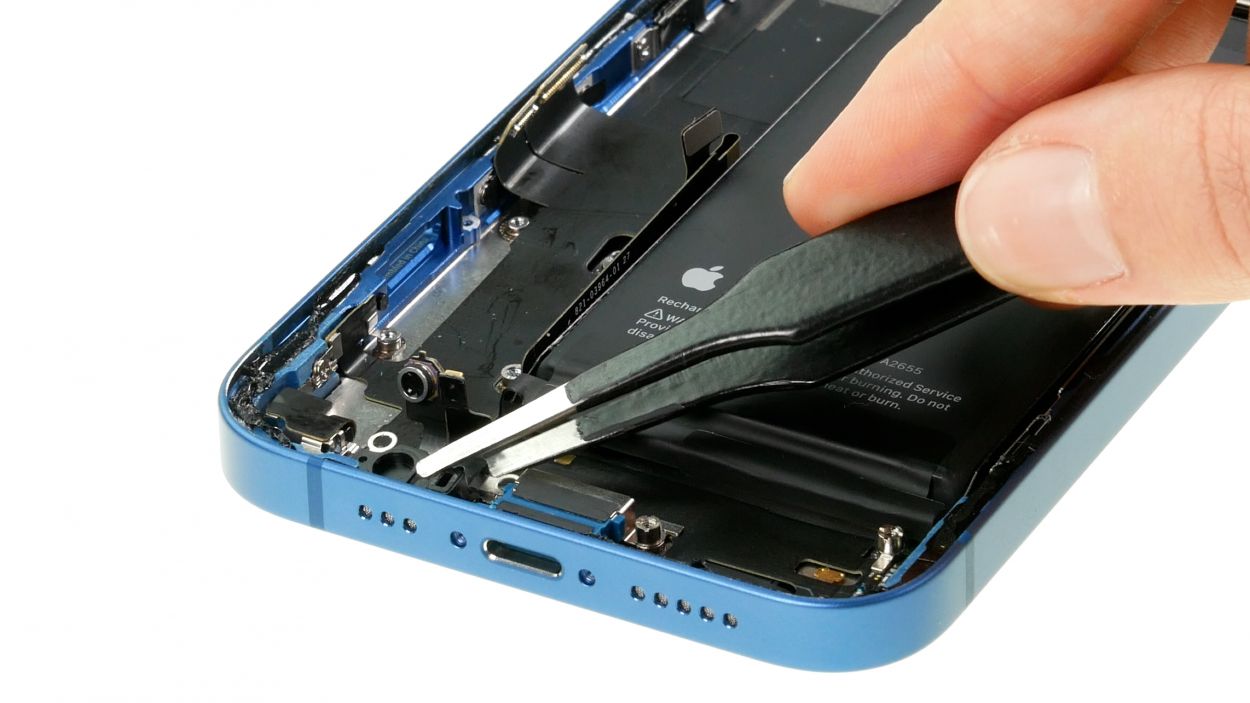
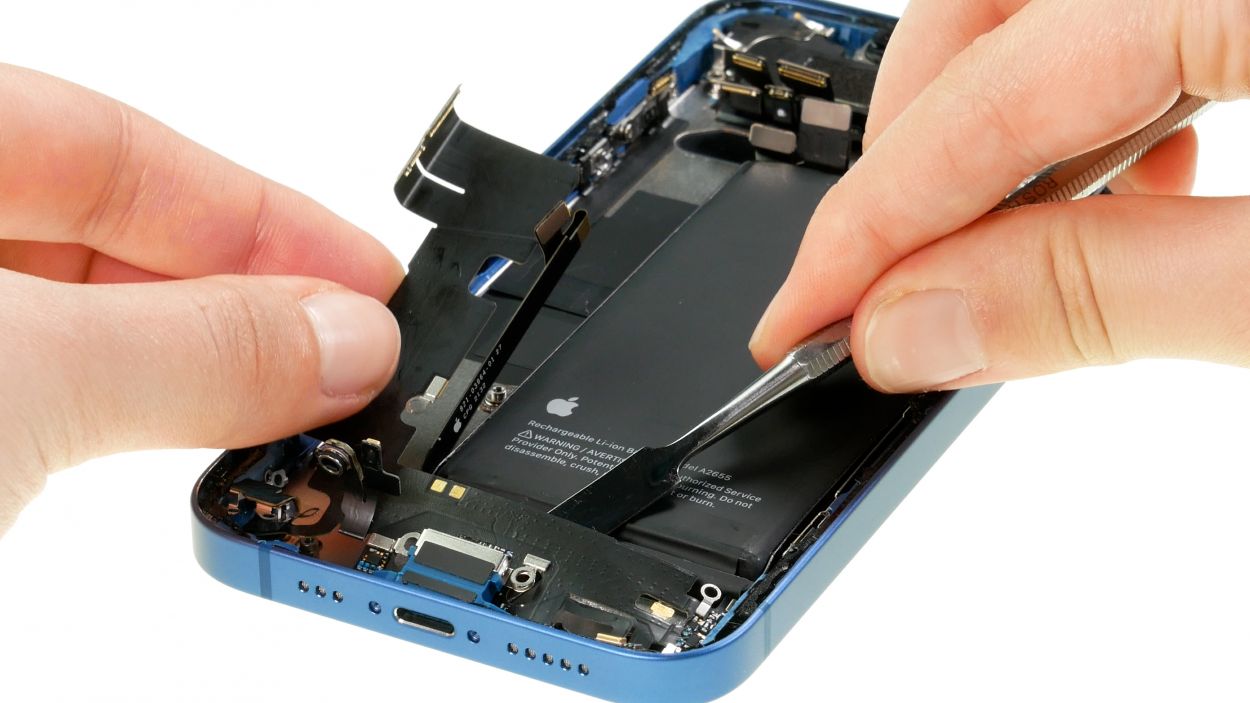
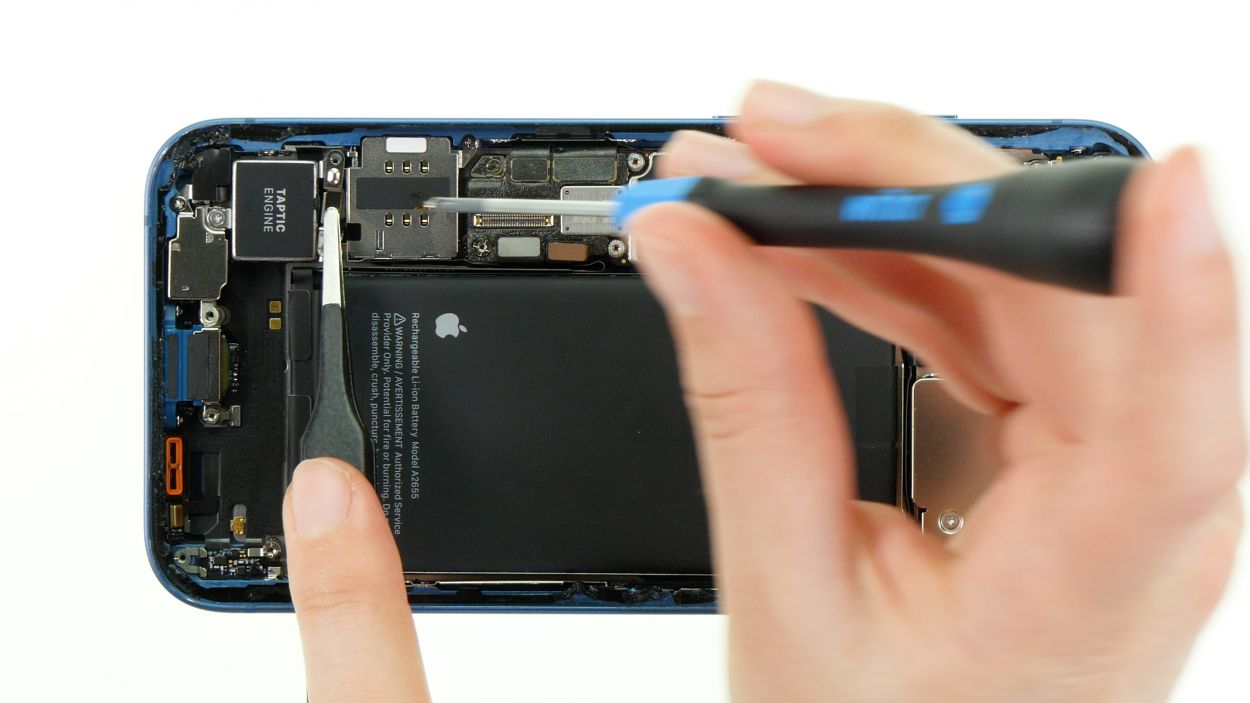
The Taptic Engine’s connector likes to play hide and seek, sitting a bit deeper in the case unit. This means it can be a tad trickier to detach compared to the other connectors on your iPhone 13. But don’t worry, you’ve got the skills to handle it!
– Gently wiggle that connector away from the logic board using a spudger or ESD tweezers. You’re doing great!
Tools Used
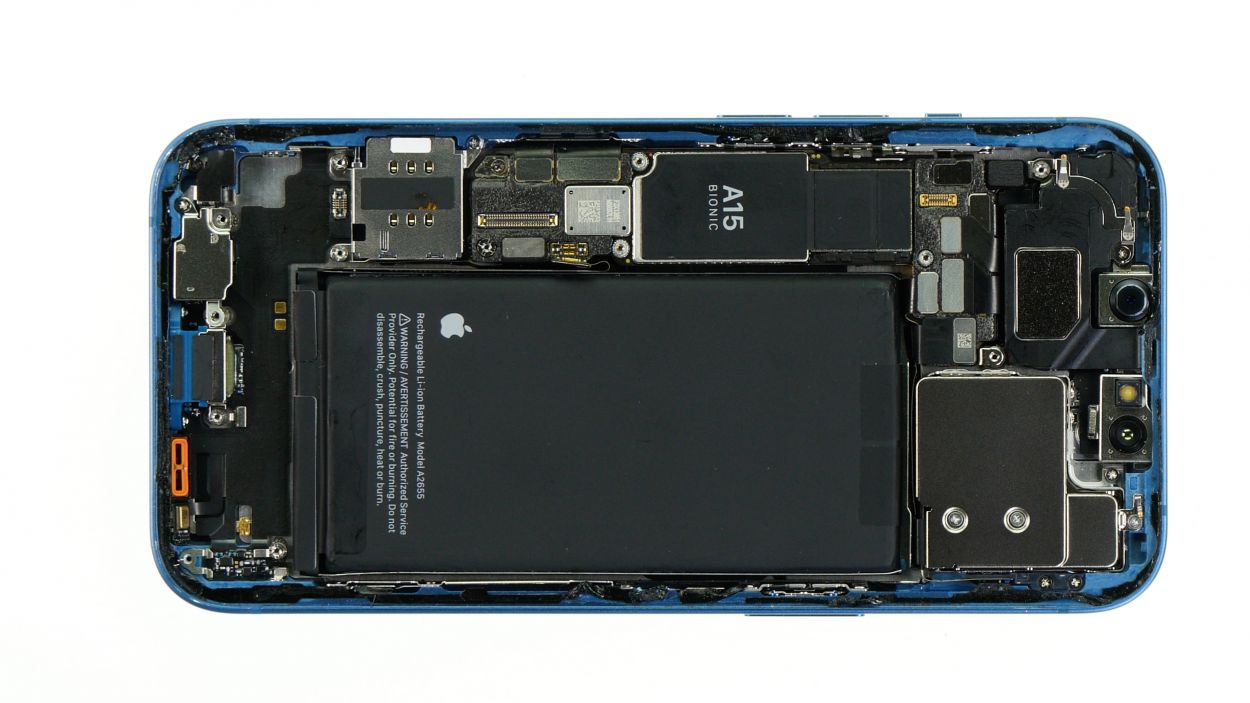
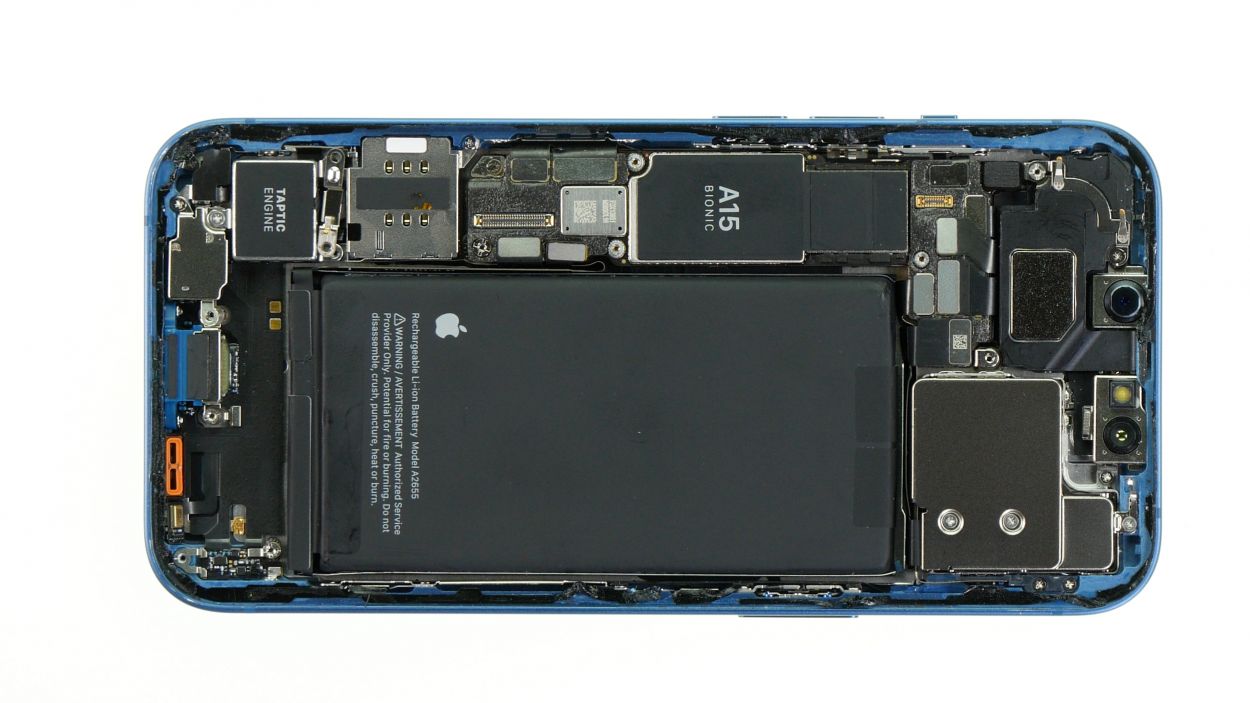
Step 13
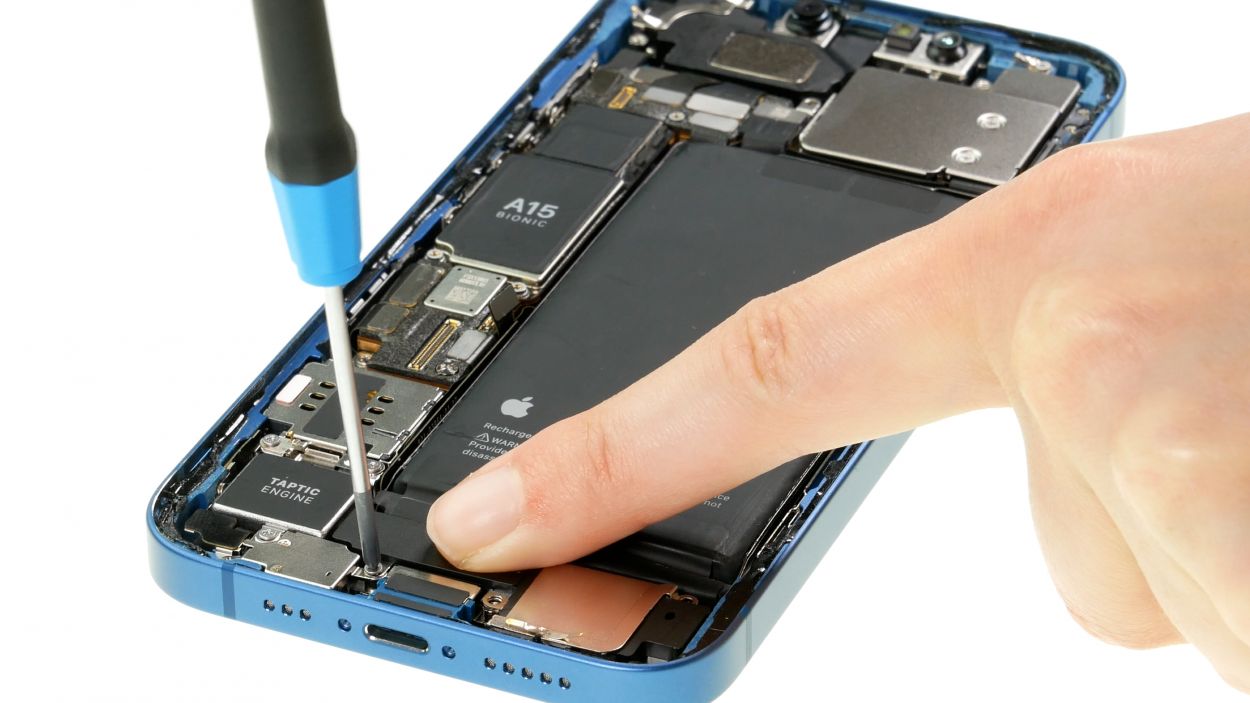
1 × 2.1 mm Phillips
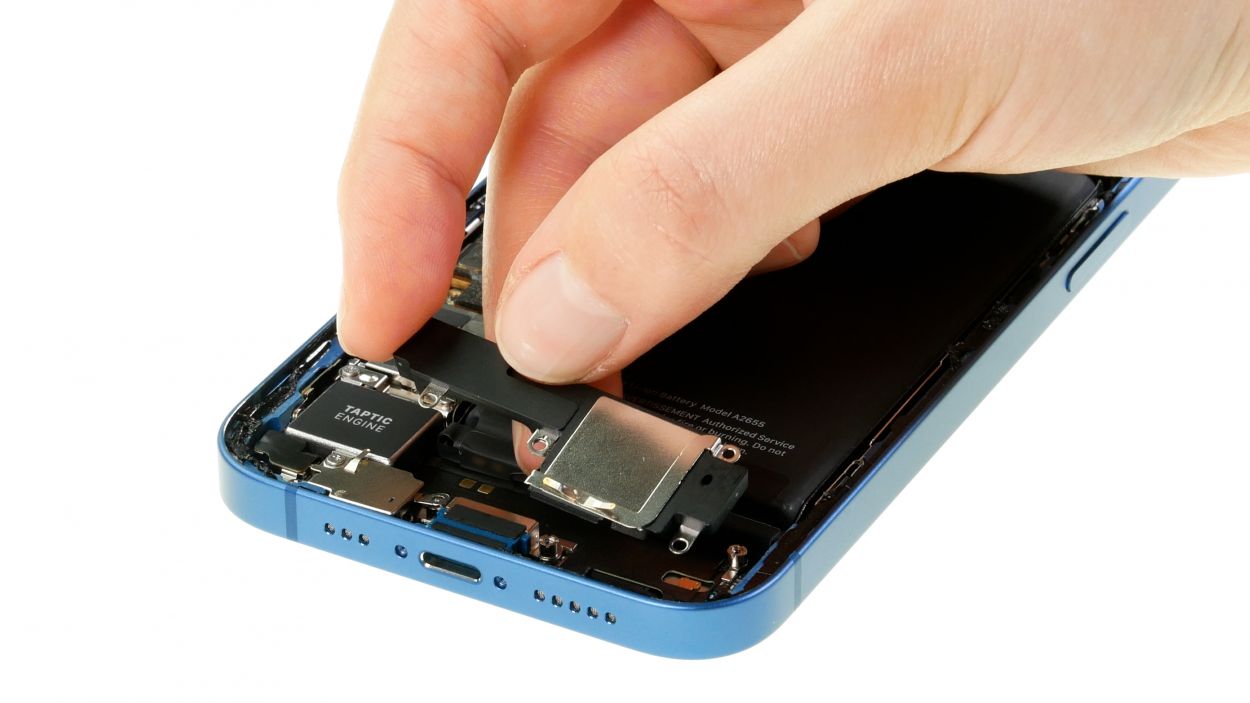
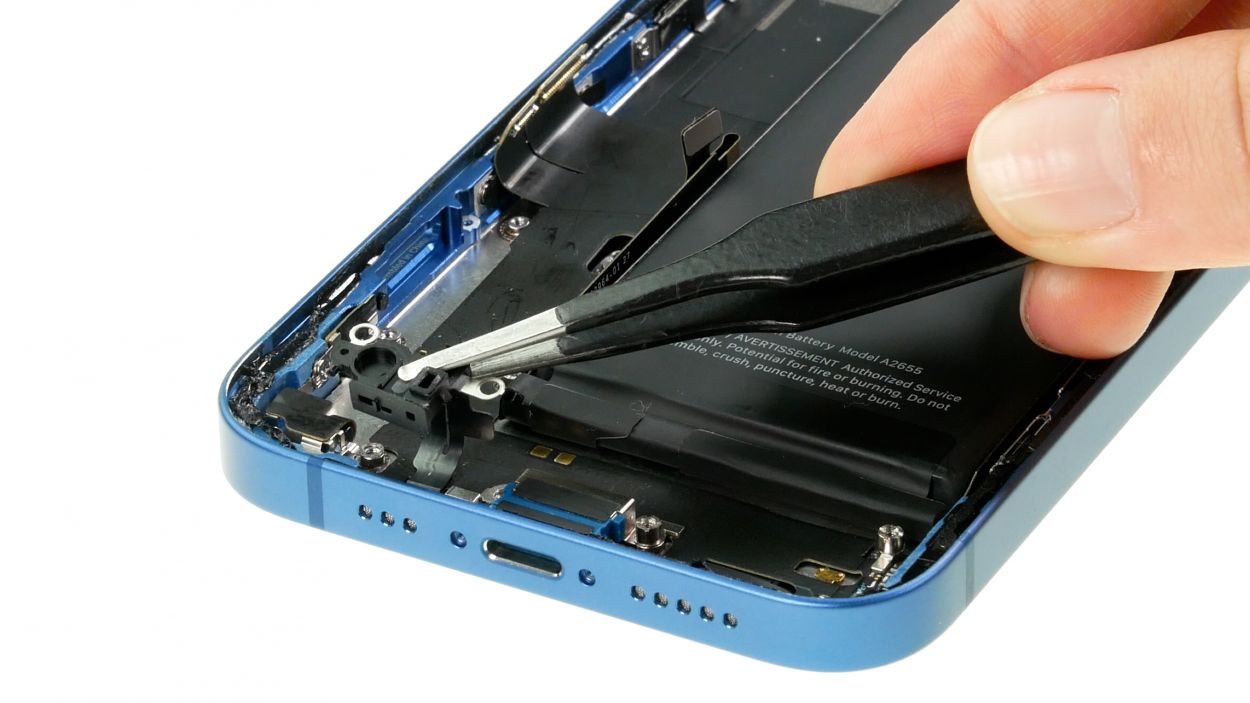
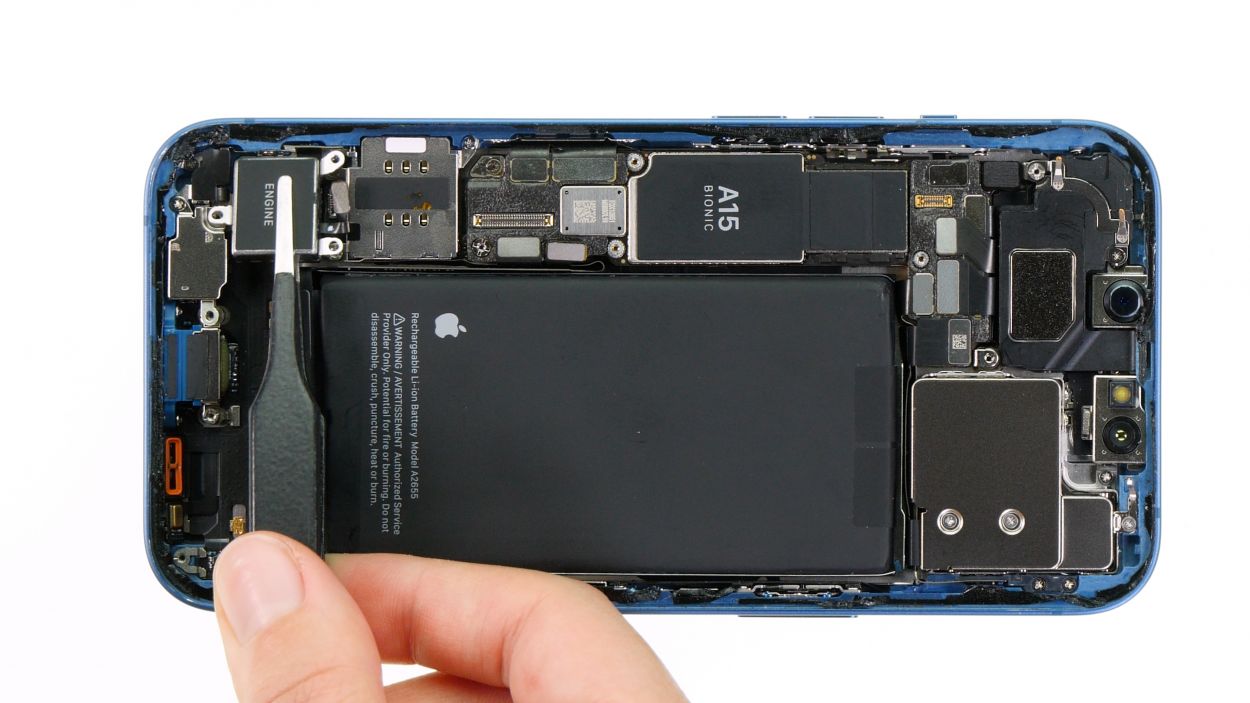
– Unscrew the lone Phillips screw that’s keeping the Taptic Engine cozy in its spot. You can do it!
– Once it’s free, gently lift that Taptic Engine out of your device and set it aside like a pro!
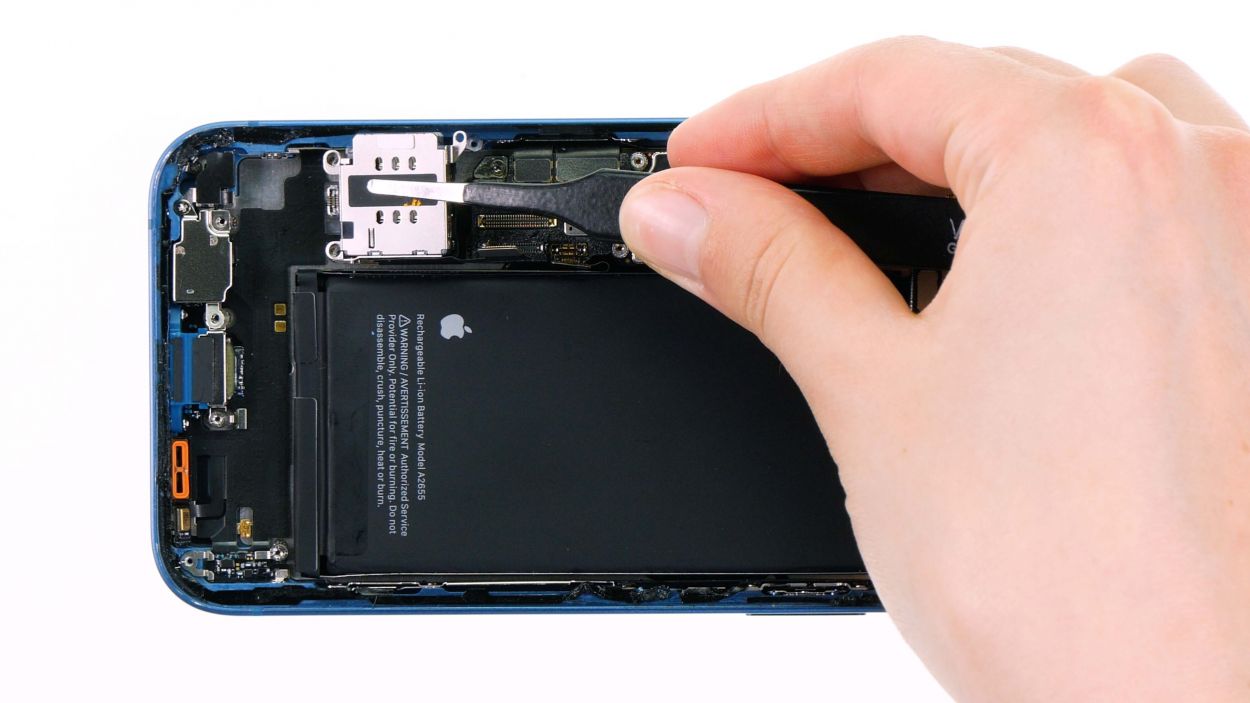
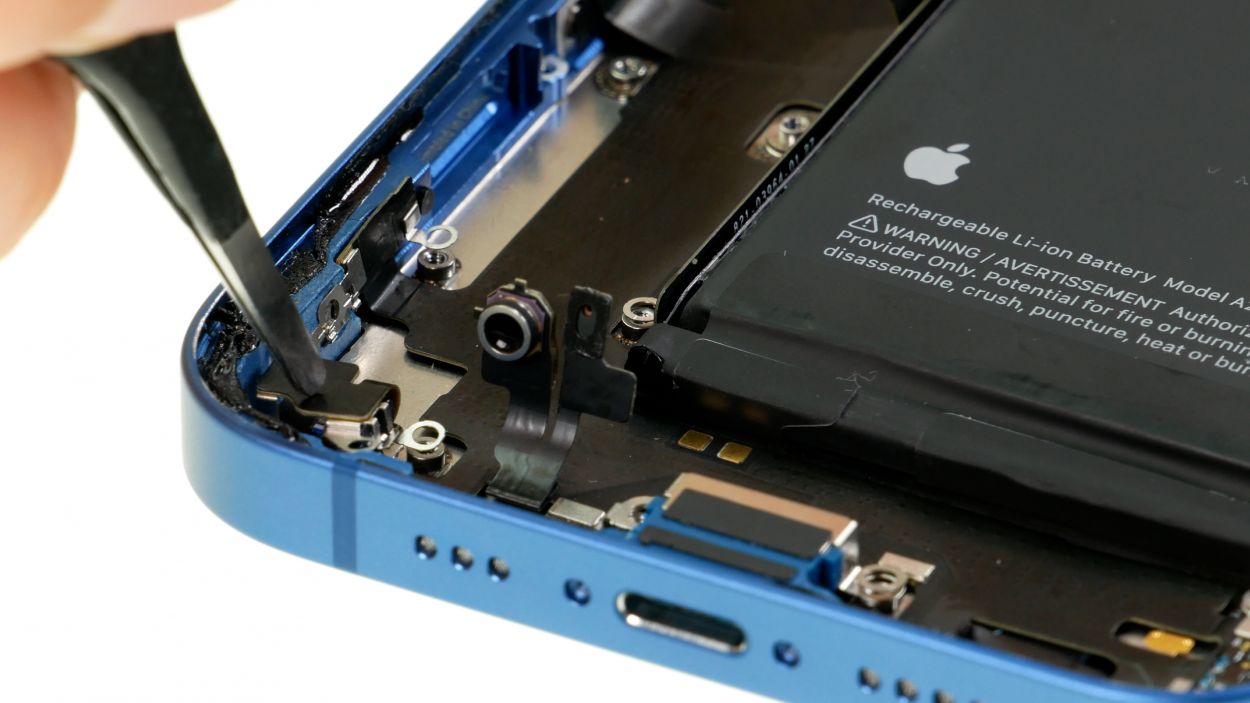
Step 14
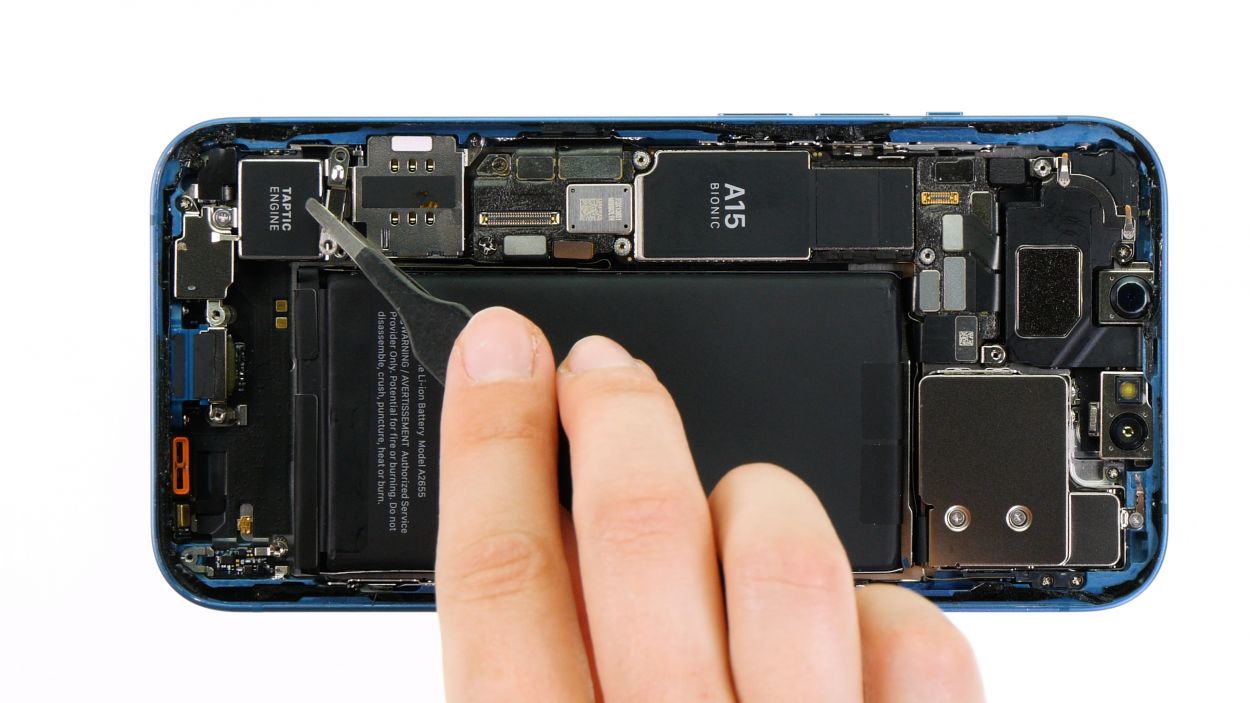
– Use a spudger to gently coax the SIM module connector away from the logic board. You’ve got this!
Tools Used
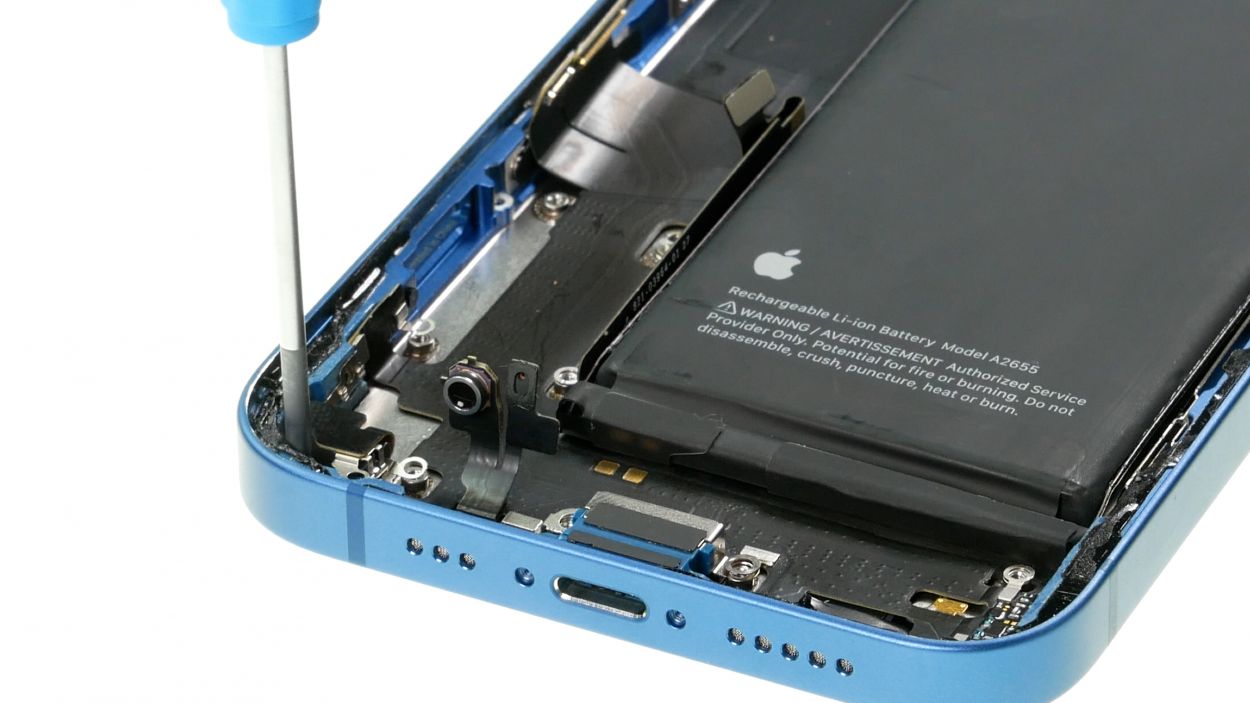
Step 15
1 × 1.2 mm Phillips
2 × 3.1 mm Standoff
– Unscrew the three screws that hold the SIM module snugly in its spot. You’re doing great!
– Now, gently use your tweezers to lift the freed module out of the device. You’ve got this!
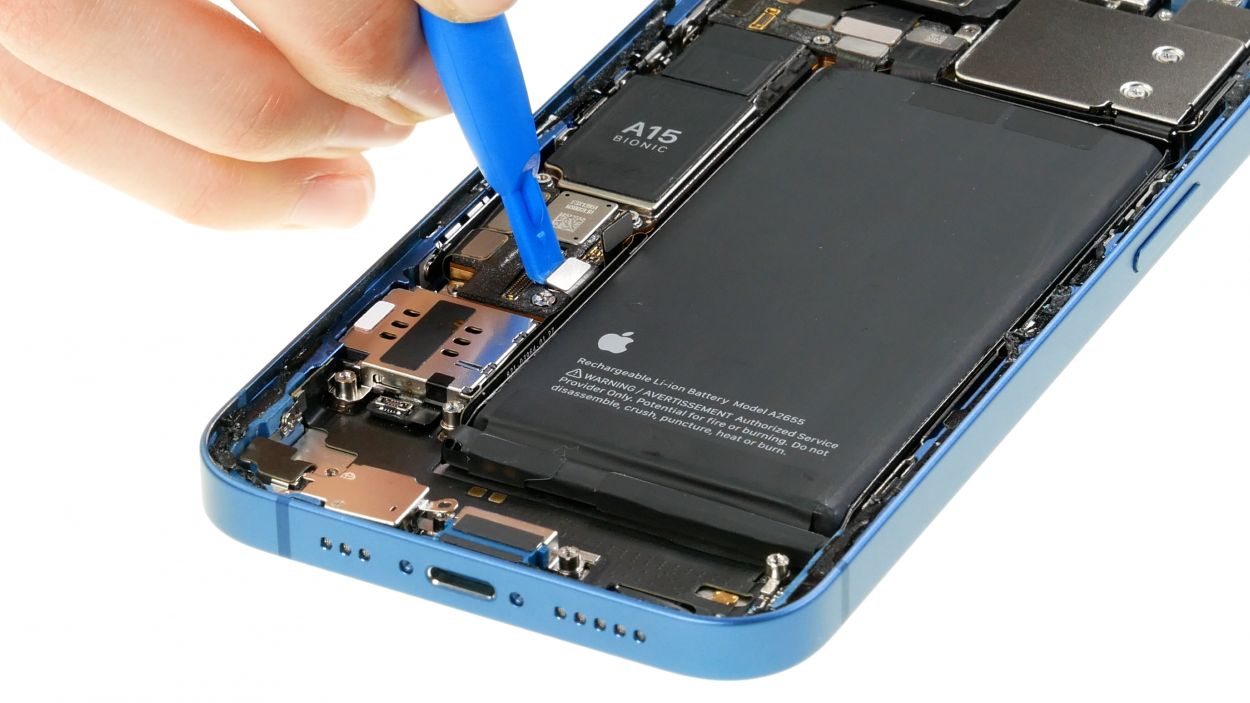
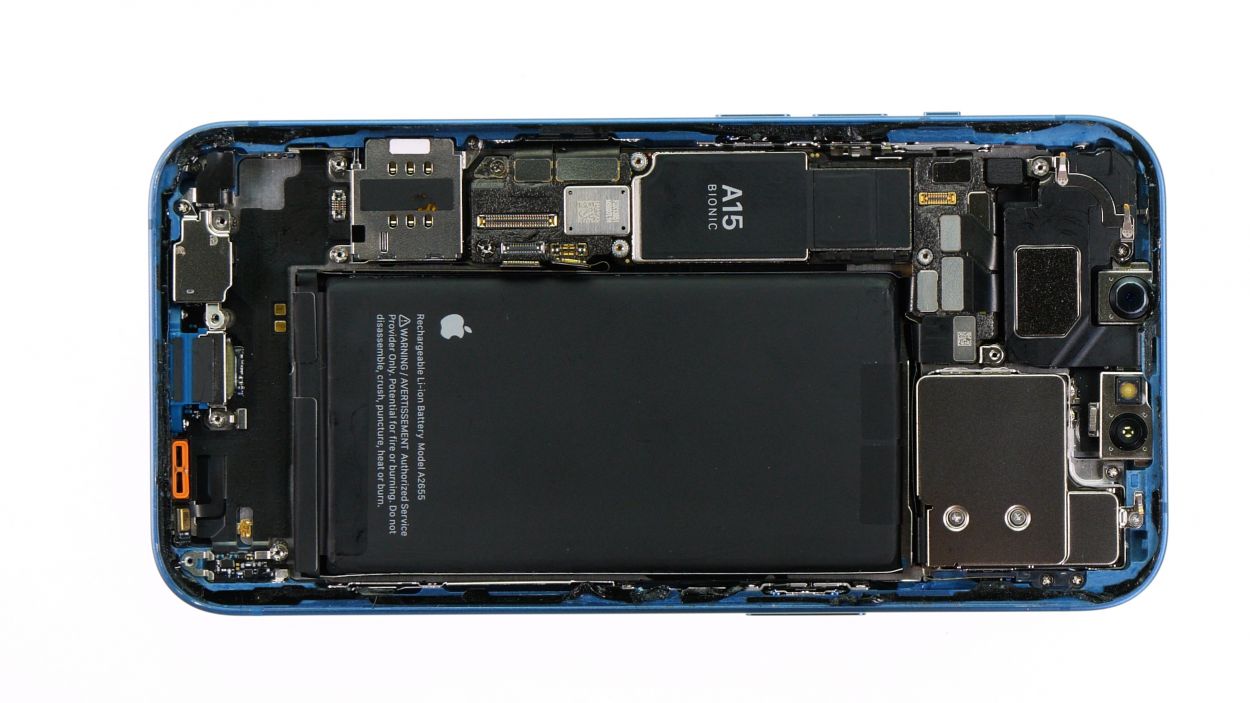
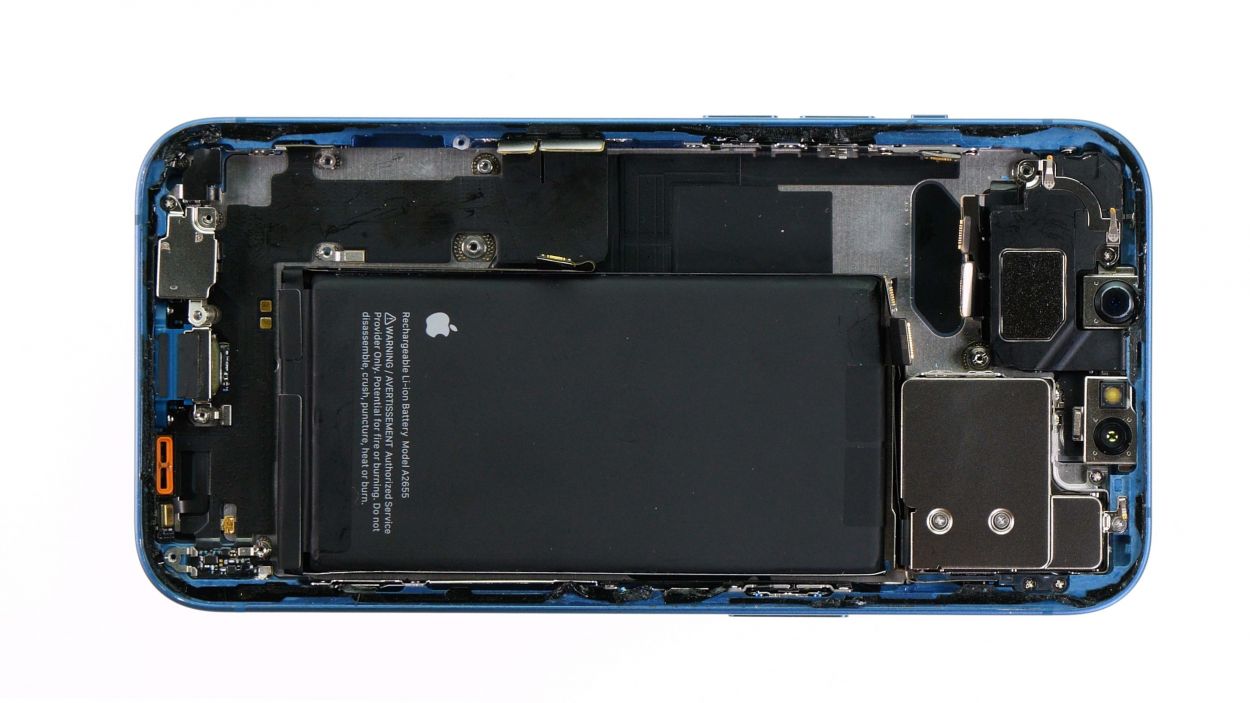
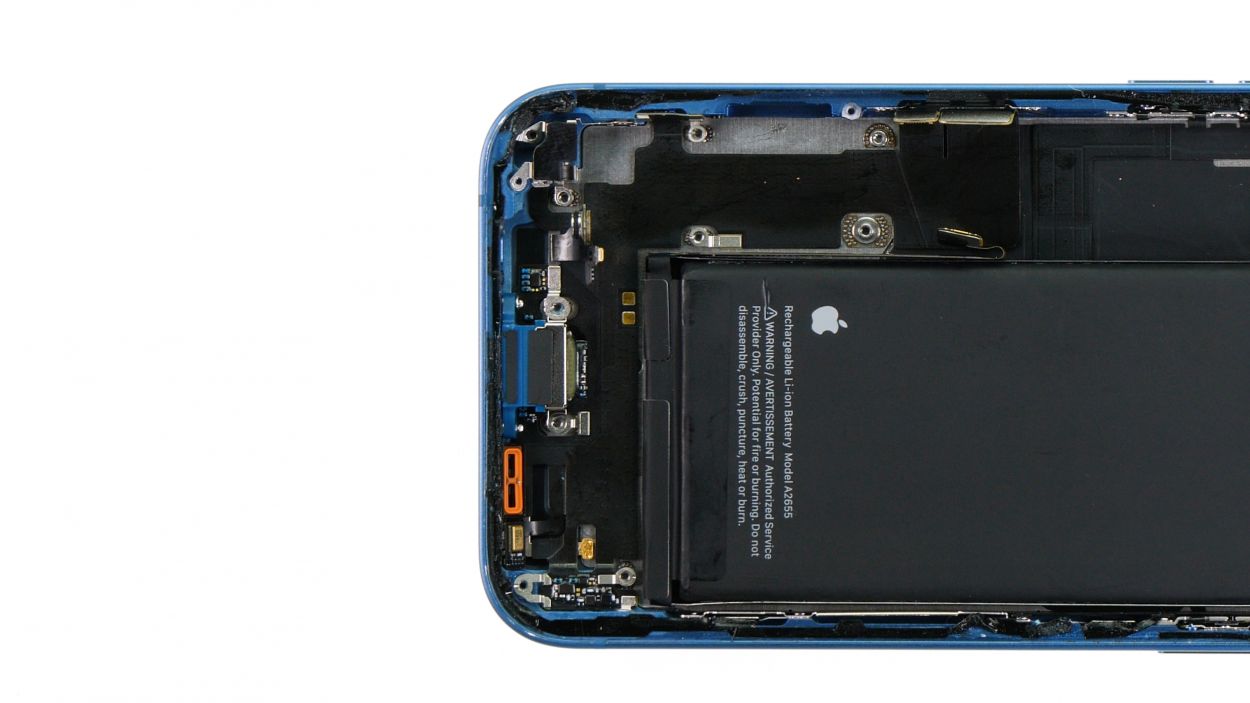
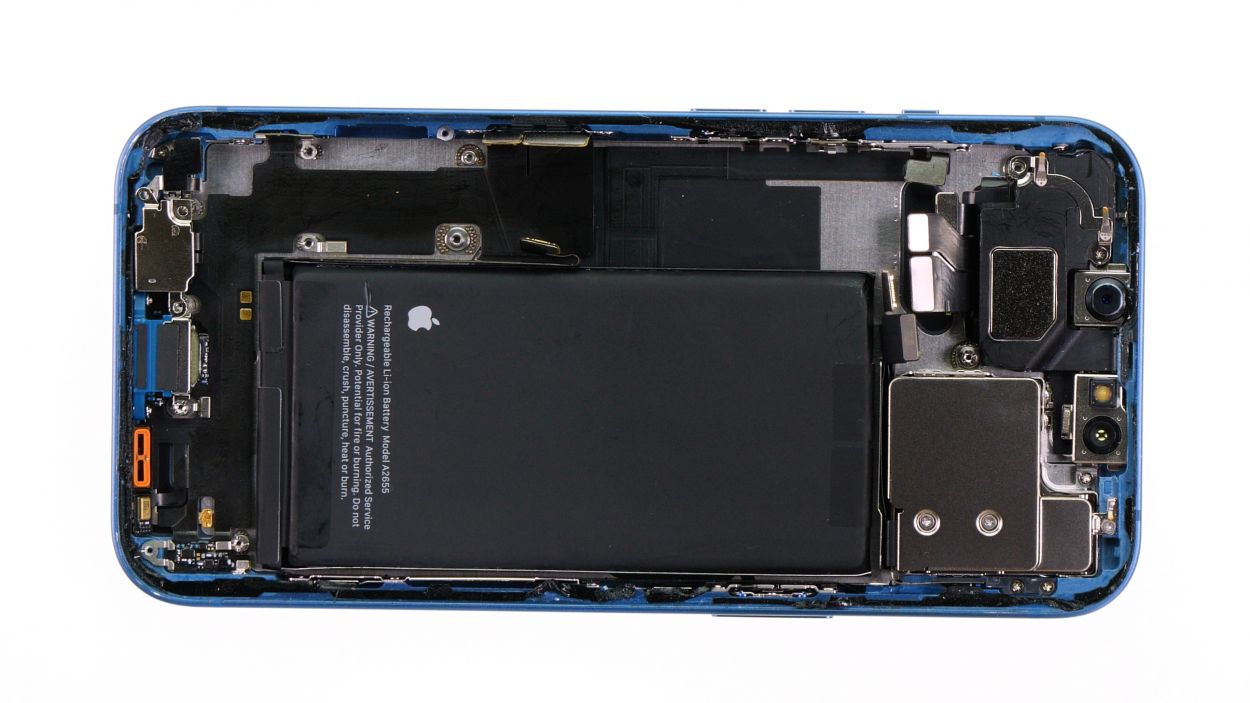
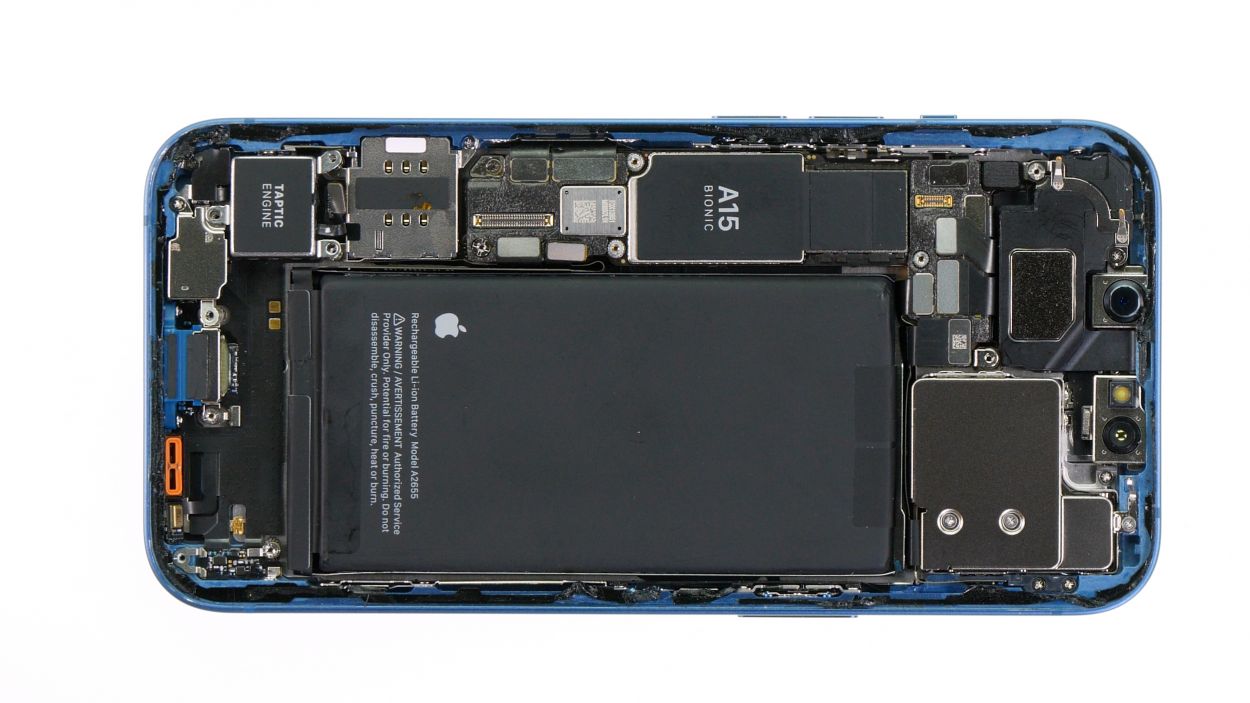
Step 16
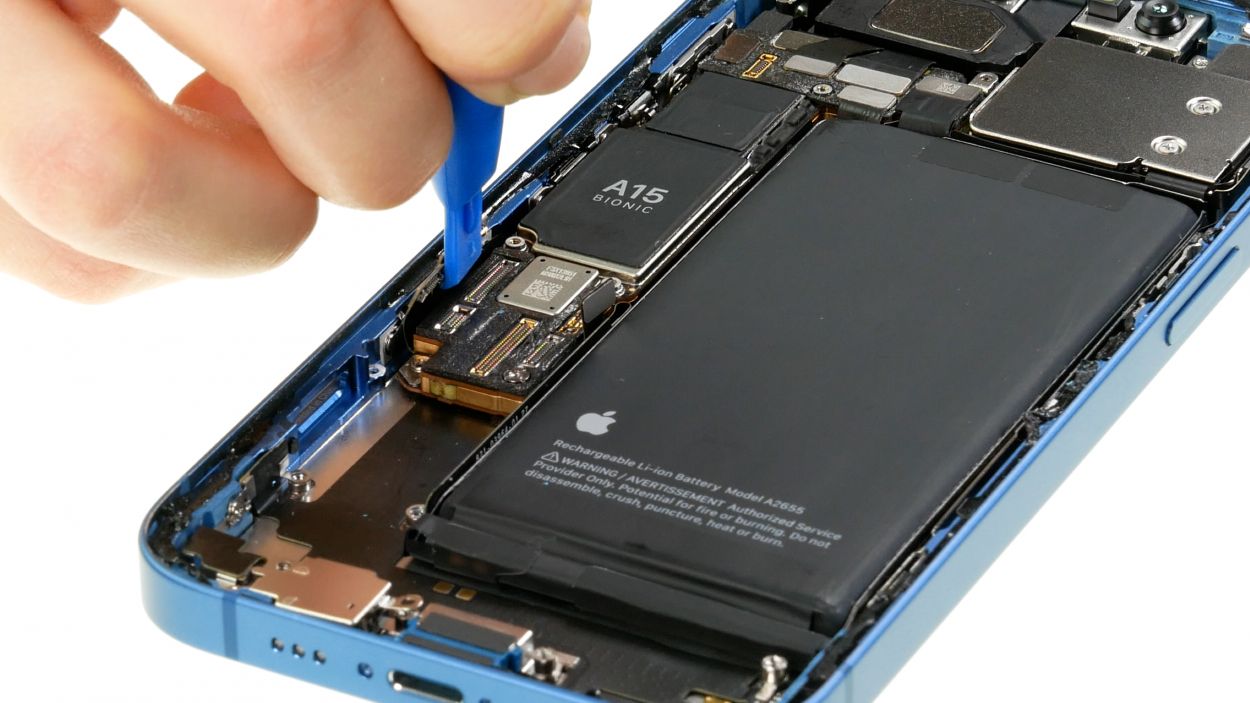
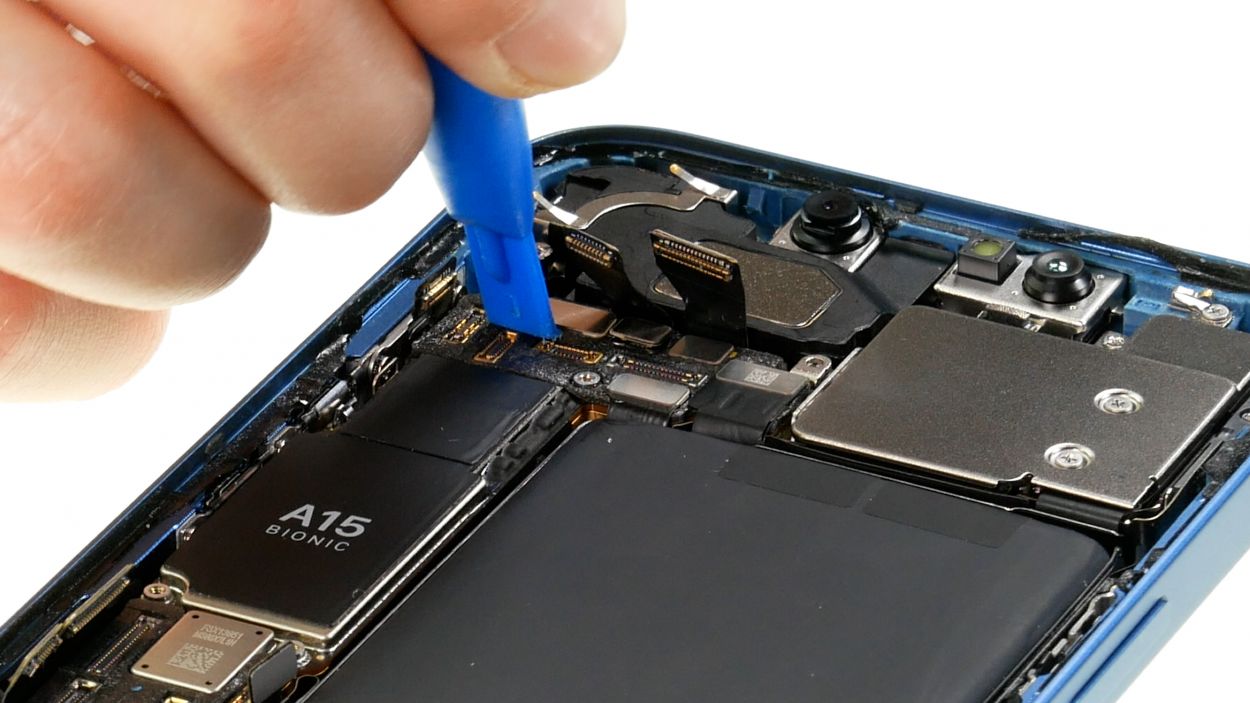
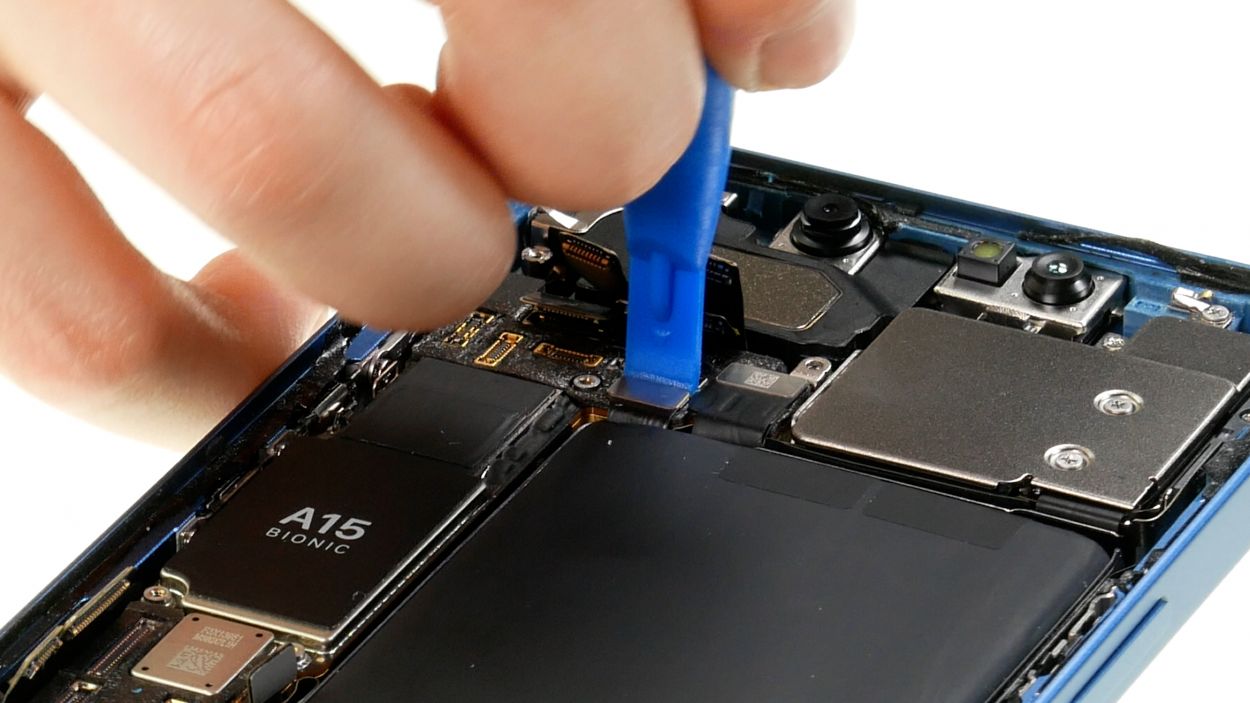
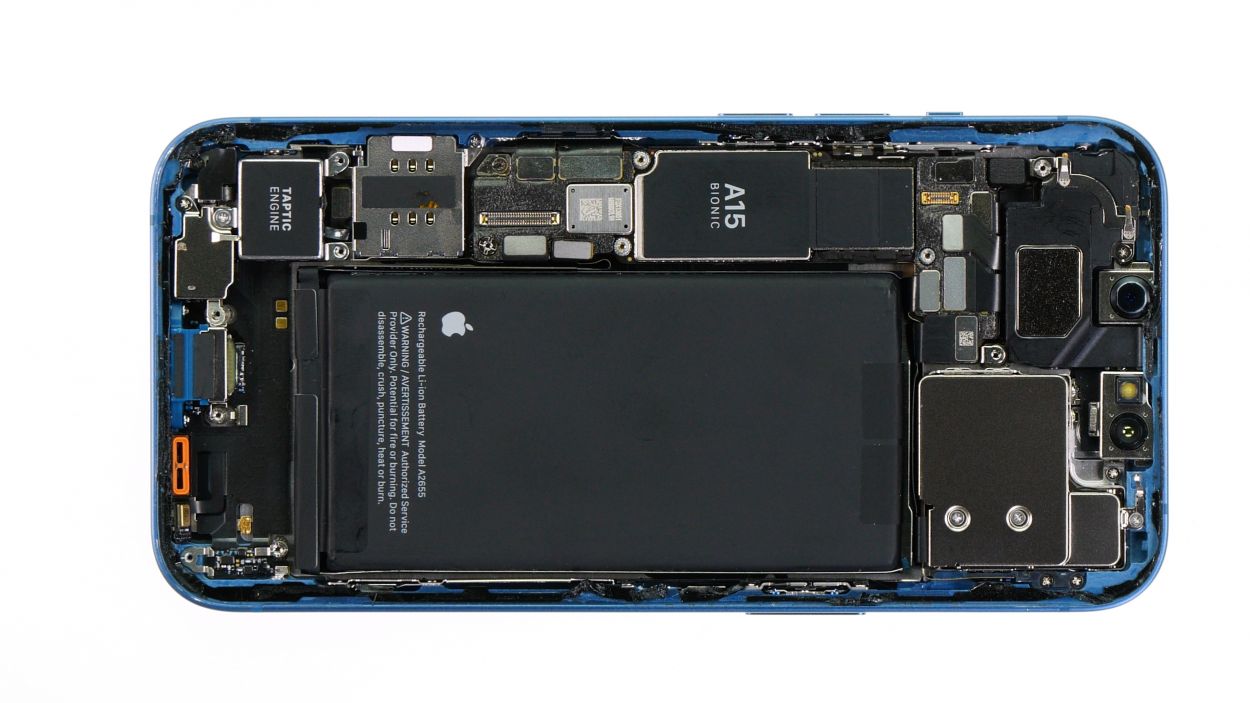
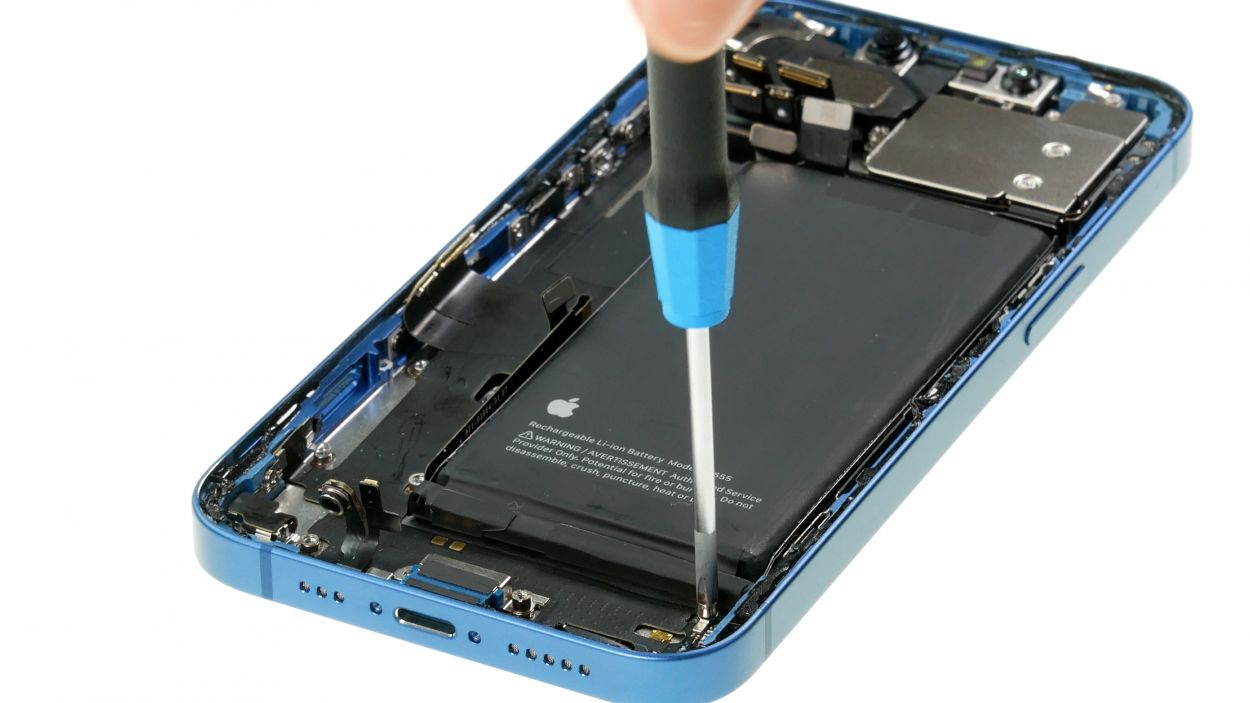
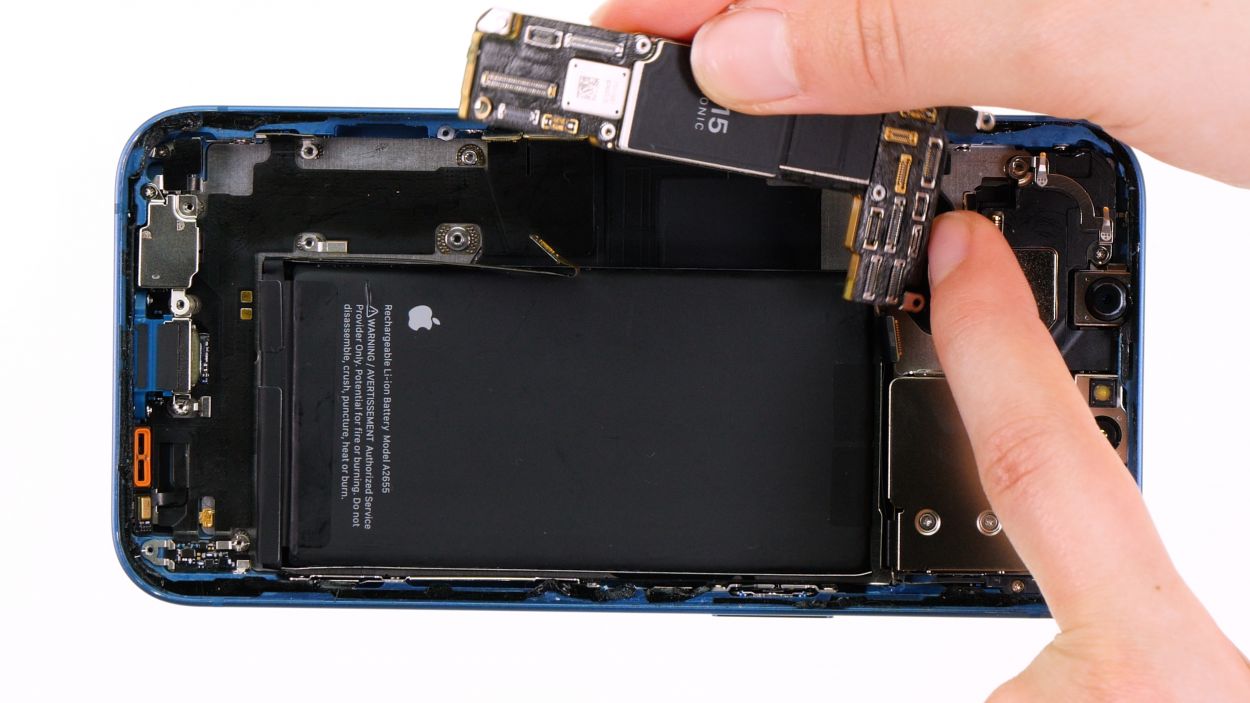
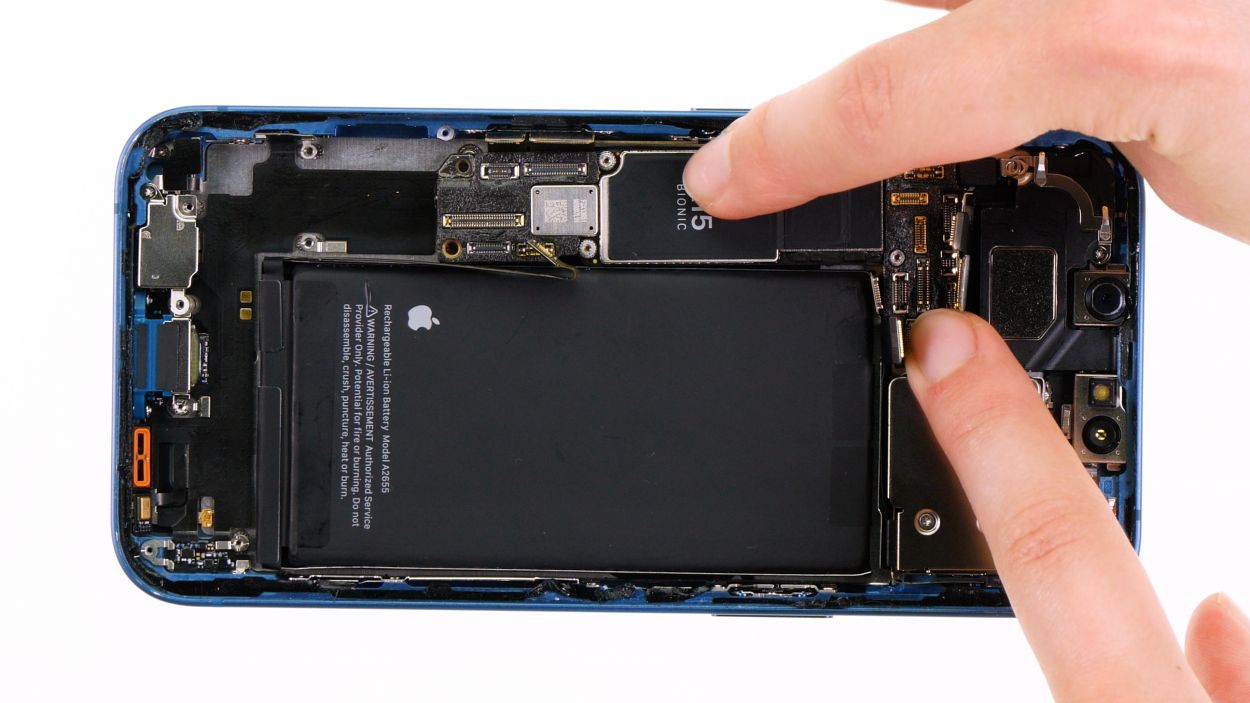
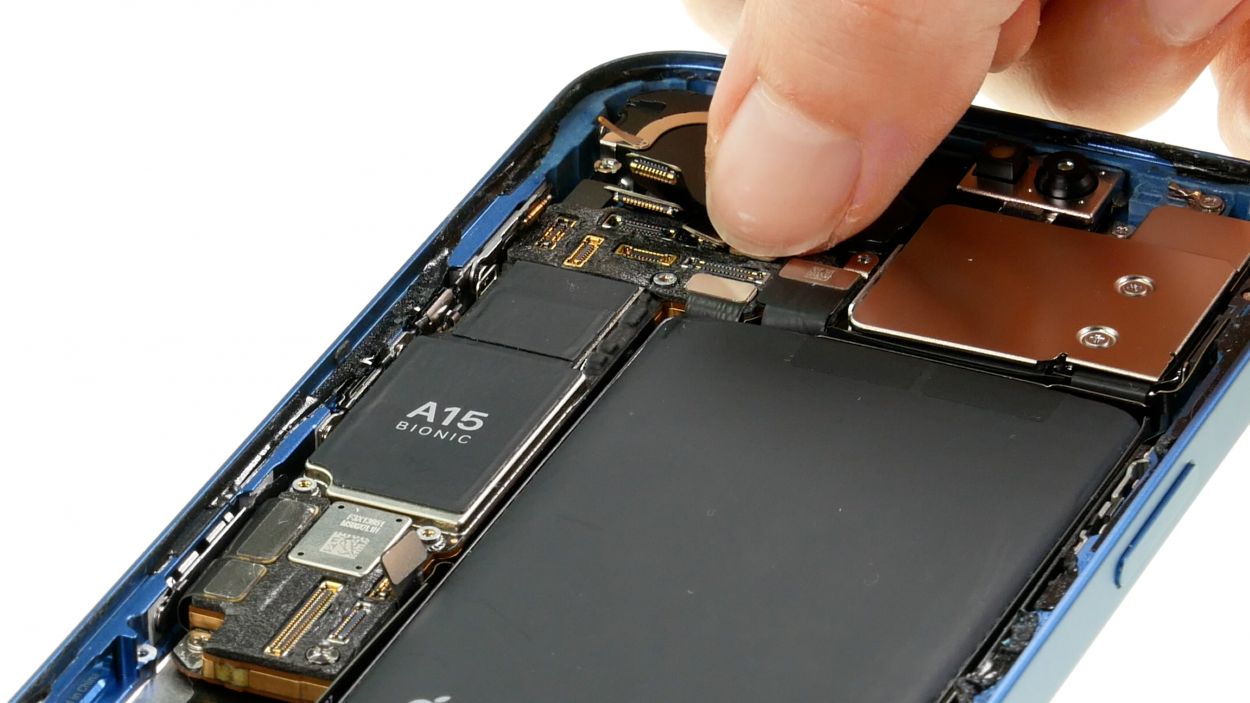
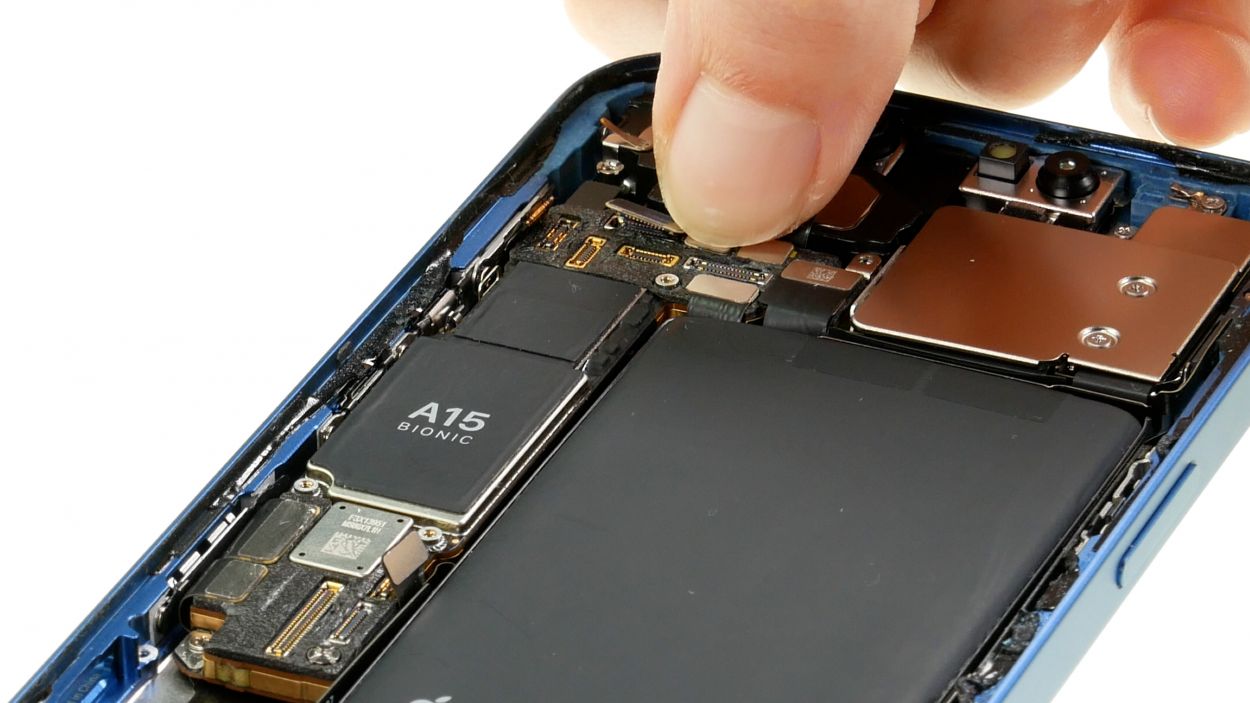
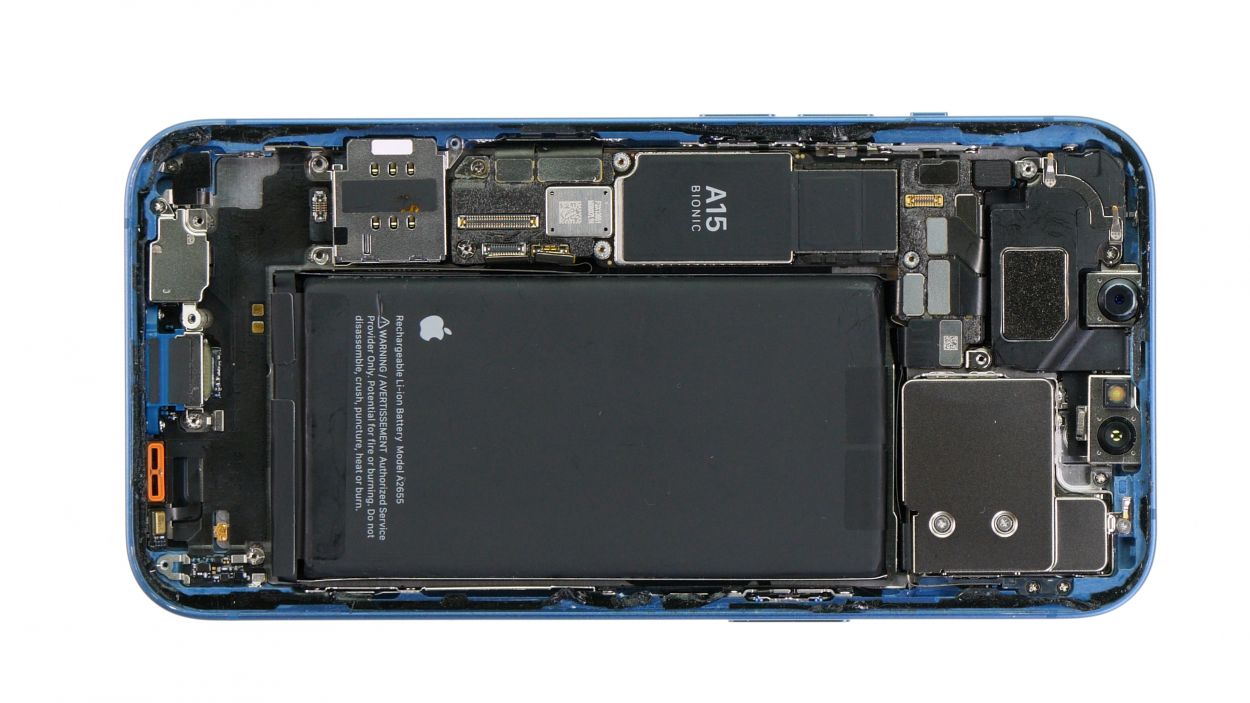
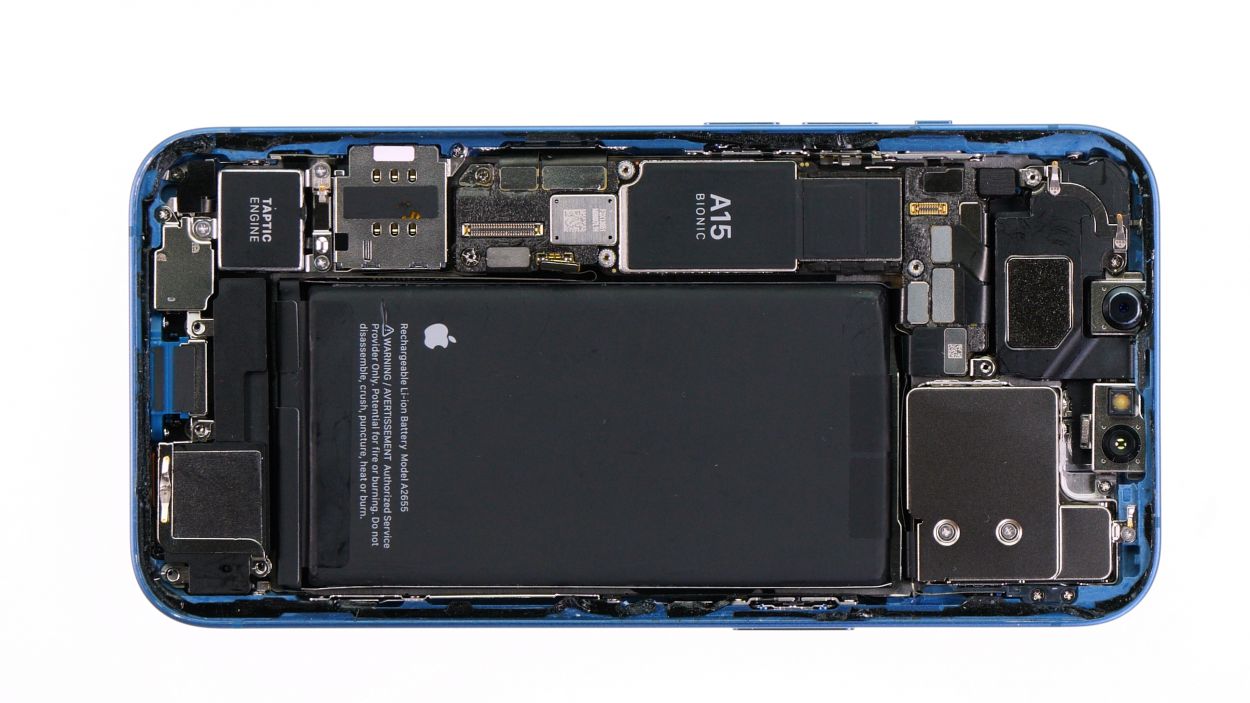
Alright, time to get down to business! Before you can say goodbye to that logic board, you’ve got to unhook all eleven connectors. Just a heads up, in some cases, you might find two connectors cozying up right on top of each other. Let’s get to it!
– Gently pry apart the connectors from the board using a spudger. You’re on the right track!
Tools Used
Step 17
1 × 1.6 mm Phillips
1 × 3,9 mm Standoff
1 × 3,3 mm Standoff
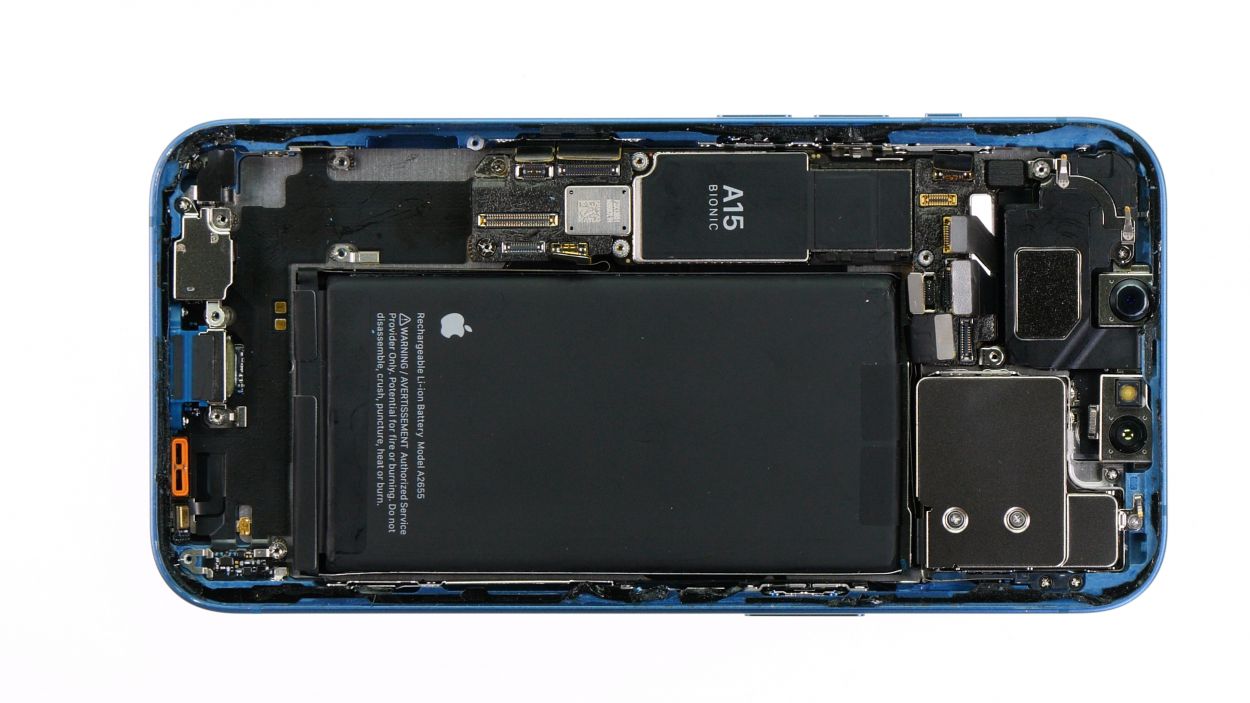
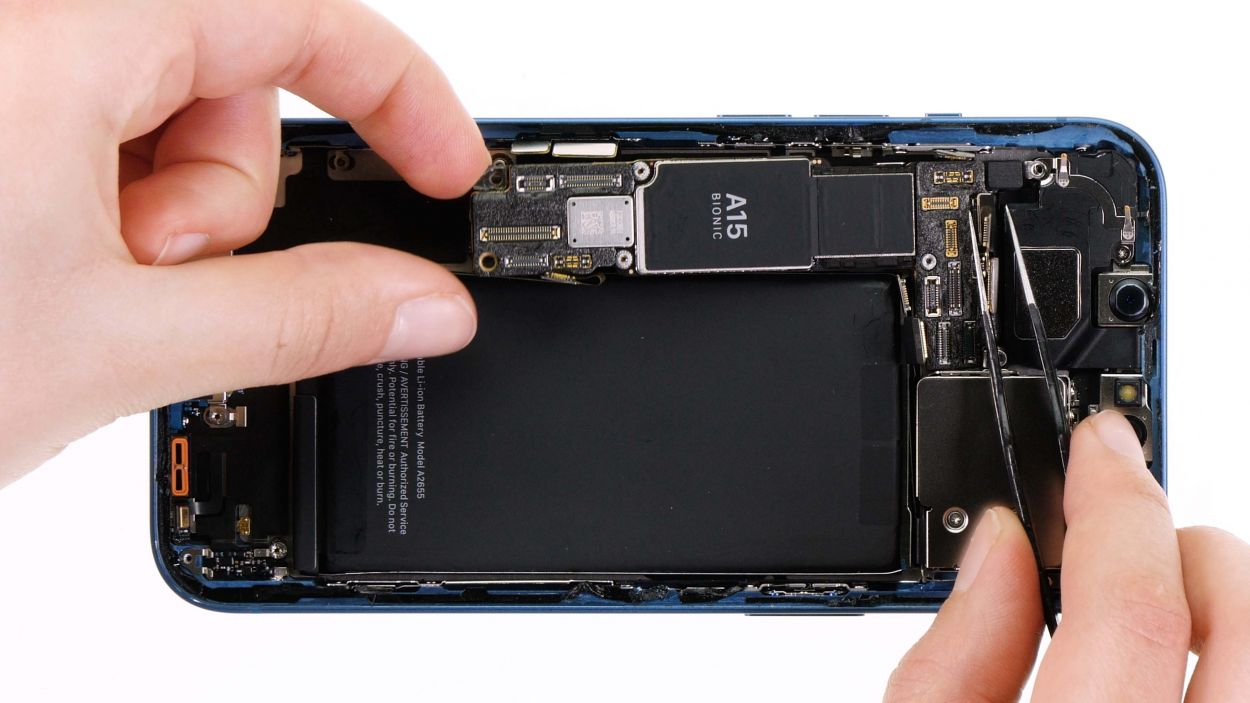
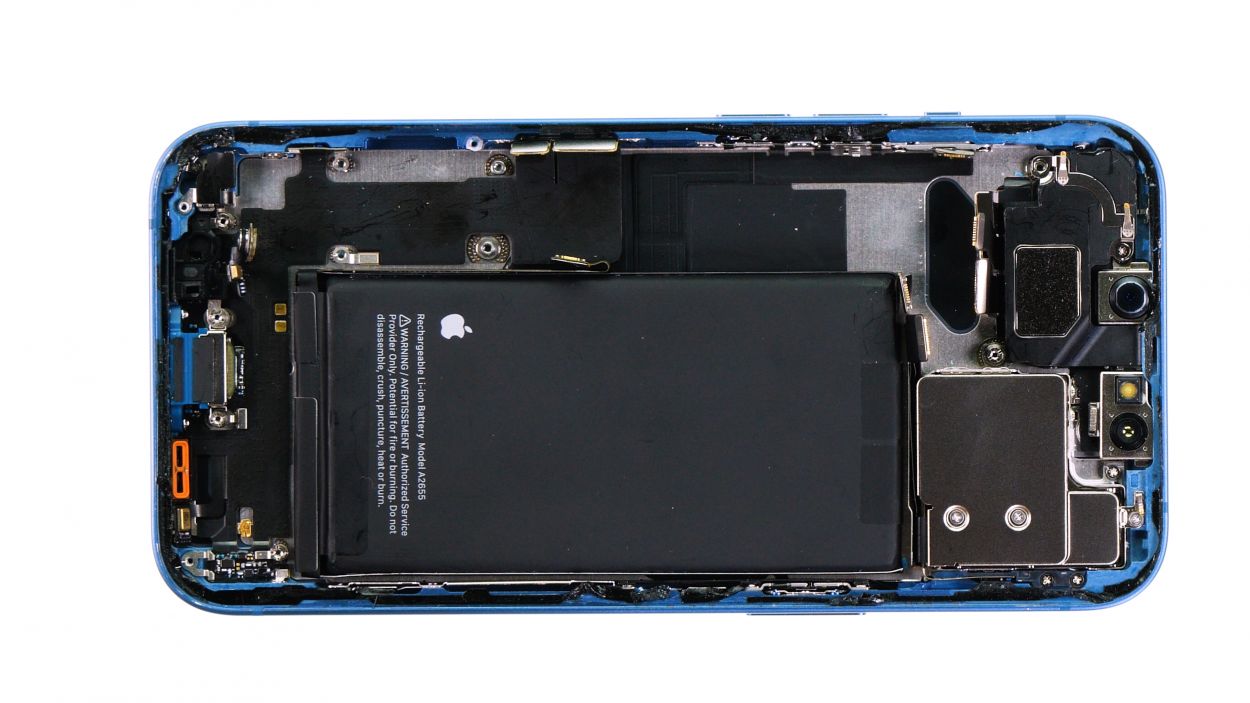
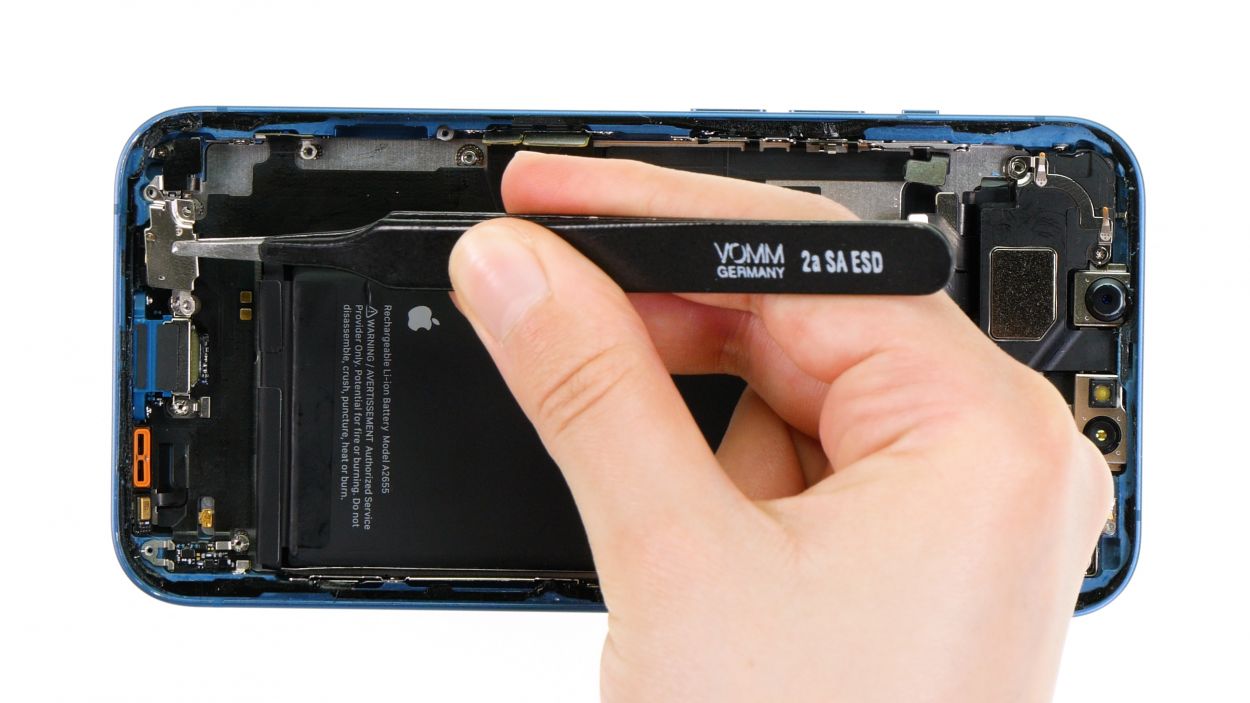
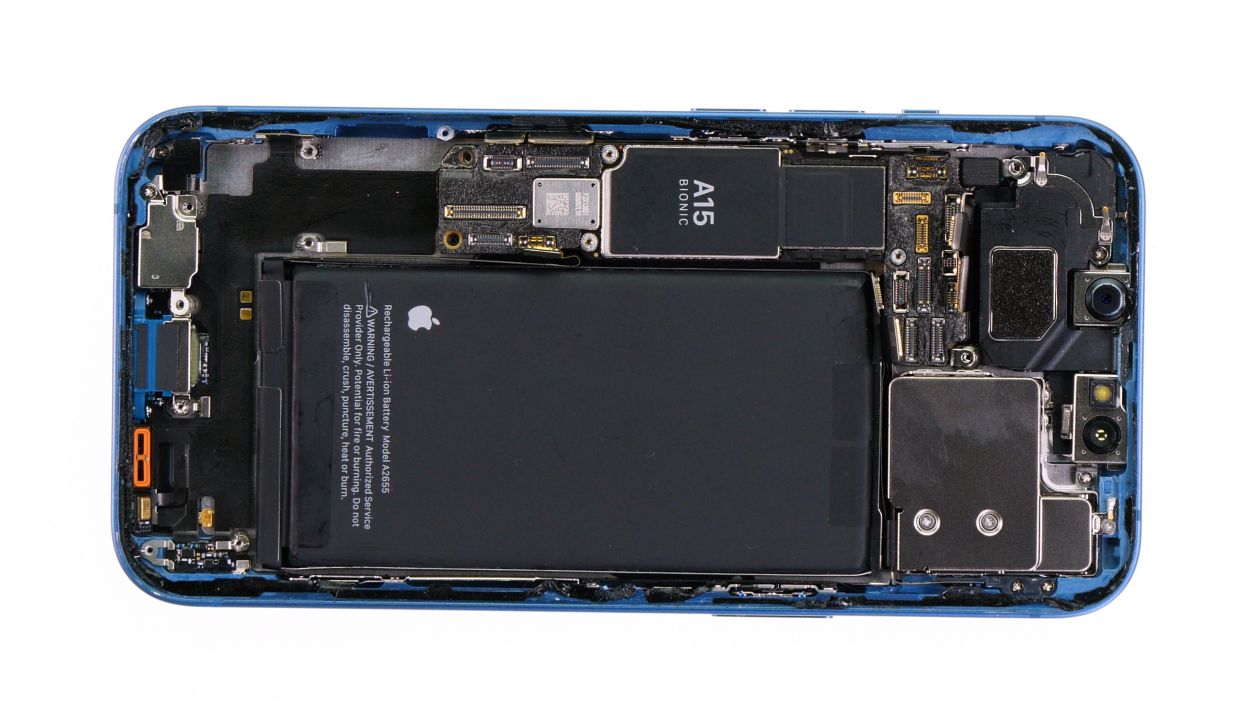
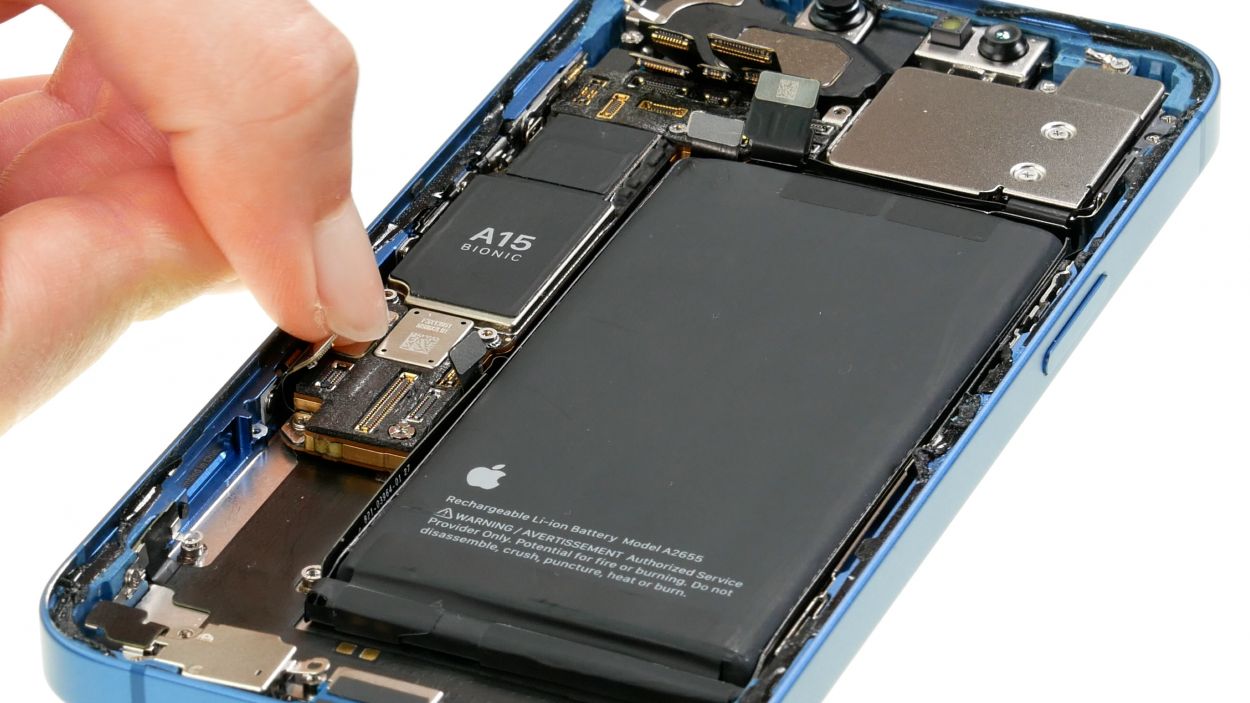
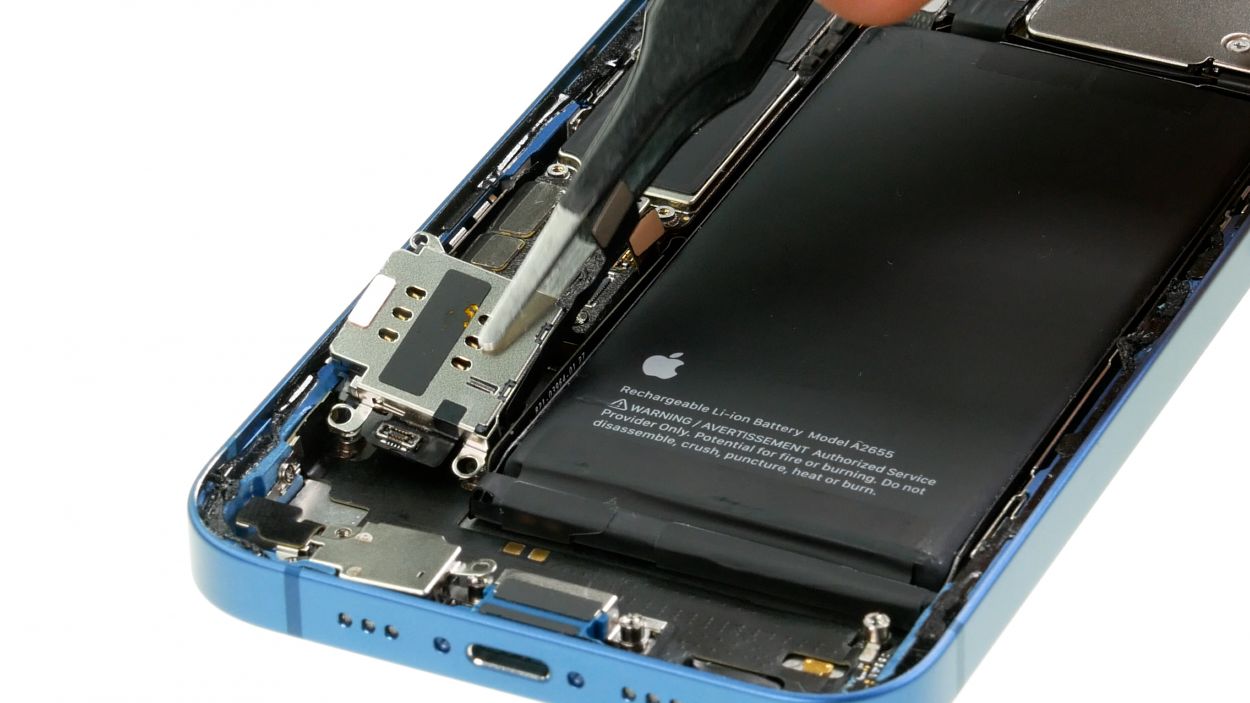
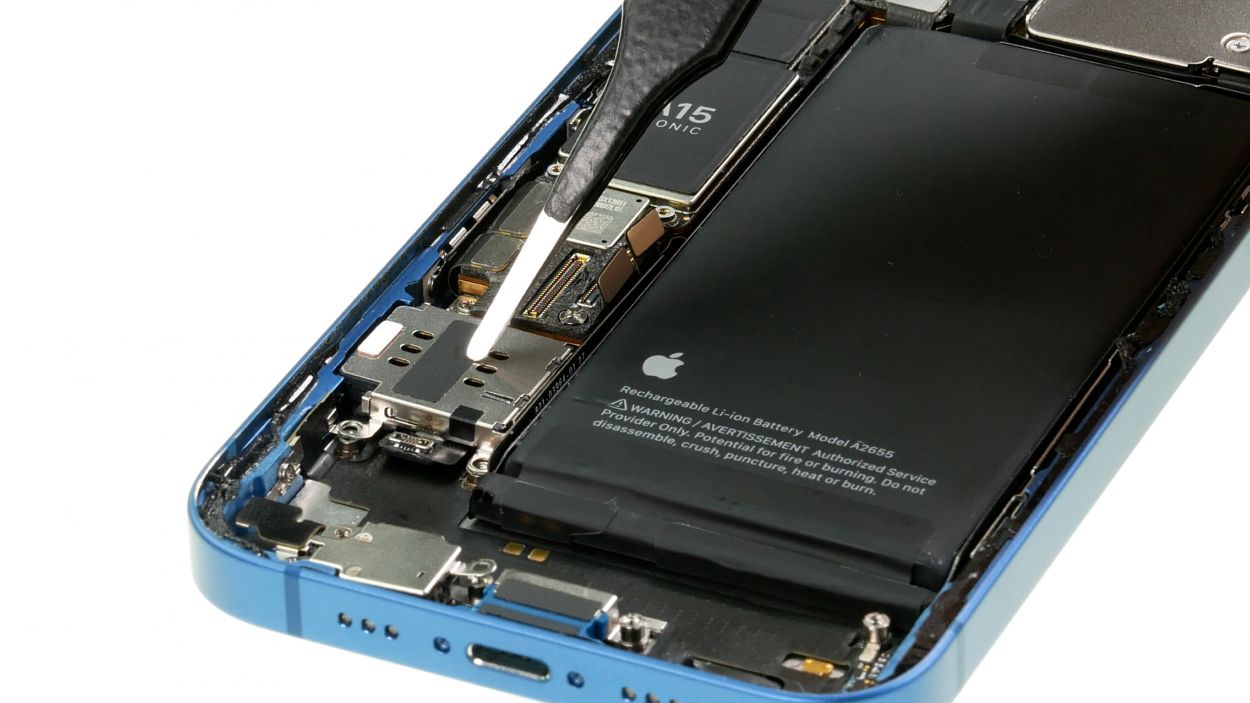
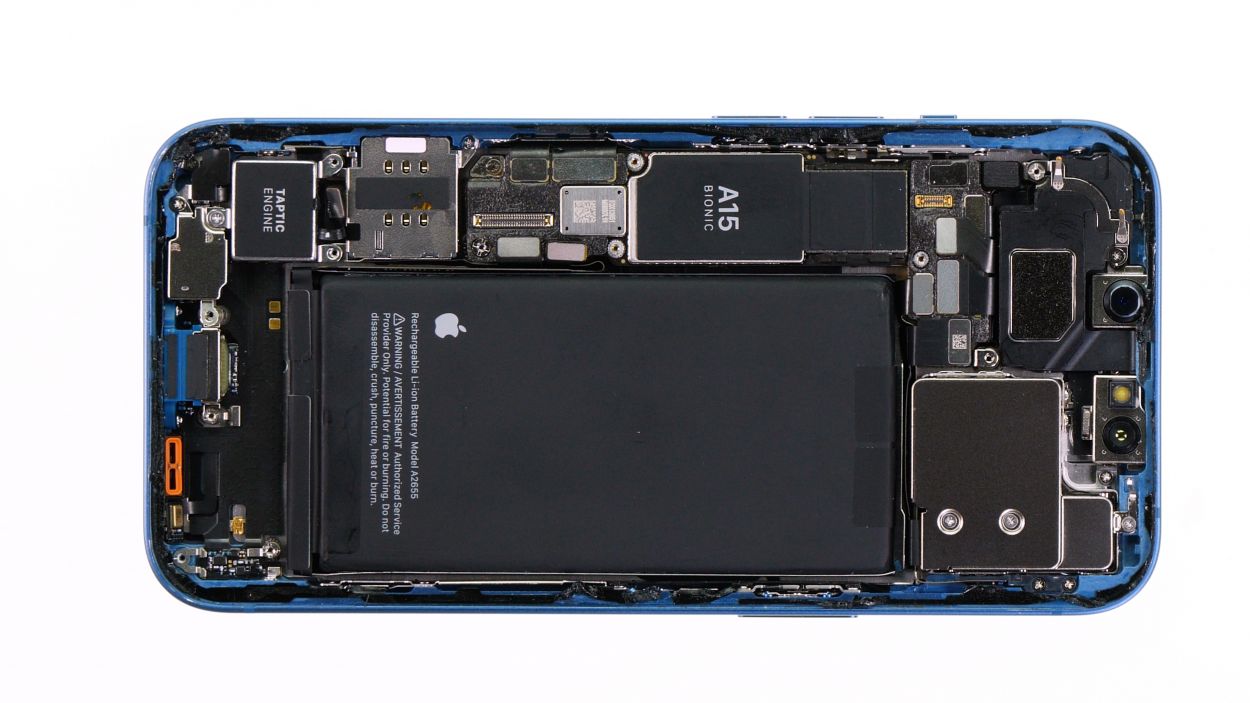
Watch out for those connectors when you’re lifting the logic board! It’s a good idea to gently set them aside with your trusty tweezers to keep everything safe and sound.
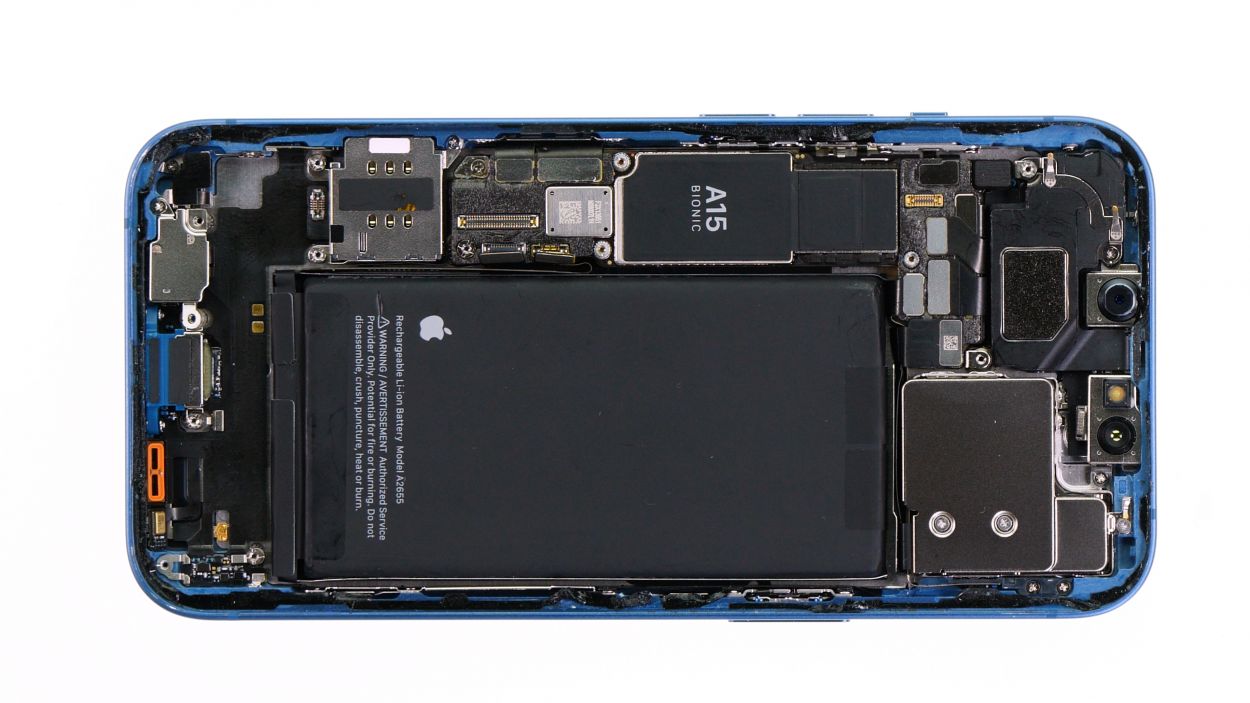
– Unscrew the three screws that are keeping the logic board snug in its home. You’ve got this!
– Now, gently lift that logic board out of the device like the tech wizard you are!
Tools Used
Step 18

1 × 1.2 mm Phillips
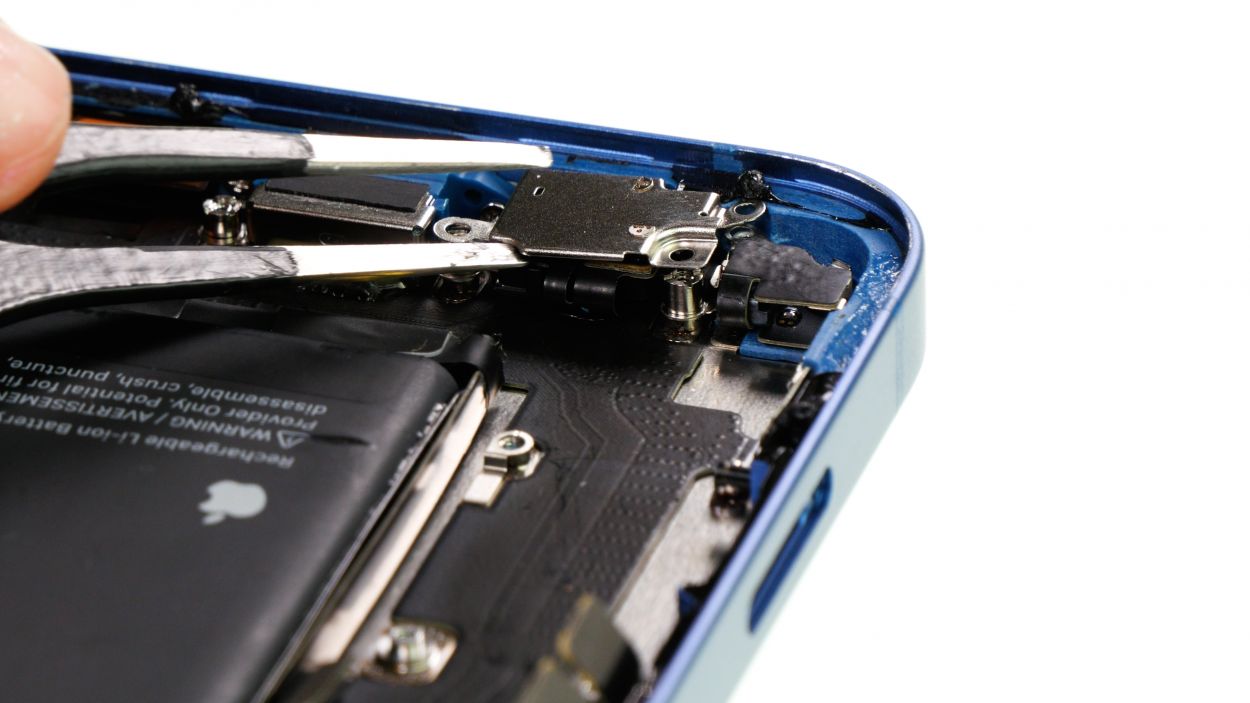
Before you can say goodbye to the Lightning connector, you need to first take off the barometric valve, which is hanging out under a cover plate. Let’s get that cover off!
– Loosen the lone Phillips screw securing the cover plate above the barometric vent. You’ve got this!
– Once the screw is out, gently set the cover plate aside like a pro!
Step 19
2 × 3.2 mm Standoff
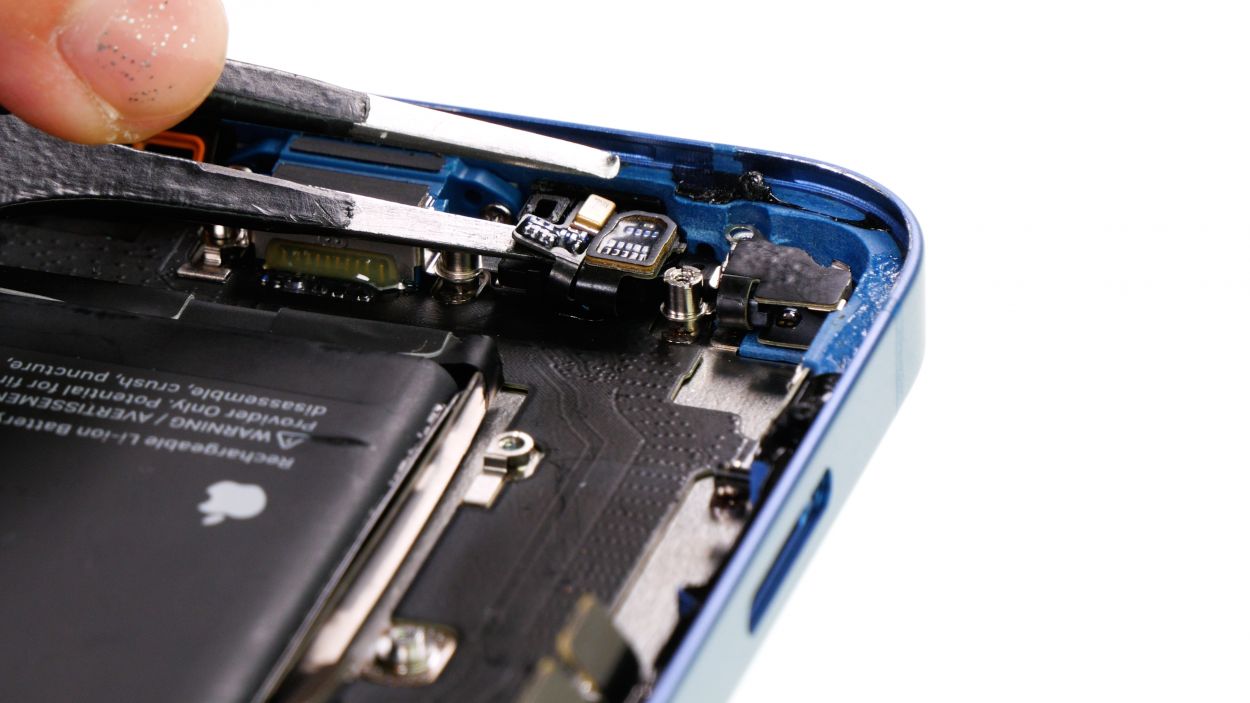
The barometric vent is a bit glued to the case edge, making it a little shy! To help it loosen up, give it a quick warm-up with some hot air. You’re doing great!
– Use your trusty tweezers to gently pop the vent cap and the tiny golden microphone out of their snug little spot.
– Next, loosen the two Standoff screws that are keeping the vent secure, and lift it out of the device like a pro!
Tools Used
- heat gun to heat parts that are glued on so they’re easier to remove.
In most cases, you can also use a hairdryer.” rel=”noopener”>Heat gun - WIha PicoFinish Phillips screwdriver with…
- Piergiacomi Tweezers 2a SA ESD
- Magnetic Pad
Step 20
2 × 2.8 mm Standoff
2 × 3.2 mm Phillips
2 × 1.1 mm Phillips
1 × 1.2 mm Phillips
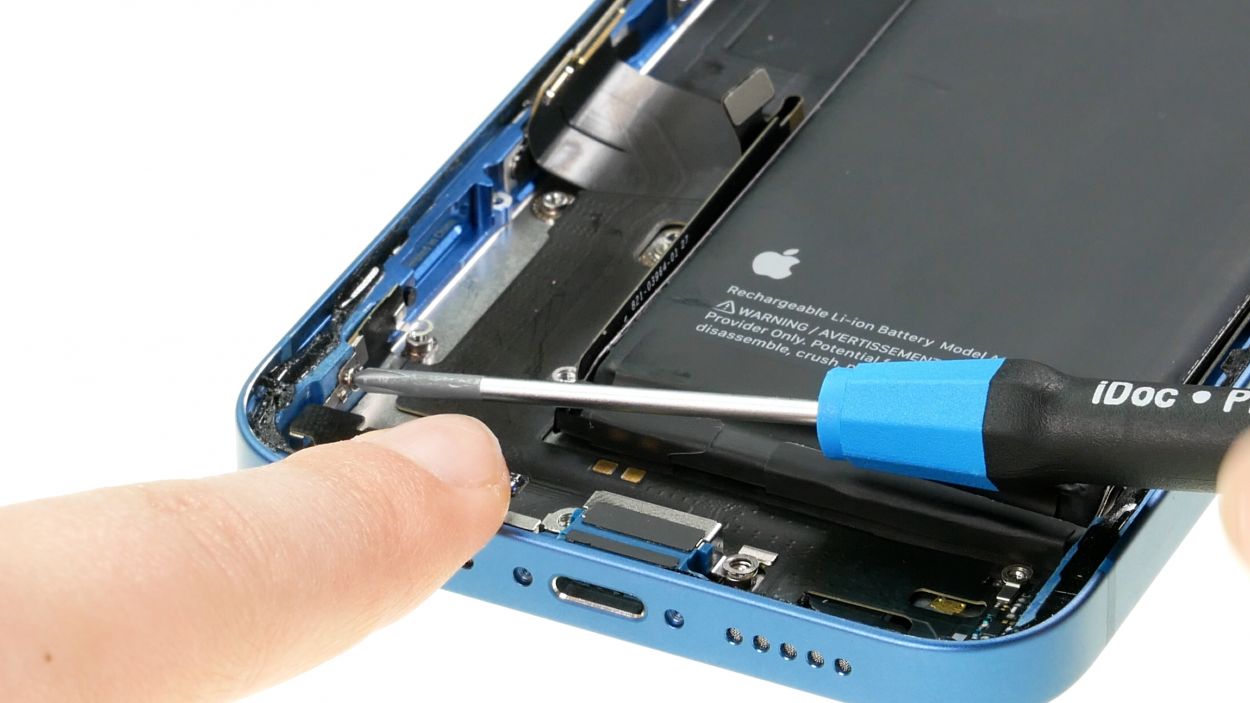
Ensure your screwdriver is snugly in place, especially for those tricky screws on the sides of the case frame. If not, they might just get rounded, and we don’t want that!
– Let’s get those screws loosened up! Start with the two Standoff screws, and give them a little twist.
– Next up, tackle the four Phillips screws on the sides like a champ.
– And to wrap it all up, unscrew the lone Phillips screw hanging out at the lower left edge of the case. You’re doing awesome!
Step 21

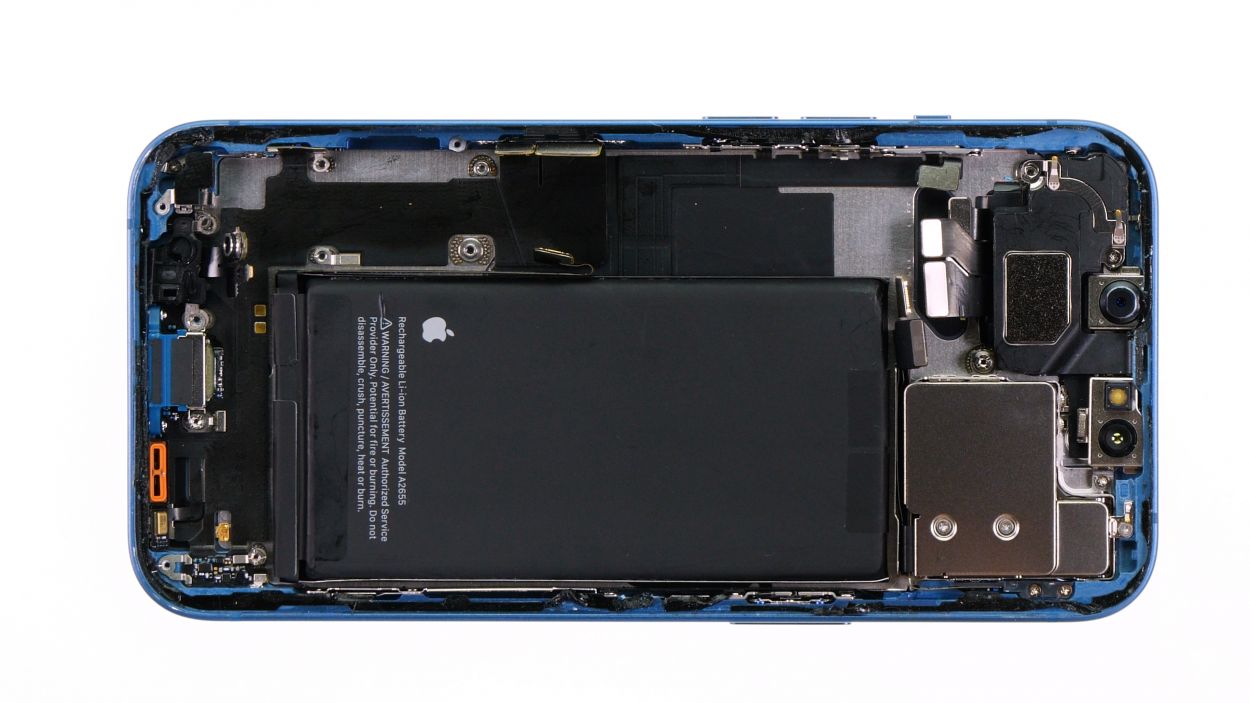
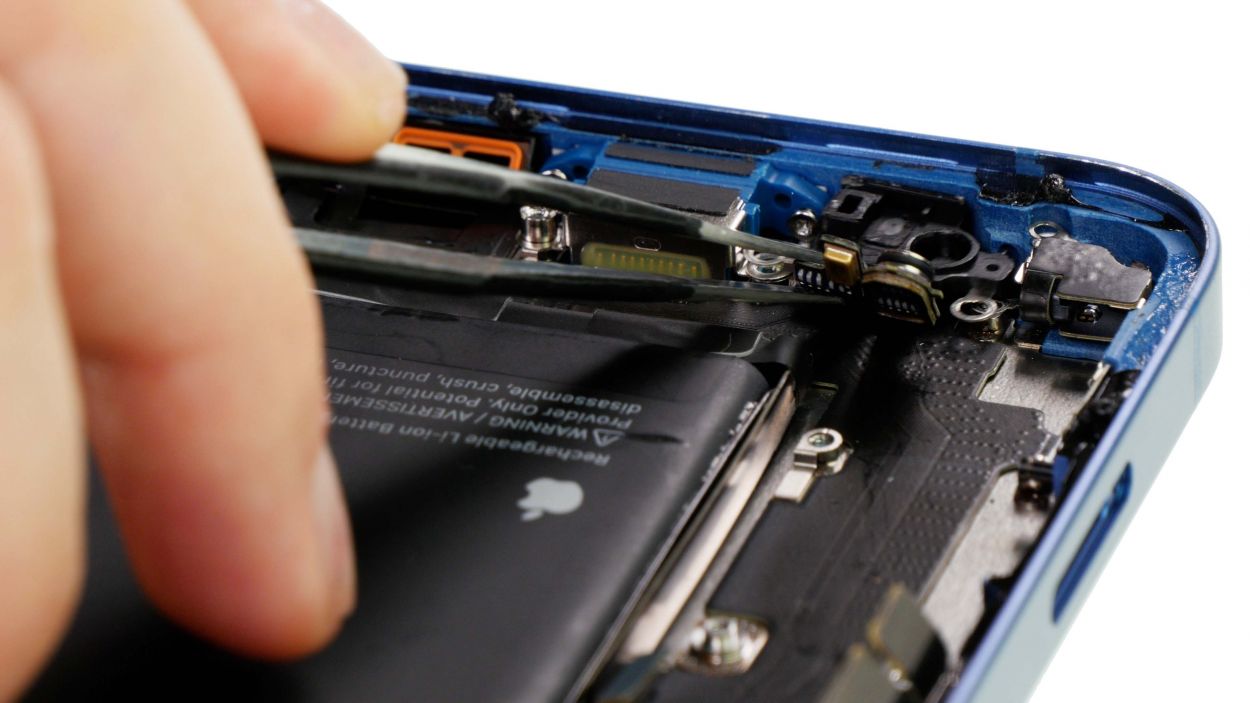
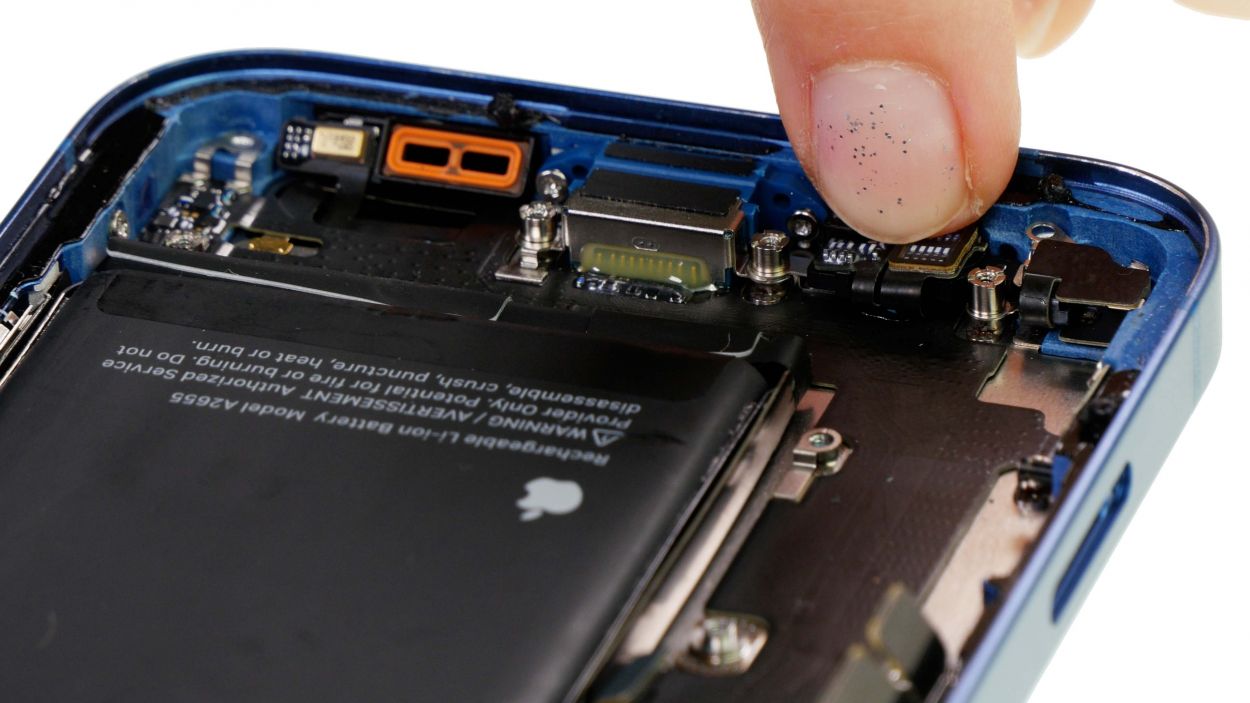
When you’re about to detach the Lightning jack and the sensors from the bottom edge of the case, just take a moment to be super gentle. We want everything to stay in one piece!
– Warm up the glued cable of the Lightning connector and gently pry it loose from the case bottom using a steel spatula, piece by piece. You’re doing great!
– Next, carefully detach the Lightning jack and the other sensors from the case frame, and set the fully loosened Lightning connector aside. Keep up the good work!
Tools Used
- heat gun to heat parts that are glued on so they’re easier to remove.
In most cases, you can also use a hairdryer.” rel=”noopener”>Heat gun - Piergiacomi Tweezers 2a SA ESD
- Steel Laboratory Spatula
Step 22

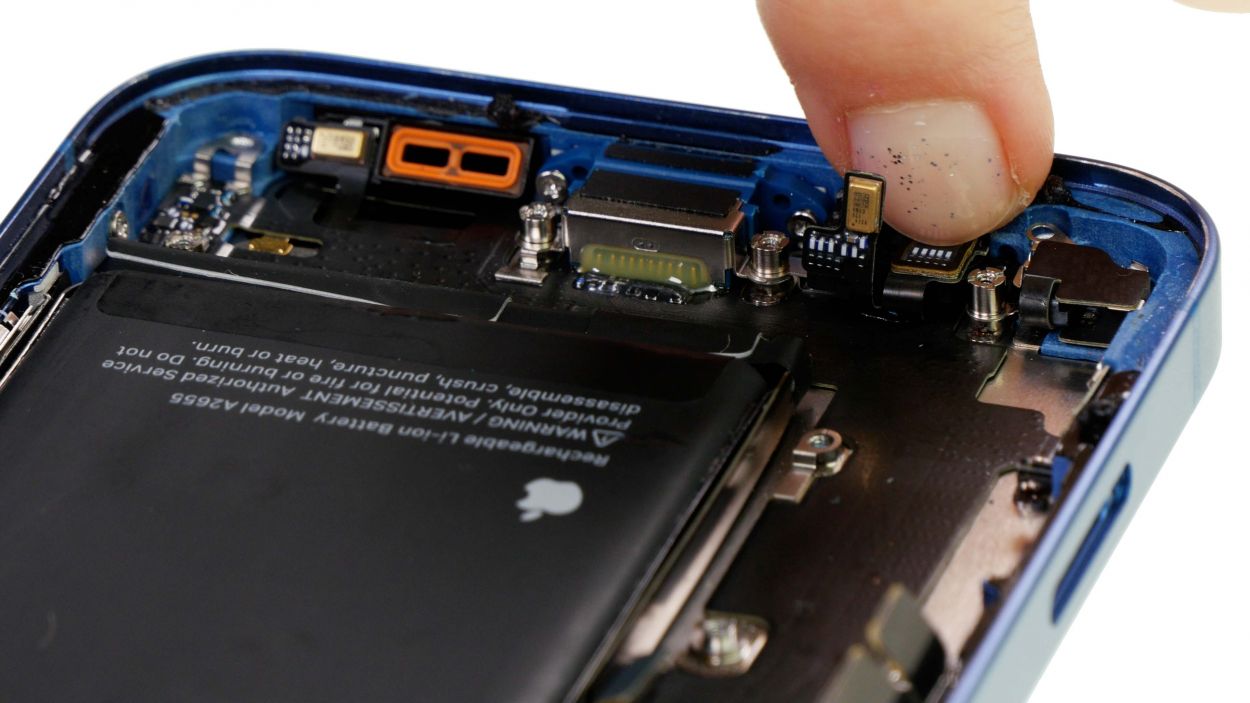
Check out those nifty little metal loops on the Lightning connector! Make sure they can latch onto the edge of the case like a pro.
– Slide in the new Lightning connector into your iPhone 13 and give it a firm press. The leftover glue at the bottom of the case should do the trick to keep it snug and secure!
– Next, gently push the Lightning jack and the sensors back into their designated spots on the case frame. Make sure everything sits nice and level; this way, the next components will slide in effortlessly.
Tools Used
Step 23
2 × 1.1 mm Phillips
1 × 1.2 mm Phillips
2 × 3.2 mm Phillips
2 × 2.8 mm Standoff
Watch out for those screws! Keep an eye on their lengths, because a long one in the wrong spot could cause some serious trouble for your device.
– Let’s tighten up that Lightning connector with the screws once more! Start off with those Phillips screws, and give them a little love.
– Now, don’t forget to snug up the two Standoff screws too. You’re almost there!
Tools Used
Step 24
2 × 3.2 mm Standoff
Don’t forget to snugly fit that barometric vent back into its cozy spot on the edge of the case! You’ve got this!
– Pop that barometric vent back into its cozy home and secure it with the two Standoff screws. You’re doing great!
– Now, gently press the vent cap and the tiny golden microphone back into their snug little spots. Keep up the awesome work!
Tools Used
Step 25
1 × 1.2 mm Phillips
To keep that cover plate from doing the cha-cha while you’re screwing it in, grab a pair of tweezers and hold it steady. You’ve got this!
– Place the cover plate back over the barometric vent and secure it with the last Phillips screw. You’re almost there!
Step 26
1 × 1.6 mm Phillips
1 × 3.9 mm Standoff
1 × 3.3 mm Standoff
When you’re sliding in that logic board, be super gentle! Keep those connectors safe and sound by using a pair of tweezers to hold them aside. You’ve got this!
– Carefully slide the logic board back into its cozy spot in the case. Make sure it’s sitting nice and level, like a pro!
– Now, let’s secure it with those three screws again. You’re doing great!
Step 27

Hey there! Just a friendly reminder: be gentle with those connectors! Pressing down too hard can cause some serious damage to the whole component, and we definitely want to avoid that!
– Reconnect all connectors to the logic board by gently pressing them down. You should hear and feel them click into place, just like a satisfying puzzle piece fitting perfectly!
Step 28
1 × 1.2 mm Phillips
2 × 3.1 mm Standoff
– Pop that SIM module back into its cozy spot and give it a good twist to secure it tight!
Step 29
– Reconnect the SIM module by gently pressing its connector onto the logic board. You’re doing great!
Step 30
1 × 2.1 mm Phillips
– Slide the Taptic Engine into your iPhone 13 with care and confidence!
– Secure it with the trusty single Phillips screw to keep it snug and happy.
Step 31
– Gently press the Taptic Engine’s connector back onto the logic board until you hear and feel that satisfying click. You’re nailing it!
Tools Used
Step 32
2 × 2.1 mm Phillips
To keep that cover plate from dancing around while you screw it in, grab a pair of tweezers to hold it steady. You’ve got this!
– Pop that cover plate back over the Taptic Engine connector like it’s meant to be there!
– Secure it with those two Phillips screws, and just like that, you’re one step closer to victory!
Step 33
4 × 1.6 mm Phillips
– Pop that speaker back into its cozy home in the rear case!
– Secure it with those four Phillips screws, and you’re all set!
Step 34
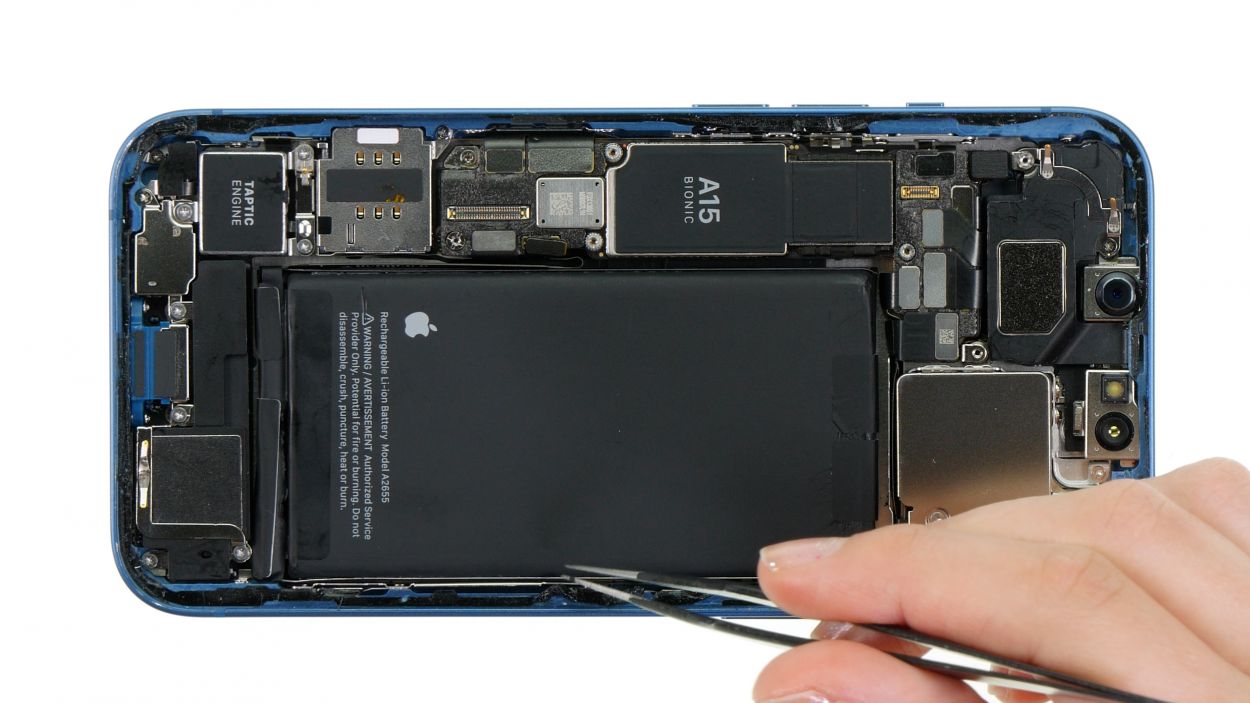
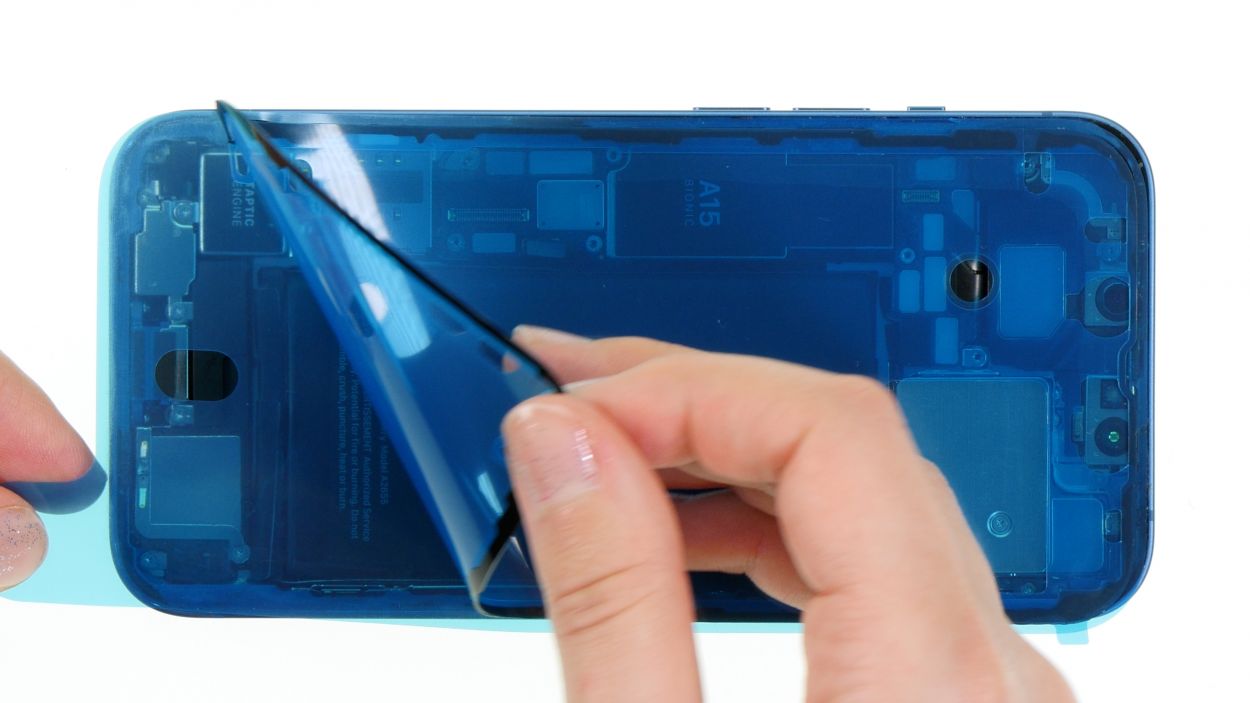
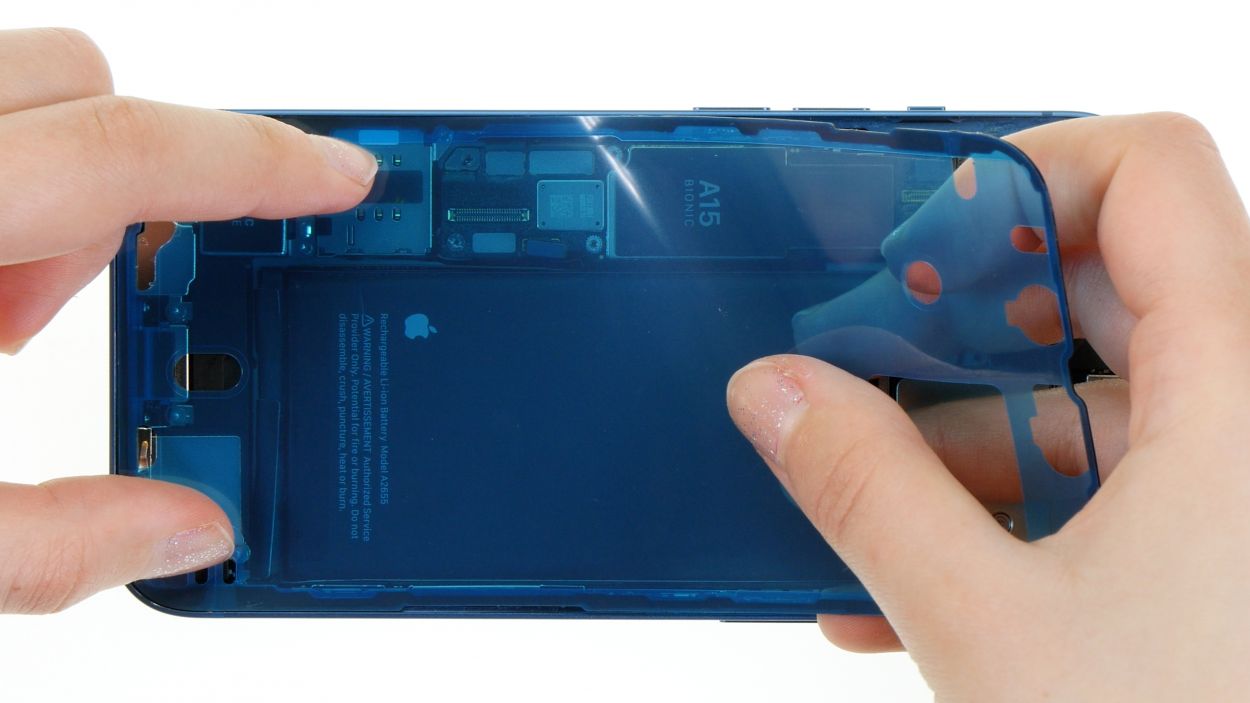
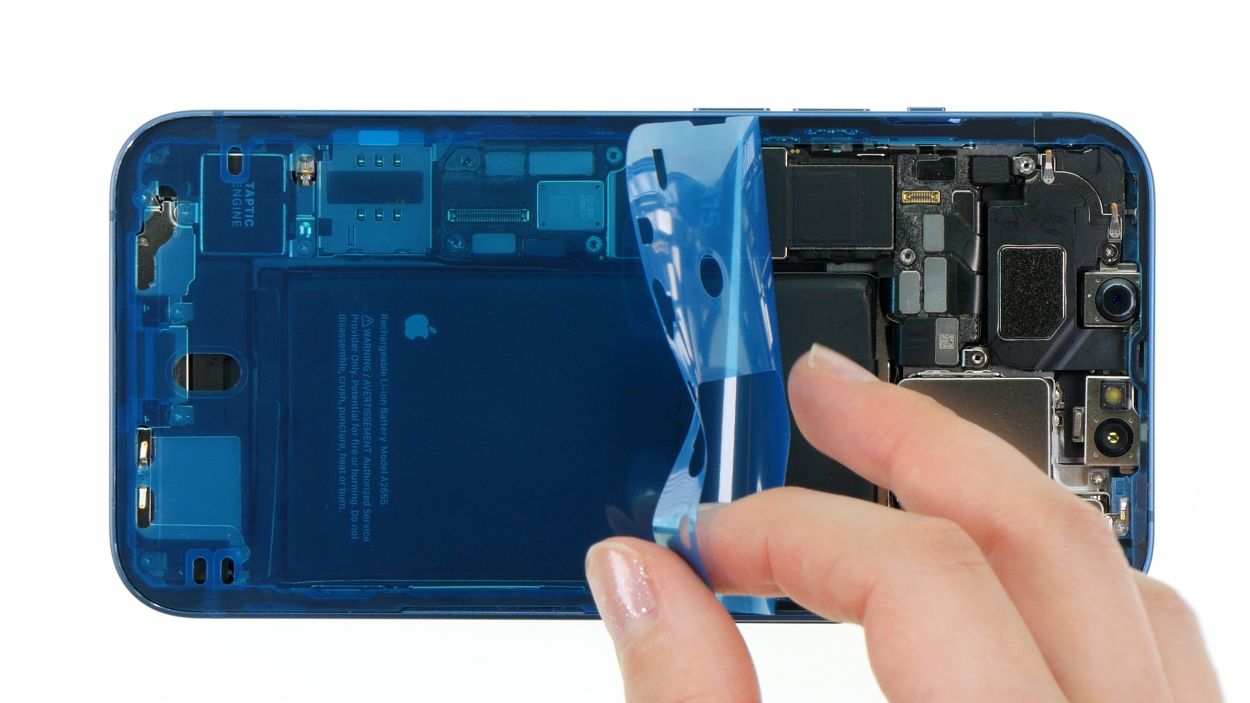
– Warm up that adhesive frame and gently peel it away bit by bit with your trusty tweezers. You’re doing great!
– Next, take off the carrier film from the adhesive frame and press it onto the edge of the case like a pro.
– Finally, remove the protective film from the top side of the adhesive frame. Just a heads up, save the last bit of protective film on the edge of the case for right before you finish up the repair!
Tools Used
- heat gun to heat parts that are glued on so they’re easier to remove.
In most cases, you can also use a hairdryer.” rel=”noopener”>Heat gun - Piergiacomi Tweezers 2a SA ESD
Step 35

Hey there! Just a friendly reminder: be gentle with those connectors! Pressing down too hard can cause some serious damage to the whole component, and we definitely want to avoid that!
– Gently lean the screen back against something sturdy to make that connection happen!
– Take your time and press the two screen connectors onto the logic board one at a time. You’ll hear that satisfying click when they’re snug in place!
Step 36
Always connect the battery last to keep short circuits at bay. Safety first, and you’ve got this!
– Gently press that connector onto the logic board, and listen for that delightful click as it snaps into place. You’re doing fantastic!
Step 37

Before sealing the deal on your iPhone 13, why not give that new Lightning connector a whirl along with a few of the basic functions? It’s a great way to double-check that your repair went off without a hitch. And remember, our handy checklist is here to help you out!
– Gently fold the screen around, but hold off on pressing it into the case just yet.
– Power up your iPhone and see if it boots up and is recognized by your Mac/PC.
– If anything seems off, double-check that everything is installed and connected correctly.
Step 38

4 × 1.2 mm Phillips
1 × 1.7 mm Y-Type
1 × 1.6 mm Phillips
Watch out for those screws! Keep an eye on their lengths, because a long one in the wrong spot could cause some serious trouble for your device.
Just a heads up, that upper cover plate likes to hang out a bit on one side. Give it a gentle nudge to get it fully released!
– Align the two cover plates over the connectors, using the screw holes as your trusty guide.
– Secure those cover plates with screws, and keep them steady with your tweezers. You’ve got this!
Step 39
When folding down the screen, just remember to give those flex cables some space! We want them to be as comfy as possible.
– If you’ve just added a fresh adhesive frame, it’s time to peel off the last bit of protective film. Go for it!
– Now, flip that screen over and press it down into the case frame with a little love until it sits perfectly level. You should hear that satisfying click!
– To finish things off, give the edge of the screen a gentle warm-up with hot air to make sure that adhesive bonds like it’s meant to. You’re doing awesome!
Tools Used
- heat gun to heat parts that are glued on so they’re easier to remove.
In most cases, you can also use a hairdryer.” rel=”noopener”>Heat gun - Piergiacomi Tweezers 2a SA ESD
Step 40
2 × 6.8 mm Pentalobe
– Let’s get that screen all snug again by tightening up those two rear case screws. You’ve got this!
Tools Used
Step 41
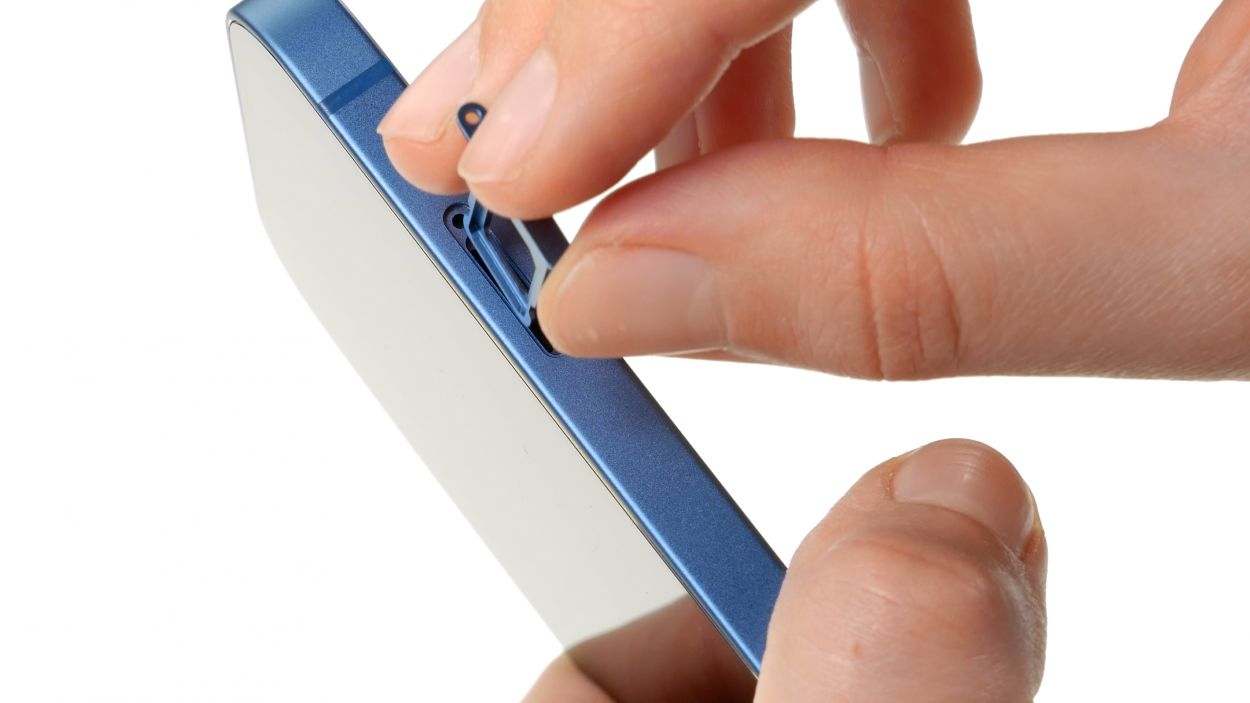
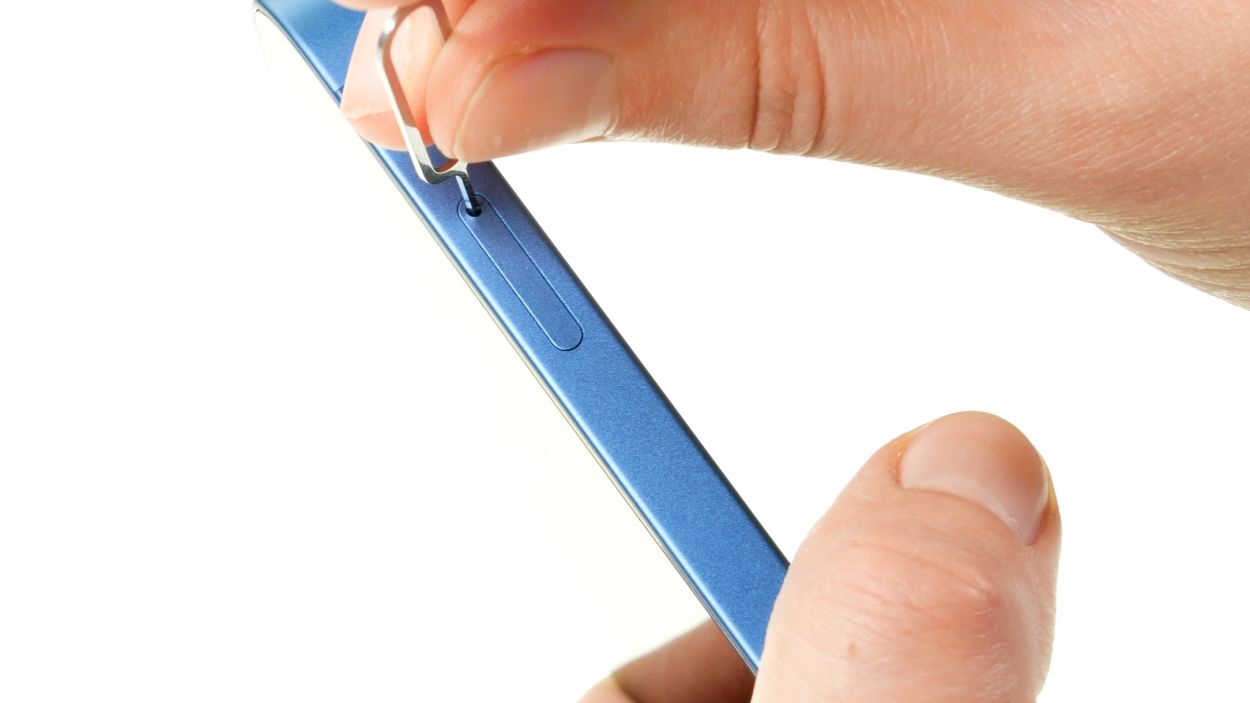
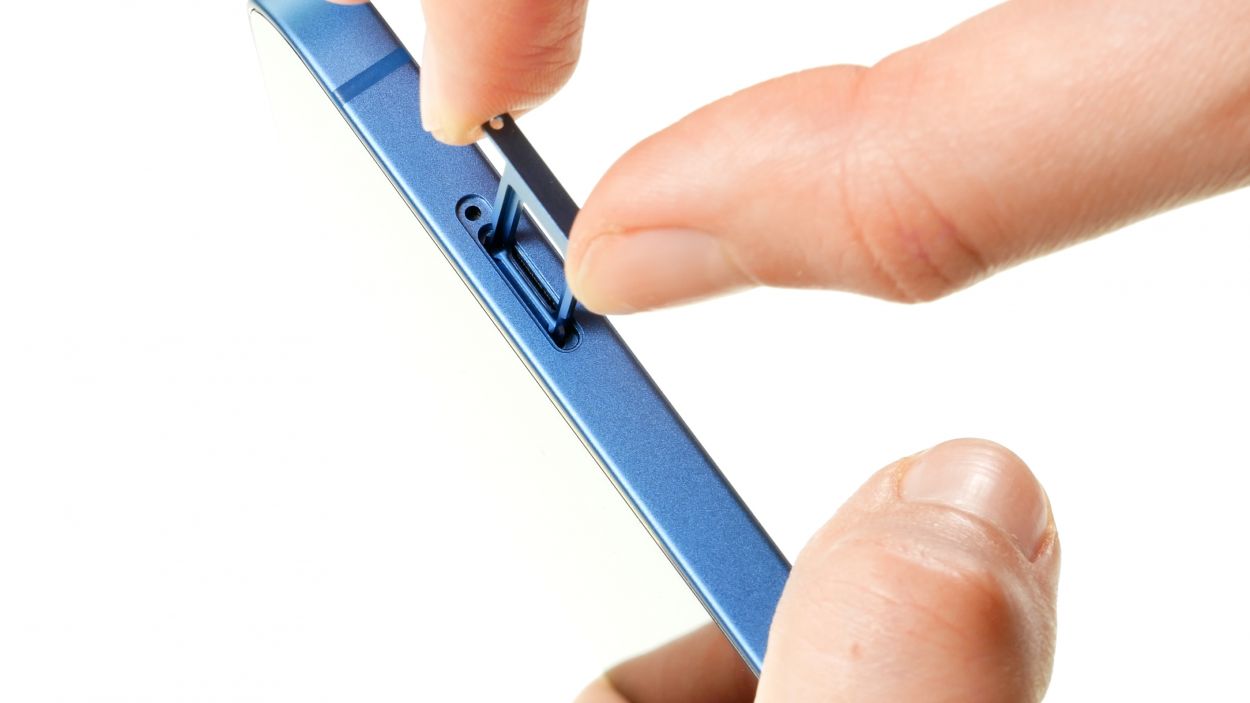
Don’t forget to pop that SIM tray back in the right way! It’s like a puzzle piece that only fits one way!
