
iPhone 13 Pro Motherboard Separation
Duration: 45 minutes
Steps: 12 Steps
Step 1


Last time, we took apart the iPhone 13 Pro. Today, we’re diving into how to carefully separate its motherboard, highlighting what makes each board unique and how tricky the repair can get.
- Let’s kick things off by testing both the iPhone 13 Pro and iPhone 12 Pro side by side. Using the LINCSEEK Infrared Thermal Camera, we discover that the iPhone 13 Pro heats up a little more than the iPhone 12 Pro. The iPhone 13 Pro can hit temperatures around 48 °C, while the iPhone 12 Pro maxes out at about 40 °C.
Step 2


- Ready to dive into the guts of your iPhone 13 Pro? We're going to pop out the motherboard, check out what's heating things up inside, and show you how to split it apart and put it all back together—like a tech-savvy magician.
- The iPhone 13 Pro's motherboard is slimmer and more space-savvy than ever, freeing up extra room for a bigger battery. And hey, say goodbye to that old L-shaped design—the new board keeps things neat and tidy.
Step 3
Heads up: the SIM card reader isn’t a separate part—it’s soldered right onto the motherboard.
- Alright, let's dive in and remove the motherboard! The trusty double-layer design is still in play here, so don't be surprised when you see it.
Step 4


To keep your device cool and happy, we’ve wrapped both sides of the motherboard in some thick heat dissipation tape. It's like a cozy blanket for your tech, ensuring it stays chill while you work your magic!
- Alright, let's get started. First, gently peel off the foam covering the motherboard. Next, grab your Hot Air Gun and set it to 100°C to carefully remove the tape on the motherboard. Keep an eye out—you'll spot the NAND hiding under the A15 tape!
Step 5

- Carefully peel off the tapes from the back of the motherboard. These heat dissipation tapes are built to last, so try not to tear or wrinkle them—they need to keep doing their job after you put everything back together.
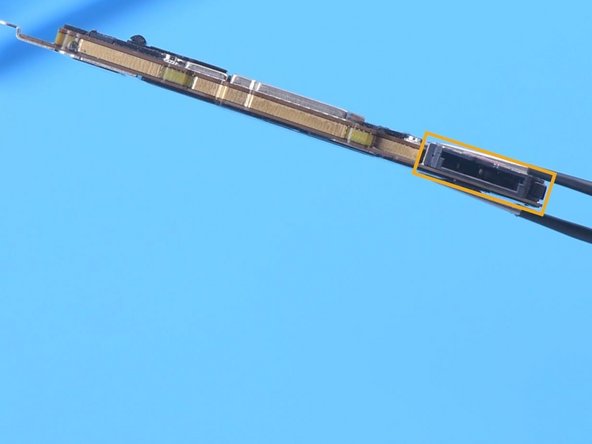
- Heads up! The back of the iPhone 13 Pro’s signal board is hiding some tiny components. When you’re separating the board, go easy and steer clear of knocking anything loose.
Step 6


Watch out for those nearby components while you’re working your magic!
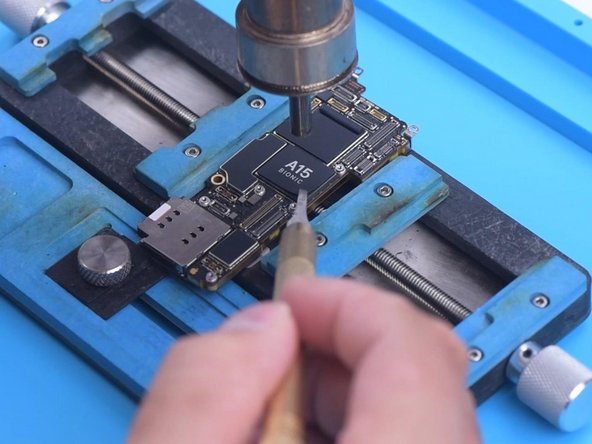
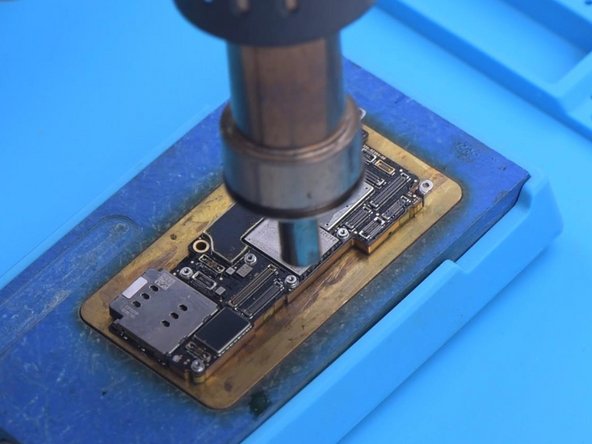
- No fancy heating platform for the iPhone 13 Pro yet? No problem! Grab a universal heating platform, set it to 170°C, and get ready to separate the layers. The iPhone 13 series uses medium-temp solder paste in the middle layer, so this heat level does the trick.
- Once your heating platform hits 150°C, fire up your hot air gun to 330°C and work around the motherboard. When the logic board starts to wiggle free, gently lift it out with tweezers—don’t force it, let the heat do the heavy lifting.
- Heads up: The CPU and baseband are stacked together, which doesn’t exactly help with cooling. So be quick but careful with your heat. If things get tricky, you can always schedule a repair.
Step 7


The A15 chip has grown quite a bit in size, which means desoldering the CPU is a bit trickier now—stay sharp and take your time!
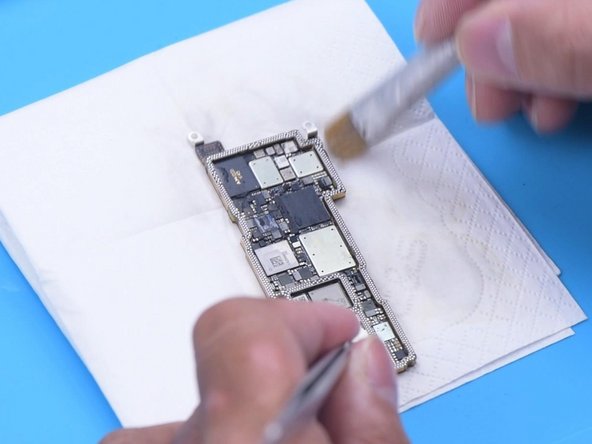
- Next up, let's clear away that thermal grease from the chips!
Step 8


The iPhone 13 Pro steps up its game with a Qualcomm X60 baseband CPU, making your signal more solid and reliable than in past models.
Heads up: the iPhone 13 Pro takes a bit longer to boot up—expect about 8-10 seconds before the Apple logo shows up. It’s likely just how the system rolls now.
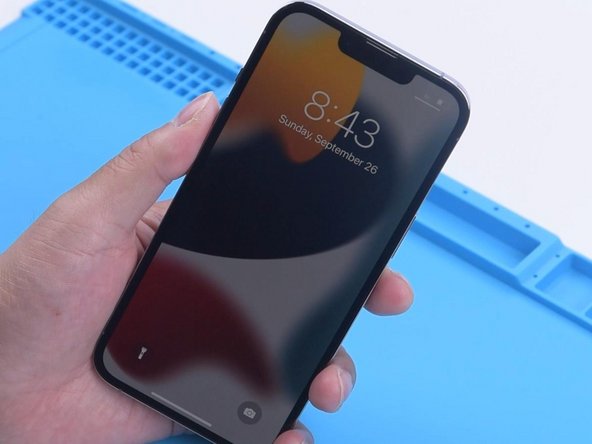
- First, let's check if our iPhone 13 Pro's logic board can kick things back into action. Connect it to a Direct Current Supply and see what happens!
- Next up, grab the display and make the magic happen by giving it a gentle nudge with tweezers to trigger that boot-up.
Step 9


To get those pads sparkling clean, dab on some low-temp solder paste—think of it as a spa day for your circuit. It helps even out the heat and preps everything for a smooth finish.
- Next up, let’s reunite the signal board with the logic board. Slap on some Paste Flux onto the bonding pads of the signal board to get things sticking nicely.
- Time to clean those bonding pads! Use your Soldering Iron set to 380 °C along with solder wick to tidy them up. Then, carefully apply solder paste to the bonding pads on the logic board. Watch out to avoid disturbing any nearby components while you’re at it—precision is key here!
- Finish off by wiping down the bonding pads with some PCB Cleaner to make everything sparkle and ready to go.
Step 10


- Next up, we’re reballing the signal board. Secure the signal board onto the Reballing Platform, then line up the reballing stencil just right. Spread some medium-temperature solder paste evenly across the stencil.
- Carefully lift off the stencil. Place the signal board on the Heating Platform to warm things up. Once the solder balls have formed, let the signal board cool down before moving on.
Step 11

- Spread some Paste Flux over the bonding pads. Line up the logic board with the signal board like a boss. Keep the Heating Platform cranking at 170 °C to warm things up. Then, give the motherboard some extra love with the Hot Air Gun set to 330 °C.
Step 12

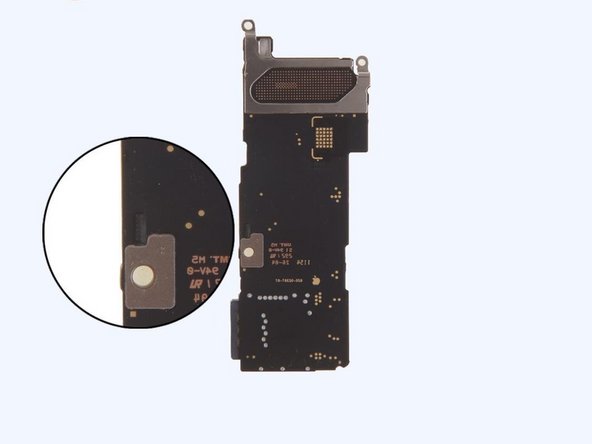
After cracking open the iPhone 13 Pro, you’ll spot that classic double-layered motherboard hanging out inside. It’s got a bit of a makeover, but the main chips are still chilling in their usual spots. Not much has changed in the grand scheme—just a fresh look to keep things interesting!
- To put your device back together, just retrace your steps like a pro! Remember, it’s all about going in reverse. And if you hit a snag, don’t hesitate to schedule a repair. You've got this!


