iPhone 14 Plus Taptic Engine Replacement
Duration: 45 minutes
Steps: 26 Steps
Hey there! Just a friendly reminder to make sure your battery is below 25% before you dive into disassembling your device. Safety first, and we've got your back!
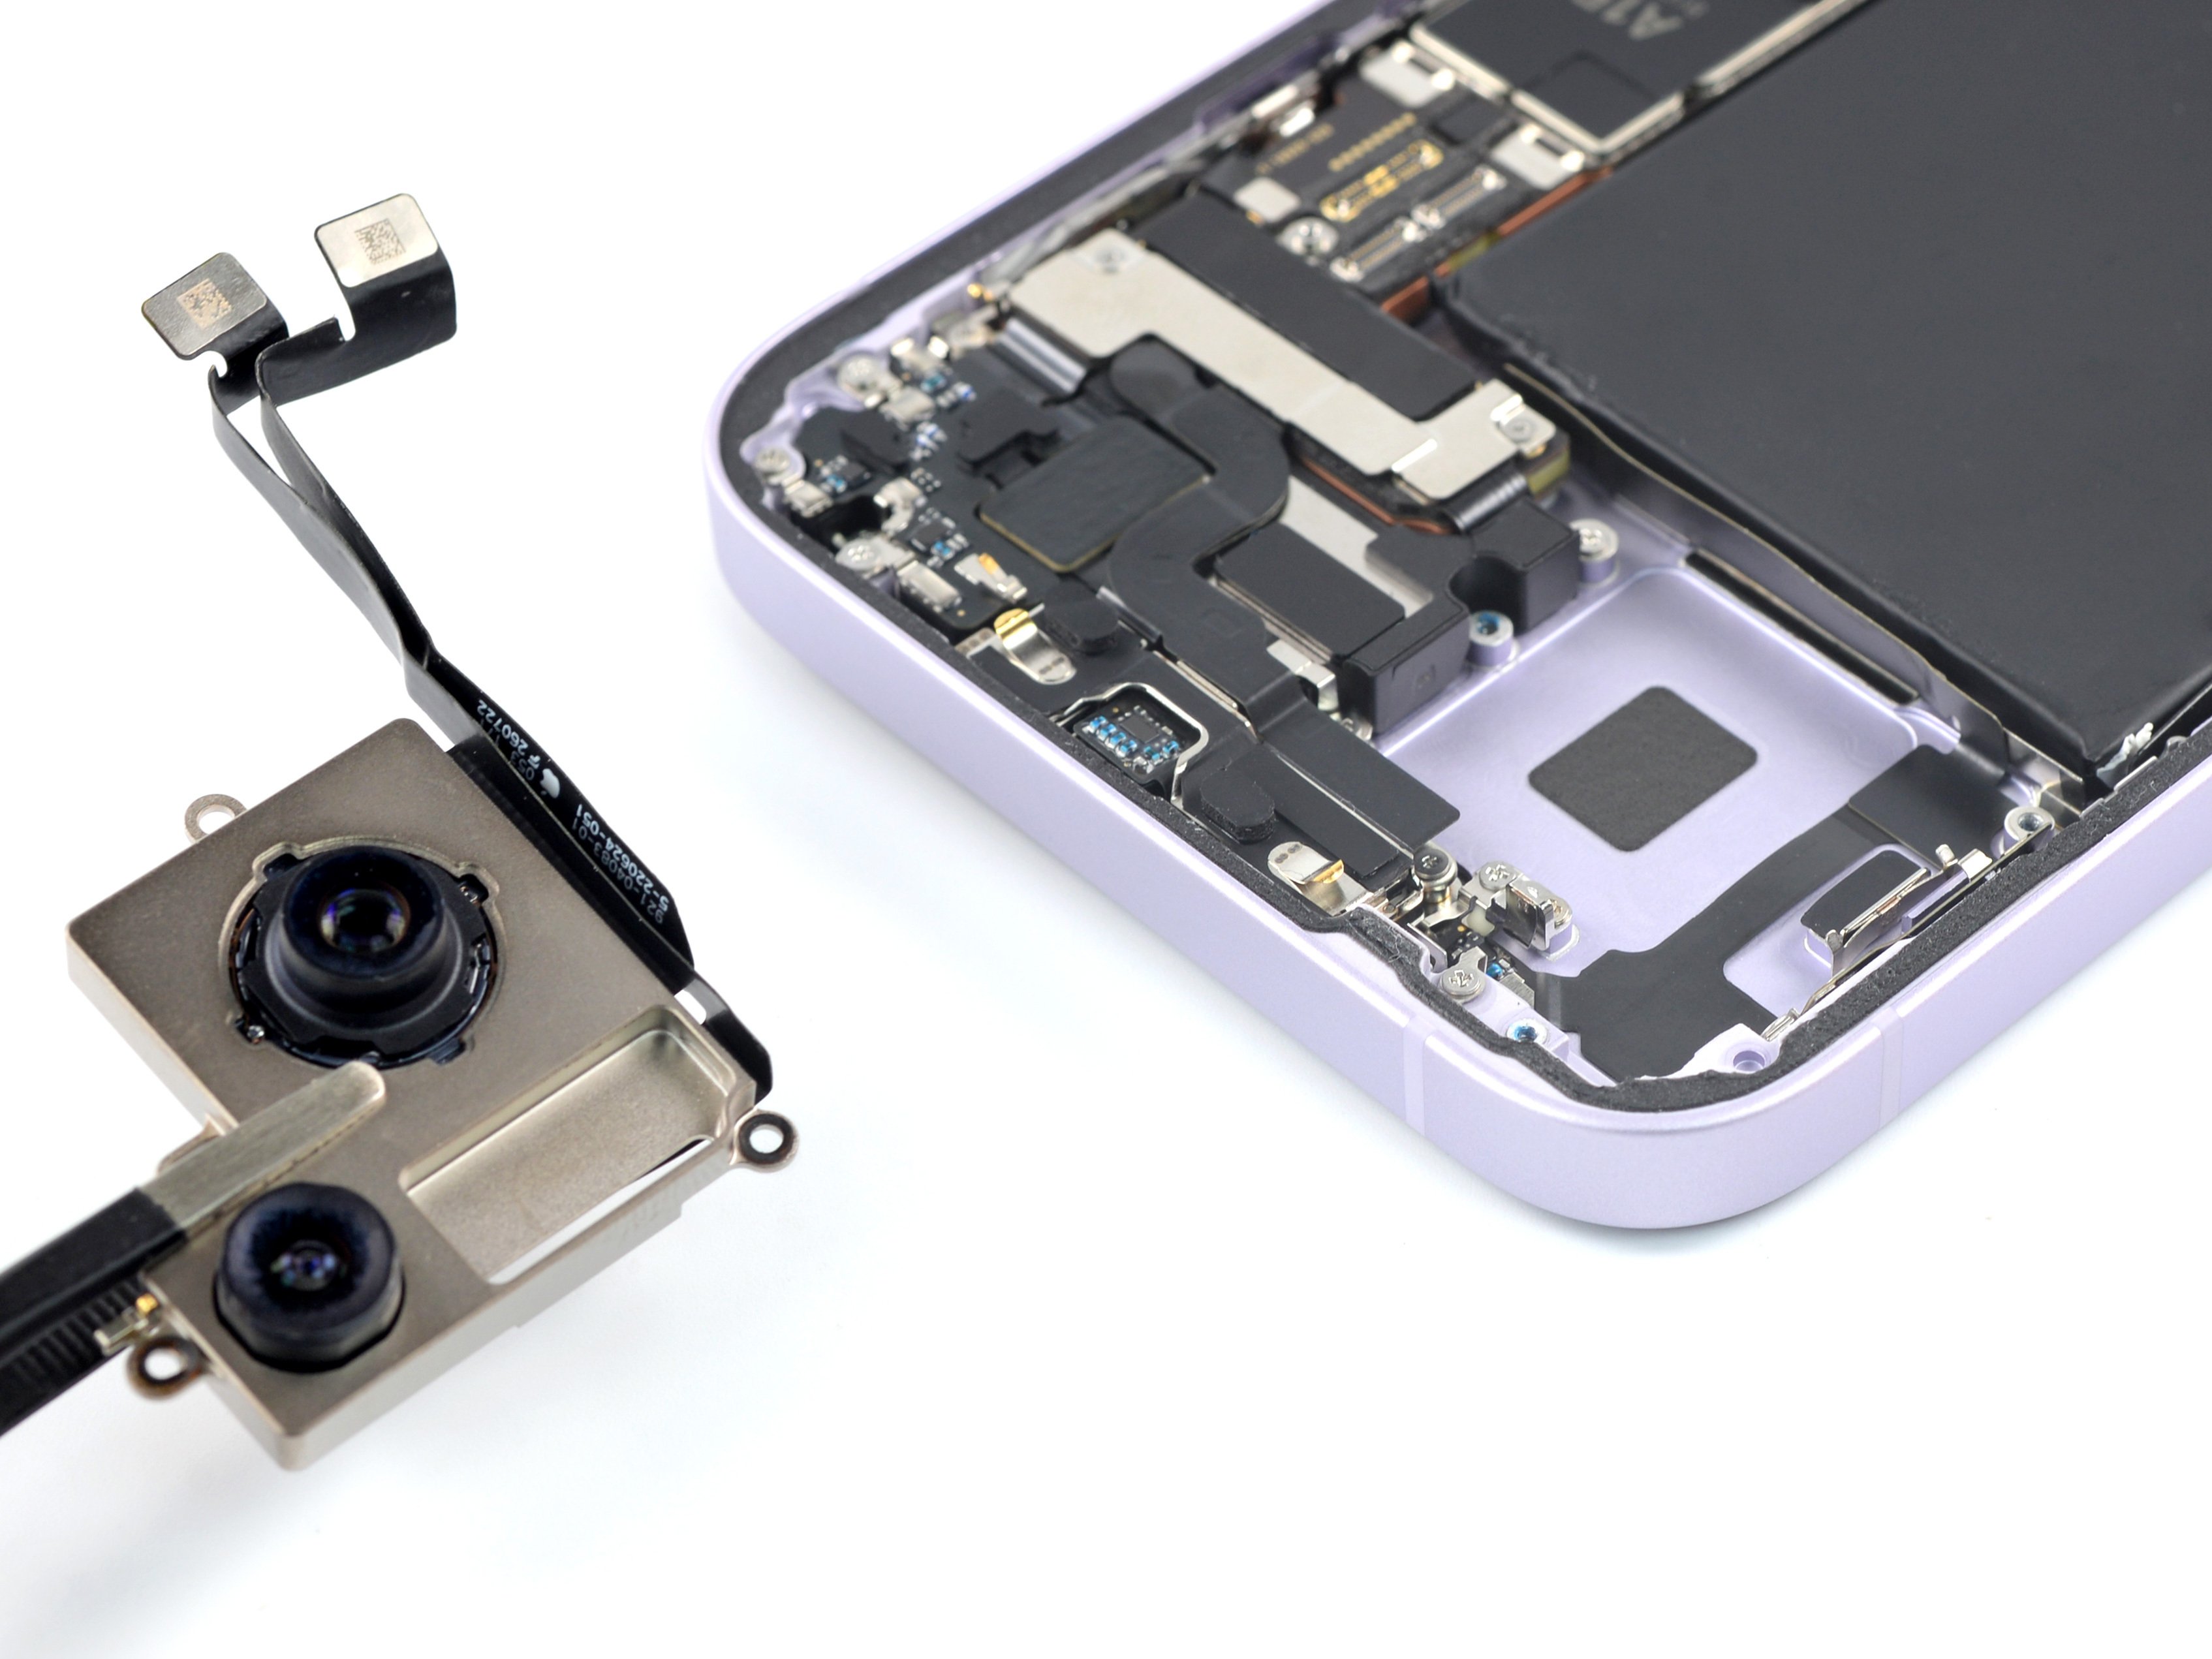
Dive into this guide to swap out the Taptic Engine in your iPhone 14 Plus! This little wonder is responsible for all the vibrations and haptic feedback that make your iPhone feel alive. We're working with the A2886 (international) model here, but don't sweat it if yours looks a bit different—just follow along, and you’ll be golden! Remember to keep your battery below 25% before you get started; it’s a smart move to avoid any fiery surprises if the battery gets a little too excited during the process. If your battery is looking a bit puffy, take the necessary precautions. And don’t forget, you’ll need some fresh adhesive to stick that screen back on when you’re done. Your phone will be back in action, but just a heads up, it might lose its IP (Ingress Protection) rating. If you hit a snag and need a hand, don't hesitate to schedule a repair!
Step 1


- Before you dive in, make sure your iPhone is powered off—no need for any surprise alerts mid-repair.
- Grab a P2 pentalobe screwdriver and unscrew the two 6.8 mm-long screws hanging out at the bottom edge of your iPhone.
Step 2


Watch your pick—if you shove it in too deep, things can get ugly for your device. Quick fix: mark your pick to keep depth in check.
Level up your pick game by adding marks at different corners for multiple measurements.
Feeling crafty? Tape a coin 3 mm from the tip of your pick for a built-in depth stop.
- Take a moment to measure 3 mm from the tip and give your opening pick a little love tap with a permanent marker to mark the spot!
Step 3


Put on those safety glasses to keep your peepers safe from any sneaky glass bits that might try to escape during the repair!
If your iPhone’s rear glass is cracked, keep things from getting worse and avoid any ouch moments by taping over the broken glass before you dive in.
If you’re having trouble, try supergluing the suction cup right onto the rear glass for a better grip.
- Stick overlapping strips of clear packing tape all over the iPhone's back glass until it’s fully covered—think of it as giving your phone a little transparent jacket.
- If the suction cup refuses to stick in the next steps, no worries! Just fold a sturdy piece of tape (duct tape works great) into a little handle and gently lift the rear glass with that instead.
Tools Used


Step 4

Keep that hair dryer moving! Don't let it hang out in one spot for too long, or it might just throw a tantrum.
- Grab a hair dryer or heat gun and warm up the bottom edge of your iPhone for about 90 seconds, or until the back glass feels just a bit too hot to handle. Take it easy, no need to burn your fingers!
Tools Used


Step 5


That adhesive holding the rear glass is seriously tough! Getting that first little gap open takes some muscle. If it’s being stubborn, add a bit more heat, then gently rock the glass back and forth to loosen the glue until you have enough space to slide in your opening pick.
- Grab your trusty suction handle and stick it to the bottom edge of that rear glass—just be careful to steer clear of the very edge!
- Give that suction cup a nice, steady pull to create a tiny gap between the rear glass and the frame. You've got this!
- Now, slide an opening pick into that lovely little gap you've made.
Tools Used

Step 6

- Give that left edge of your iPhone a little love with a hair dryer! Keep it warm and cozy for about 90 seconds, or until it feels just a tad too hot to handle. You got this!
Tools Used
Step 7


Keep your pick to a max of 3 mm in depth—going deeper might lead to a surprise encounter with internal components that you definitely don’t want to mess with!
- Gently slide the opening pick around the lower left corner and then up the left edge of the iPhone, cutting through the adhesive that's keeping the rear glass snugly in place. You've got this!
Step 8

- Grab your trusty hair dryer and give some love to the right edge of your iPhone (that's the one with the power button) for about 90 seconds. You're aiming for that sweet spot where the rear glass is just a tad too warm to touch—perfect for what's coming next!
Tools Used
Step 9

Be careful! There's a fragile cable hiding along the right edge of your iPhone. Avoid sticking your pick in this area, as it could lead to some unfortunate cable damage.
Step 10


Keep your pick insertion under 3 mm to avoid accidentally messing up the charging coil cable.
- Slide your pick back into the lower edge of your iPhone and gracefully glide it up the right side to keep peeling away that stubborn adhesive.
Step 11

- Grab your trusty hair dryer and give the top edge of the iPhone a warm hug for about 90 seconds, or until that rear glass is feeling just a smidge too hot to touch. You've got this!
Tools Used
Step 12


- Slide your pick under the top right edge of the phone, then glide it around that corner and halfway across the top edge. Easy does it!
Step 13


Hold your horses on fully separating that rear glass! There's a delicate ribbon cable keeping it cozy with the iPhone's logic board.
Be careful not to slide that pick in more than 3 mm – you don't want to accidentally mess with the camera array!
- Slide your pick under the top-left corner of the phone, then carefully glide it around that corner and halfway along the top edge. Keep it smooth and steady!
Step 14


Handle the short charging coil flex cable with care—nobody likes a stretched cable!
- Take off your suction handle from the rear glass—time to get moving!
- Gently swing the rear glass open from the left side, just like opening the back cover of a book.
- Prop the rear glass up against something nearby so it stays put while you work on your phone.
- When putting it back together, place the rear glass in position, line up the clips along the top edge, and press the top edge down carefully before snapping the rest into place. If it’s not clicking in smoothly, double-check the clips around the edges to make sure none are bent out of shape.
- No handy prop? No worries—your suction handle can double as a stand to keep the rear glass steady.
Tools Used
Step 15

Keep a keen eye on every screw during this repair and pop each one back exactly where it came from—your iPhone will thank you for it!
- Grab your Y000 screwdriver and carefully remove the two 1.3 mm screws holding down the battery connector cover.
- When putting it all back together, this is a perfect moment to power on your iPhone and make sure everything is working smoothly before sealing up the display. Don’t forget to power it off completely again before continuing with the reassembly.
Step 16


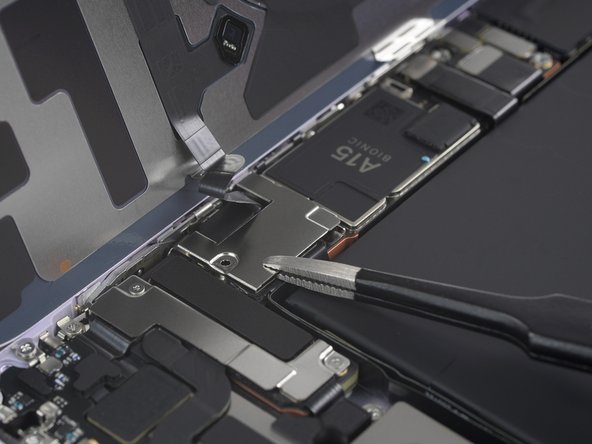
- Grab the battery connector cover with your tweezers and slide it up (towards the A15 print) to pop the top hook free.
- Lift off the battery connector cover.
Tools Used

Step 17


Be careful not to mess up the black silicone seal that hugs this and other board connections. These little champions help keep water and dust at bay!
- Grab your trusty spudger and use its pointed end to gently pry the battery cable connector straight up from its socket—easy peasy!
- Now, give that connector a little bend away from the logic board. This will keep it from accidentally touching the socket and powering up your device while you work your magic.
Tools Used

Step 18

- Grab your trusty Y000 screwdriver and let's tackle that pesky 1.0 mm-long screw holding down the charging coil connector cover. You've got this!
Step 19

- Grab a trusty pair of tweezers and gently lift off the cover that shields the charging coil connector. You're doing great!
Tools Used
Step 20


- Grab your trusty spudger and with its pointed end, gently pry the charging coil cable connector straight up from its comfy little socket. You've got this!
Tools Used
Step 21


- First up, let's get that rear glass assembly off. It's time to shine!
- Once you've cleared the area, apply some fresh adhesive where needed. Give those spots a good cleaning with isopropyl alcohol (>90%) first—trust us, it makes a difference!
- If you're thinking about swapping out the rear glass adhesives during reassembly, this is your moment to pause and tackle that.
Step 22

- Grab your trusty Phillips screwdriver and get ready to tackle those screws holding the Taptic Engine in place! You'll need to remove four screws: two that are 1.7 mm long, one that measures 1.4 mm, and the last one at 1.8 mm. Easy peasy!
Step 23


- Grab a trusty pair of tweezers and gently lift off the Taptic Engine connector bracket. You've got this!
Tools Used
Step 24


- Grab the pointy end of your trusty spudger and gently pry the Taptic Engine connector straight up to unplug it from its socket. Easy does it!
Tools Used
Step 25

When it comes to tackling those standoff screws, the best tool for the job is a dedicated standoff driver or driver bit. However, if you find yourself in a bind, a small flathead screwdriver can save the day—just remember to tread lightly to avoid slipping and causing any unintentional damage to nearby components.
- Grab your standoff driver and go ahead and remove that 3.1mm-long standoff screw. You're almost there!
Step 26


- If you can, power up your device and give your repair a test run before sealing it all back up with some fresh adhesive.
- Take a moment to compare your shiny new replacement part with the original—you might need to move over some bits or peel off those pesky adhesive backings from the new part before you dive into the installation.
- Now, to put everything back together, just retrace your steps from this guide in reverse order.
- When it's time to part ways with your e-waste, make sure to drop it off at an R2 or e-Stewards certified recycler.
- Things didn’t go quite as planned? No worries! Try some basic troubleshooting, or if you're feeling stuck, our Answers community is here to lend a hand.
-