iPhone 15 Plus Earpiece Speaker Replacement
Duration: 45 minutes
Steps: 32 Steps
Ready to give your iPhone 15 Plus a little makeover? If your earpiece speaker is sounding more like a static radio than a crisp conversation partner, it might be time for a swap! Grab some replacement back glass adhesive and let's get that sound back on track. Remember, if you need a hand, you can always schedule a repair.
Step 1


Let that battery drop below 25% before you start! A fully charged lithium-ion battery can be a little too zippy for comfort. It's all about safety first, so go ahead and give it a little breather.
- Disconnect any cables plugged into your phone.
- Press and hold the power button along with either volume button, then slide to turn off your phone.
Step 2


Ensure there's a nice, flat spot near the bottom edge that's spacious enough for a suction cup to grab on to.
- If your screen or back glass is seriously cracked, slap some overlapping strips of packing tape over it to keep the shards in check and make taking it apart less of a headache.
Step 3


If you push the opening pick in too deep, you might accidentally hurt your device—so mark your pick to keep things safe and sound.
Feel free to add markings on the other corners of your pick with different measurements for extra help.
Another neat trick: tape a coin to your pick about 3 mm from the tip to stop you from going too far.
- Measure 3 mm from the tip and mark your opening pick with a permanent marker — precision is key!
Step 4

- Grab a P2 pentalobe driver and get ready to unscrew those two 7.7mm-long screws on each side of the charging port. It’s a quick and easy step, so don’t stress!
Step 5

Heads up! Don't crank up the heat too much—the battery doesn’t do well with high temps and might throw a fit.
- Grab your hair dryer or heat gun and warm up the bottom edge of the back glass until it feels nice and toasty.
Tools Used


Step 6

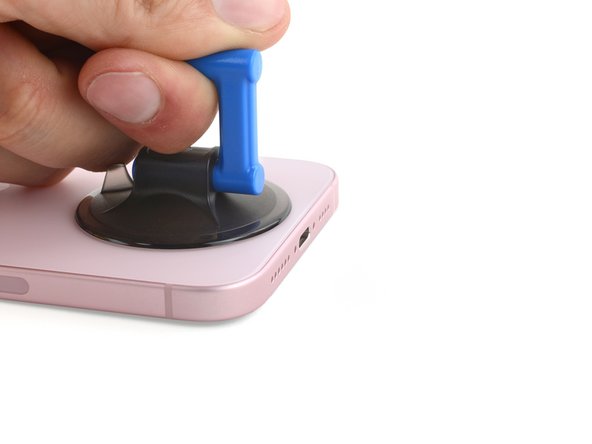
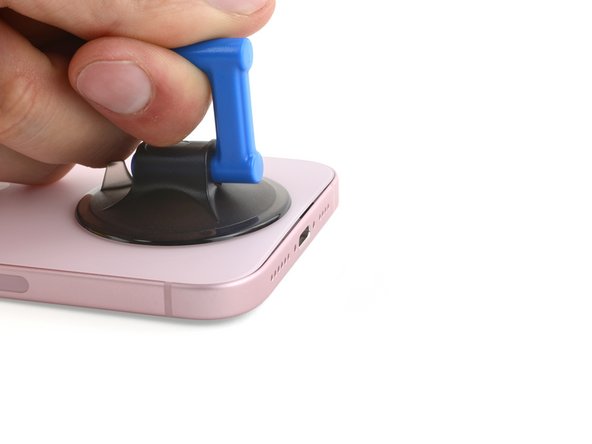
- First things first, grab a suction handle and stick it on the bottom edge of that back glass.
- Now, pull up gently but firmly on that handle—let's create a little space between the back glass and the frame.
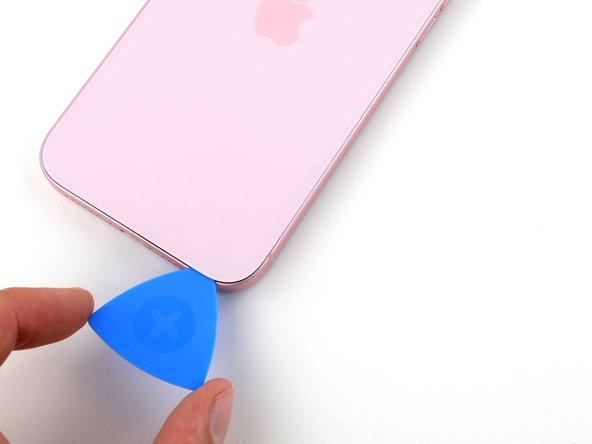
- Time to get sneaky! Slip the tip of an opening pick into that newly formed gap.
Tools Used

Step 7

Heads up! When you’re slicing through the adhesive holding the back glass, keep a close eye on these spots to avoid any surprises:
- Watch out for that delicate little cable connecting the back glass to the phone, right by the volume up button. Keep your pick clear of this spot to avoid any accidental snips!
- Be mindful of the spring contacts around the edges of the phone. Make sure not to push your pick in deeper than recommended in each step, or you might bend those little guys!
Step 8


Keep your opening pick shallow—no deeper than 5 mm along the bottom edge, or you might poke something you didn’t mean to.
- Gently glide your pick back and forth along the bottom edge to break free the adhesive. It's like a dance, but for your device!
- Keep your pick snugly in the bottom right corner to keep that adhesive from getting all clingy again.
Step 9

- Warm up the right edge of the back glass until it feels nice and toasty to the touch.
Step 10


Keep your pick no deeper than 7 mm along the right edge to avoid any surprises.
Steer clear of slicing near the volume buttons — that wireless charging cable is hiding there and wants to stay safe.
- Gently rotate your pick around the bottom right corner, then slide it halfway up the right edge until you hit a firm stop at a clip holding the back glass in place.
- Leave the pick in to keep that adhesive from resealing itself—trust us, it's for the best.
Step 11

- Warm up the left edge of the back glass until it’s nice and toasty to the touch.
Step 12


Keep your pick no deeper than 5 mm along the left edge to avoid any surprises.
- Pop in a second opening pick at the bottom edge to get things going.
- Spin that second pick around the bottom left corner like a pro.
- Slide your pick all the way up to the top left corner to break through the adhesive seal.
- Keep this pick in place so the adhesive doesn’t sneak back together on you.
Step 13

- Warm up the top edge of the back glass until it feels nice and toasty to your fingertips.
Step 14


Keep it gentle! Don't push your pick in more than 3mm along the top edge. We’re aiming for precision, not deep-diving.
You’ll probably hear a couple of clicks as the top clips let go. Don’t worry, that’s totally normal!
- Swing that second opening pick around the top left corner and glide it over to the top right corner to break the adhesive's hold.
- Keep that pick in place to stop the adhesive from getting back together.
Step 15

- Warm up the top right corner of the back glass until it feels nice and toasty to the touch.
Step 16


Keep your pick's depth to a maximum of 4 mm along that right edge—let's not go digging too deep!
- Gently twist the second opening pick around the top right corner and slide it over to the volume up button to loosen the adhesive.
Step 17


If the back glass is feeling a bit stubborn, circle back around the edges and check for any sneaky bits of adhesive or clips that might be holding on a little too tight.
- Swing the back glass open to the right—think of it like a book with a secret chapter.
- Prop up the back glass on something sturdy so the cable doesn’t get pulled like a bad prank.
Step 18


Keep a sharp eye on every screw during this repair—each one has a VIP seat back in its original spot!
- Grab your trusty tri-point Y000 driver and get ready for action! It's time to tackle those two 1.3 mm-long screws that are keeping the lower connector cover in place. Unscrew them with a smile and keep moving forward!
Step 19


- Grab your tweezers and gently slide the cover up toward the top of your phone—it's like unlocking a little puzzle piece from the logic board.
- Lift the cover off and set it aside. Easy!
- When you're putting things back together, make sure the top edge of the cover clicks into its slot on the logic board before you screw it down.
Tools Used

Step 20


To get that connector back in action, simply line it up with its socket and give one side a gentle push until you hear that satisfying click. Then, do the same on the other side! Just make sure it's nice and flat, as the insulating rubber around the sockets might be a bit of a stickler for a proper connection.
Look closely! You'll spot a plus and minus sign right on the head of this connector.
- Grab the back glass with one hand and twist the bottom edge to the left—like you’re opening a secret door—to uncover the battery press connector hanging out just below the volume buttons.
- With the tip of your opening pick, gently lift and disconnect the battery press connector from the logic board. Nice and easy, like popping the top off a cold drink.
Step 21


- Grab your tri-point Y000 driver and carefully unscrew the 0.9 mm screw holding down the middle connector cover. You've got this!
Step 22


- Grab that spudger or your trusty finger and give the cover a gentle nudge toward the bottom of the phone to pop off that top edge.
- Time to take off the cover! Go ahead and remove it.
- As you put things back together, make sure to position the cover so that its tab is snugly behind the clip on the logic board. A little press down with a finger and a slide forward will do the trick to secure that clip!
Tools Used

Step 23


- Grab your trusty opening pick and gently wiggle it in to lift up and disconnect that wireless charging coil and NFC connector. You've got this!
Step 24

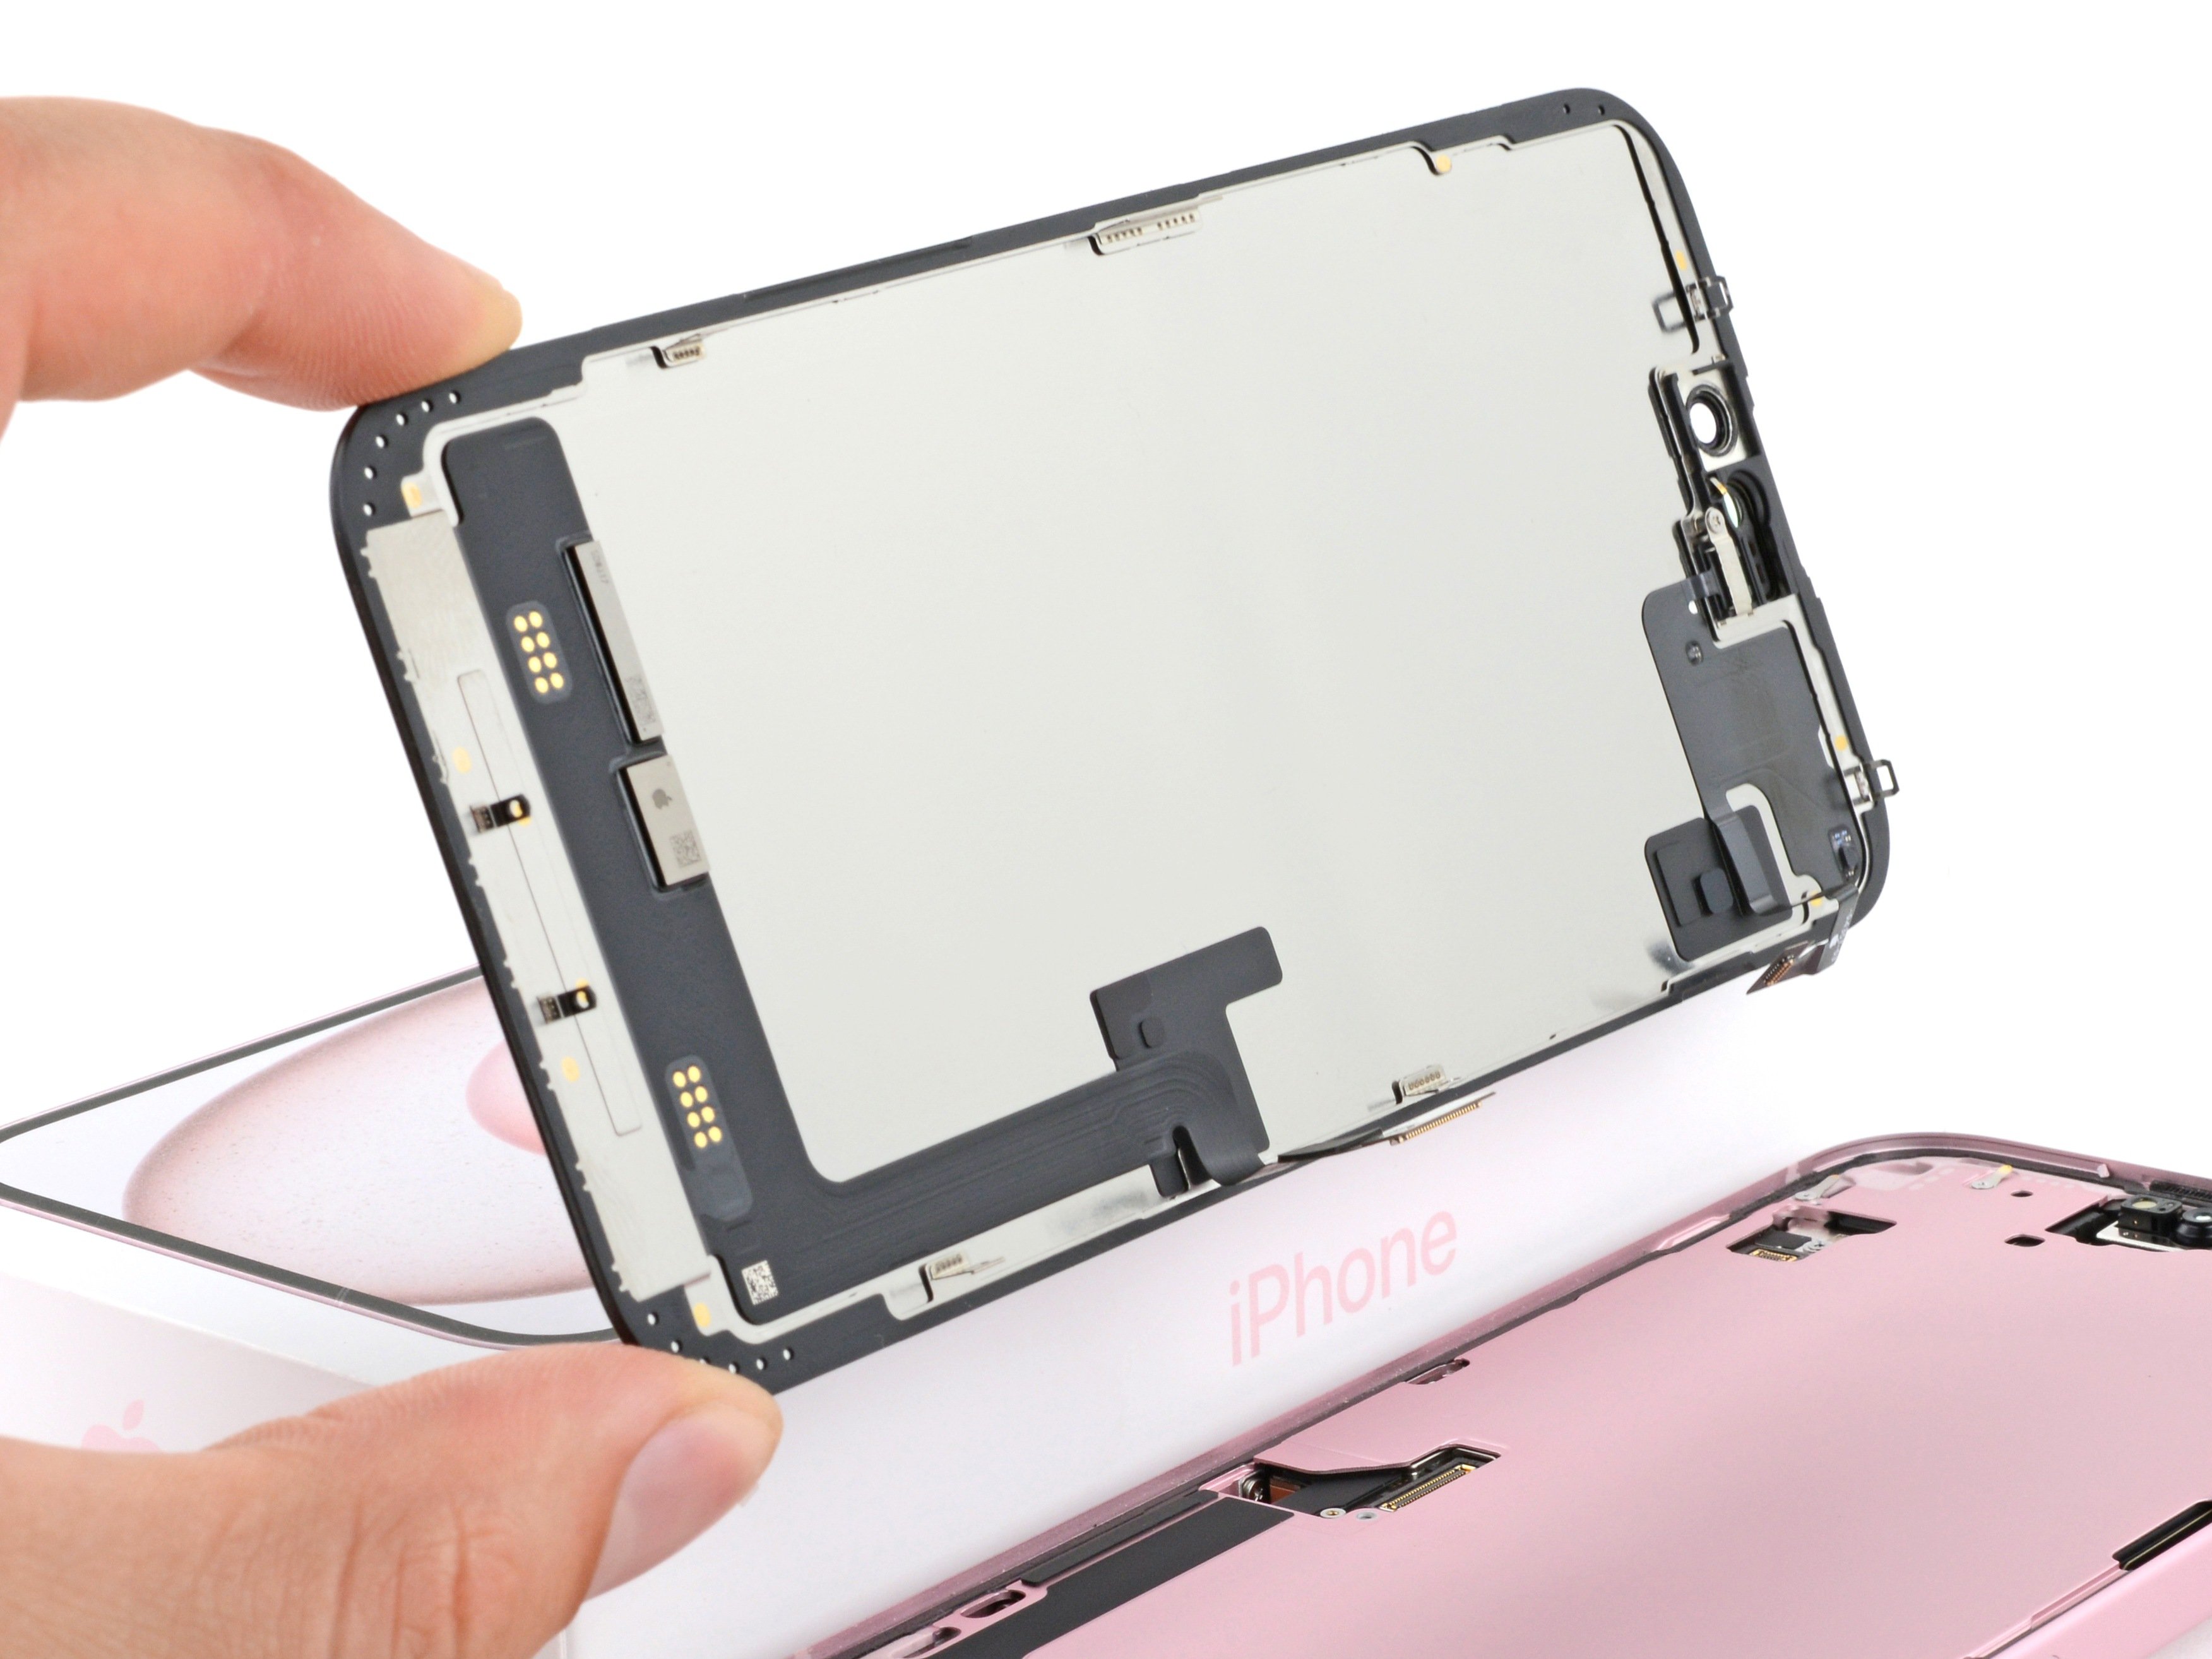
- Pop off the back glass—nice and easy.
- When you're putting things back together:
- Now’s the perfect time for a quick test drive. Hook up the battery and back glass, fire up your phone, and check if everything’s running smoothly. Power it down once you’re done, then finish reassembly.
- Check out Salvation Repair’s guide for sealing up your back glass with fresh adhesive and locking it all in place.
Step 25

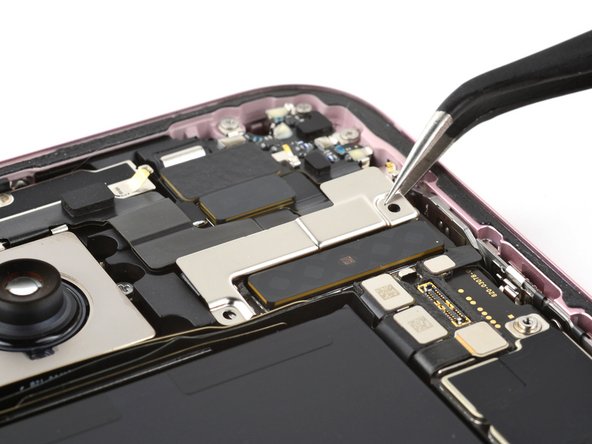
- Grab your tri-point Y000 driver and spin out the two tiny 1.3 mm screws holding down the upper connector cover.
- Lift off that cover like you’re opening a secret treasure chest.
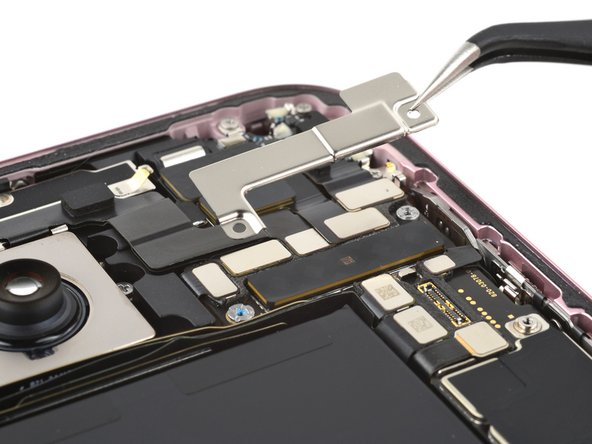
Step 26

- Gently use the tip of an opening pick to lift and unplug the antenna, front sensors, and front camera press connectors — that's three connectors you’ll be freeing up.
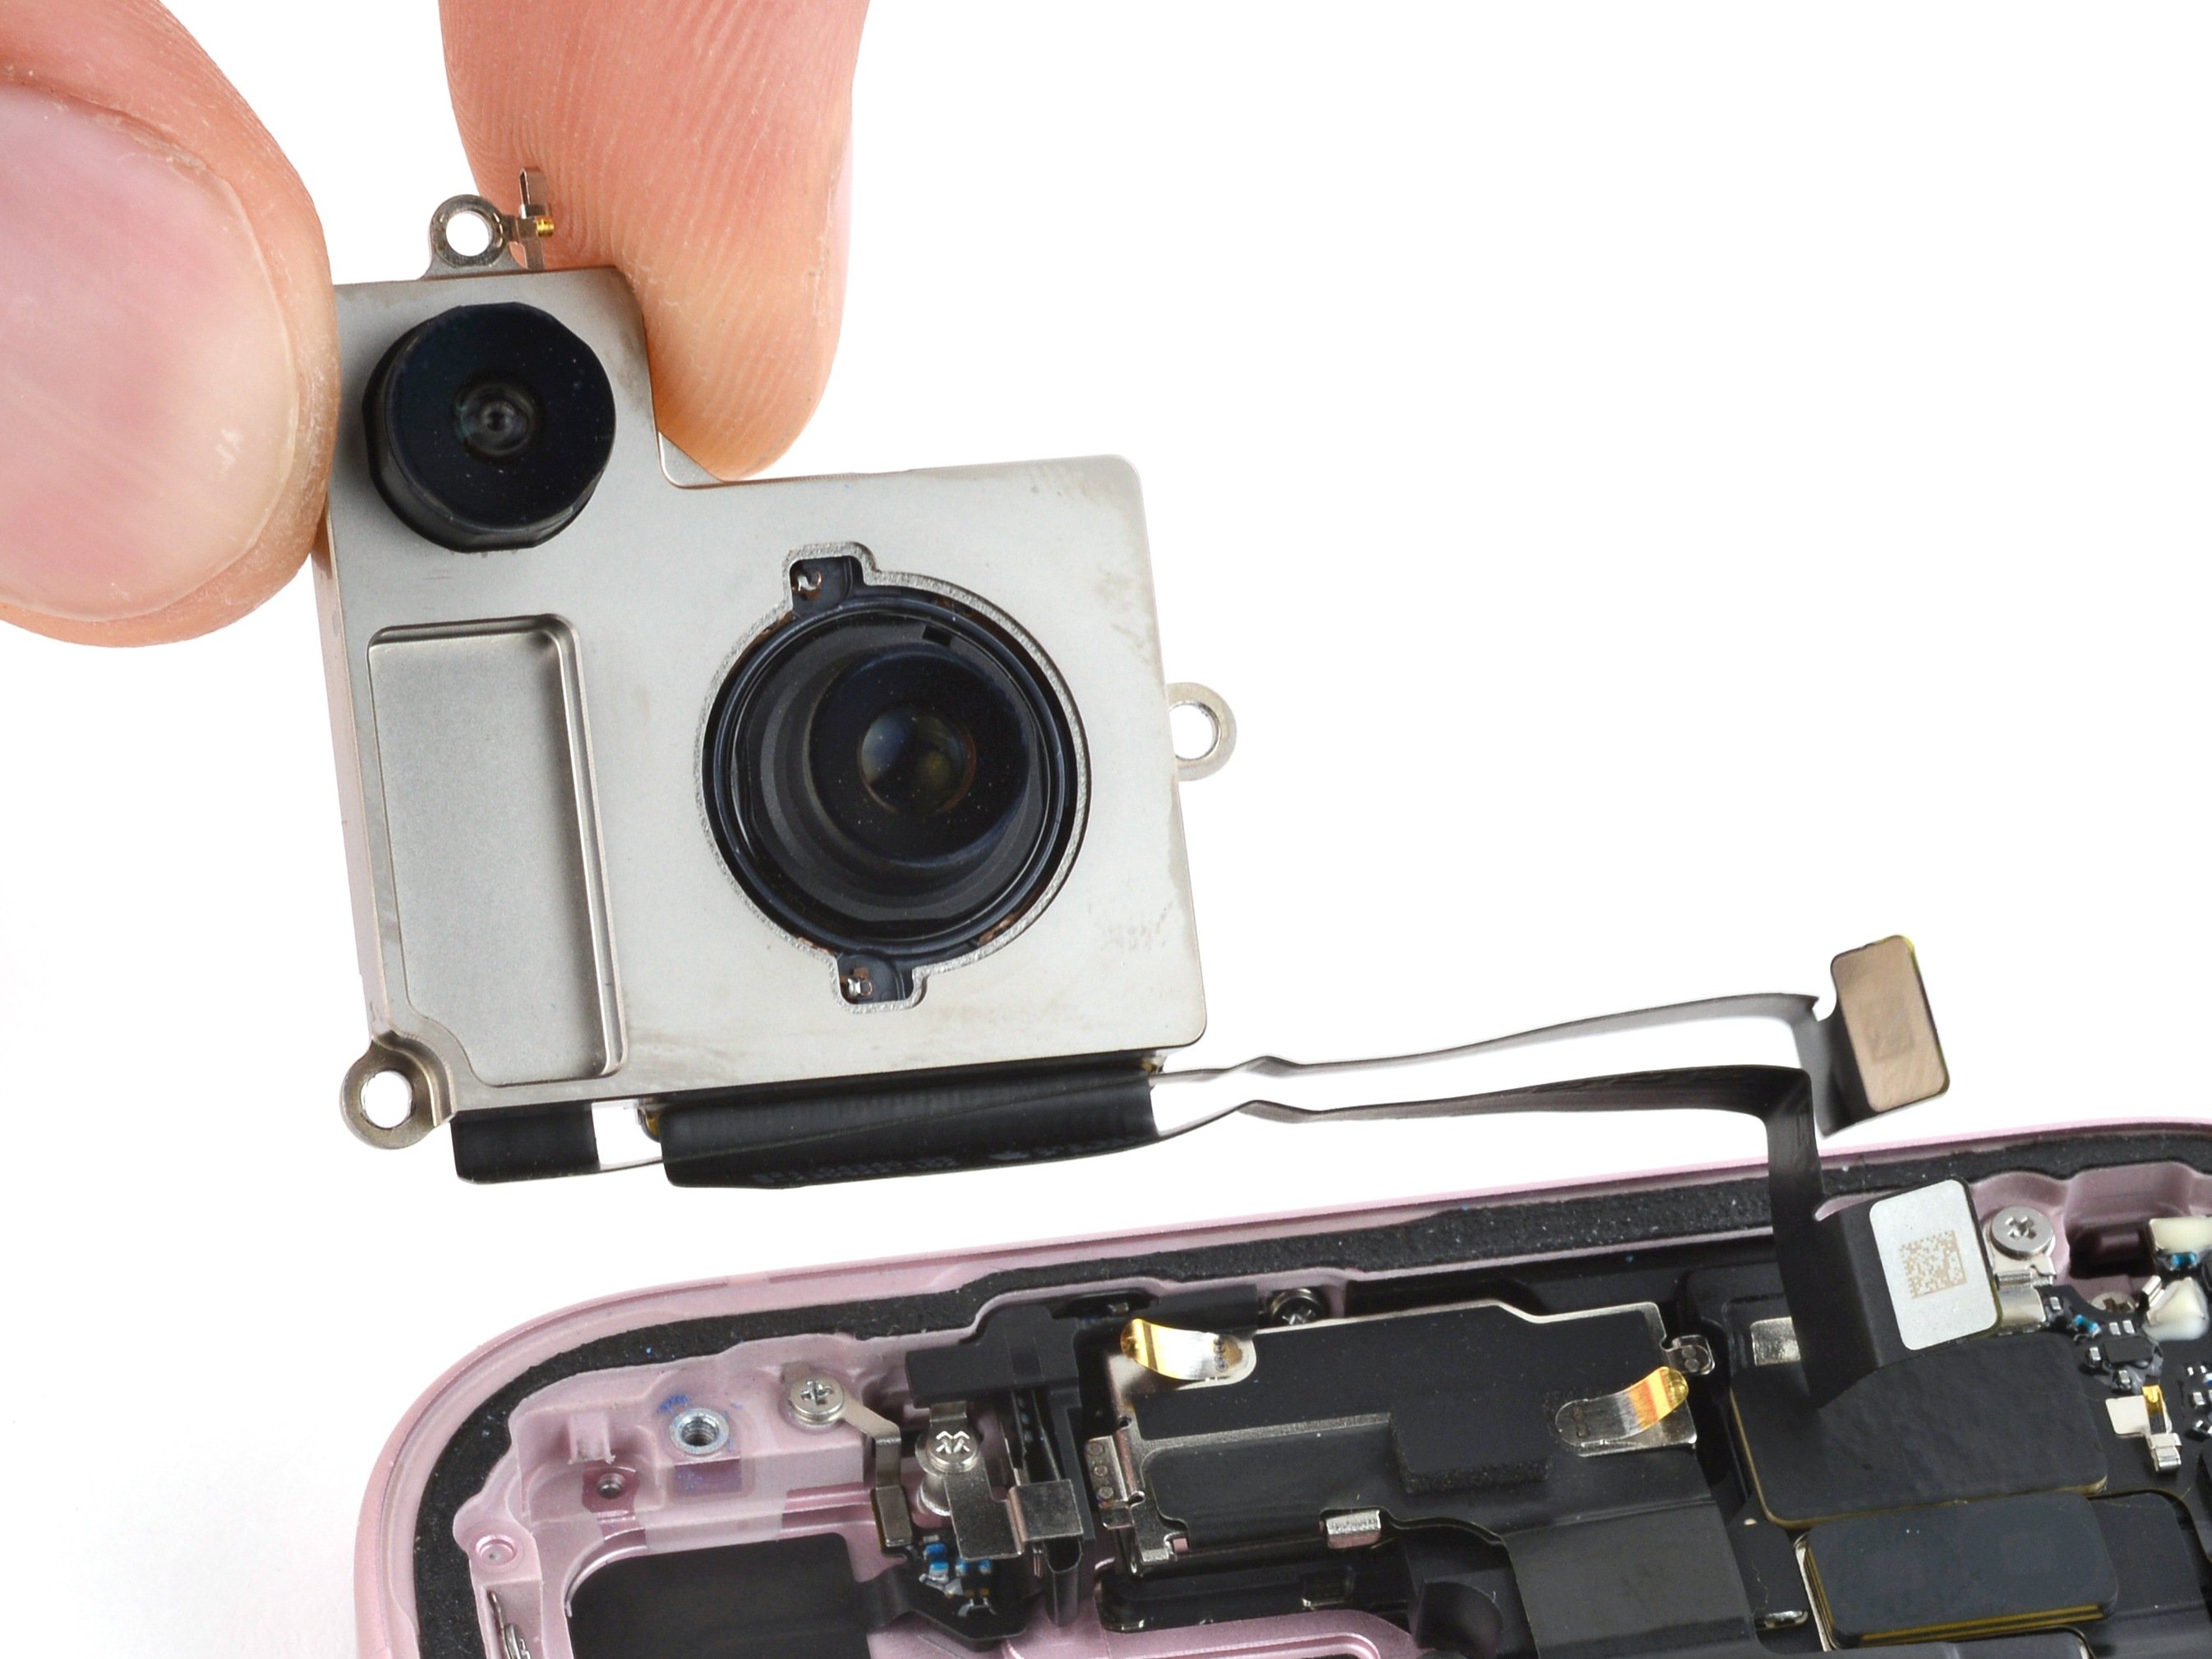
Step 27


- Grab your tweezers (or just use your fingers) and gently lift the front camera and sensors out of their cozy little spots in the frame. Remove them like a pro!
Tools Used
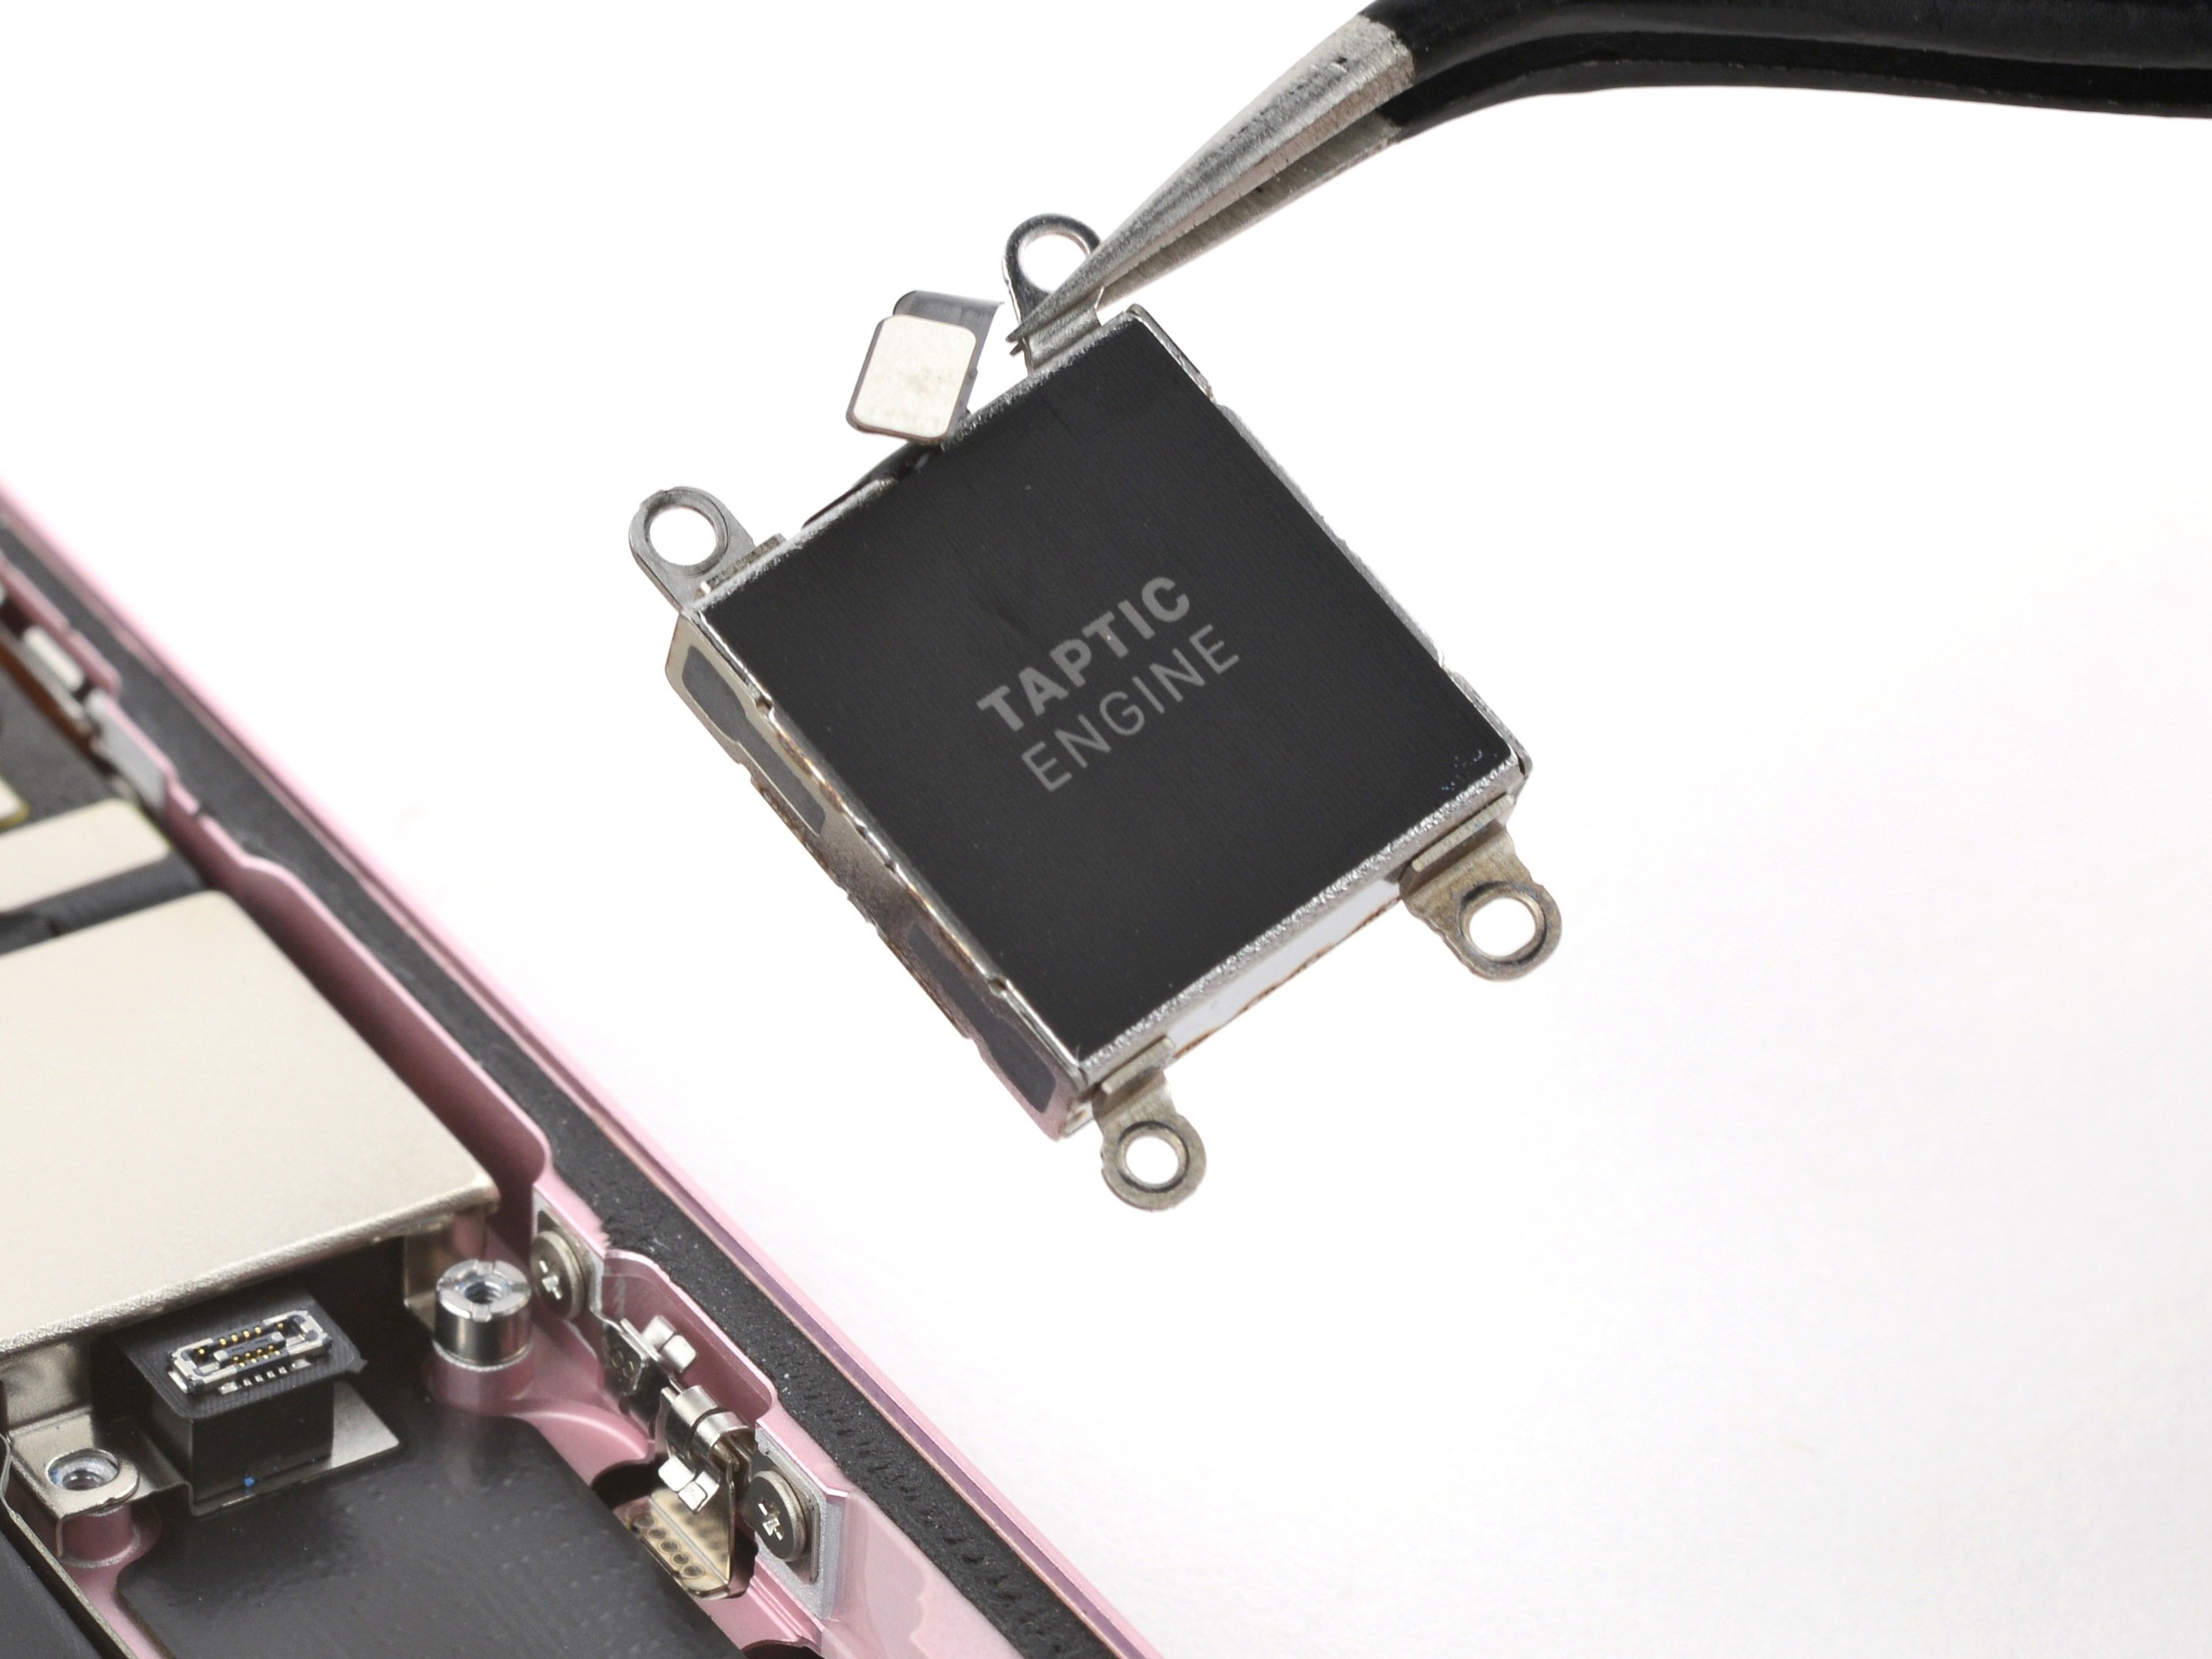
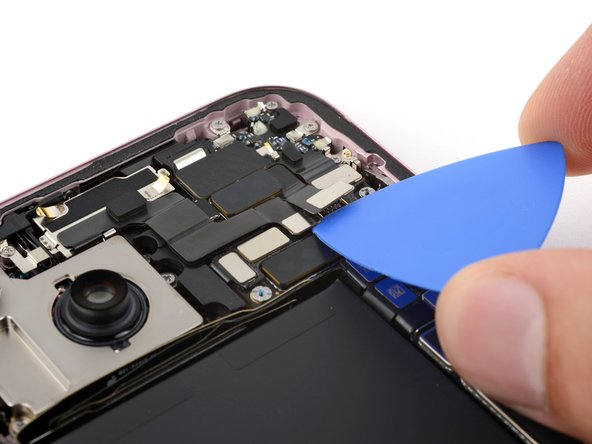
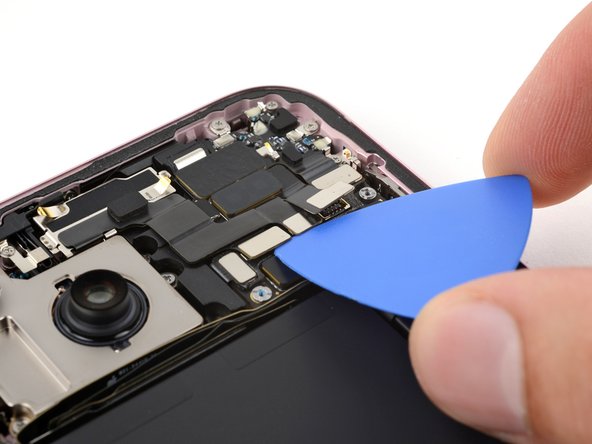
Step 28
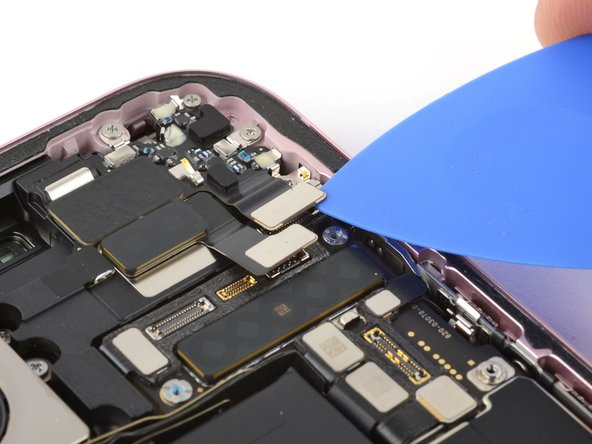

- Grab an opening pick and gently pop up the earpiece speaker press connector. Take it slow—no need to rush this little guy!
Step 29


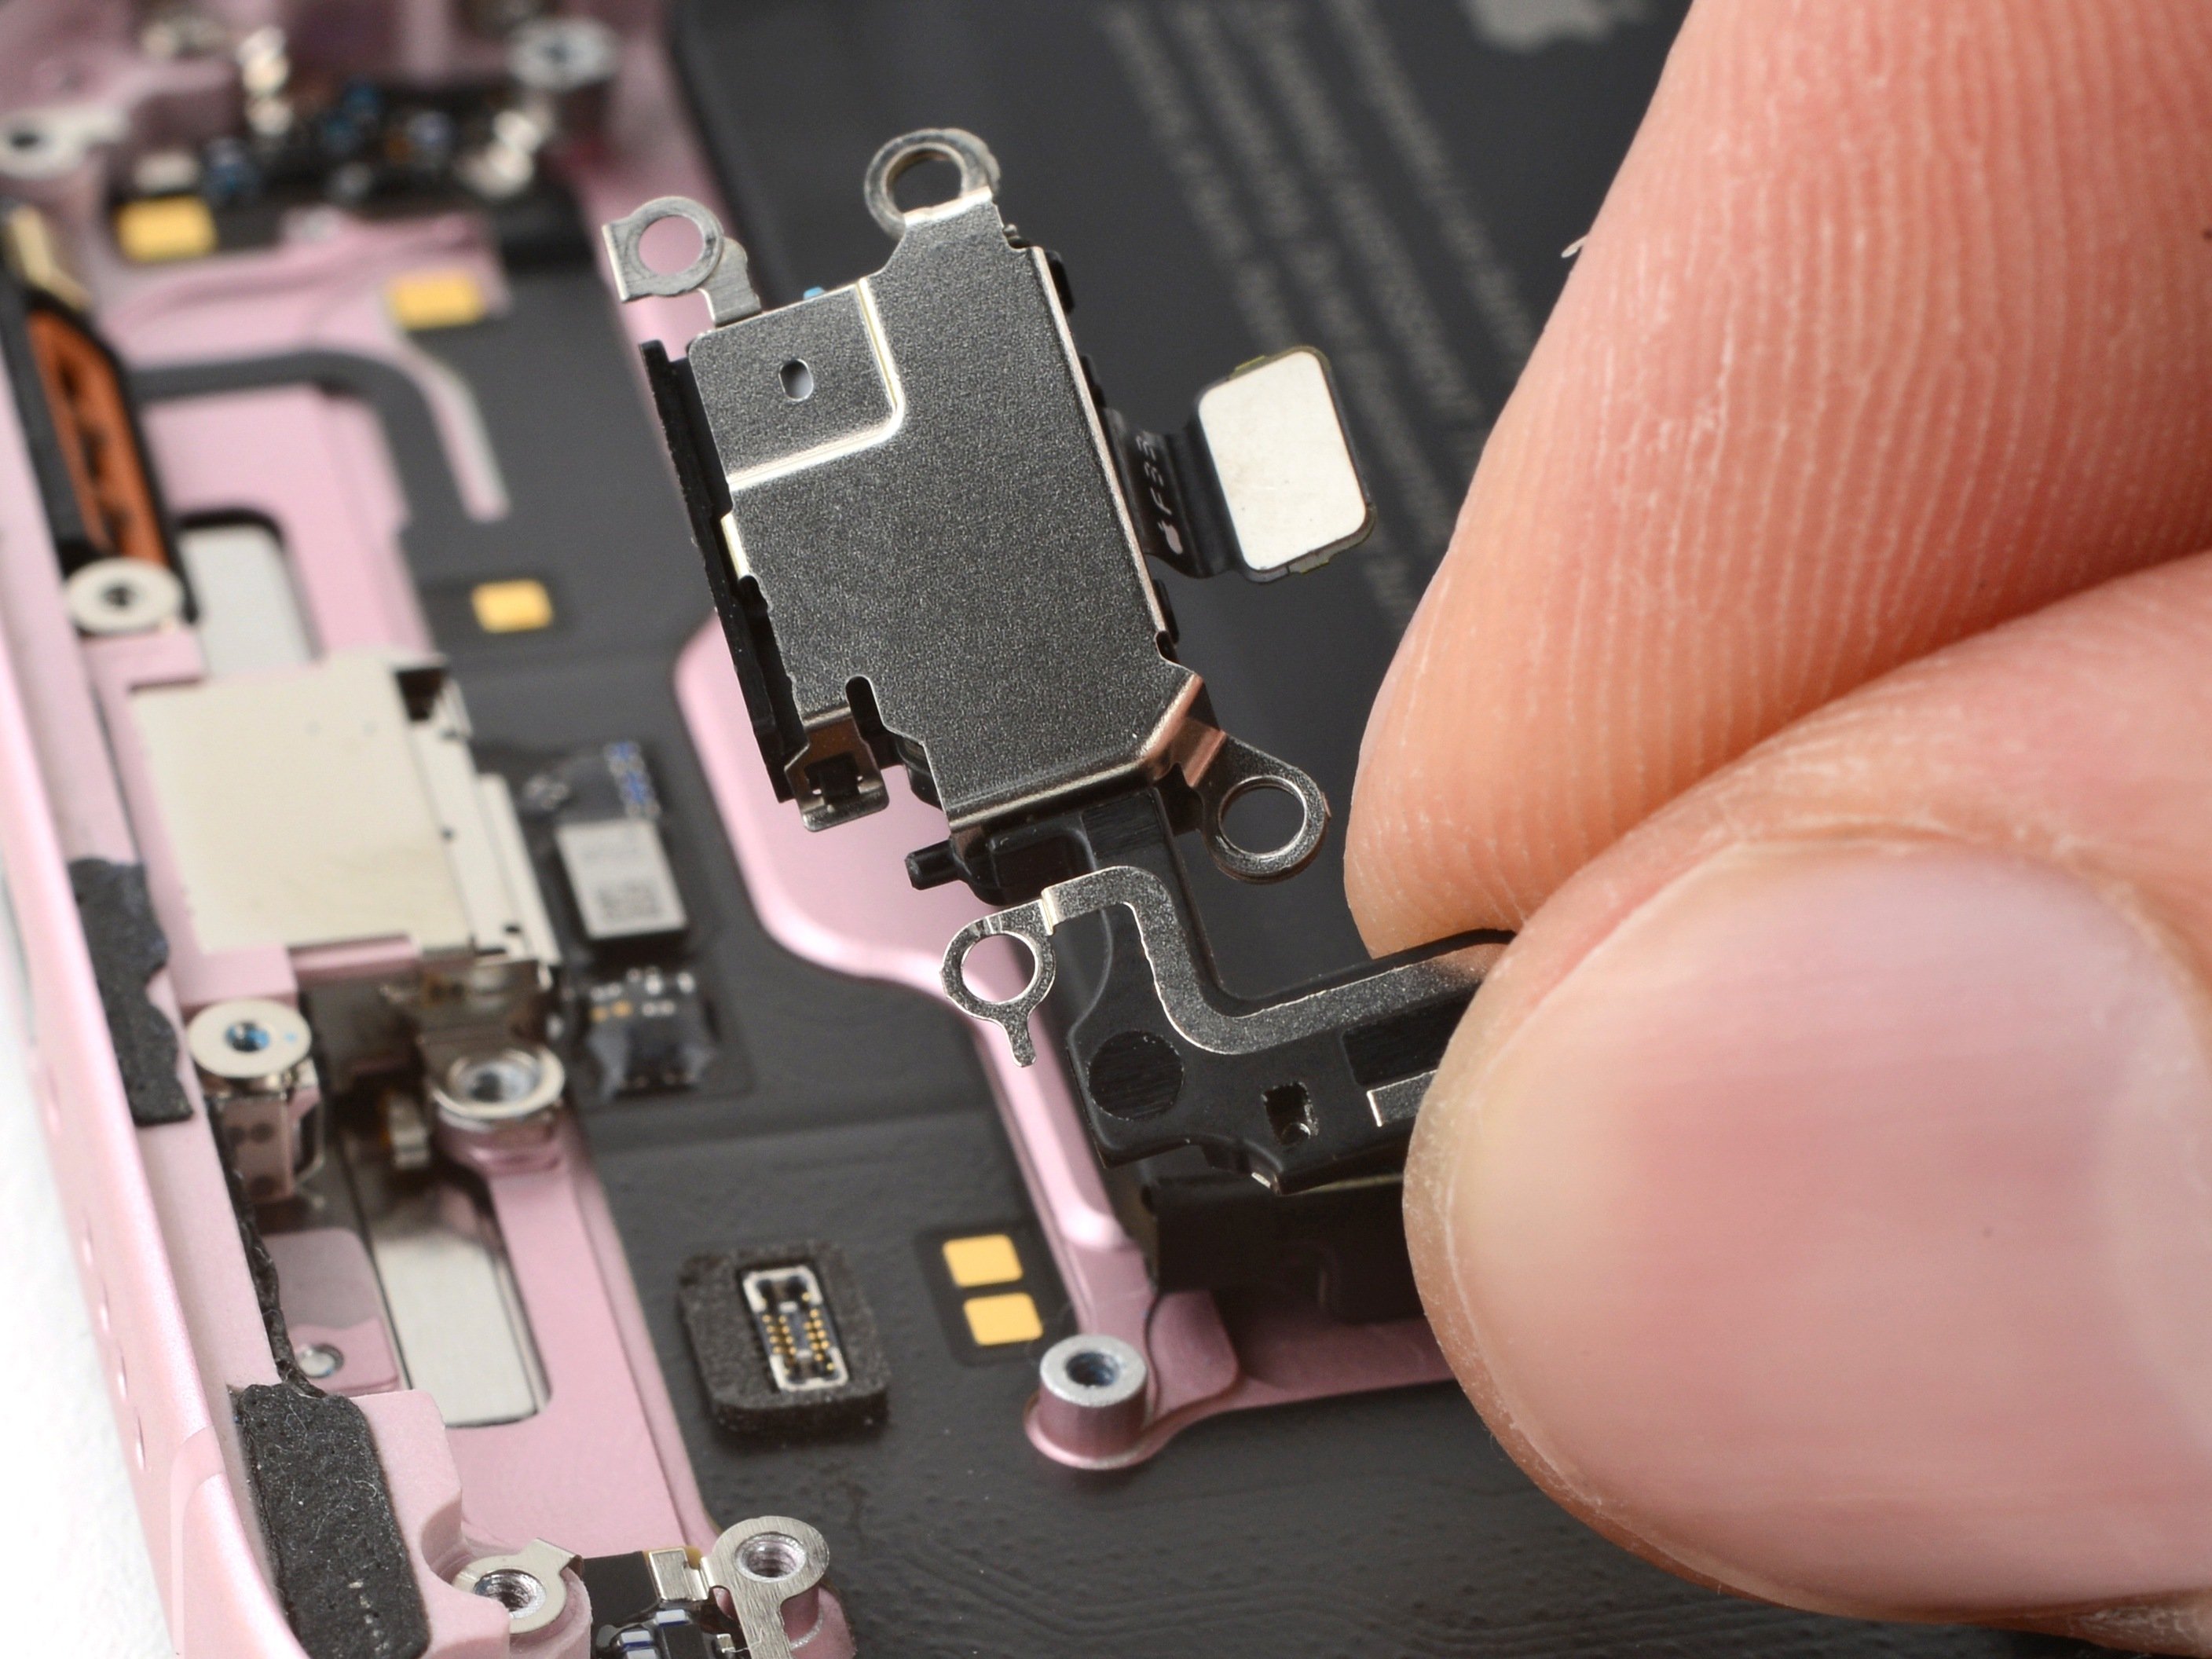
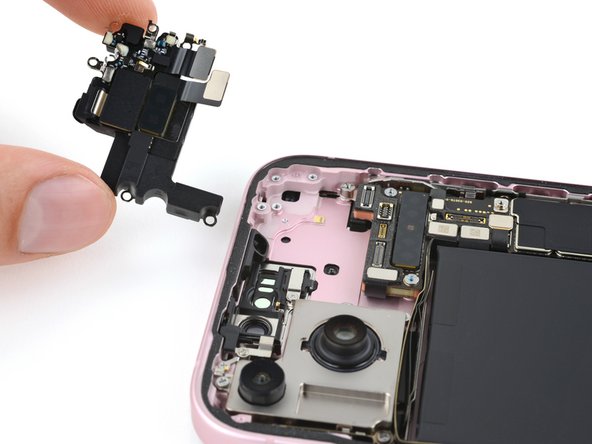
- Grab your trusty Phillips #000 screwdriver and take out the seven screws holding down the earpiece speaker.
- Five of these little guys are 1.6 mm long.
- The other two are a bit shorter at 1.3 mm.
Step 30
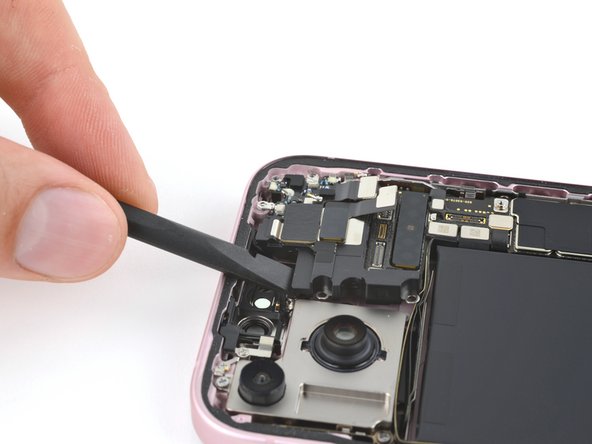

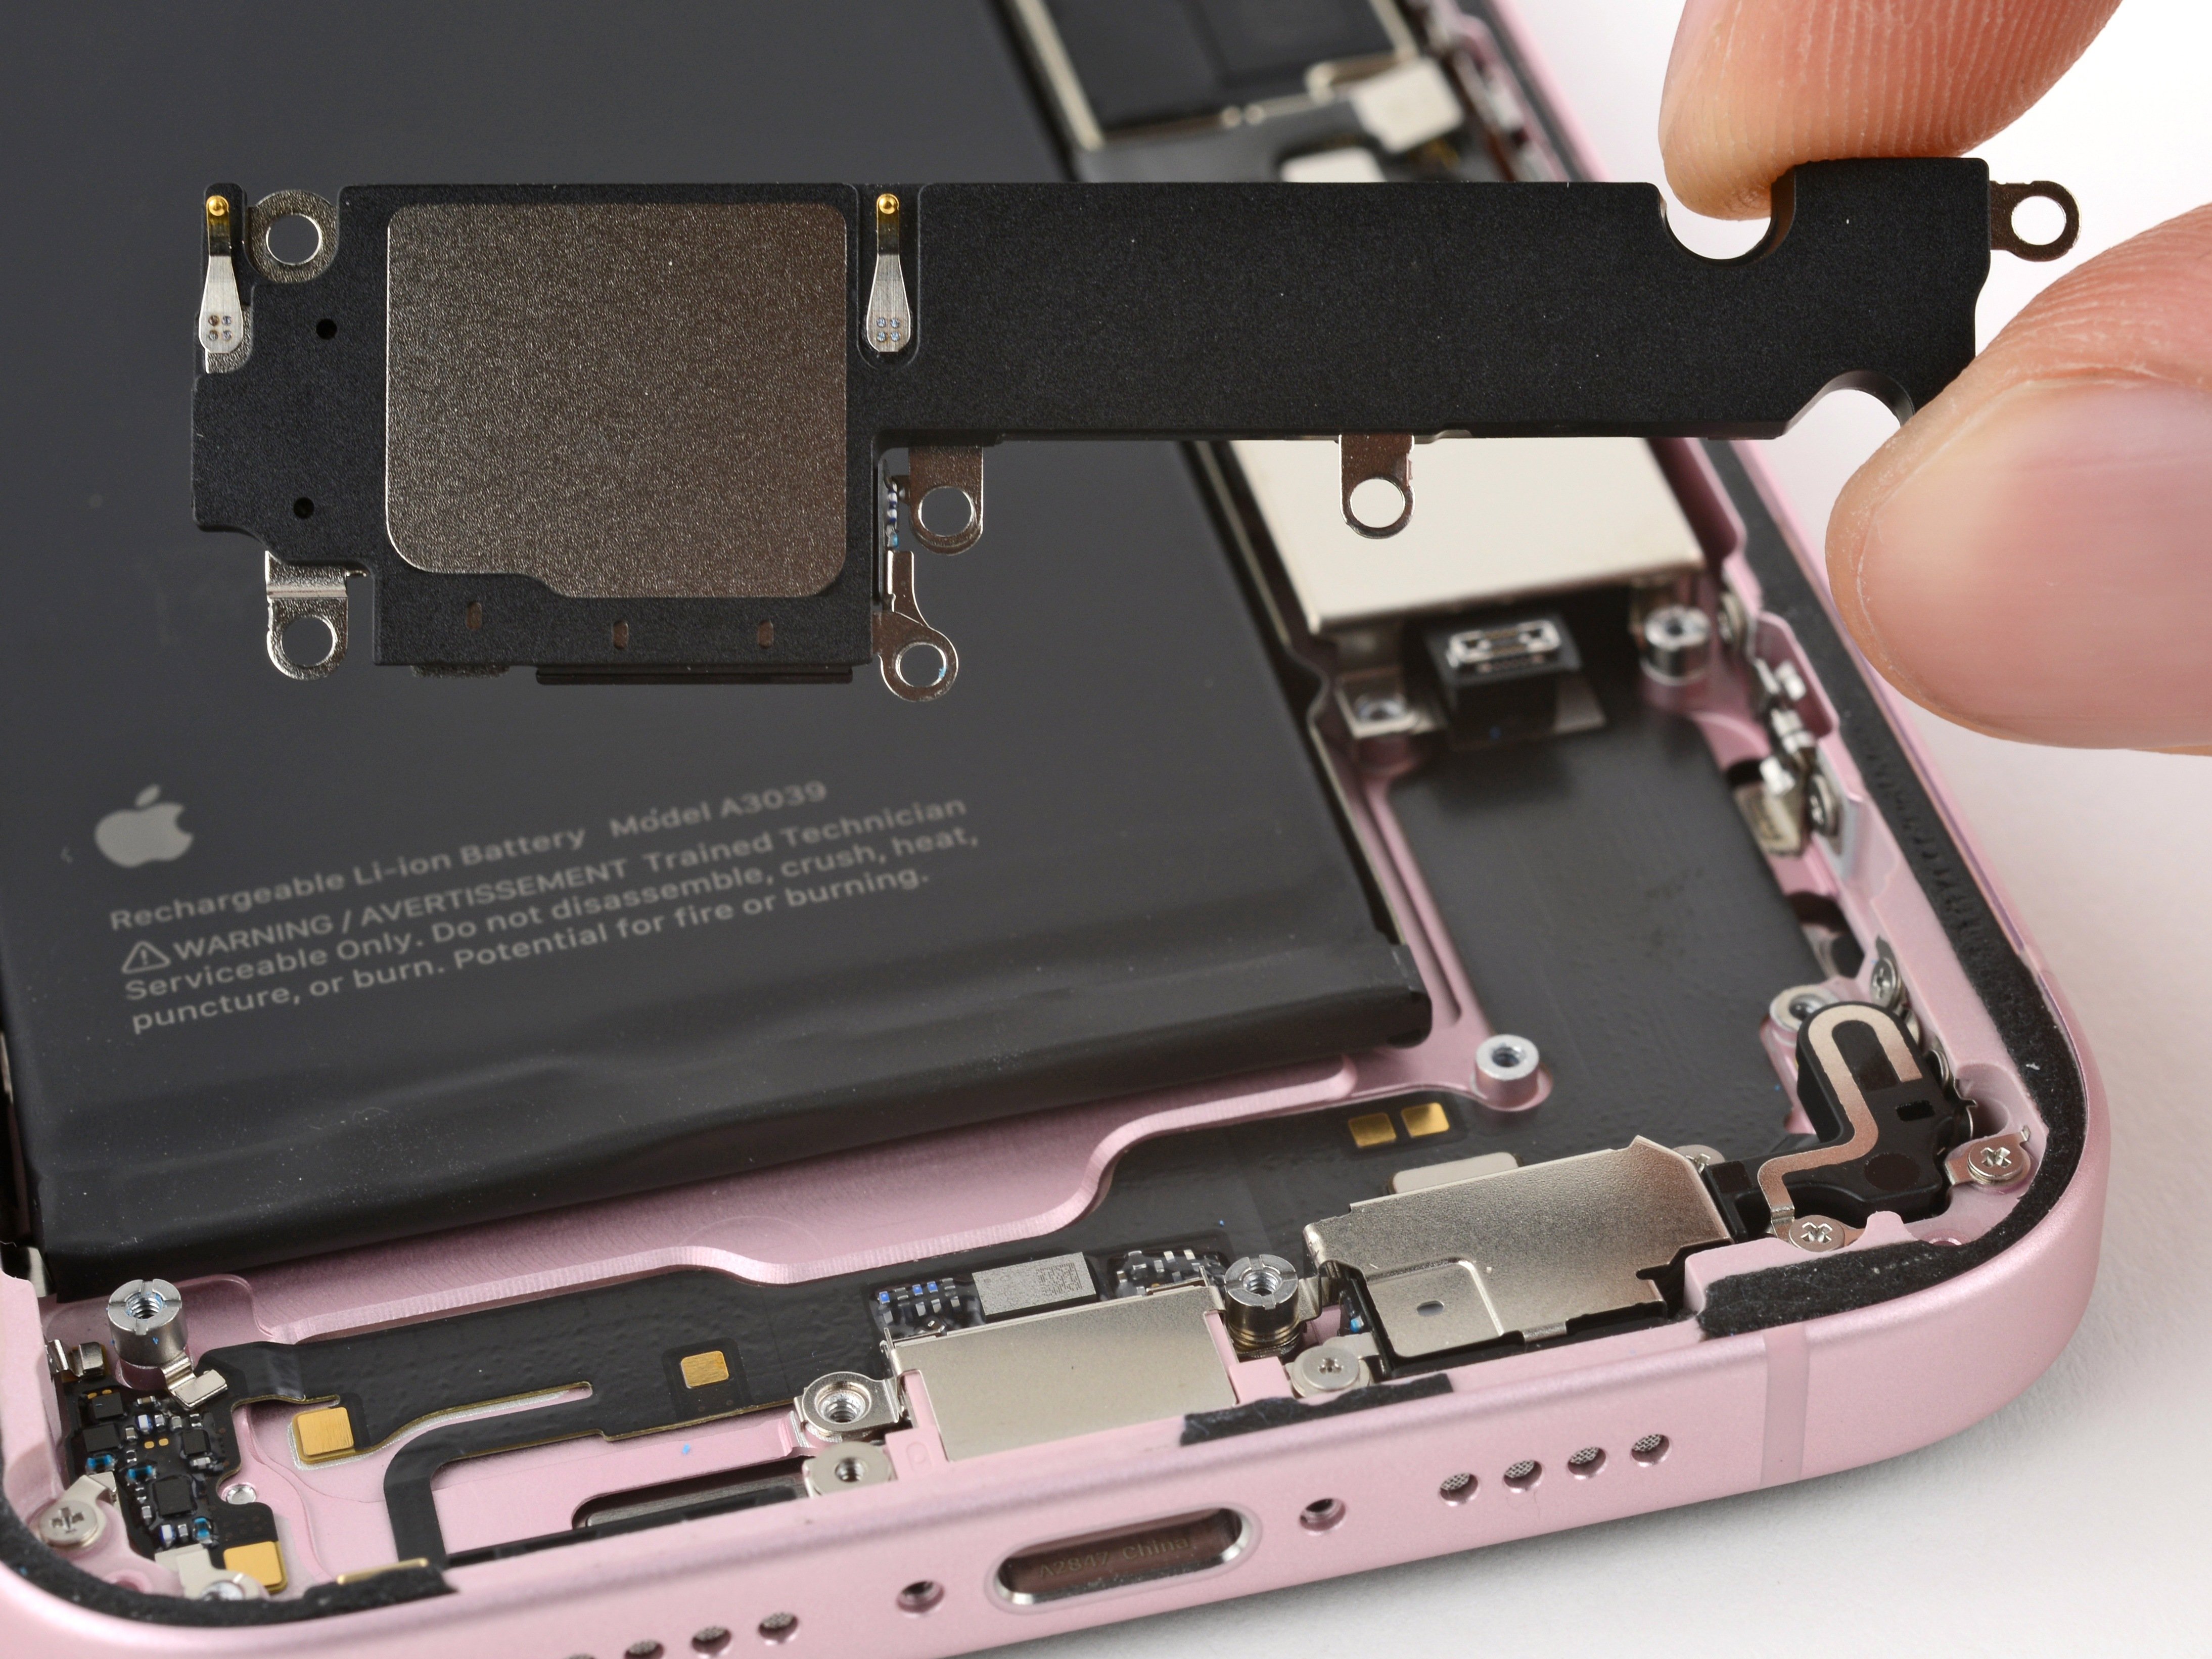
- Gently slide the flat end of a spudger between the top-left corner of the earpiece speaker. Give it a little nudge and pry it up, just enough so you can comfortably grab it with your fingers.
- Carefully remove the earpiece speaker from its place.
Tools Used
Step 31


Don't forget, your earpiece speaker comes with a little antenna buddy that needs to hitch a ride to the new speaker. Let's make sure they stick together!
- Gently slide your opening pick in between the antenna and the earpiece speaker—think of it as sneaking into a secret club.
- Carefully glide the pick under the antenna and give it a little lift to break free the adhesive holding it down.
- Lift the antenna away and set it aside like the VIP it is.
Step 32


If your adhesive is still feeling sticky, go ahead and use it again—no need to break out the new tape just yet!
- Ready to put your phone back together? Just follow these steps in reverse and you’re all set.
- When it’s finally time to say goodbye to old electronics, drop them off at an R2 or e-Stewards certified recycler.
- If things didn’t go quite as planned, take a deep breath and try some basic troubleshooting, or get advice from our Answers community.
- Still stuck? You can always schedule a repair.