iPhone 15 Pro Earpiece Speaker Replacement
Duration: 45 minutes
Steps: 28 Steps
If your iPhone 15 Pro's earpiece speaker is sounding like static or crackling during calls, it's probably time for a swap! Follow this guide to replace it and get your phone back to crisp, clear calls. You’ll need some replacement screen adhesive to get this done right.
Step 1


Before diving into your repair, make sure your phone's battery is below 25%. A fully charged battery could cause a little chaos if it gets damaged—let's avoid any fiery surprises.
- First things first, let's give your phone a little break! Unplug all those cables and let it breathe.
- Now, let's power it down! Press and hold the power button along with either volume button, then slide that power-off slider like a pro.
Step 2


Find a nice, smooth spot near the bottom edge that's just right for your suction cup to grip onto.
- Got a cracked screen or back glass? Cover it up with a few layers of packing tape—this keeps your fingers safe and makes the teardown way less messy.
Step 3


Pushing your opening pick in too deep can mess up your device—let's avoid that! Mark your pick to keep things safe and sound.
Feel free to mark the other corners of your pick with different depths for handy reference.
Another neat trick: stick a coin on your pick about 3 mm from the tip to keep your insertion depth on point.
- Mark a spot 3 mm from the tip on your opening pick with a permanent marker—think of it as giving your tool a little compass!
Step 4


- Grab your trusty P2 pentalobe screwdriver and twist out the two 7 mm screws hanging out on either side of the charging port.
Step 5

Don't push the heat too high—your phone's battery isn't a fan of excessive heat and could get damaged.
- Grab your trusty hair dryer or heat gun and warm up the bottom edge of the screen until it feels pleasantly toasty to the touch.
Tools Used


Step 6


- Stick a suction handle onto the bottom edge of the screen.
- Give the handle a firm, steady tug to pop open a little gap between the screen and the frame.
- Slide the tip of an opening pick into that gap to start the separation.
Tools Used

Step 7

When you're slicing through the adhesive holding the screen, just keep an eye out for these tricky spots:
- Watch out for two fragile cables connecting your screen: one hangs out just above the action button, and the other chills along the middle of the left edge.
- There are a bunch of tiny spring contacts wrapped around the edge of your phone. Go easy with your pick here—don’t poke deeper than needed, or those little contacts might get bent out of shape.
Step 8


Keep your opening pick no deeper than 3 mm along the bottom edge—let’s keep it shallow and safe!
- Gently wiggle your pick side to side along the bottom edge to loosen up that stubborn adhesive.
- Keep your pick wedged in the bottom right corner so the adhesive doesn’t sneak back and seal itself.
Step 9

- Warm up the right side of the screen until it’s comfortably hot to the touch. Think of it like giving your device a little spa treatment.
Step 10


Keep your pick shallow—no deeper than 5 mm on the right side, or you might poke something you don’t want to poke.
- Gently slide your pick along the bottom right corner of the screen, heading toward the power button, until you hit a firm stop where a clip is holding the screen in place.
- Then, twist your pick so its flat edge slips neatly under the screen.
Step 11


- Gently twist the pick to widen the gap between the screen and frame until that sneaky right clip pops free.
- Slide a second opening pick in just to the right of the first one to keep things moving smoothly.
Step 12


- Take the first pick and glide it smoothly back down to the bottom right corner—like you're tracing the edge of a cool new phone case.
- Guide the second pick up to the top right corner to break through the sticky adhesive. You're basically a tech ninja at this point.
- Leave both picks hanging out where they are; that's your secret move to keep the adhesive from sticking itself back together.
Step 13

- Warm up the top edge of the screen until it feels noticeably toasty.
Step 14


Keep your pick shallow—don’t go past 3 mm along the top edge, or you might poke something that doesn’t want poking.
- Gently slide your pick around the top right corner and along the top edge to pop loose the two clips and adhesive holding it in place.
Step 15

- Warm up the left edge of the screen until it's comfortably hot to the touch.
Step 16


Keep your pick shallow—no more than 2 mm along the left edge—so you don’t surprise those two delicate screen cables hiding under there.
- Gently rotate your pick around the top-left corner of the screen, like you're tracing the edge of a map.
- Now, slide that pick all the way to the bottom left corner to break free the adhesive. You’ve got this!
Step 17


If the screen feels a bit stubborn, just grab that trusty opening pick and dance around the edges to break free any leftover adhesive. You've got this!
- Grab a small box or stack of books and set it to the left of your phone. This will be your trusty sidekick to hold up the screen while you tackle those pesky cables!
- Lift the right edge of the screen like you're opening the front cover of a book. It's time to unveil what's inside!
- Support the screen so you can easily reach the cables without putting them in a bind. You've got this!
Step 18


- Grab your Y000 screwdriver and carefully take out the six screws holding down the logic board cover:
- Four screws that are 1.6 mm long
- Two screws that are 1.3 mm long
Step 19


- Twist the bottom part of the logic board cover counterclockwise and gently slide the top left corner free from under the ambient light sensor cable to lift it off.
- When putting it back together, be sure the top left corner of the cover tucks neatly under the ambient light sensor cable.
Step 20


To reconnect a press connector, line it up with the socket and gently press one side down until you hear that satisfying click. Once that side’s in, give the other side a little press too. Make sure it’s nice and flat—those rubber bits around the socket might be a little sneaky, blocking the connection if you’re not careful.
- Gently use the tip of your opening pick to lift and disconnect the battery press connector from the bottom right corner of the logic board. You've got this!
Step 21


- Slide the tip of an opening pick under the screen cable, then gently pop it off the center of the logic board. You got this!
Step 22


- Carefully slide the end of your opening pick under the ambient light sensor cable located near the top left corner of the logic board.
- Gently lift the cable to disconnect it.
Step 23


Go easy on the spring contacts while cleaning the frame—those little guys don’t like rough treatment!
- Gently lift off the screen, like you're peeling off a sticker, but with care!
- When putting everything back together, use this guide to add fresh adhesive and snugly fit your screen back into place. Take it slow—your device will thank you for it!
Step 24


The third connector is sneaky and hiding under the top one—just give that top cable a little lift, and voila! The third connector will make its grand appearance.
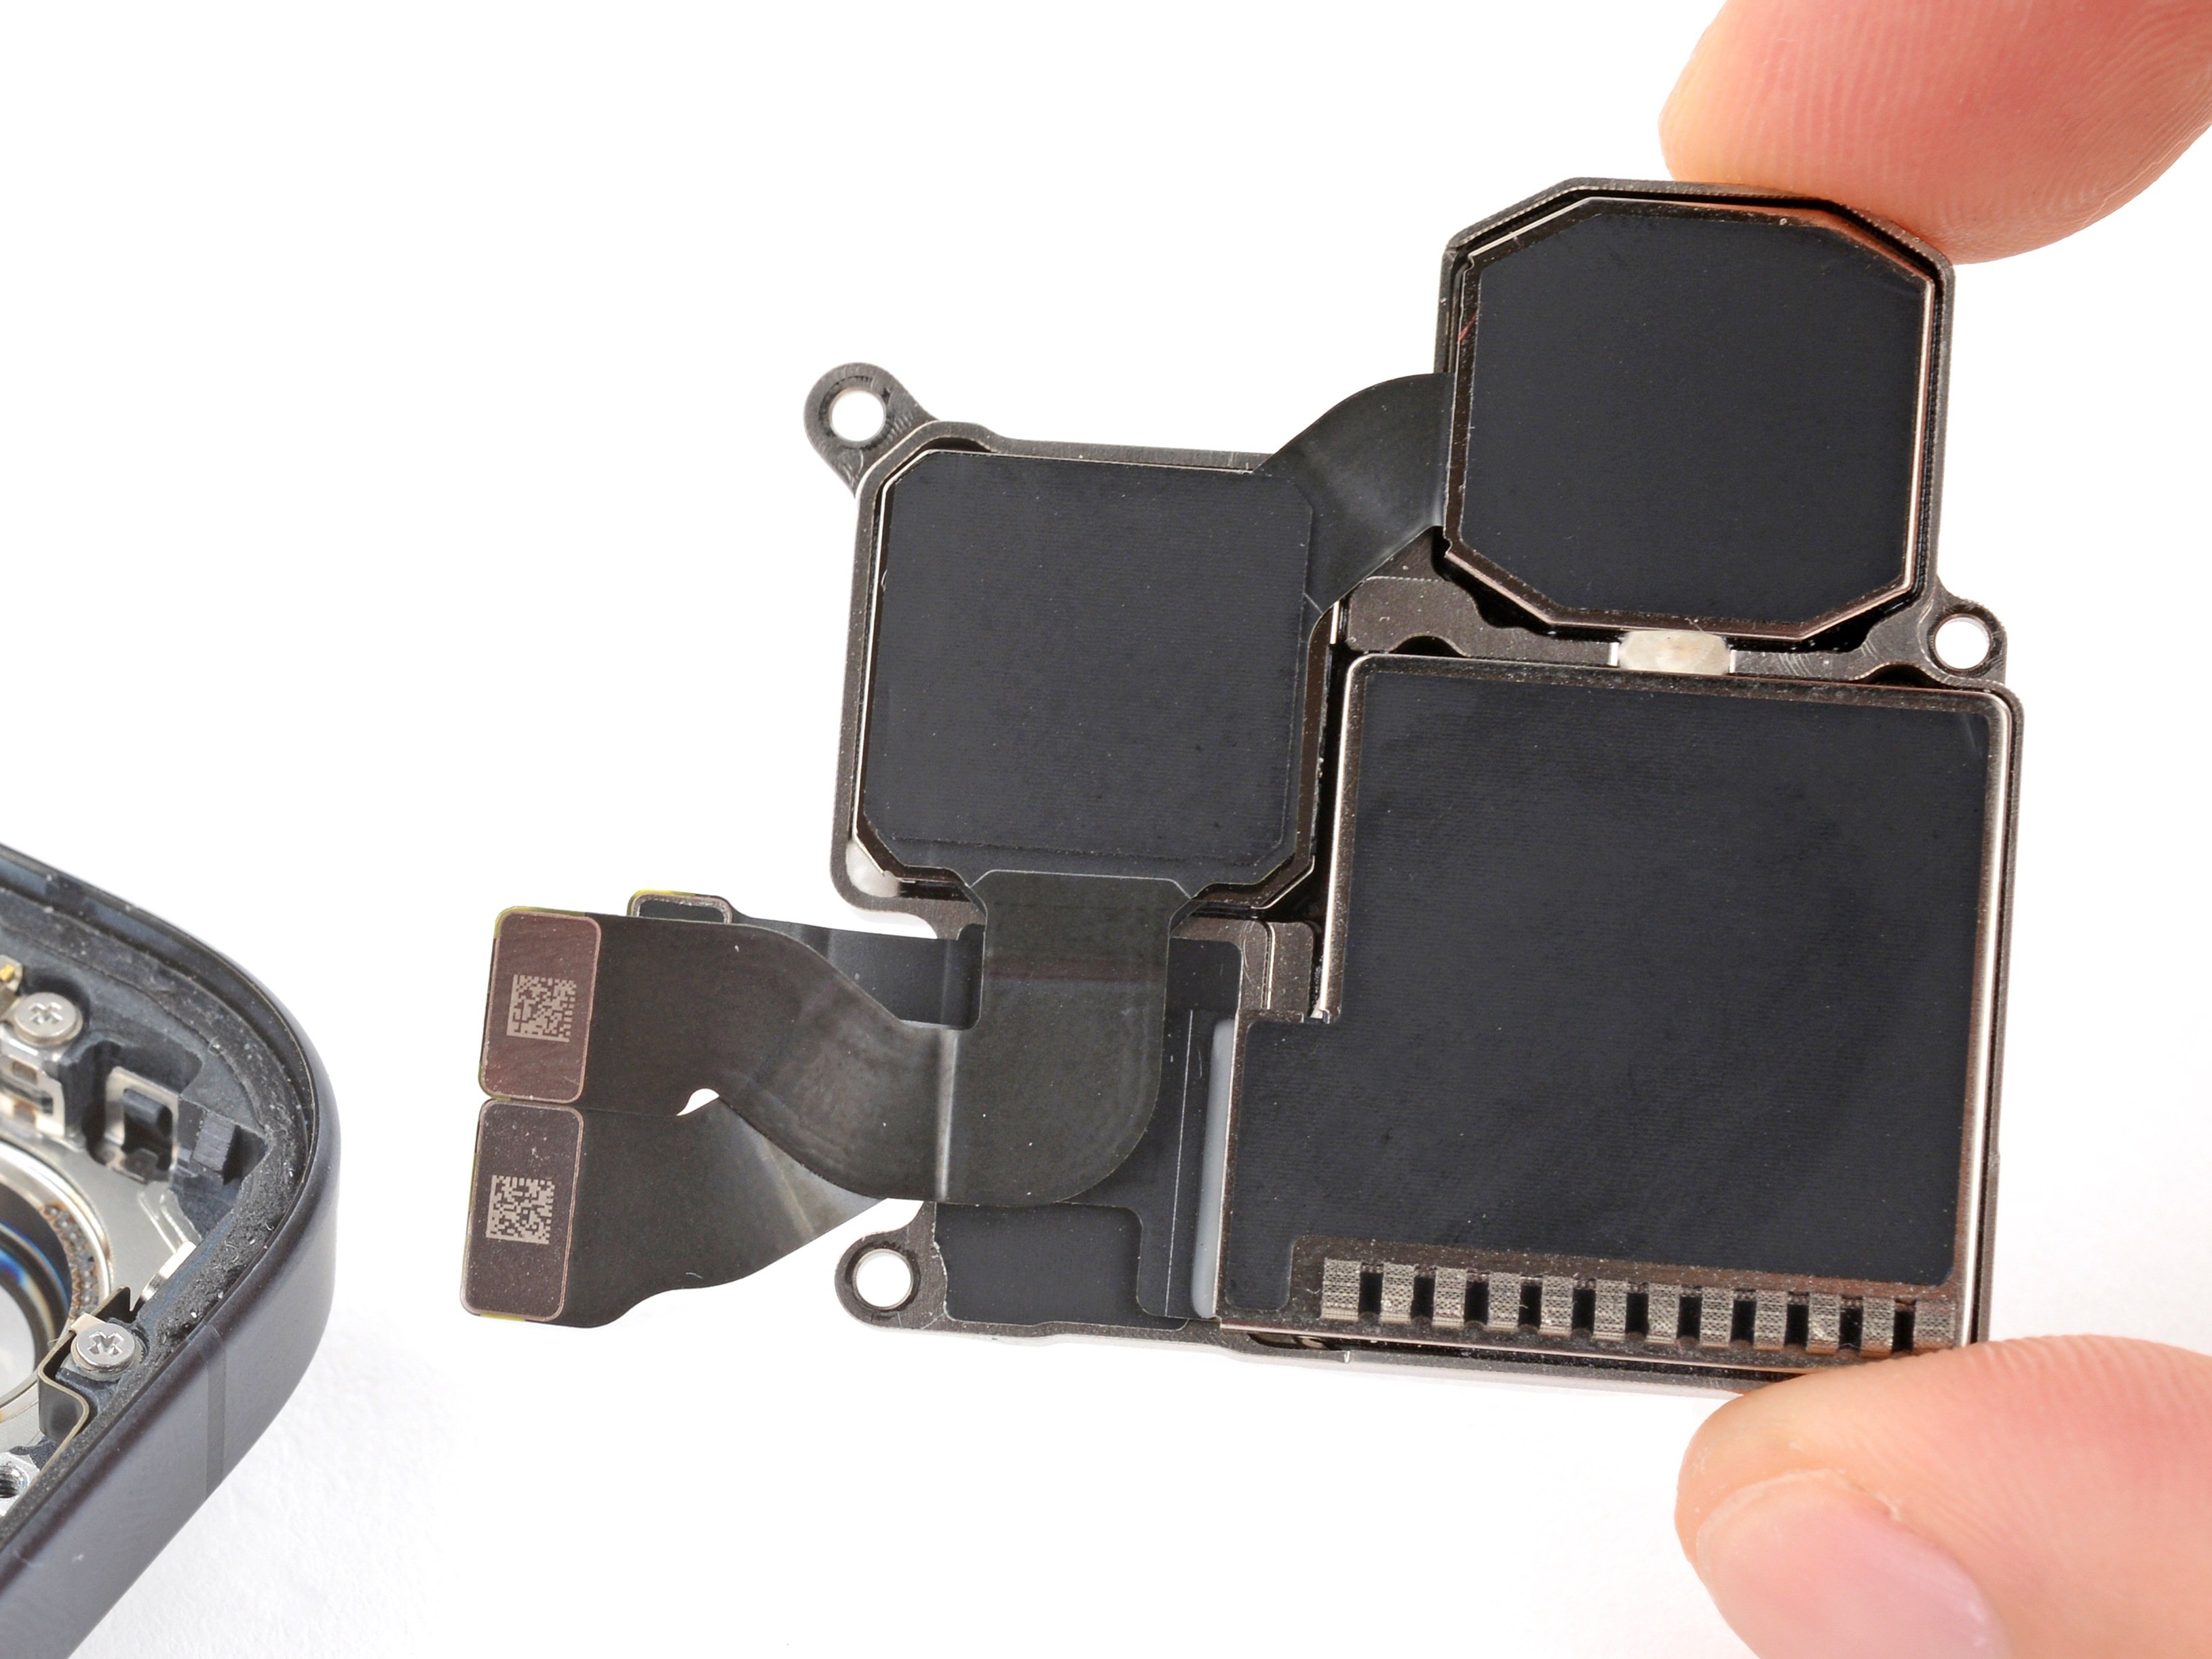
- Gently wedge the tip of an opening pick under the three rear camera press connectors at the top right of the logic board to pop them loose.
Step 25


- Grab your Phillips #000 screwdriver and take out the trio of screws holding down the rear cameras:
- One screw measures 3.8 mm—think tall and proud.
- One screw is 3.2 mm—mid-sized, just living its best life.
- And one is 2.8 mm—small but mighty.
Step 26


Try to keep those camera lenses spotless—no poking, smudging, or fingerprint art here!
- Slide the tip of your spudger into the top right corner, right between the rear cameras and the frame. Don't be shy!
- Gently pry it up until you can easily grab those rear cameras with your fingers.
- Now it's time to remove the rear cameras. You've got this!
Tools Used

Step 27


No standoff screwdriver? No worries—grab a slim flathead instead. Just keep steady, gentle pressure as you turn, so you don’t mess up the shallow grooves in the screw head.
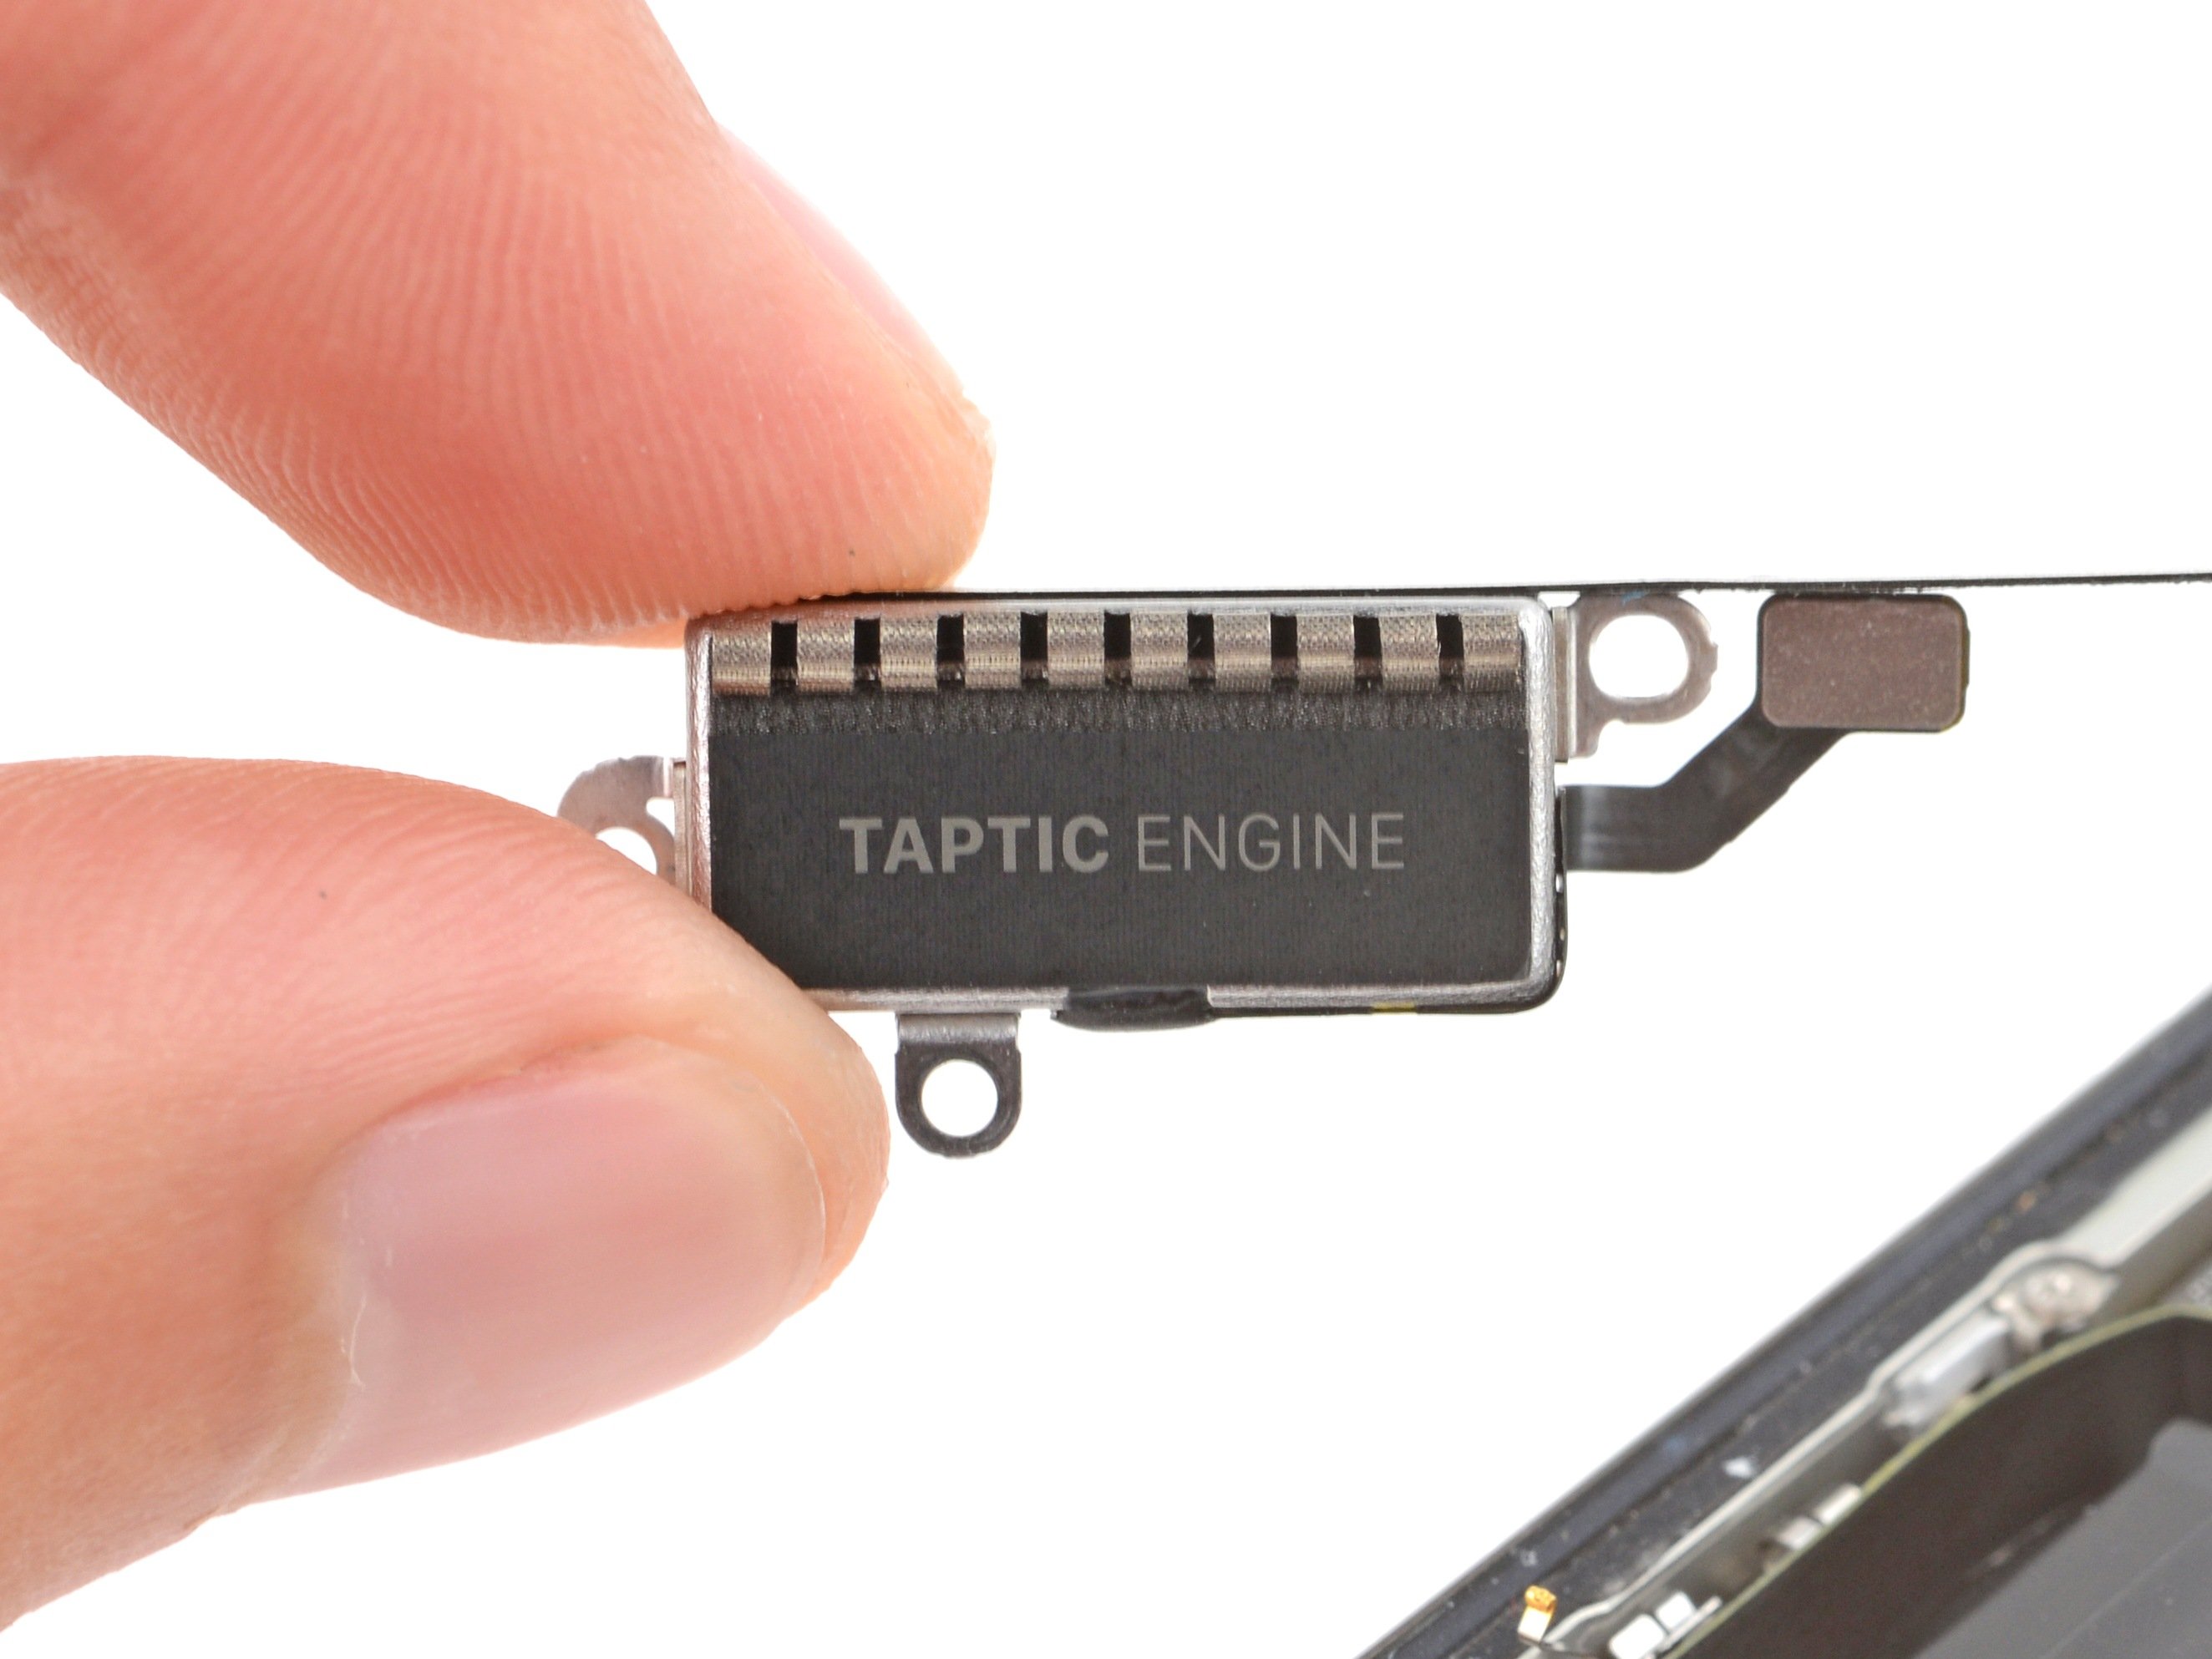
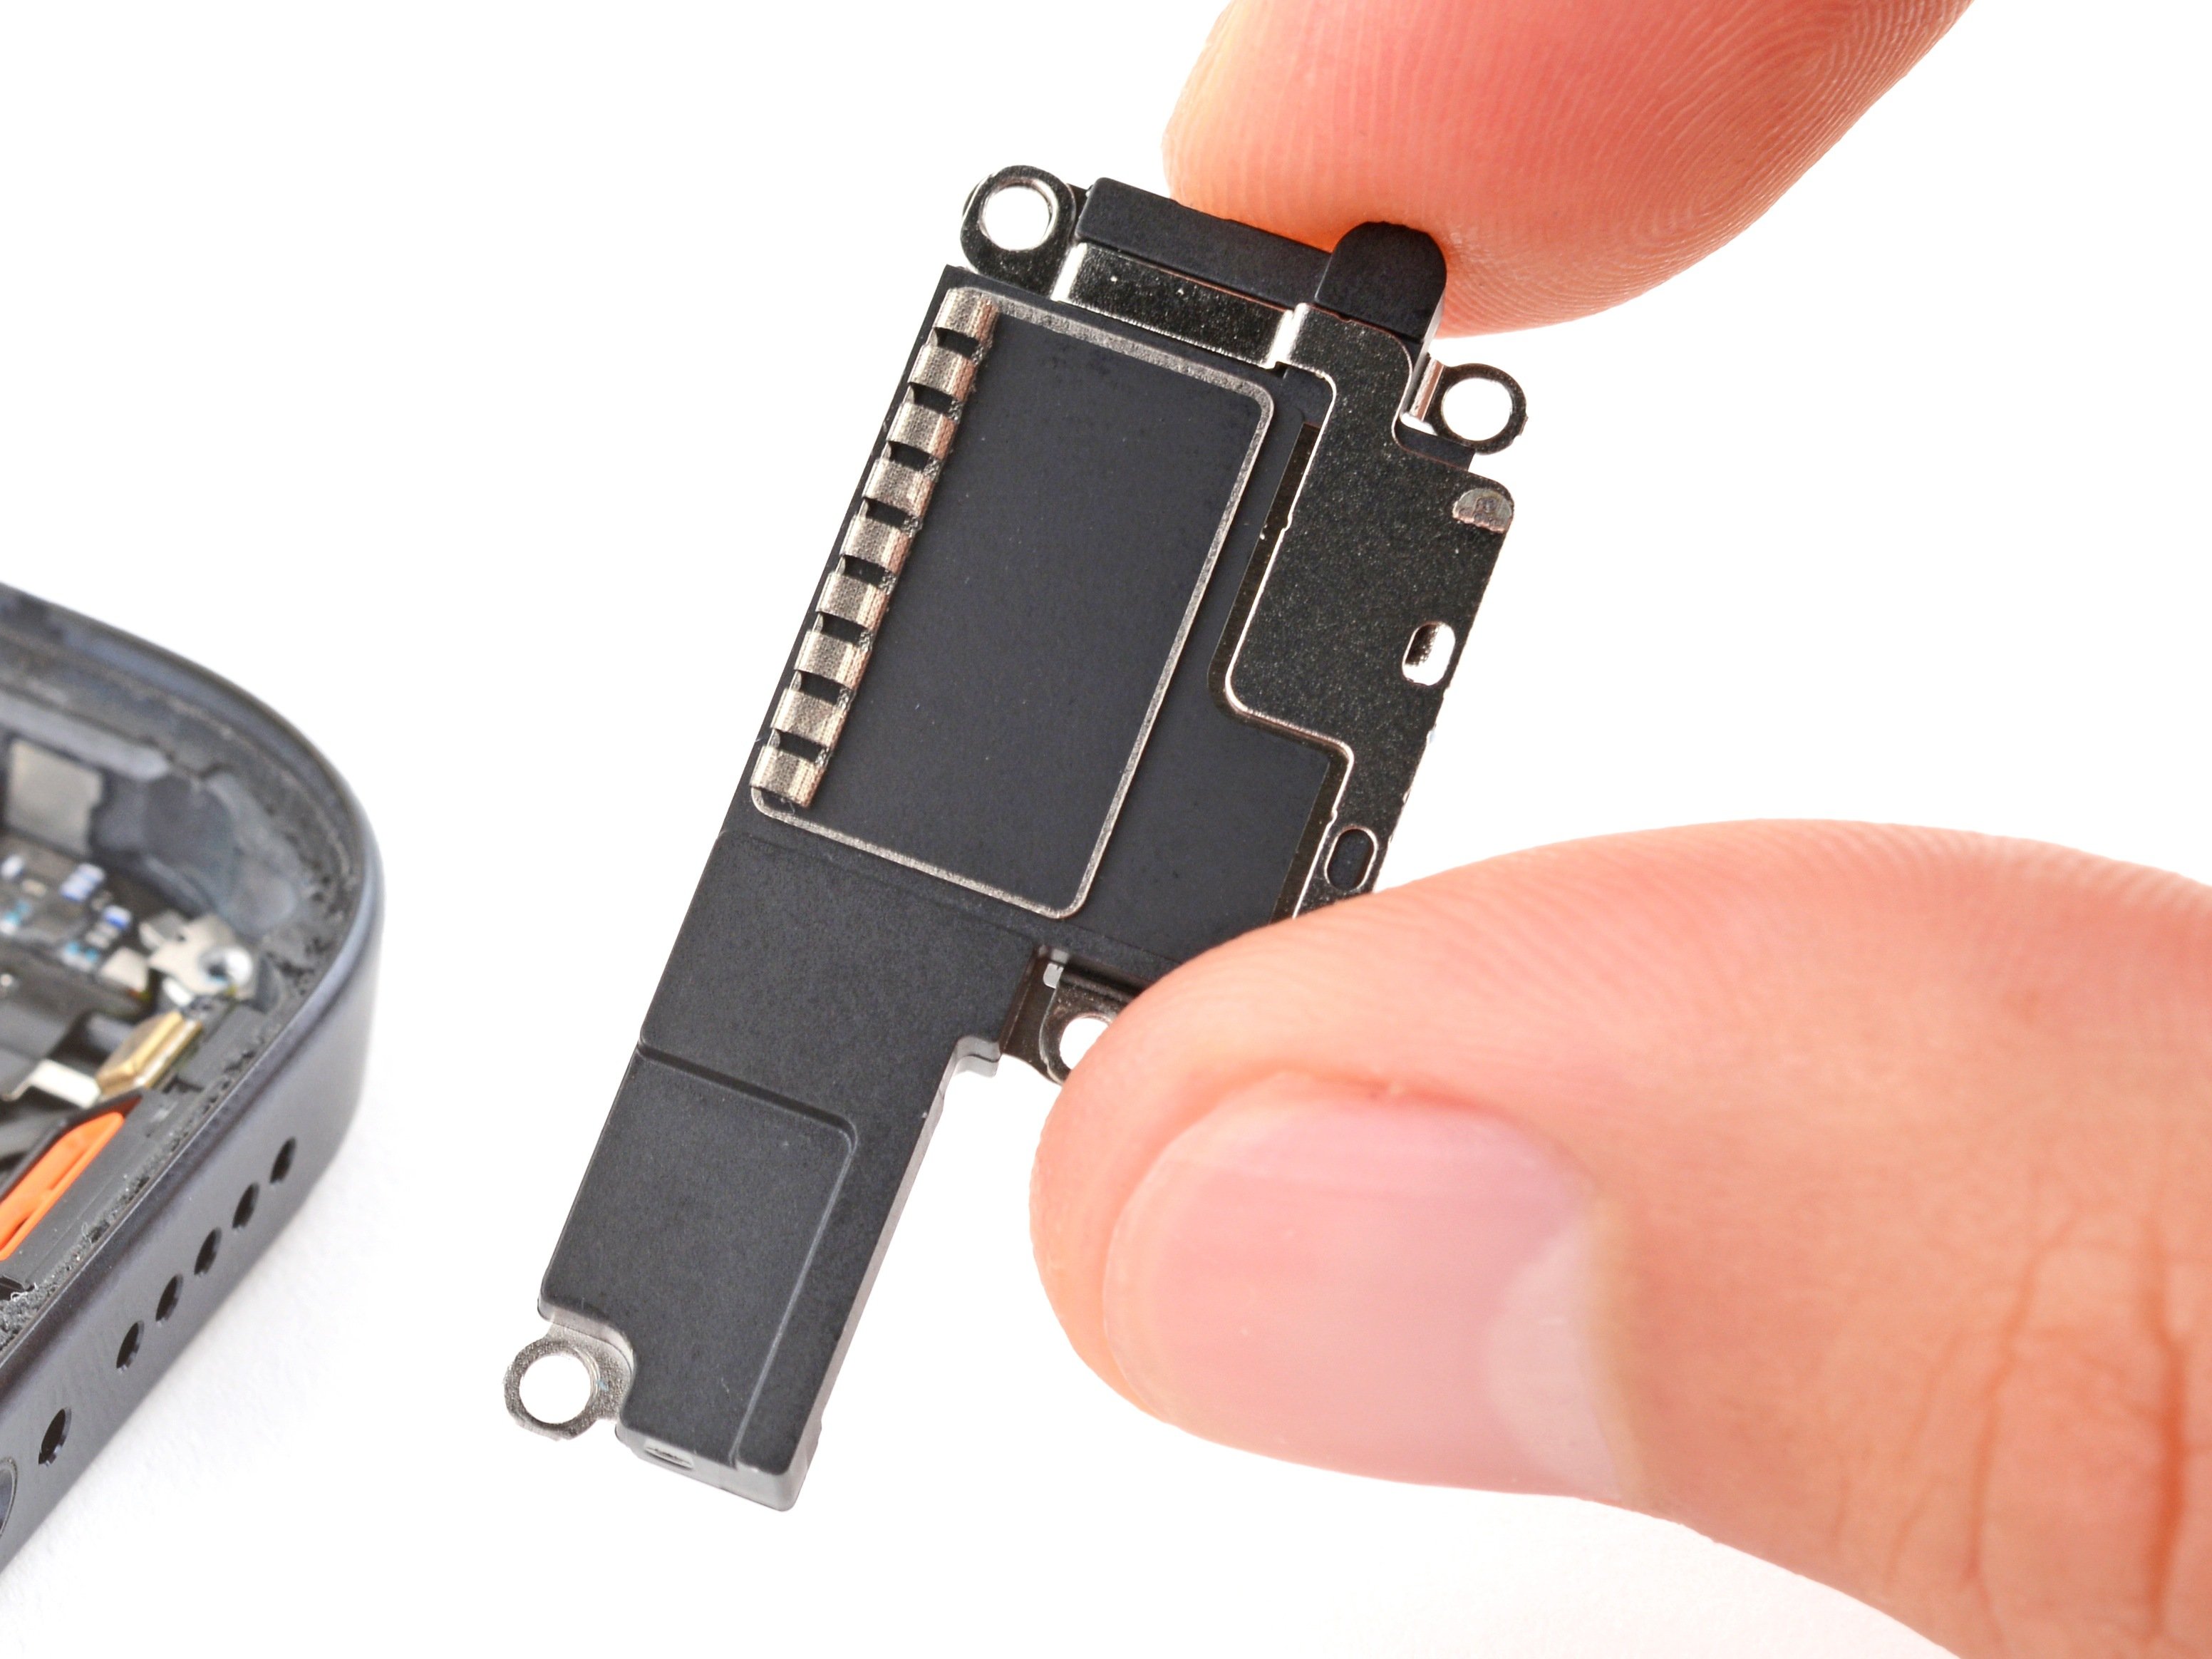
- Grab your trusty Phillips #000 screwdriver and let's tackle that 2 mm-long screw holding down the top of the earpiece speaker. You've got this!
- Now, switch to a standoff screwdriver to take out the last screw that's keeping the bottom left corner of the earpiece speaker in place. Almost there!
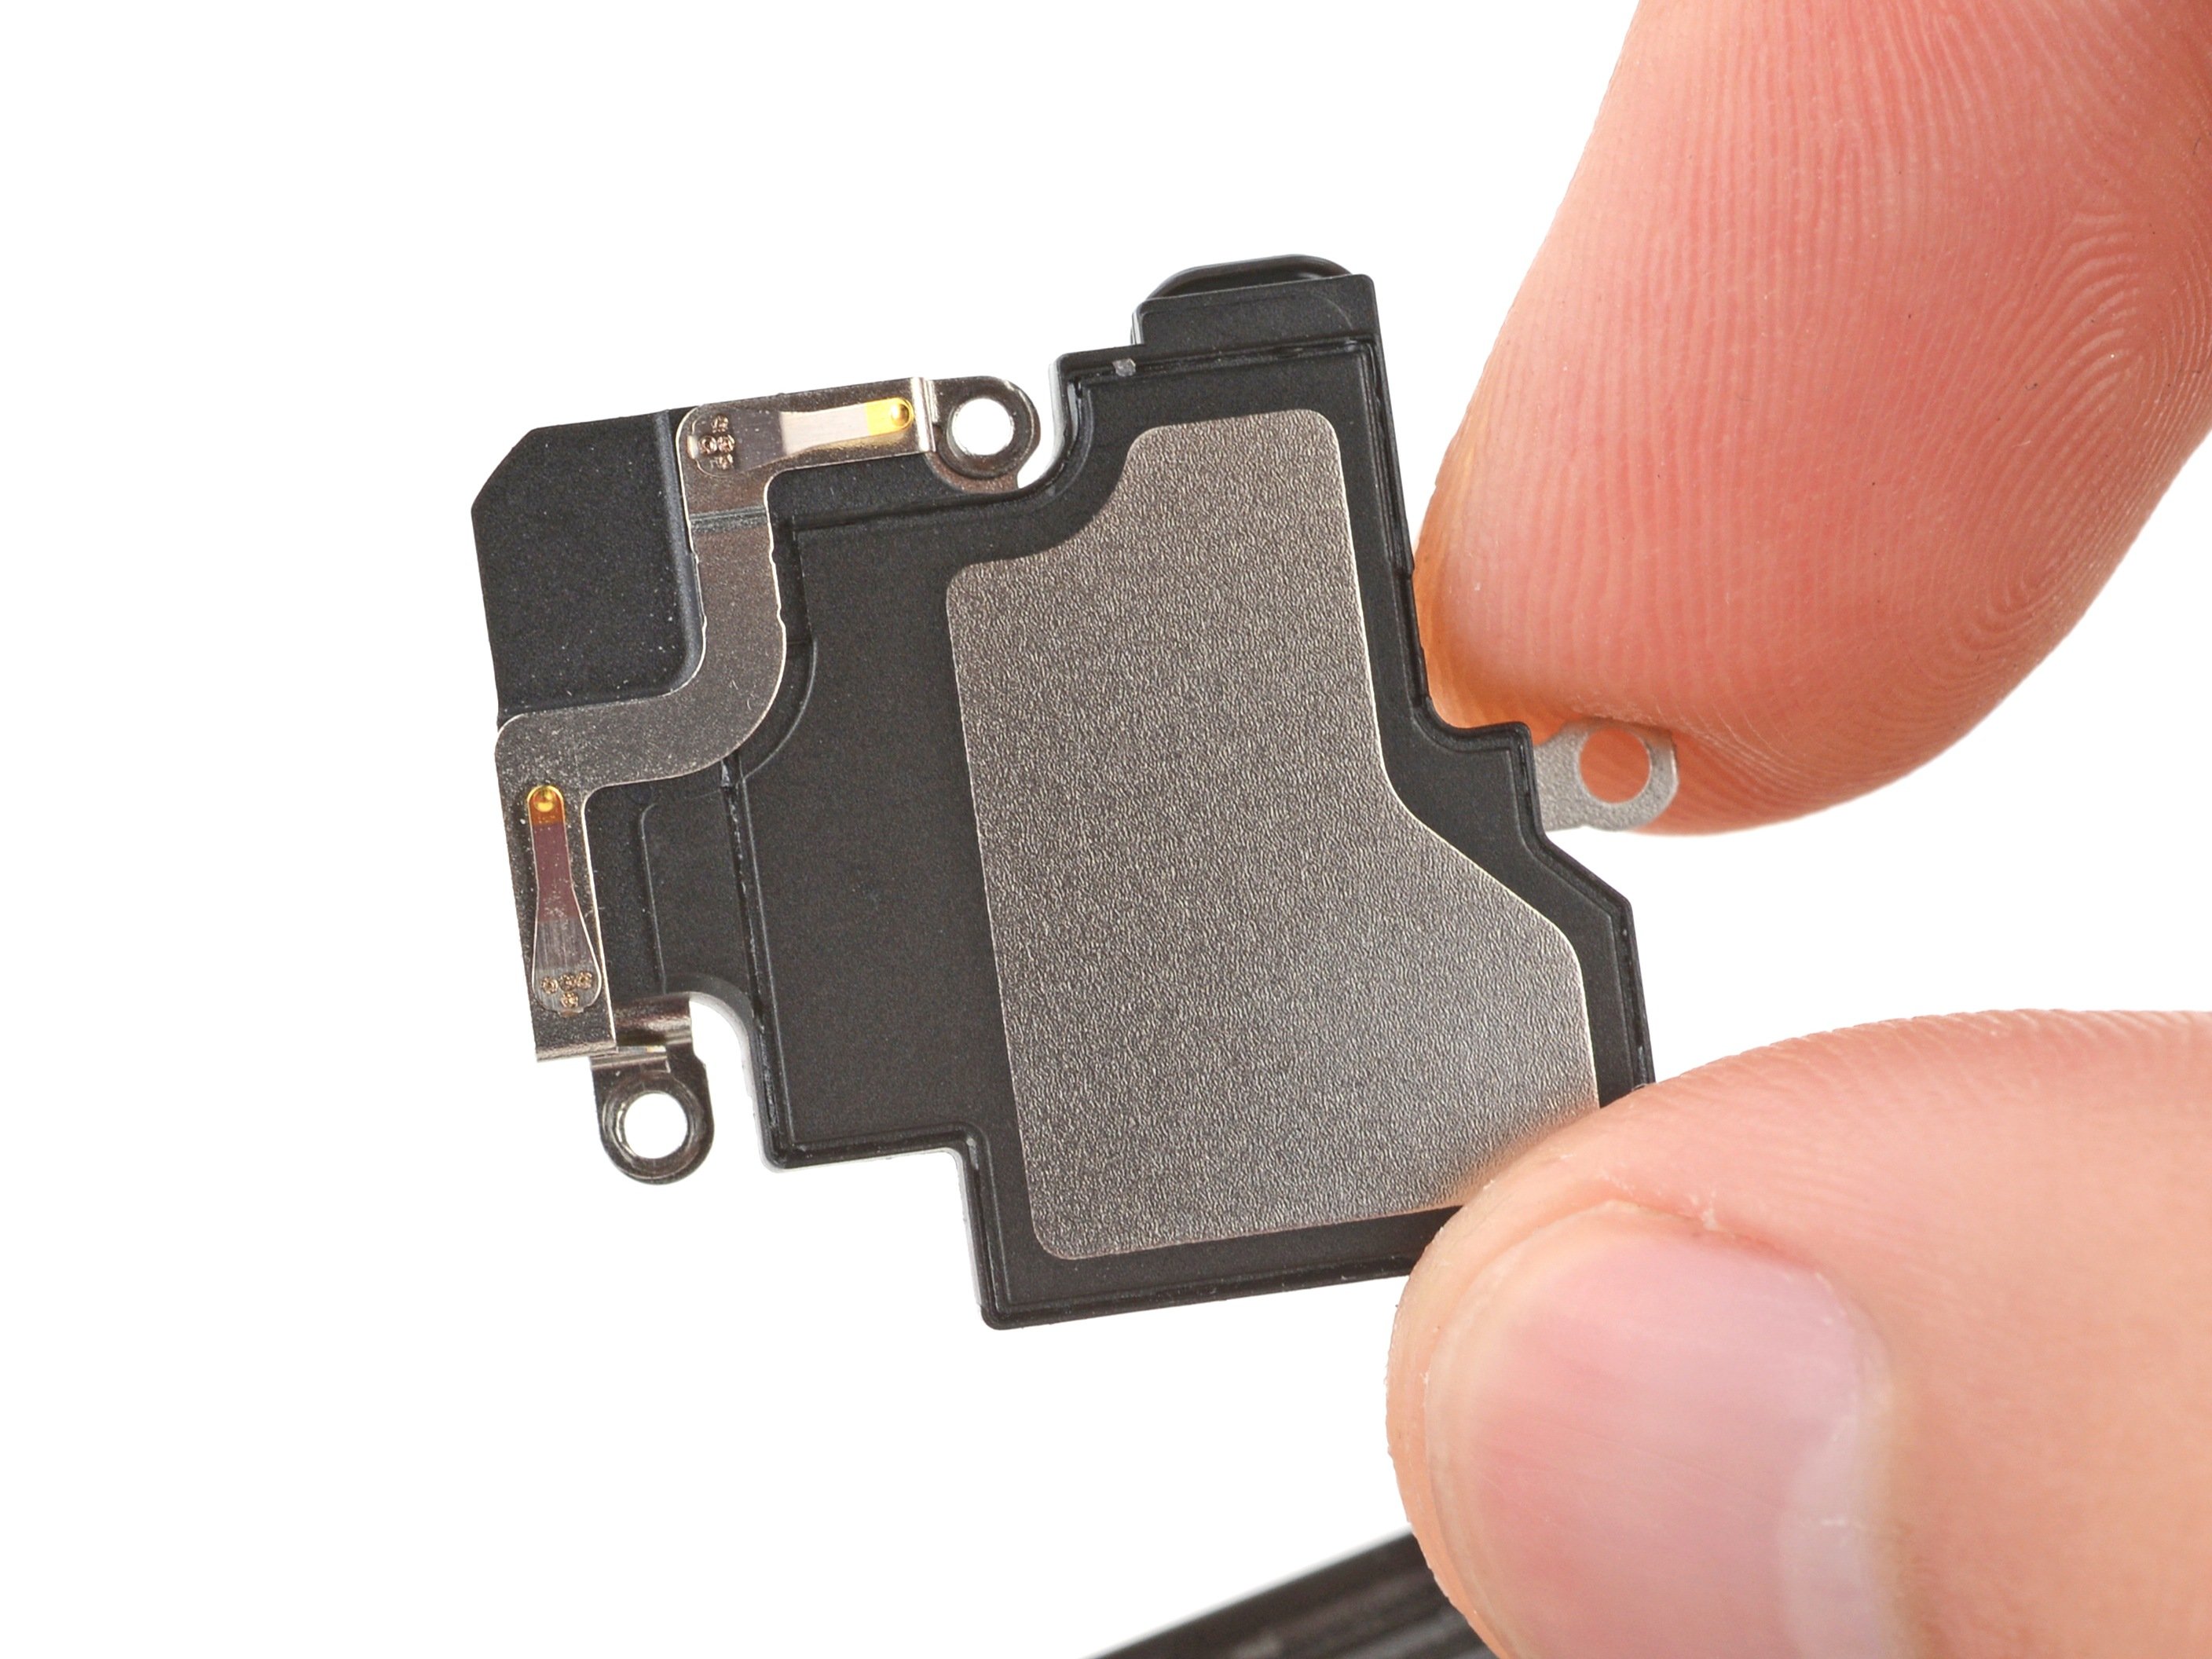
Step 28


- Ready to put your iPhone back together? Just retrace your steps and follow these instructions in reverse. It's like a fun little dance! 🎉
- Got e-waste cluttering your space? Don’t toss it! Swing by an R2 or e-Stewards certified recycler and give it a new life.
- If things didn’t go quite as smoothly as you hoped, no worries! Give some basic troubleshooting a shot, or swing by our Answers community for a helping hand.
-