iPhone 15 Pro Loudspeaker Replacement
Duration: 45 minutes
Steps: 25 Steps
Ready to swap out that crackly iPhone 15 Pro loudspeaker? If your tunes sound like they're coming from a bag of chips, and you've ruled out software glitches, it's time for a new loudspeaker. Don't forget, you'll need fresh screen adhesive to seal things up when you're done.
Step 1


Make sure your phone’s battery is below 25% before you start—if you accidentally damage a fully charged lithium-ion battery, things could get heated. Literally.
- Time to disconnect! Go ahead and unplug all those cables from your phone.
- Now, let's power down! Press and hold the power button along with either volume button, then swipe to turn off your phone.
Step 2


Find a nice, smooth spot along the bottom edge that's large enough for a suction cup to get a good grip.
- Got a cracked screen or back glass? No worries! Just grab some packing tape and lay a few strips over the glass, making sure they overlap. This will keep you safe from sharp edges and make taking everything apart a breeze. Easy peasy!
Step 3


Be careful not to push your opening pick in too deep, as it could harm your device. To avoid any mishaps, make a little mark on your pick to keep things safe and sound.
Feeling crafty? You can also mark the other corners of your pick with different measurements to help you out.
Another fun idea is to tape a coin 3 mm from the tip of your pick to use as a handy guide.
- Grab your trusty opening pick and measure about 3mm from the tip. Mark that spot with a permanent marker. It's all about precision here, so take your time!
Step 4


- Grab a P2 pentalobe screwdriver and carefully unscrew the two 7mm-long screws on each side of the charging port. Nice and easy, you're making great progress!
Step 5

Keep it chill! Don’t let the phone get too toasty—its battery really hates the heat.
- Grab your trusty hair dryer or heat gun and give the bottom edge of that screen a warm hug until it’s nice and toasty to the touch!
Tools Used


Step 6


- Stick a suction handle right on the bottom edge of the screen.
- Give the handle a firm, steady tug upward to pop open a little gap between the screen and the frame.
- Slide the tip of an opening pick gently into that gap.
Tools Used

Step 7

Heads up! As you slice through the adhesive holding the screen in place, keep an eye out for the areas marked below so you don't run into any surprises.
- There are two sensitive cables that connect the screen to the phone. One is just above the action button, and the other is near the middle of the left edge. Handle them gently, they’re a bit shy!
- Around the edges of the phone, you’ll find several spring contacts. Be careful not to push your pick too deep in these areas—it's easy to accidentally bend them, and we don’t want that! A light touch goes a long way.
Step 8


Keep your opening pick shallow—no more than 3 mm deep along the bottom edge—to avoid any surprises.
- Gently slide your pick back and forth along the bottom edge to loosen that stubborn adhesive.
- Keep your pick wedged in the bottom right corner so the adhesive doesn’t sneak back together.
Step 9

- Warm up the right edge of your screen until it feels nice and toasty.
Step 10


Keep your pick to a maximum of 5 mm when working along the right edge, okay? Let's keep things safe and sound!
- Gently slide your pick along the bottom right corner of the screen, heading toward the power button until you hit a firm stop where a clip is holding the screen in place.
- Flip your pick so that its flat edge slips right under the screen.
Step 11


- Twist the pick just enough to create a gap between the screen and the frame—this will help free up the right clip.
- Now, slide in a second pick right next to the first one to keep that gap open. You're almost there!
Step 12


- Slide the first pick down to the bottom right corner of the screen like a smooth operator.
- Now, glide the second pick up to the top right corner to gently break up that stubborn adhesive.
- Keep these picks in place so the adhesive doesn’t sneak back together on you.
Step 13

- Warm up the top edge of the screen until it’s comfortably hot to the touch.
Step 14


Be careful not to push your pick more than 3 mm along the top edge.
- Gently slide your pick around the top right corner and along the top edge to free the two clips and the adhesive holding everything in place. It’s like peeling off a sticker—easy and satisfying!
Step 15

- Warm up the left edge of the screen until it feels nice and toasty.
Step 16


Hey there! Just a quick tip: when using your pick, make sure to keep it shallow—no deeper than 2 mm along the left edge. This way, you'll steer clear of those sneaky cables that connect your screen to the phone. Happy repairing!
- Swing your pick around the top left corner—like you’re tracing a lazy arc.
- Glide your pick down to the bottom left corner to break up that stubborn adhesive.
Step 17


If the screen feels a bit stuck, no worries! Just grab your trusty opening pick and gently go around the edges to work through any leftover adhesive. Patience is key!
- Grab a small box or a stack of books and set it to the left of your phone. This will be your trusty sidekick to hold up the screen while you work your magic on those cables.
- Gently lift the right edge of the screen, just like flipping open a book. Easy peasy!
- Now, prop up that screen so you can easily reach the cables without putting any stress on them. You've got this!
Step 18


- Grab your trusty Y000 screwdriver and let's get to work! Start by unscrewing the six screws that are holding the logic board cover in place:
- Four screws that are a snug 1.6 mm in length
- Two slightly shorter screws at 1.3 mm
Step 19


- Twist the bottom part of the logic board cover counterclockwise and slide the top left corner free from under the ambient light sensor cable to take it off.
- When putting it back together, be sure to tuck the top left corner of the cover underneath the ambient light sensor cable.
Step 20


To snap that press connector back in, line it up with its socket like you’re setting down a puzzle piece. Gently press one side until you hear a click, then repeat on the other side. Double-check it’s sitting flat—sometimes the rubber around the socket likes to play hard to get.
- Grab your opening pick and gently pop up the battery connector from the bottom right side of the logic board. Easy does it—no rush!
Step 21


- Grab your trusty opening pick and gently work it under the screen cable. Pry it up carefully and disconnect it from the logic board right in the center. Nice and easy, like you're opening a secret compartment!
Step 22


- Carefully slide the tip of your opening pick underneath the ambient light sensor cable at the top left corner of the logic board.
- Lift the cable gently to unplug it.
Step 23


Watch out for those spring contacts while you're giving the frame a good clean – we don't want any mishaps here!
- First things first, take off that screen like a pro!
- When it's time to put everything back together, just follow this guide to stick on some fresh adhesive and secure your screen in place. You've got this!
Step 24


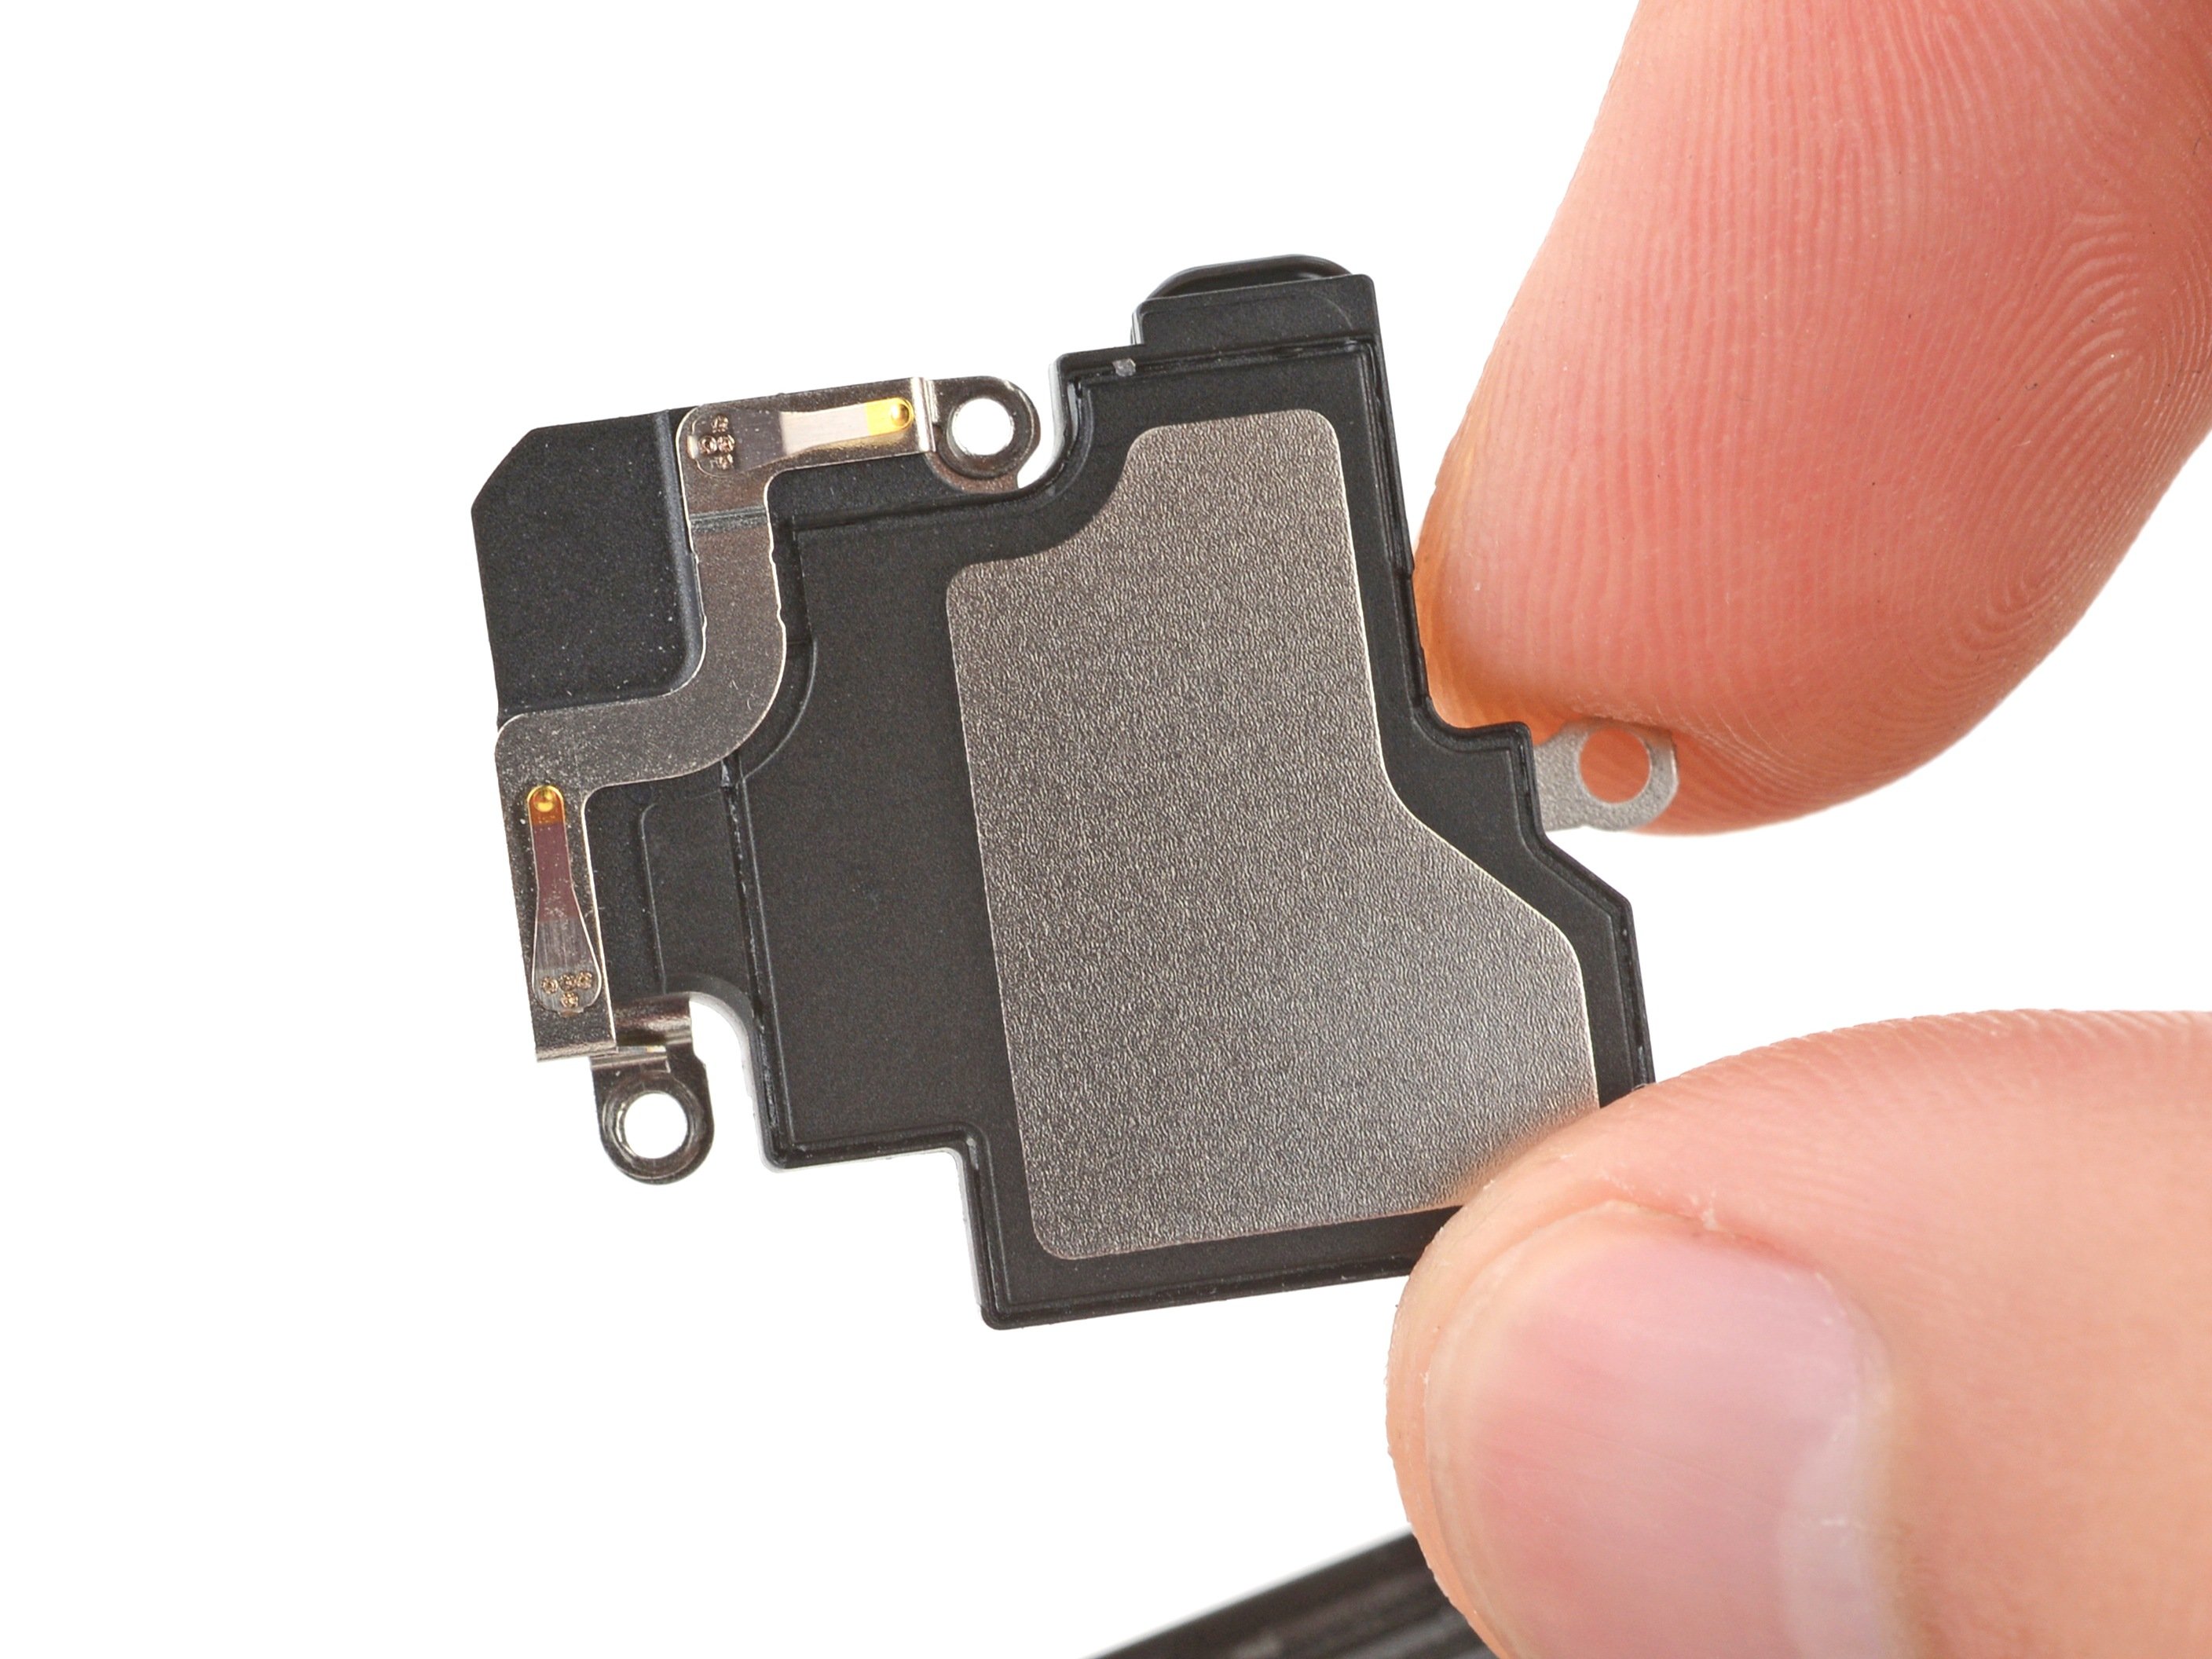
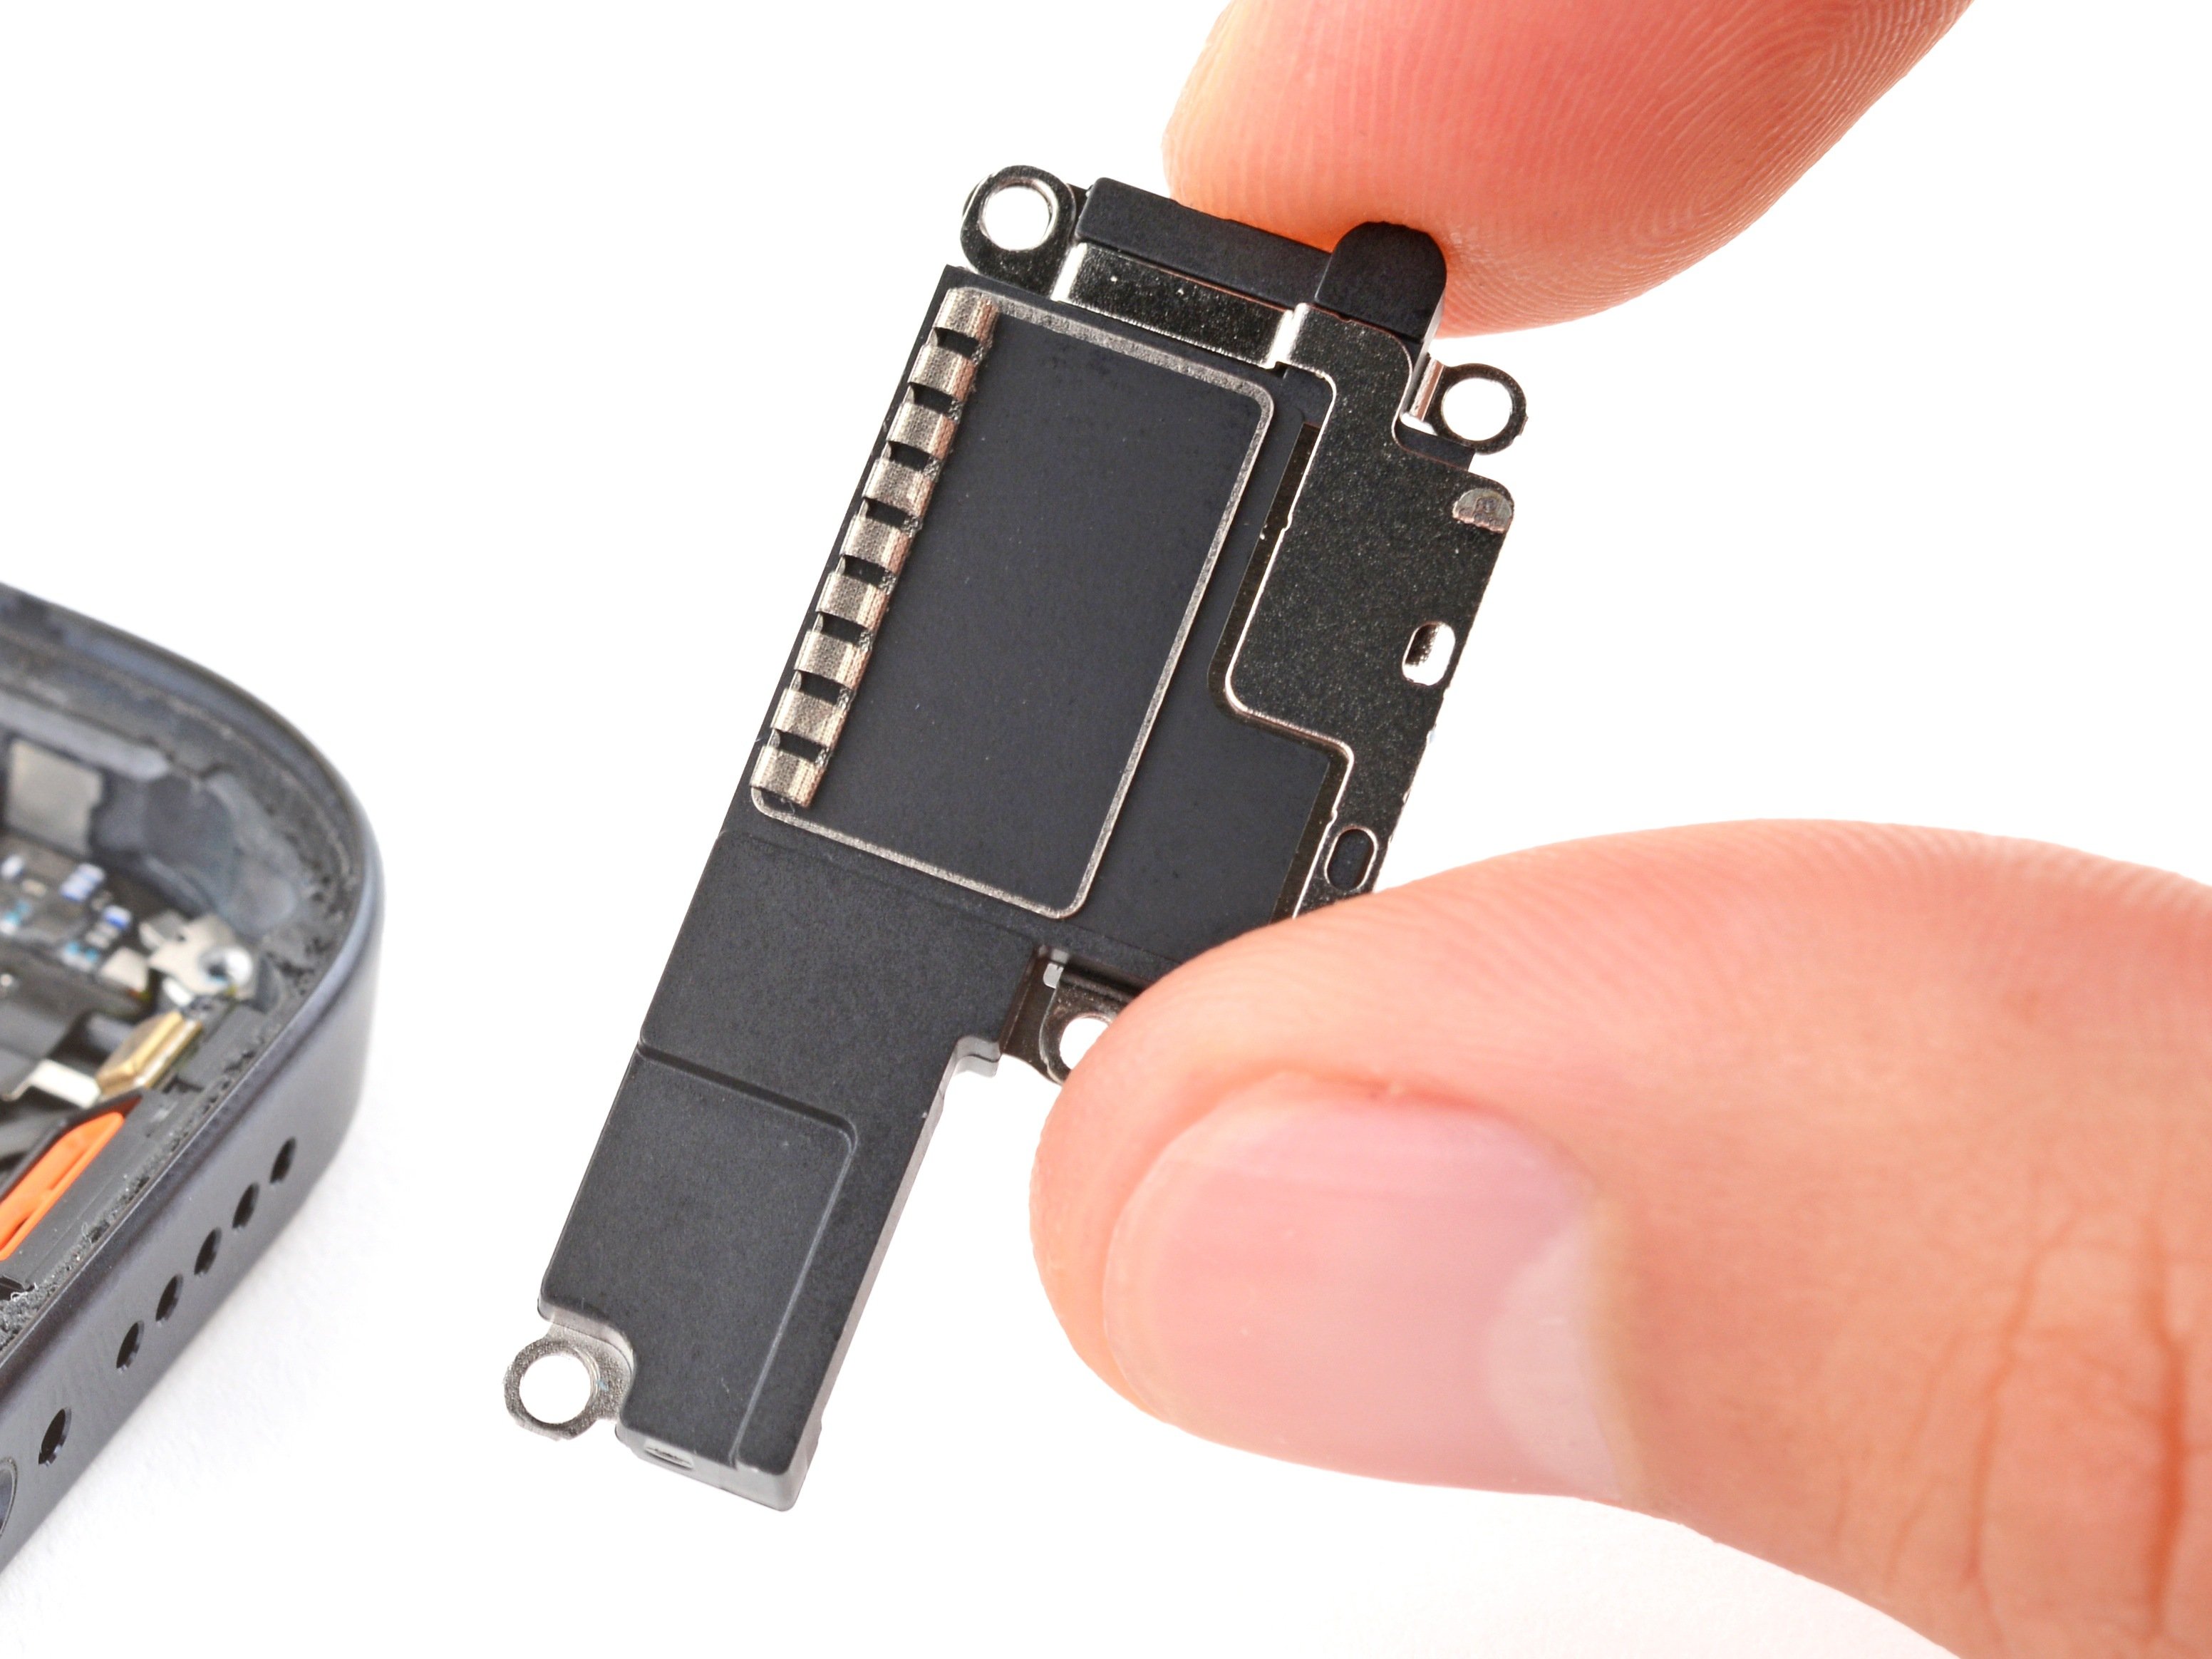
- Grab your trusty Phillips #000 screwdriver and get ready to unscrew those four screws holding the loudspeaker in place:
- One screw, 2.7 mm long – it's the loner!
- Three screws, each 2 mm long – they're all in it together!
Step 25


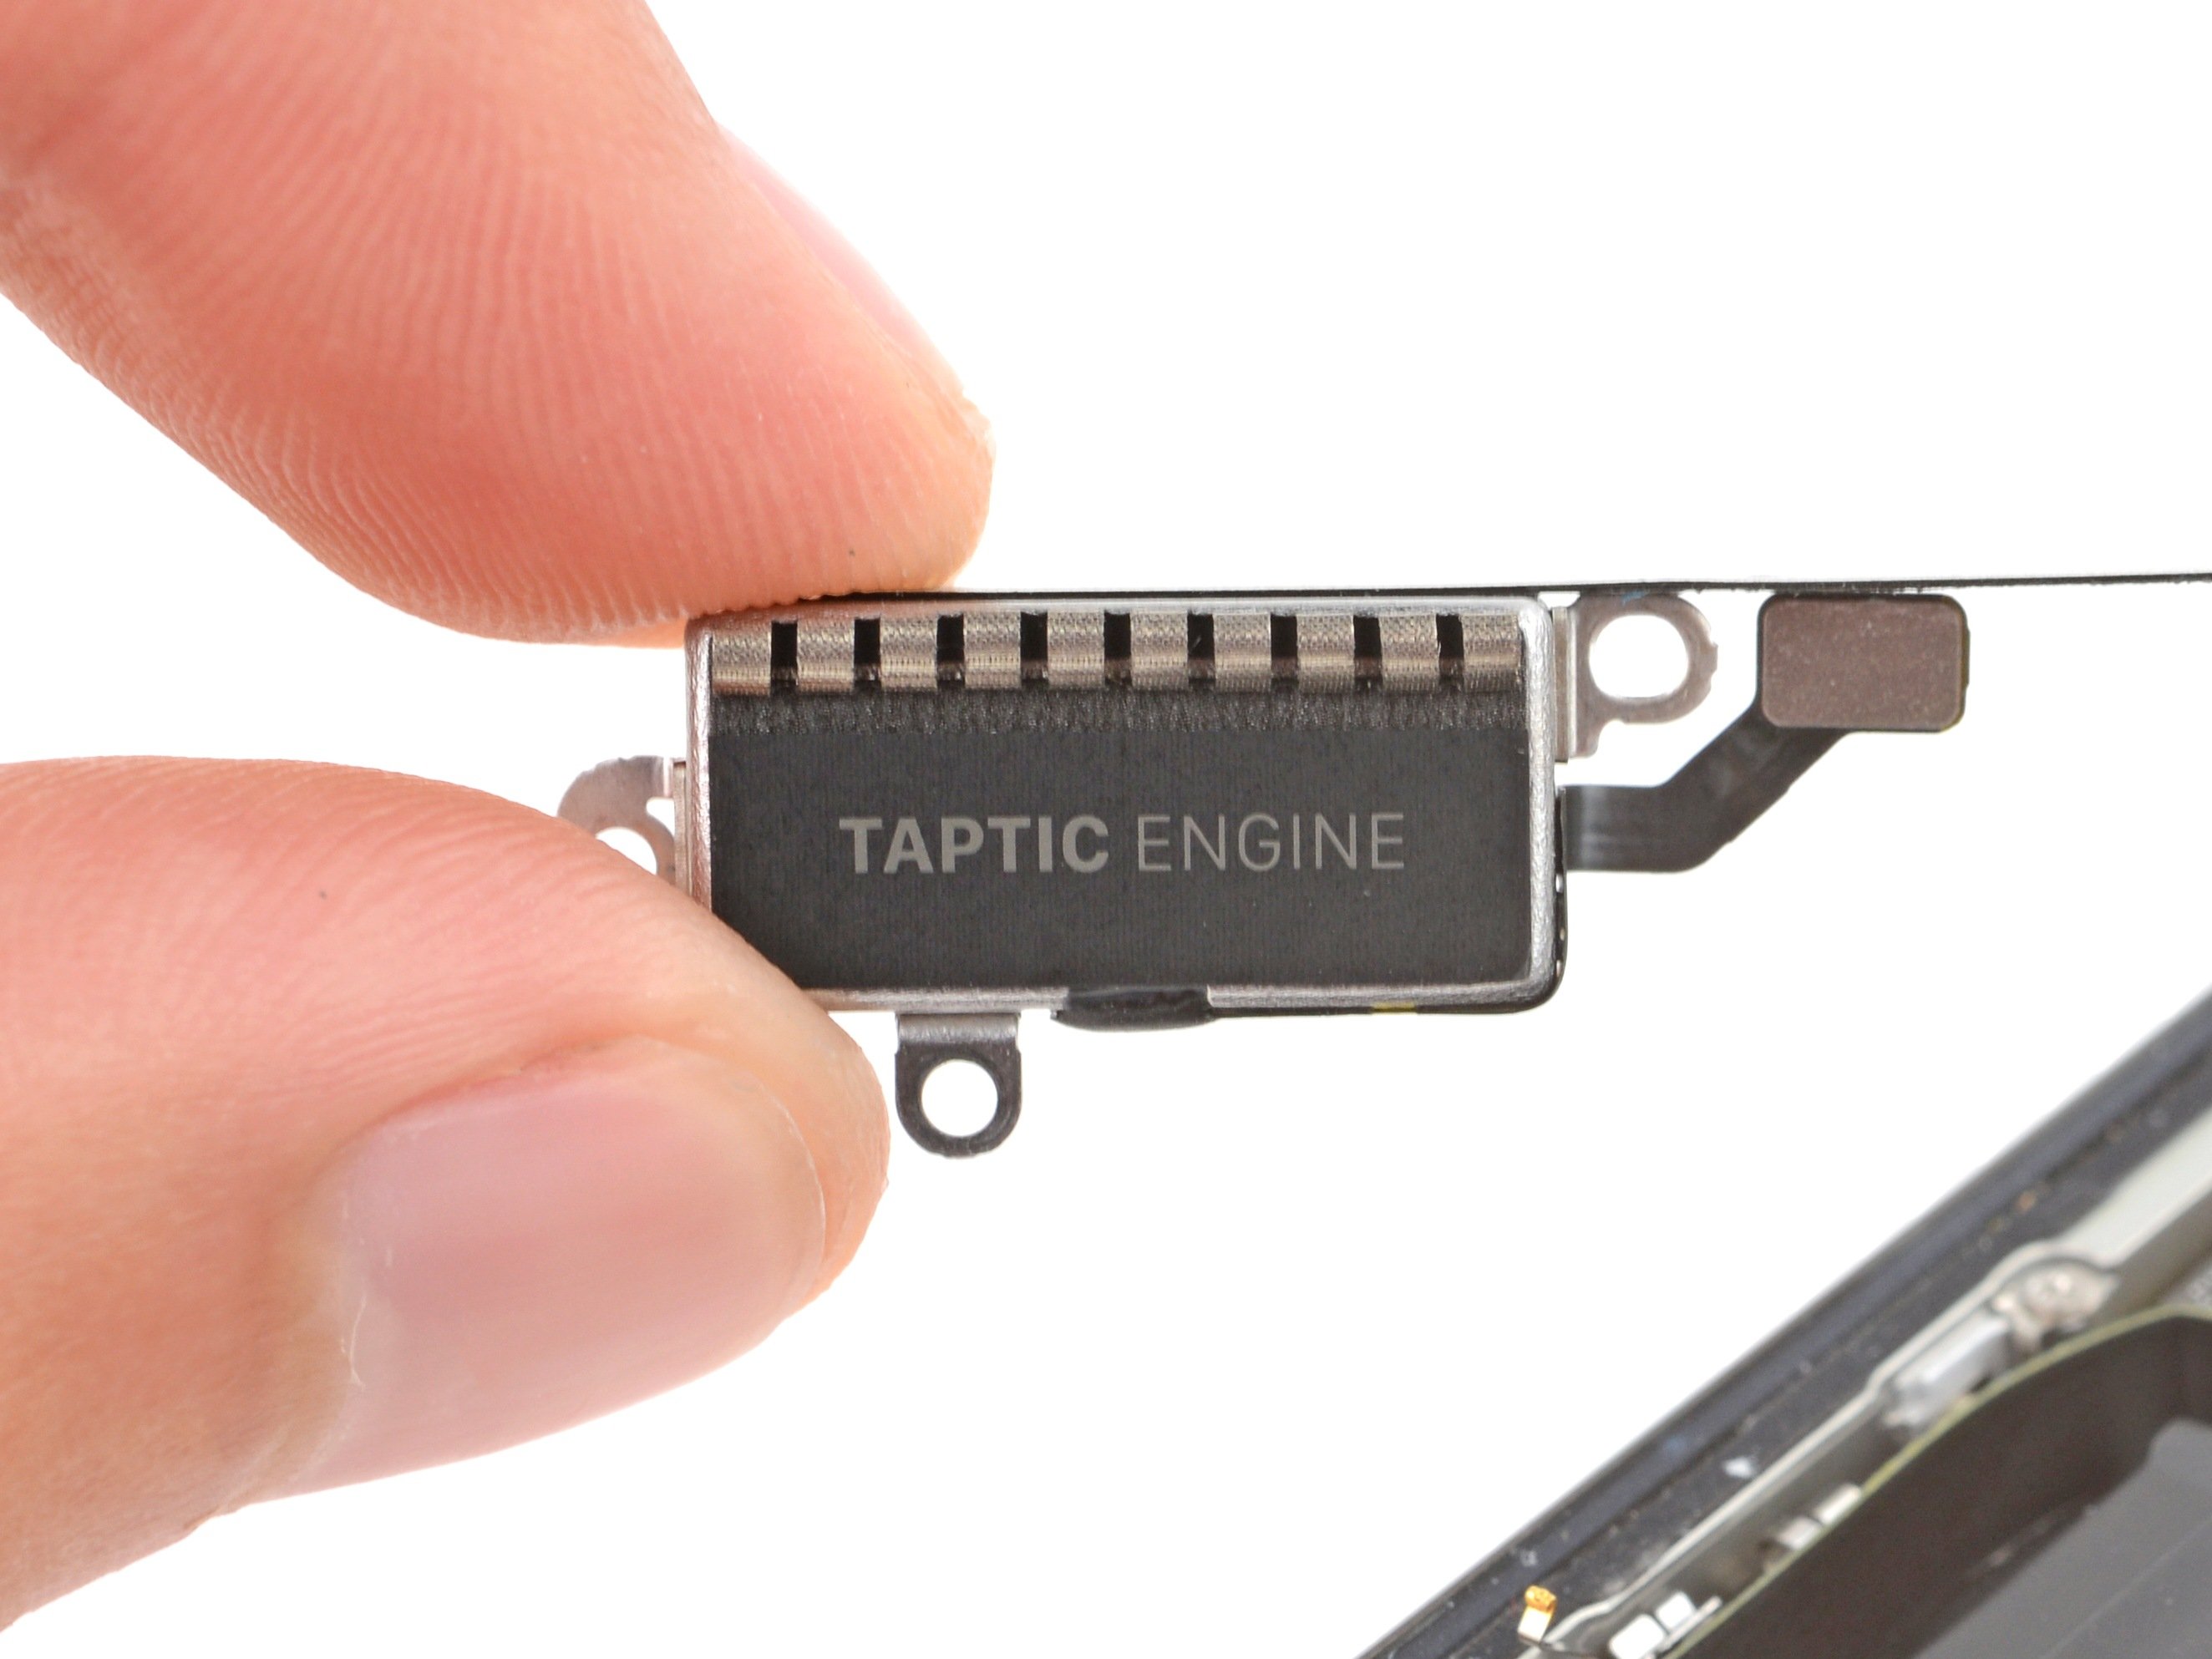
A plastic cushion is stuck to the top edges of the loudspeaker and Taptic Engine to keep things snug and secure.
- Time to put your iPhone back together! Just retrace your steps and follow the instructions in reverse.
- Got some e-waste? Make sure it gets recycled properly by taking it to an R2 or e-Stewards certified recycler.
- Things didn't go quite as planned? No worries! Give some basic troubleshooting a try, or reach out to our Answers community for a bit of guidance. And remember, if you need a helping hand, you can always schedule a repair.