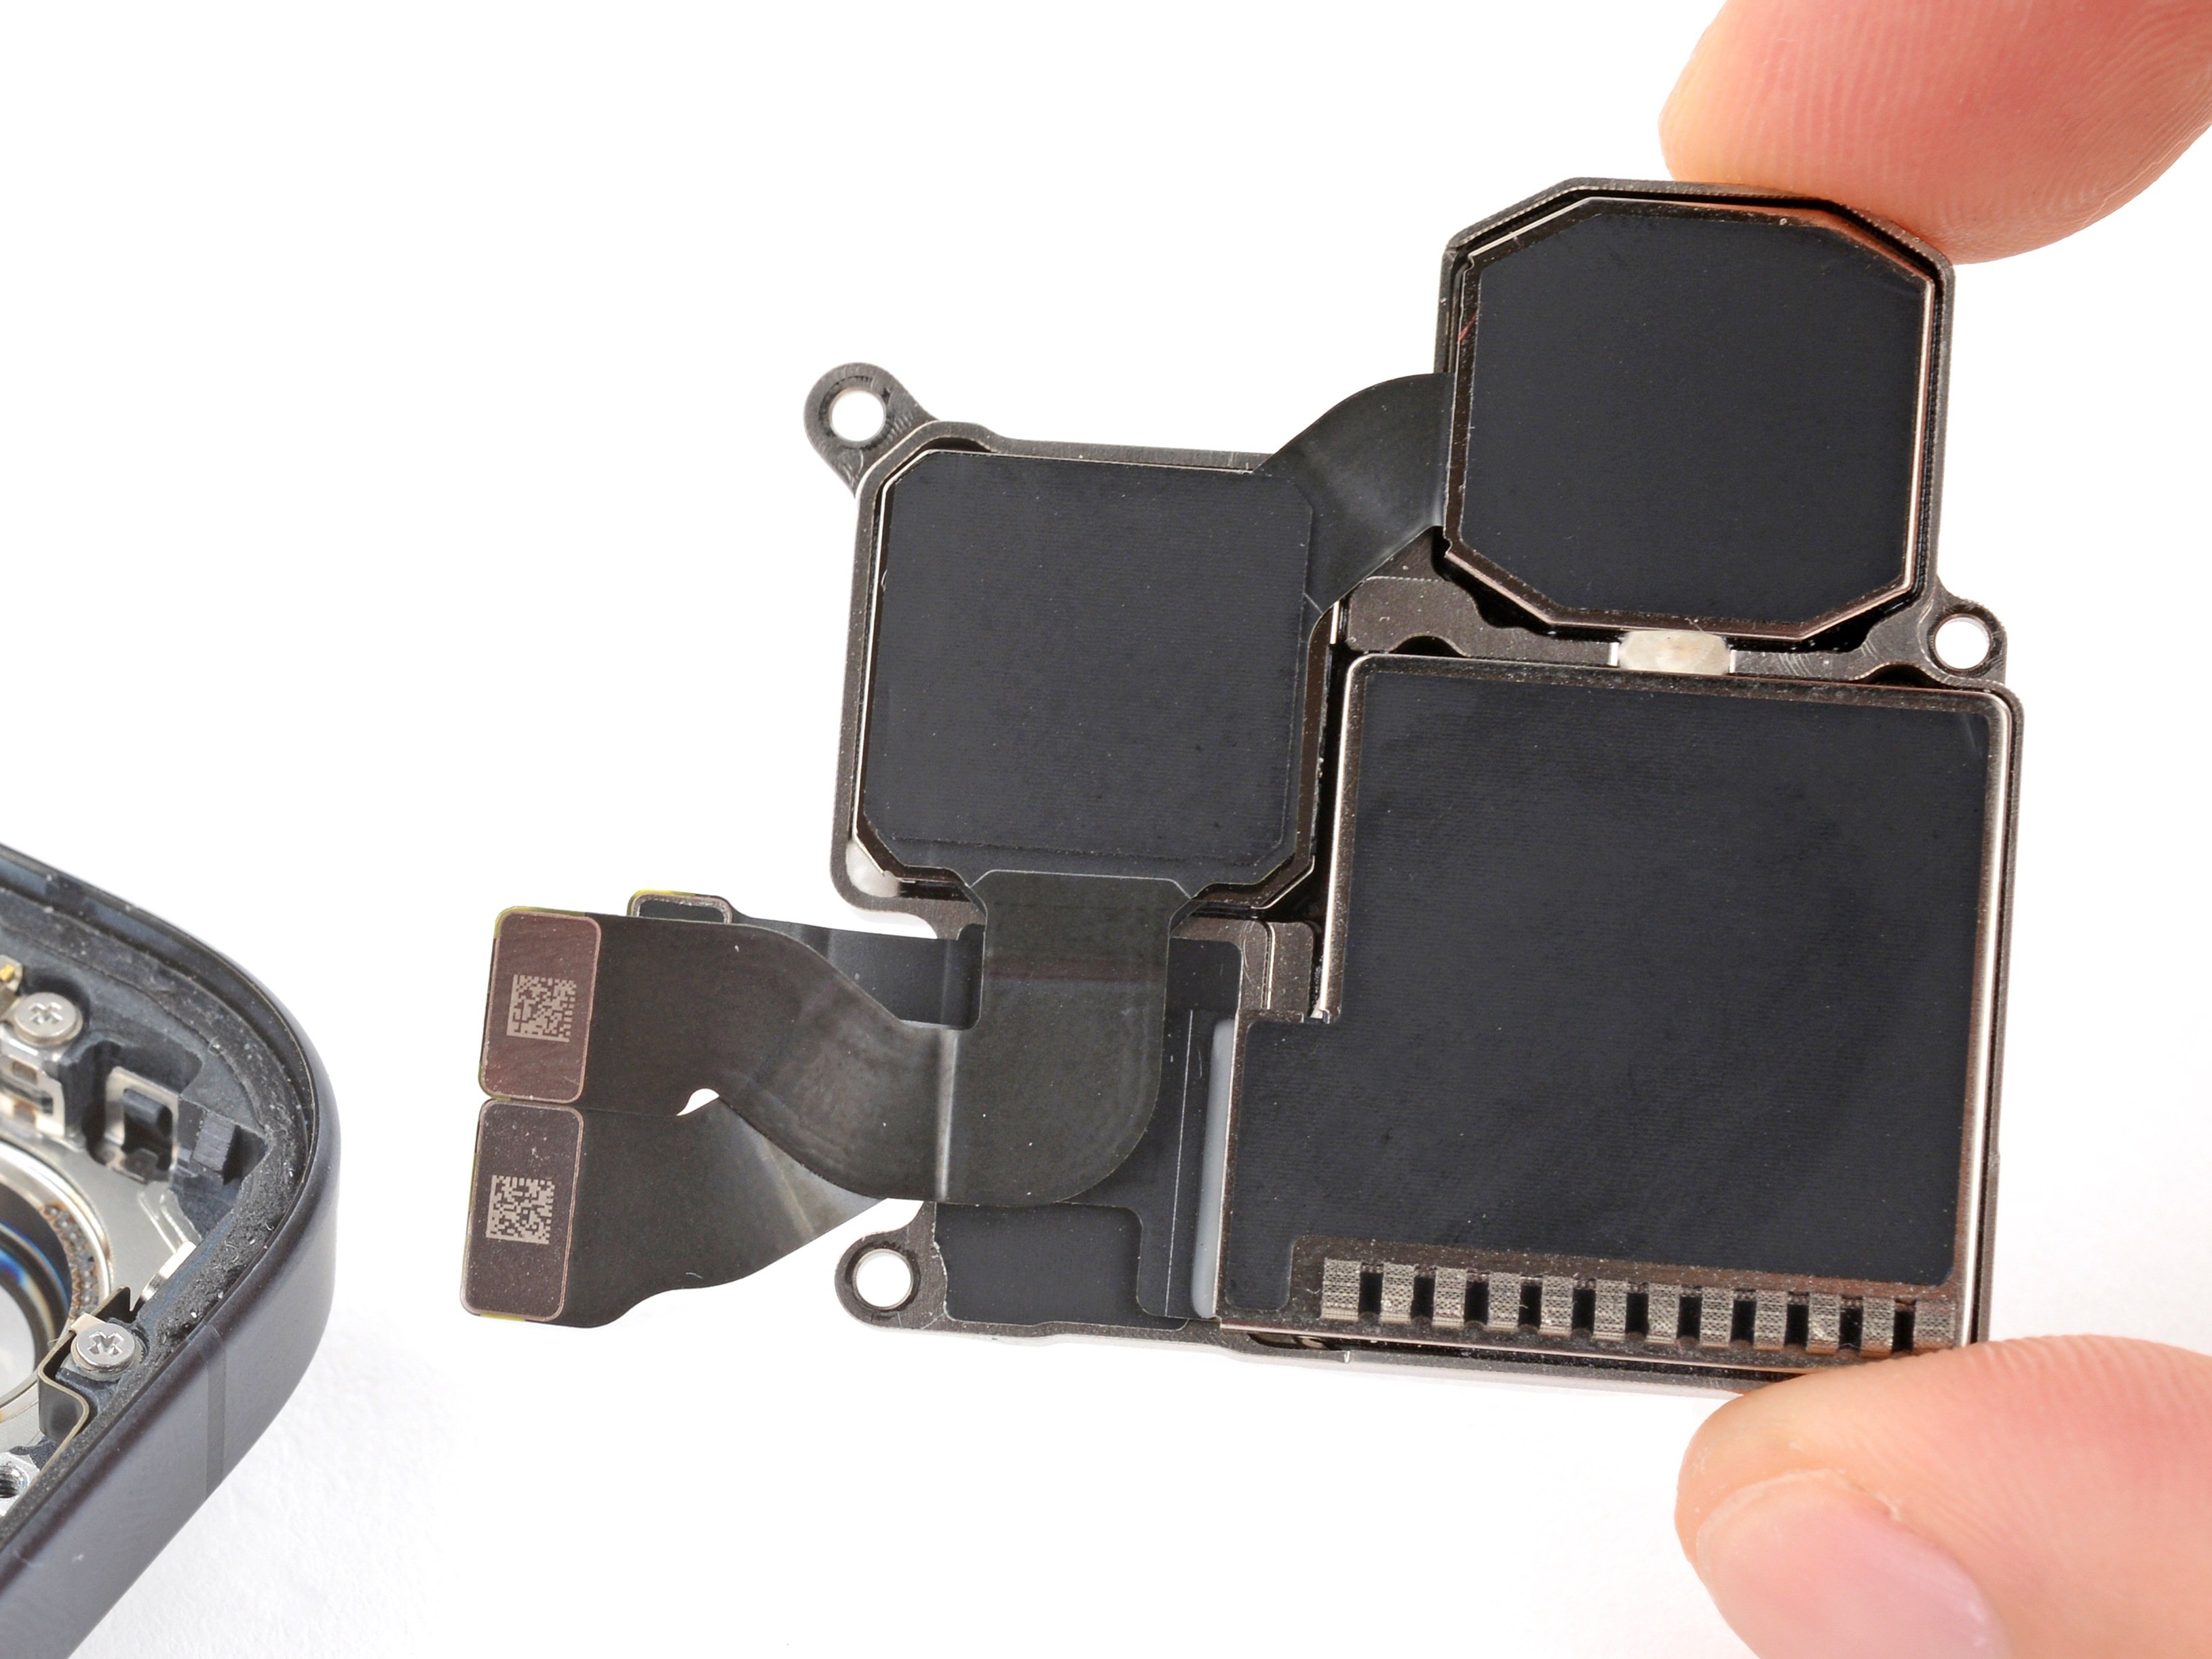
iPhone 15 Pro Rear Cameras Replacement
Duration: 45 minutes
Steps: 26 Steps
Ready to give your iPhone 15 Pro a little camera TLC? If your photos are turning out all wobbly or blurry, or if your cameras are playing hard to get by refusing to focus or snap a pic, it might be time for a camera swap! Grab some replacement screen adhesive, and you're all set for this repair adventure. Just a heads up: if you're on iOS 17.6 or earlier, you might see some warnings about those replacement rear cameras due to Apple's parts pairing rules, but they’ll still work like a charm! And if you're rocking iOS 18 or newer, make sure to calibrate those genuine camera modules using Apple's Repair Assistant. If you need help, you can always schedule a repair.
Step 1
Make sure your phone's battery dips below 25% before diving into this repair—an overcharged lithium-ion battery can be a bit dramatic and might catch fire if mishandled. Safety first, friends!
- First things first, let’s disconnect all those cables from your phone. It’s time for some freedom!
- Now, grab your power button and one of the volume buttons, give them a good hold, and slide that screen to turn off your phone. Easy peasy!
Step 2
Find a nice smooth spot near the bottom edge that's big enough for your suction cup to make a good seal. This will help make things go much smoother.
- If your screen or back glass is cracked, start by applying some packing tape in overlapping strips over the glass. This will keep you safe and make the disassembly process a whole lot smoother!
Step 3
Pushing your opening pick in too deep can cause trouble for your device. Keep things safe by marking your pick to know your limits.
Feel free to mark other corners of the pick with different measurements for extra precision.
Another slick trick is to tape a coin to your pick about 3 mm from the tip to keep your depth in check.
- Grab your opening pick and measure about 3 mm from the tip. Give it a little mark with a permanent marker so you know where to start. You'll be a pro in no time!
Step 4
- Grab your P2 pentalobe screwdriver and carefully unscrew the two 7 mm-long screws flanking the charging port.
Step 5
Keep things cool—overheating your phone can make the battery cranky. Treat it gently and avoid extra heat!
- Grab a hair dryer or heat gun and warm up the bottom edge of the screen until it feels nice and toasty to the touch.
Tools Used
Step 6
- Grab a suction handle and stick it on the bottom edge of the screen.
- Give the handle a good, steady pull to make some space between the screen and its frame.
- Gently slide the tip of an opening pick into that gap you just created.
Tools Used
Step 7
Heads up! As you slice through the adhesive holding the screen, watch out for these areas—they’re a bit tricky and don’t like surprises.
- Heads up! There are two fragile cables linking the screen to the phone: one sits just above the action button, and the other is near the middle of the left edge.
- Around the phone’s edges, you’ll find several spring contacts. Be super careful not to push your pick too far in these spots to keep those contacts happy and unbent.
Step 8
Keep your opening pick no deeper than 3 mm along the bottom edge—let’s keep things shallow and safe!
- Gently slide your pick back and forth along the bottom edge to loosen the adhesive.
- Keep your pick in the bottom right corner to stop the adhesive from sticking back together.
Step 9
- Warm up the right edge of the screen until it feels nice and toasty to the touch.
Step 10
Keep your pick to a maximum depth of 5 mm along the right edge—let's play it safe and avoid any mishaps!
- Gently slide your pick around the bottom right corner of the screen, moving toward the power button. Keep going until you hit a solid stop – that's the clip holding your screen in place.
- Now, rotate your pick so the flat edge is resting underneath the screen. This is your next move to separate things smoothly.
Step 11
- Give that pick a gentle twist to widen the gap between the screen and the frame—watch for the right clip to pop free.
- Slide a second pick in right next to the first one and keep the good vibes going.
Step 12
- Gently slide your first pick down to the bottom right corner of the screen.
- Now, take your second pick and slide it over to the top right corner to break the adhesive seal.
- Keep those picks in place to keep the adhesive from sealing back up on you!
Step 13
- Warm up the top edge of the screen until it's comfortably hot to the touch.
Step 14
Keep your pick cruising at no more than 3 mm deep along the top edge—no need to go spelunking!
- Take your pick for a spin around the top right corner and glide it along the top edge—this will pop loose the two clips and slice through that stubborn adhesive.
Step 15
- Gently warm up the left edge of the screen until it feels nice and toasty to the touch.
Step 16
Keep your pick shallow—no more than 2 mm—on the left edge, so you don't accidentally jab the screen cables hiding underneath.
- Gently twist your pick around the top left corner of the screen.
- Carefully slide your pick down to the bottom left corner to loosen the adhesive.
Step 17
If the screen is being stubborn, take your opening pick and carefully work your way around the edges to loosen up any sticky spots still holding it down.
- Grab a small box or a stack of books and place it to the left of your phone. This will give the screen a little lift while you disconnect those cables.
- Now, swing the right edge of the screen up like you're opening the front cover of a book. Nice and easy!
- Lift the screen just enough so you can reach the cables without putting any stress on them. No need to rush, take it slow!
Step 18
- Grab your Y000 screwdriver and take out the six screws holding the logic board cover in place:
- Four screws are 1.6 mm long
- Two screws are 1.3 mm long
Step 19
- Twist the bottom of the logic board cover counterclockwise, then gently slide the top left corner out from beneath the ambient light sensor cable to remove it.
- When putting things back together, just make sure that the top left corner of the cover slides back neatly under the ambient light sensor cable.
Step 20
To get that connector back in action, line it up with its socket and give a gentle press on one side until you hear a satisfying click. Then, show the other side some love by pressing it down too! Just double-check that it's sitting flat, as the insulating rubber around the sockets might be a little stubborn and prevent a full connection.
- Grab an opening pick and gently pop up that battery press connector from the bottom right corner of the logic board. Easy does it—no need to wrestle!
Step 21
- Slide the tip of your opening pick under the screen cable, and gently pop it up from the center of the logic board.
Step 22
- Carefully slide the opening pick's tip under the ambient light sensor cable near the top left corner of the logic board. Take it slow, you've got this!
- Gently lift the cable to disconnect it. A little patience goes a long way here.
Step 23
Watch out for those spring contacts while cleaning the frame—they’re delicate little guys and deserve some gentle TLC!
- Carefully take off the screen.
- When you're putting things back together, follow this guide to add fresh adhesive and set your screen back in place.
Step 24
The third connector is tucked away under the top one—gently lift the top cable just enough to uncover it.
- Gently use the end of an opening pick to lift and disconnect the three rear camera press connectors located at the top right of the logic board. Take your time and make sure to be gentle—your device will thank you!
Step 25
- Grab your Phillips #000 screwdriver and get ready to unscrew the three screws holding the rear cameras in place:
- One screw, 3.8 mm long, because size does matter.
- One screw, 3.2 mm long, not too big, not too small.
- One screw, 2.8 mm long, the tiny but mighty screw.
Step 26
Watch out for those camera lenses—keep your fingers and smudges at bay so your photos stay crystal clear!
- Put your iPhone back together by simply reversing these steps.
- Once you’re done, if you replaced a part, you might be able to calibrate it using Apple’s Repair Assistant (available starting with iOS 18). Just update your device, head to Settings → General → About → Parts & Service History, tap Restart & Finish Repair, and follow the instructions on screen.
- Remember to recycle your old electronic parts responsibly at an R2 or e-Stewards certified recycling center.
- If things didn’t go quite as planned, try some basic troubleshooting or schedule a repair for expert help.


